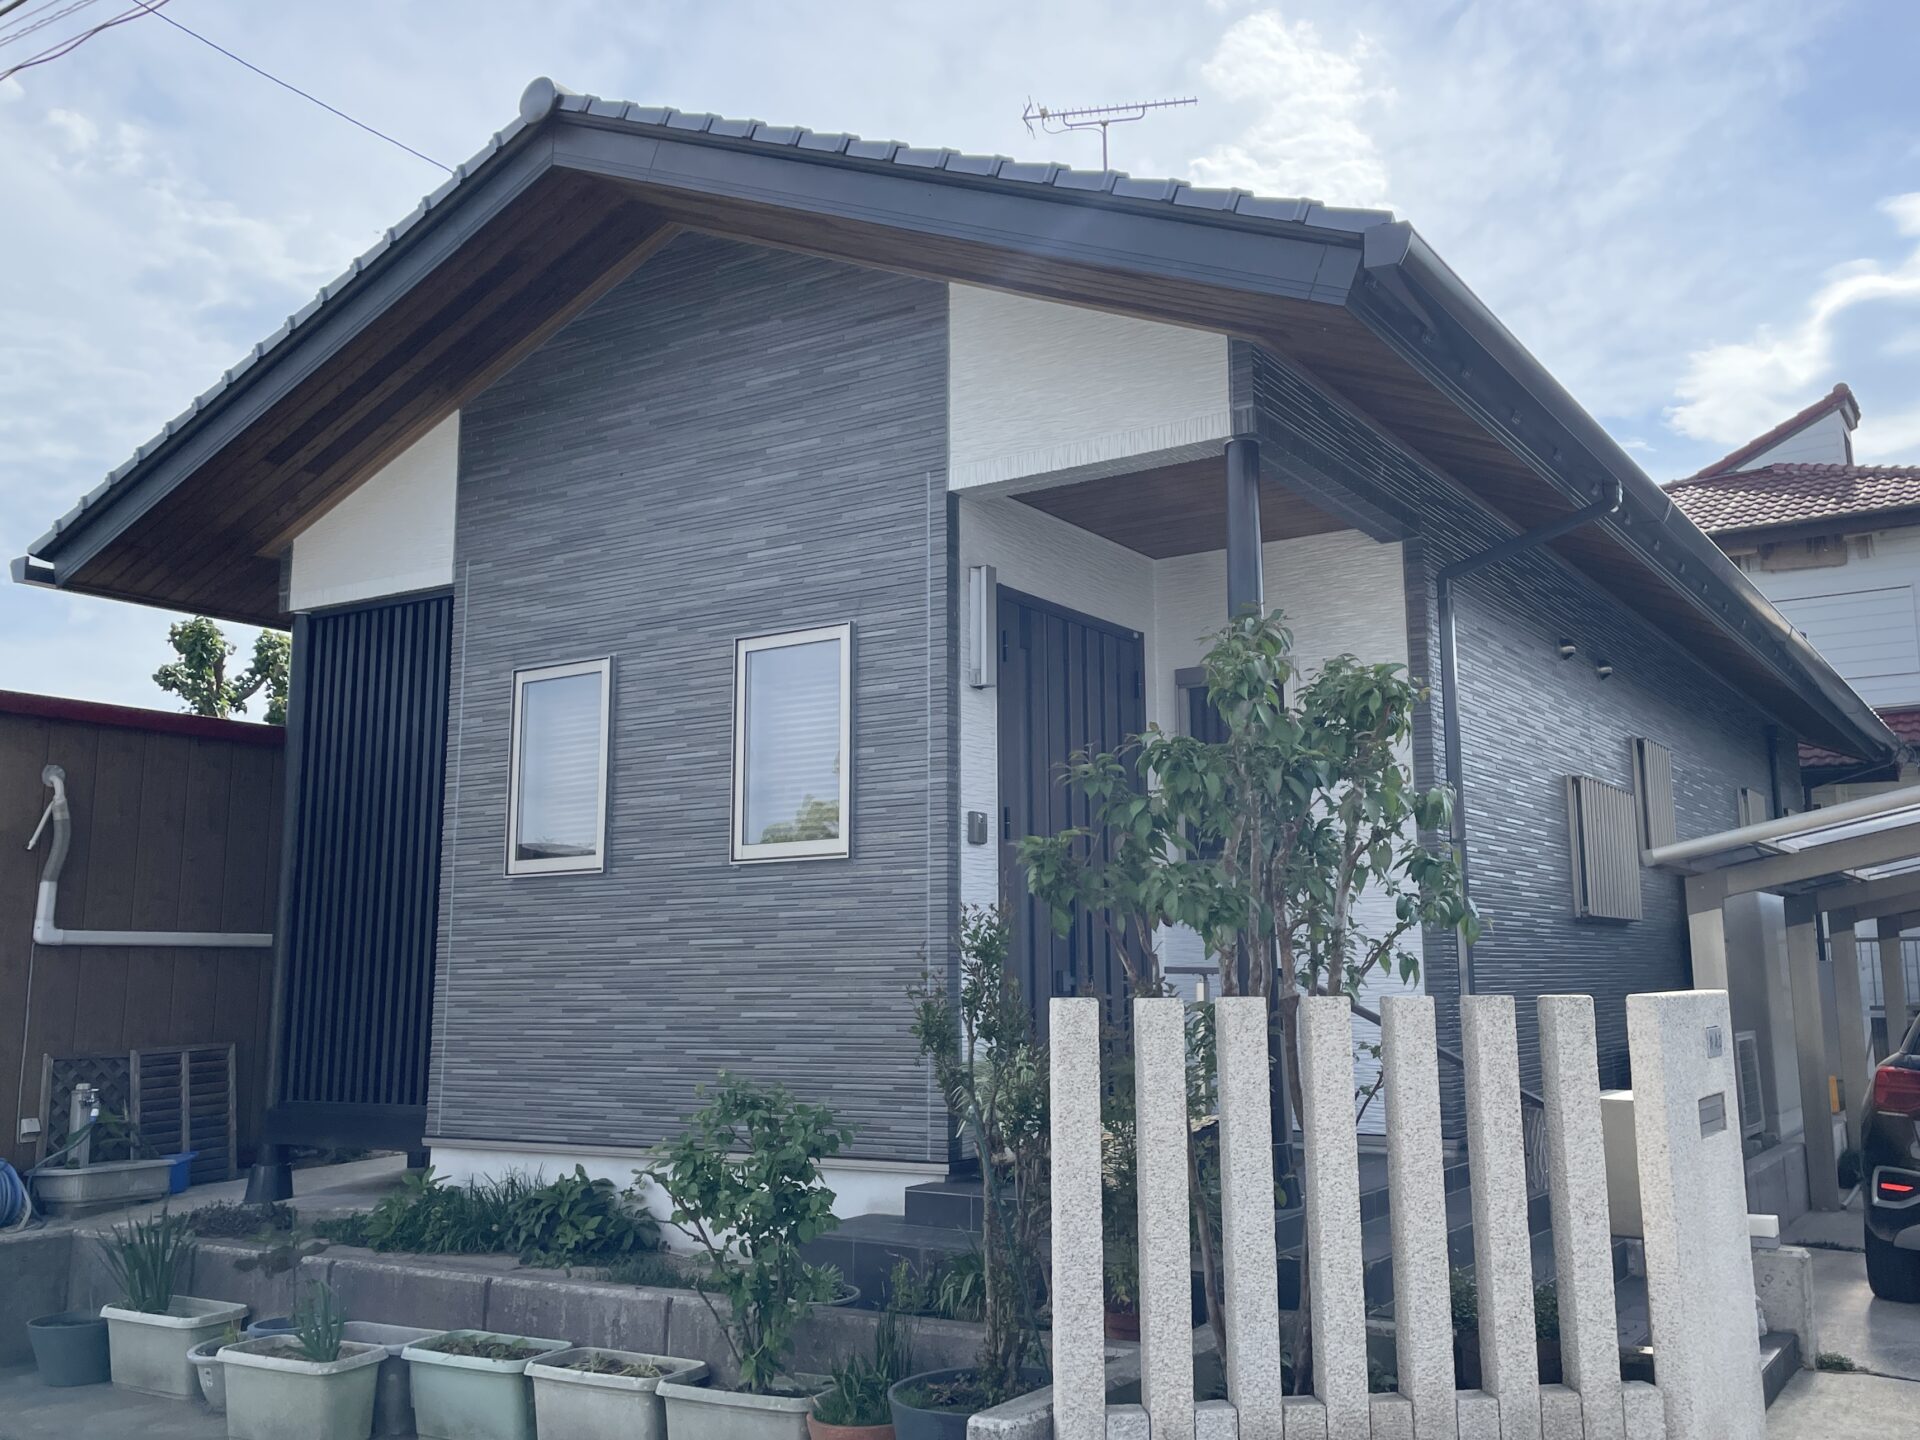
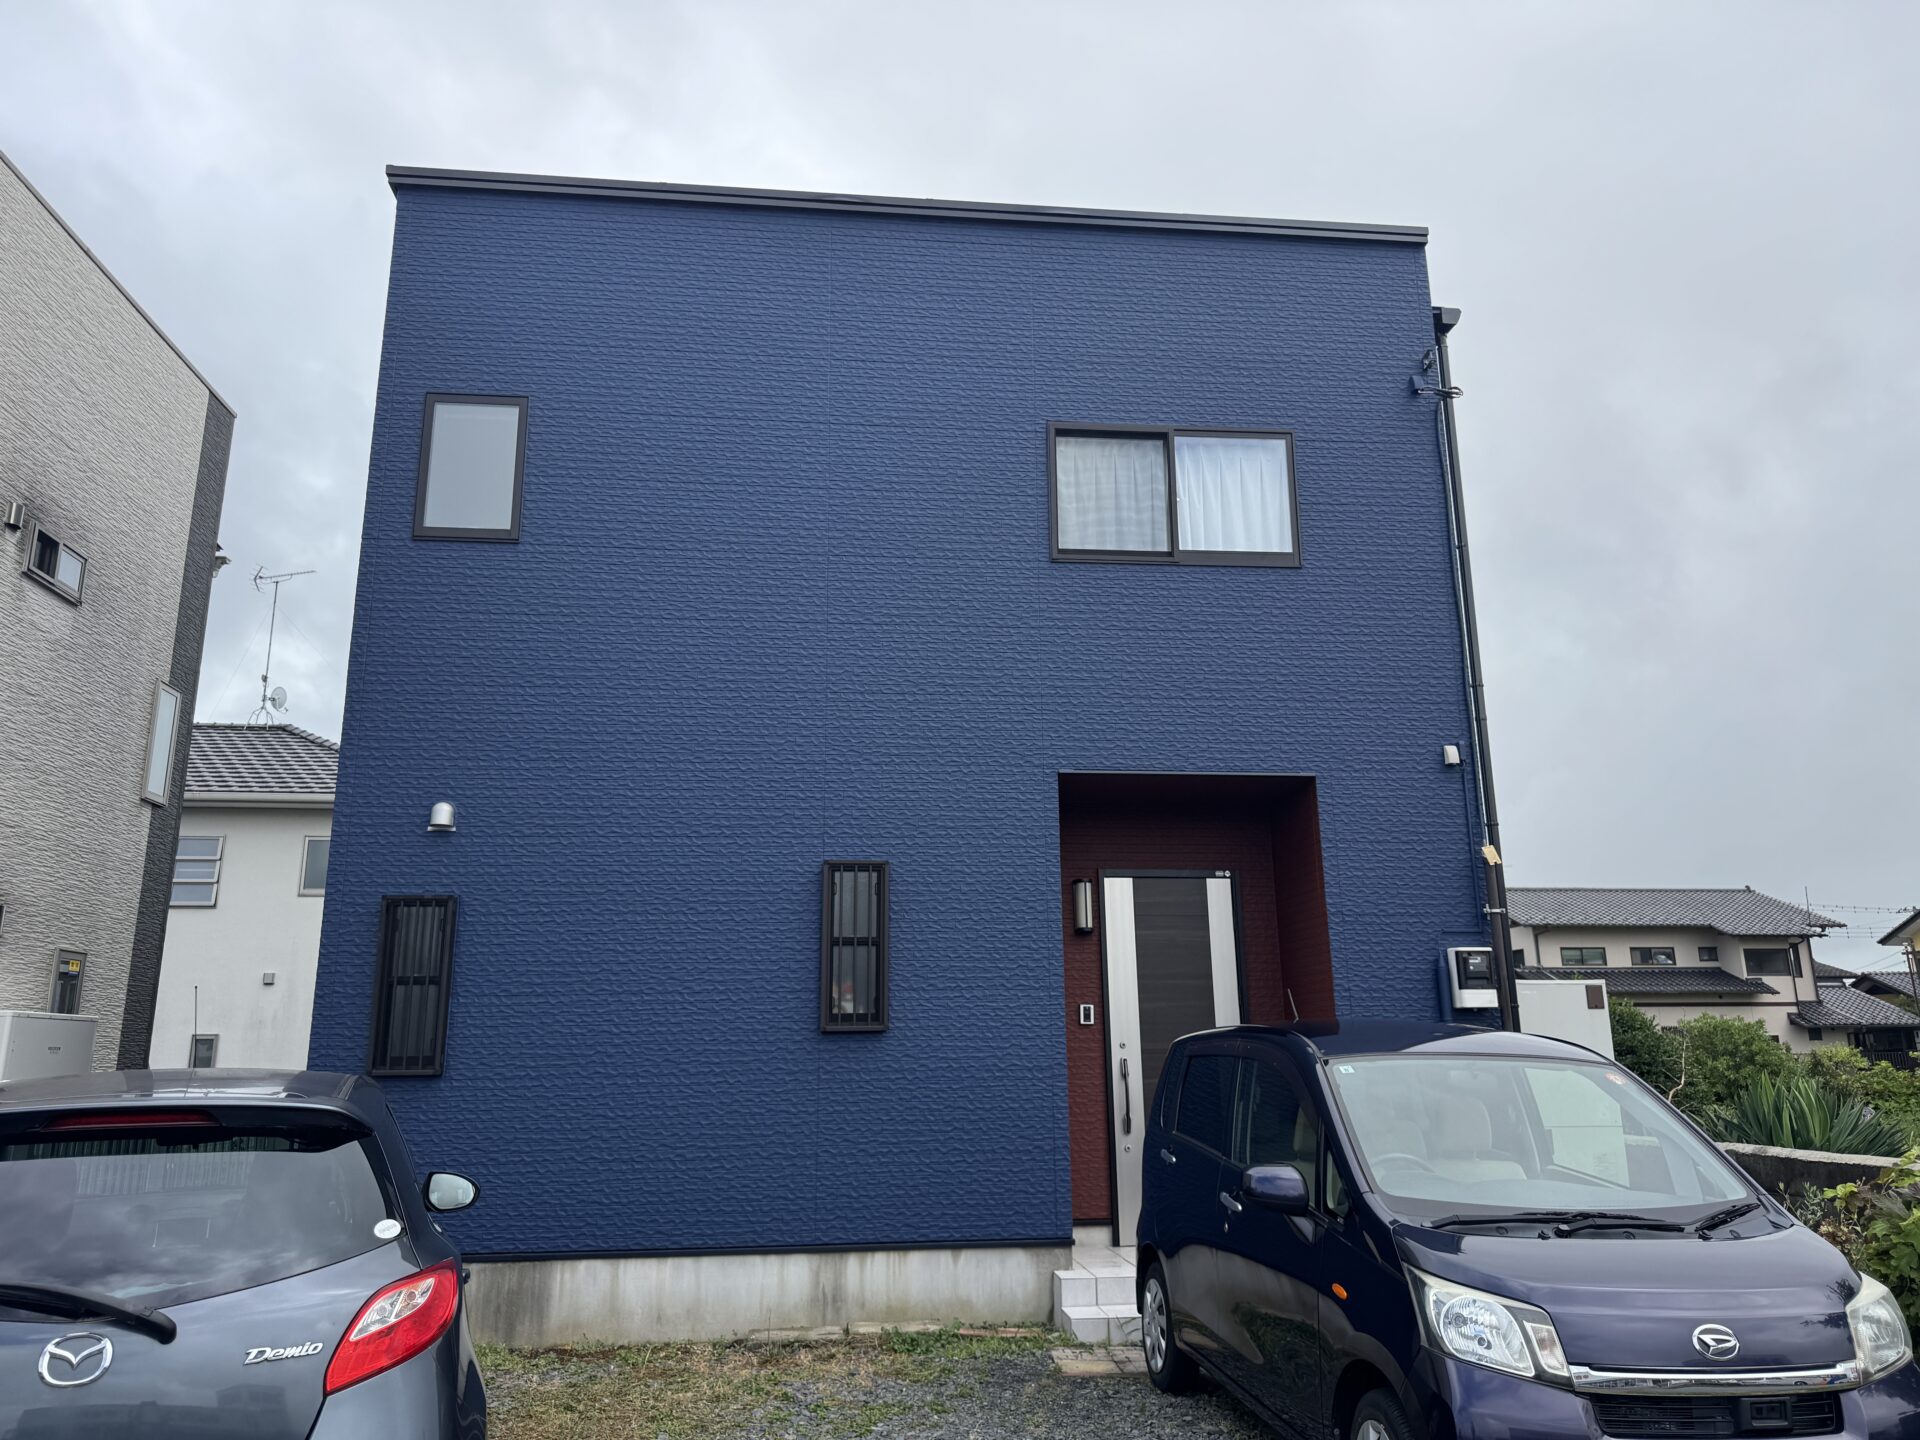
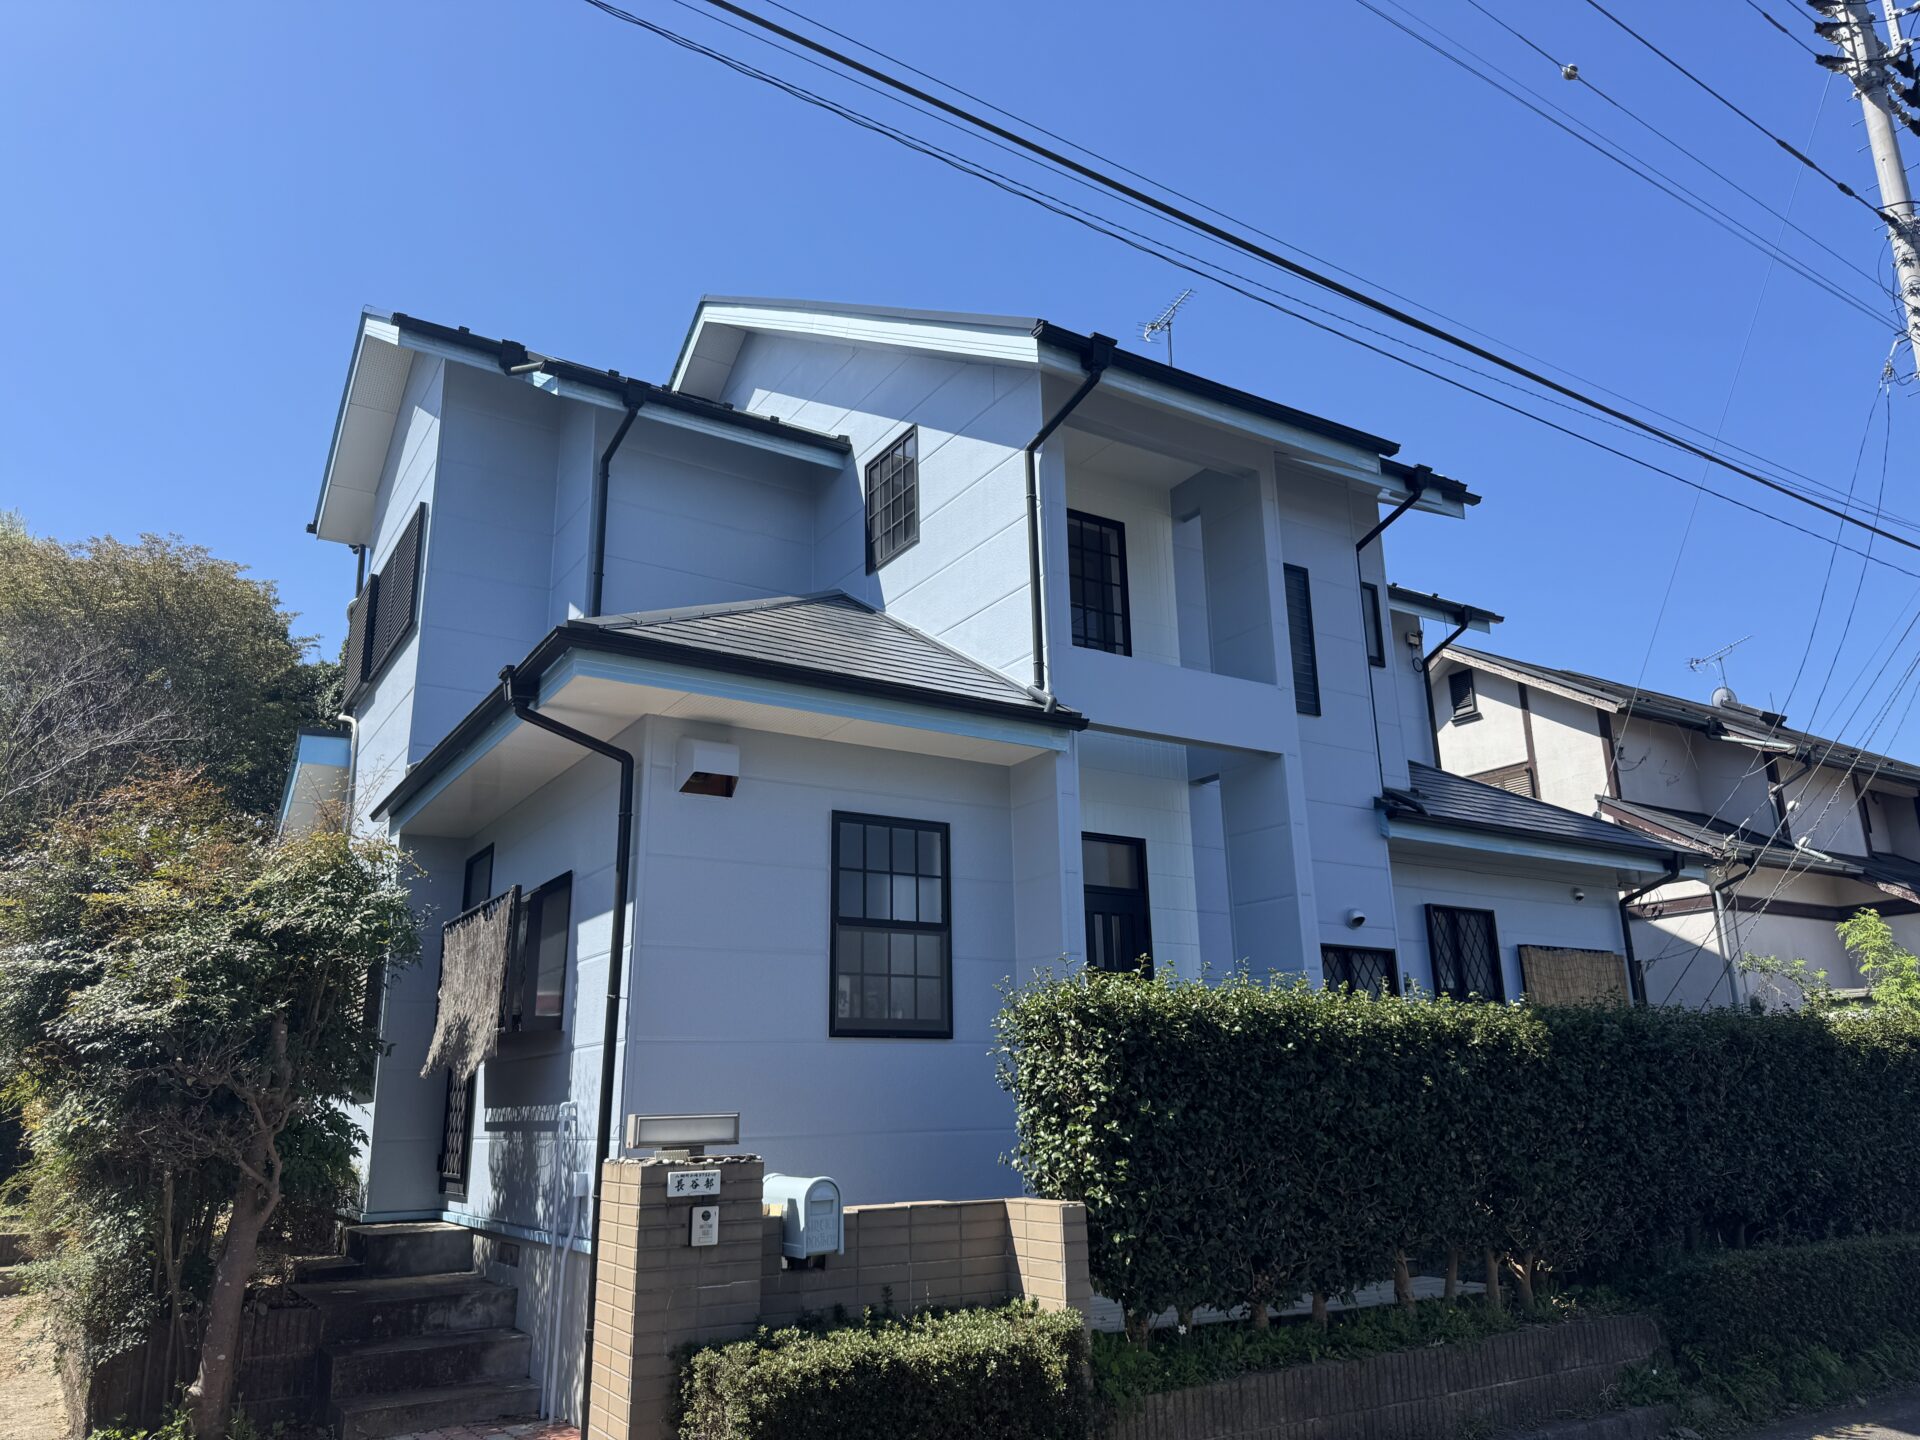
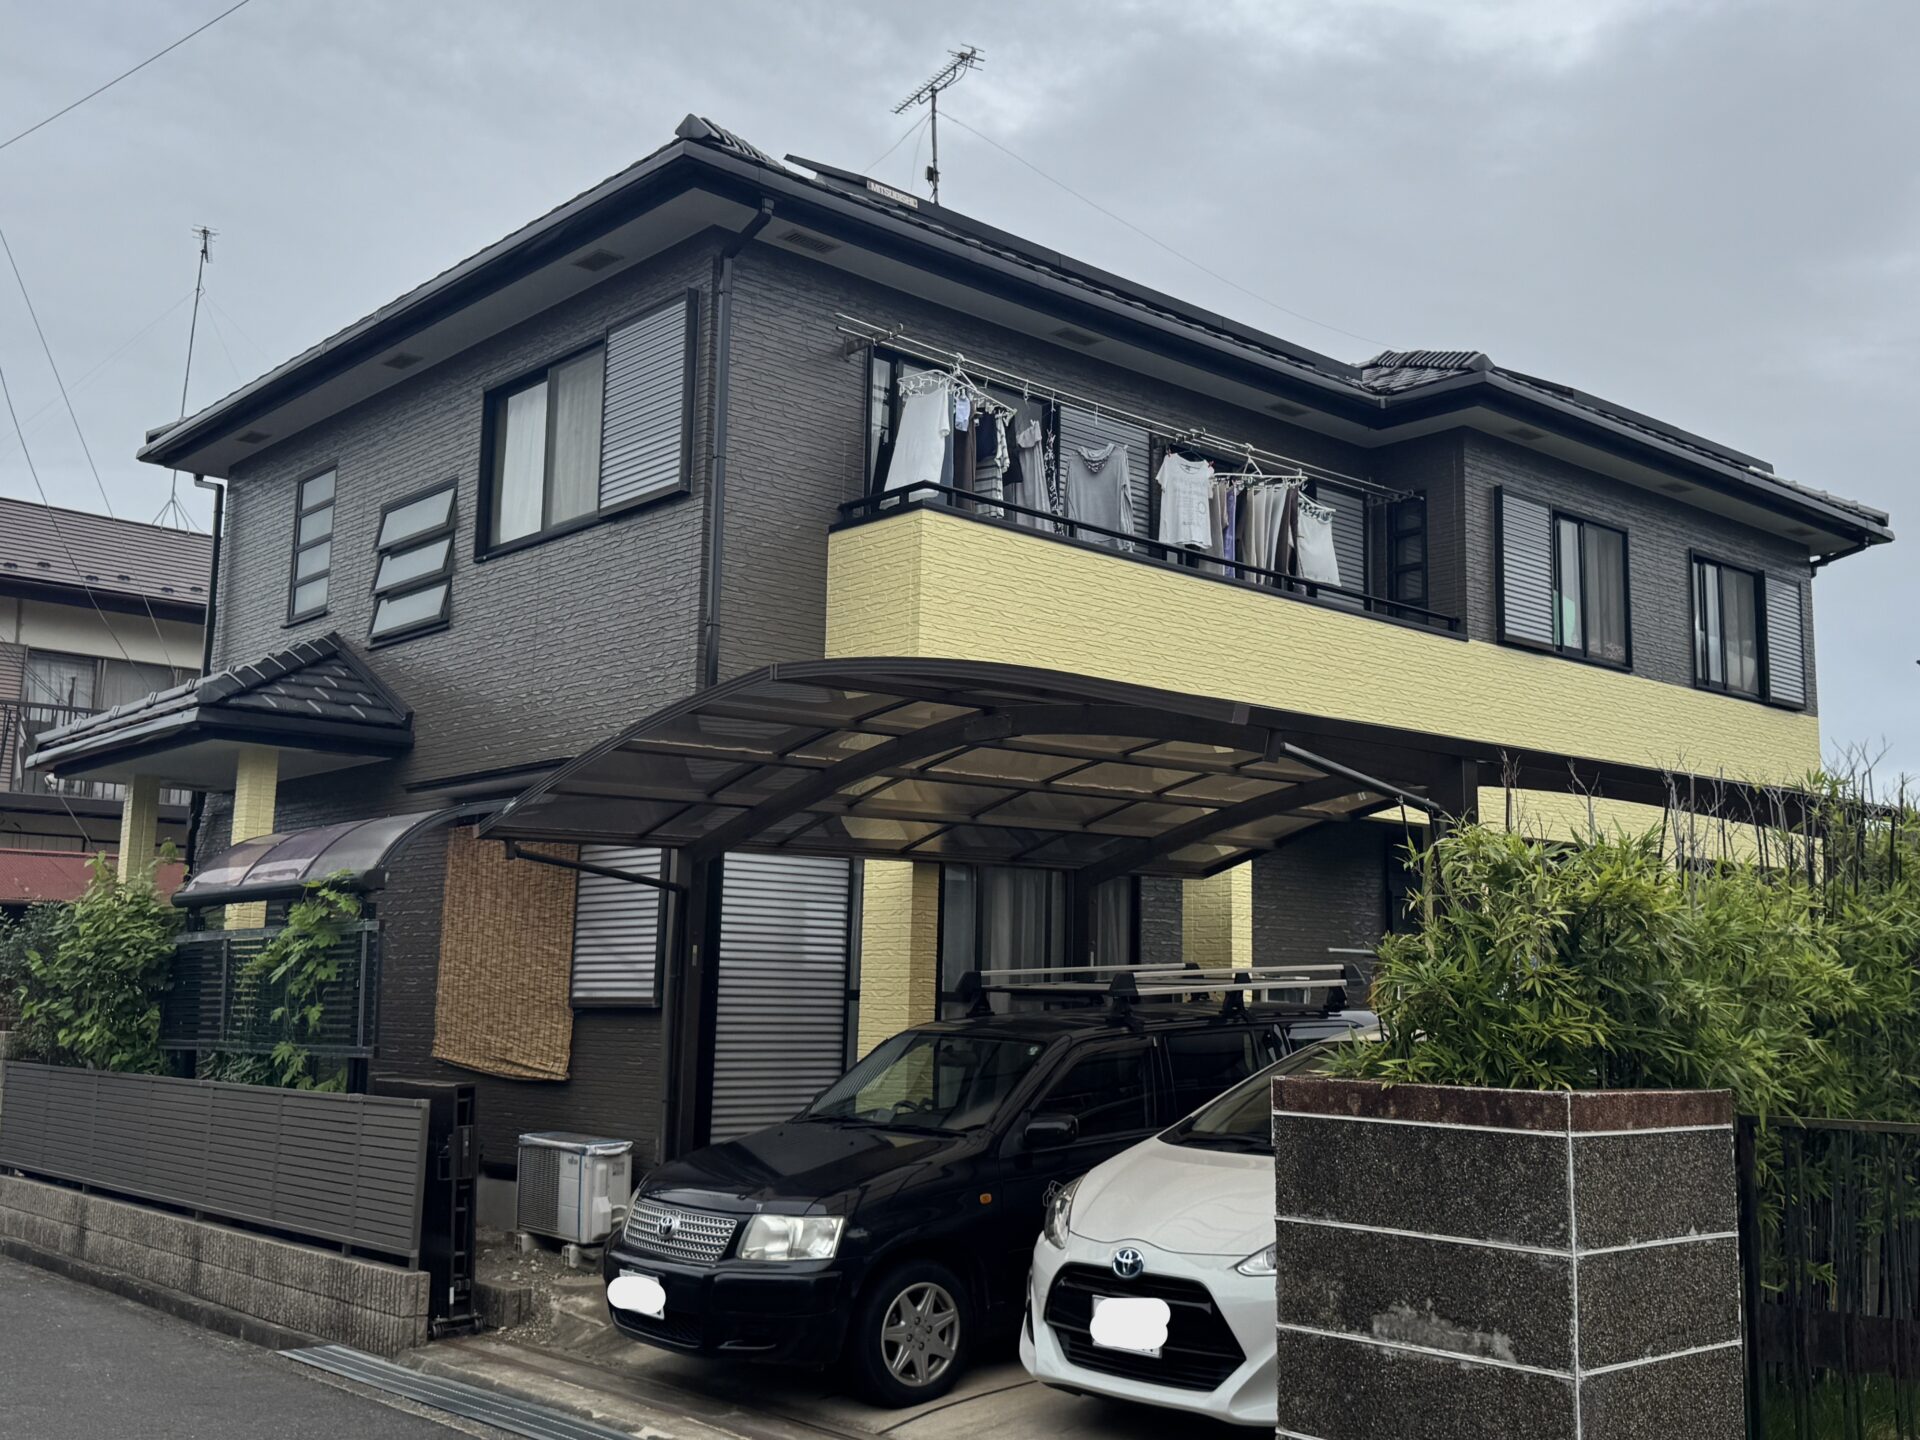
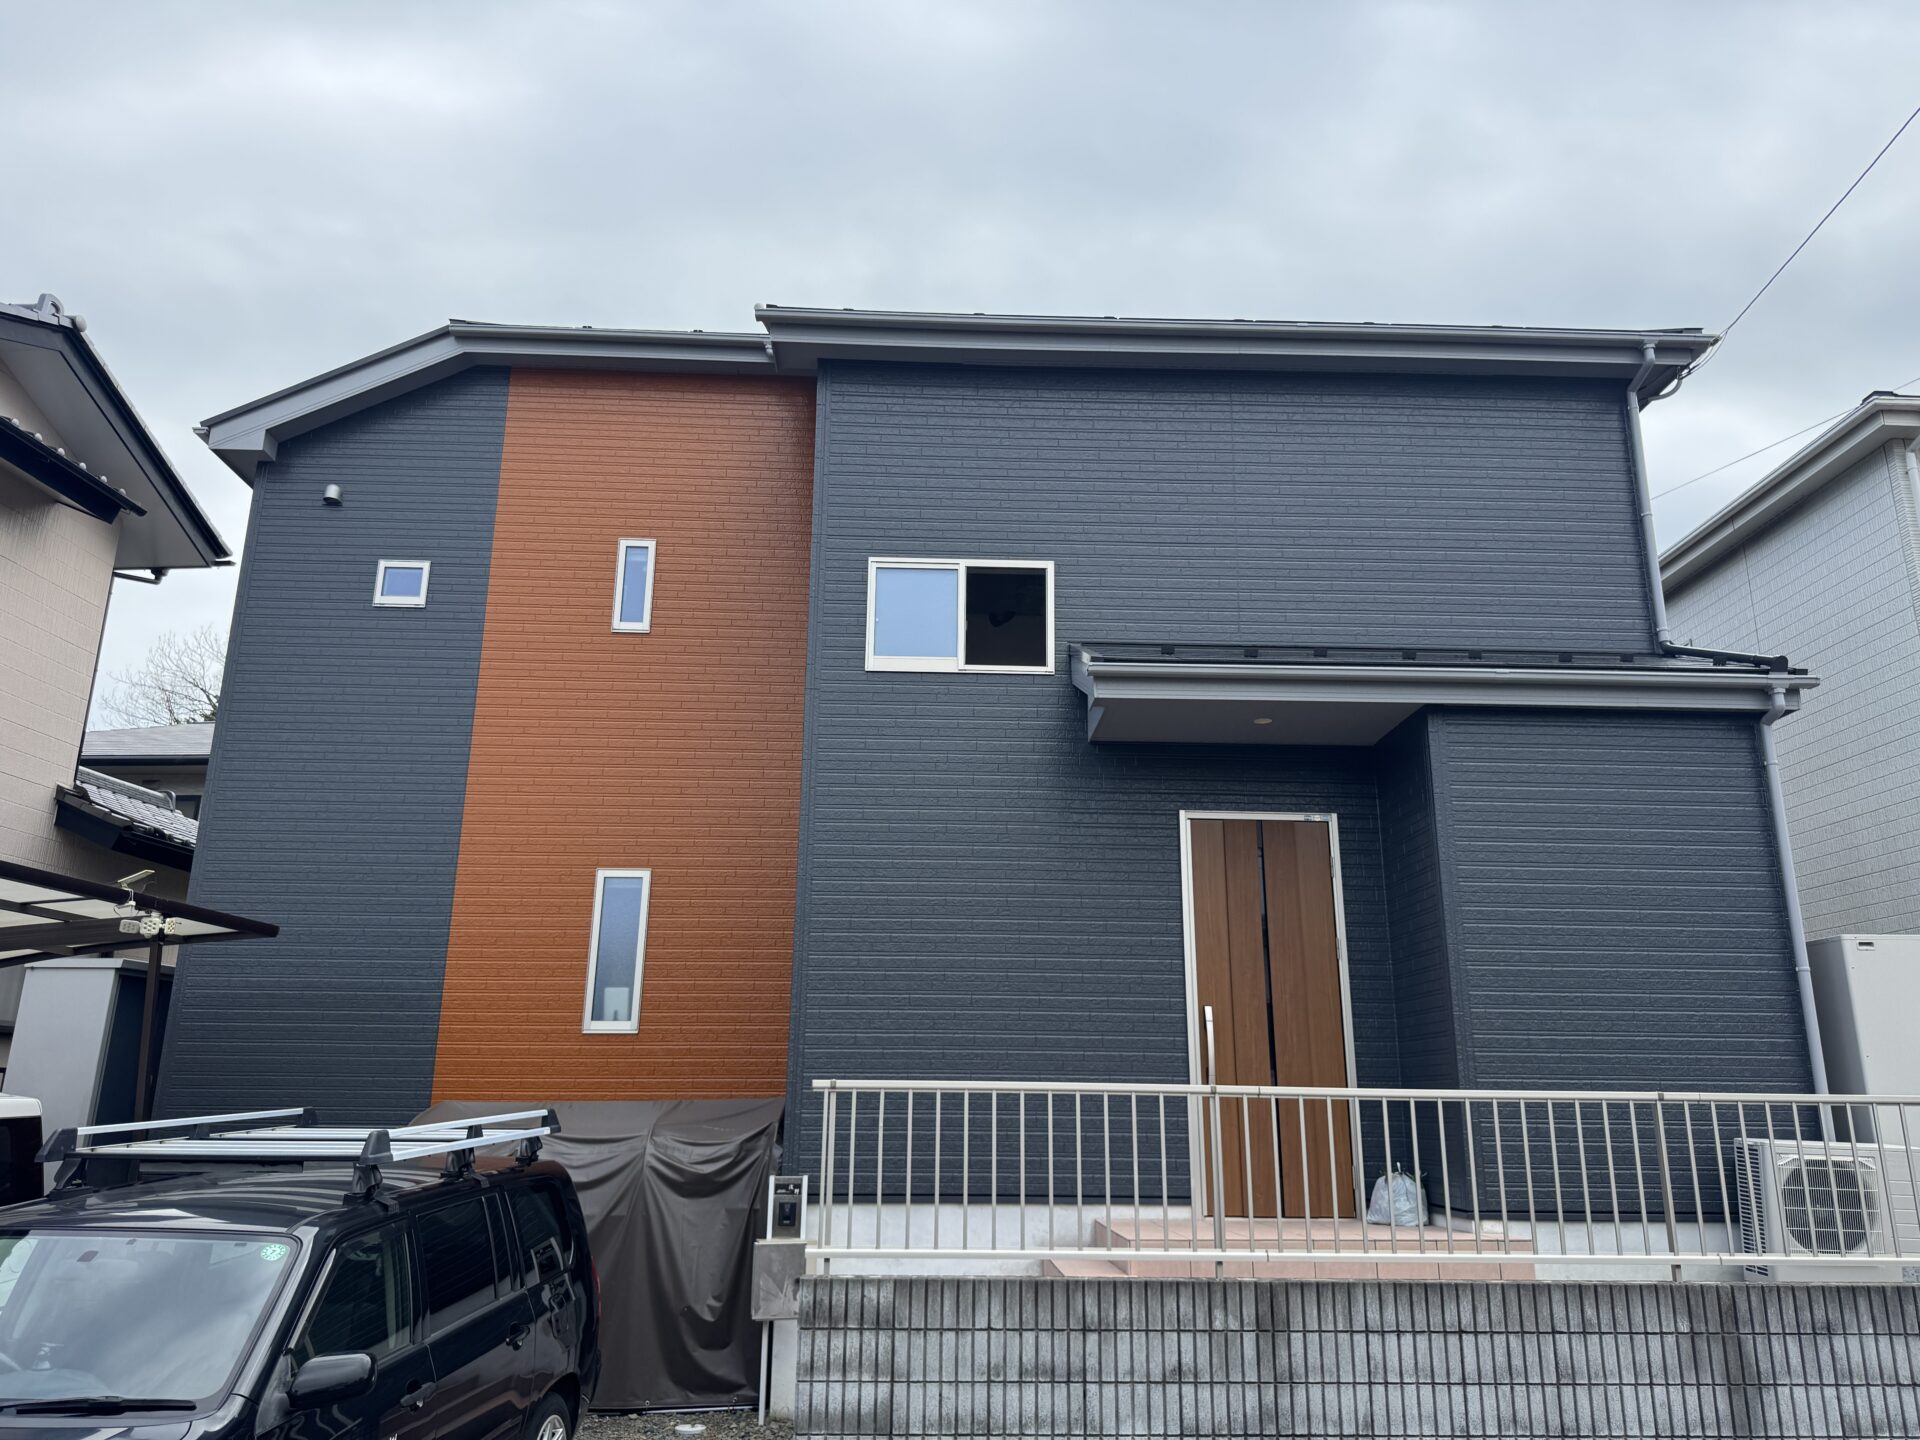
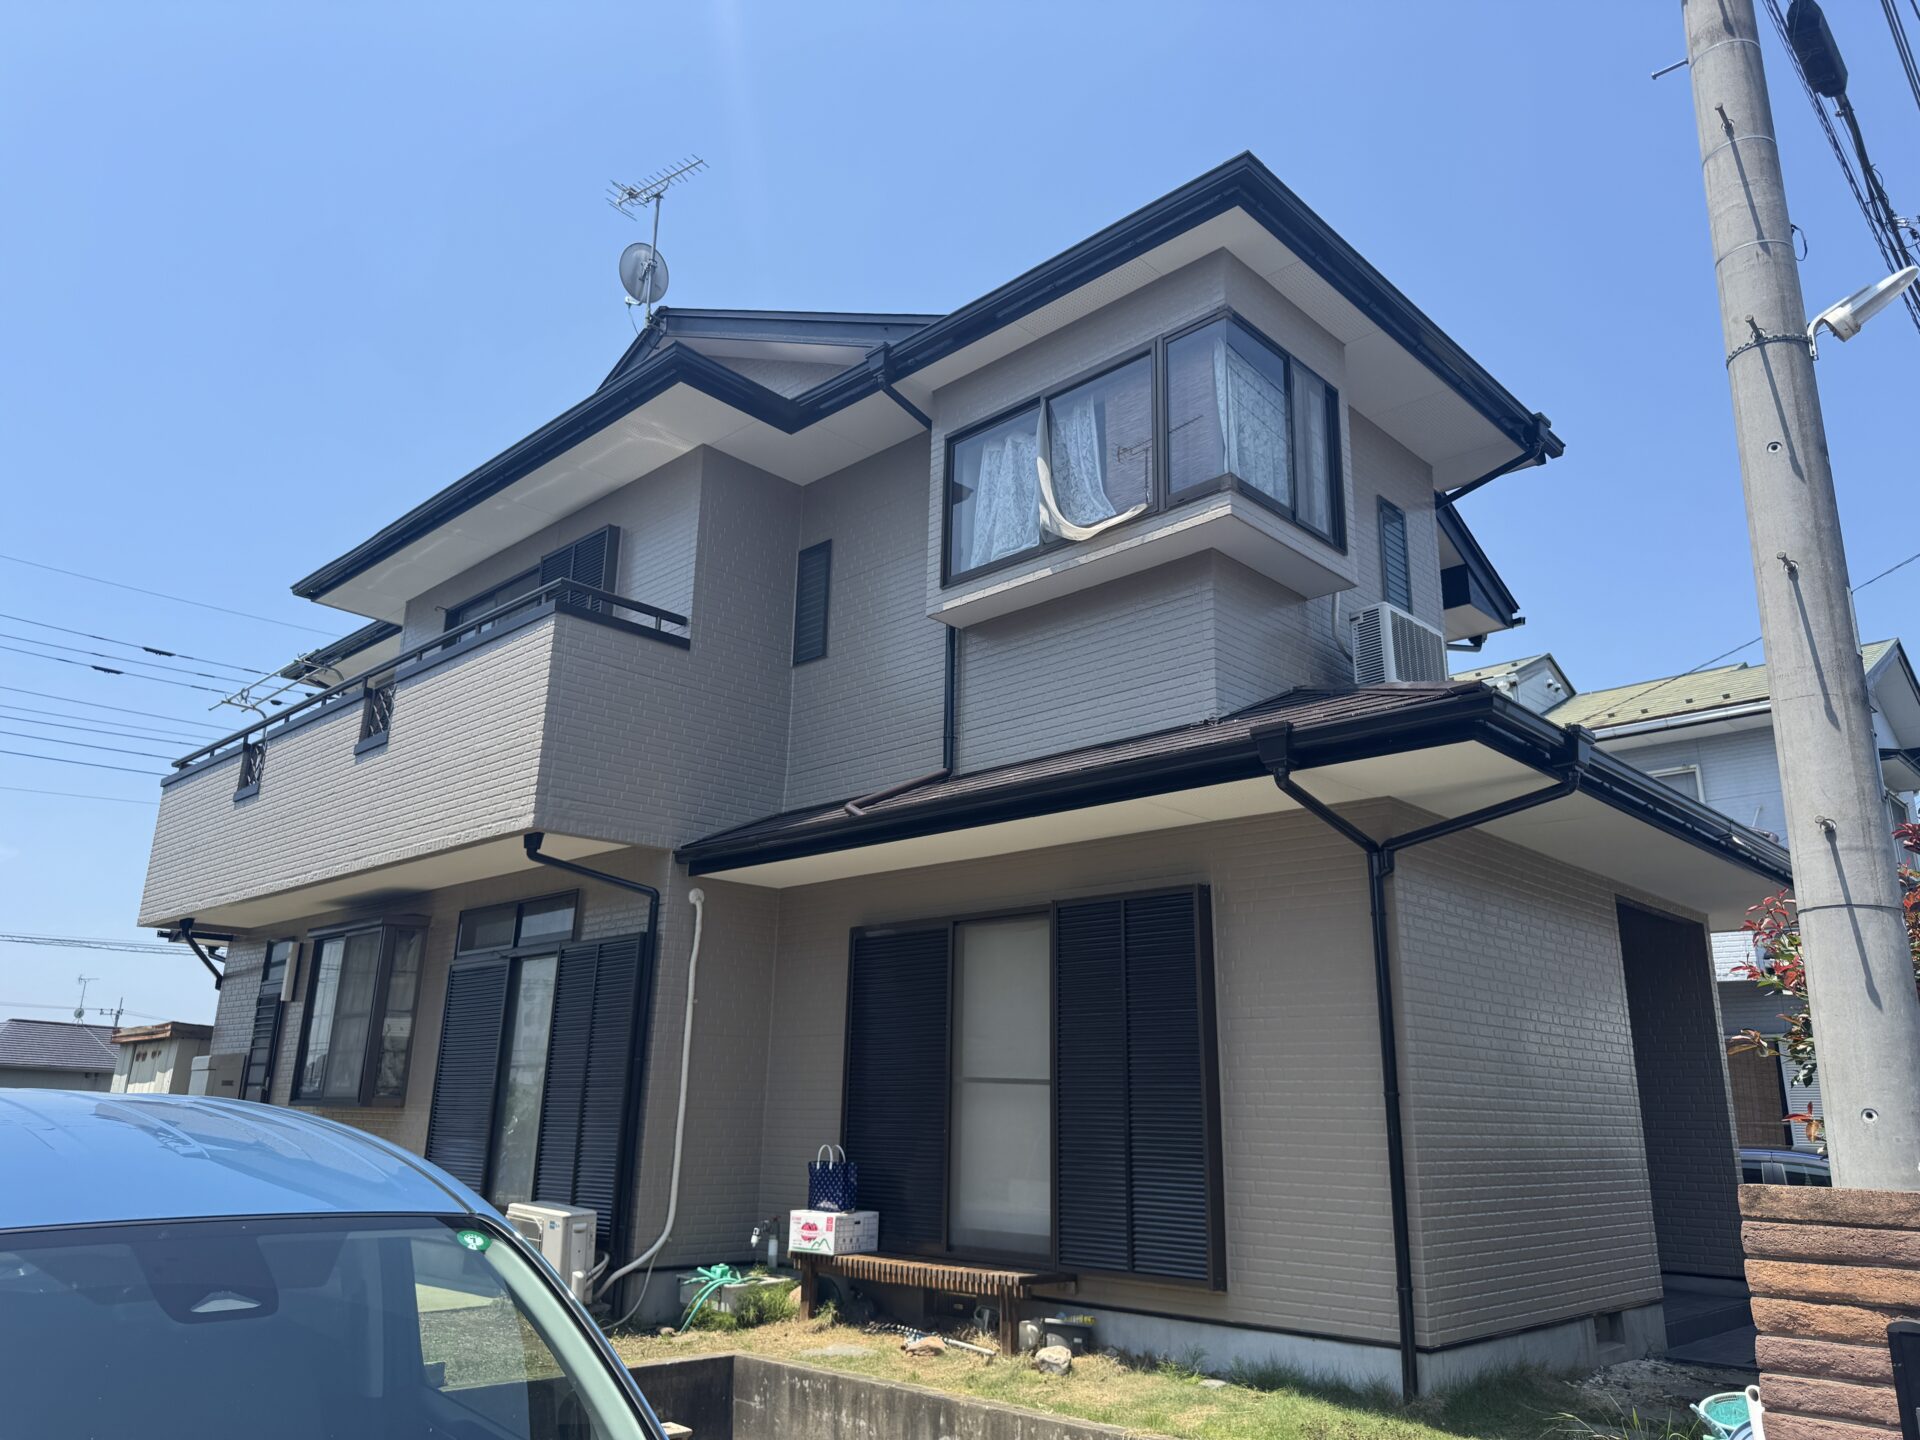
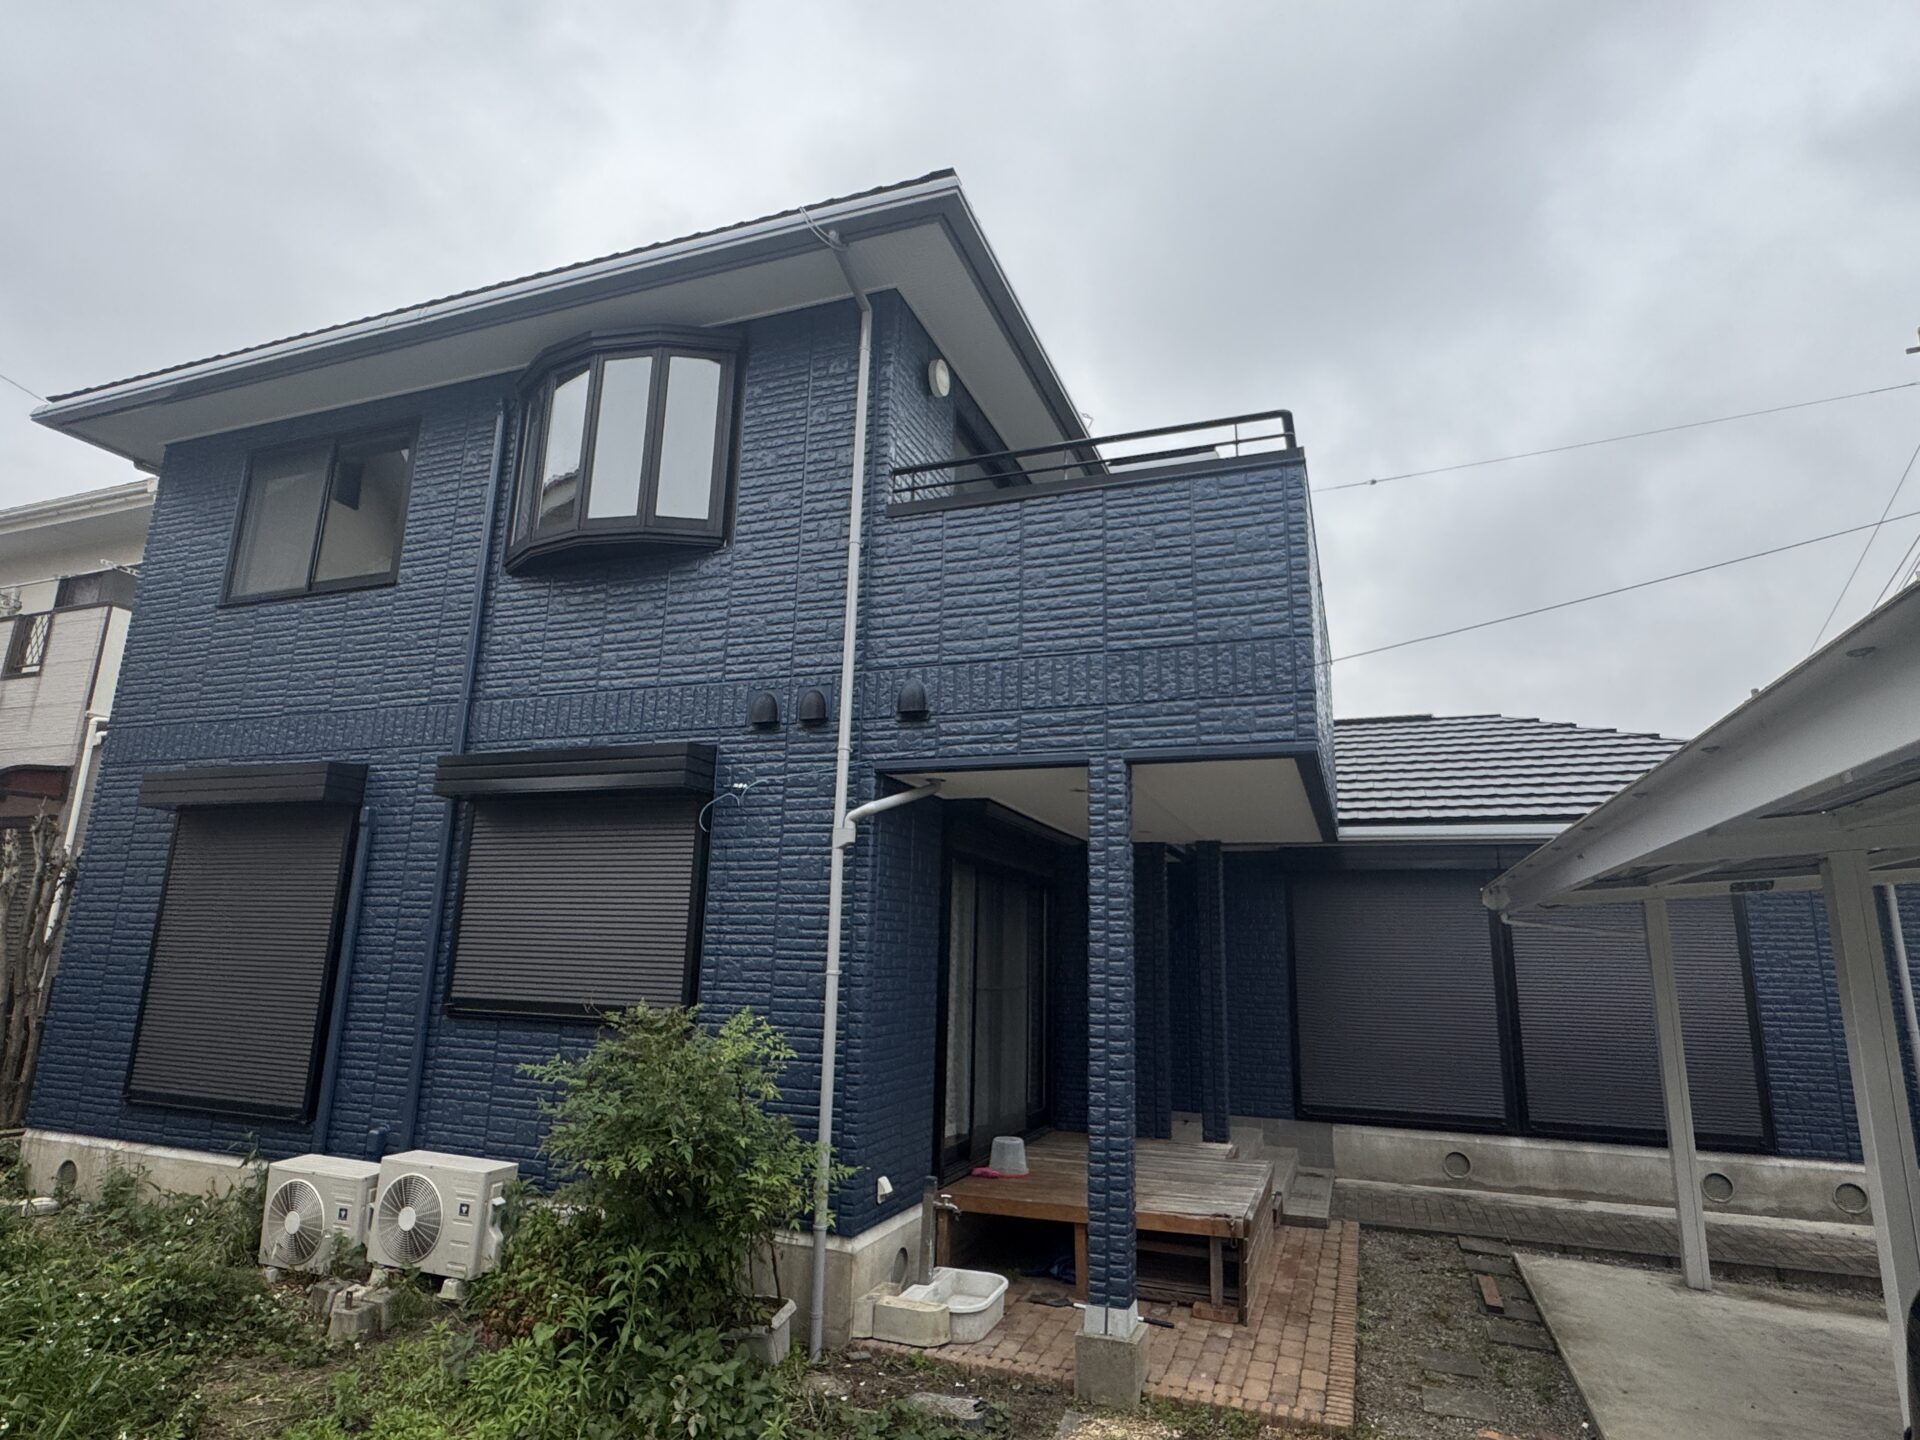
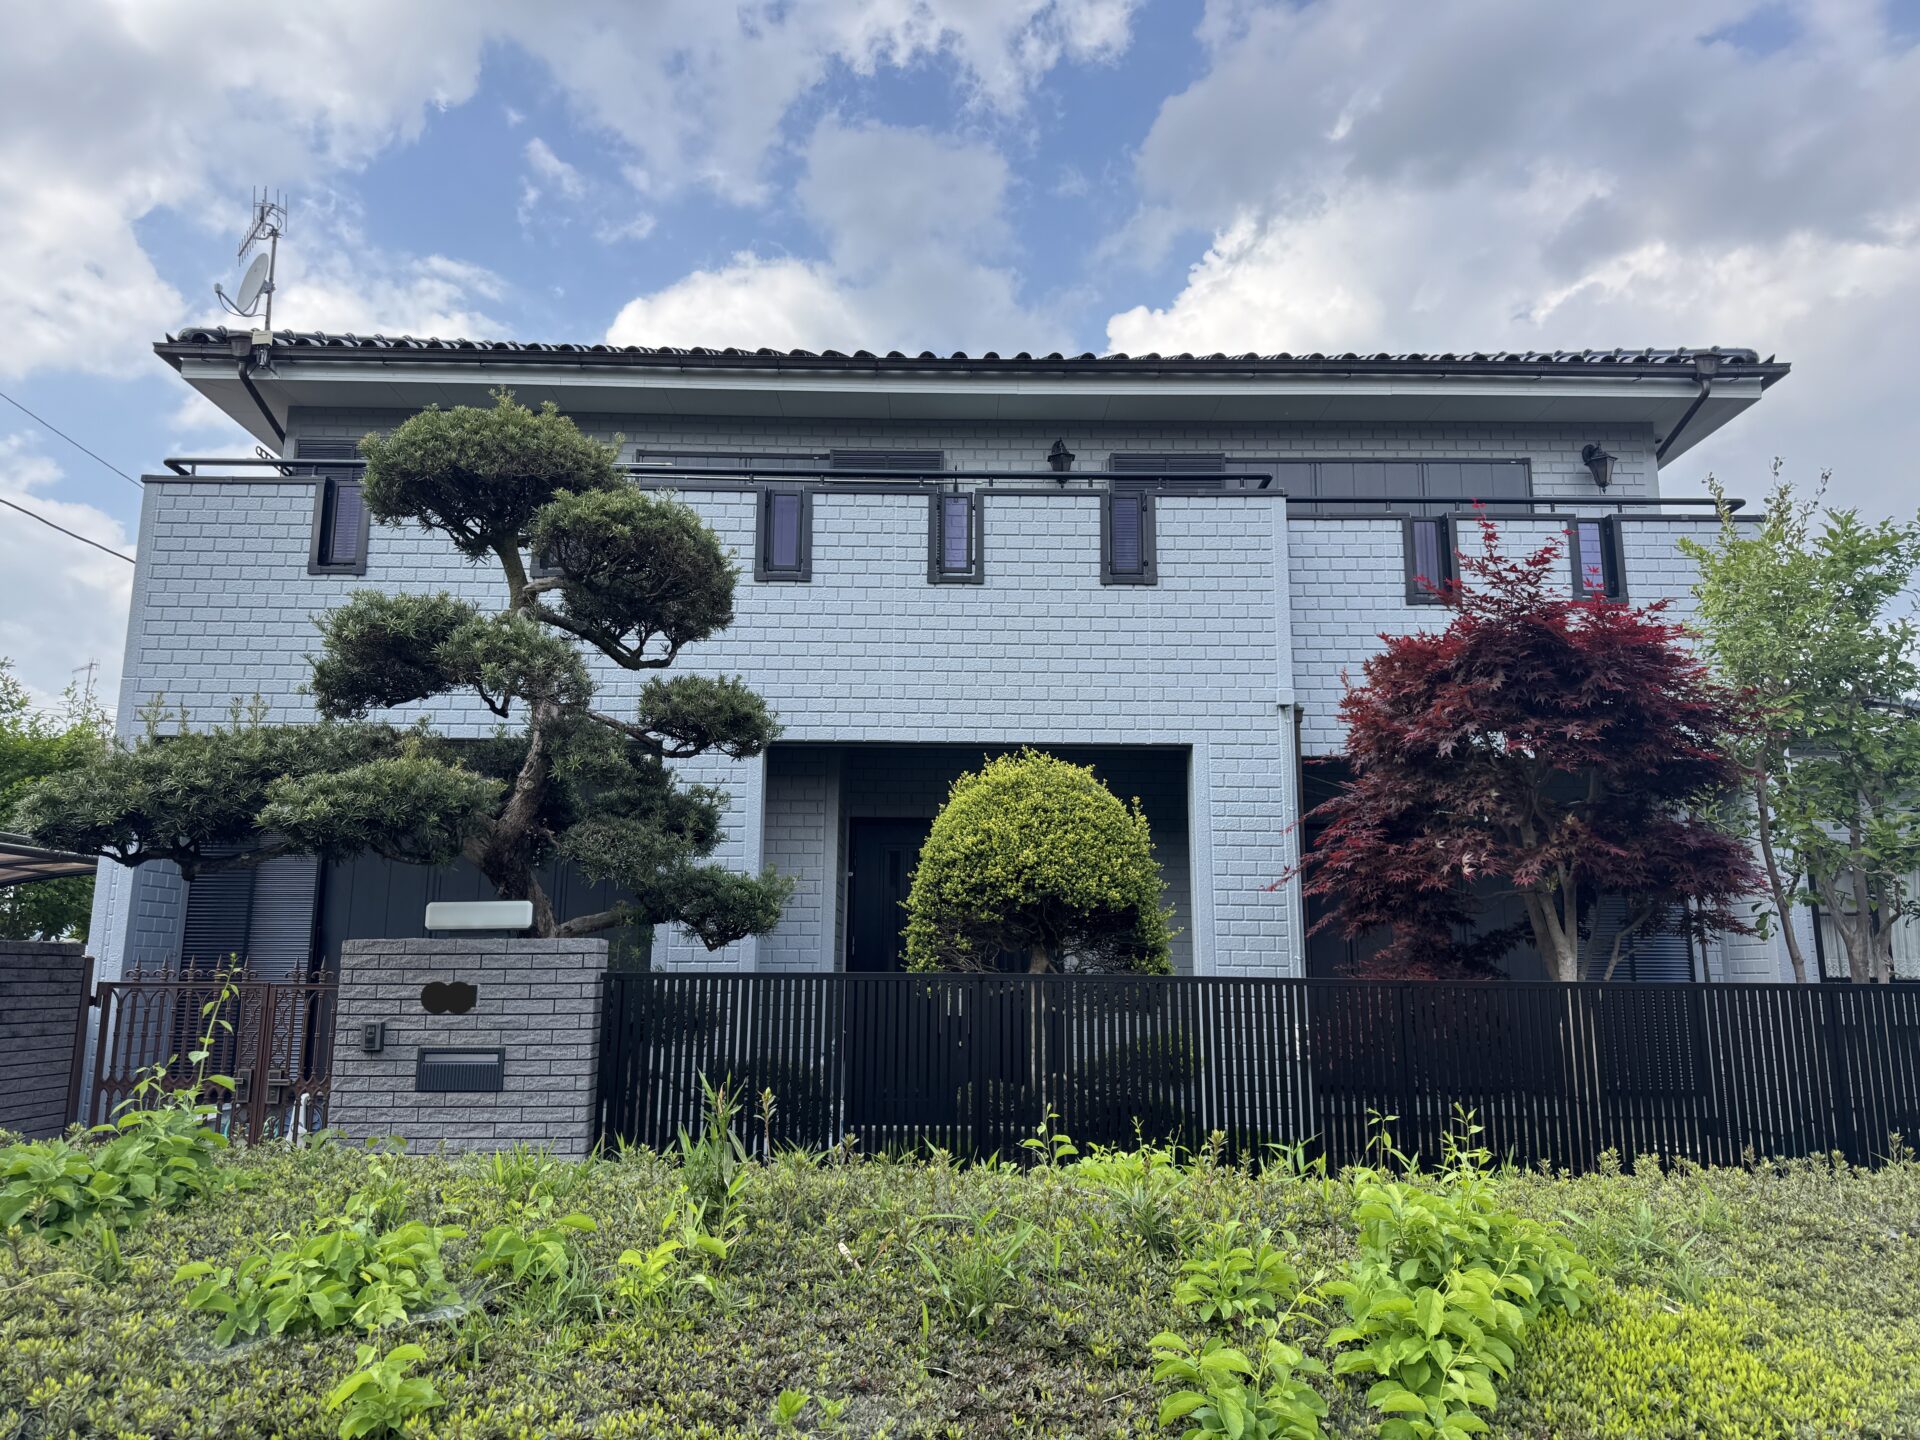
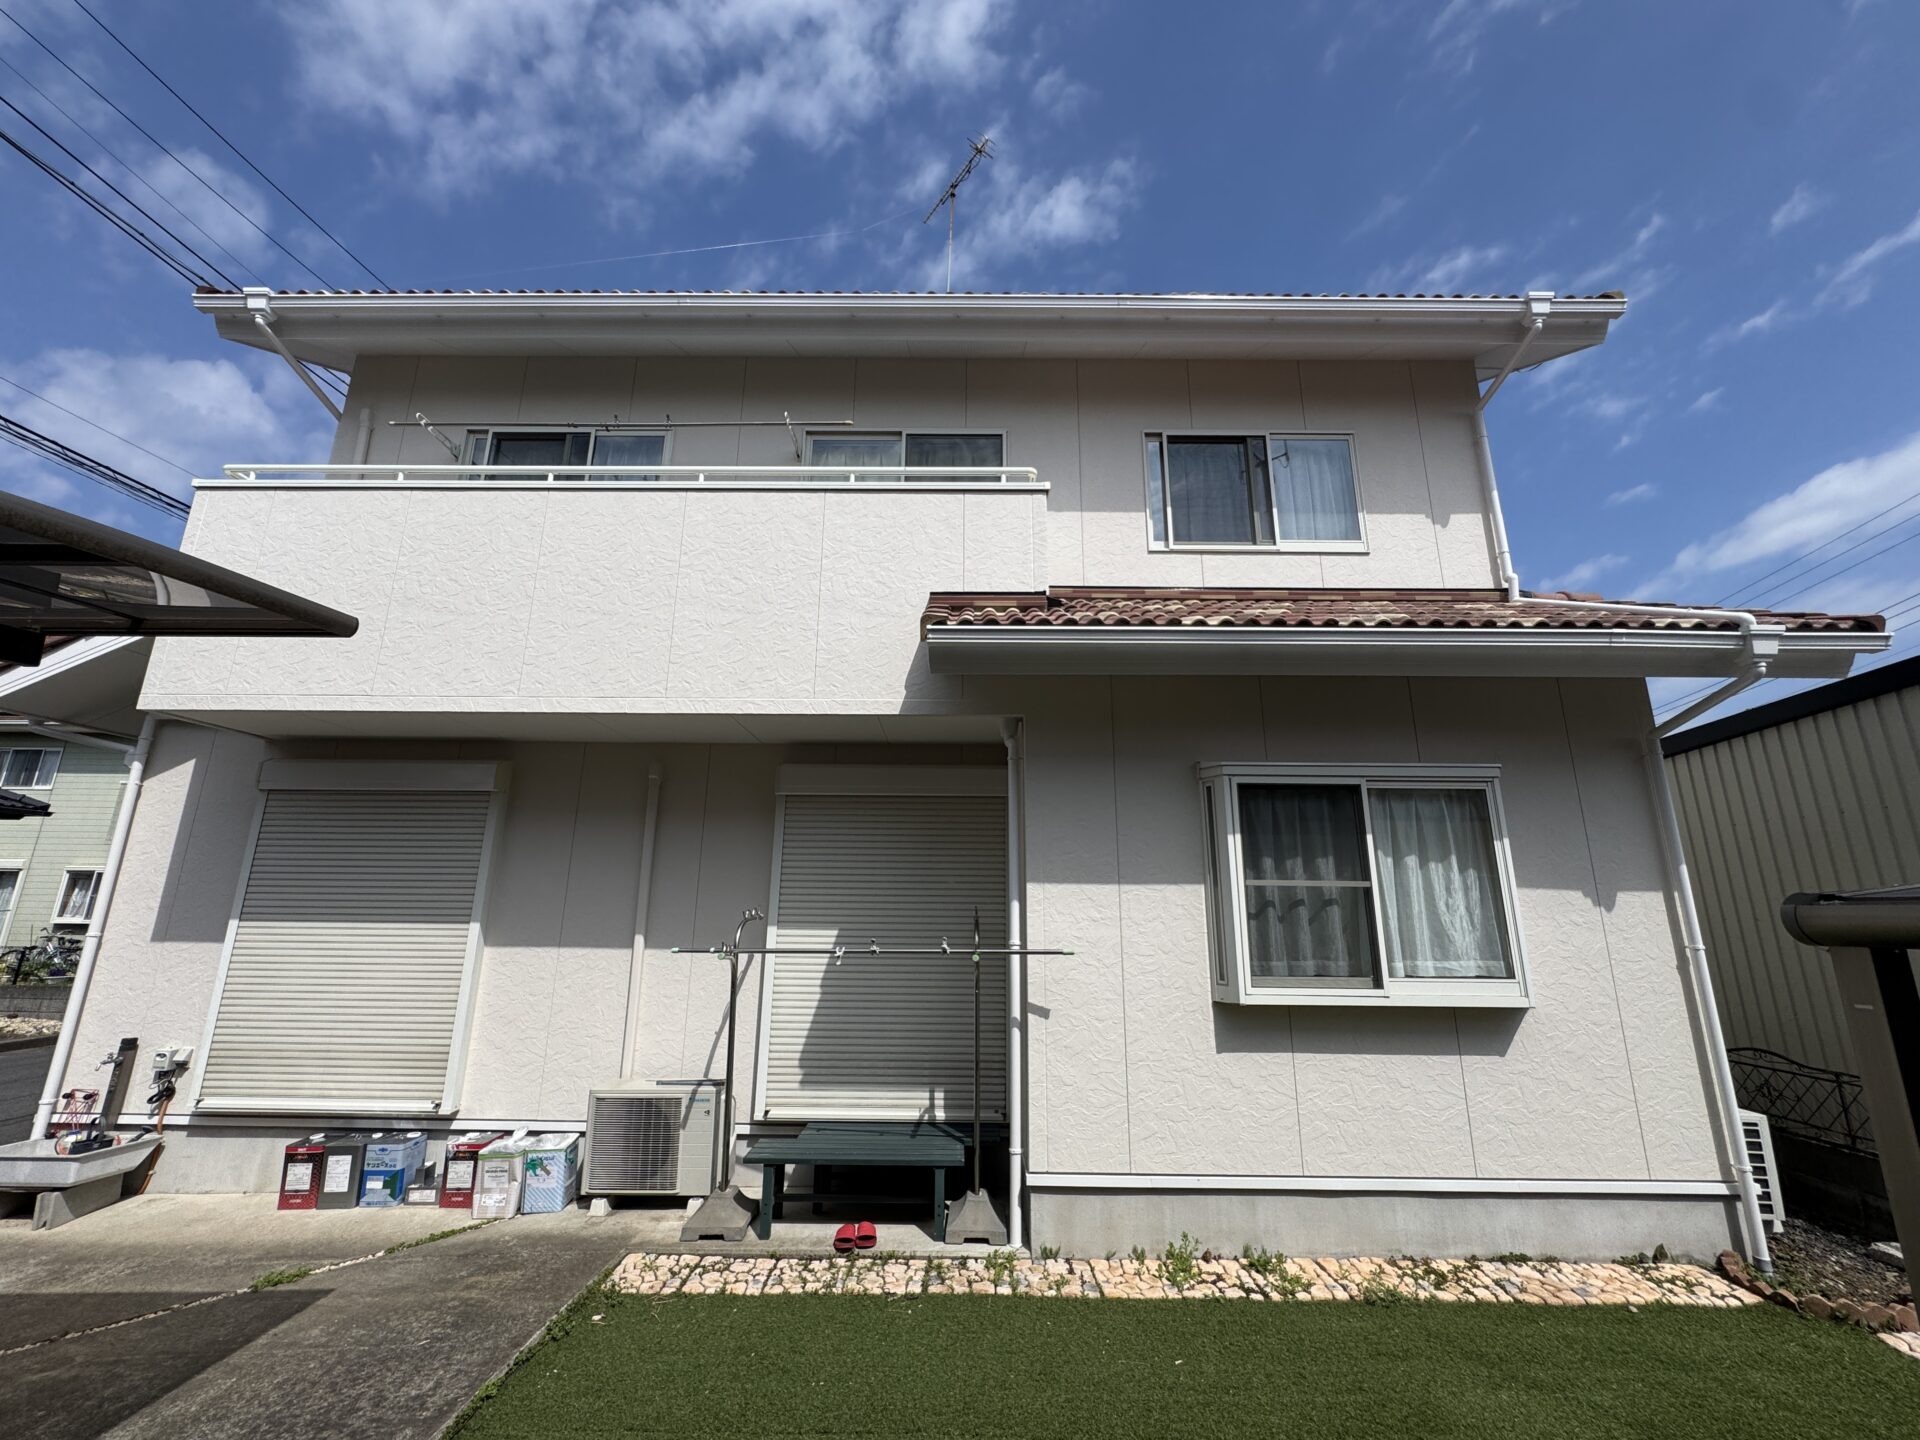
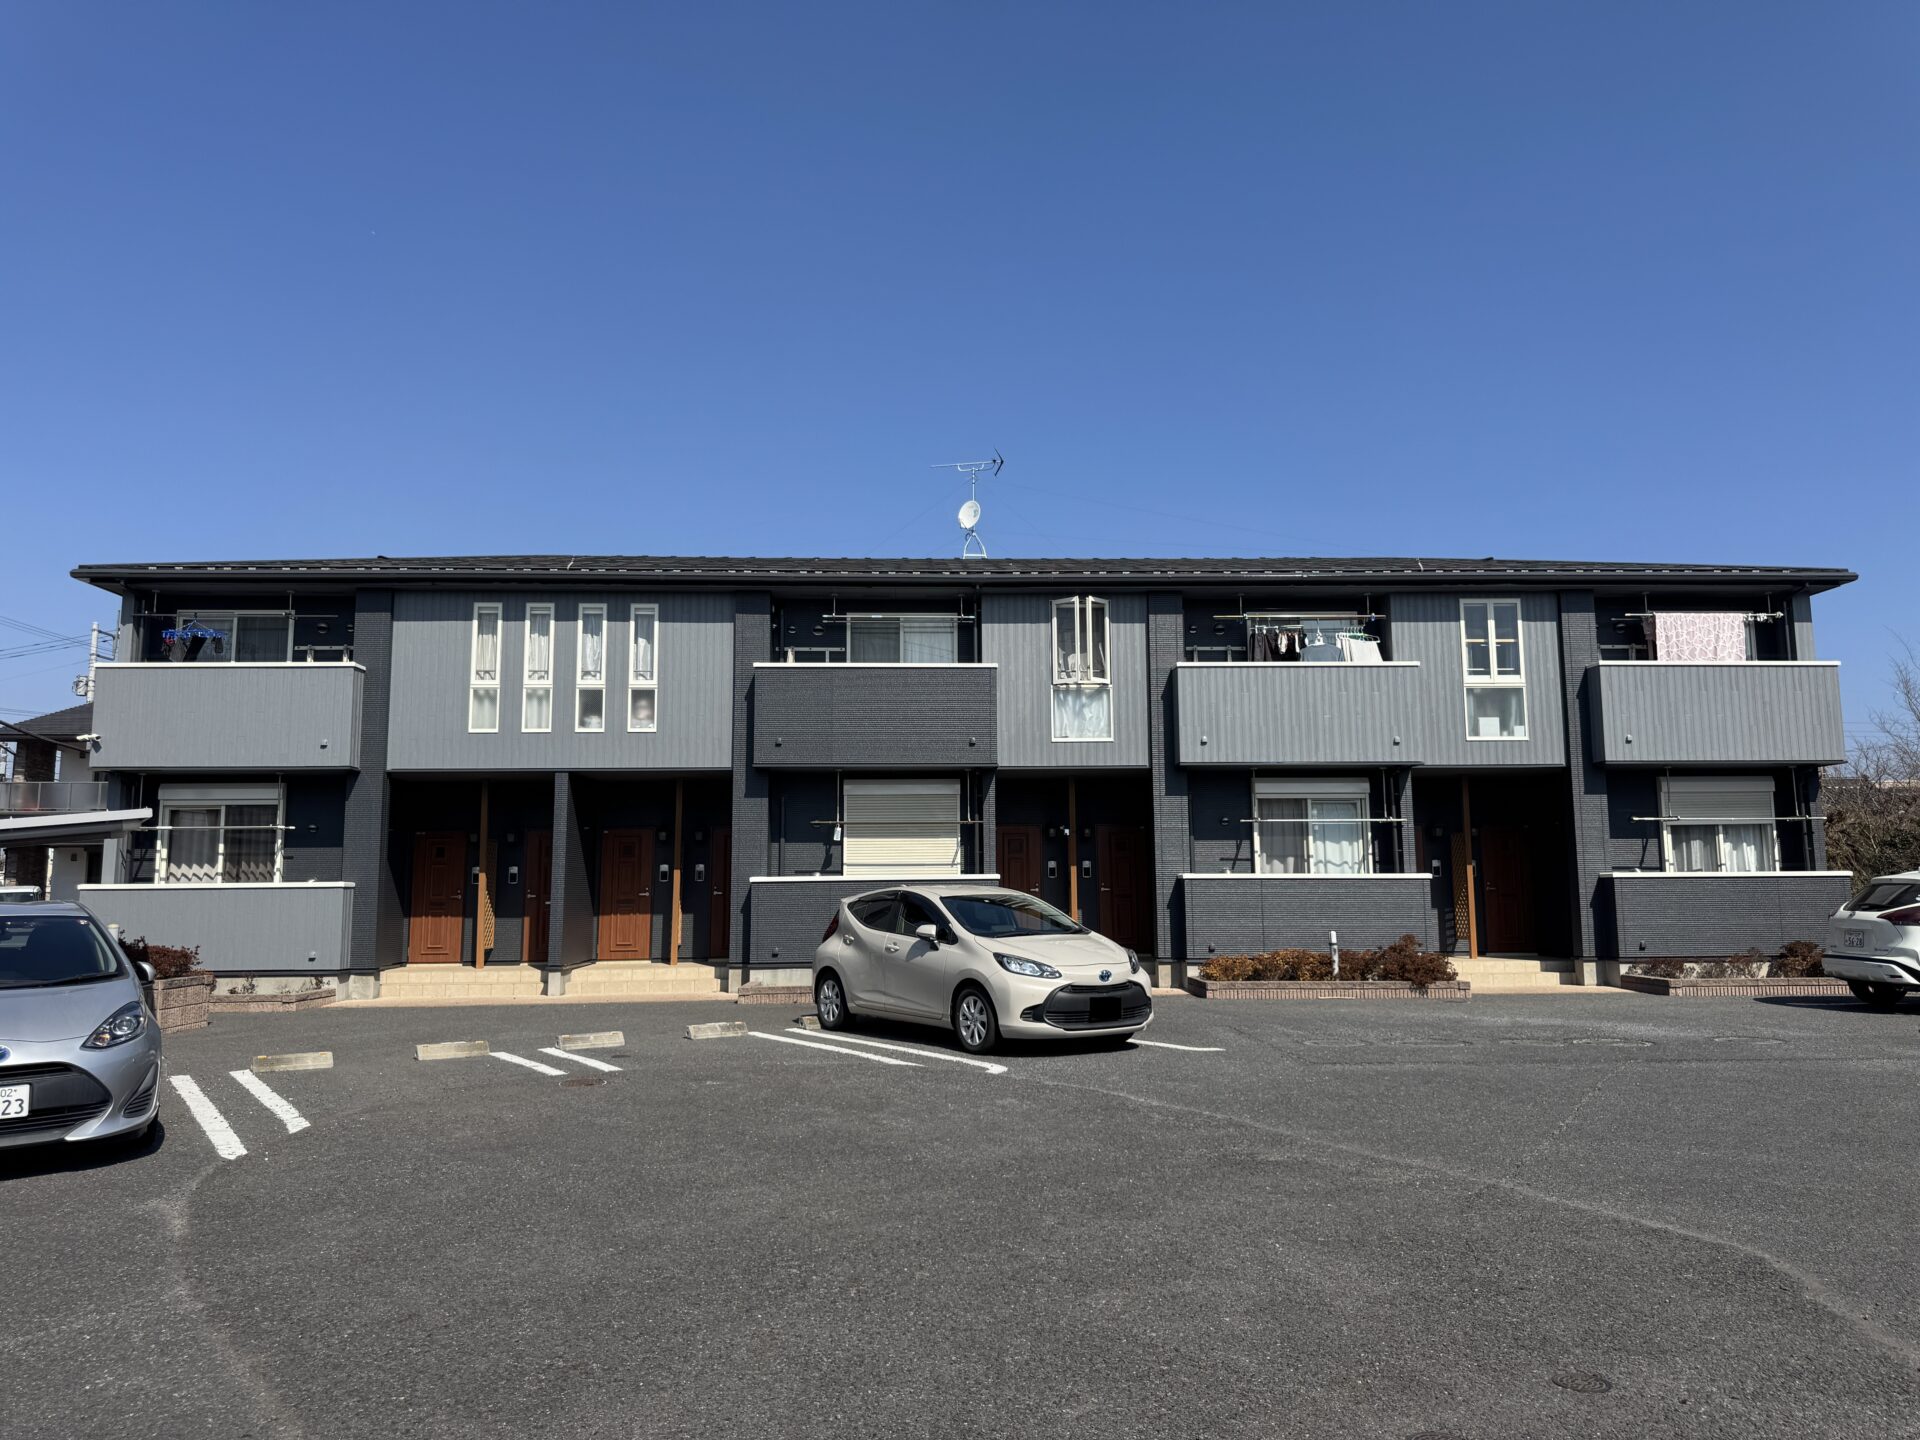
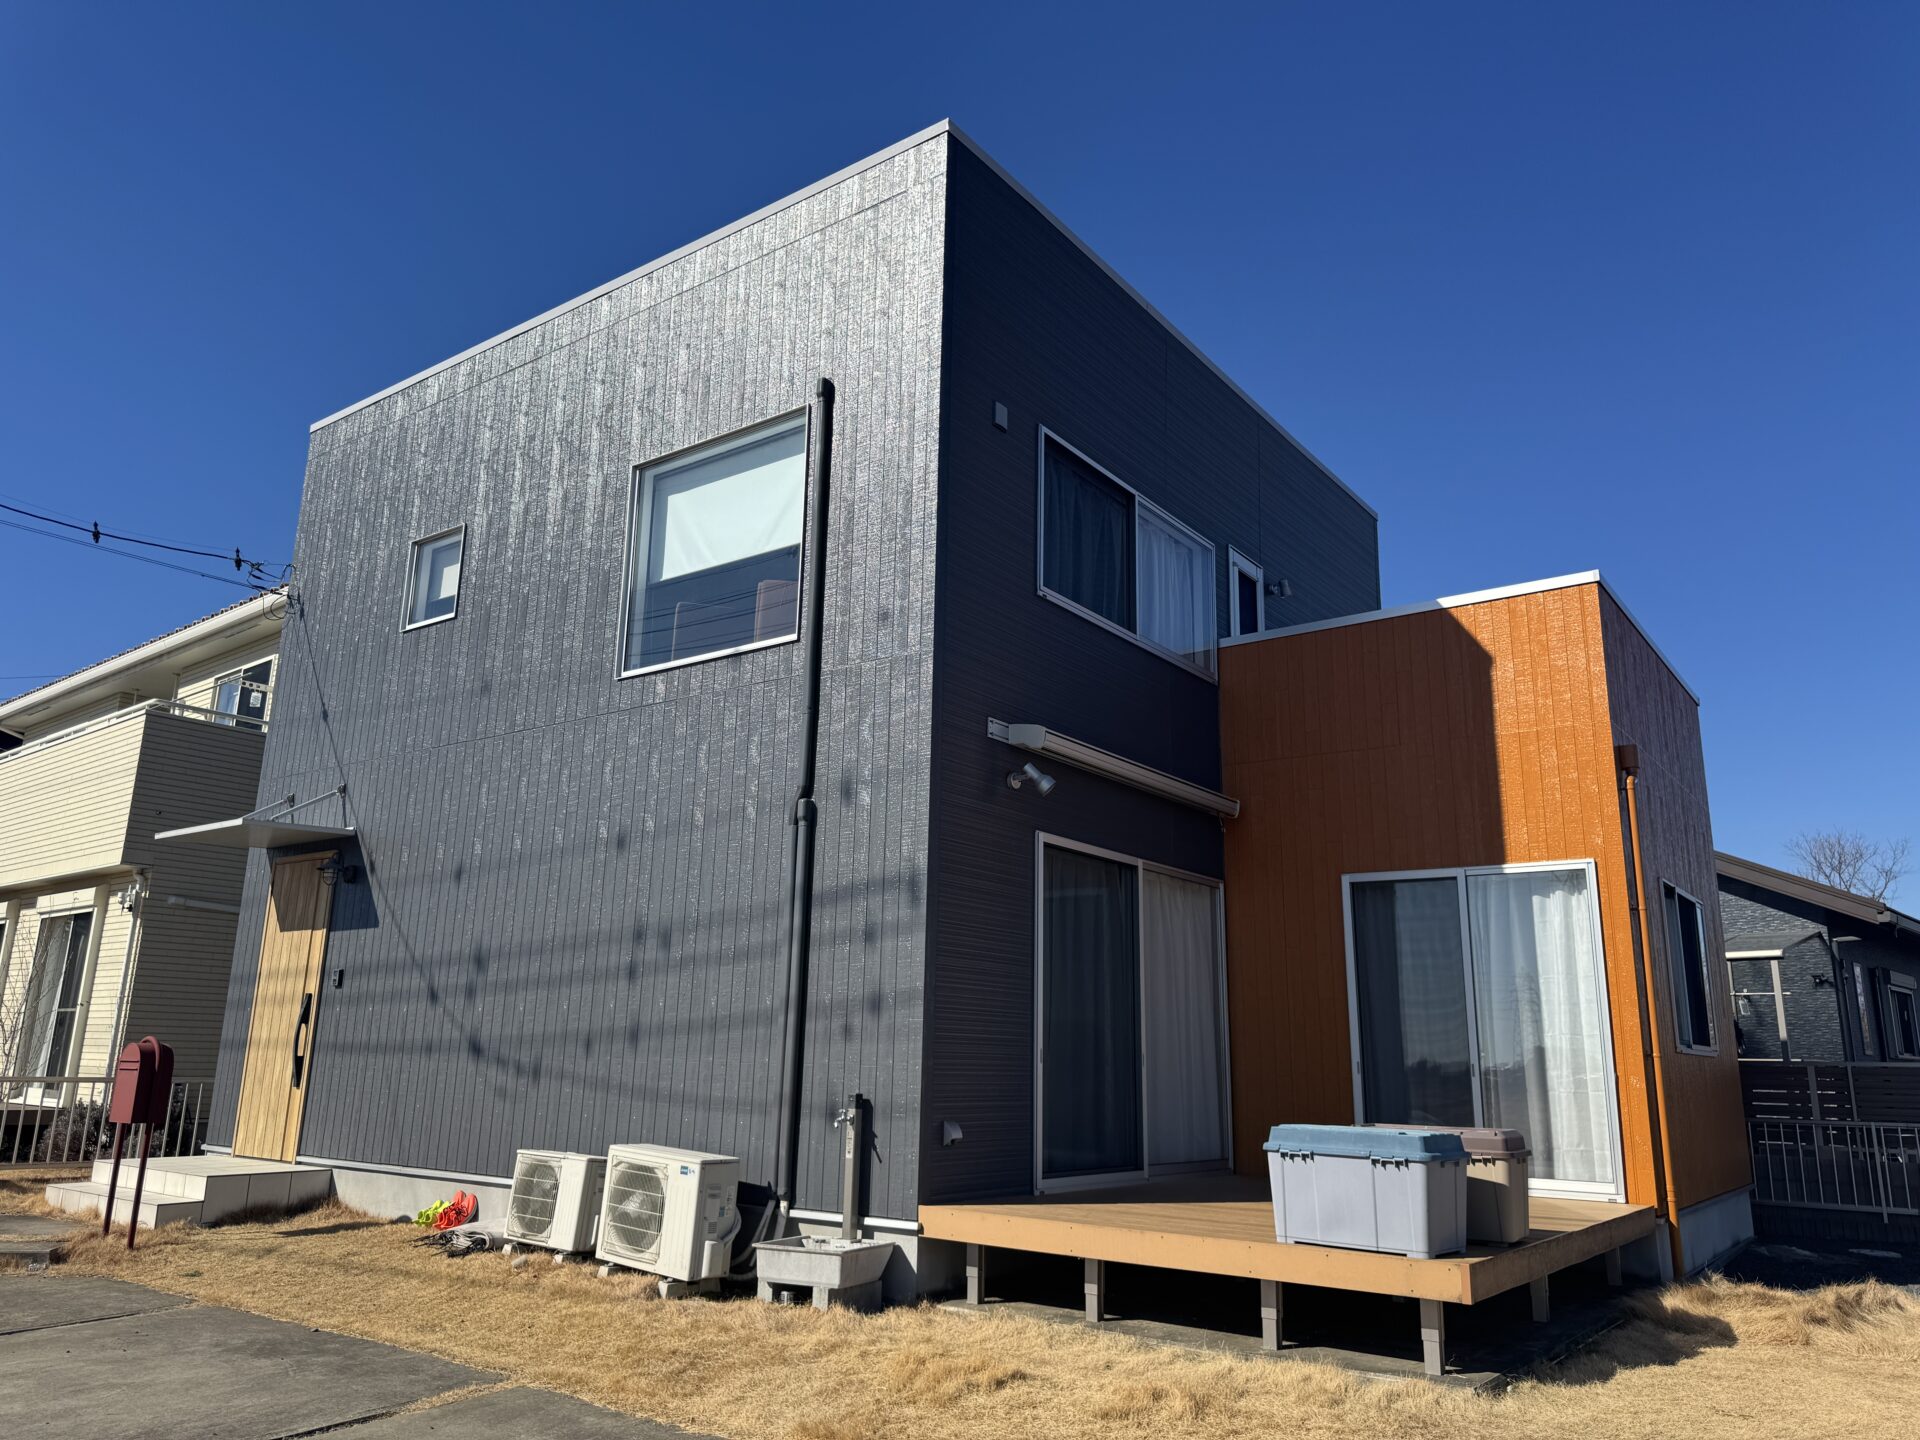
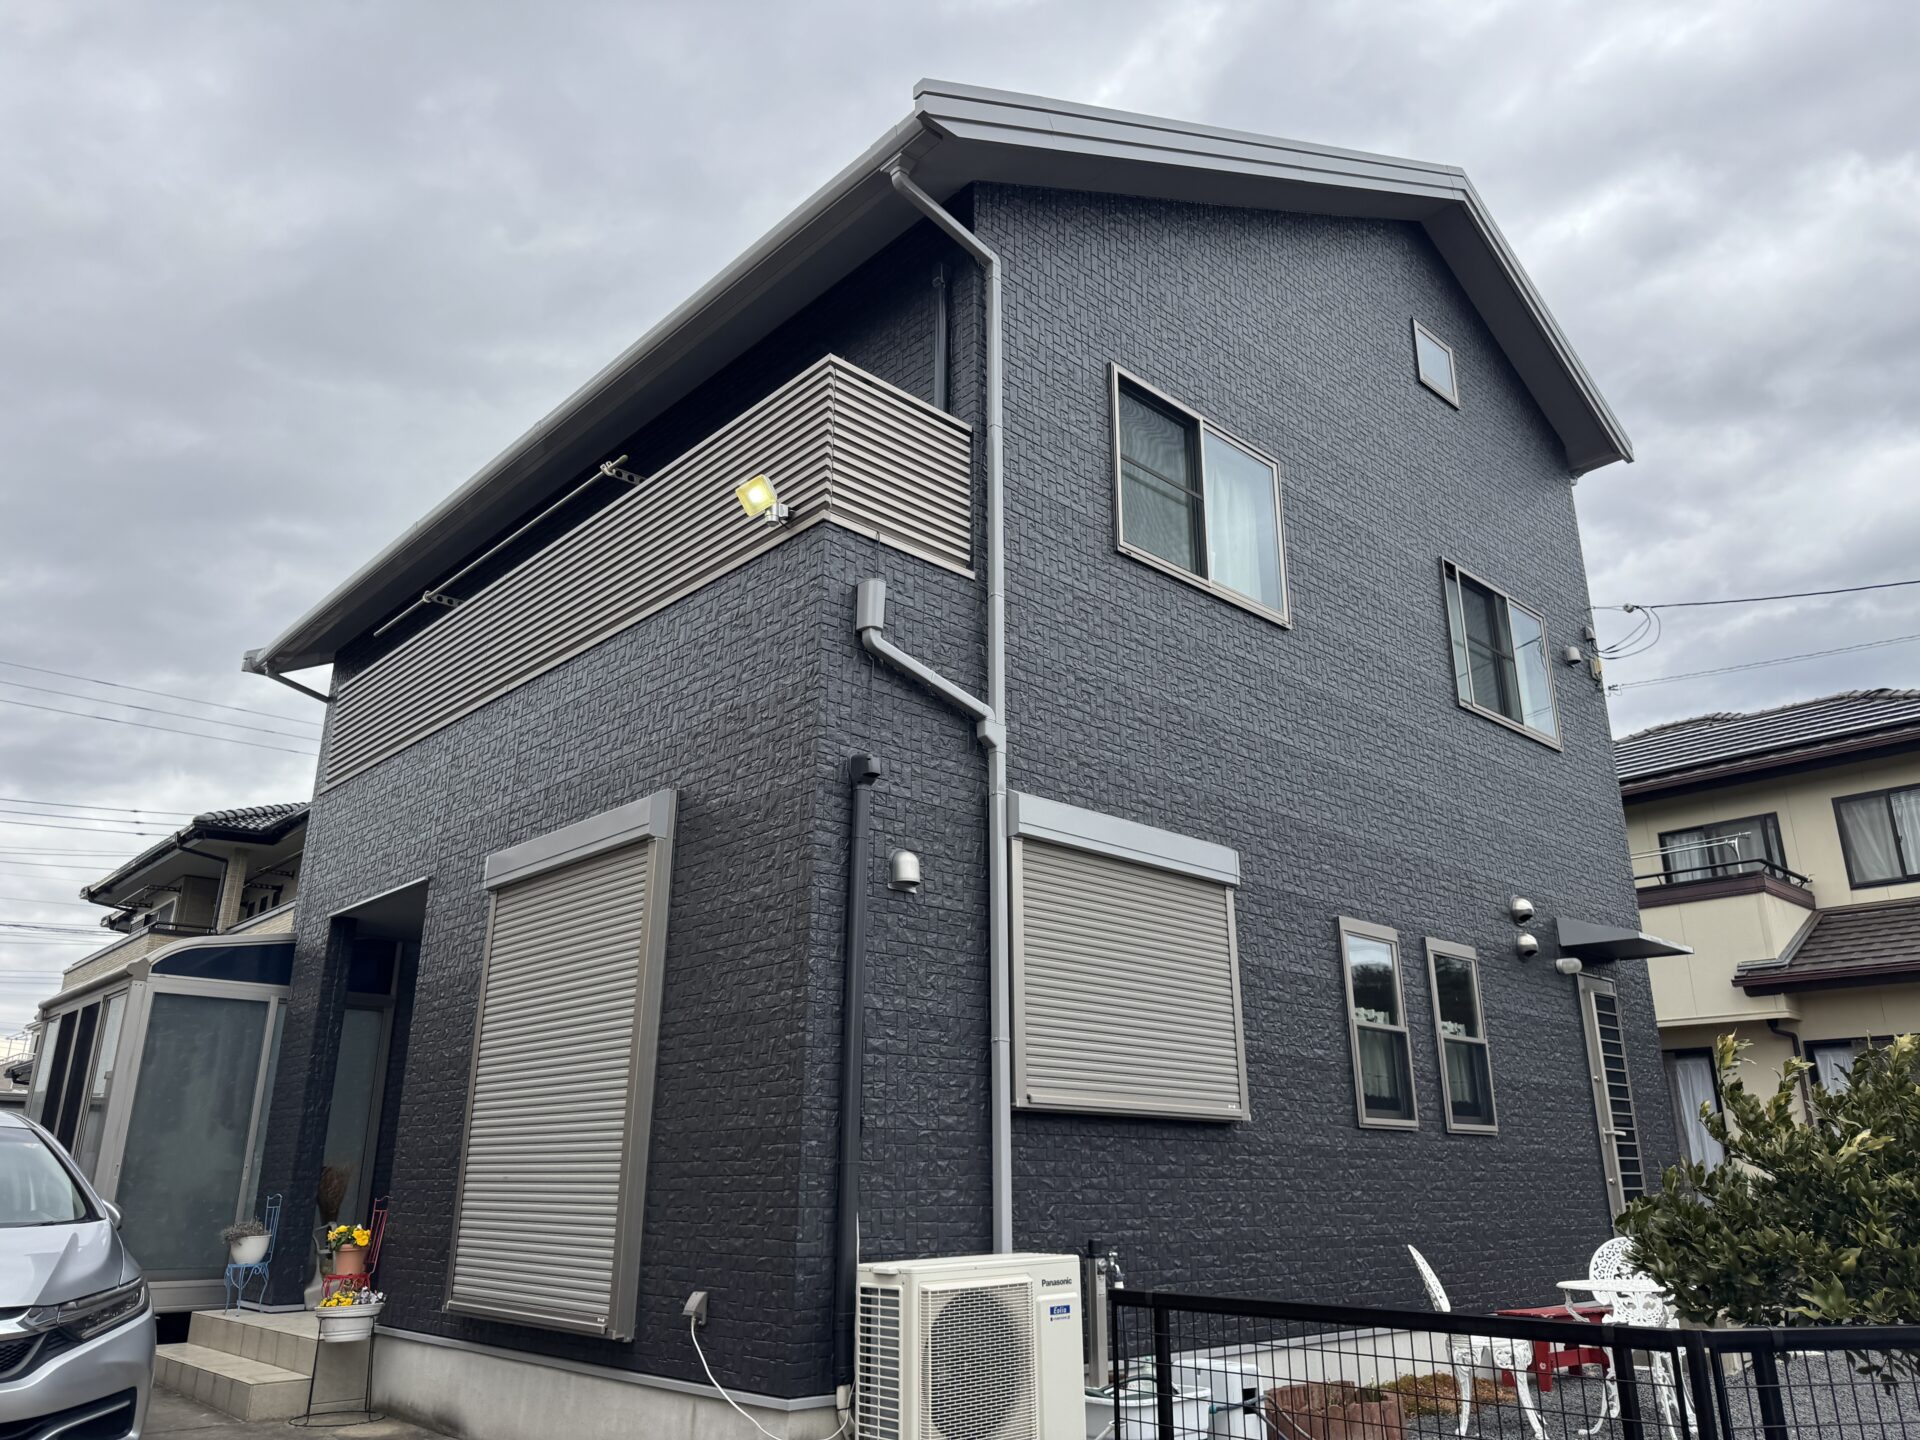
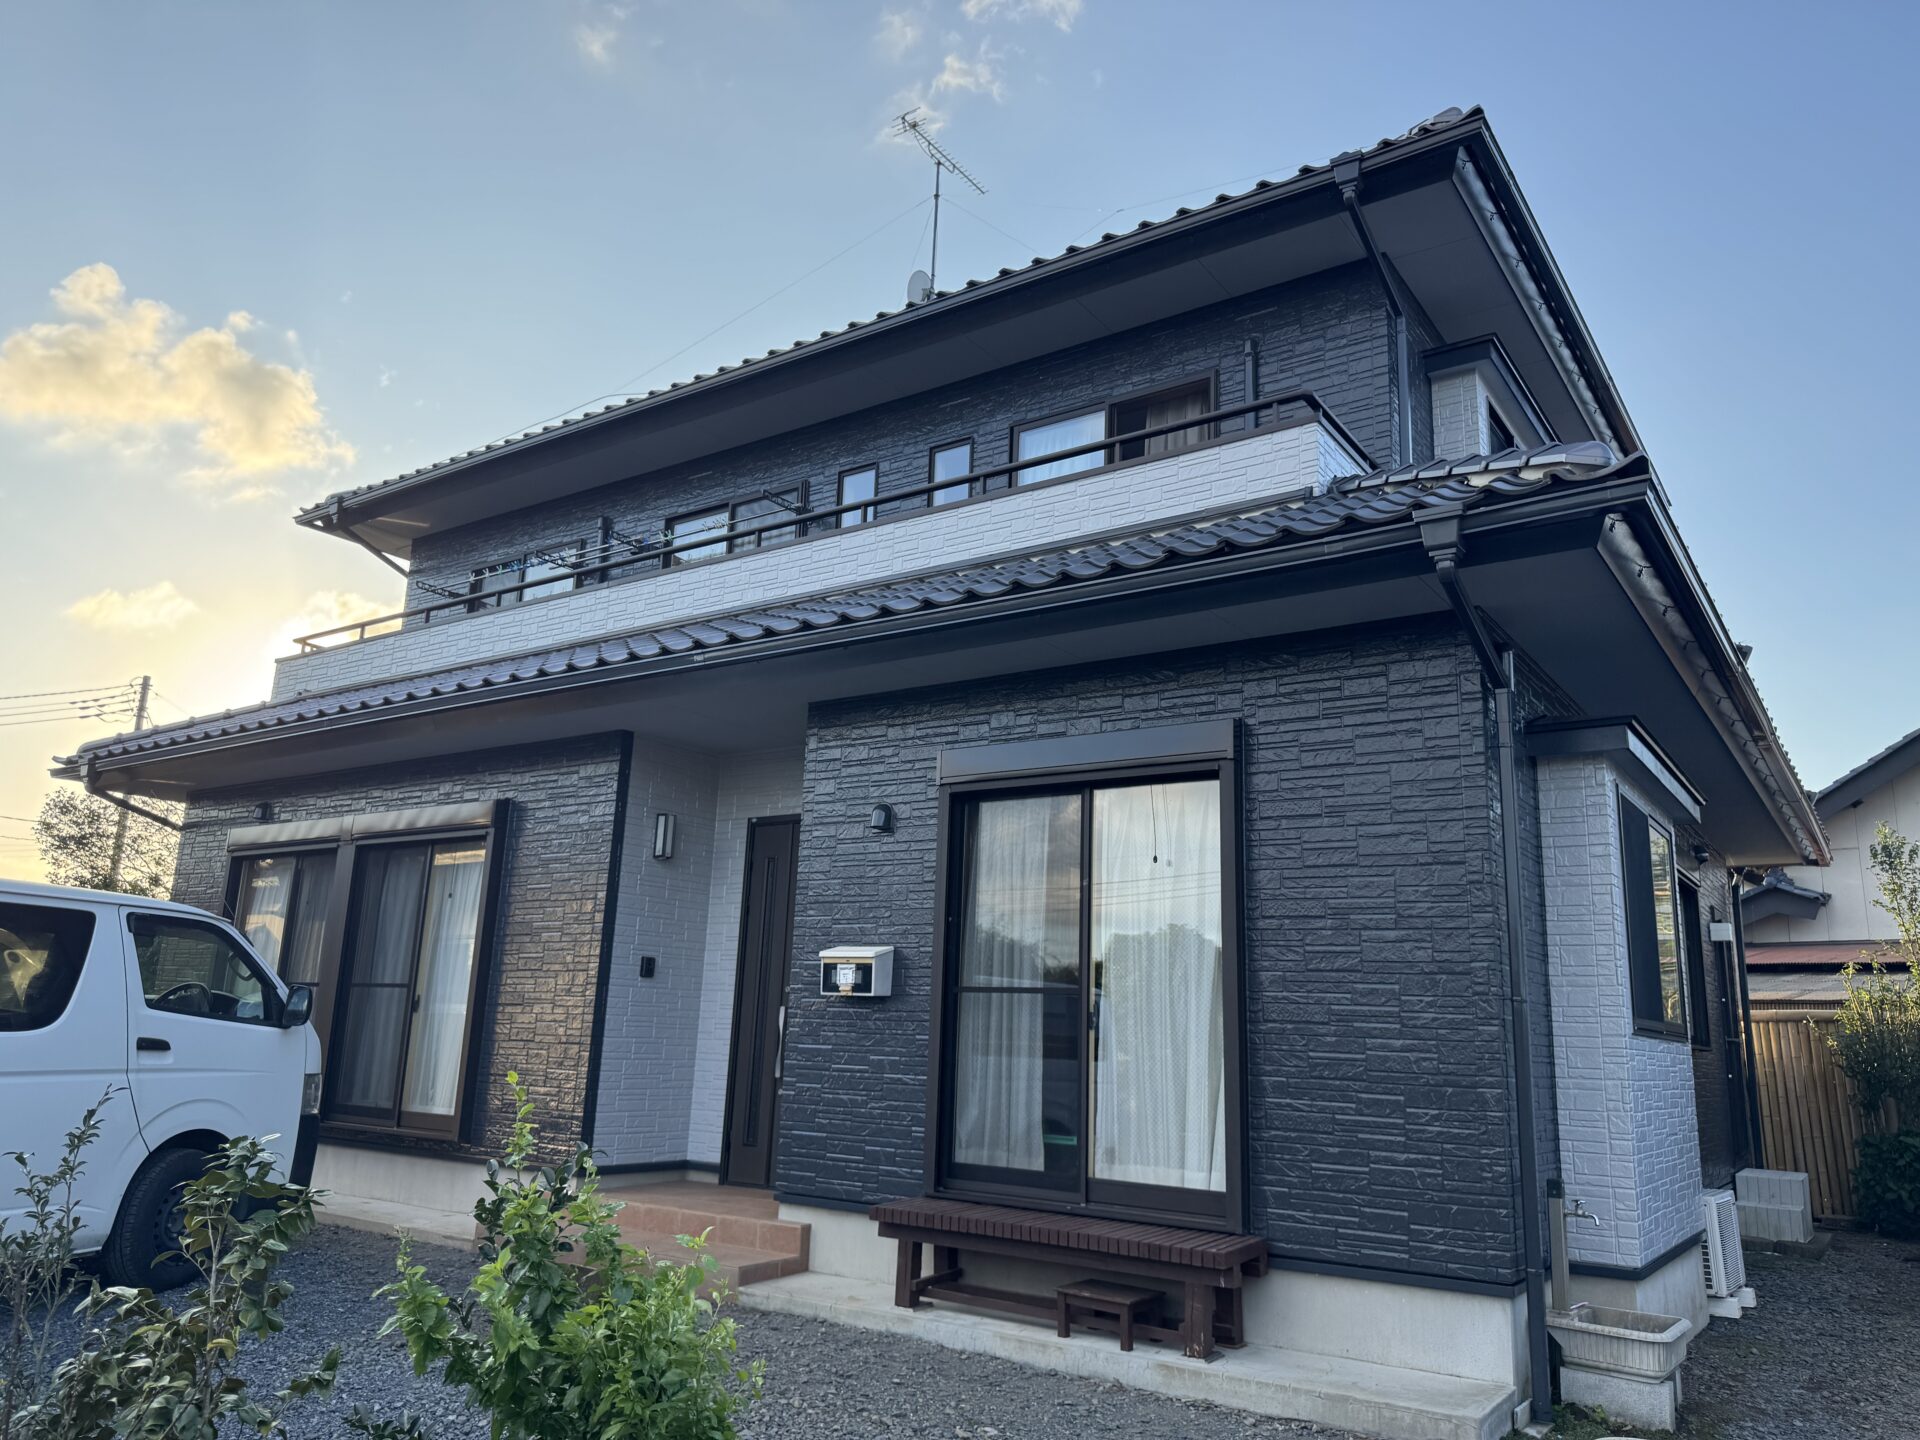
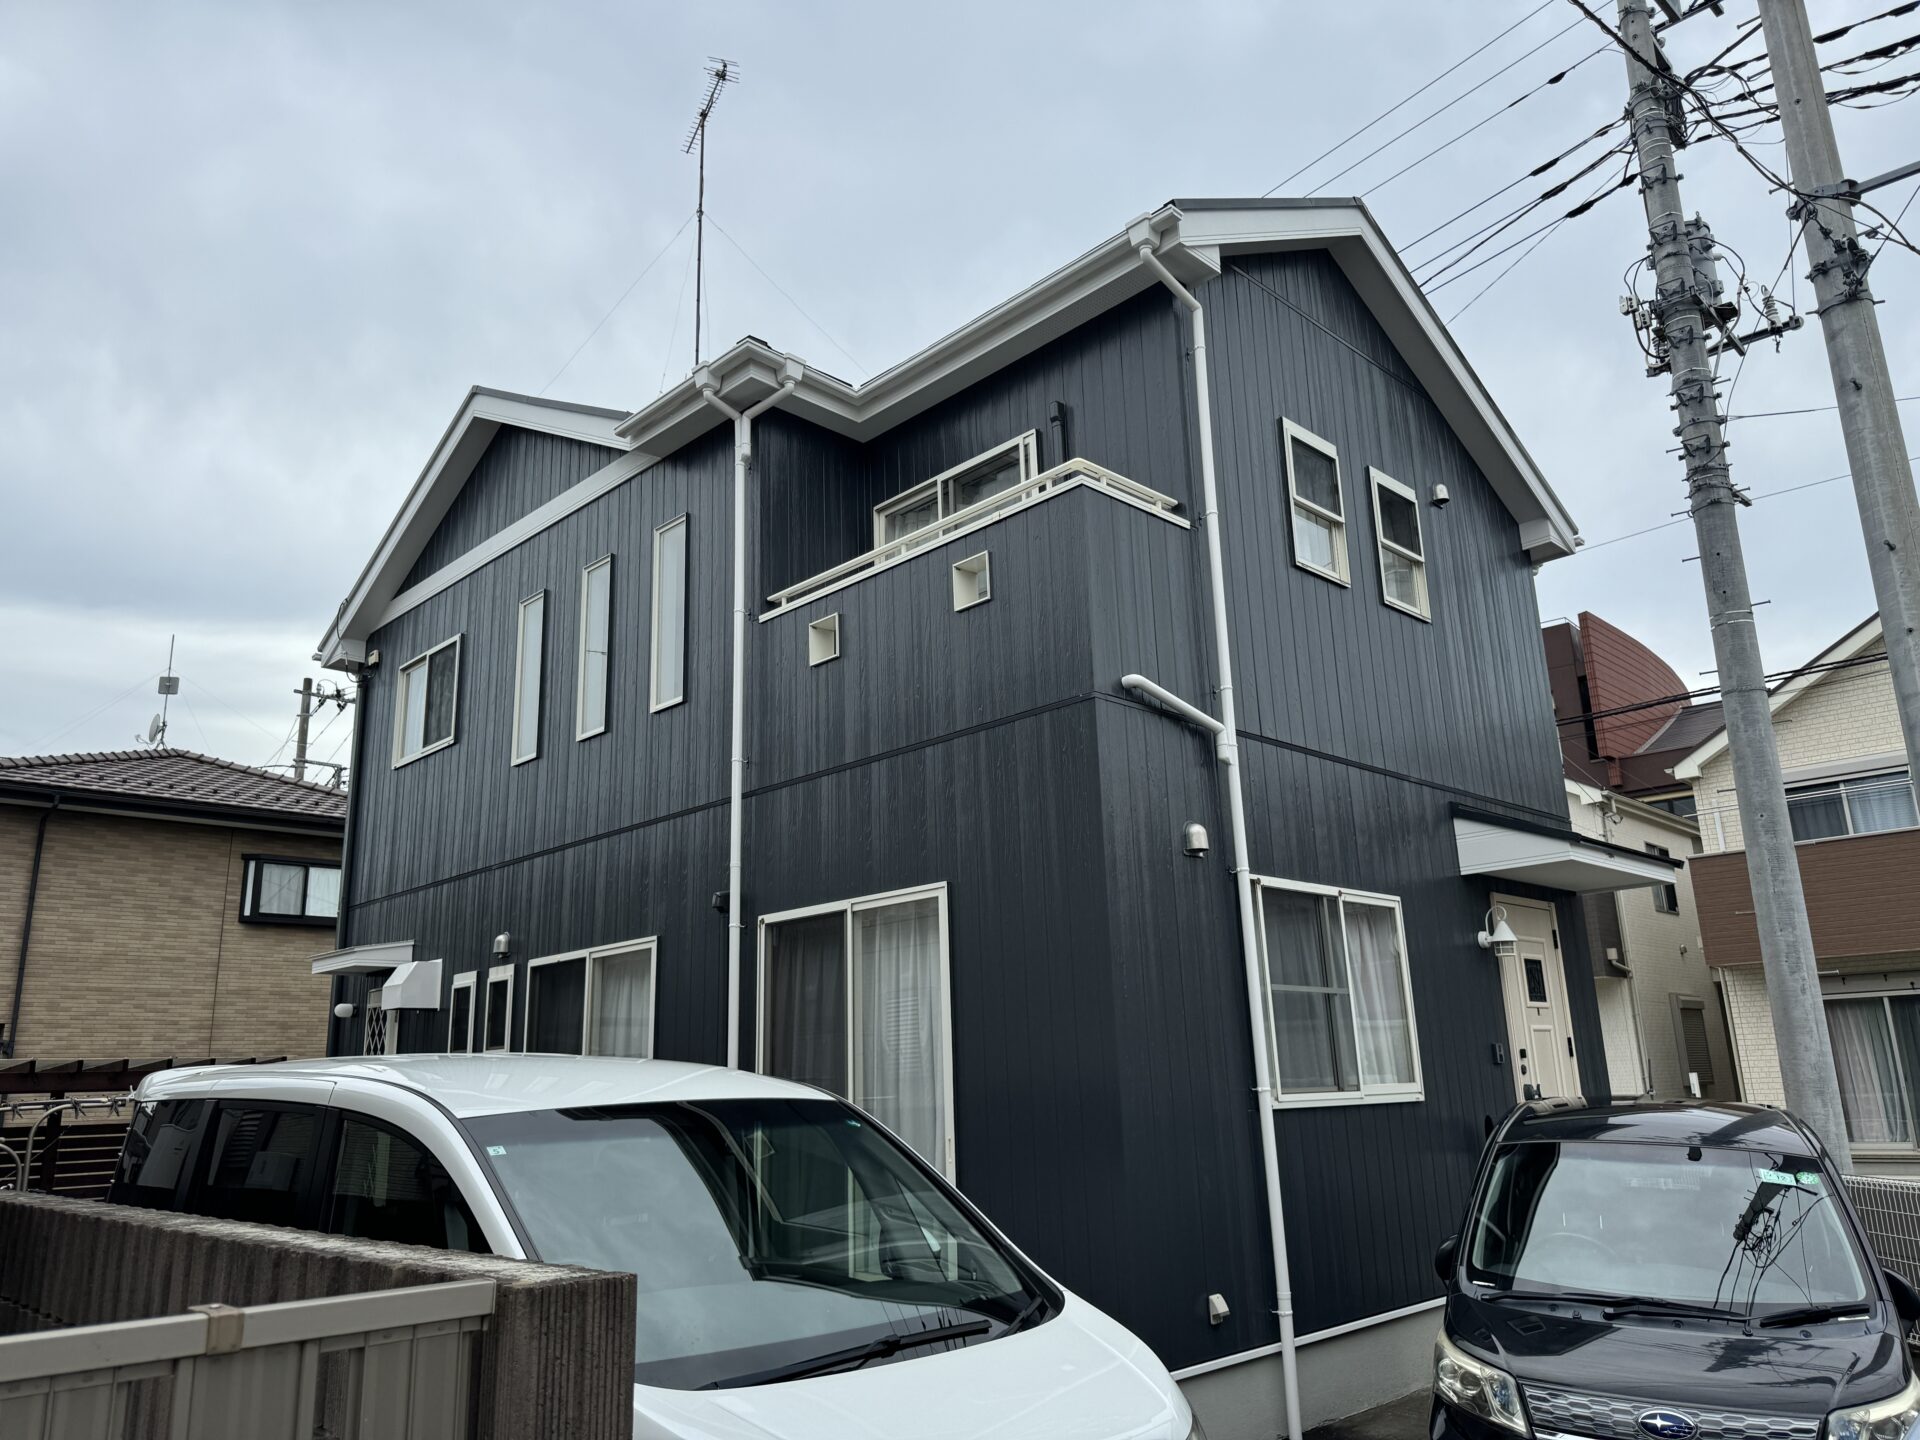
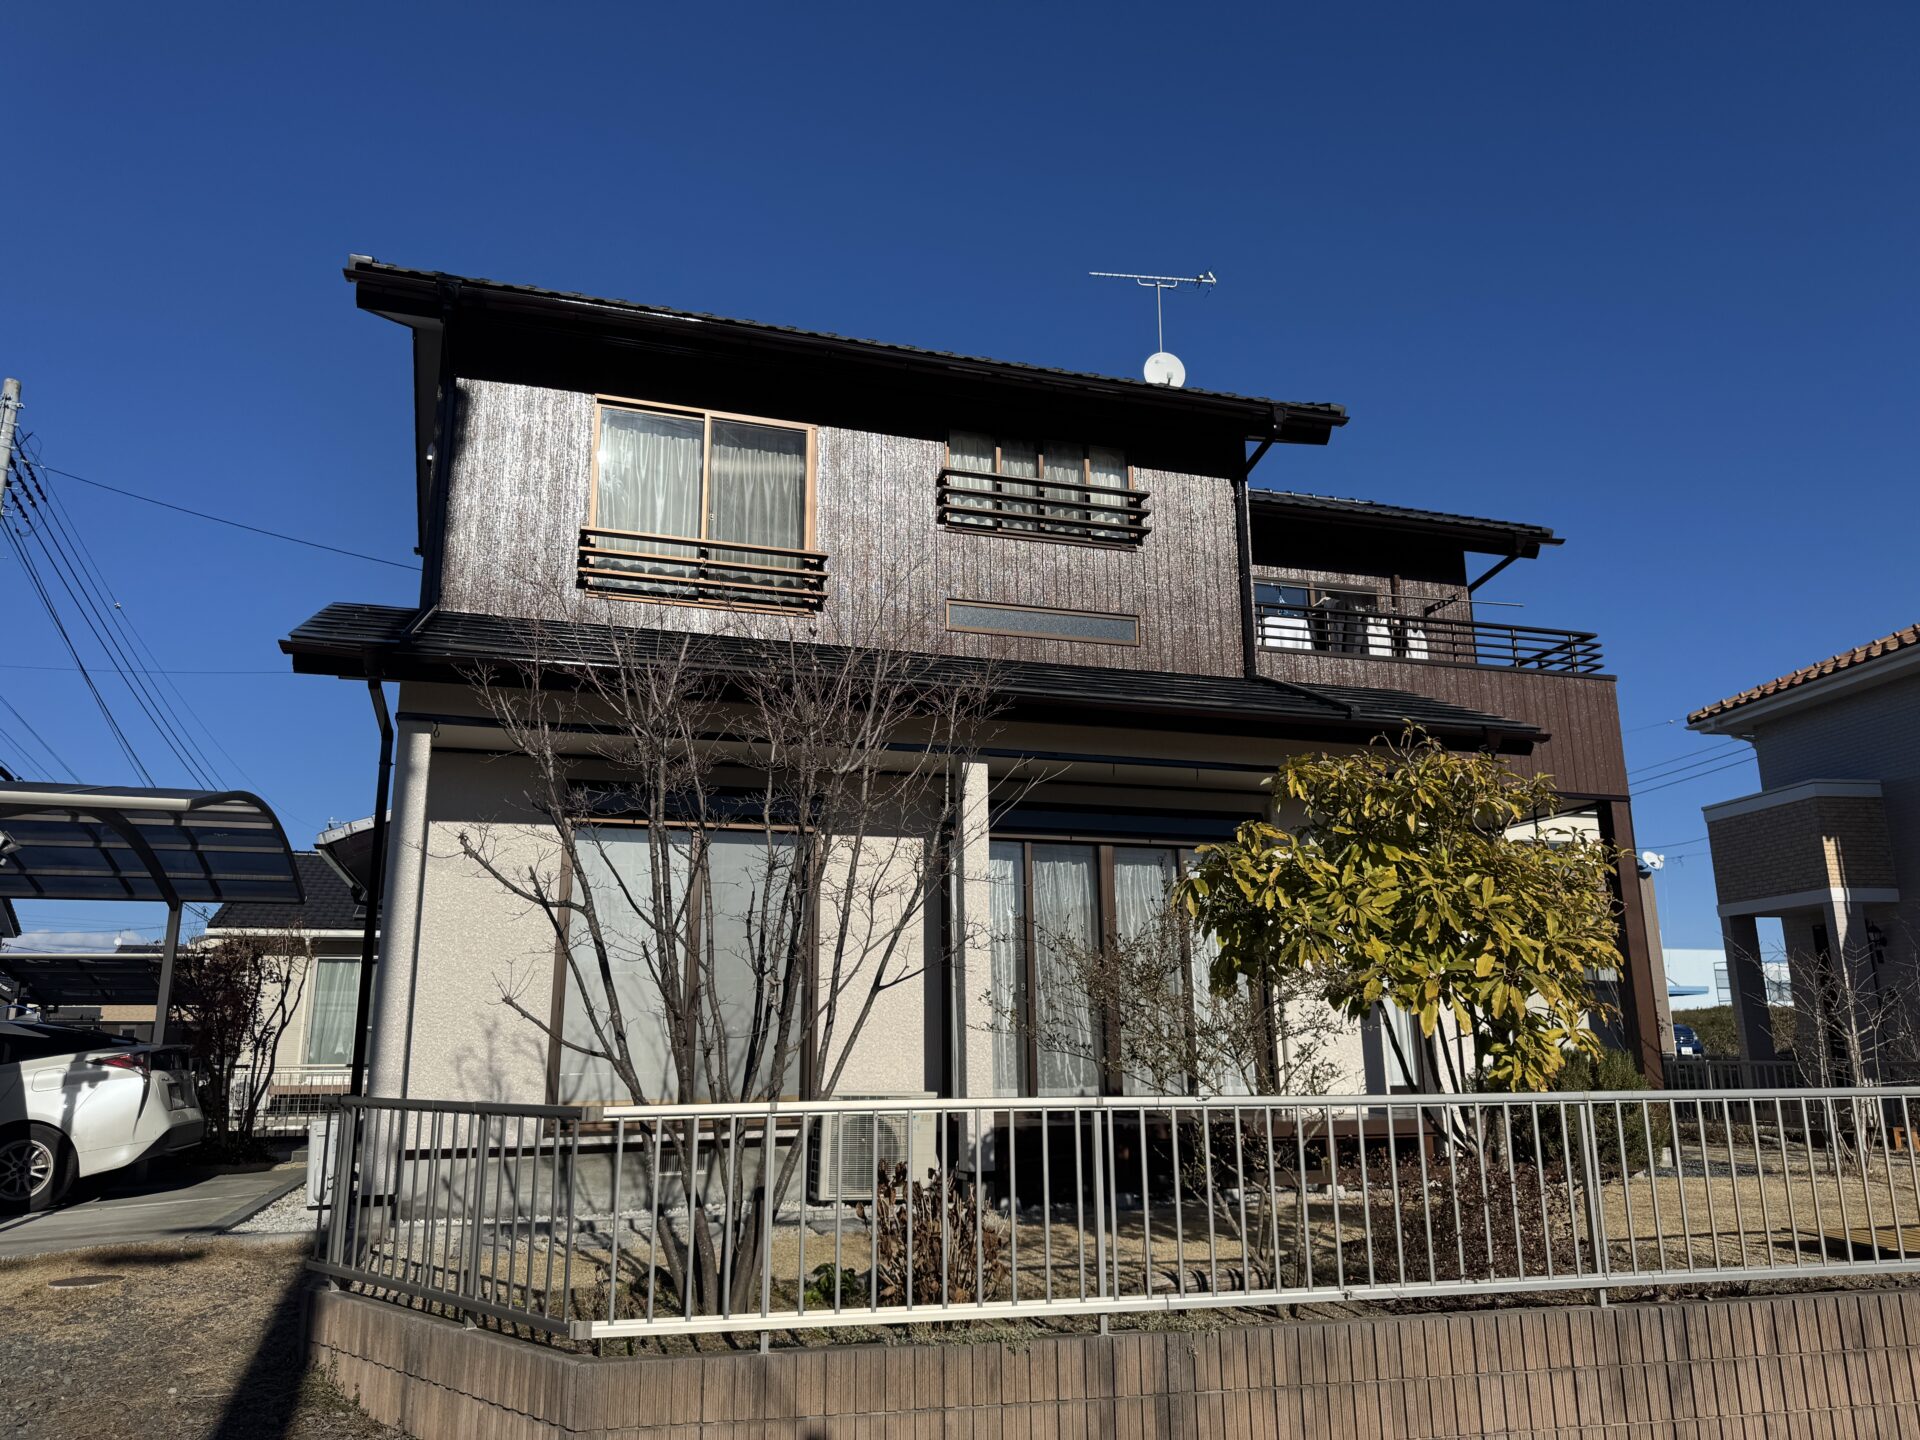
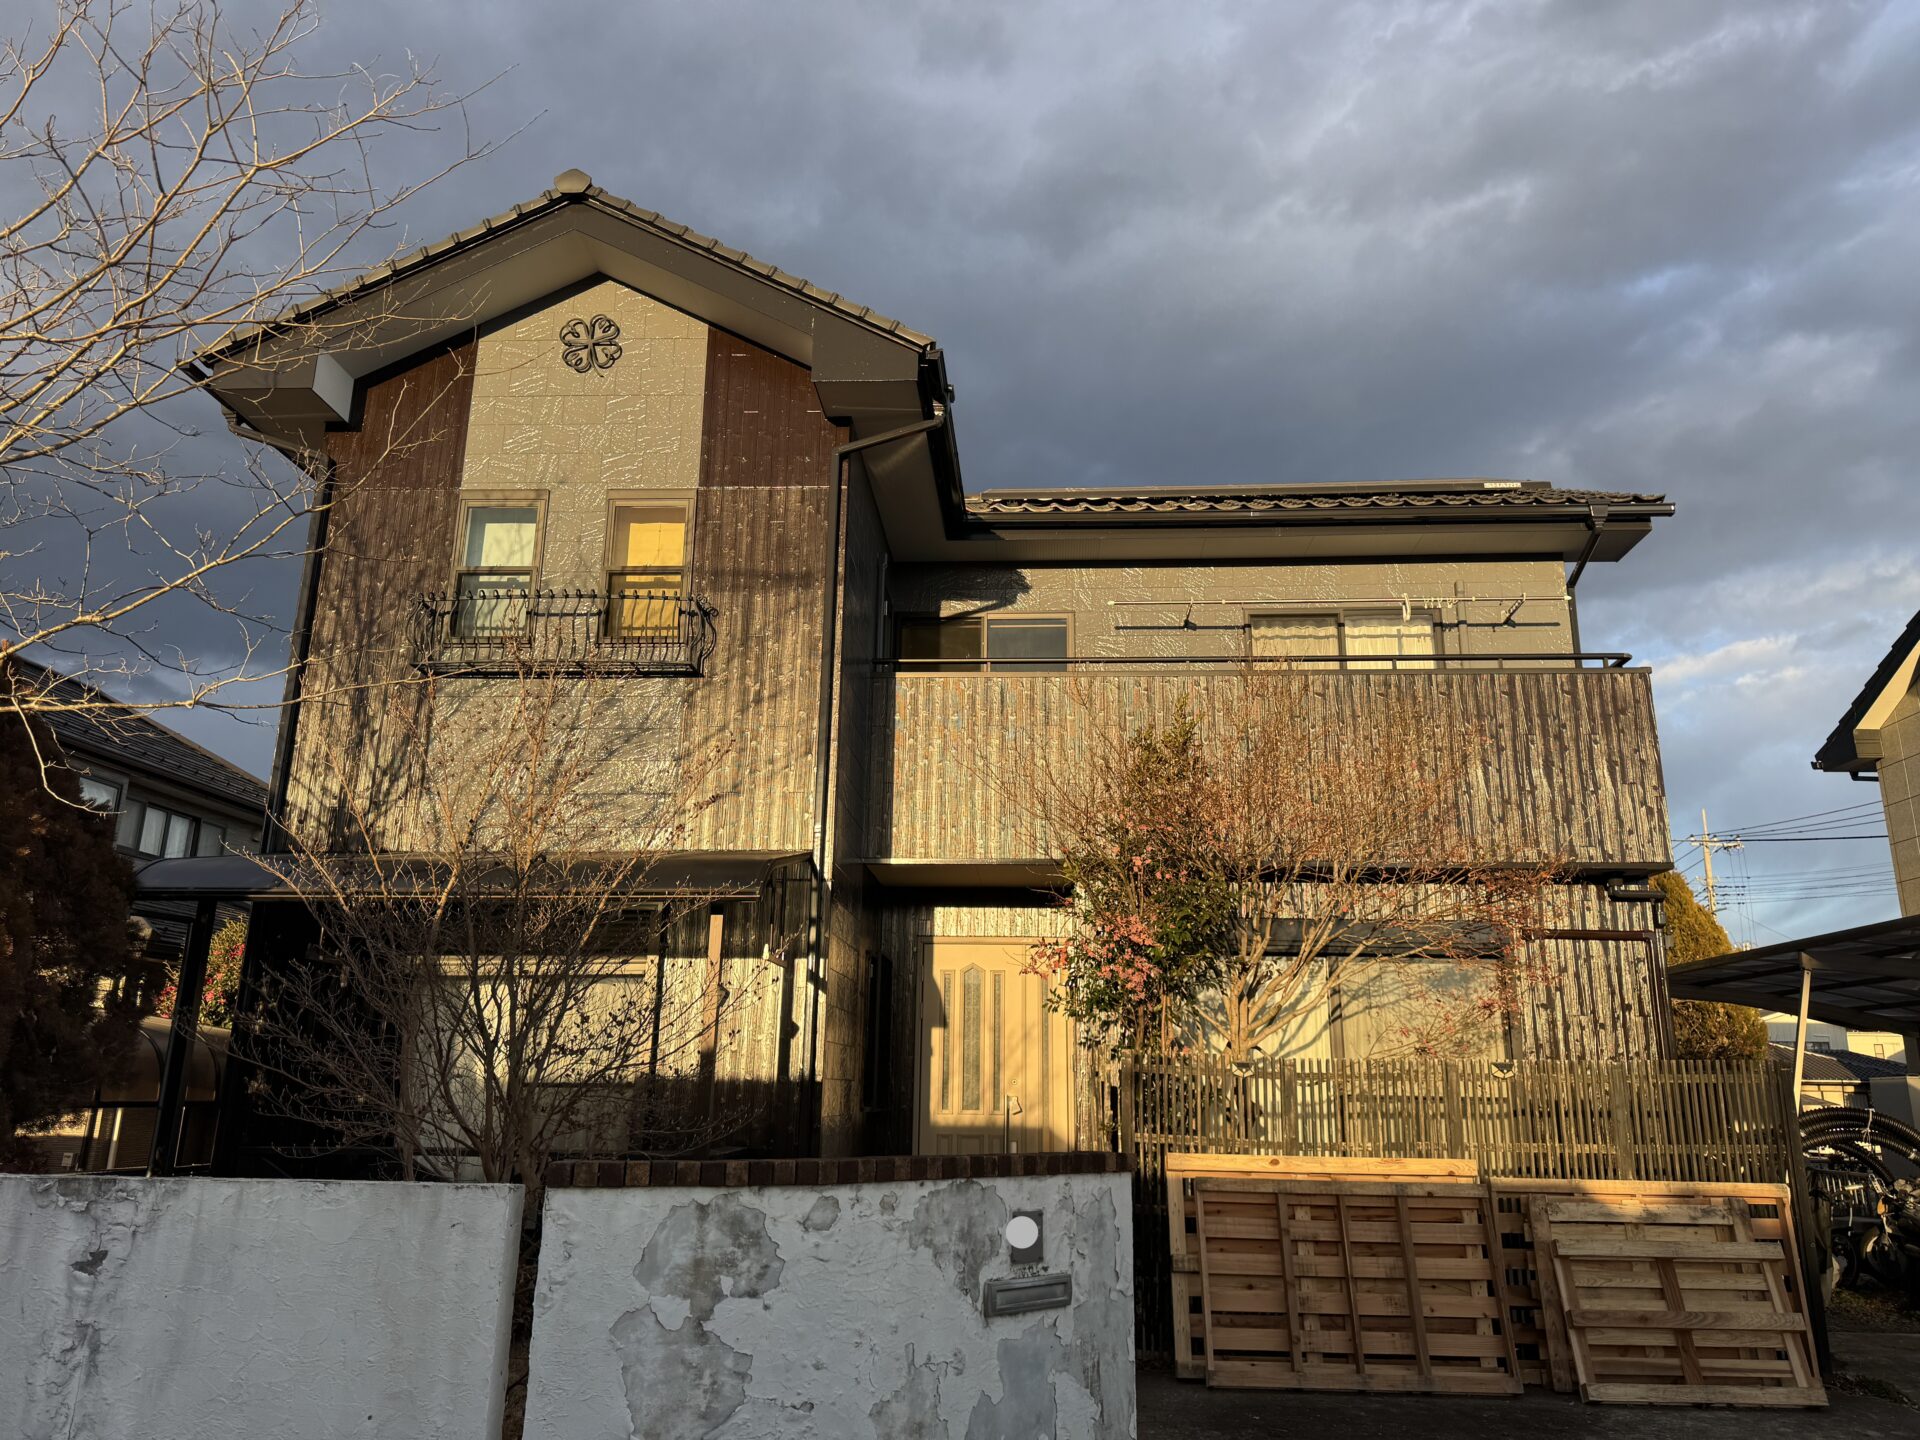
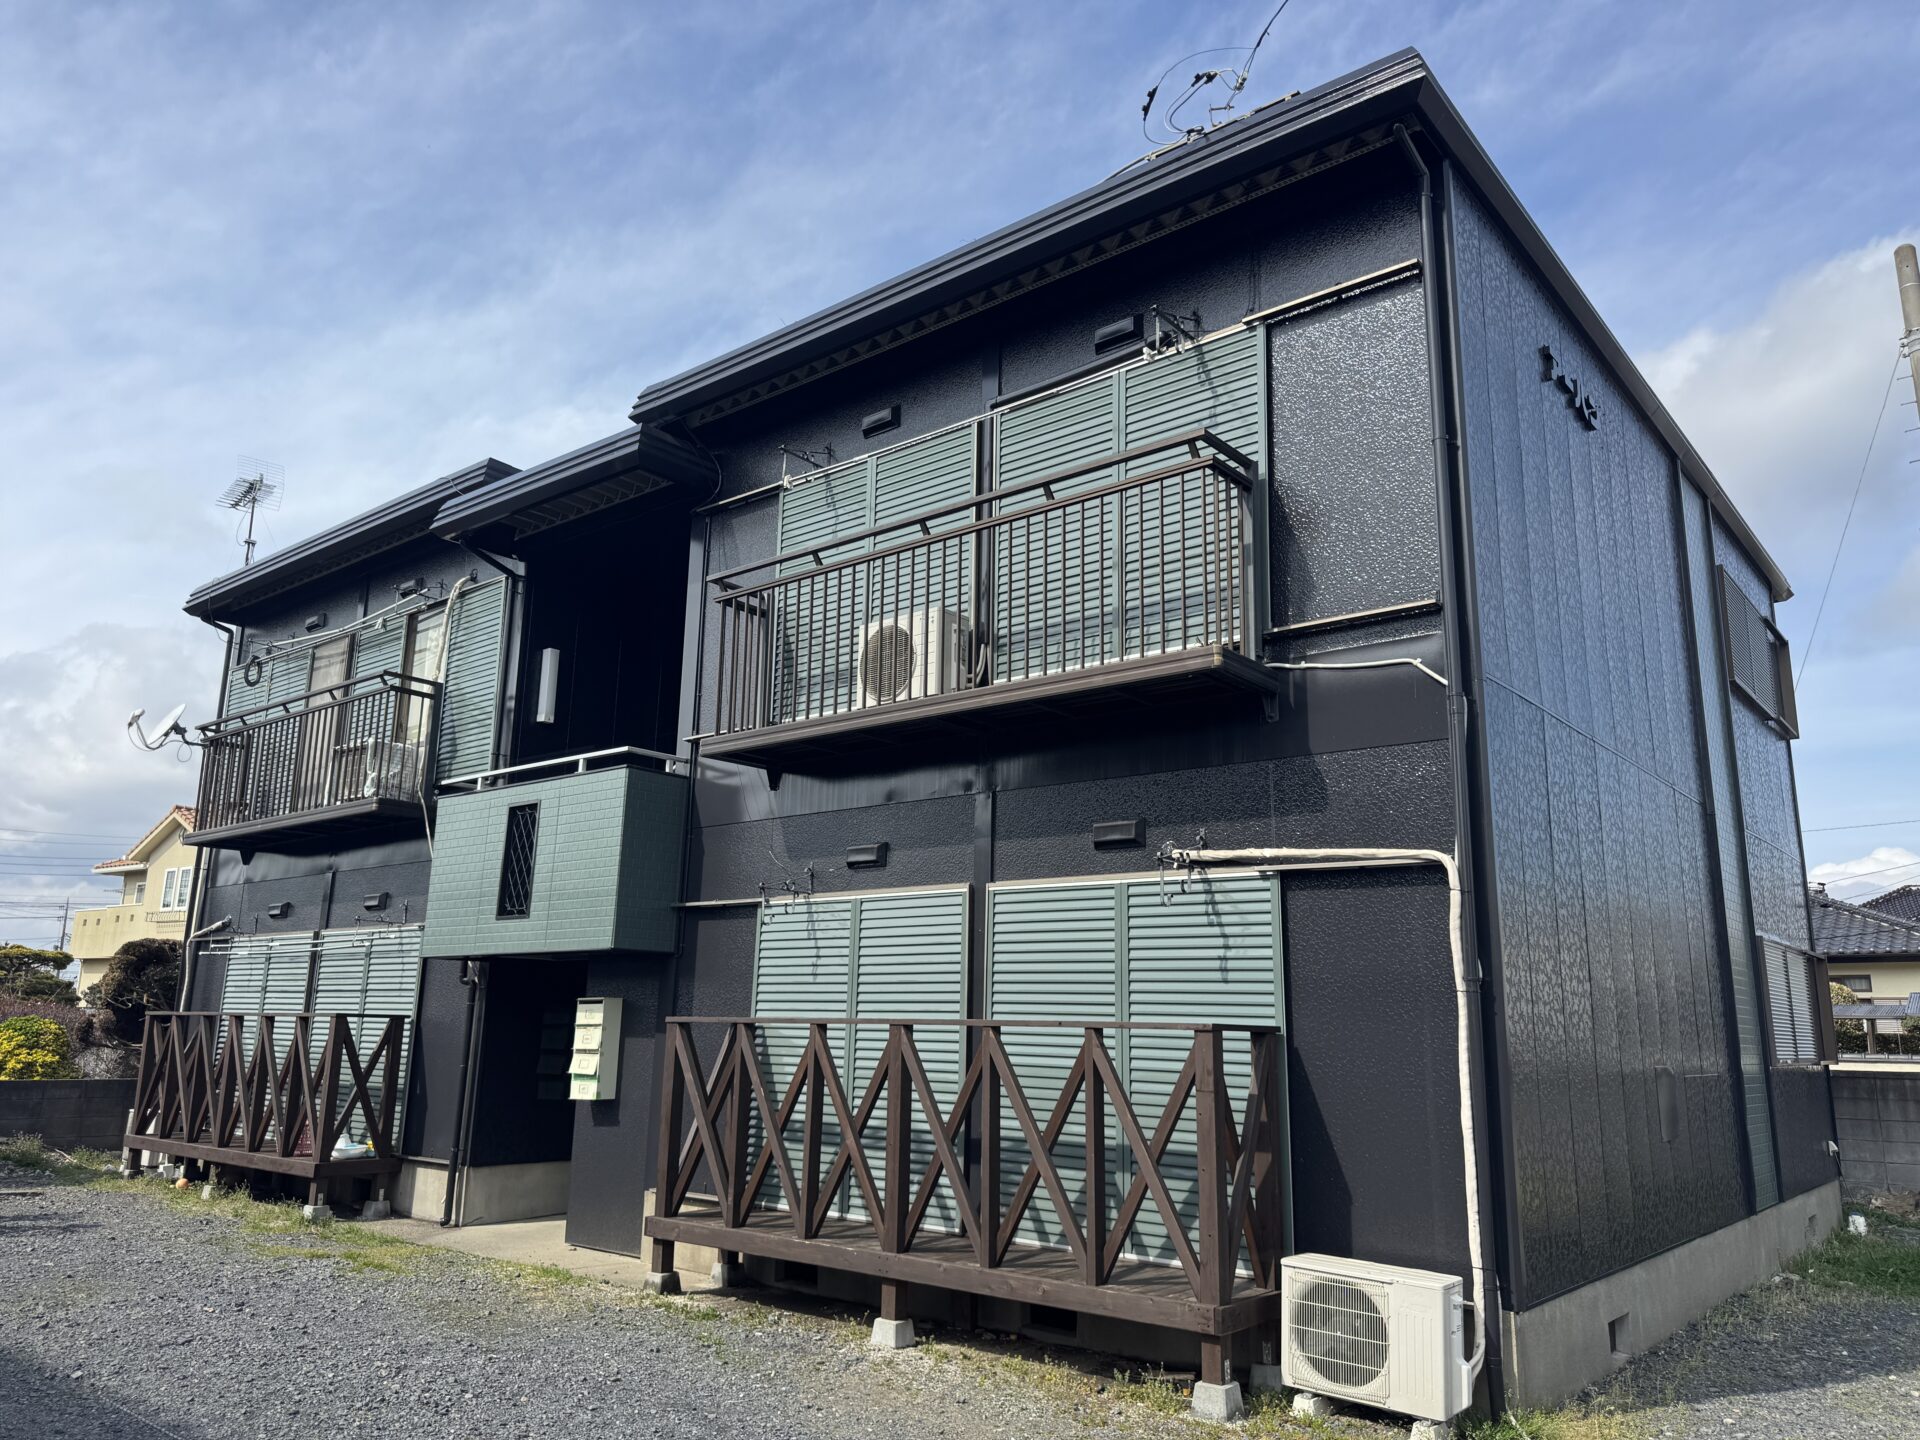
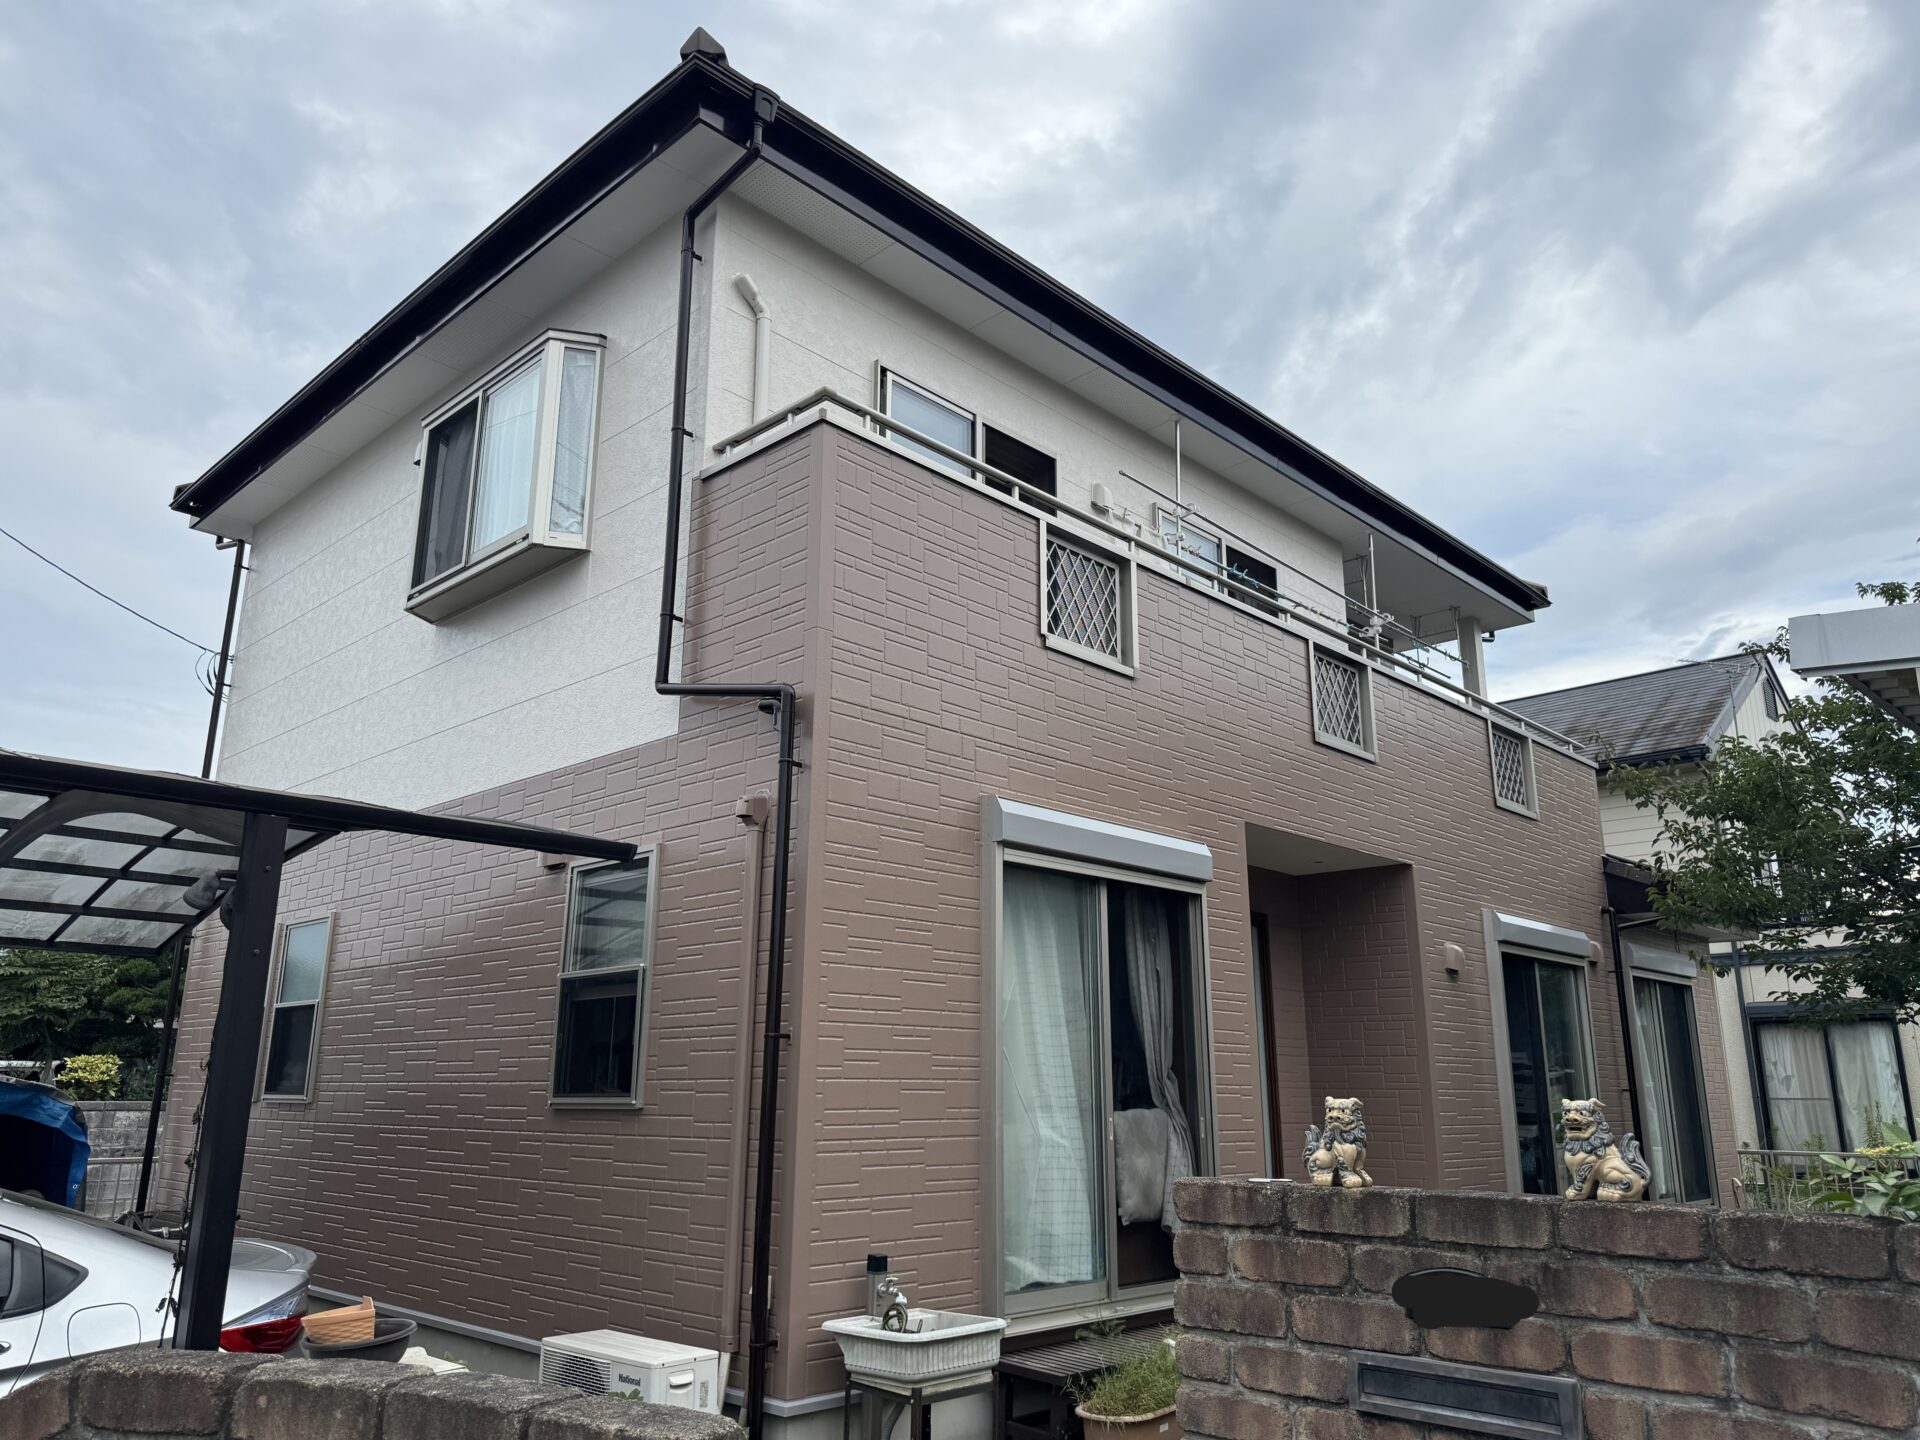
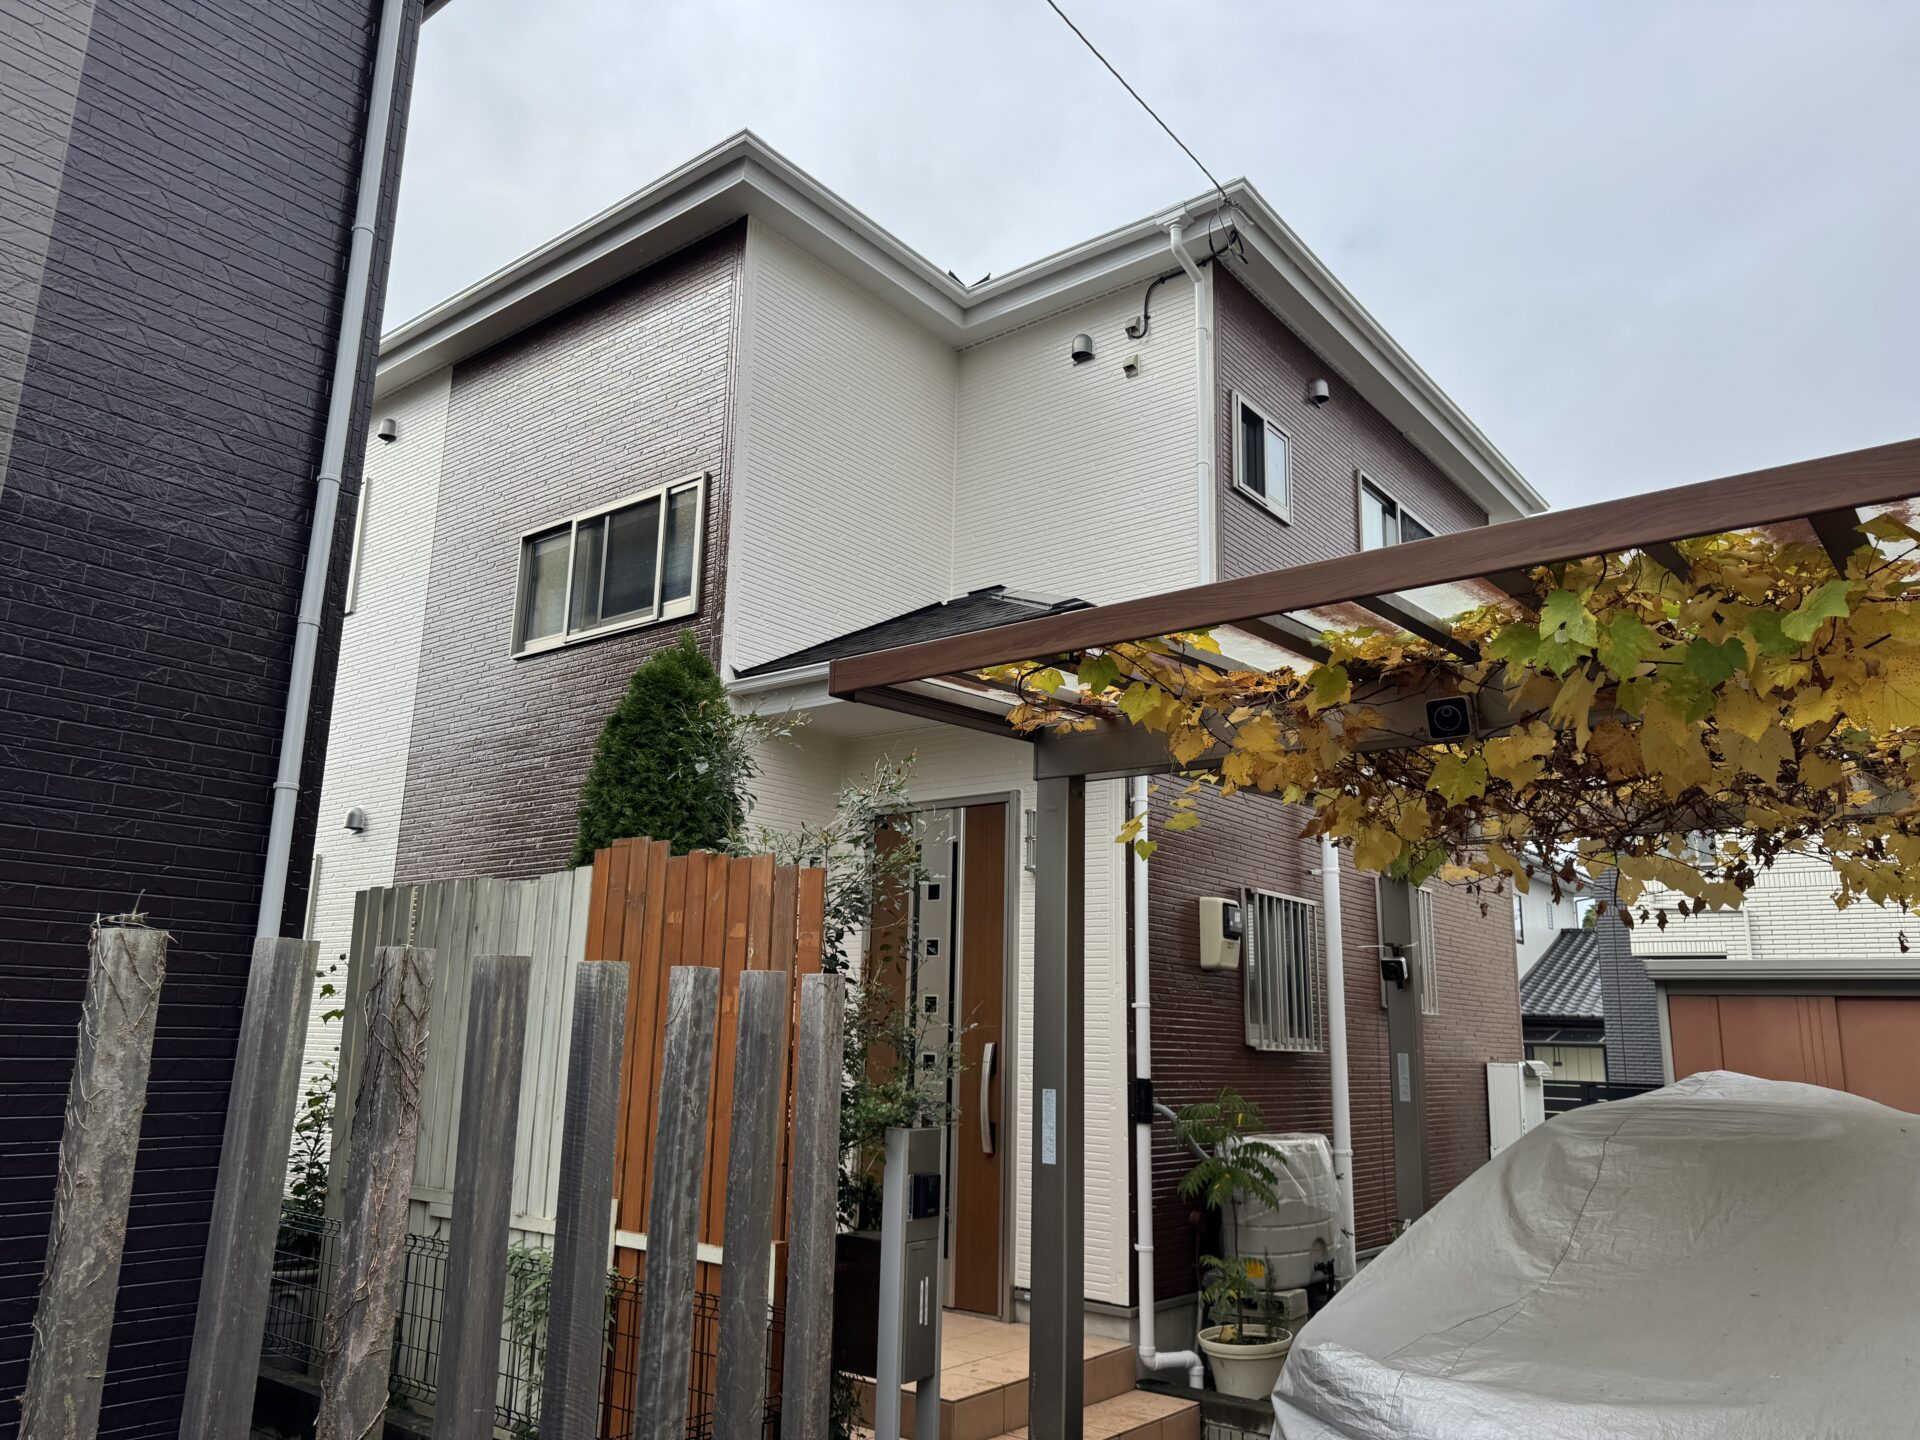
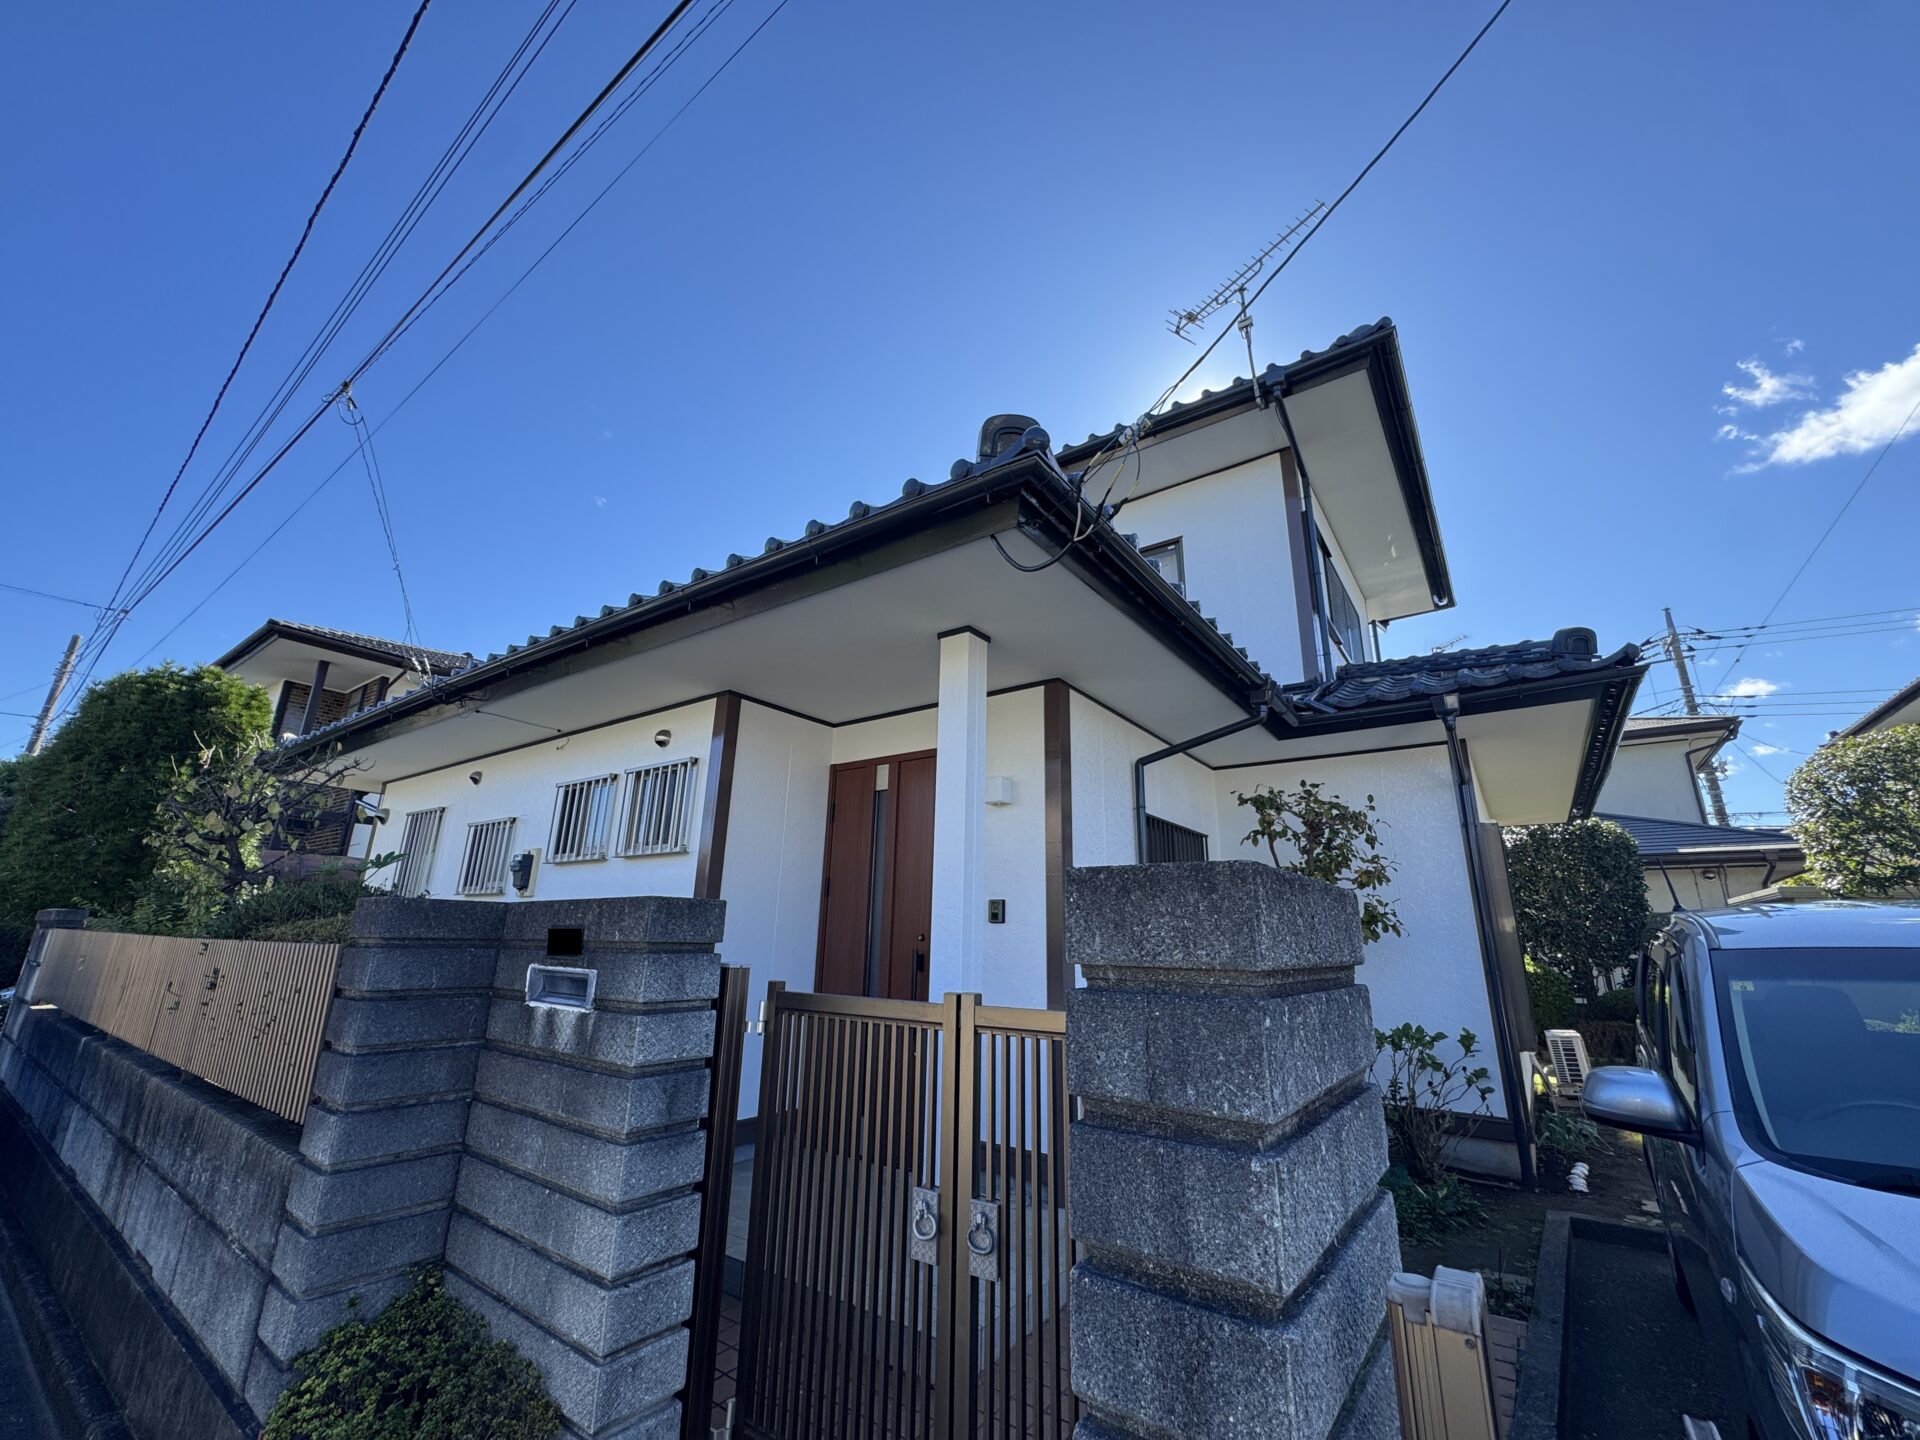
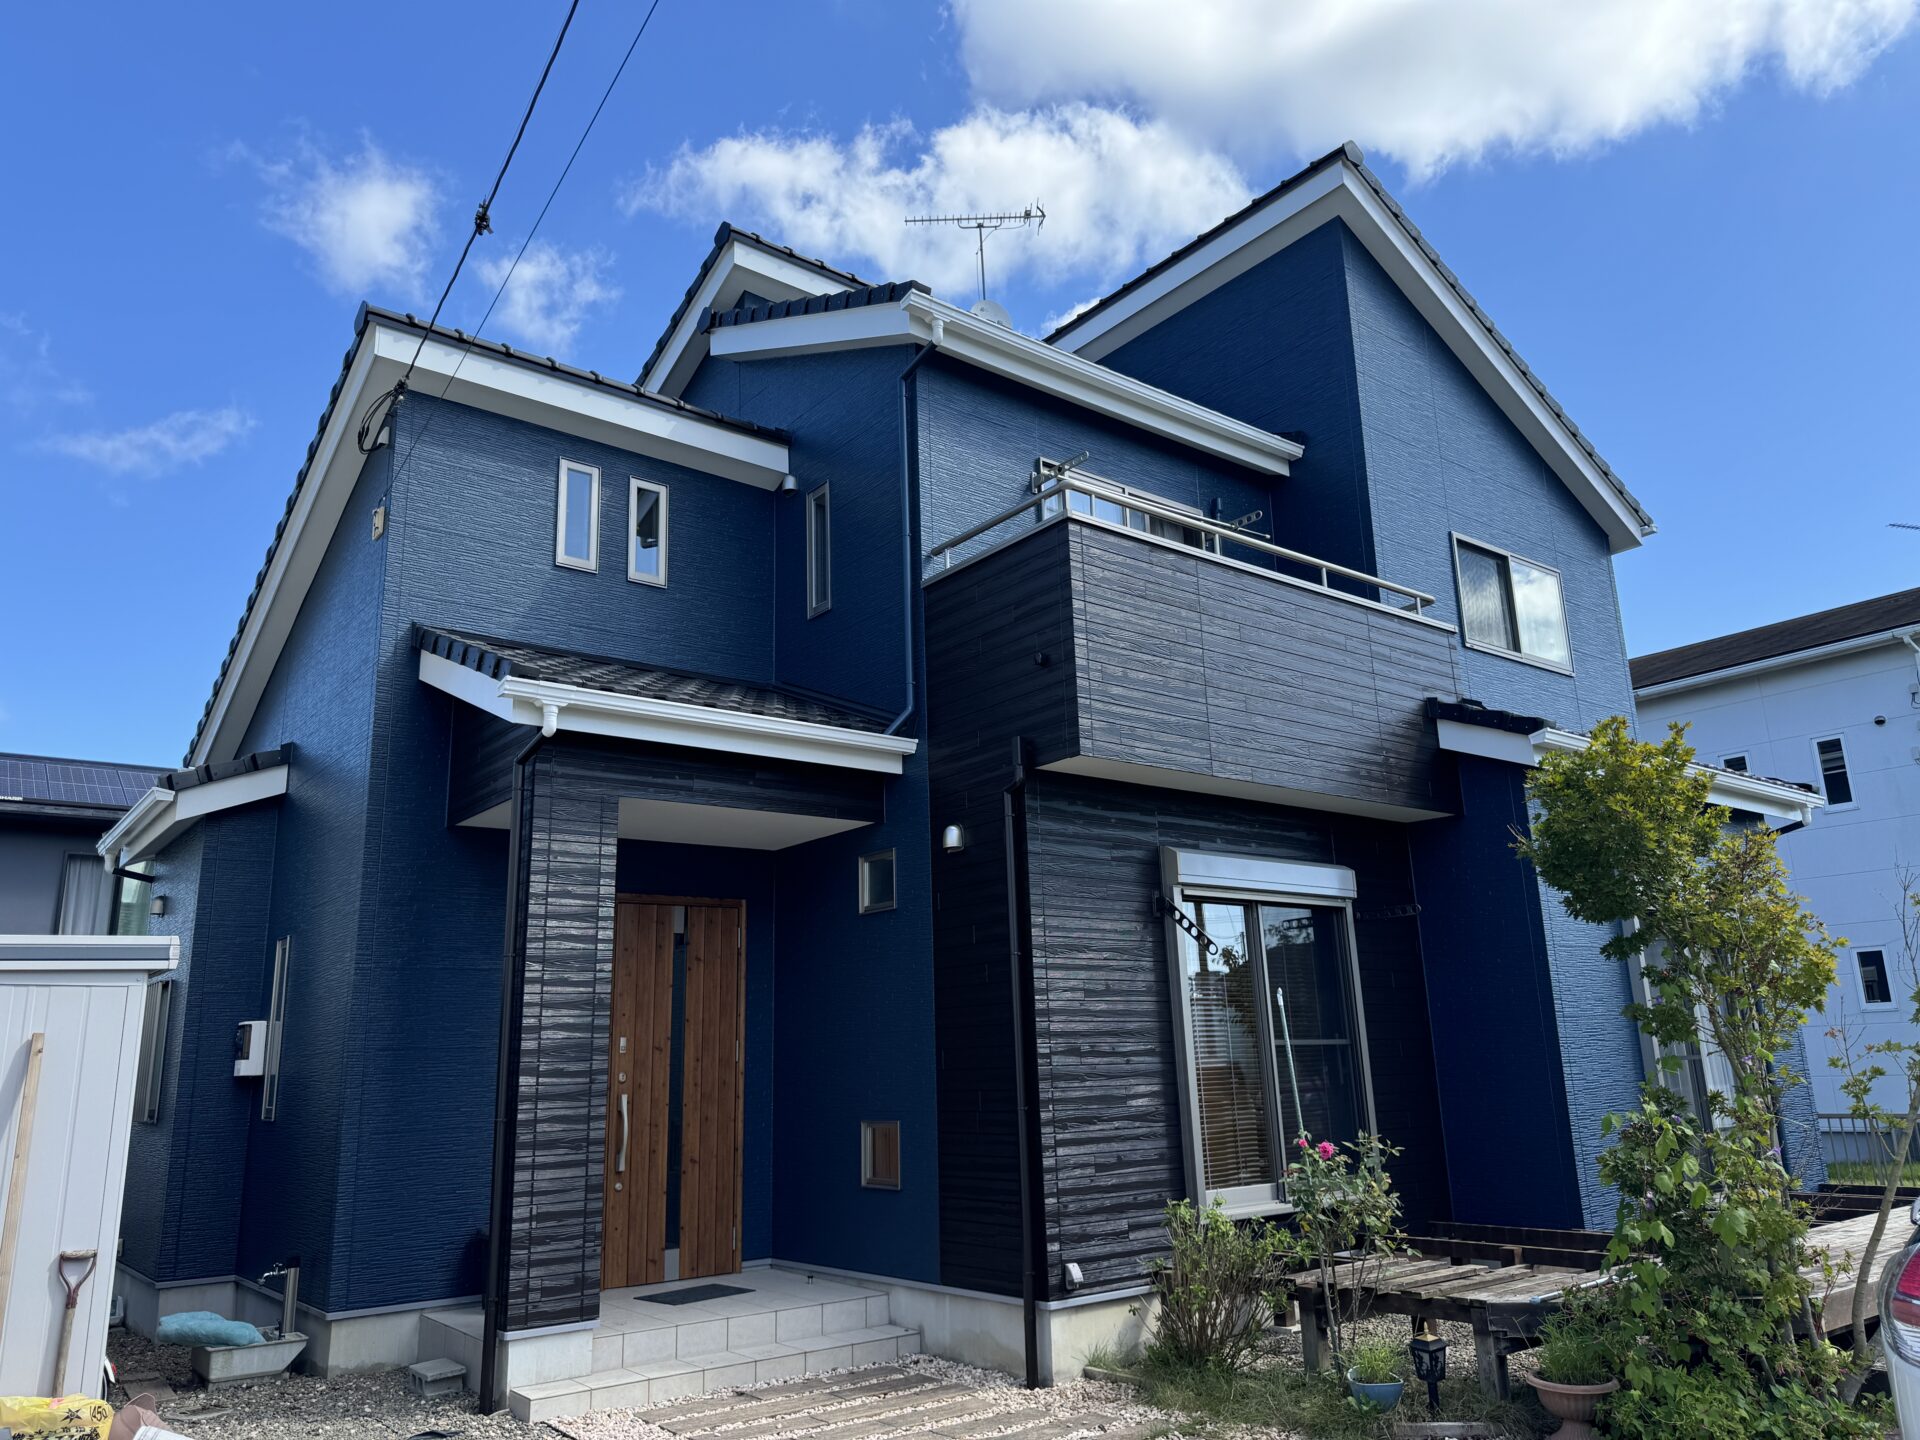
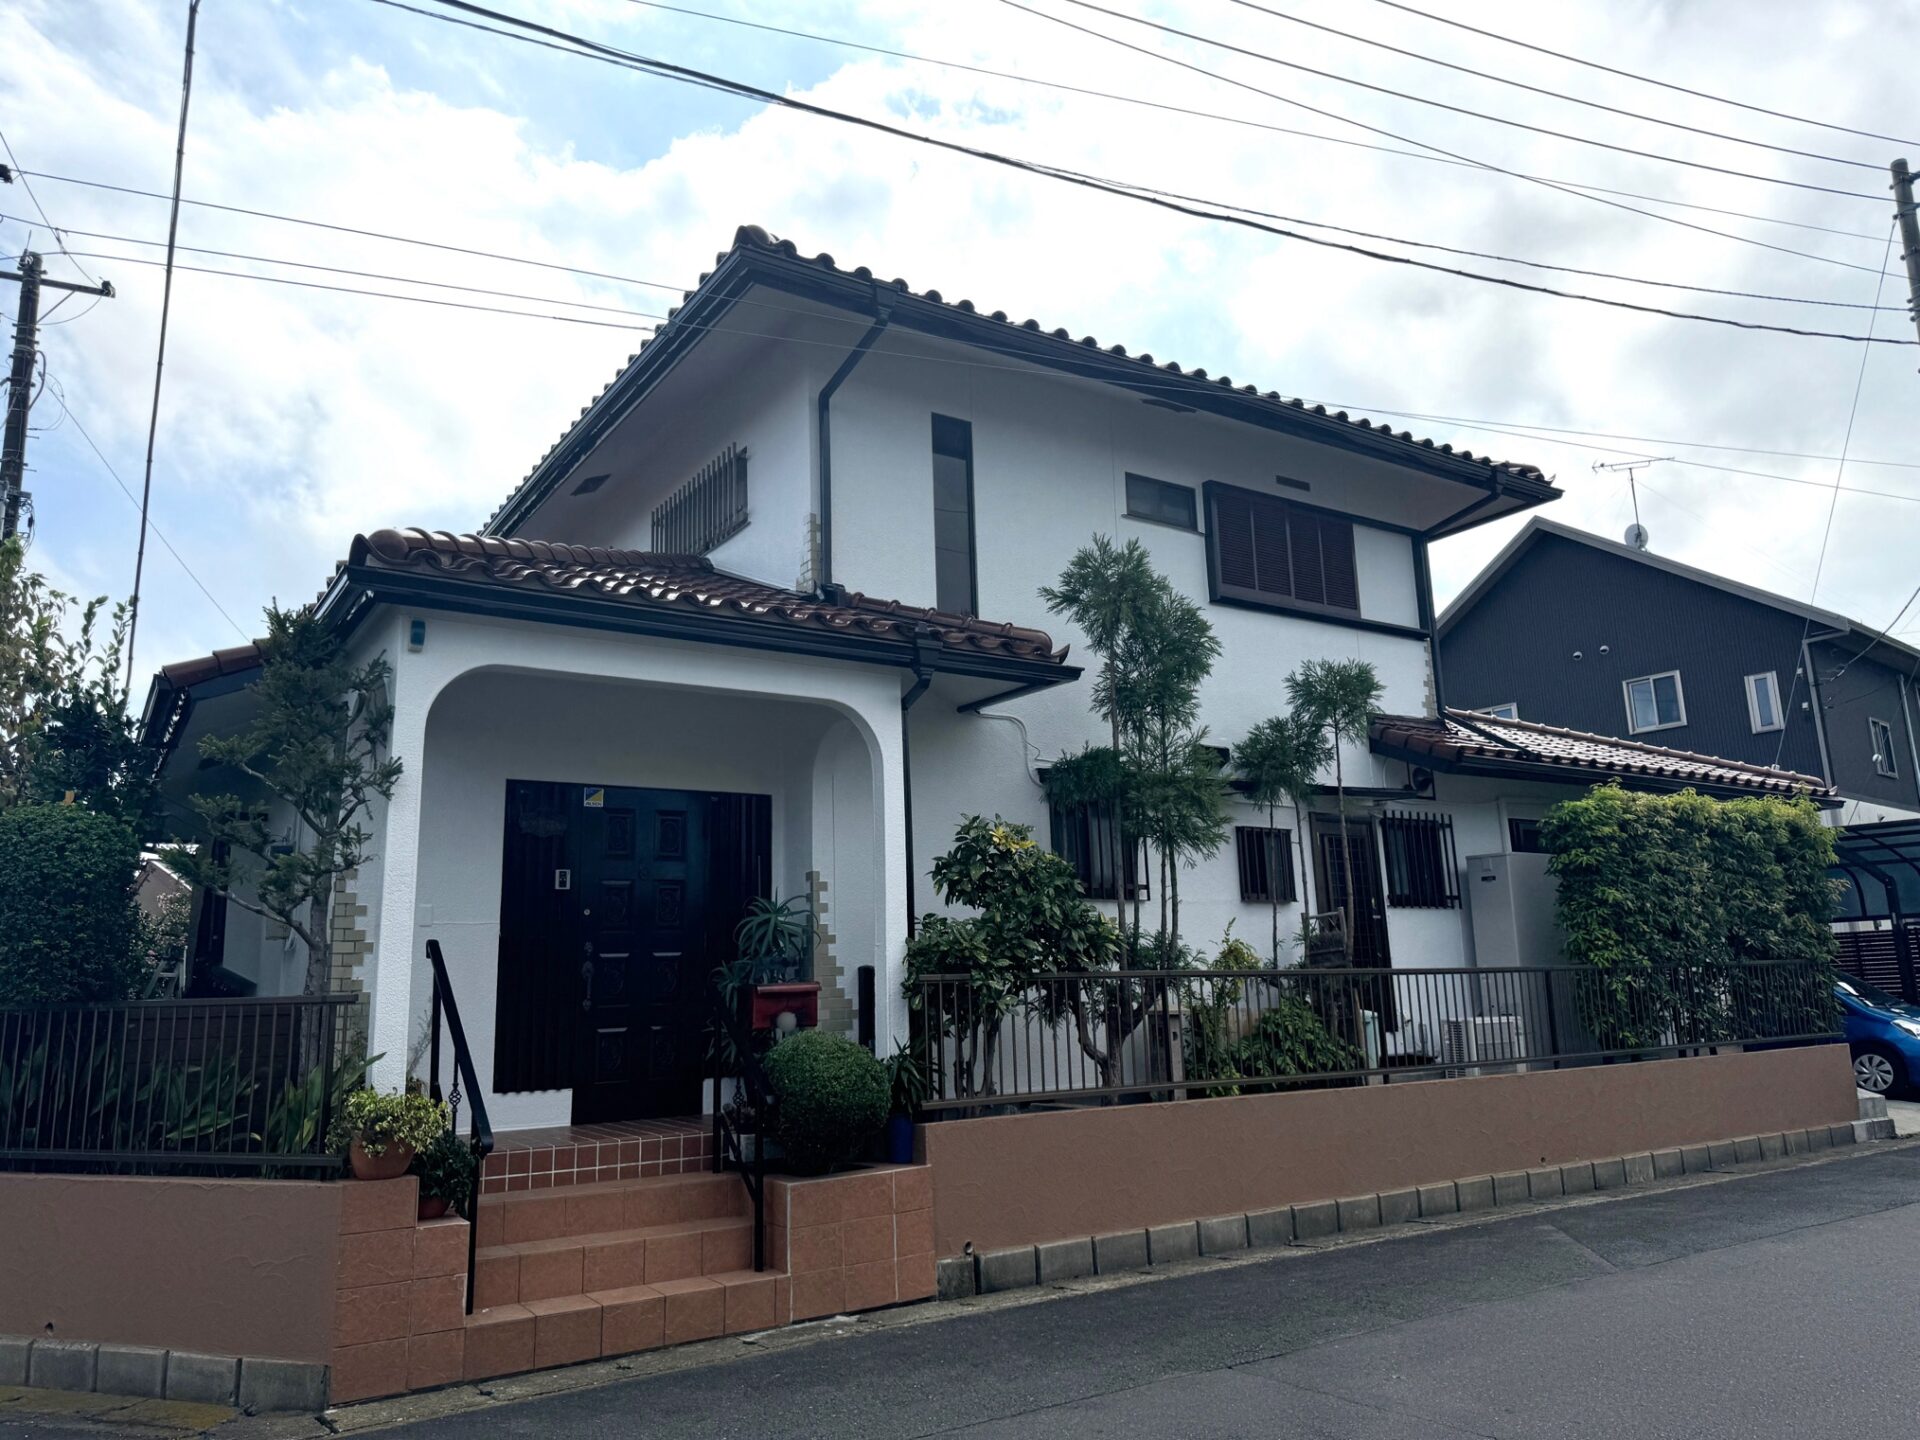
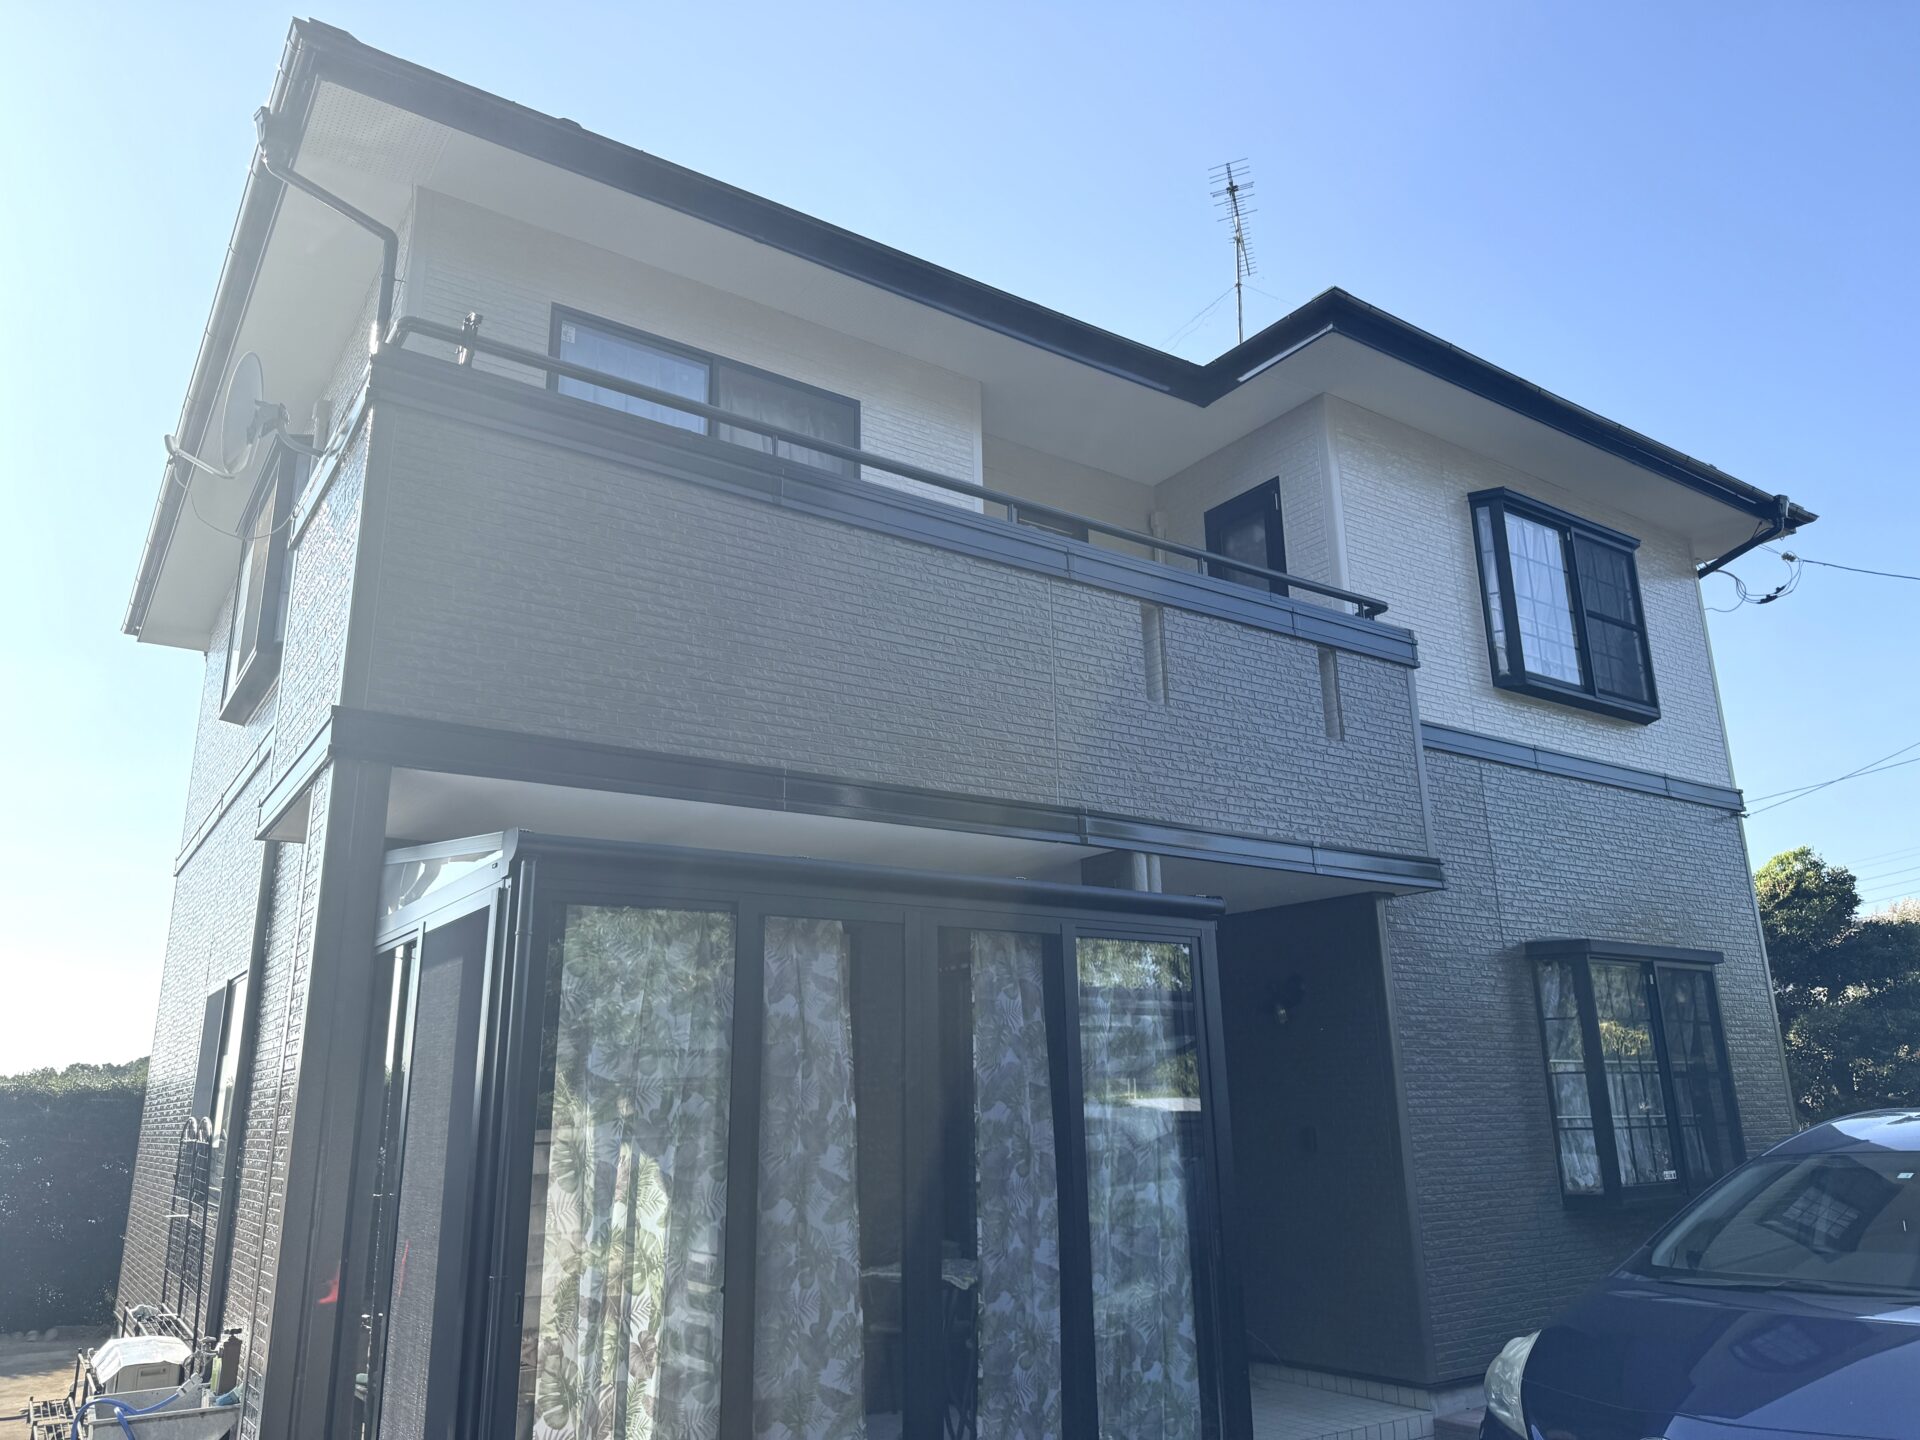
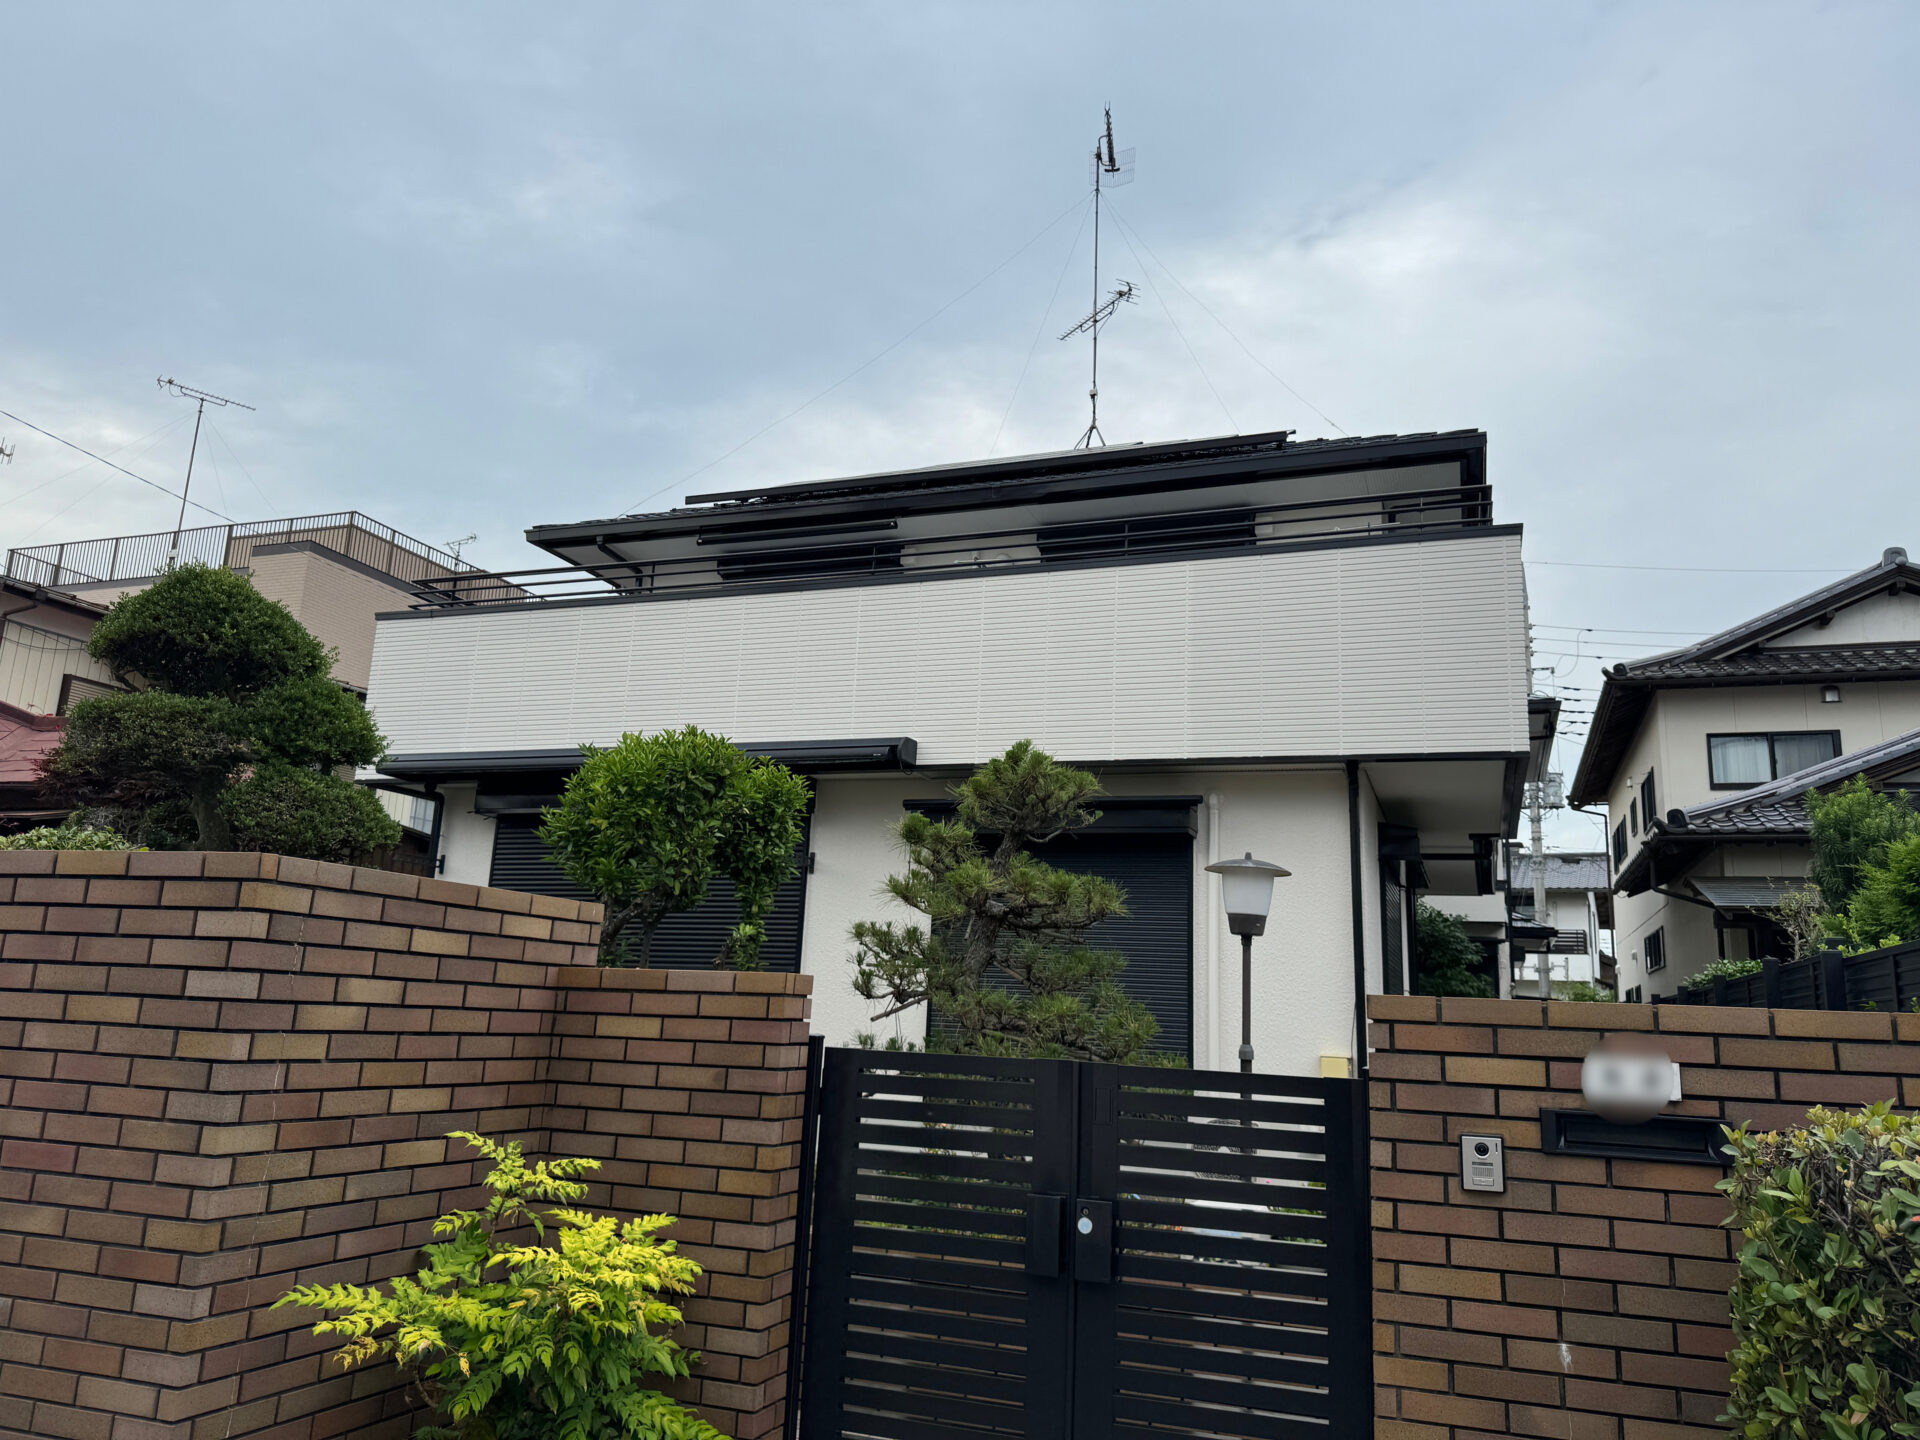
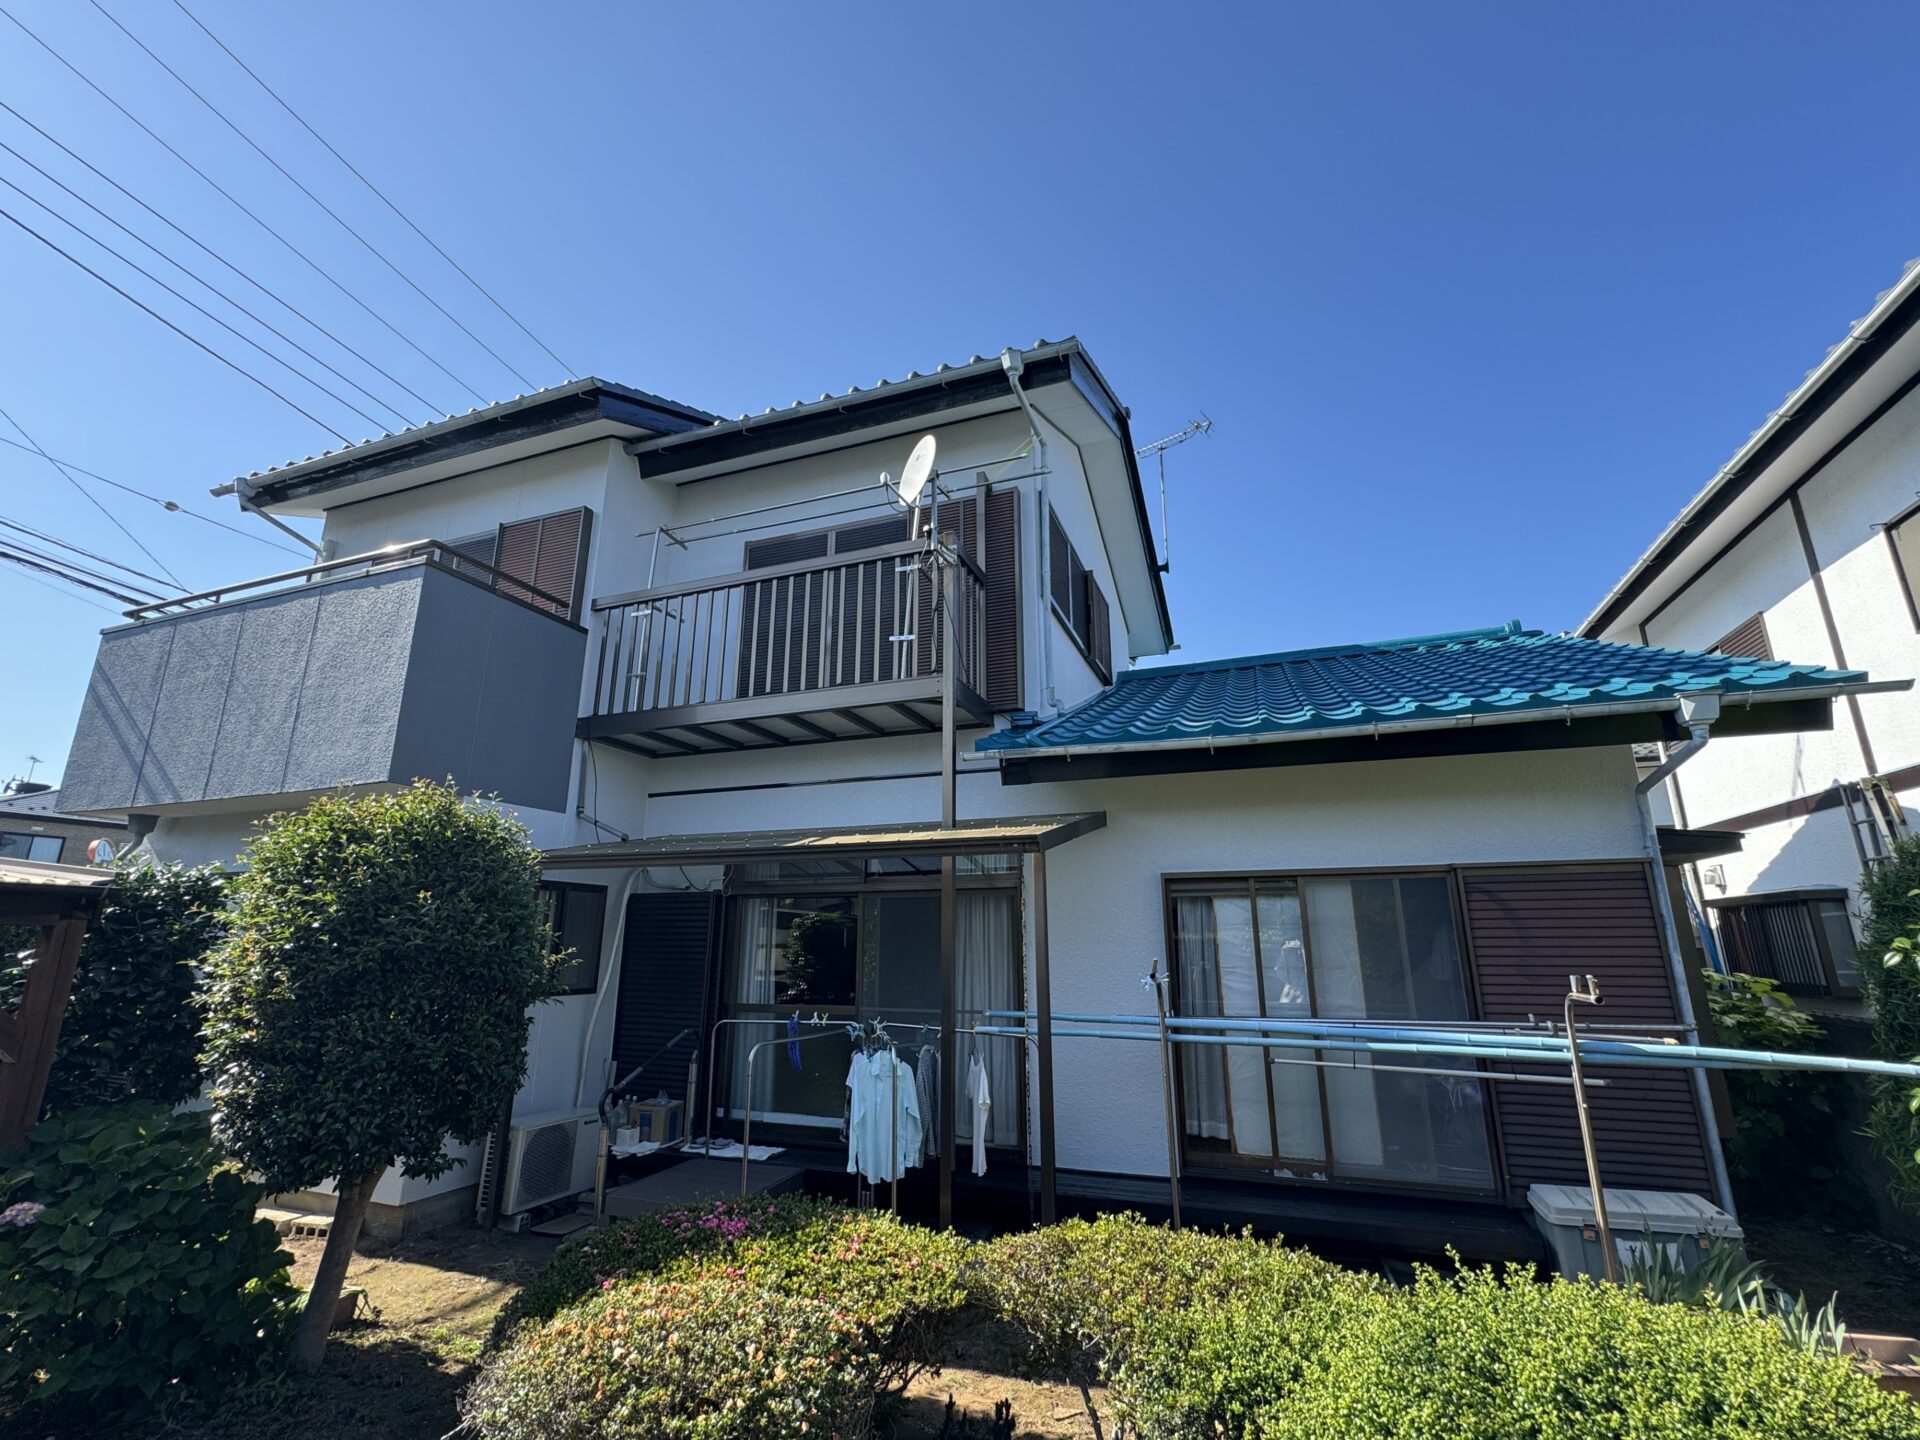
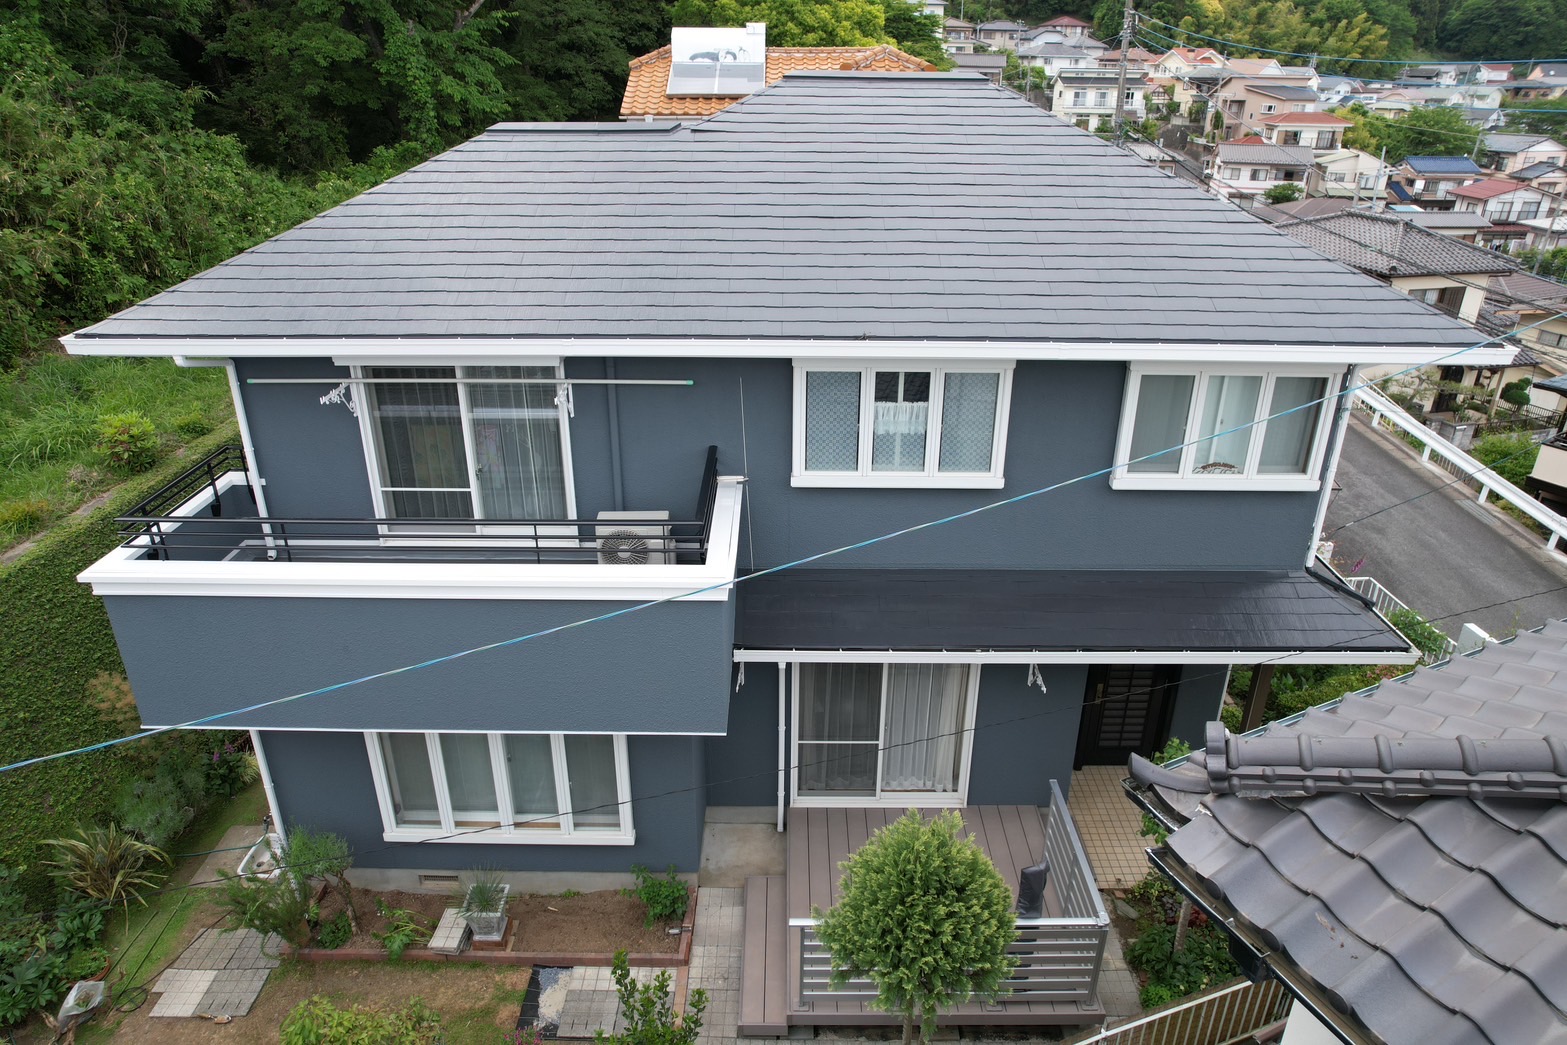
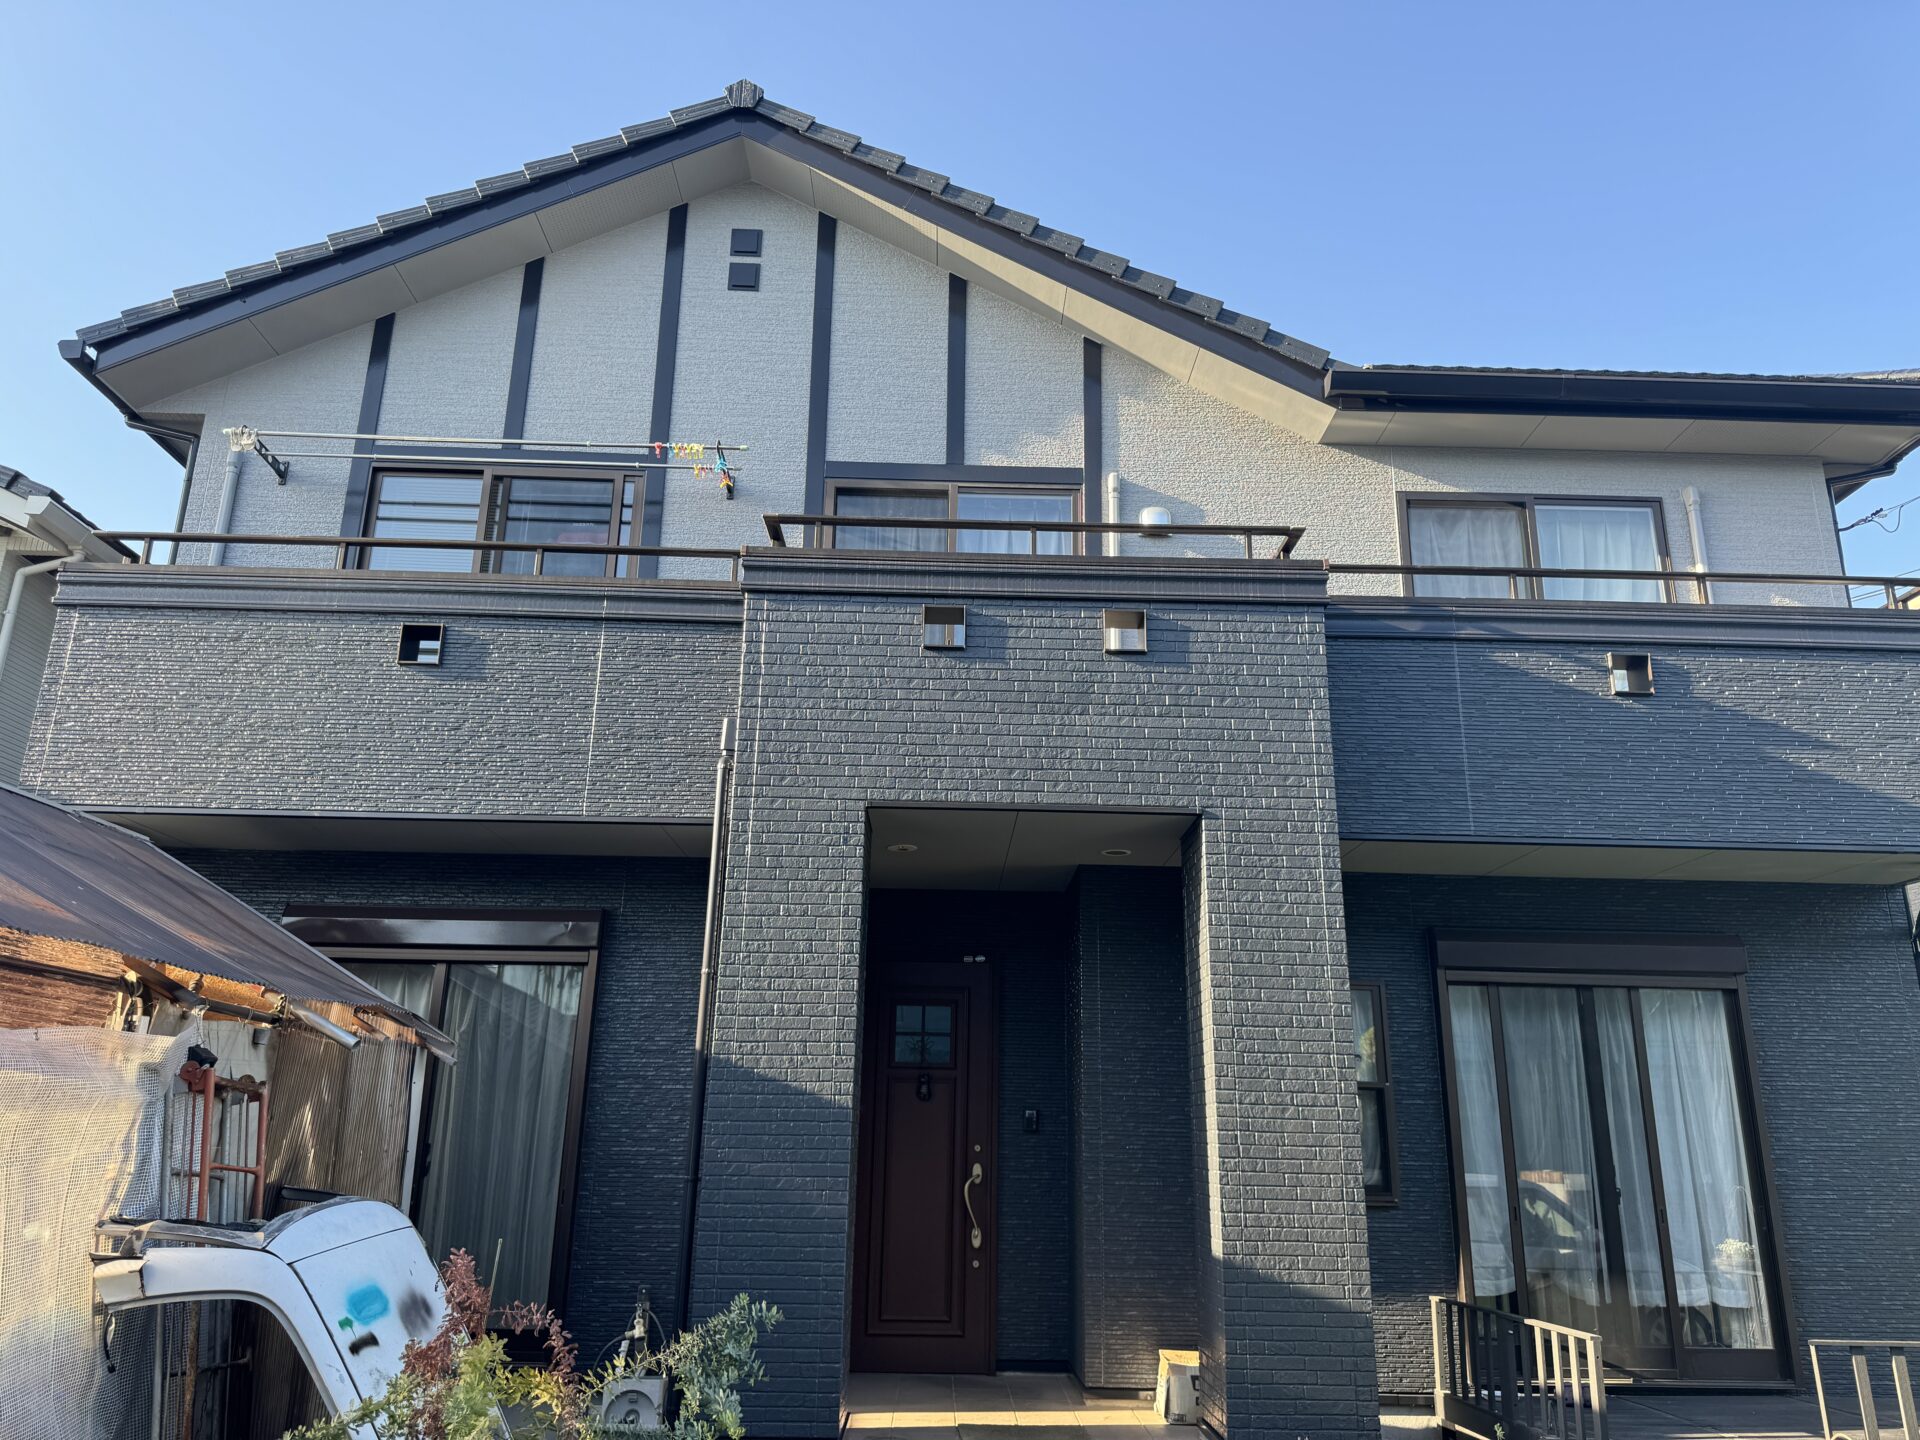
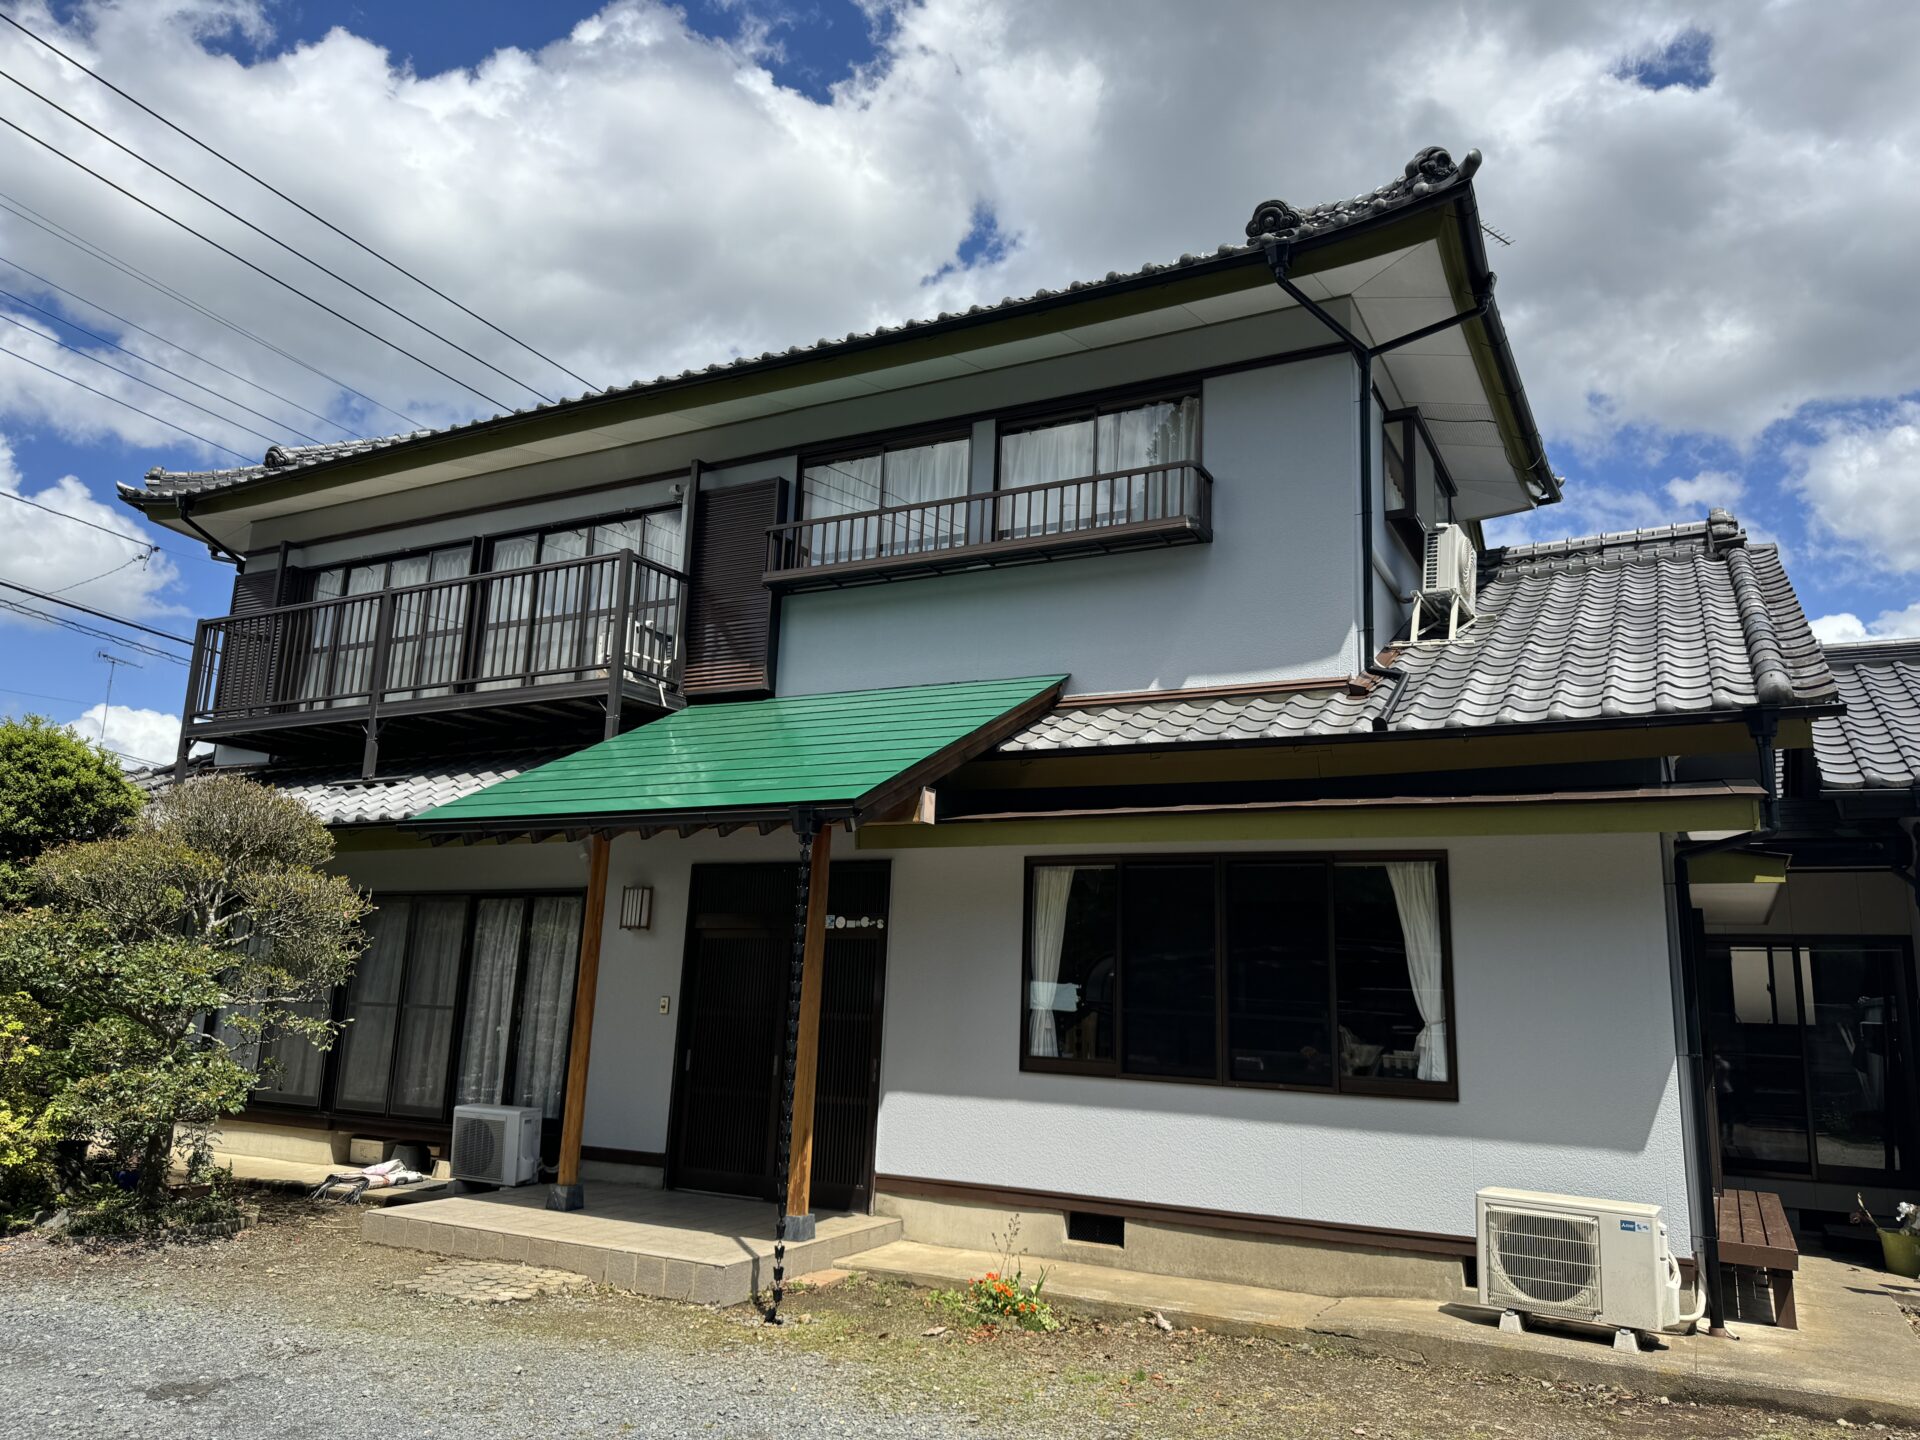
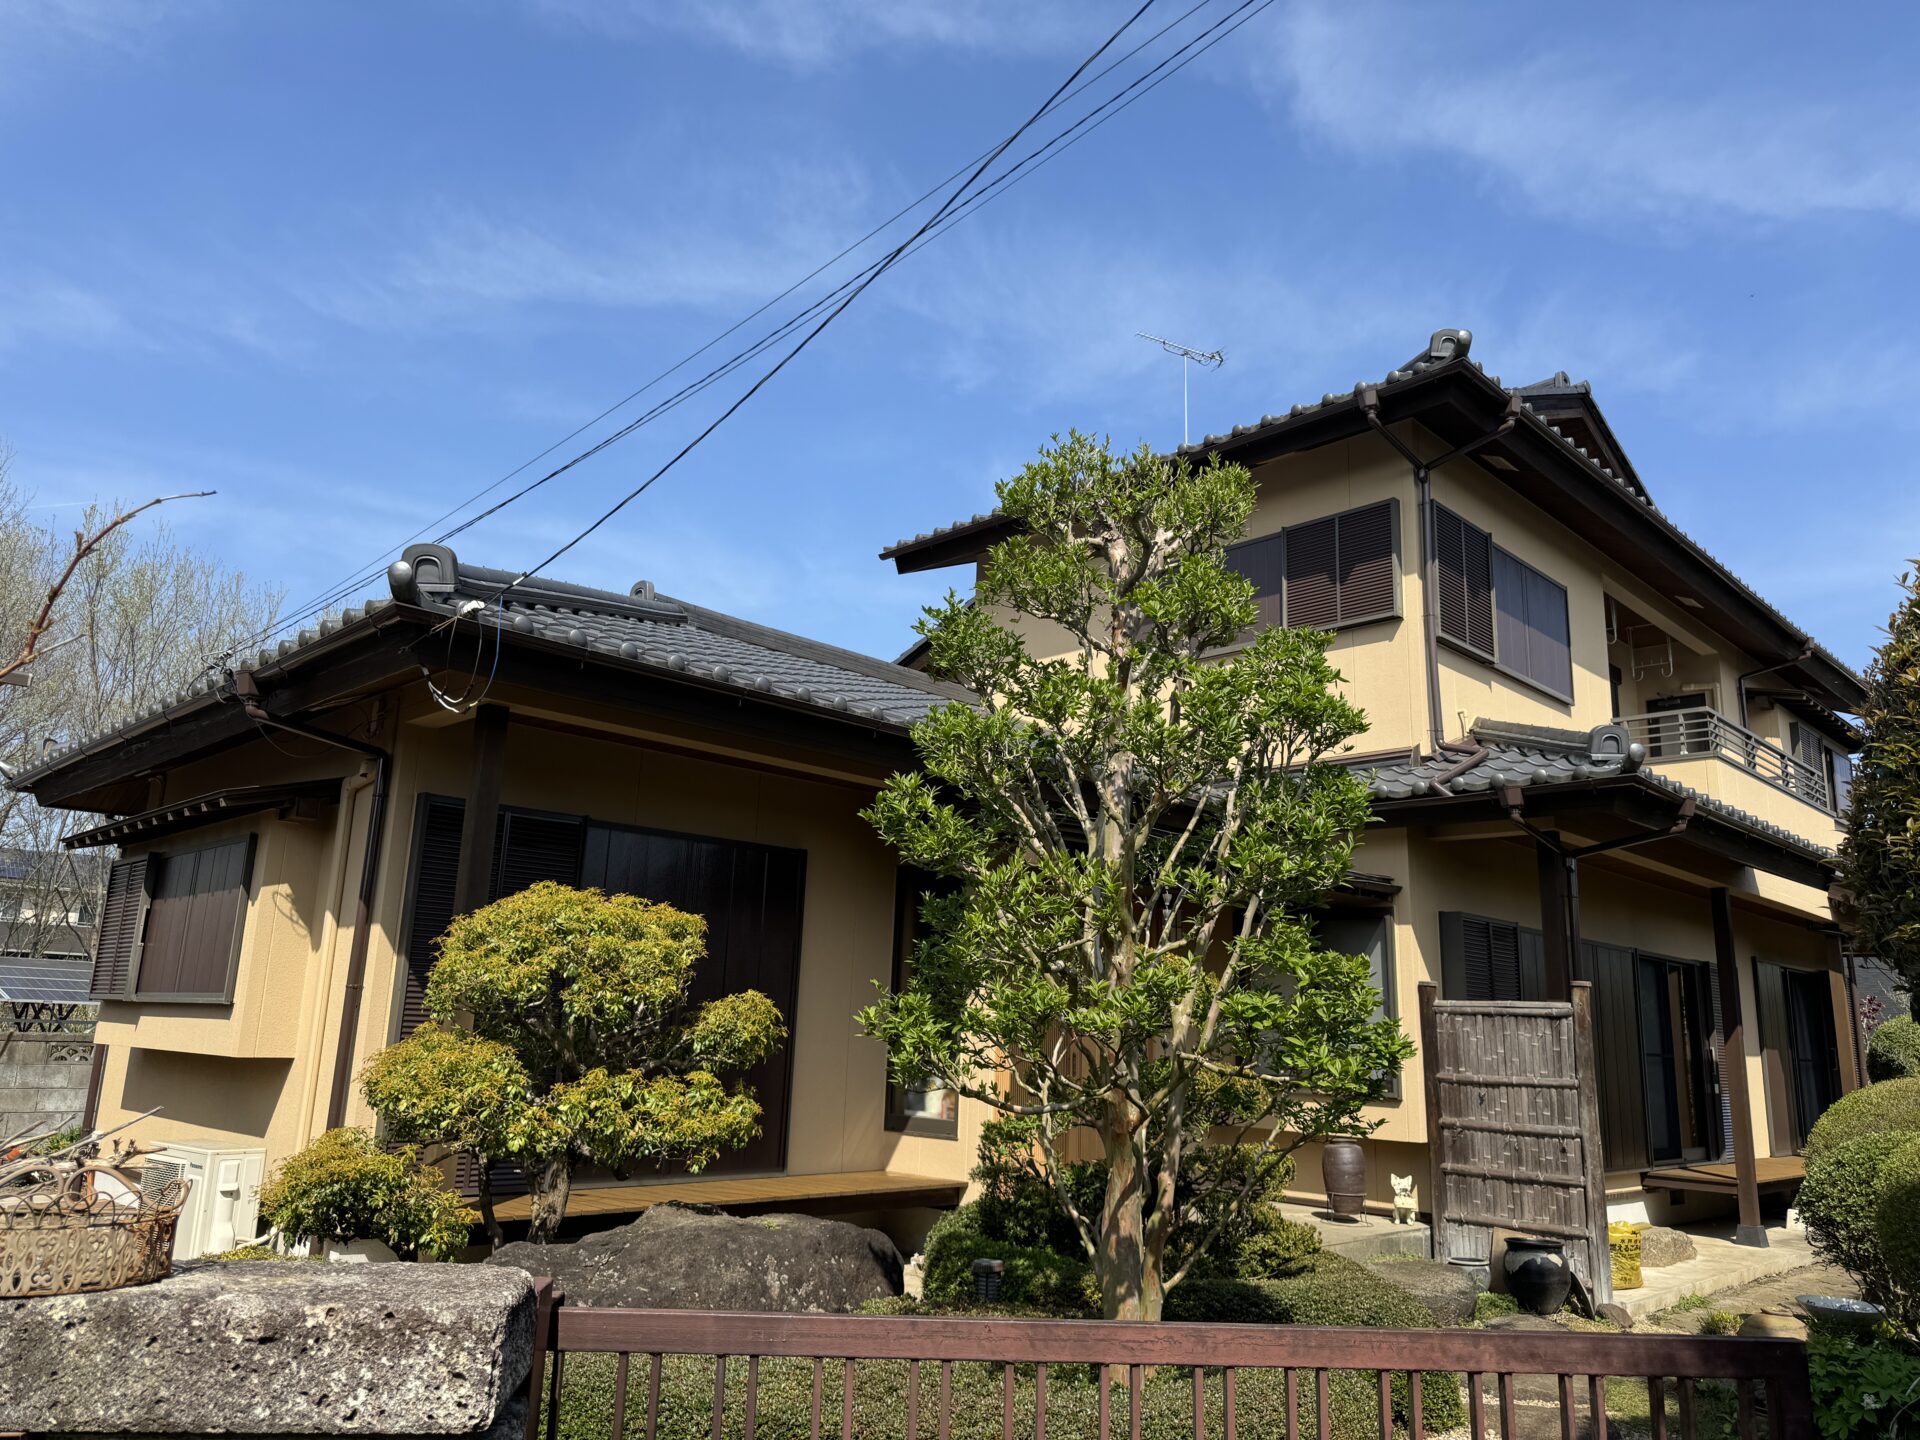
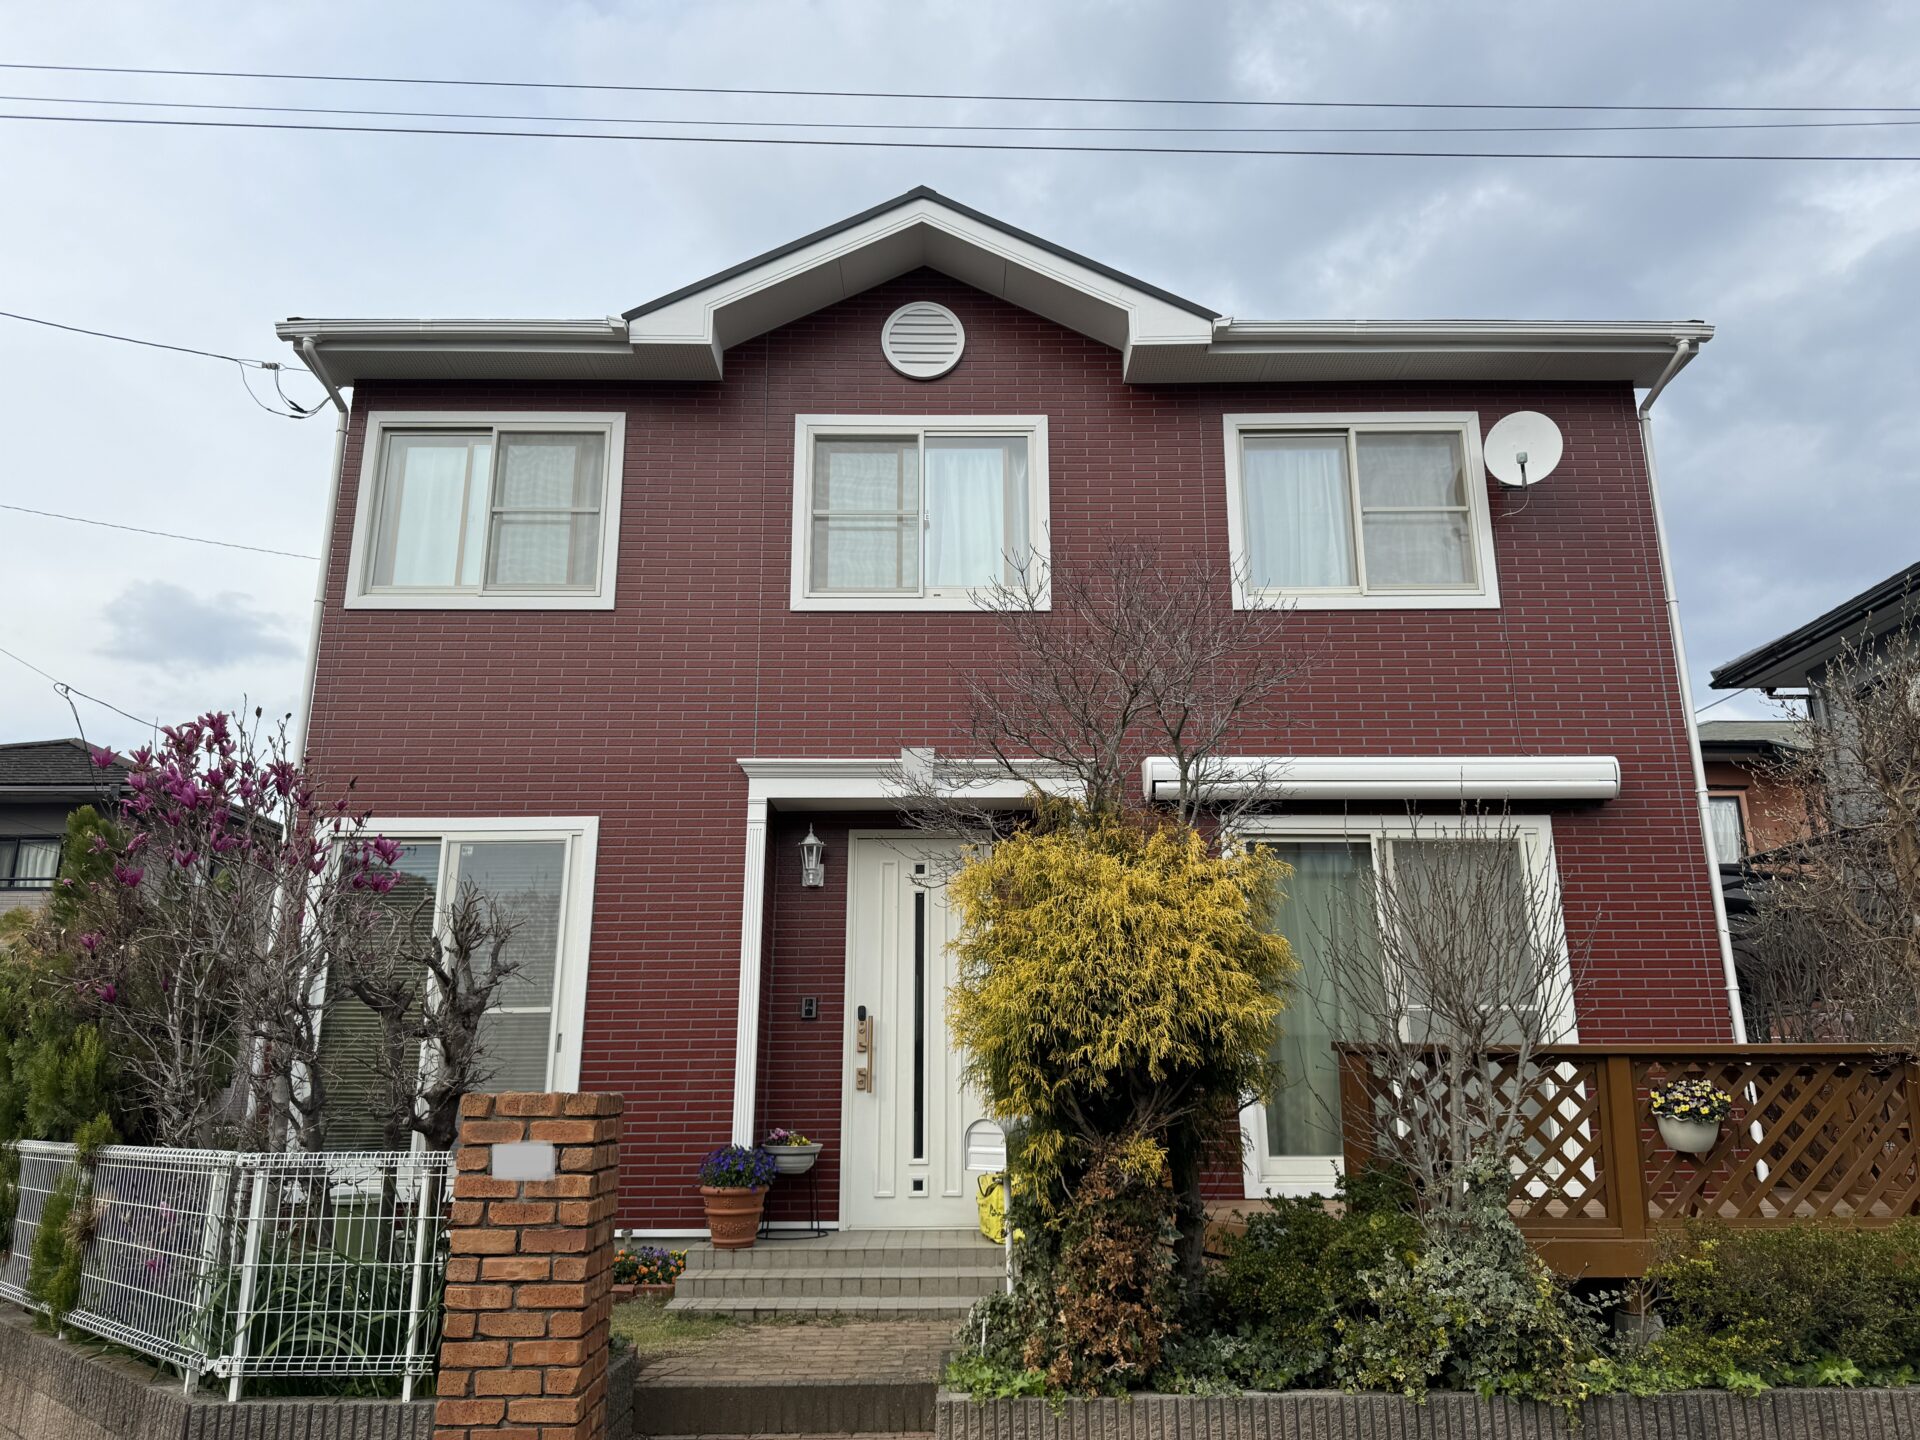
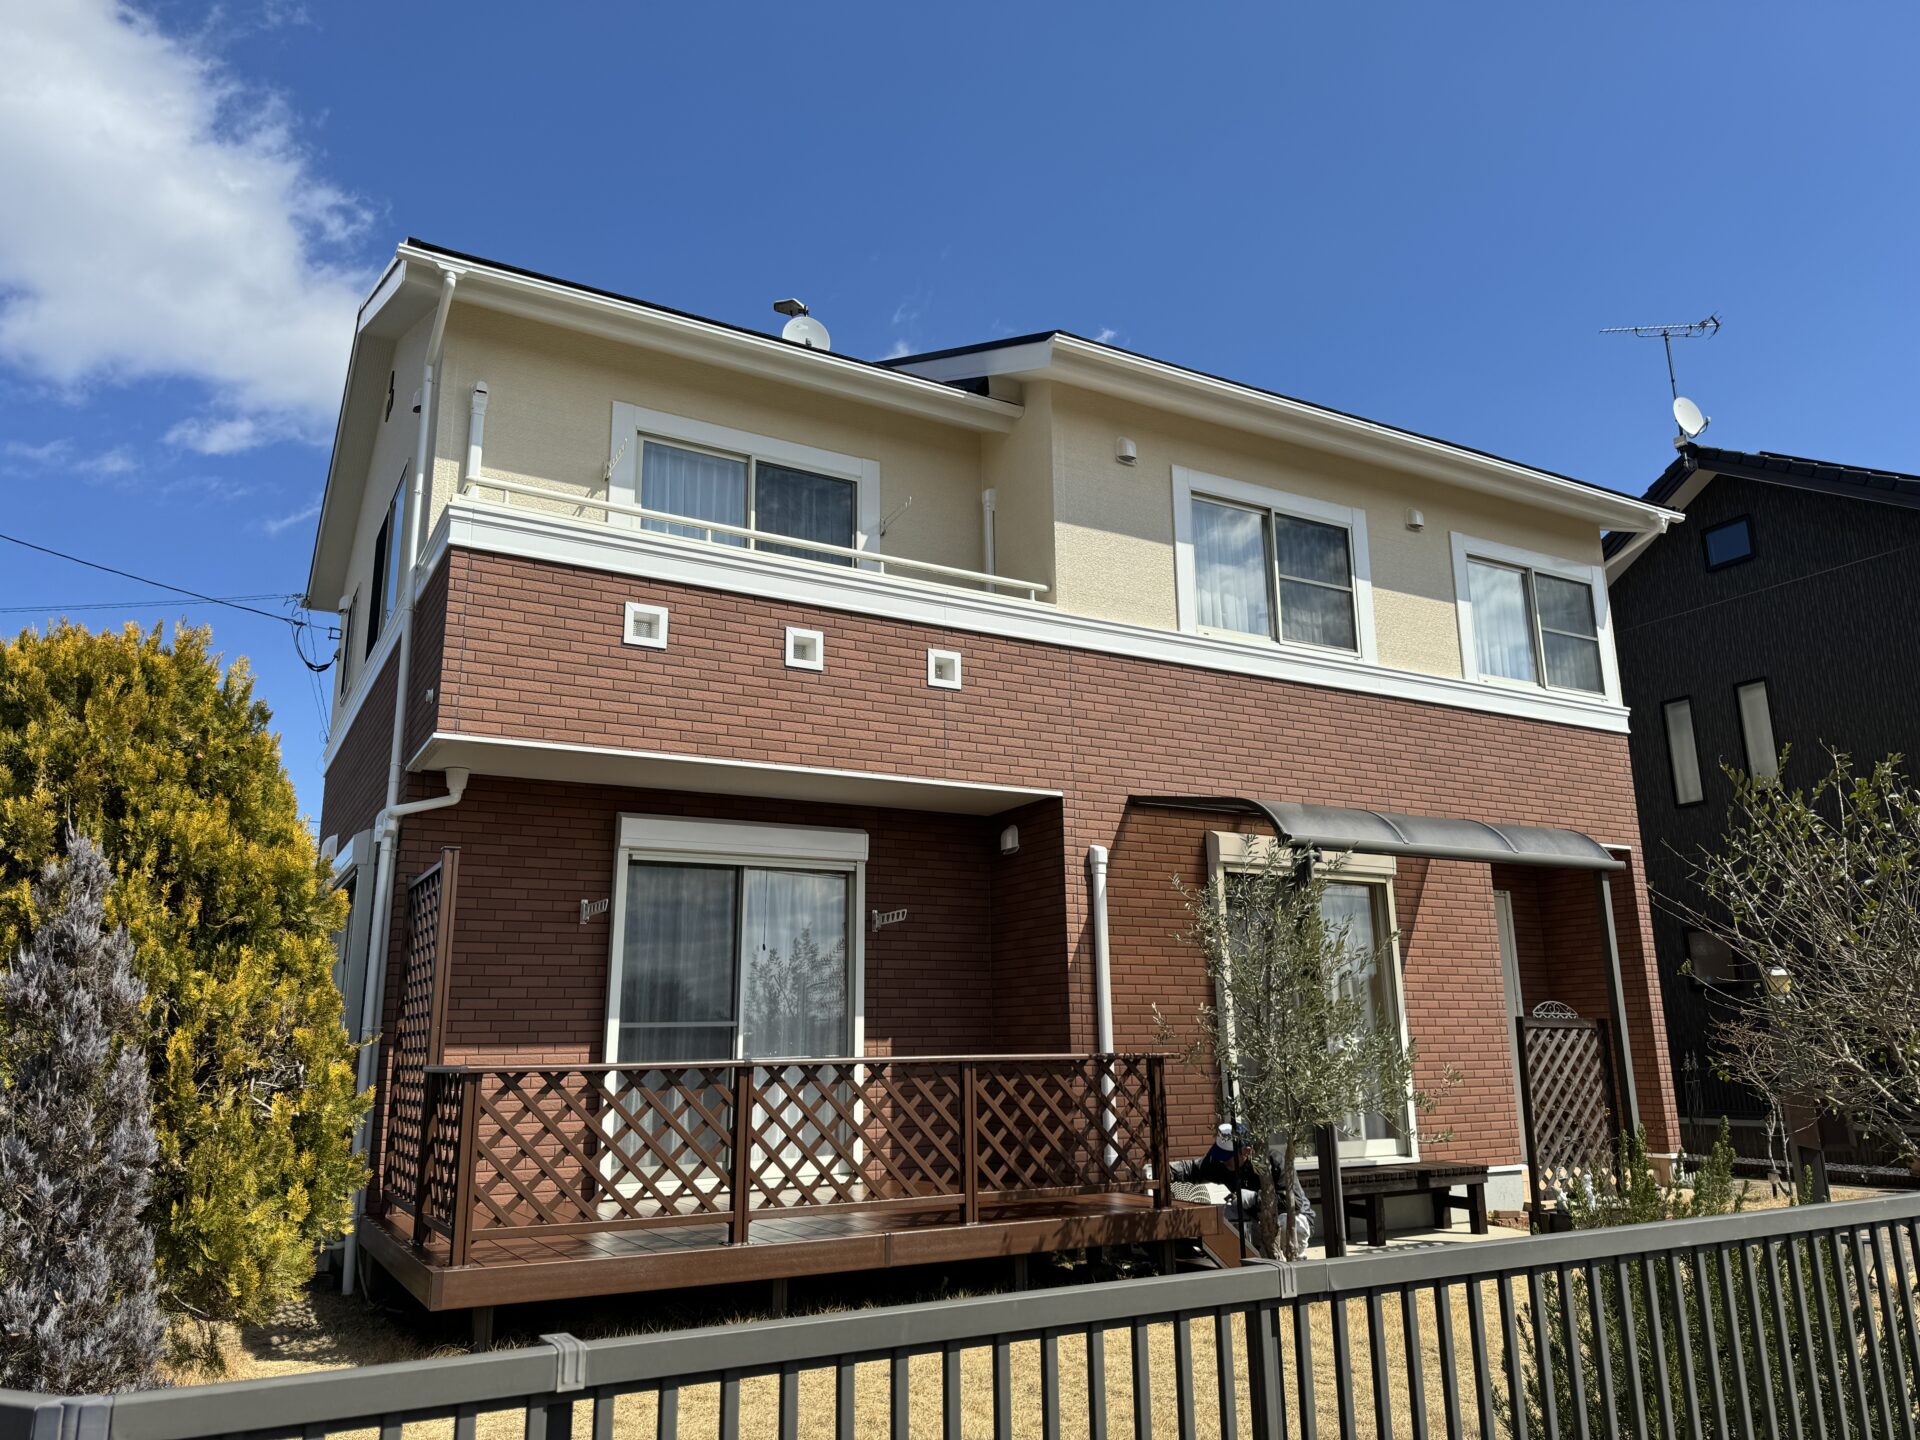
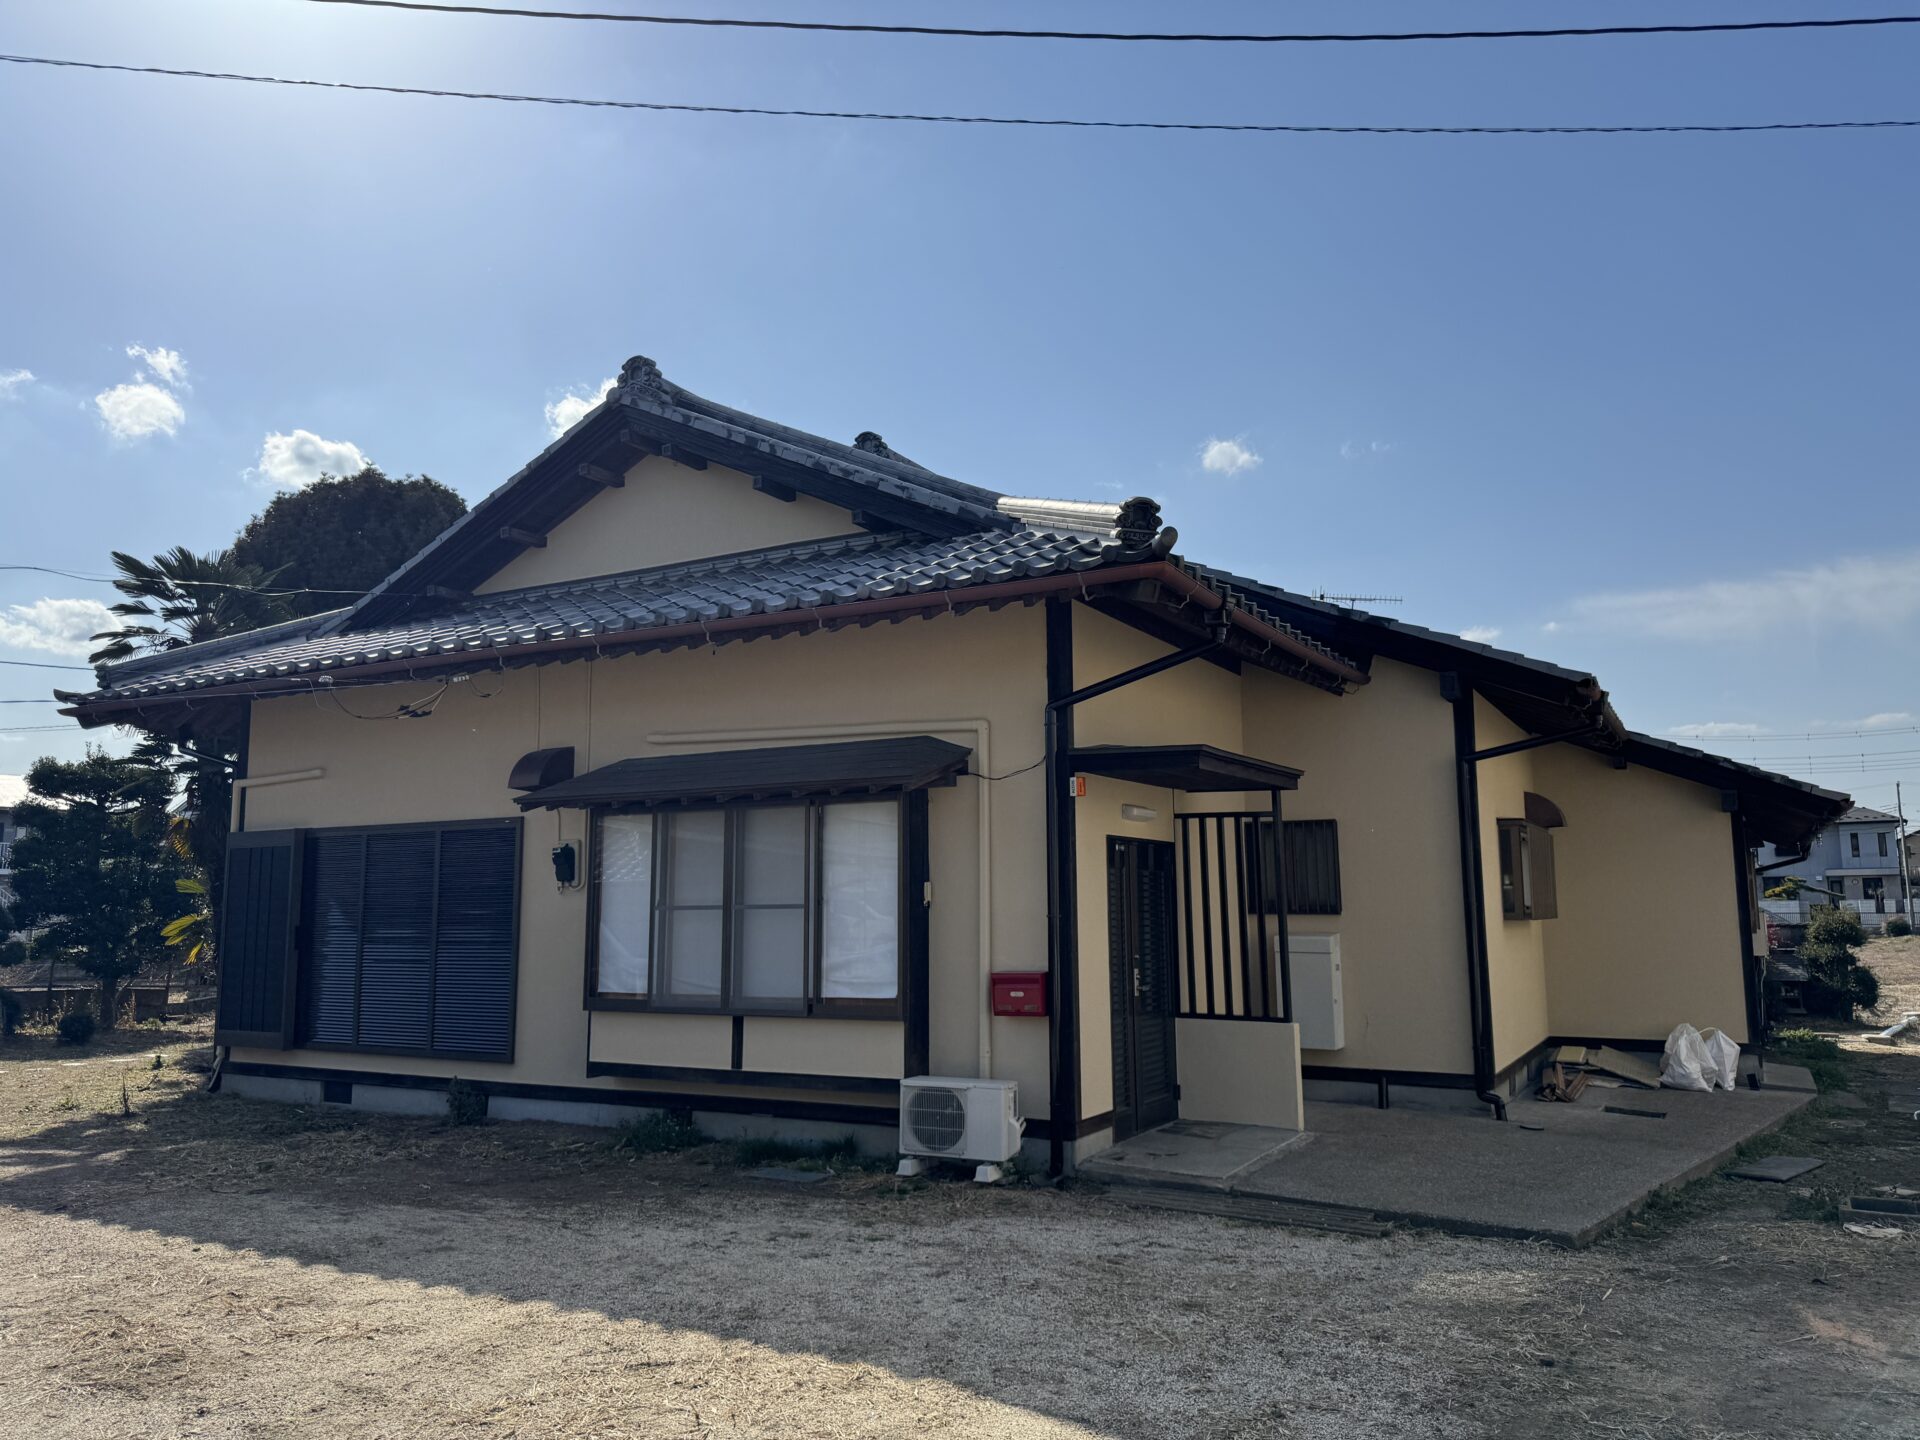
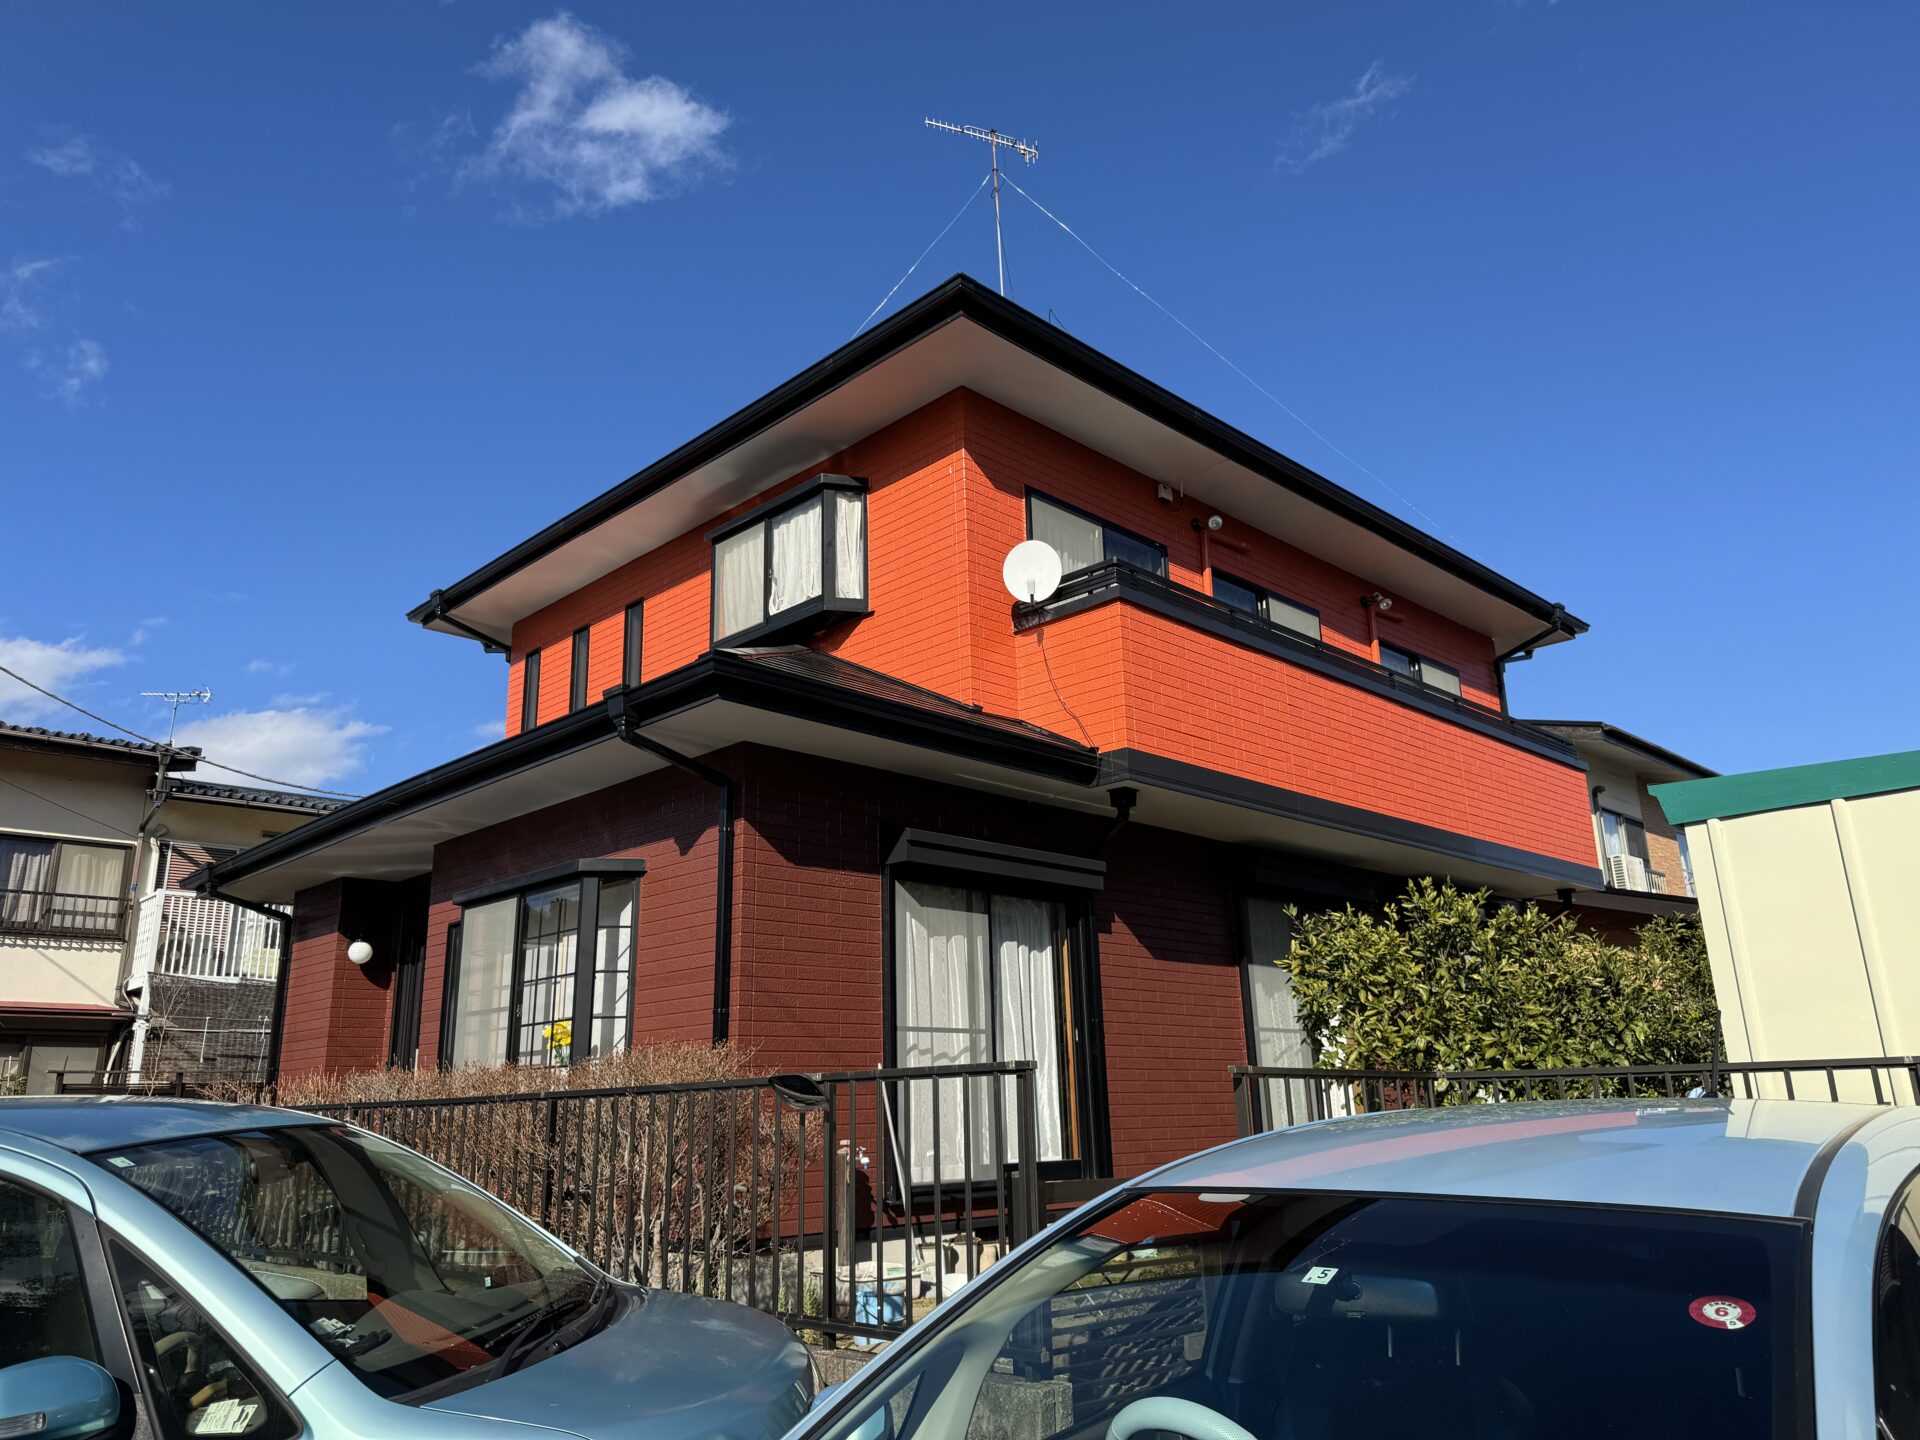
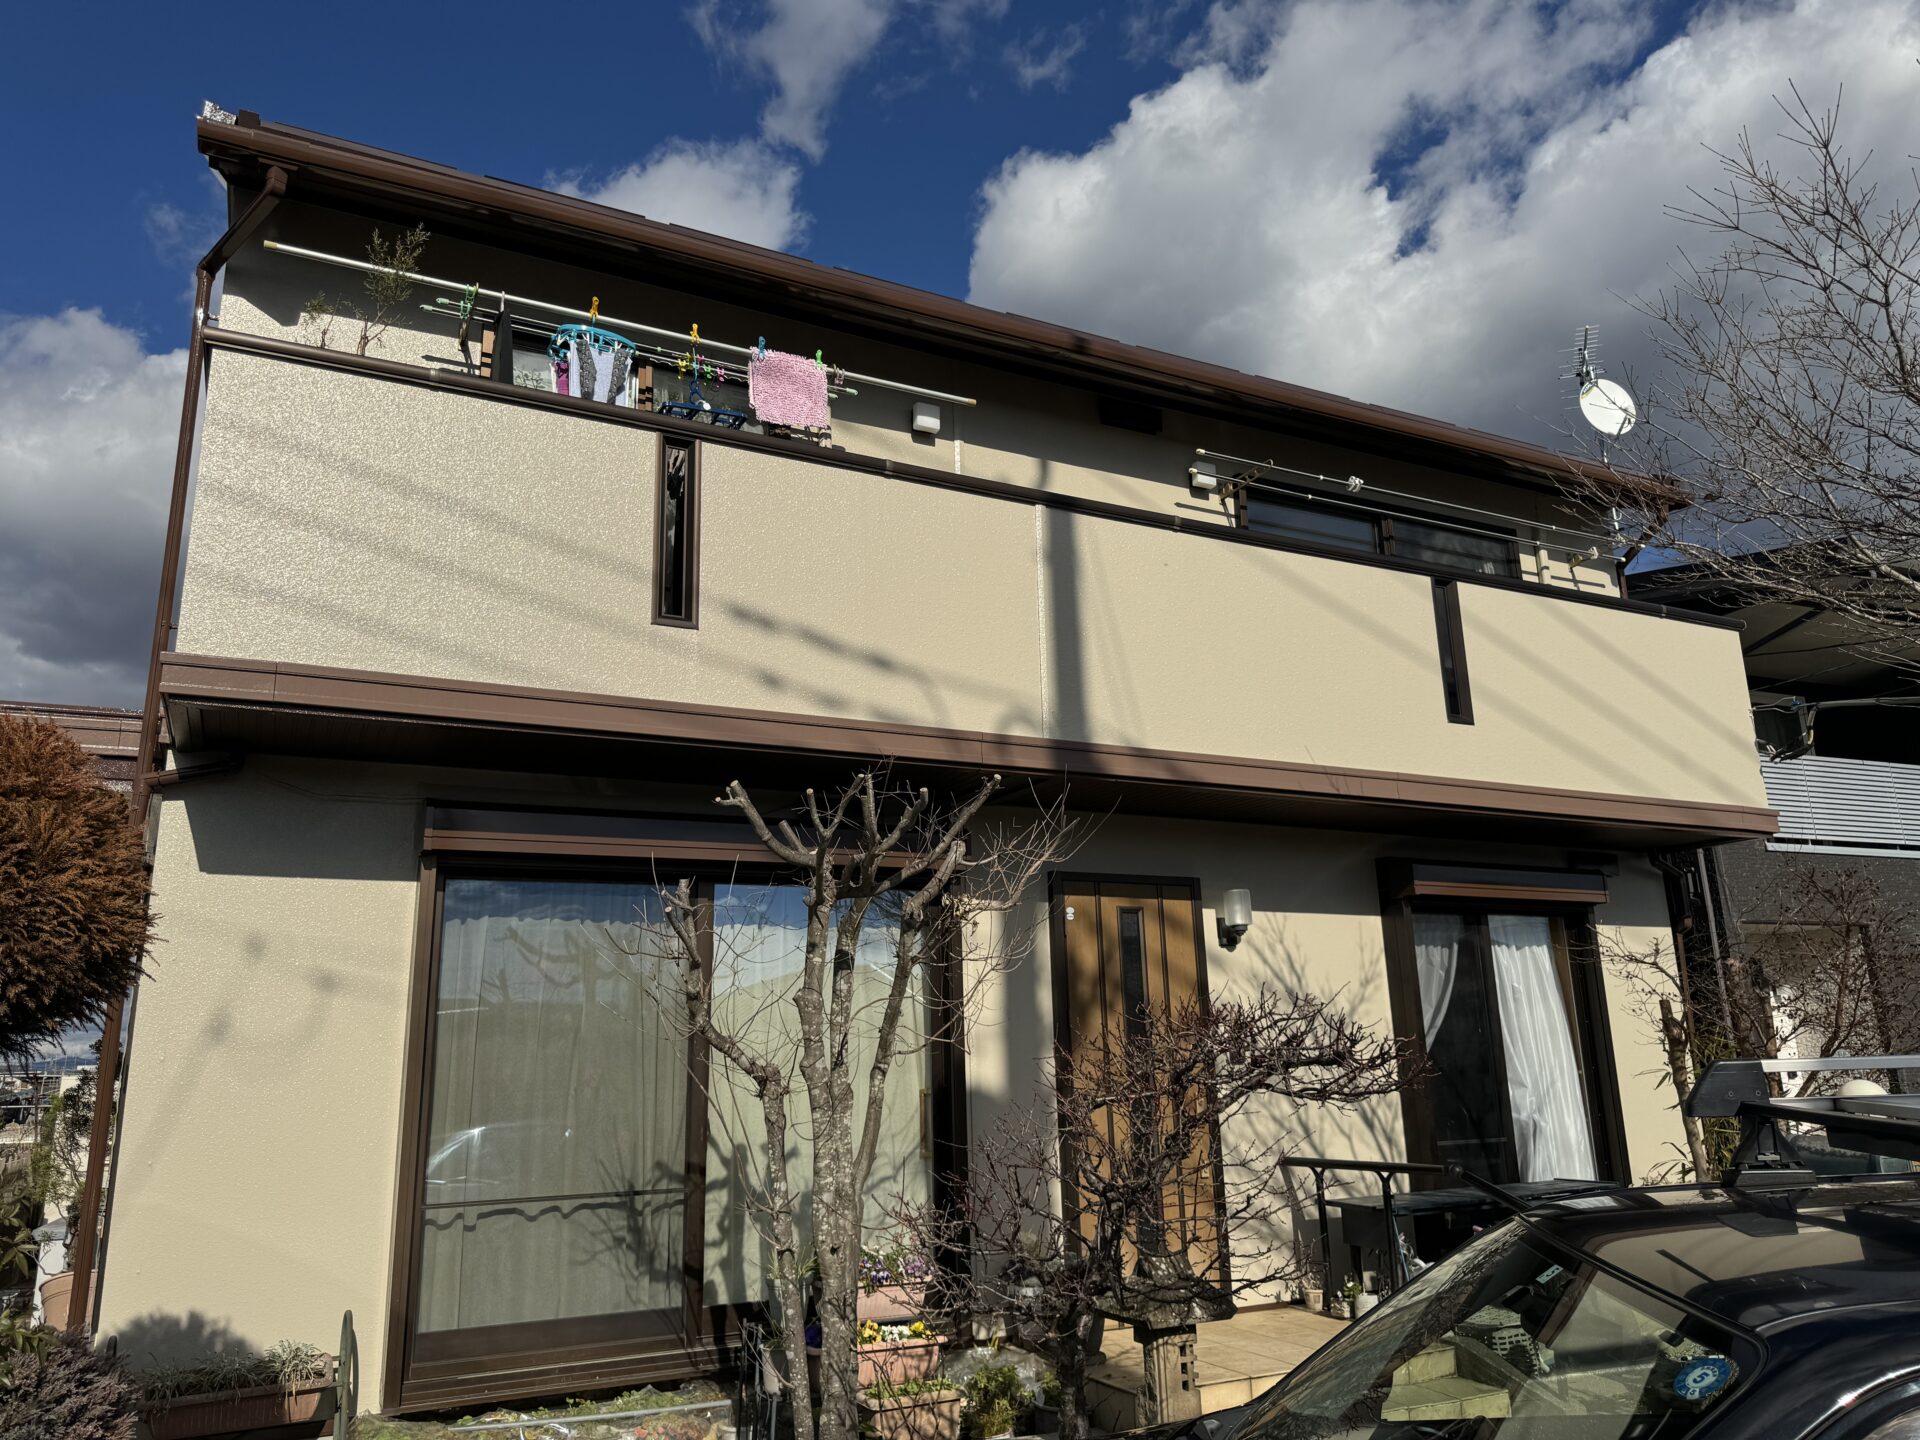
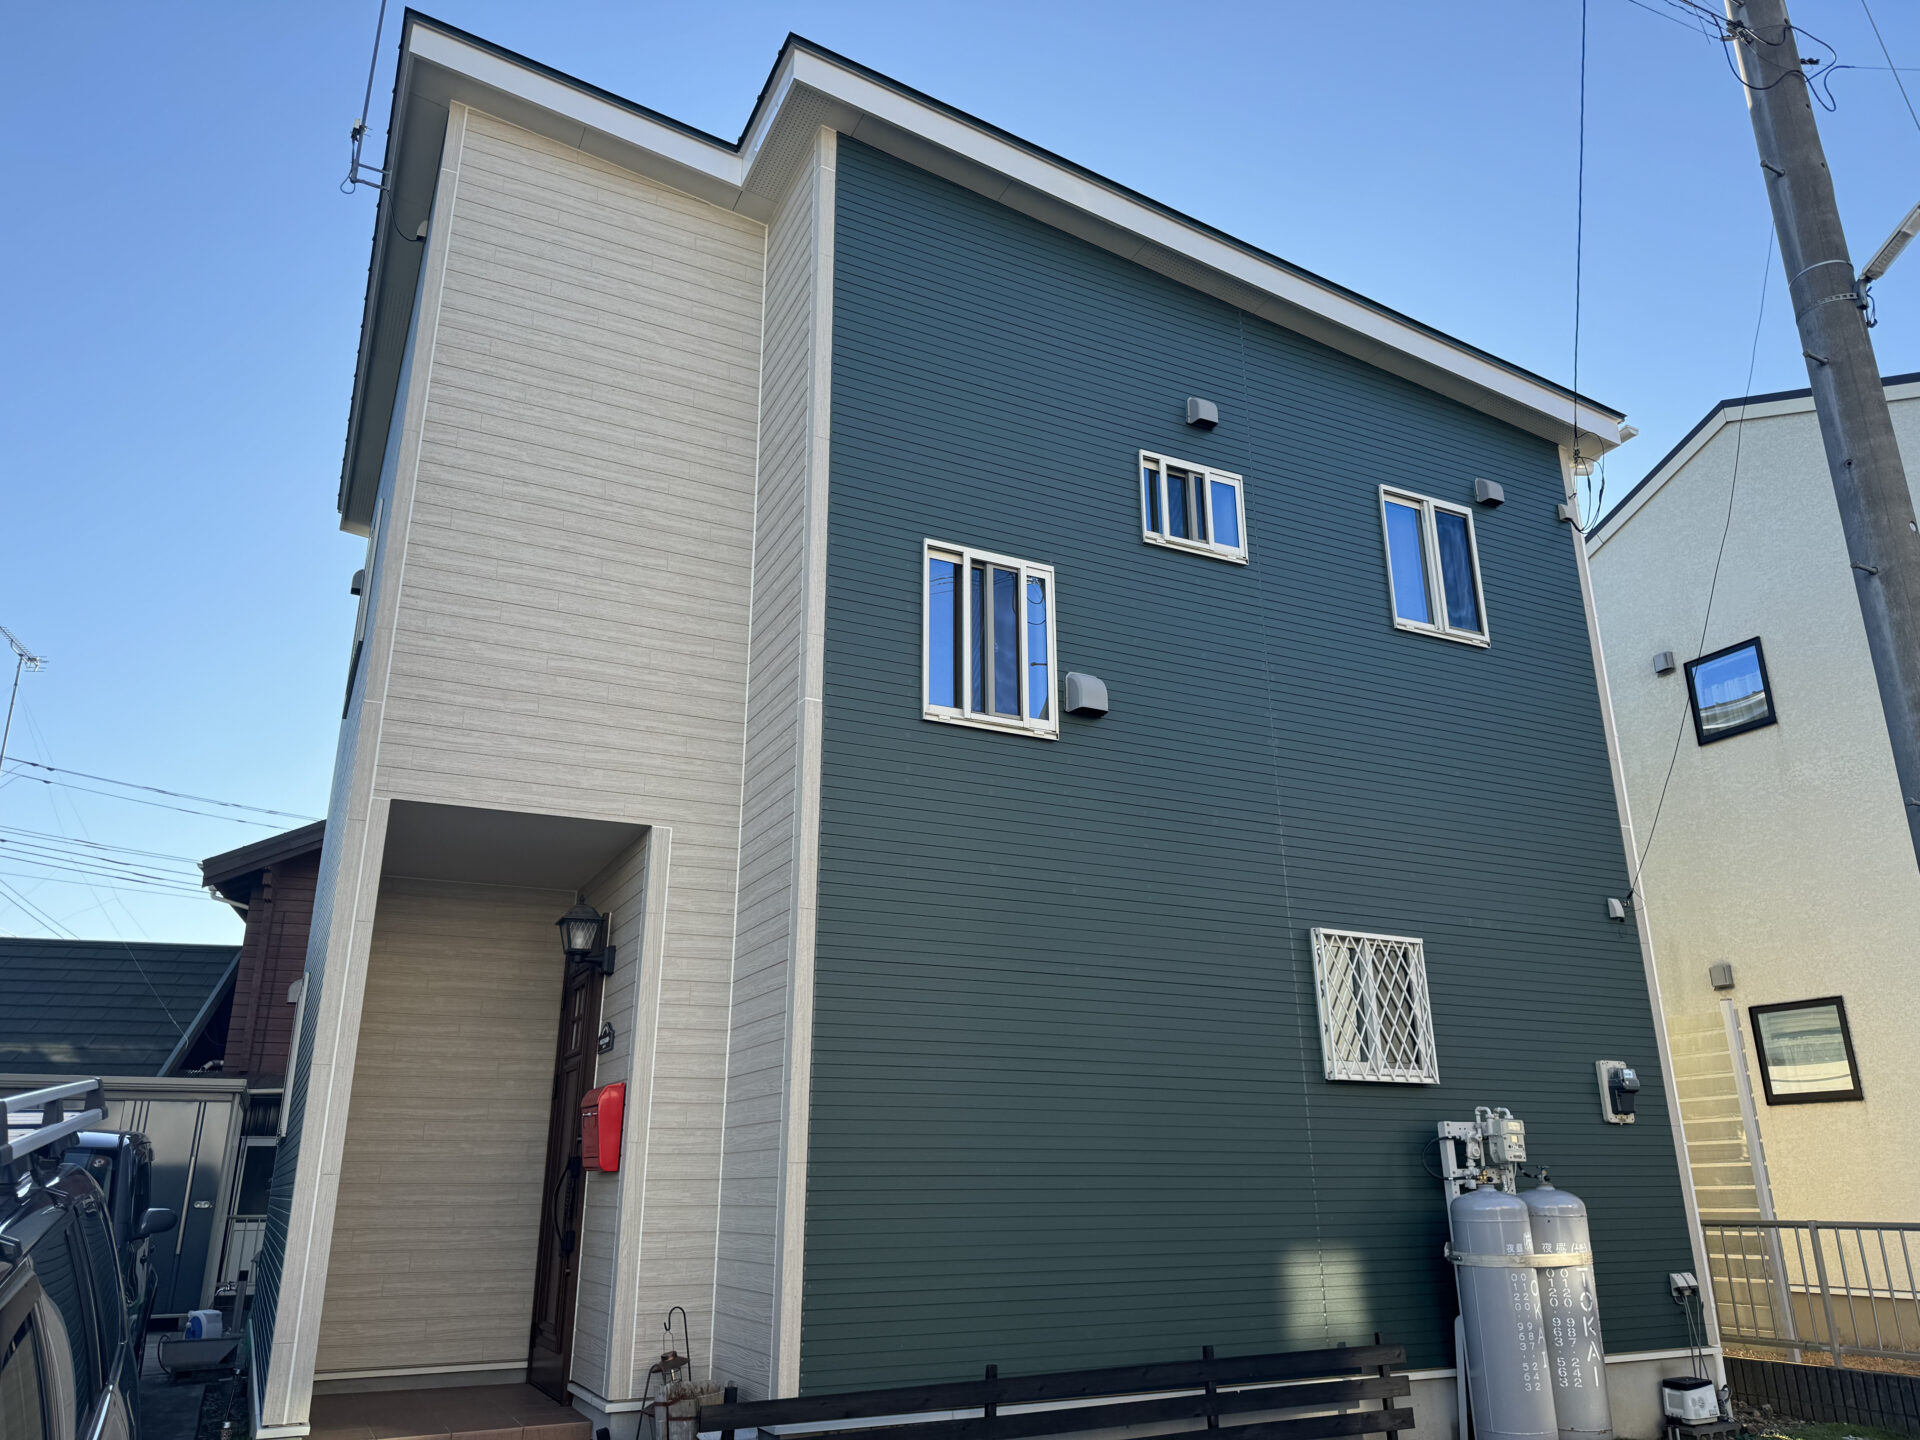
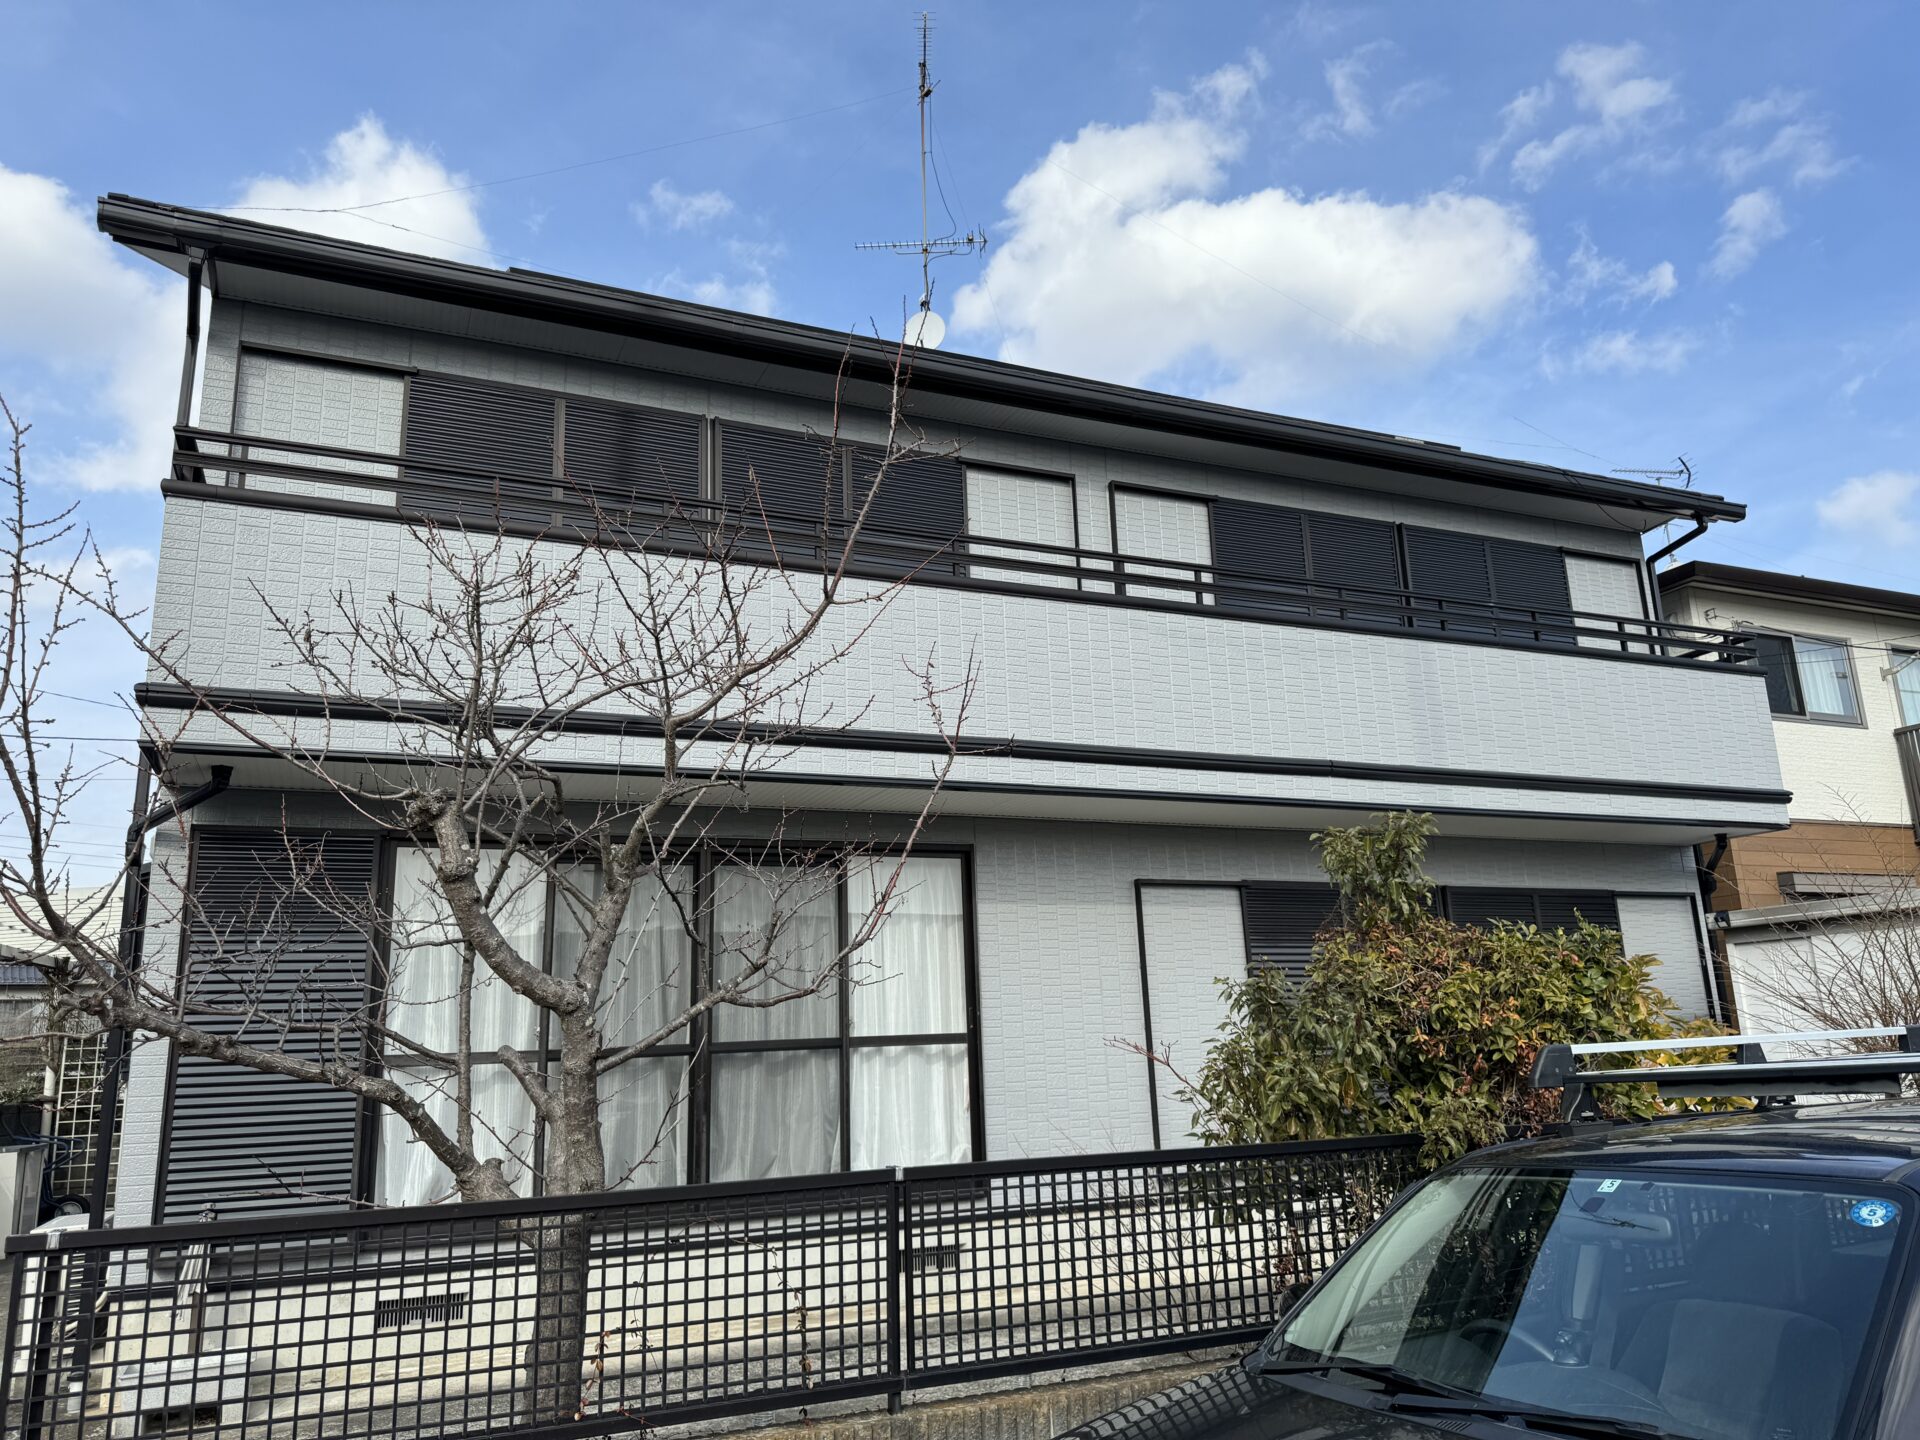
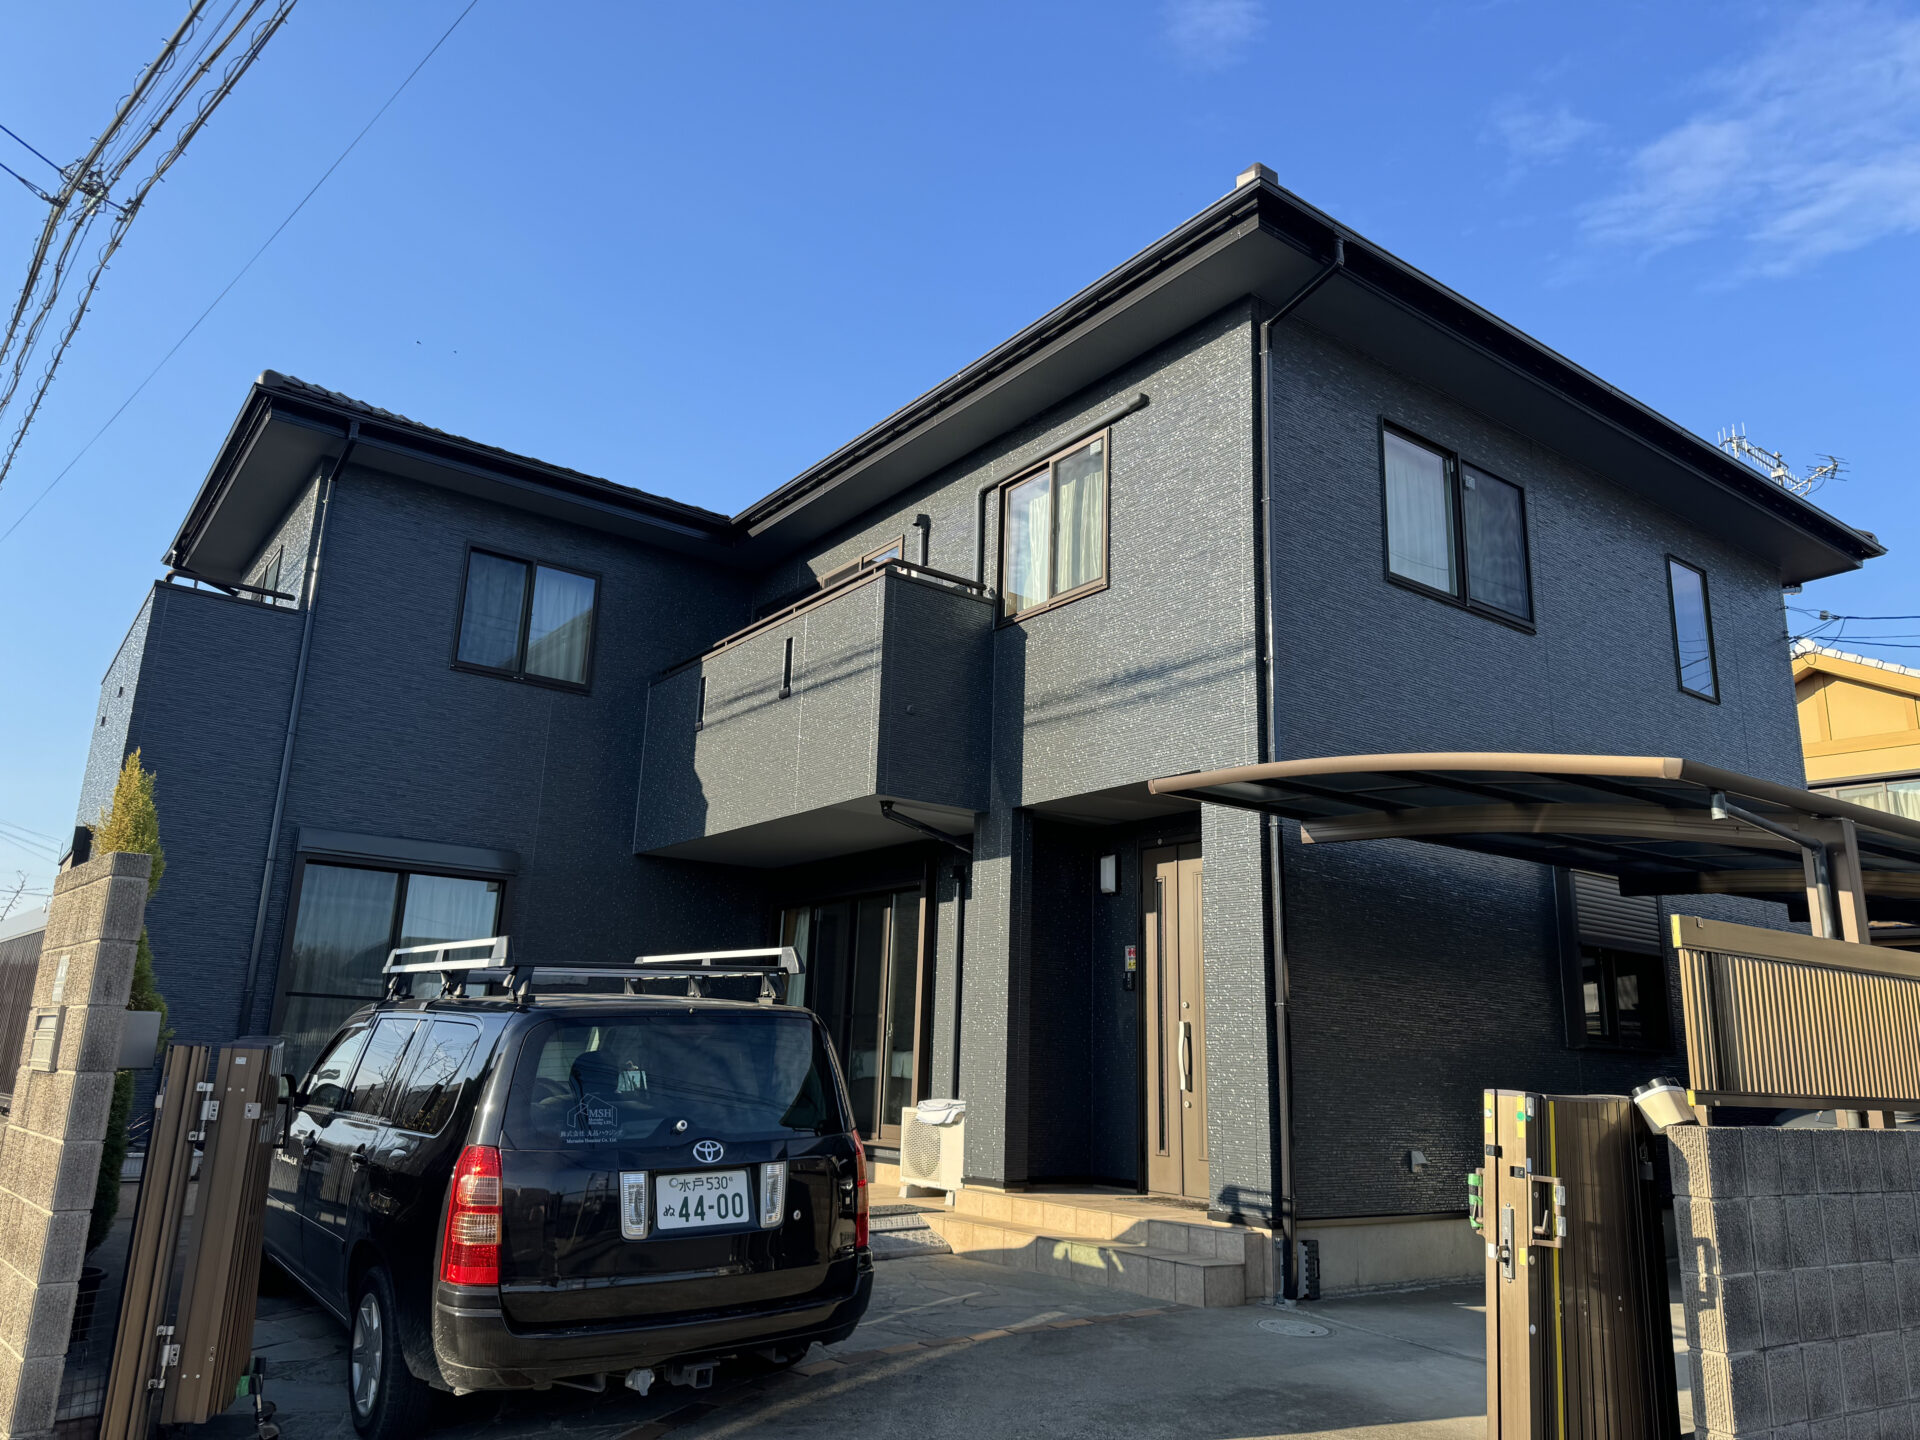
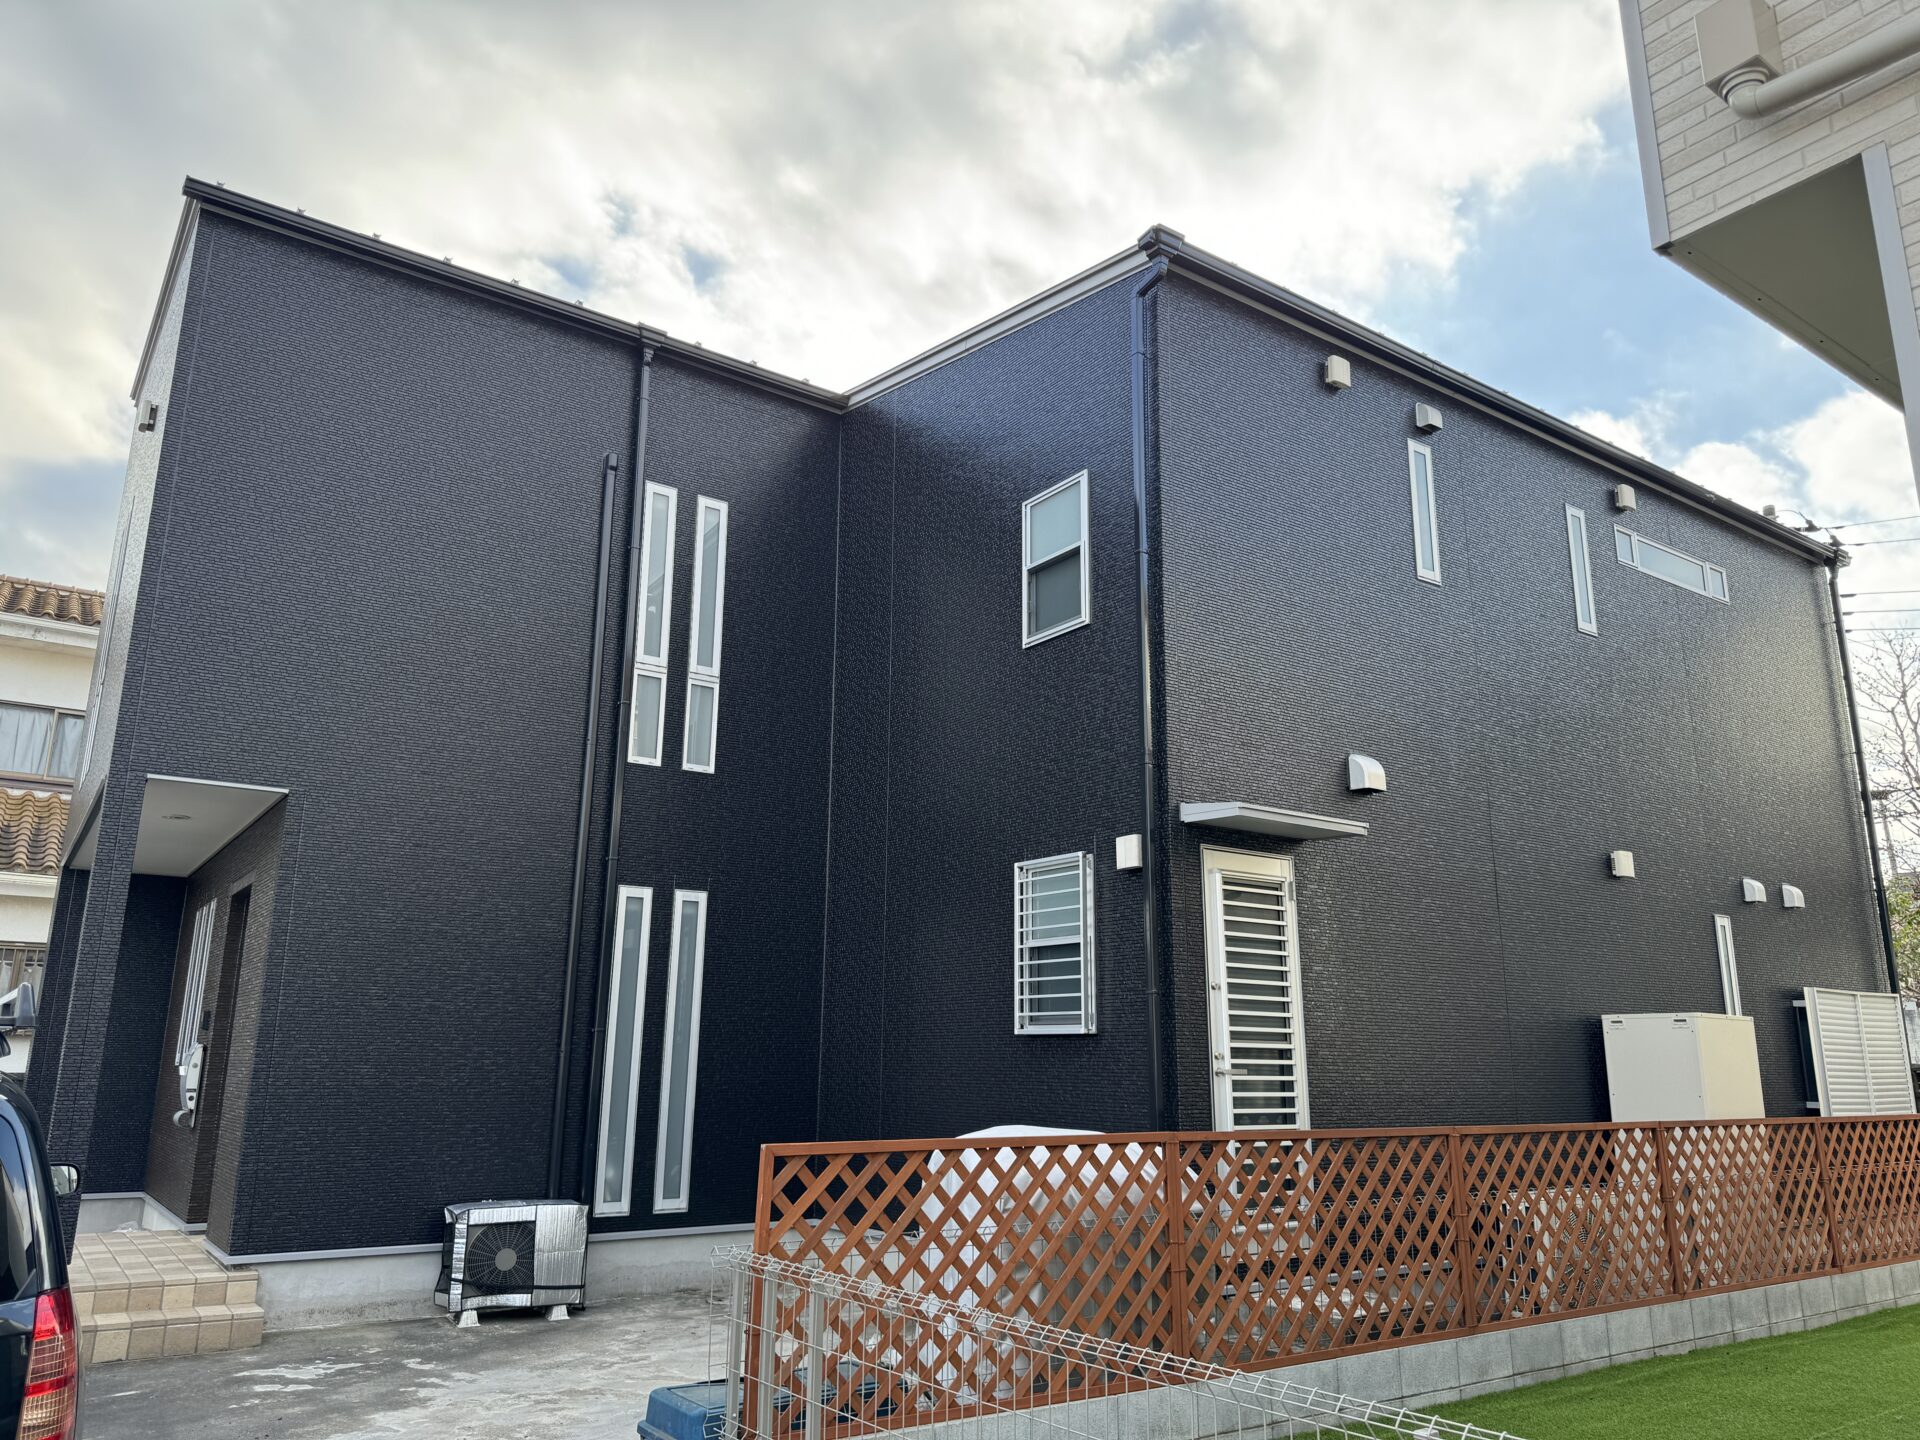
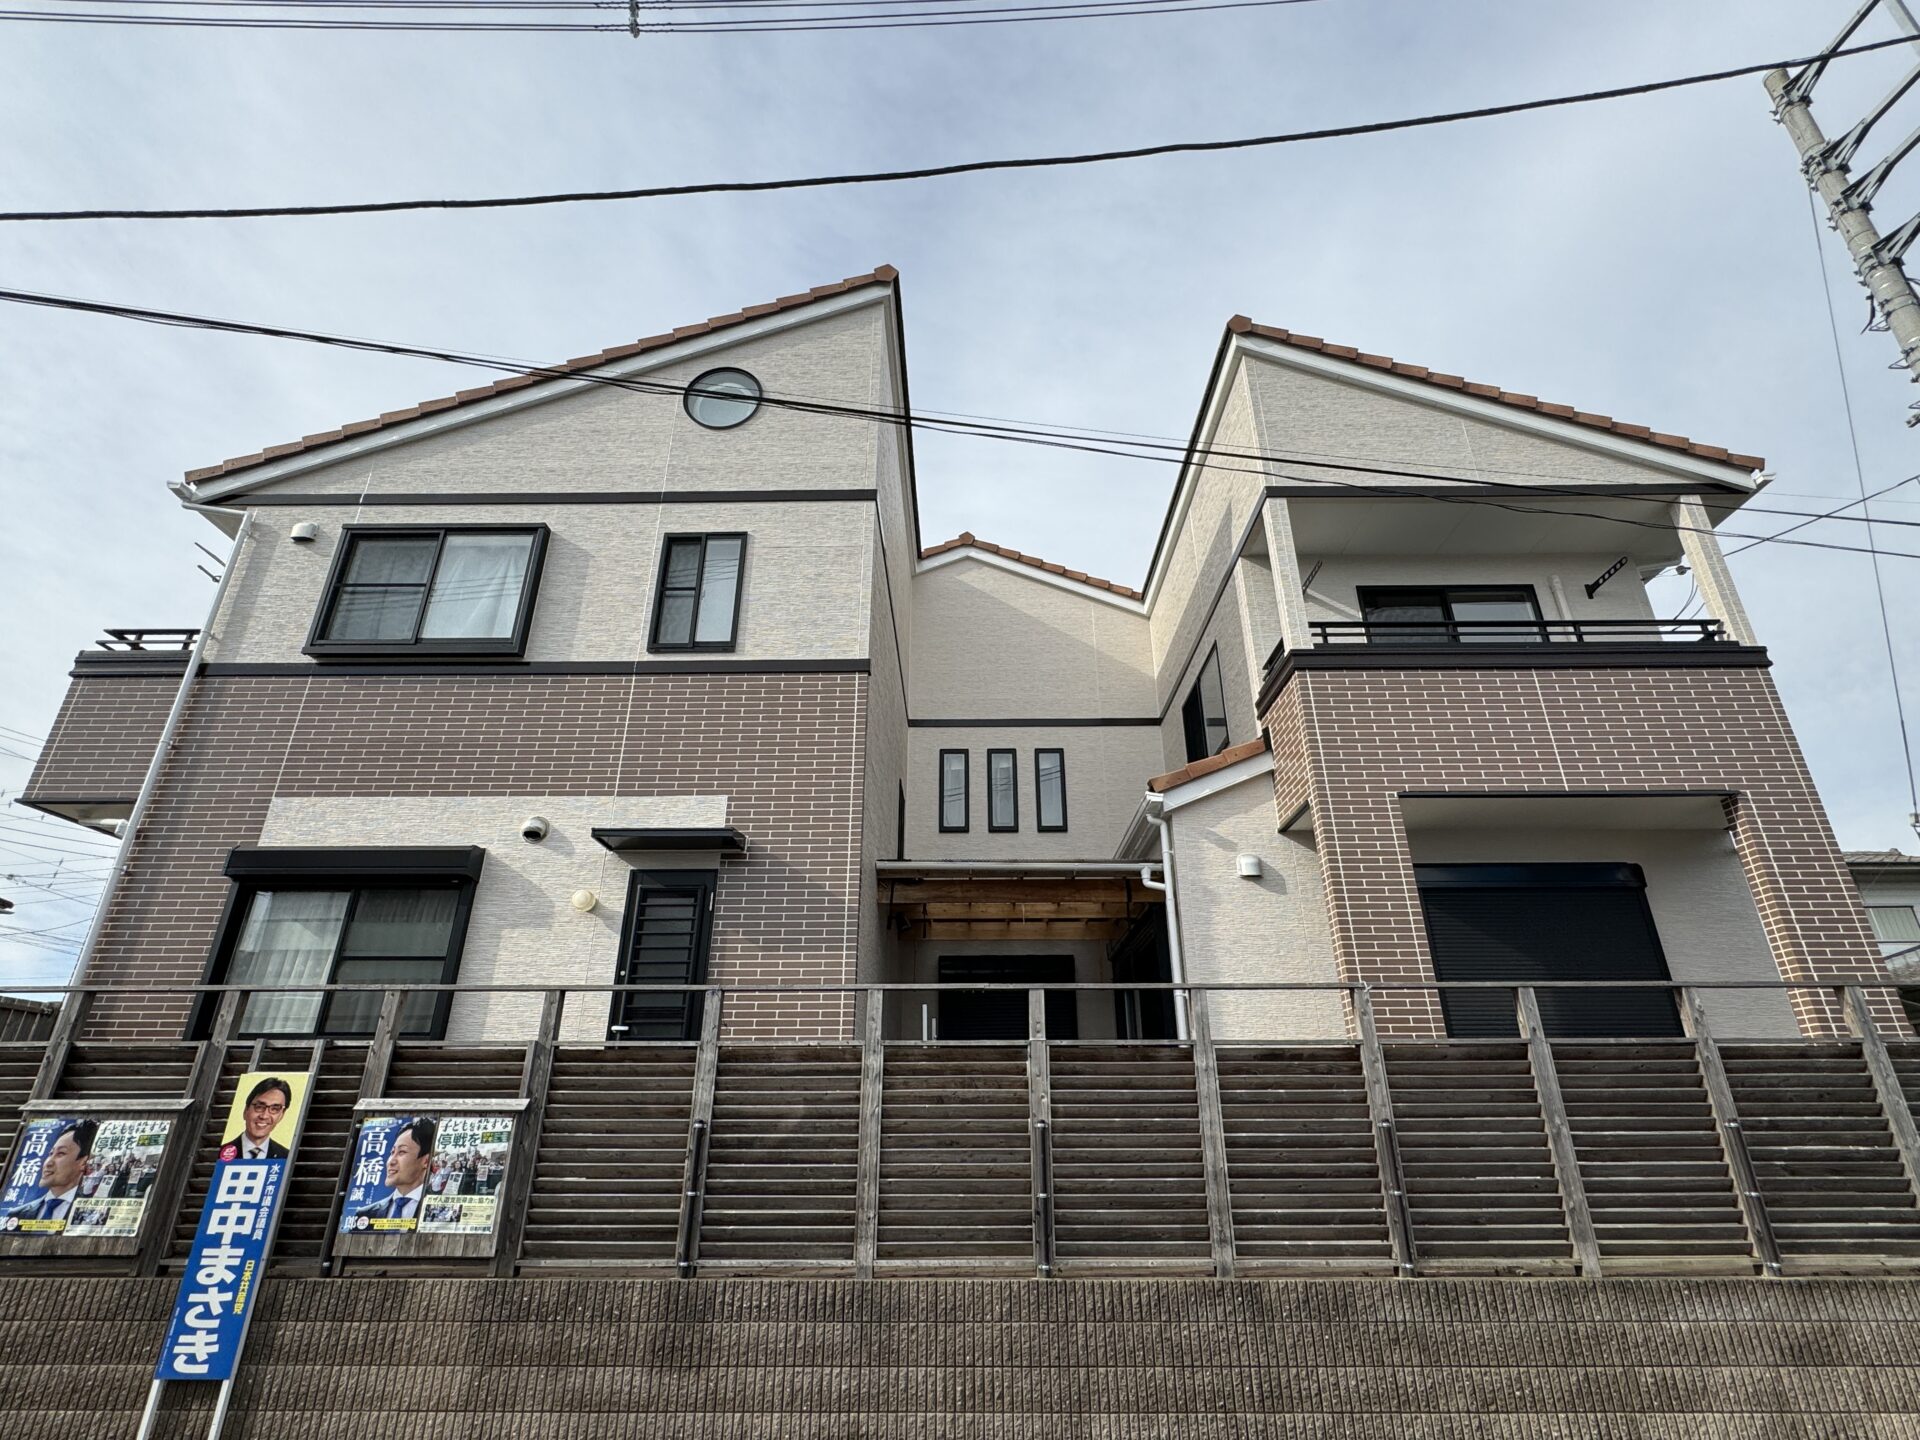
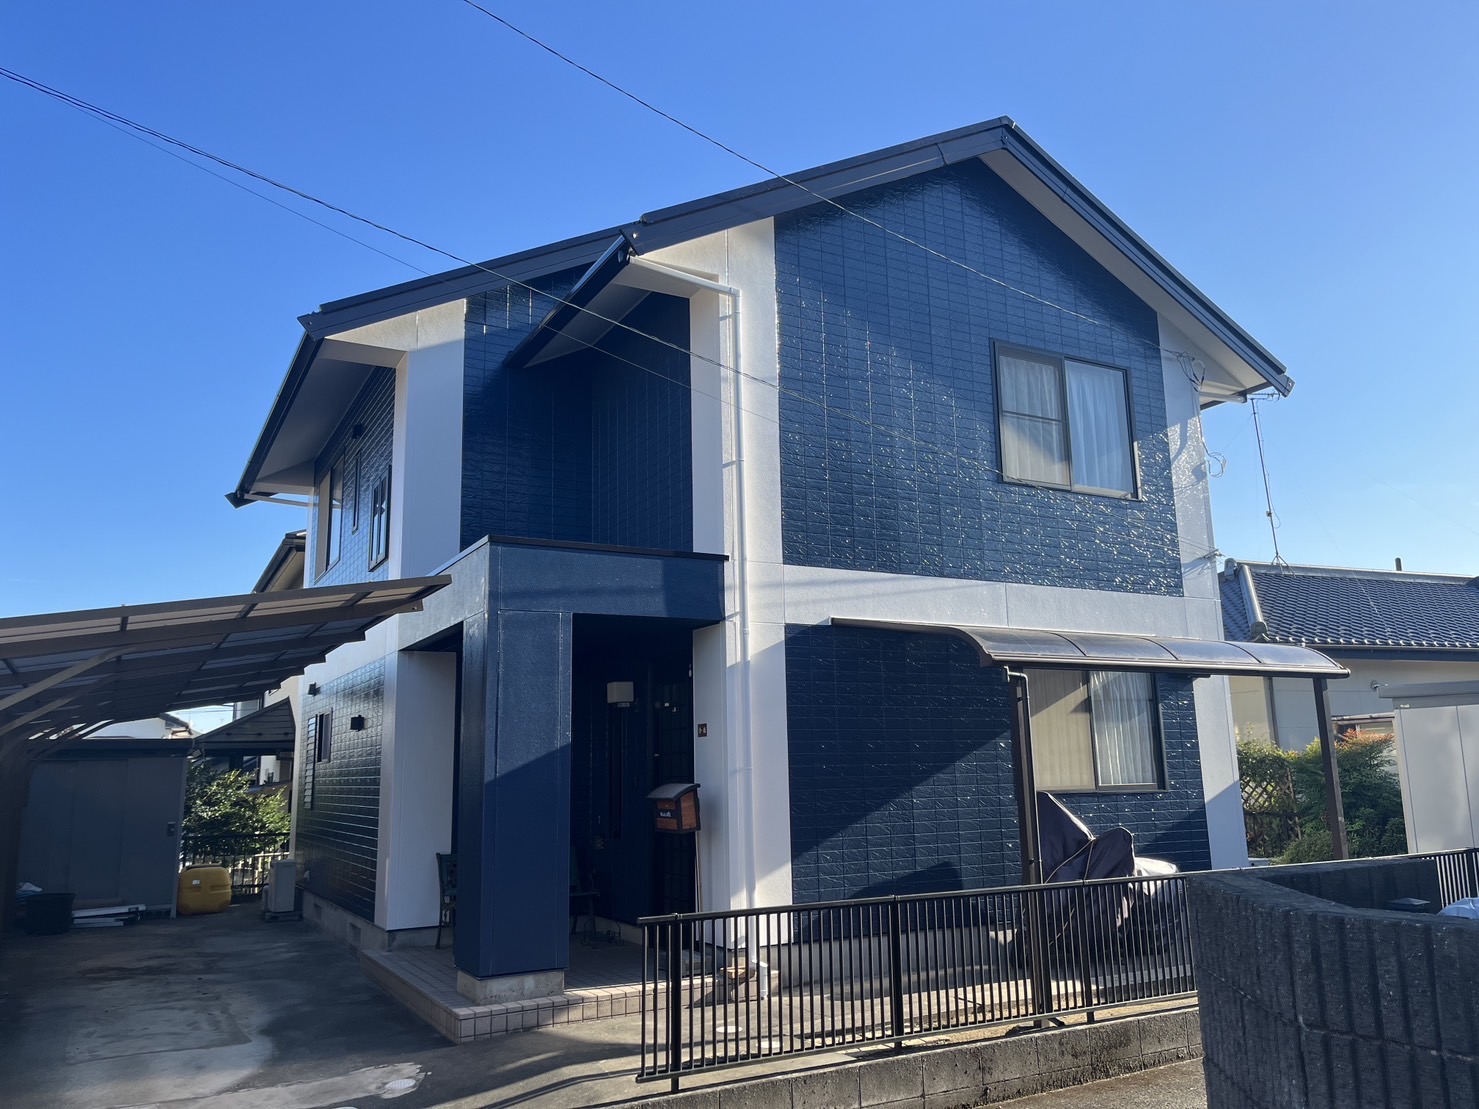
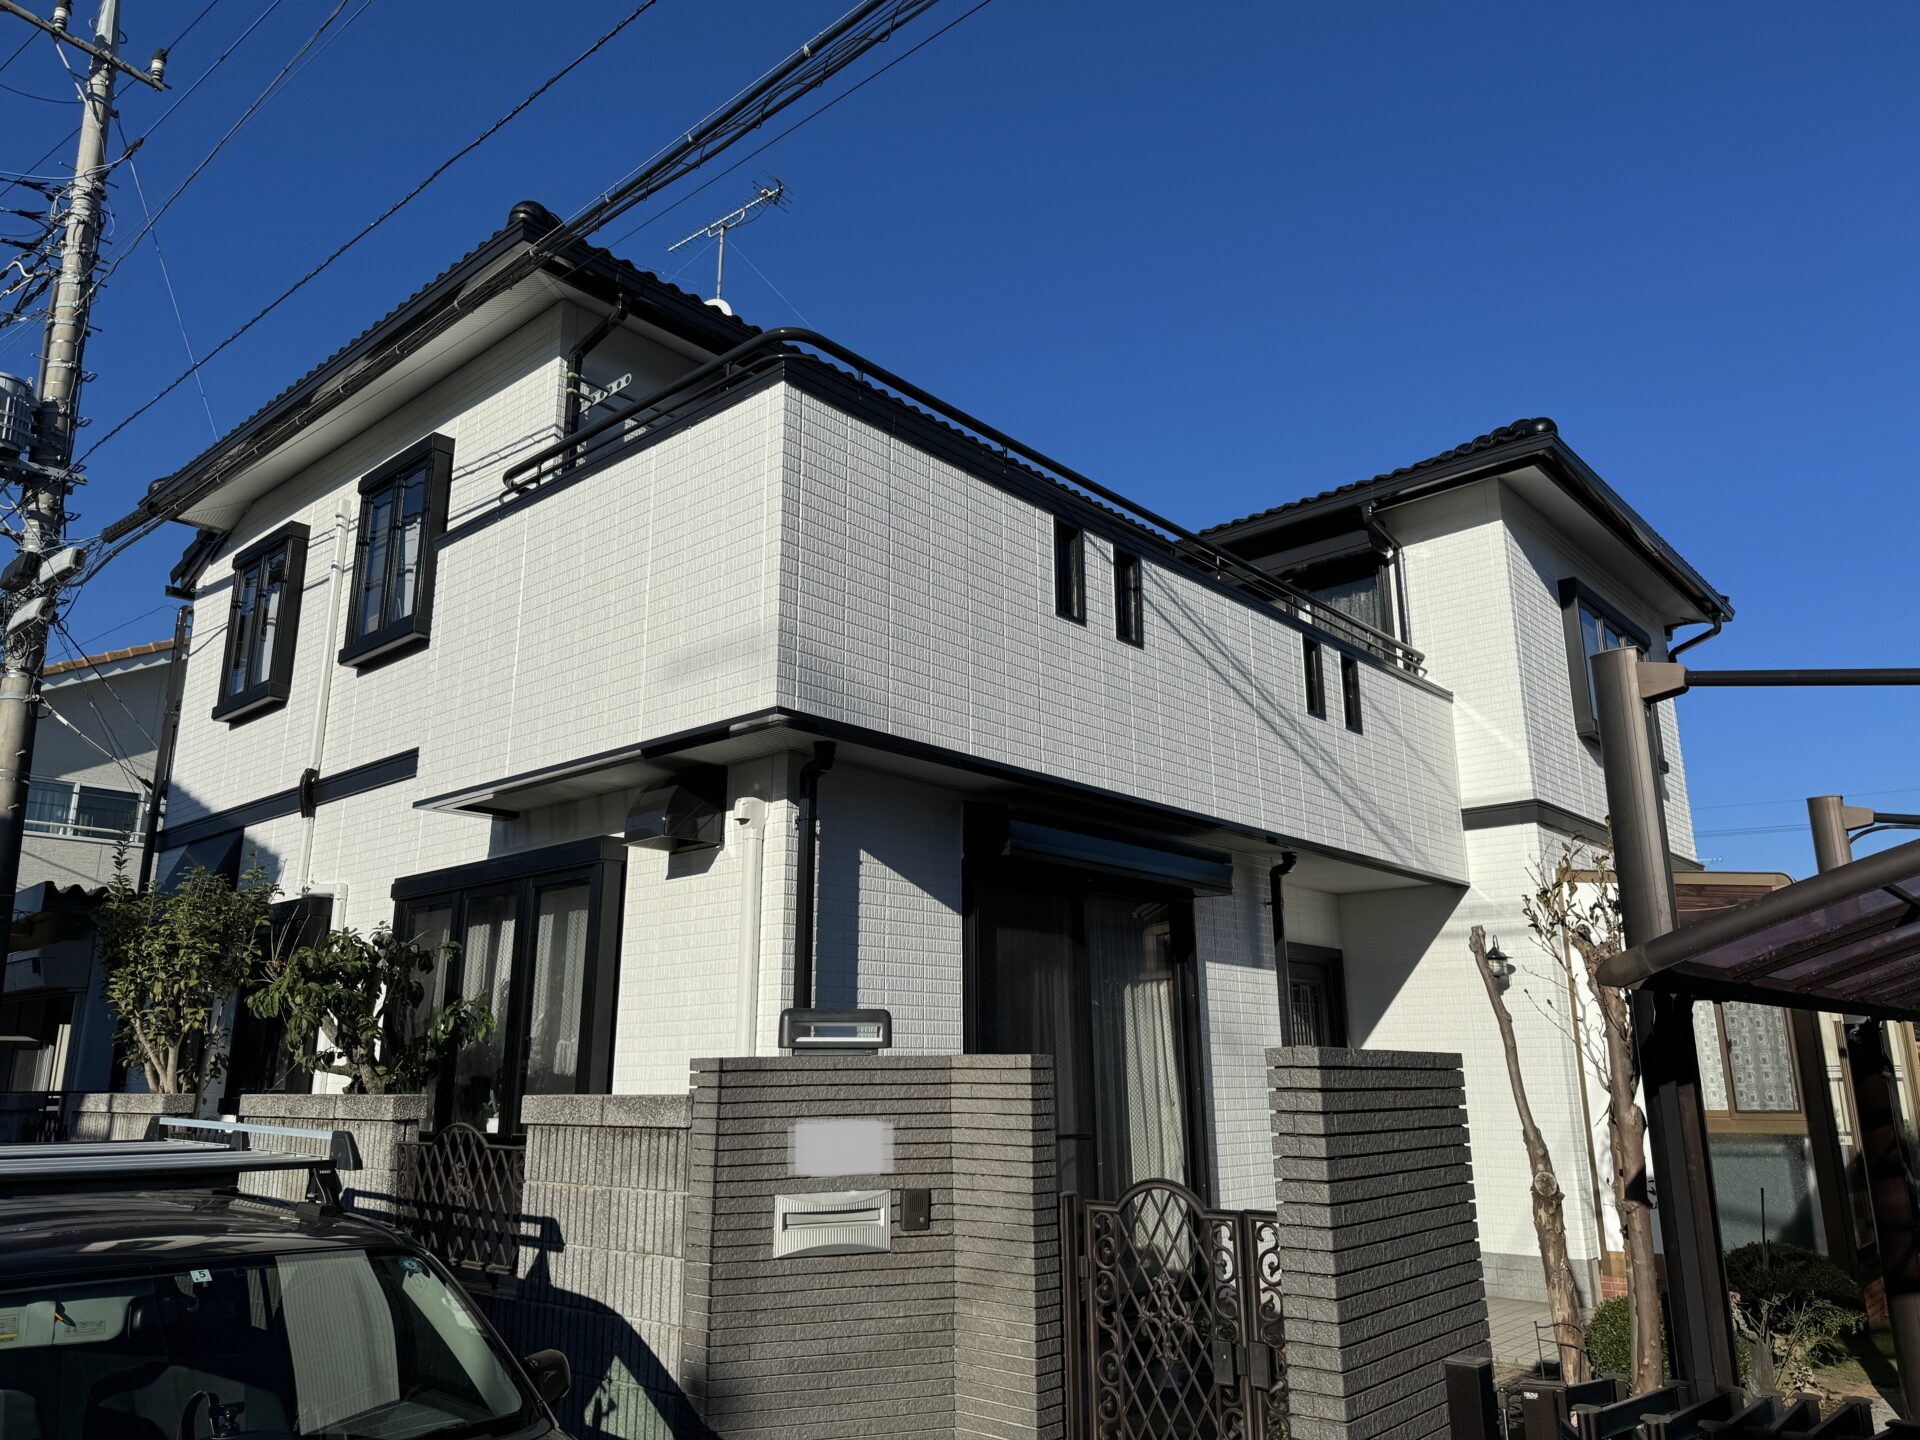
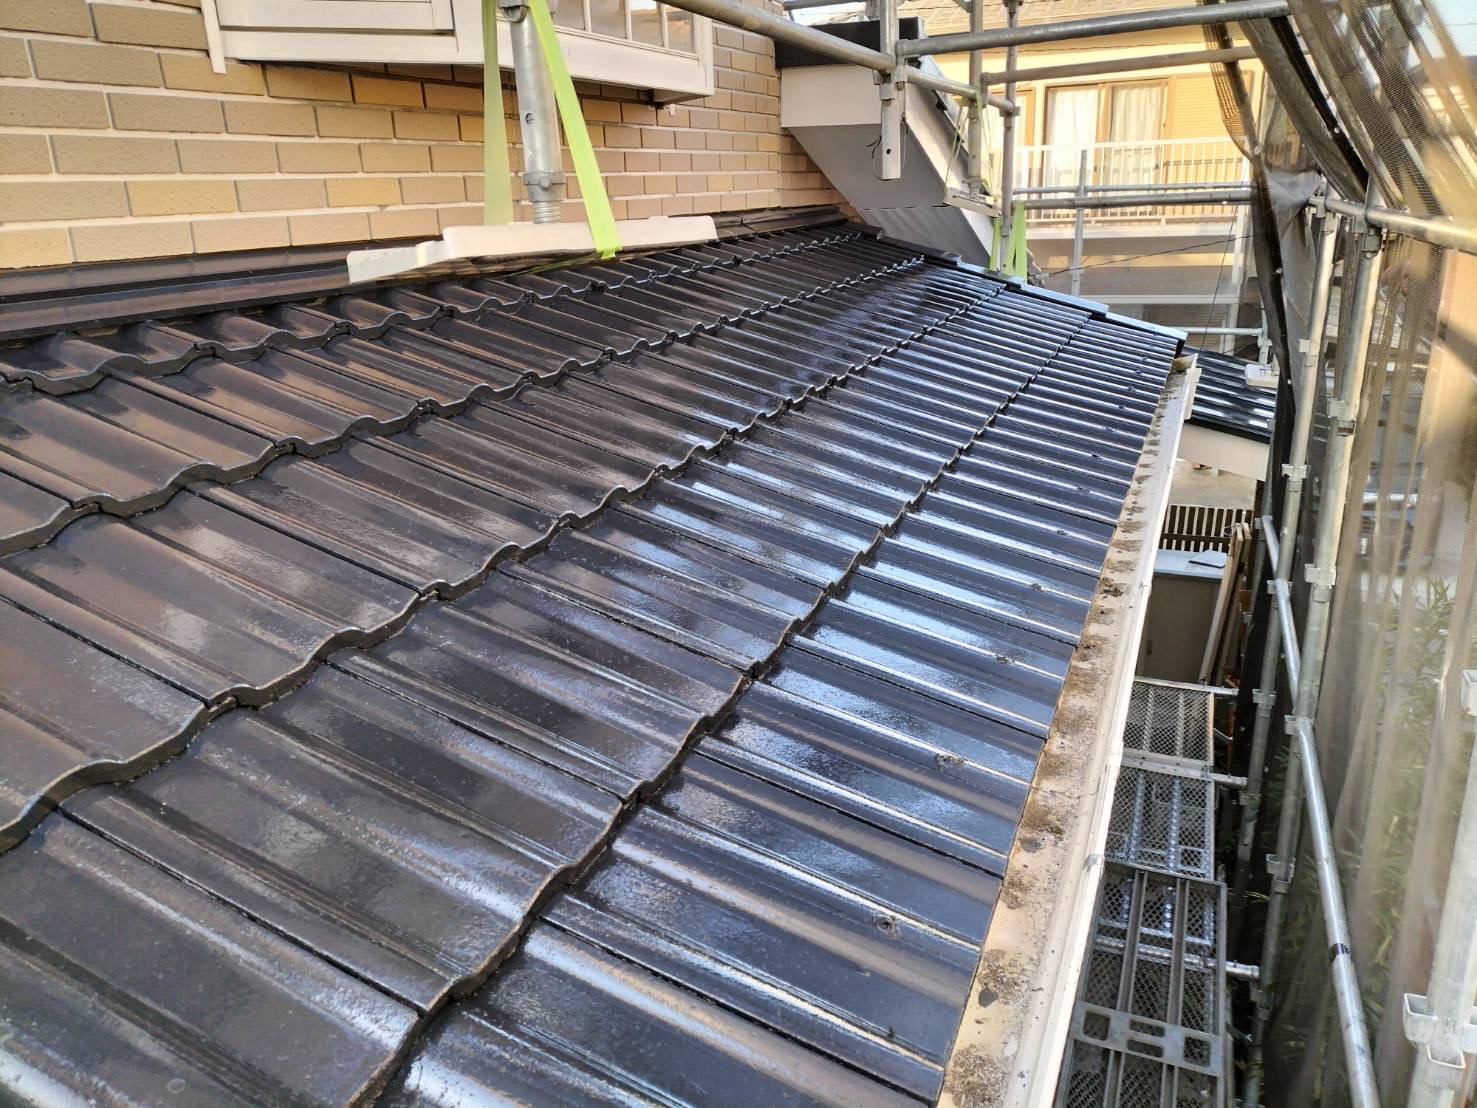
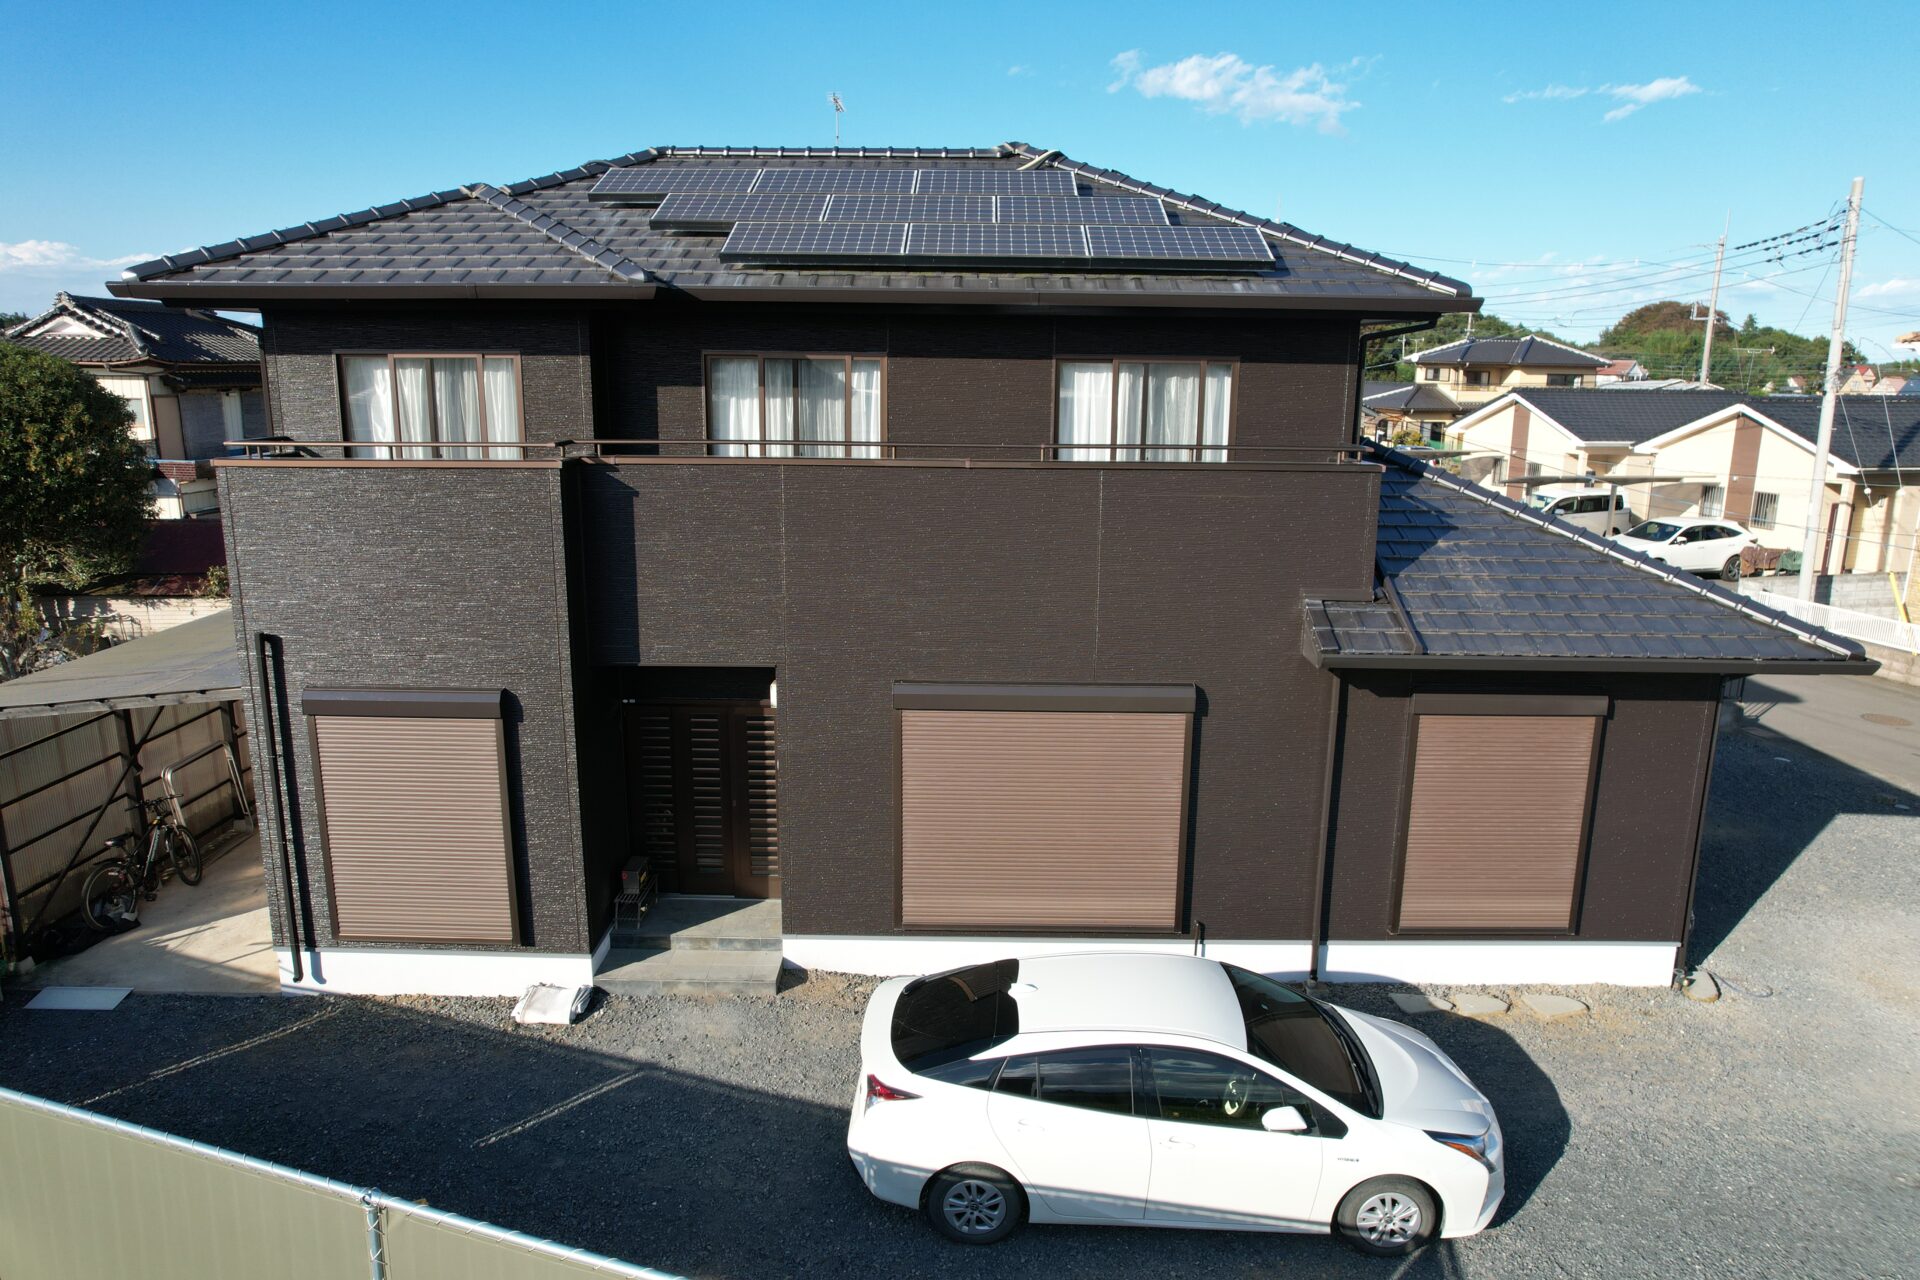
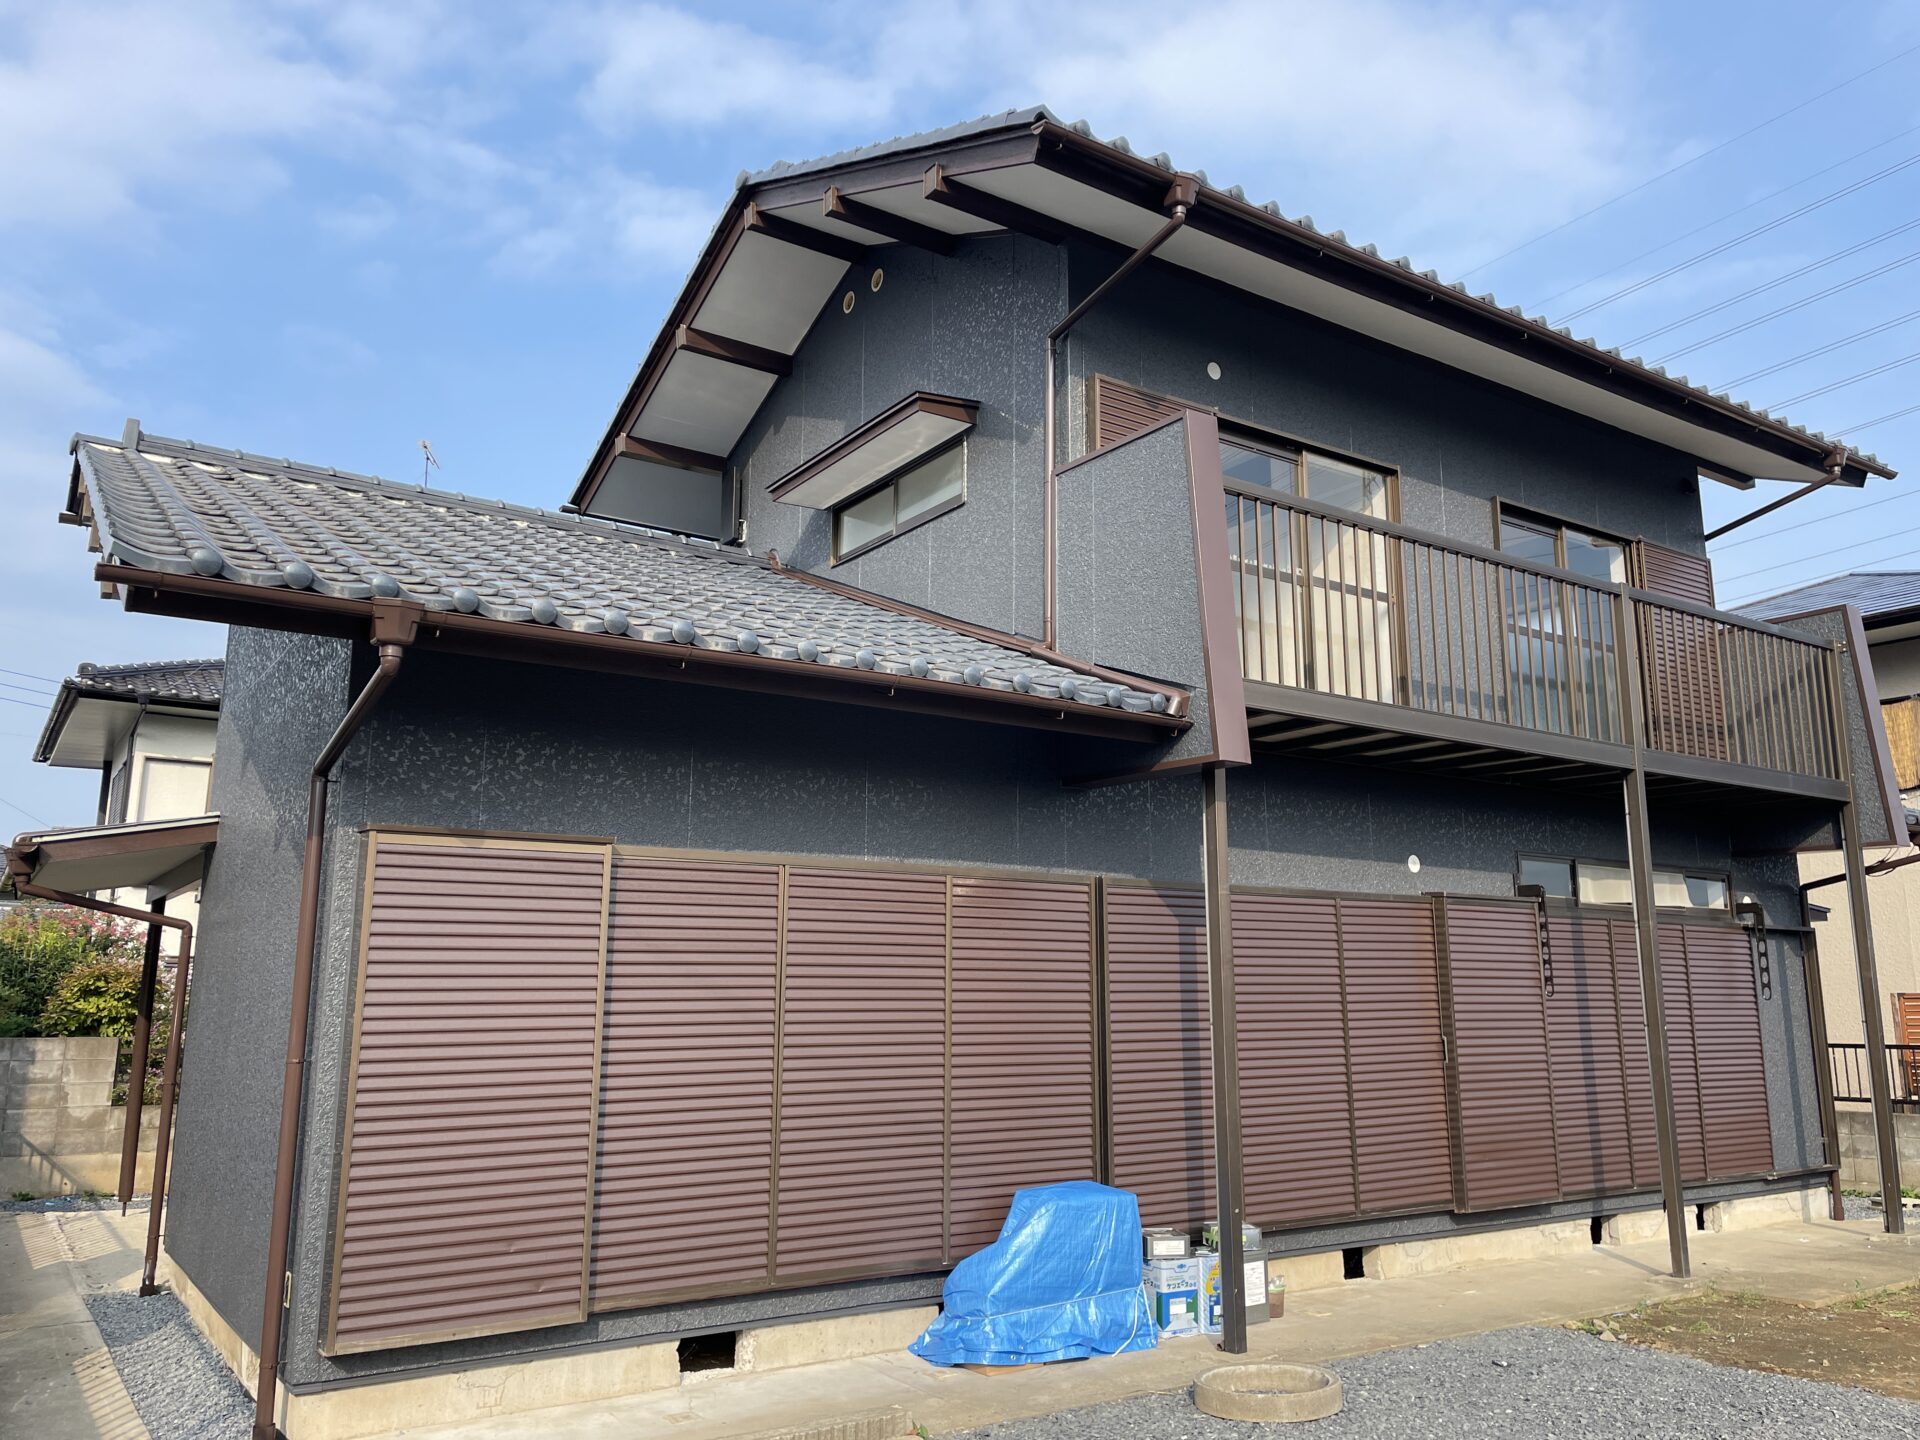
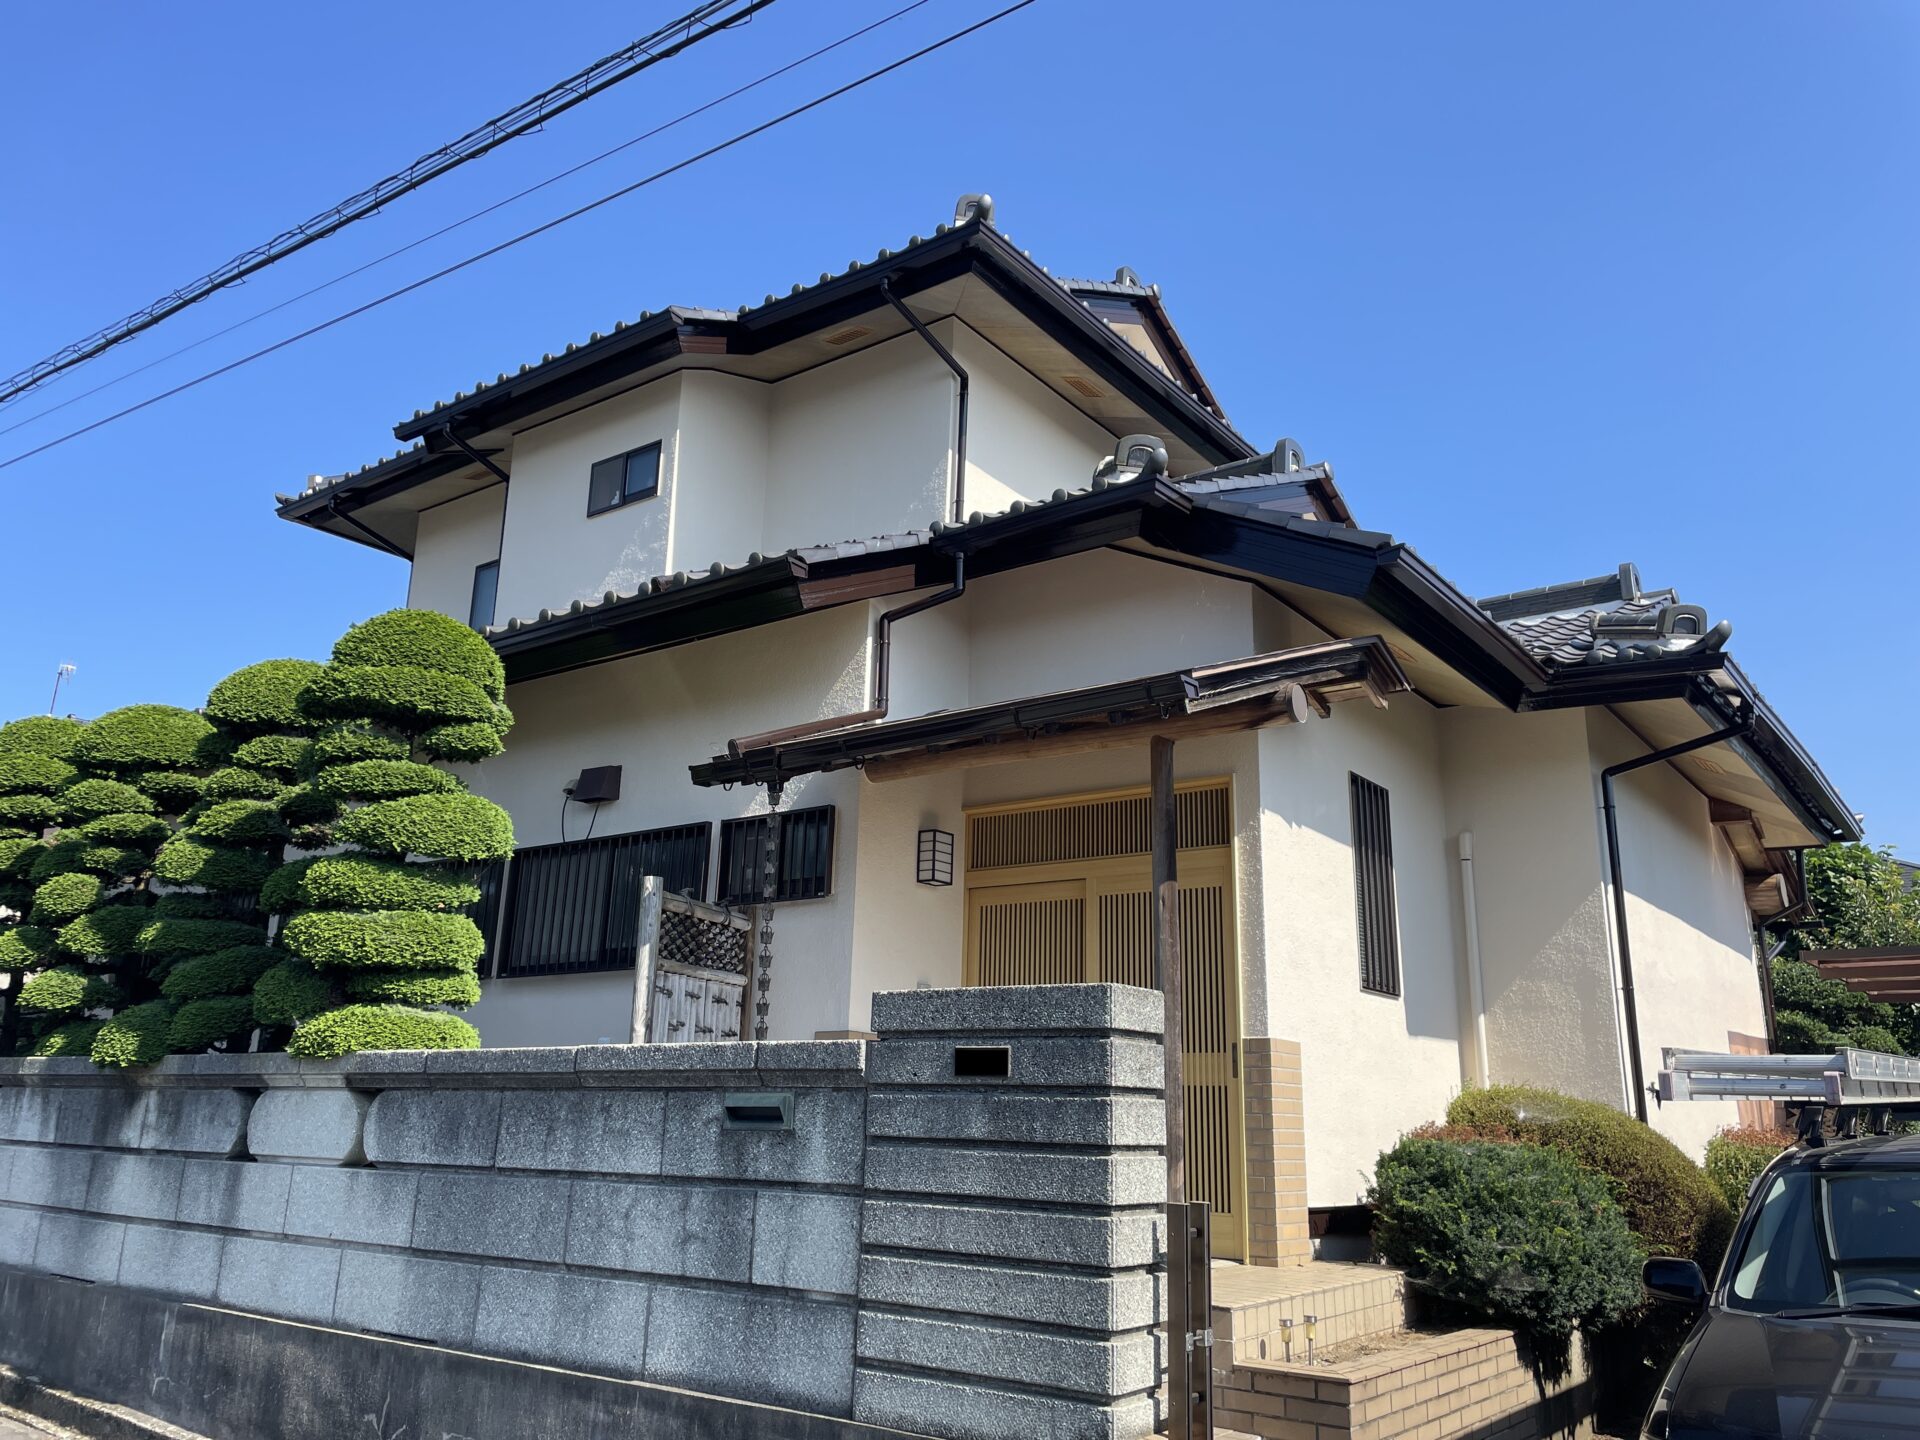
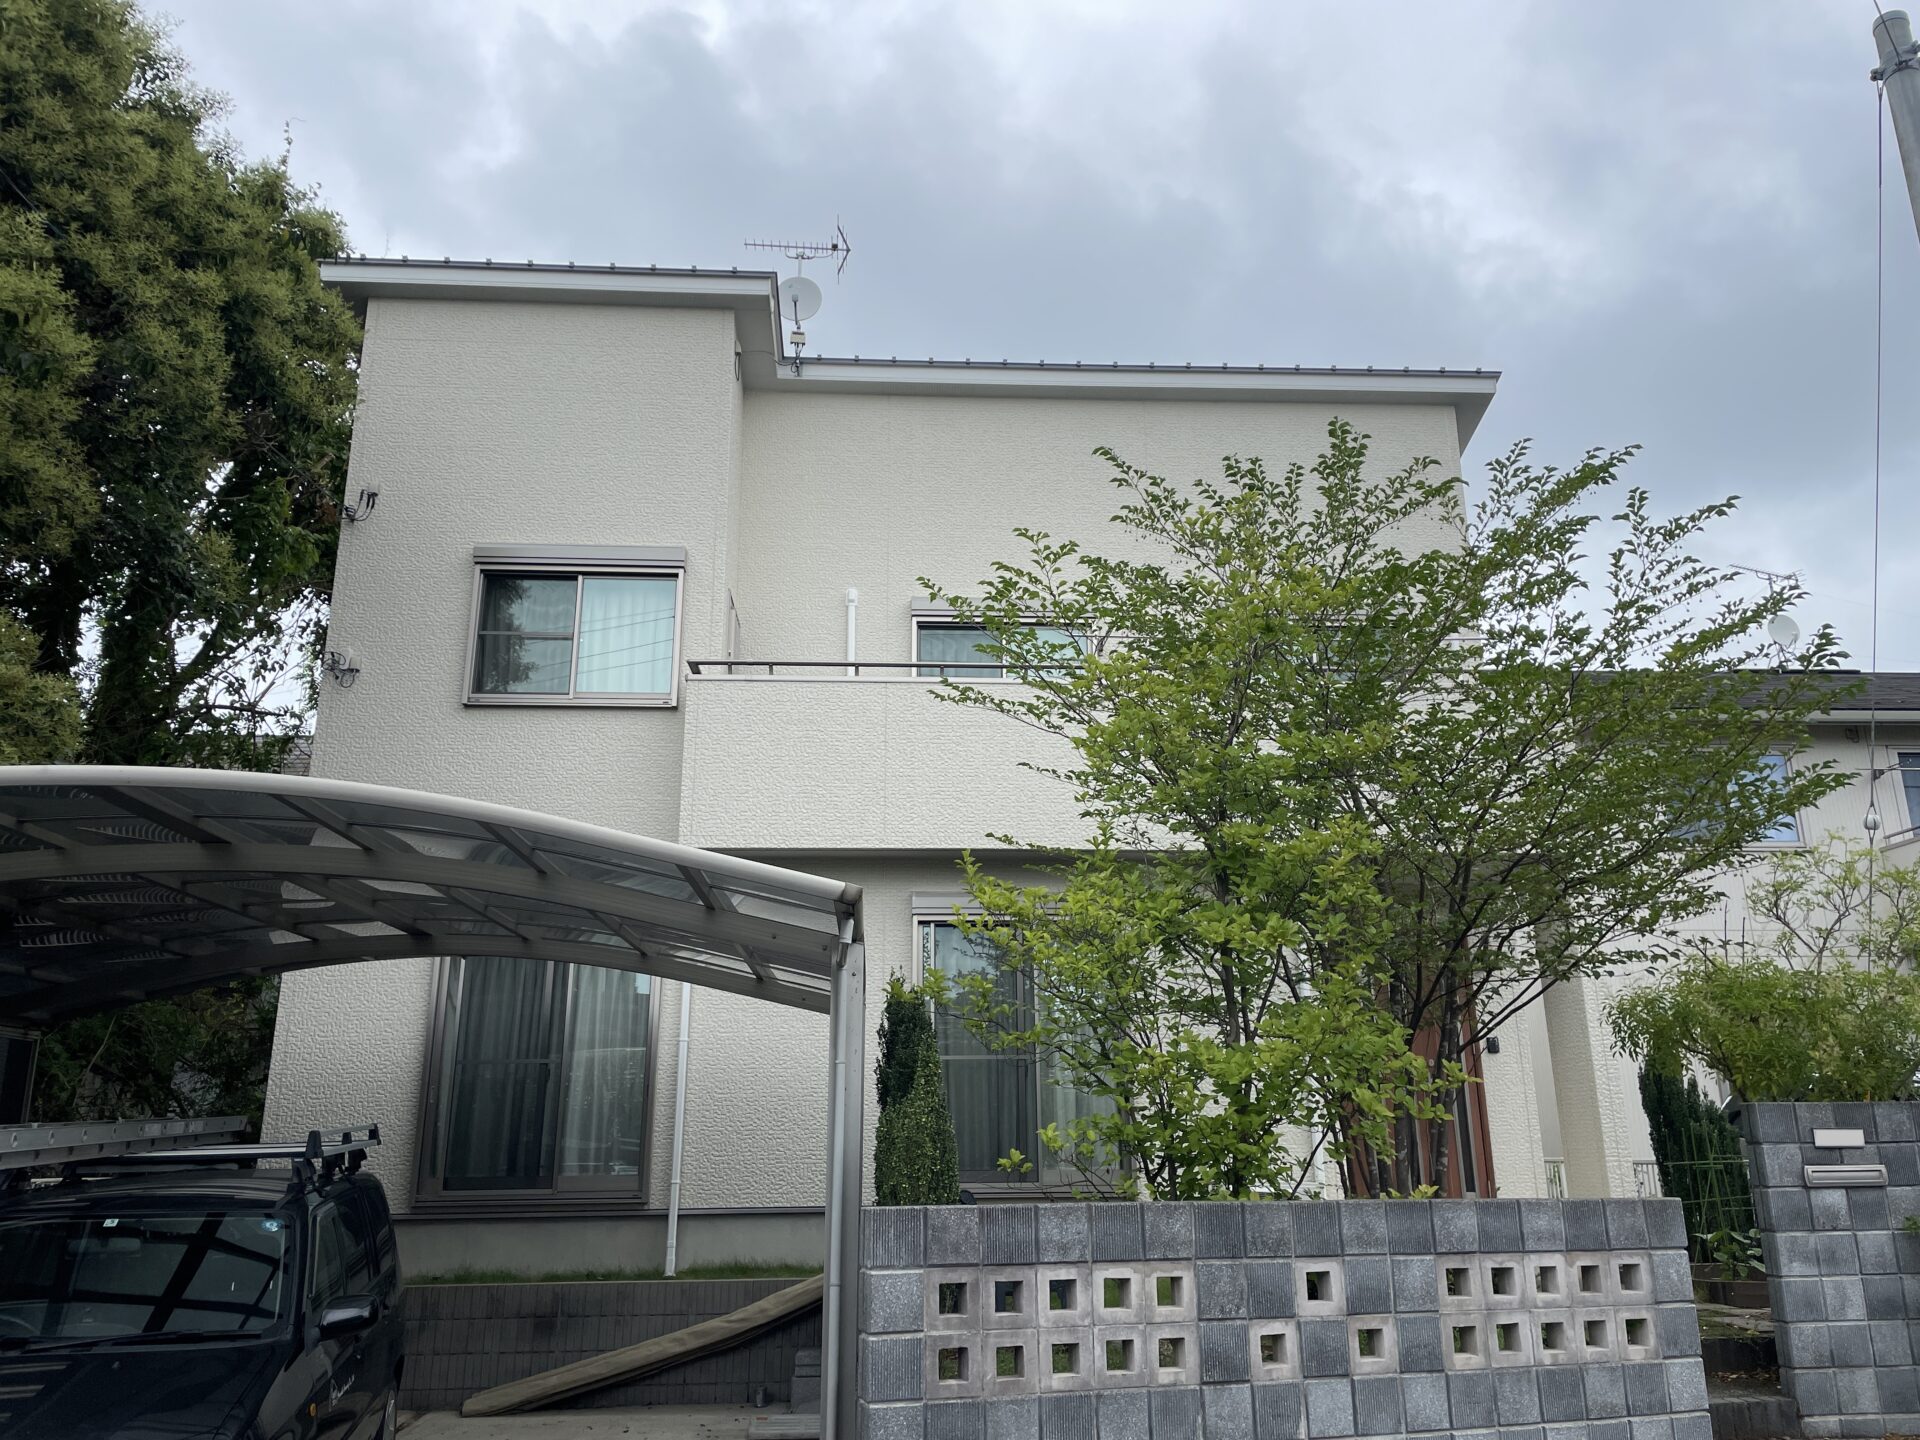
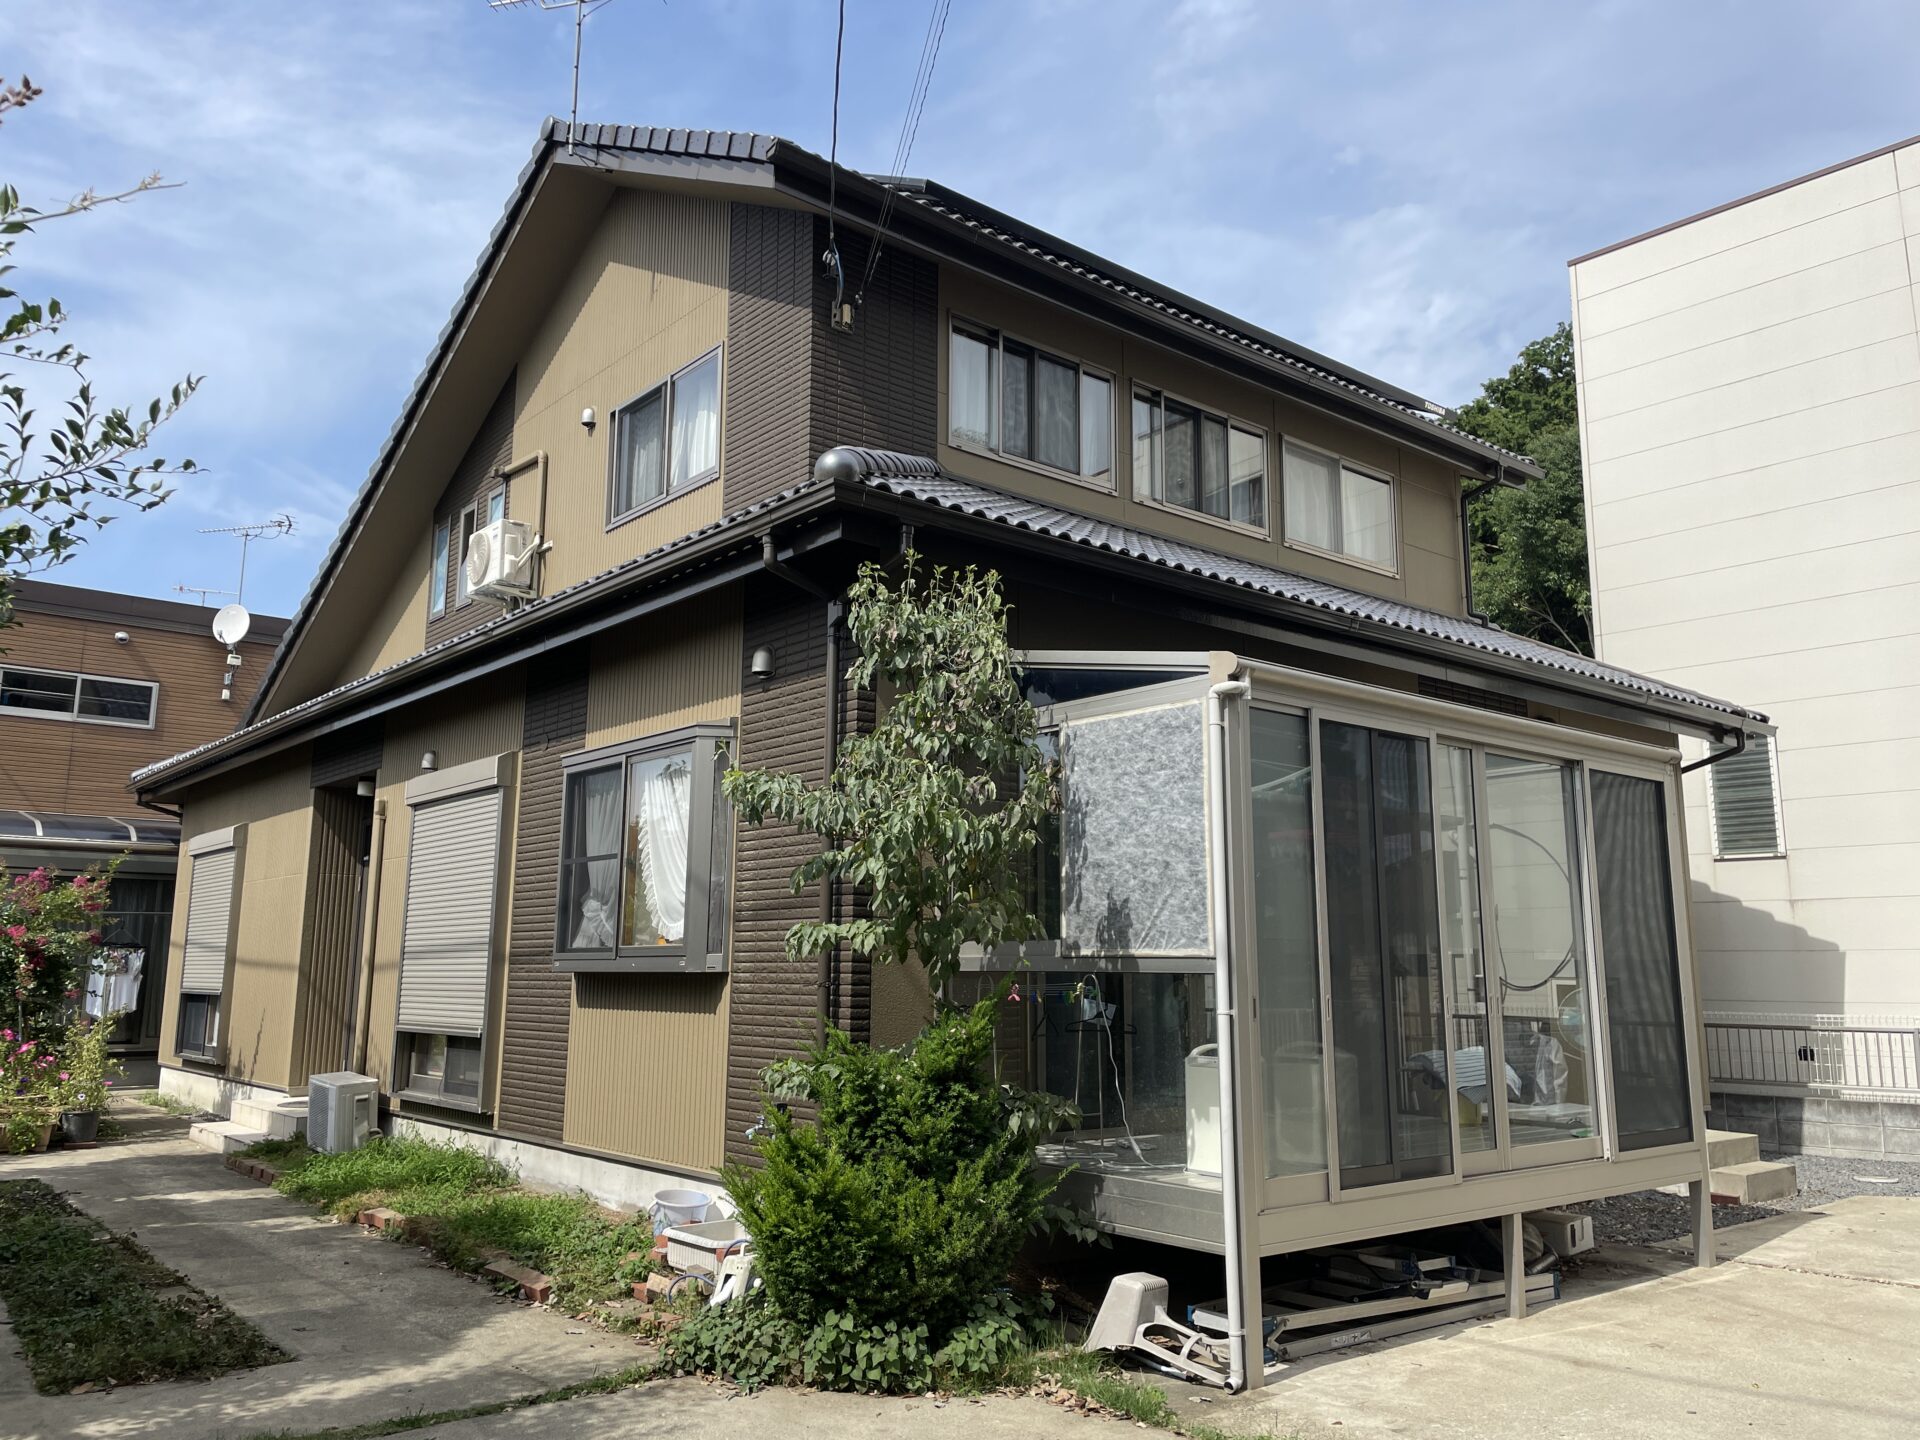
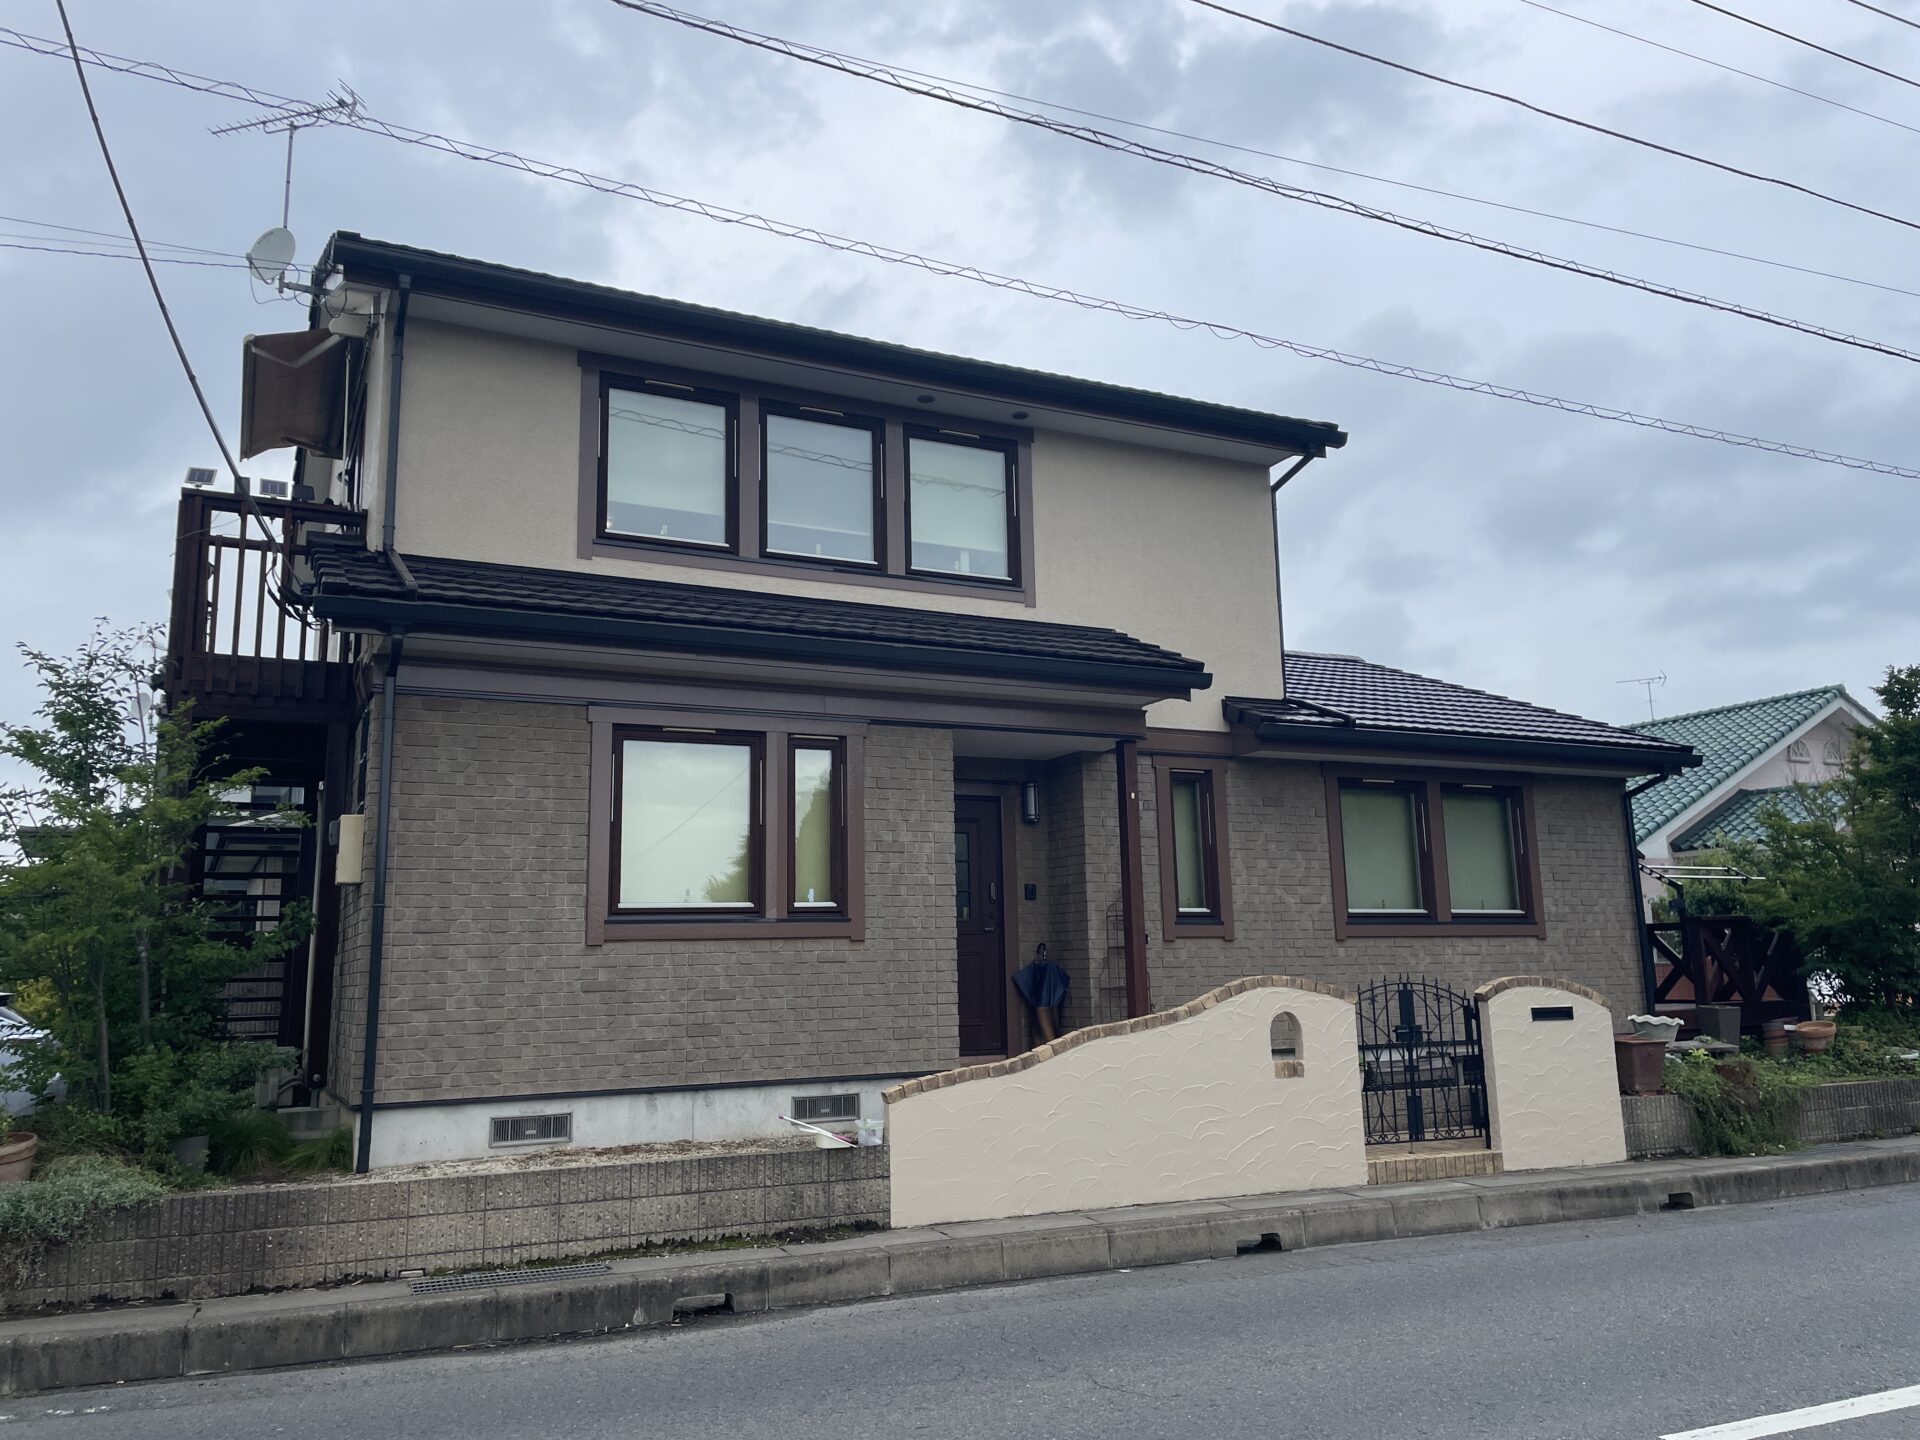
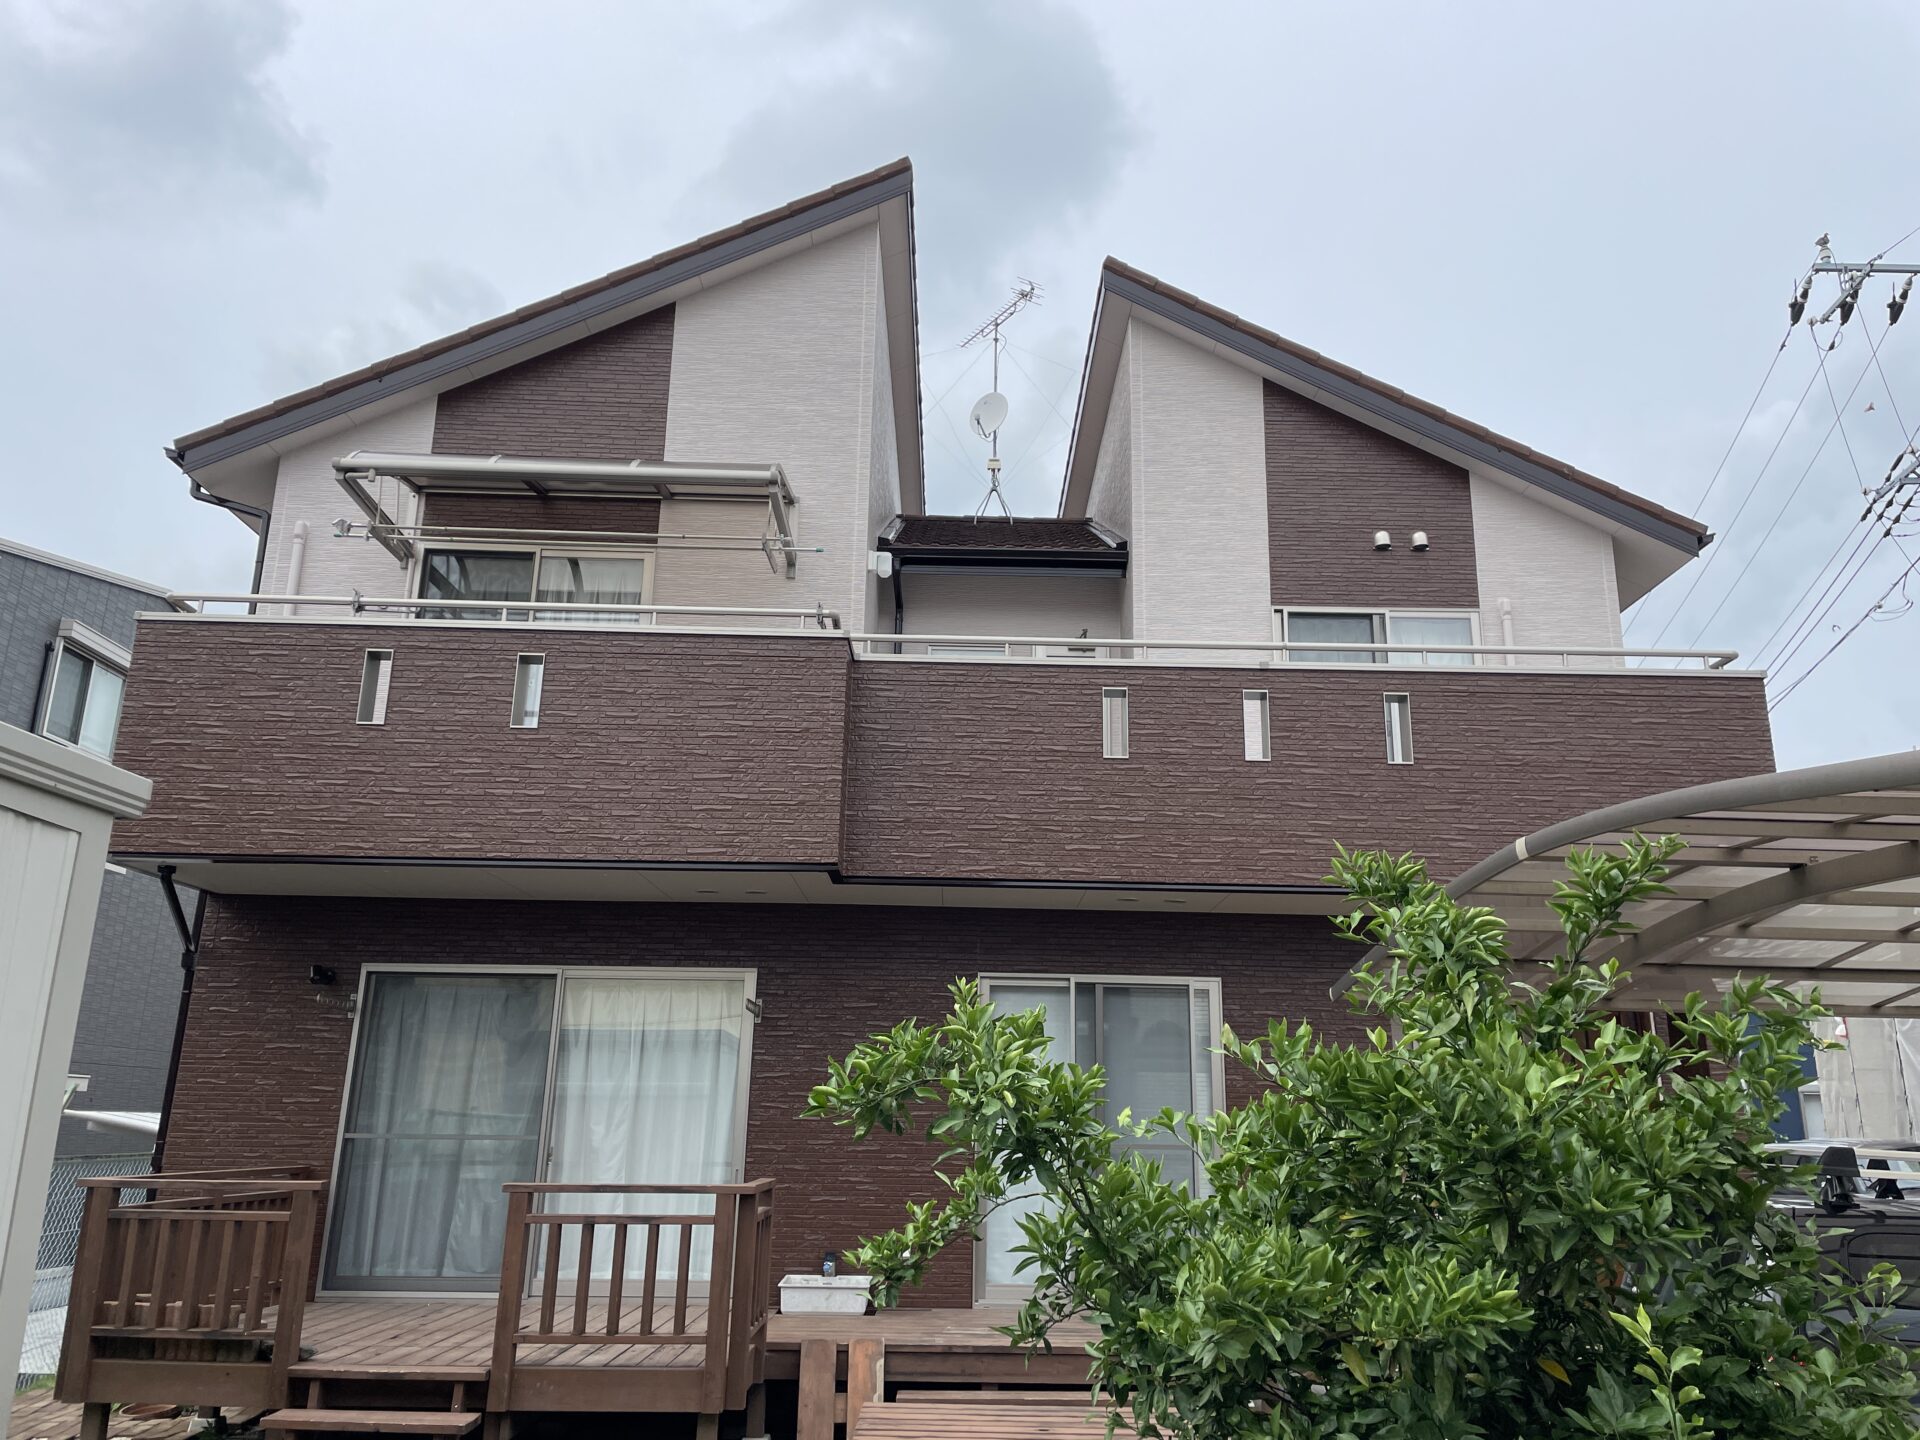
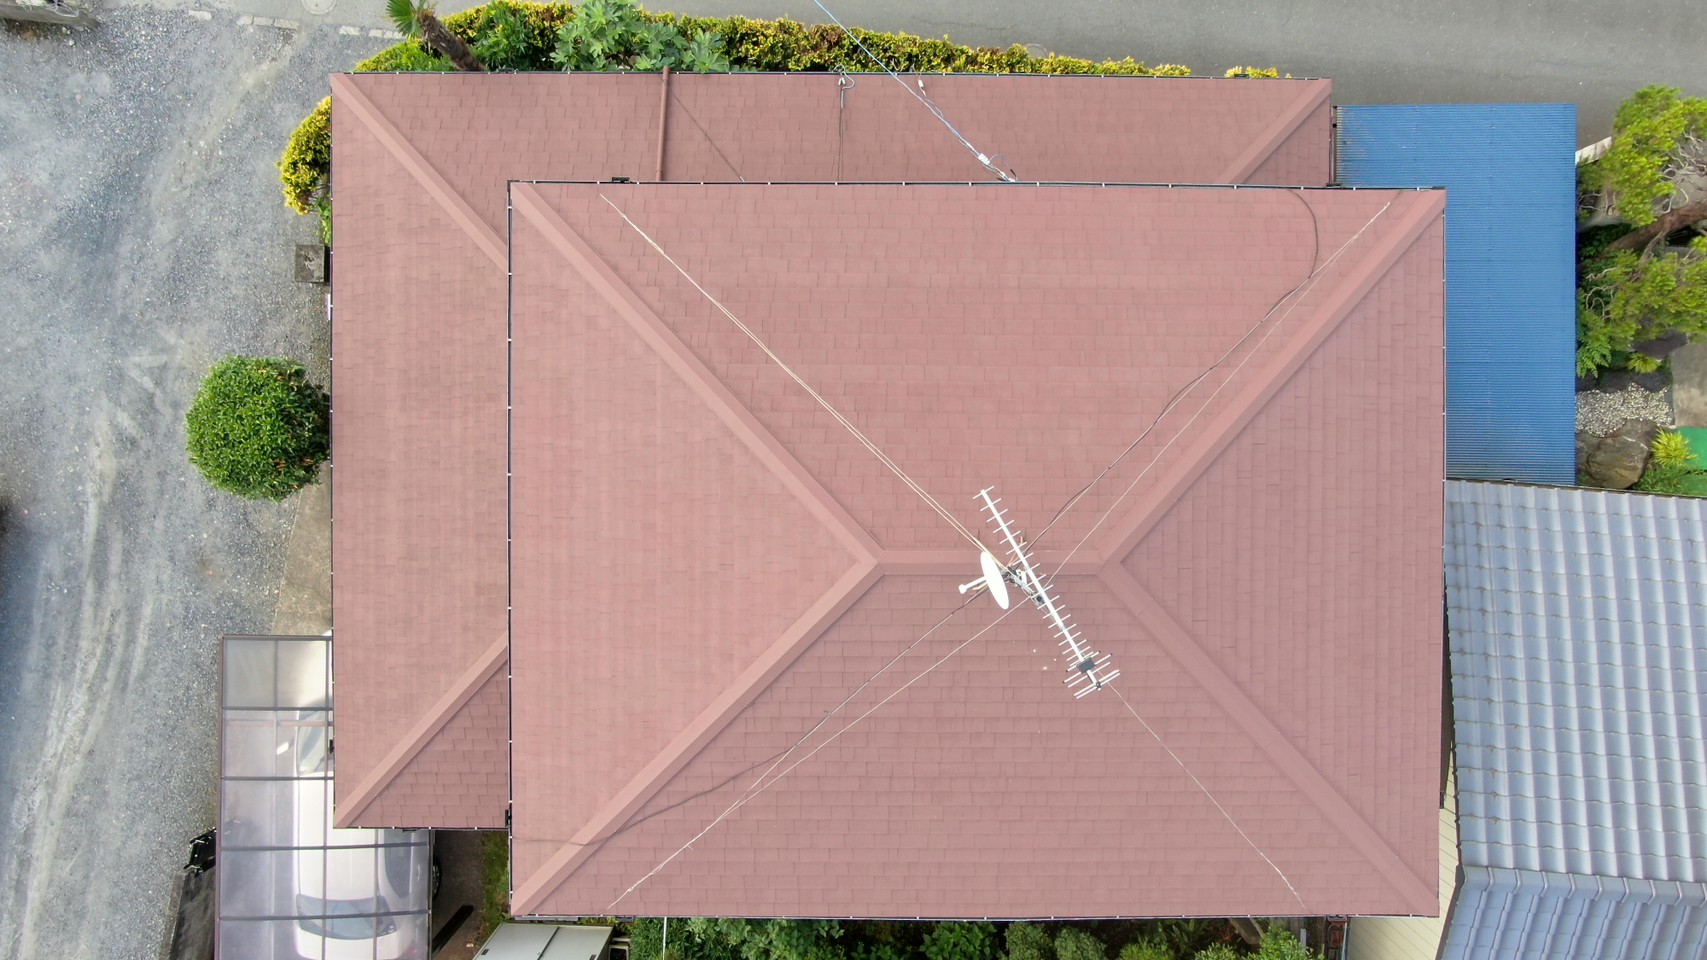
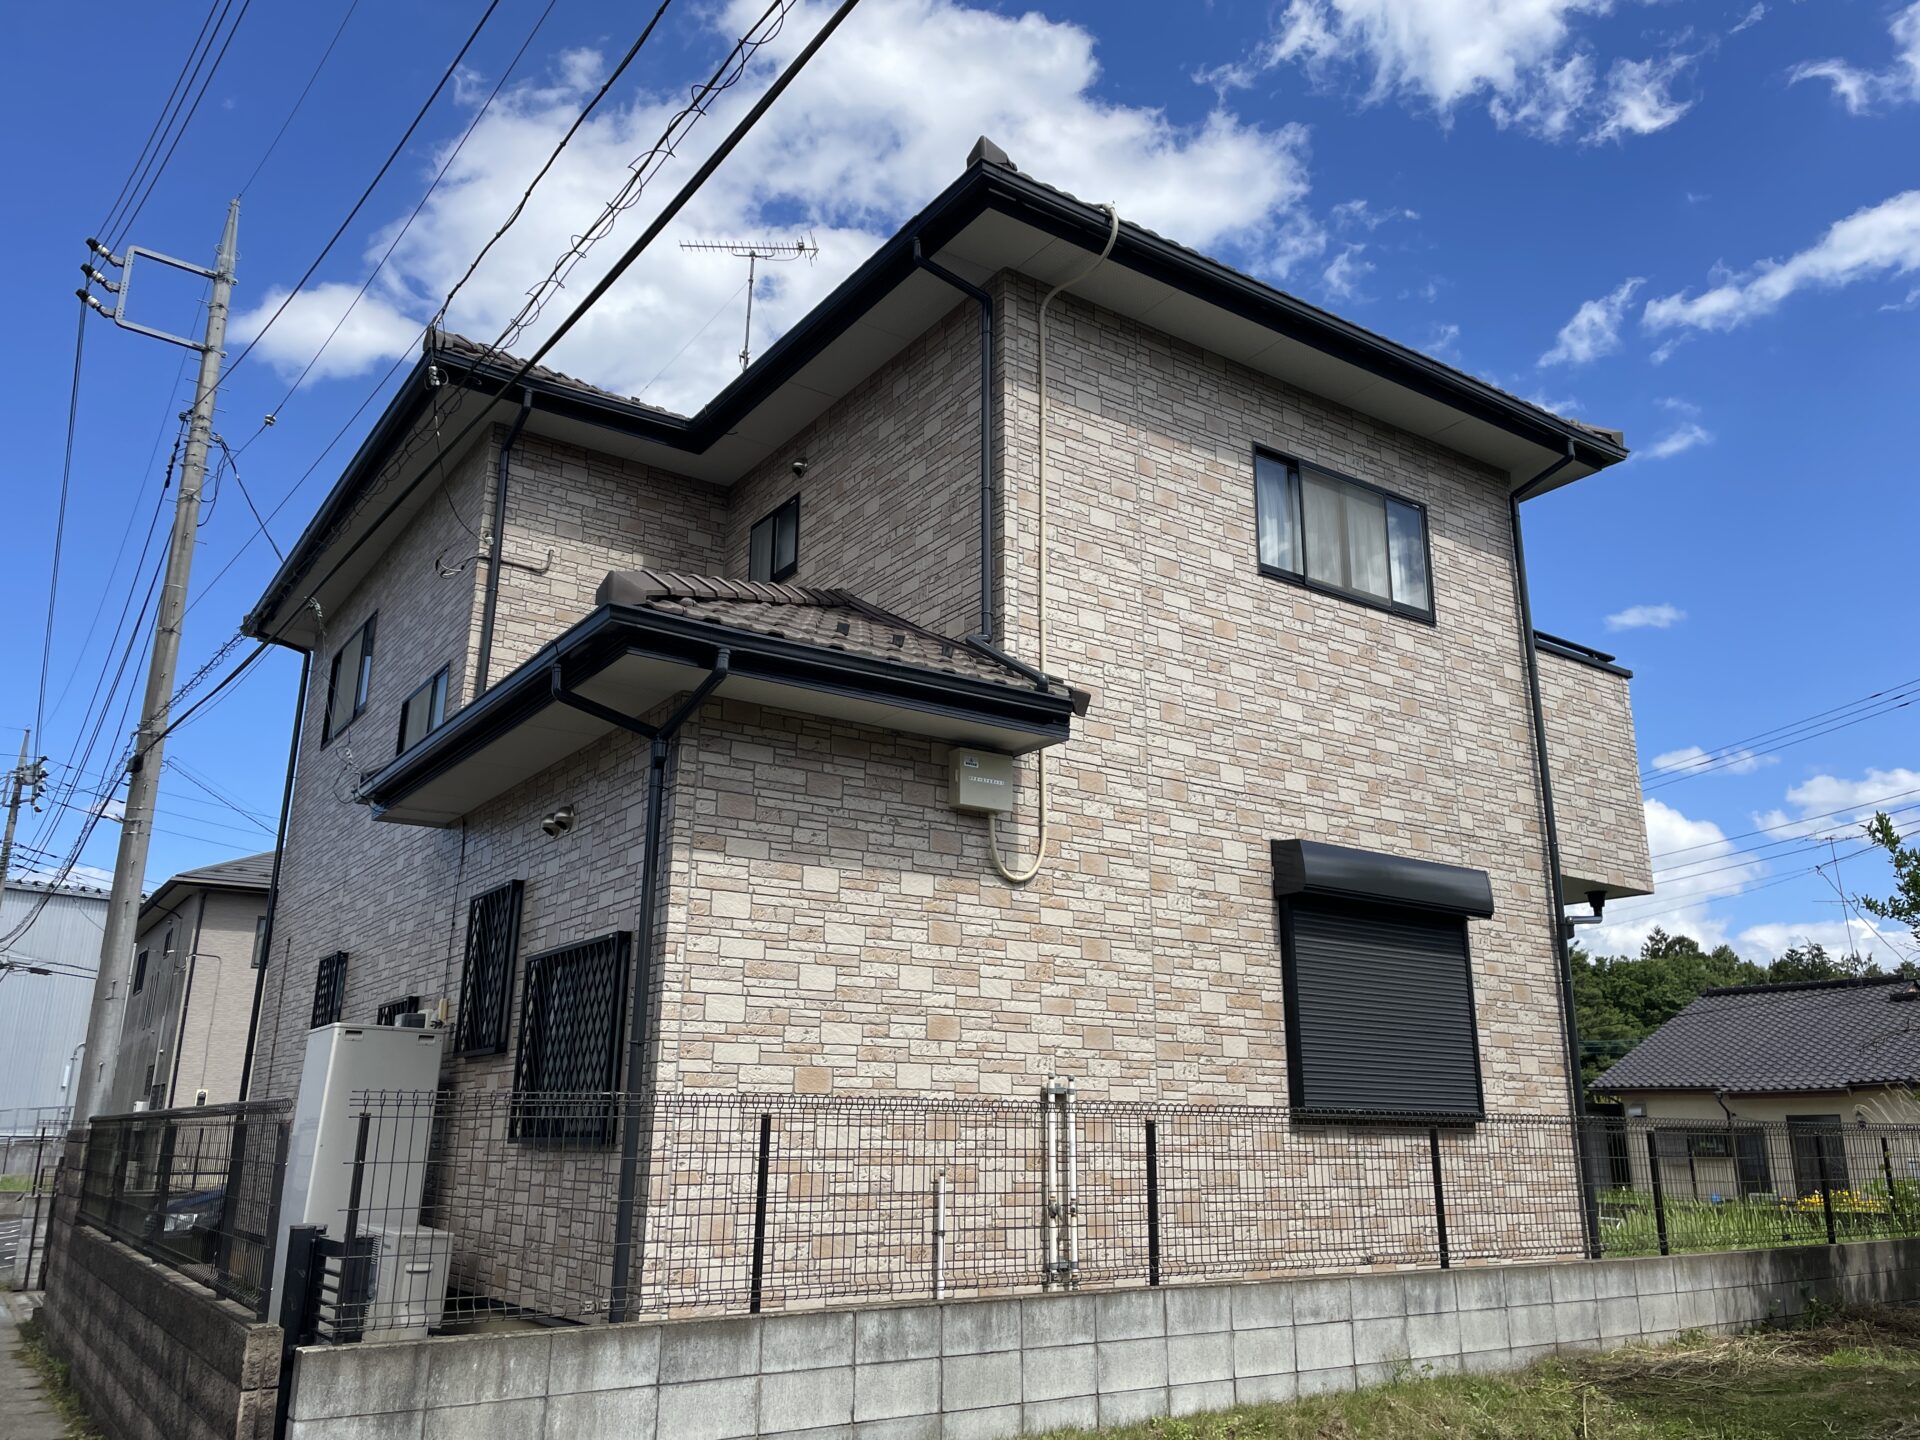
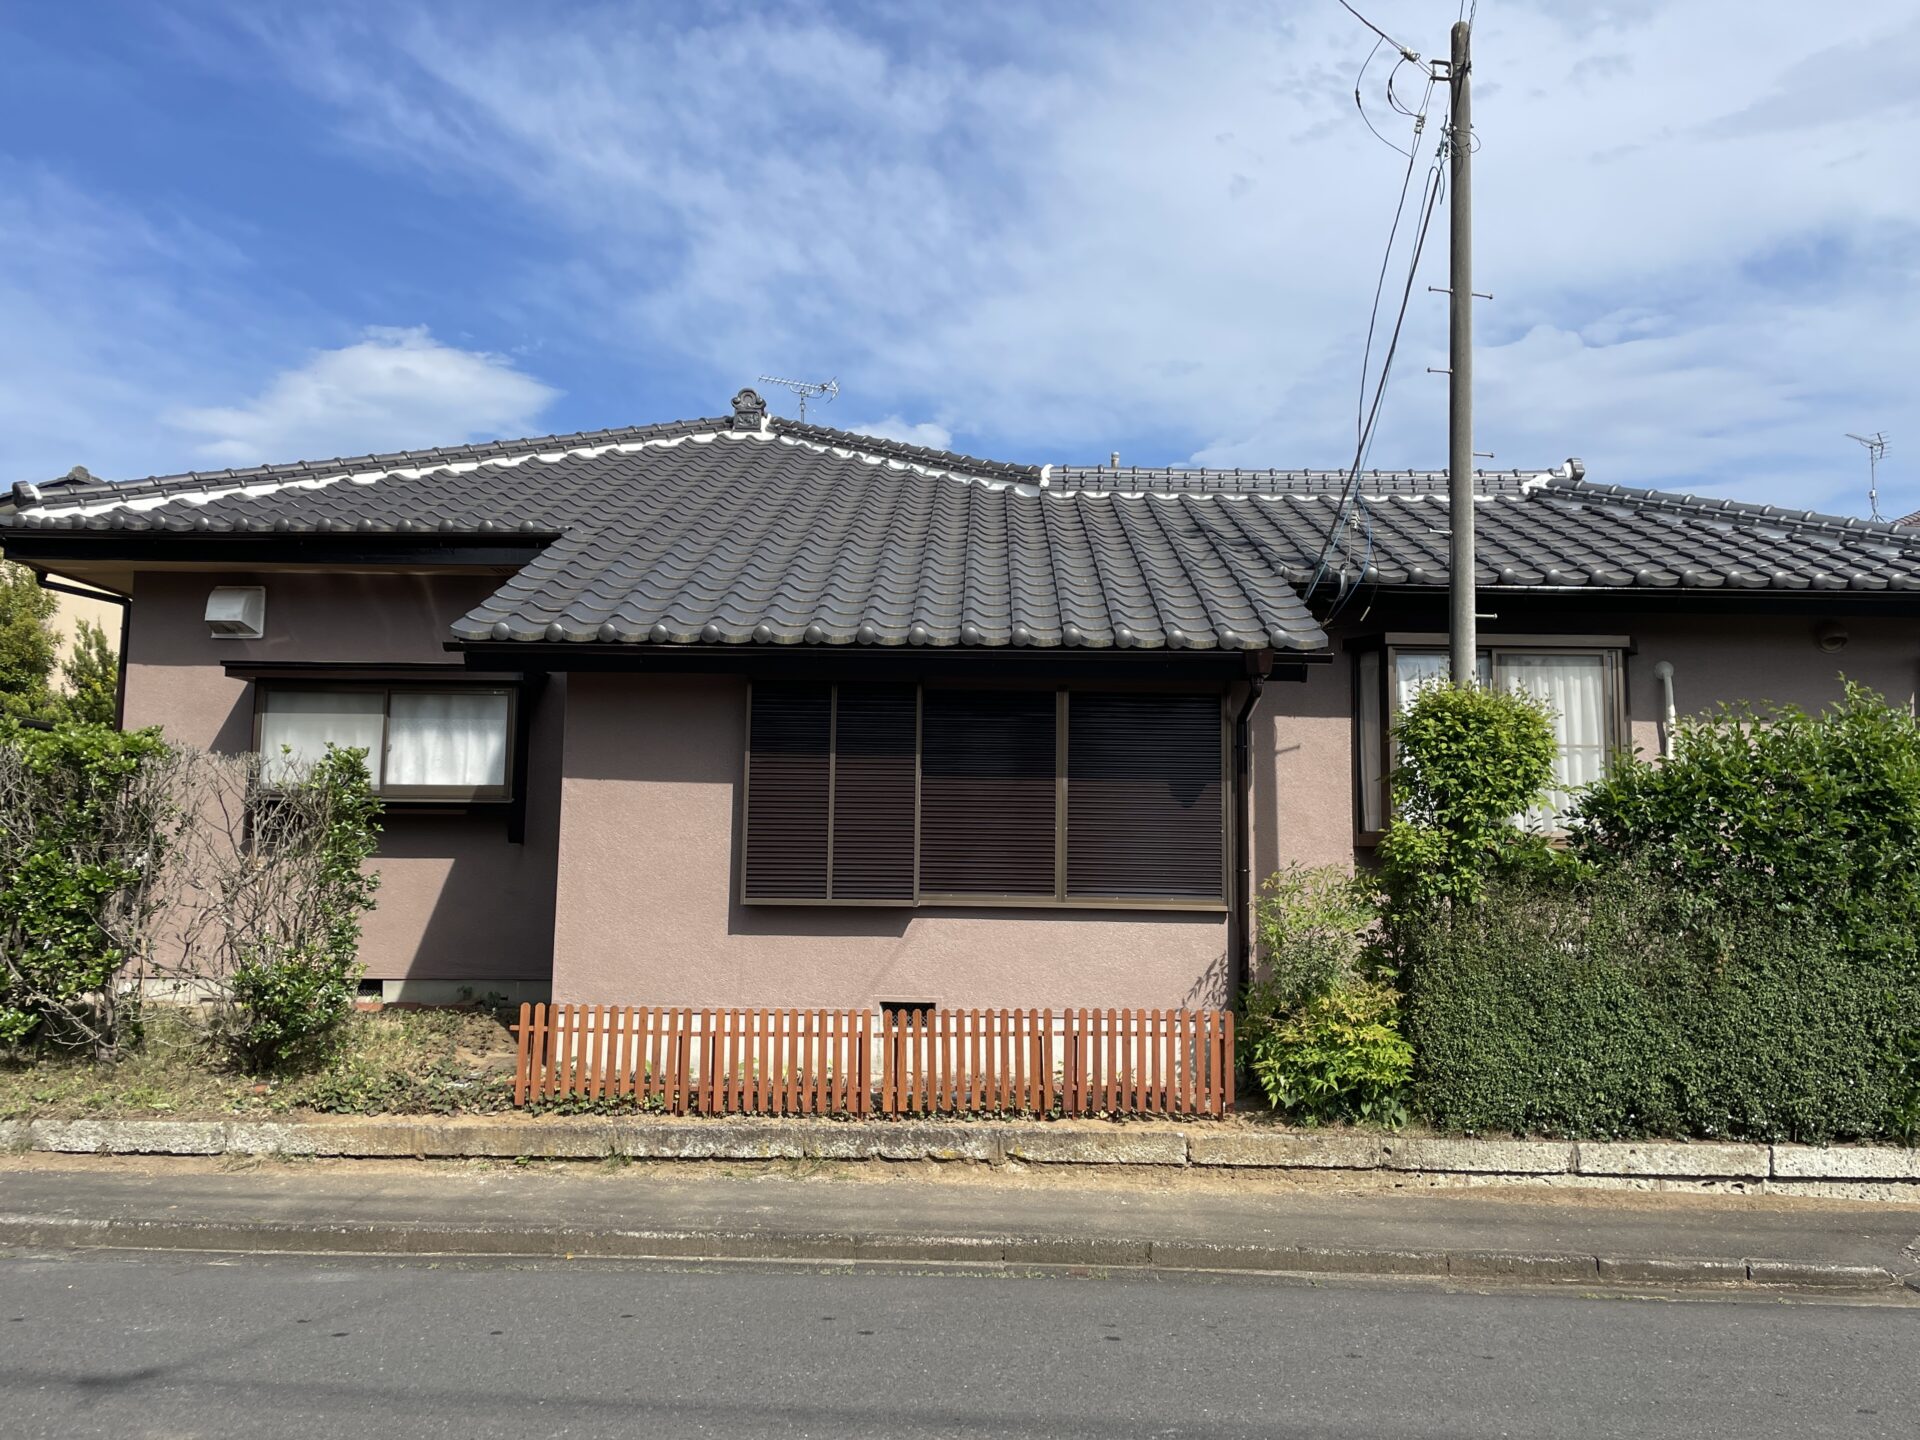
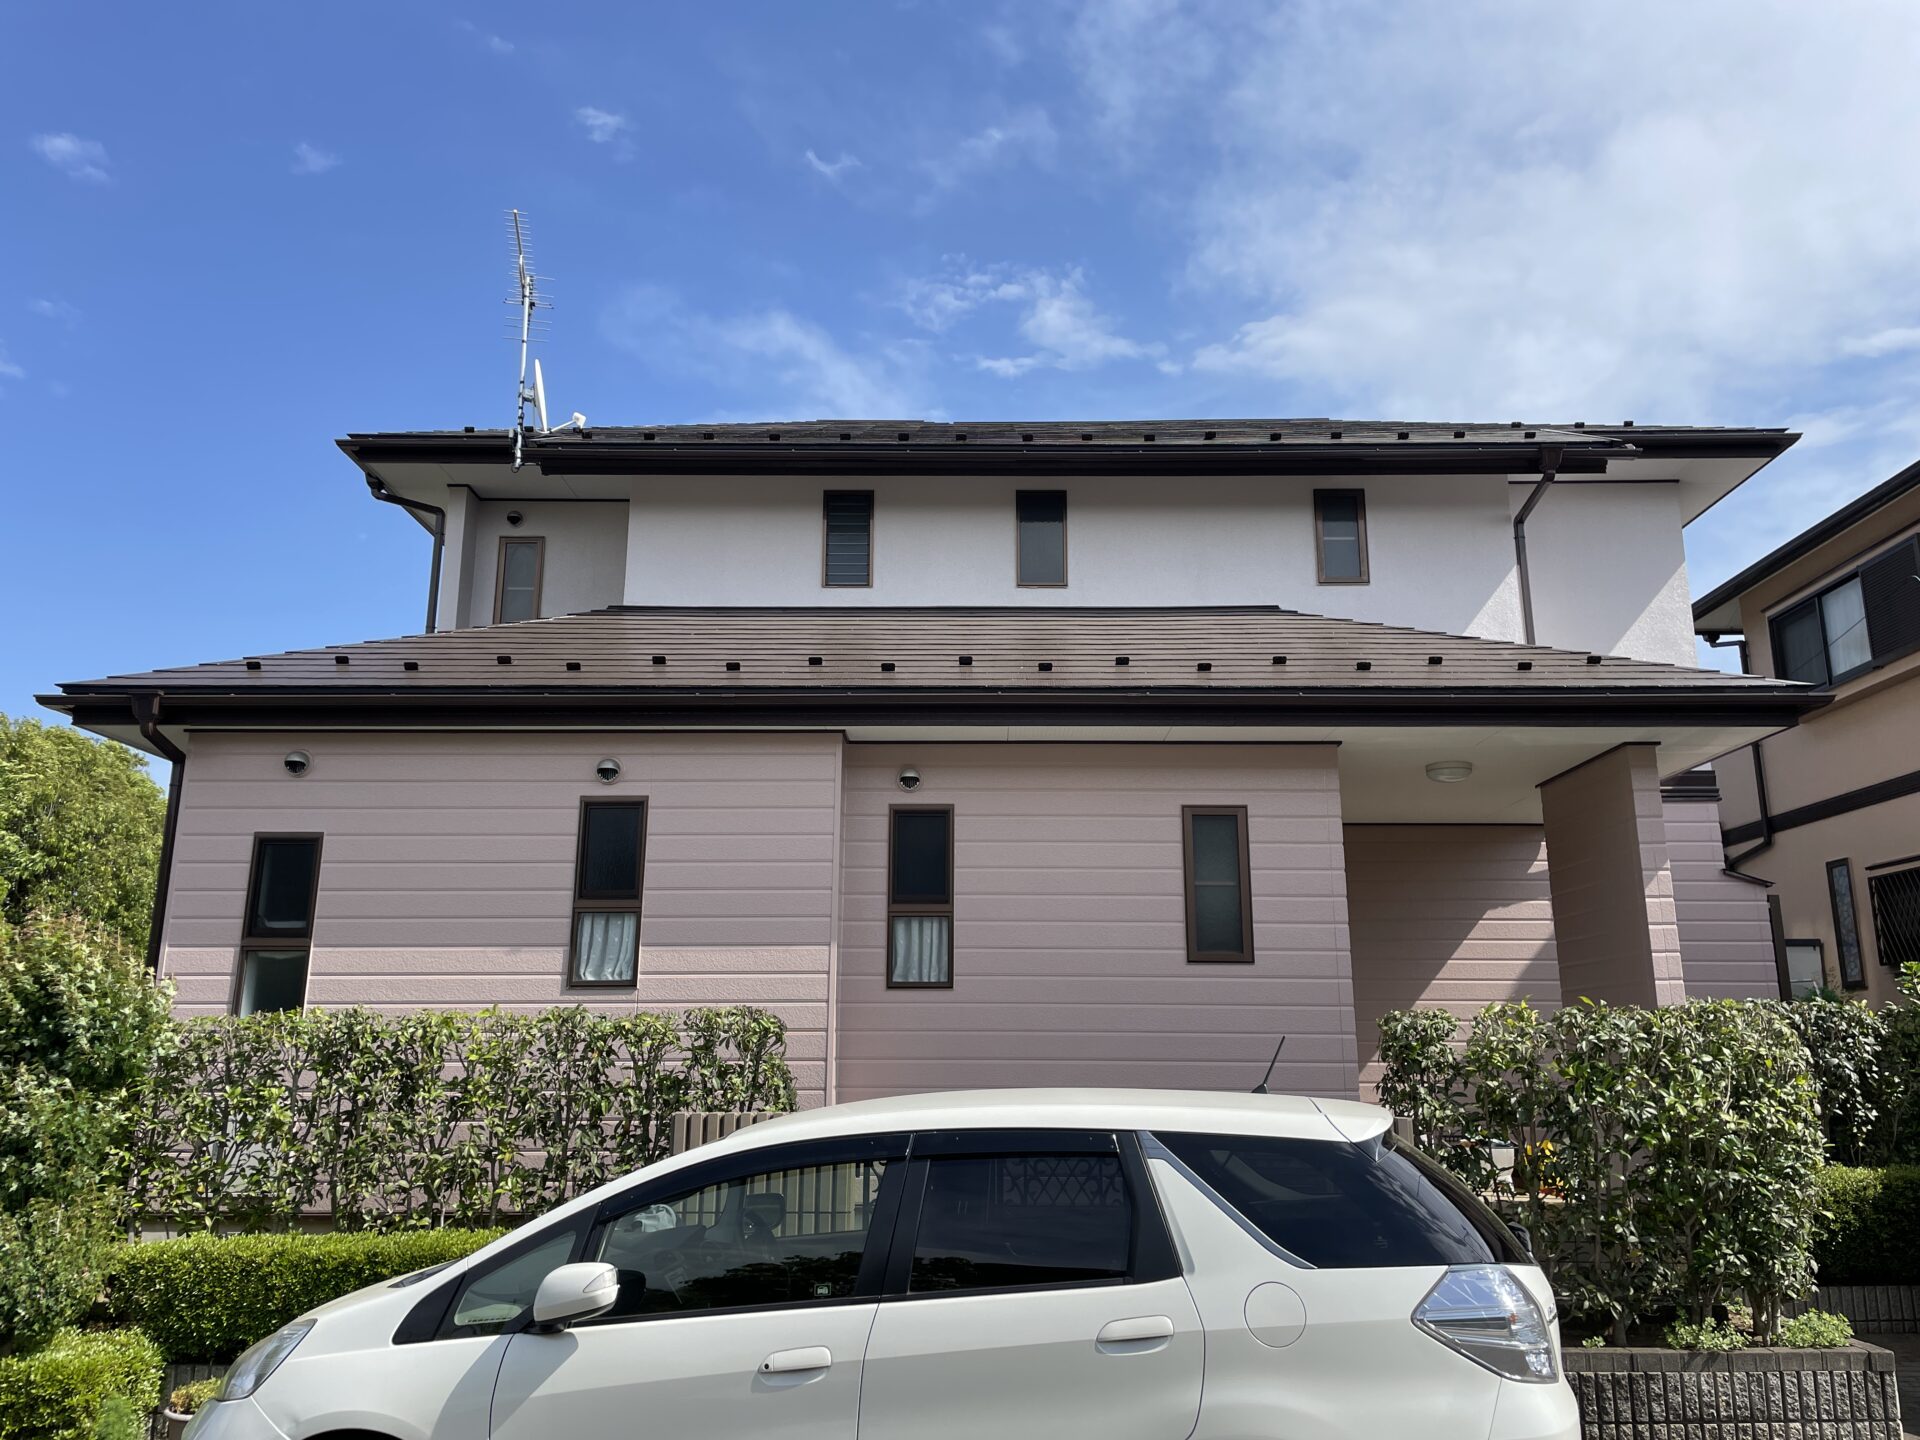
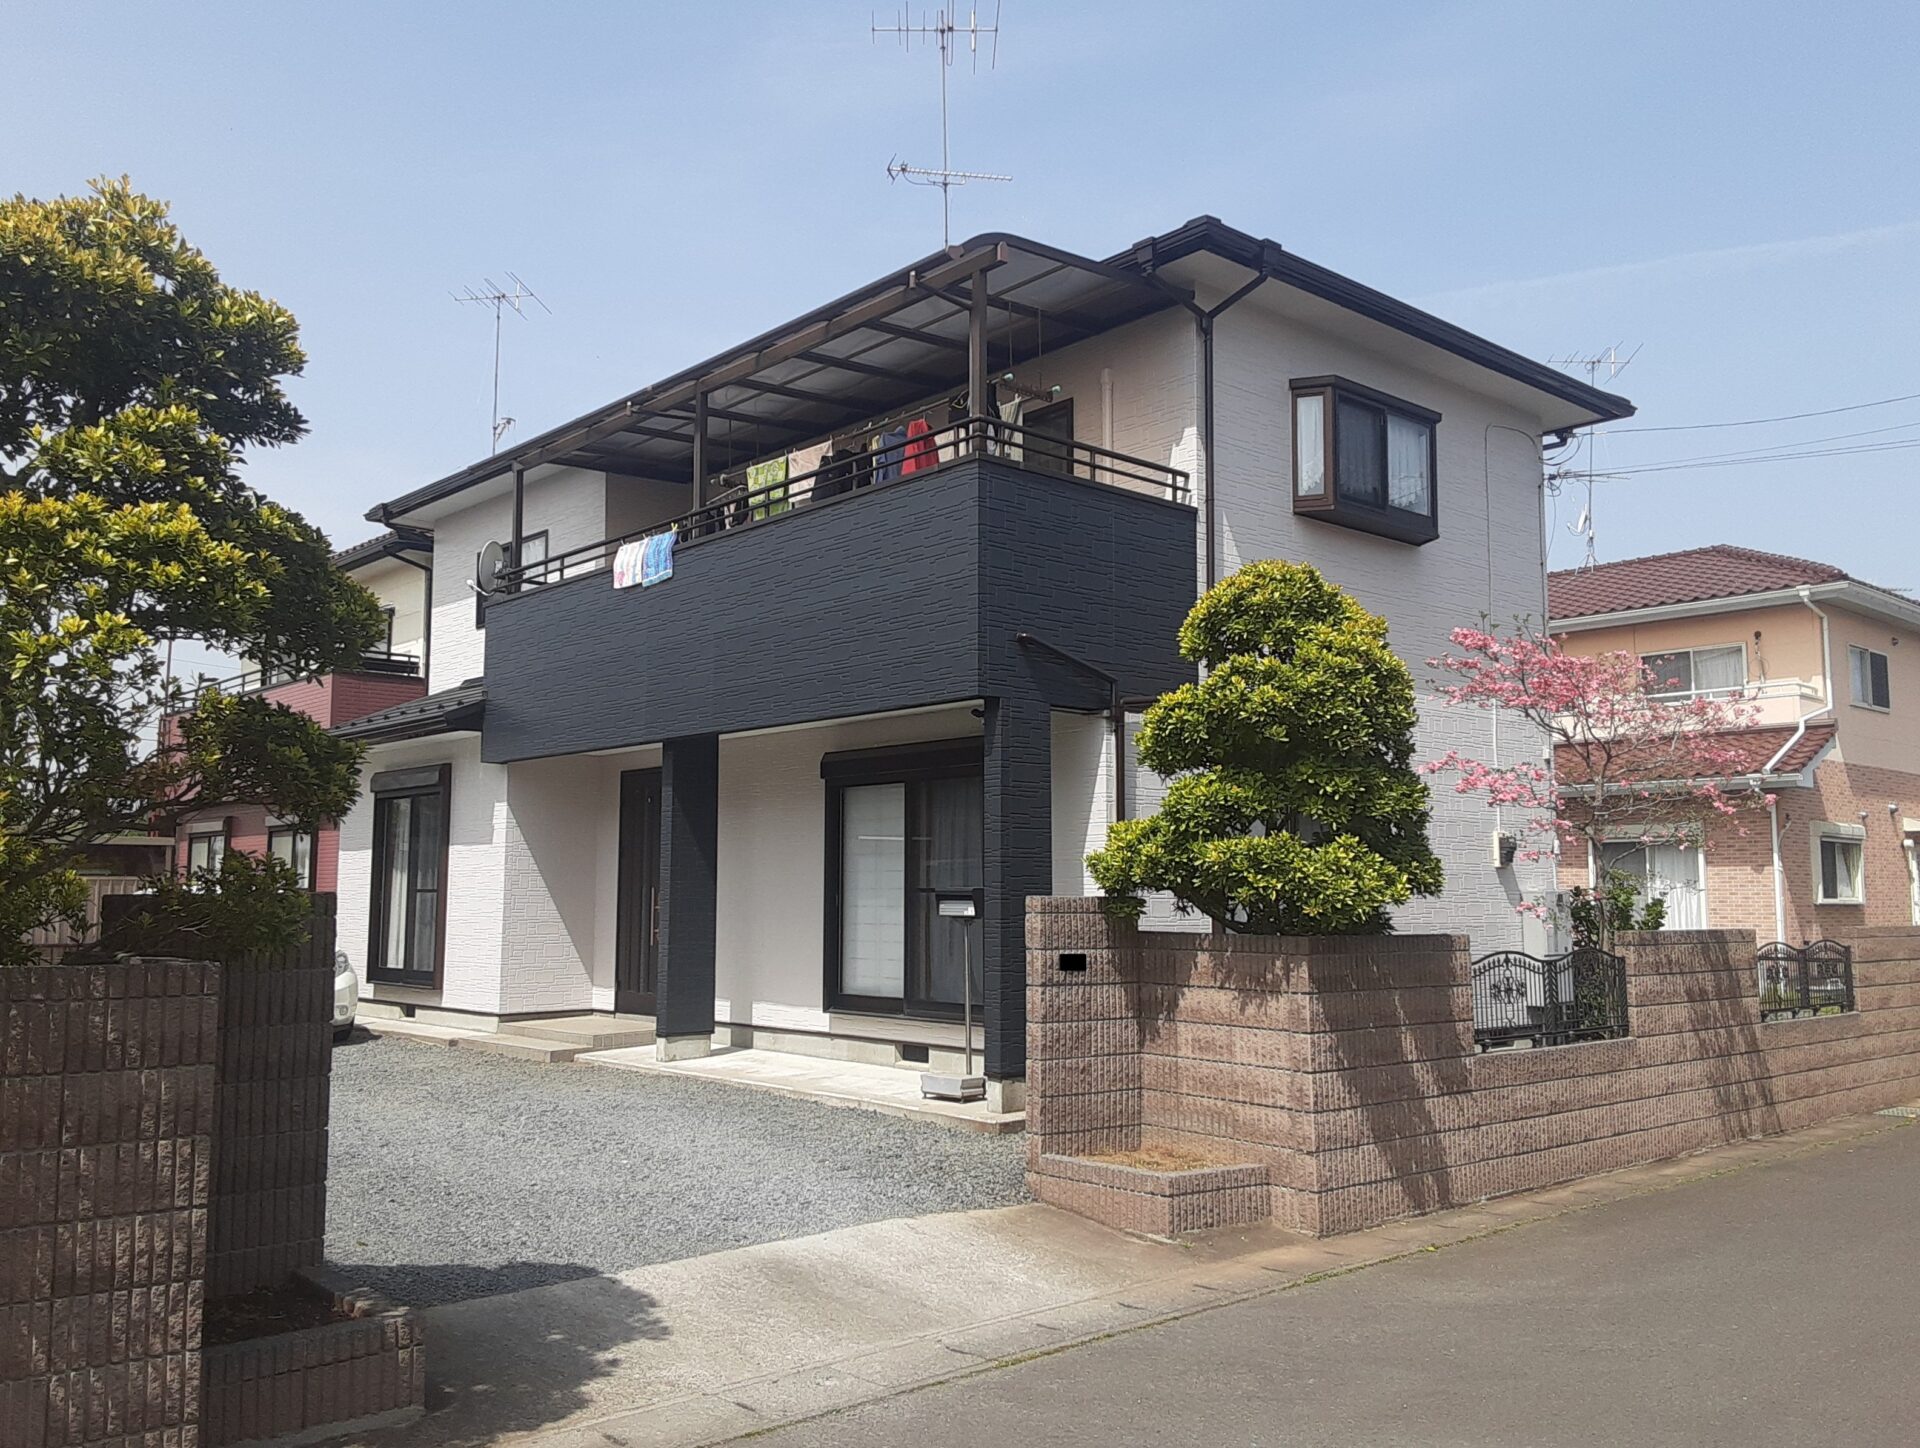
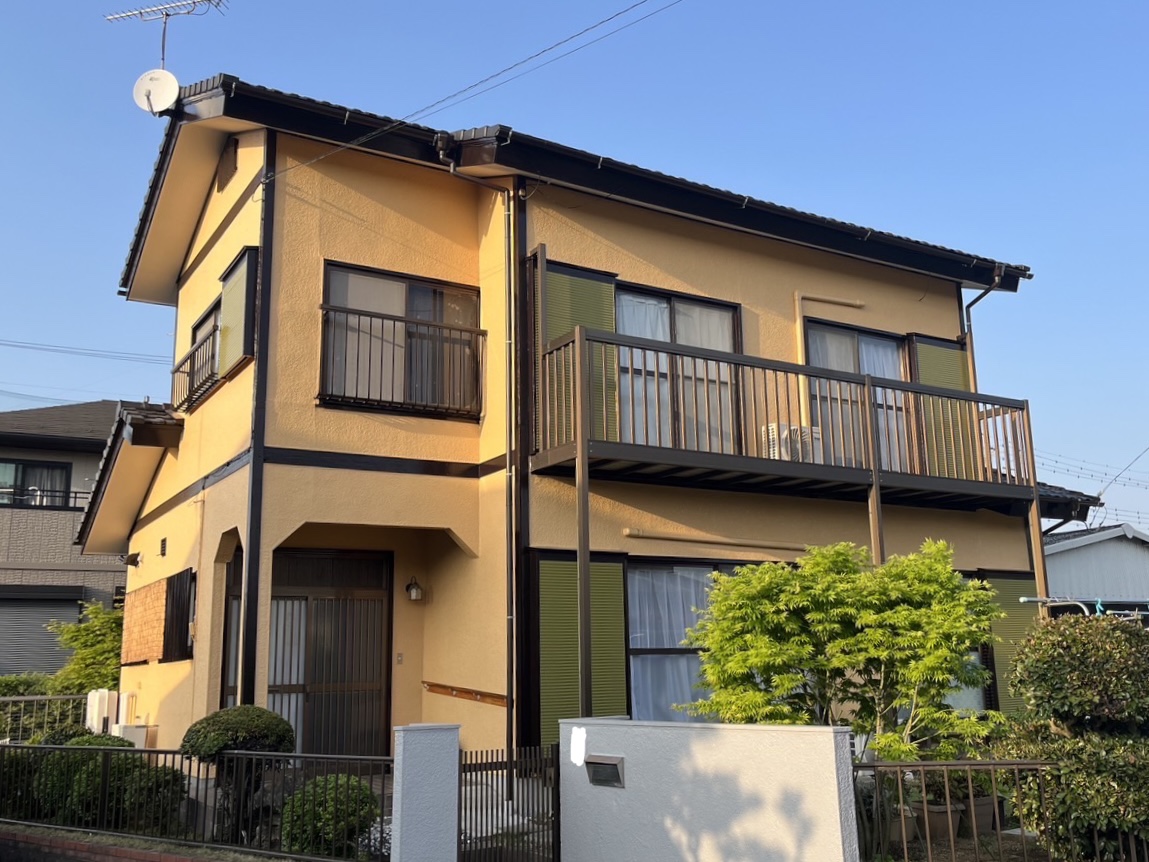
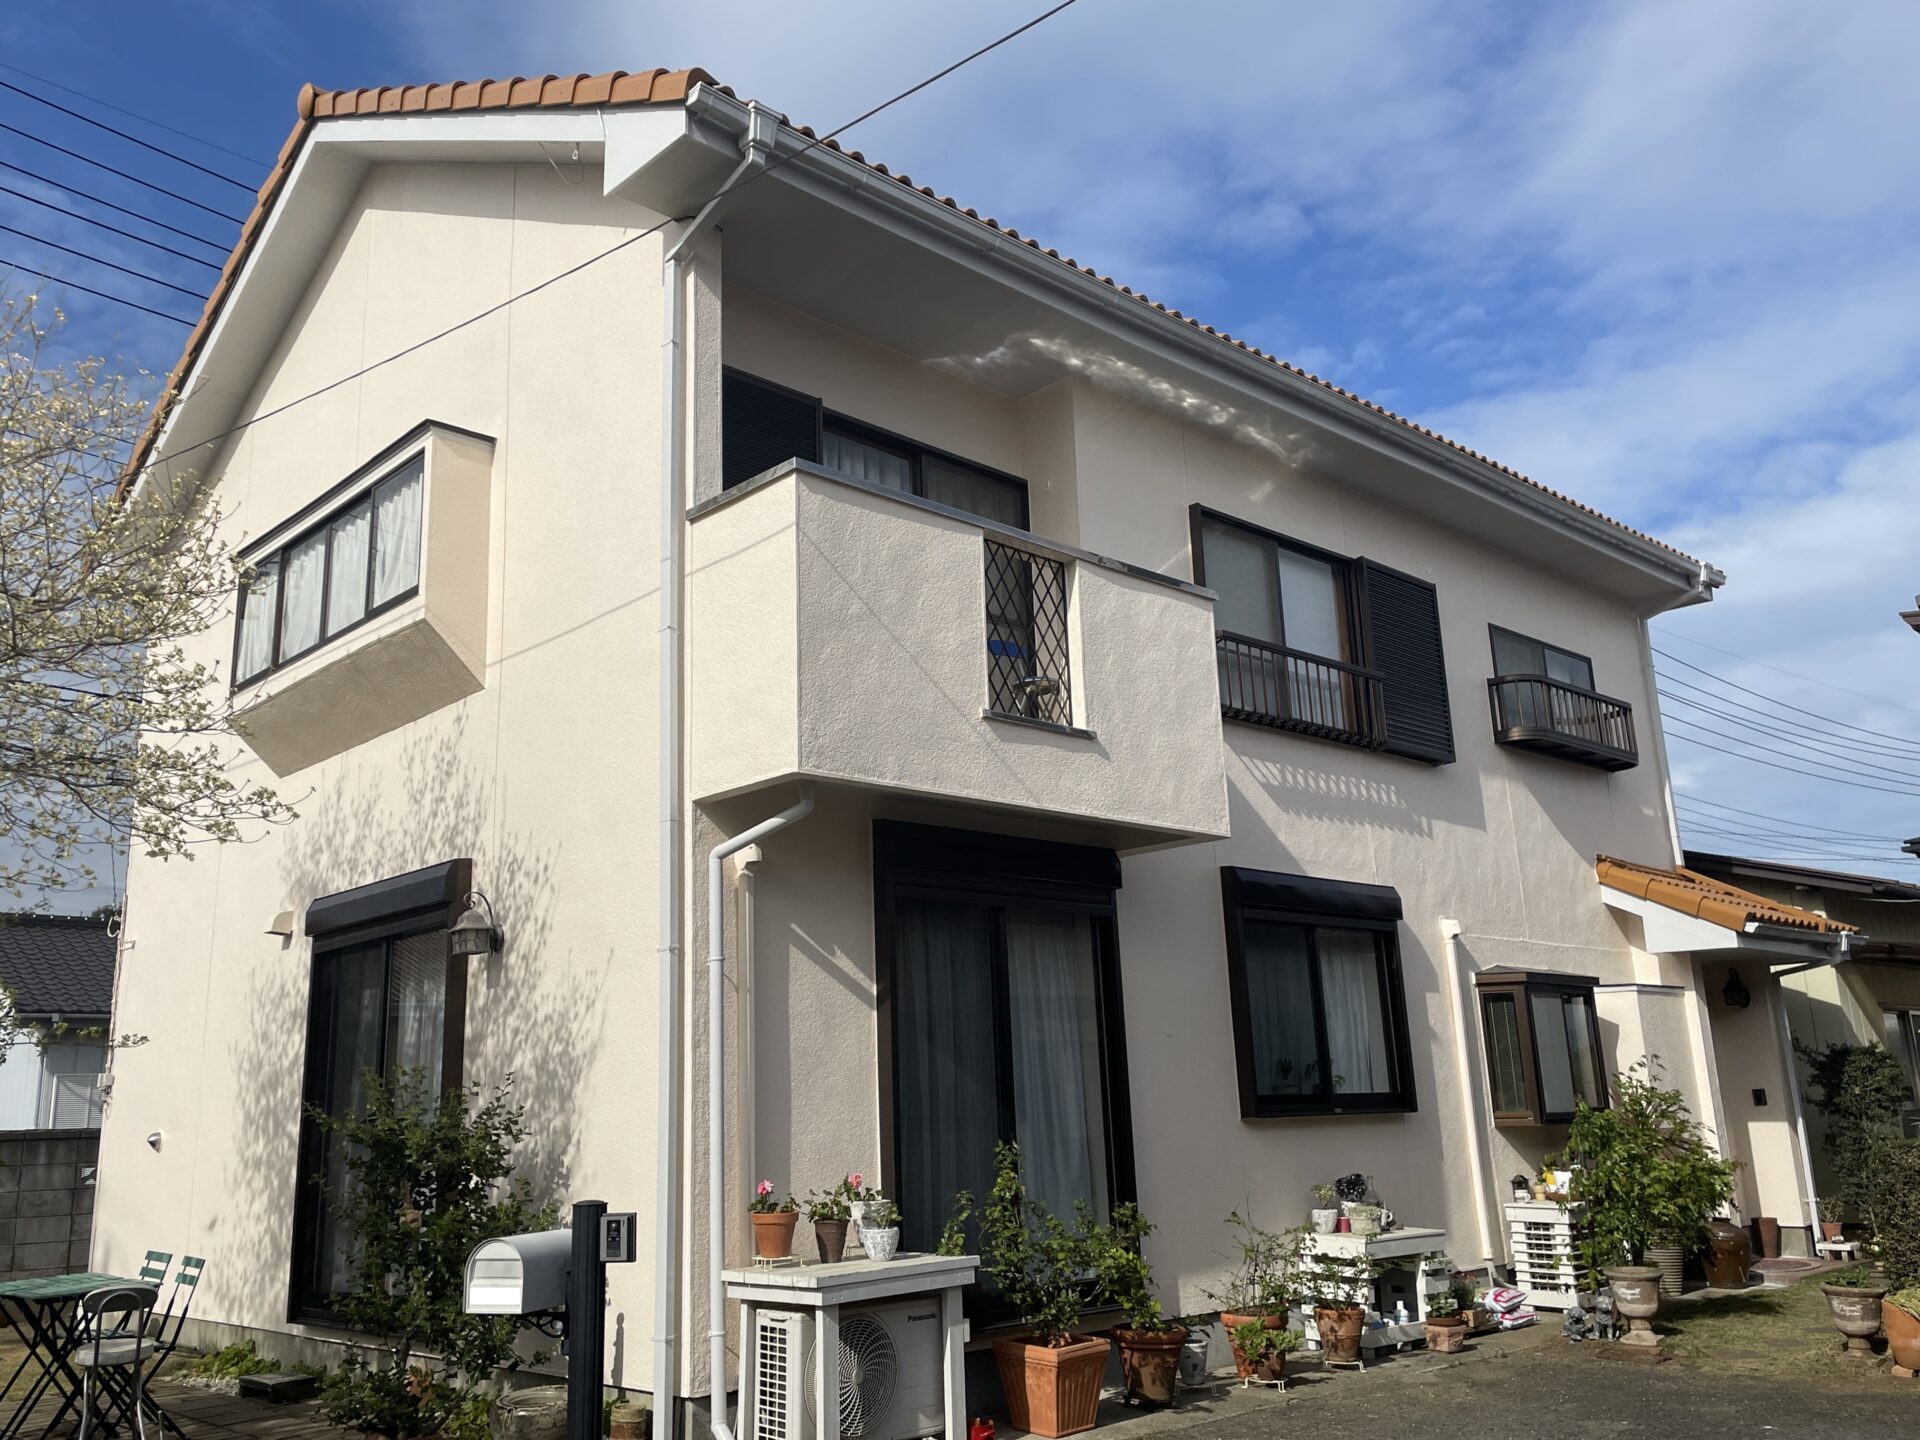
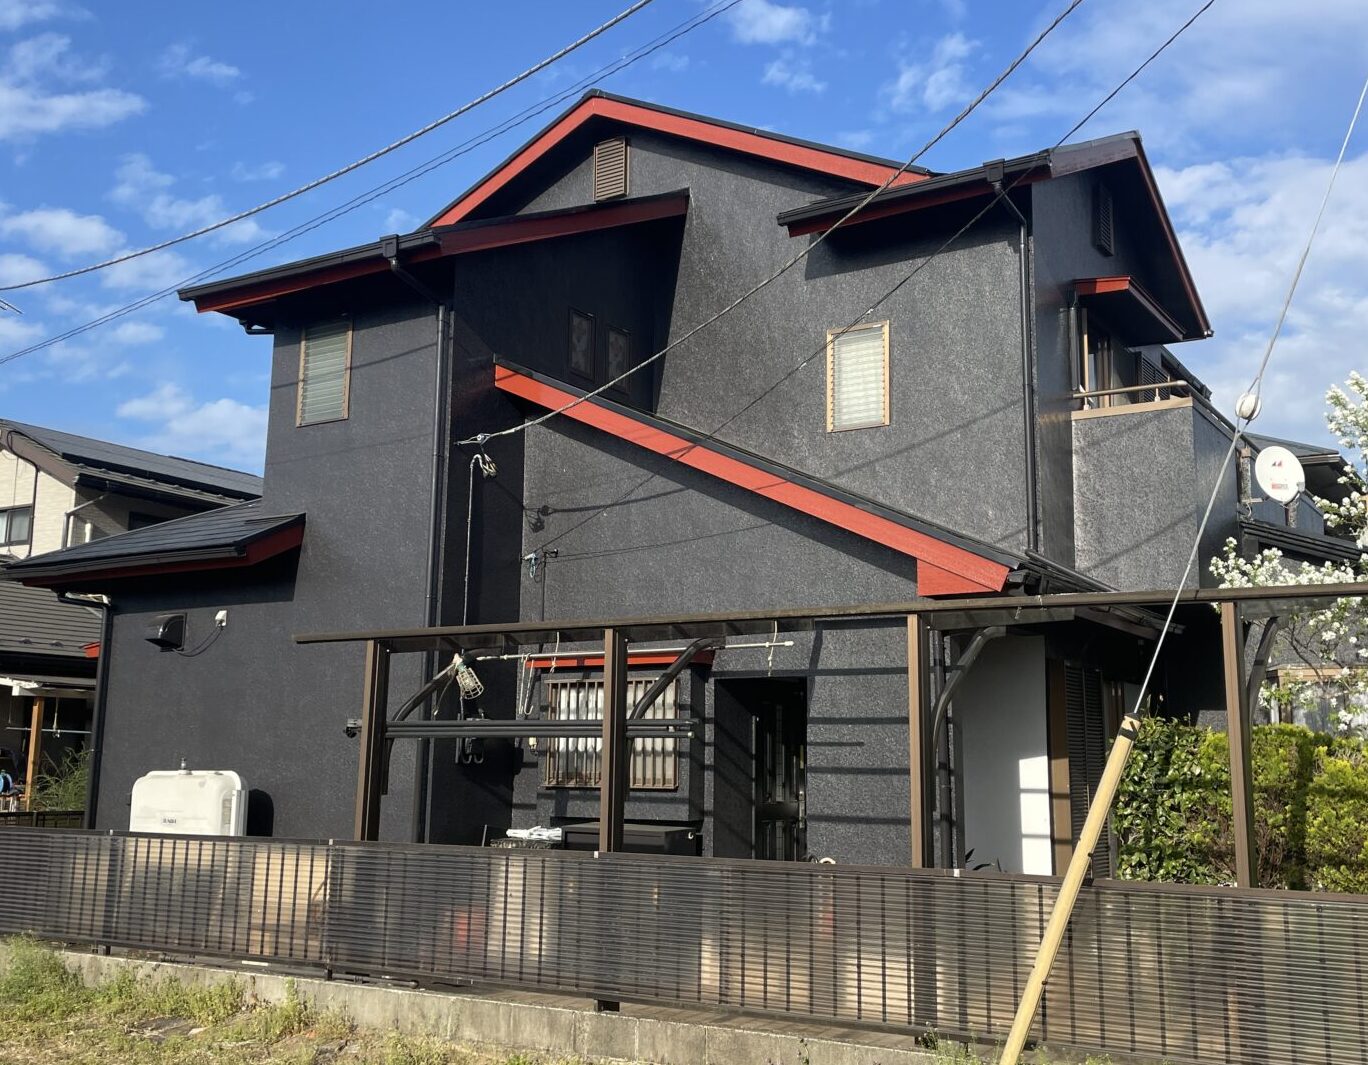
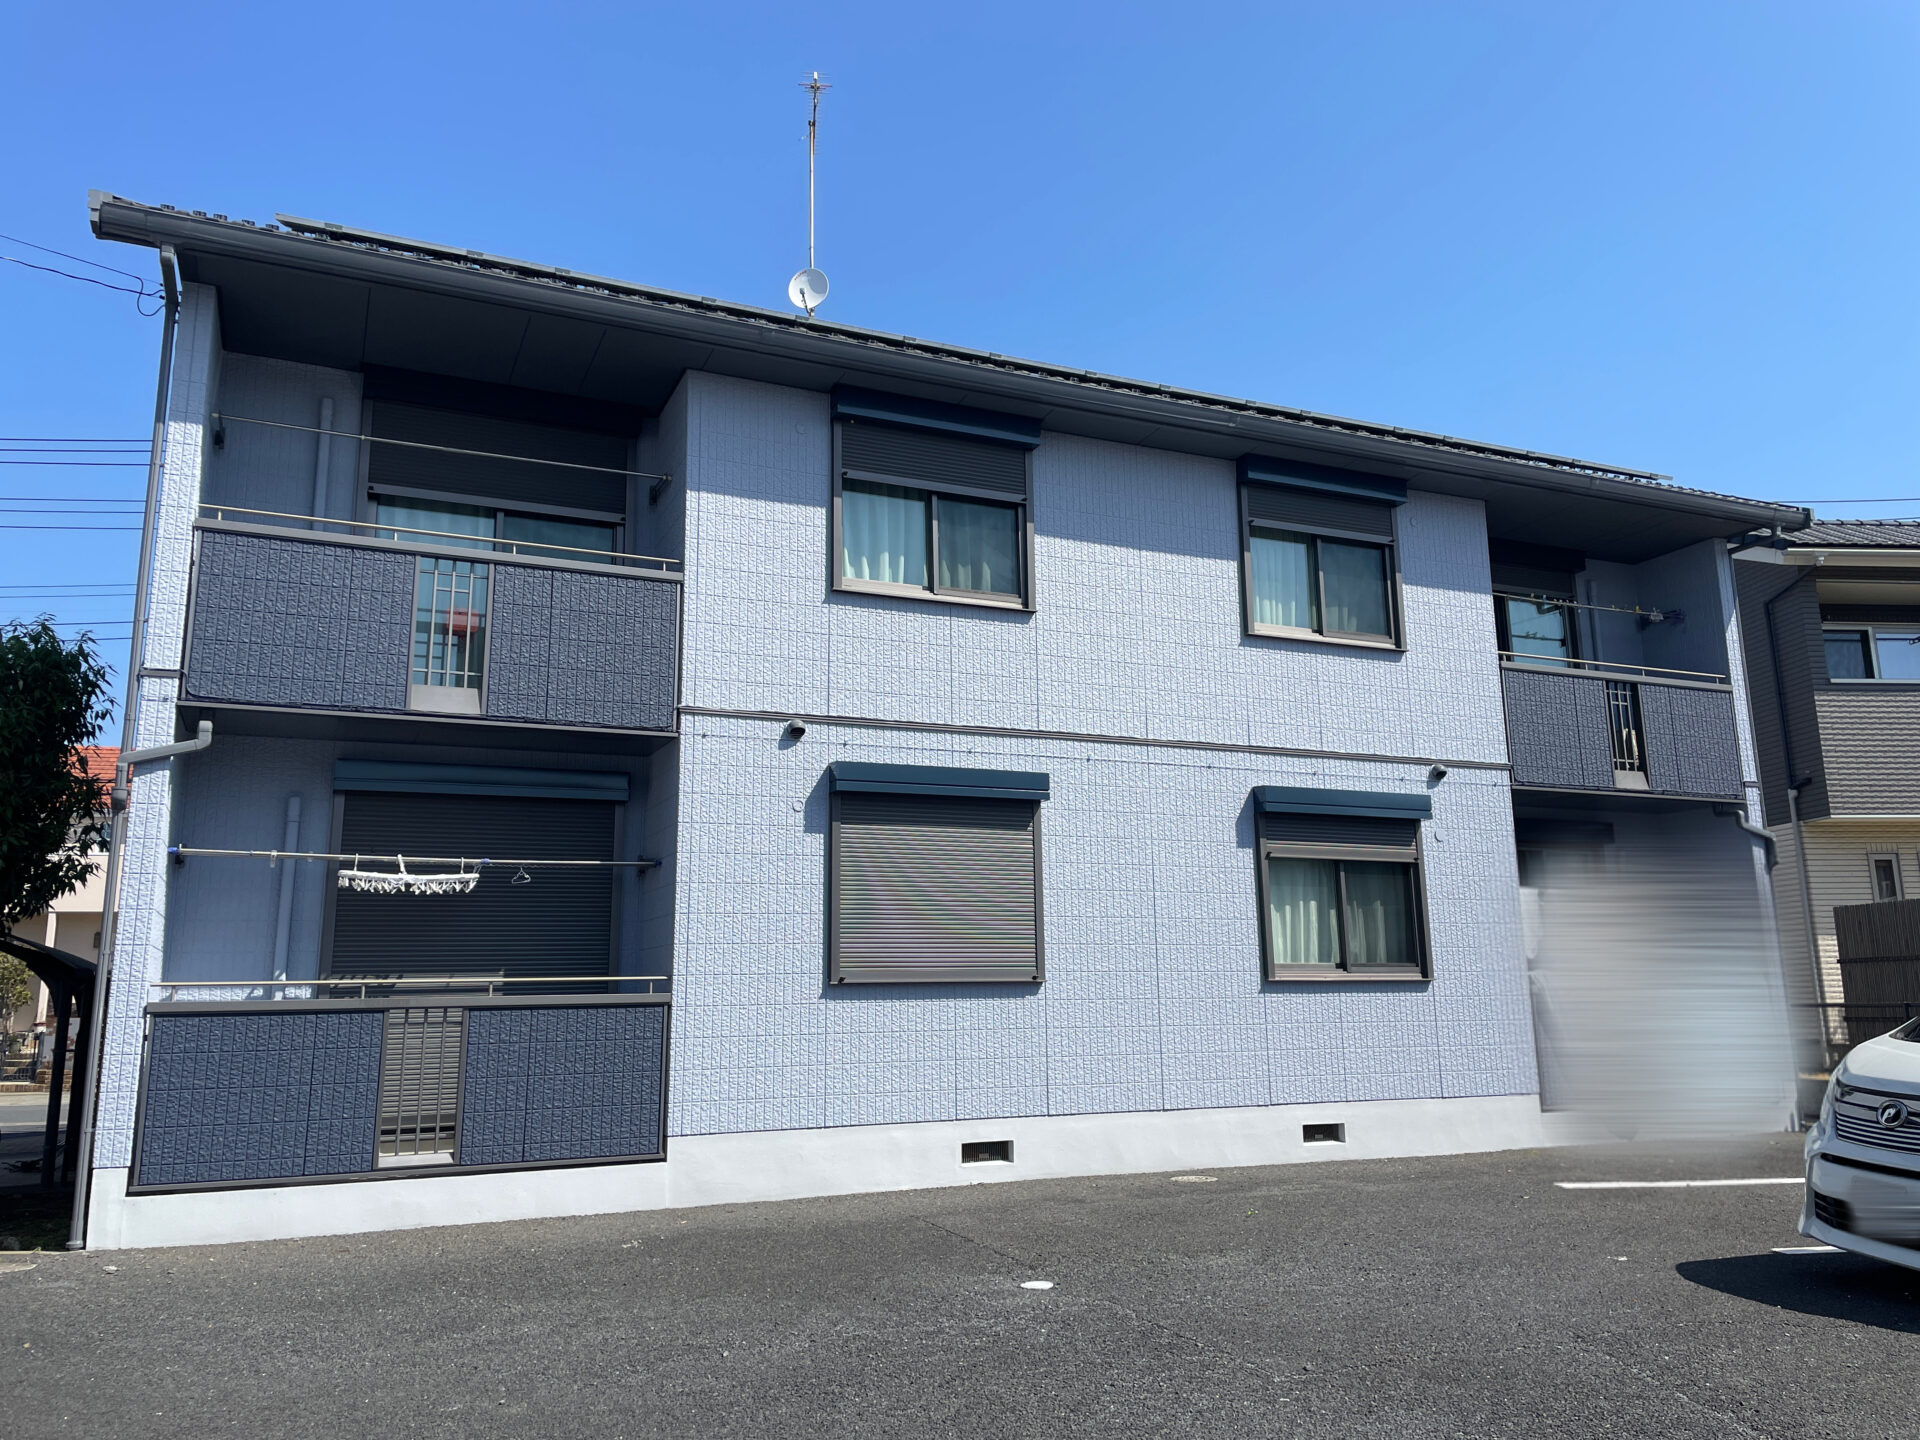
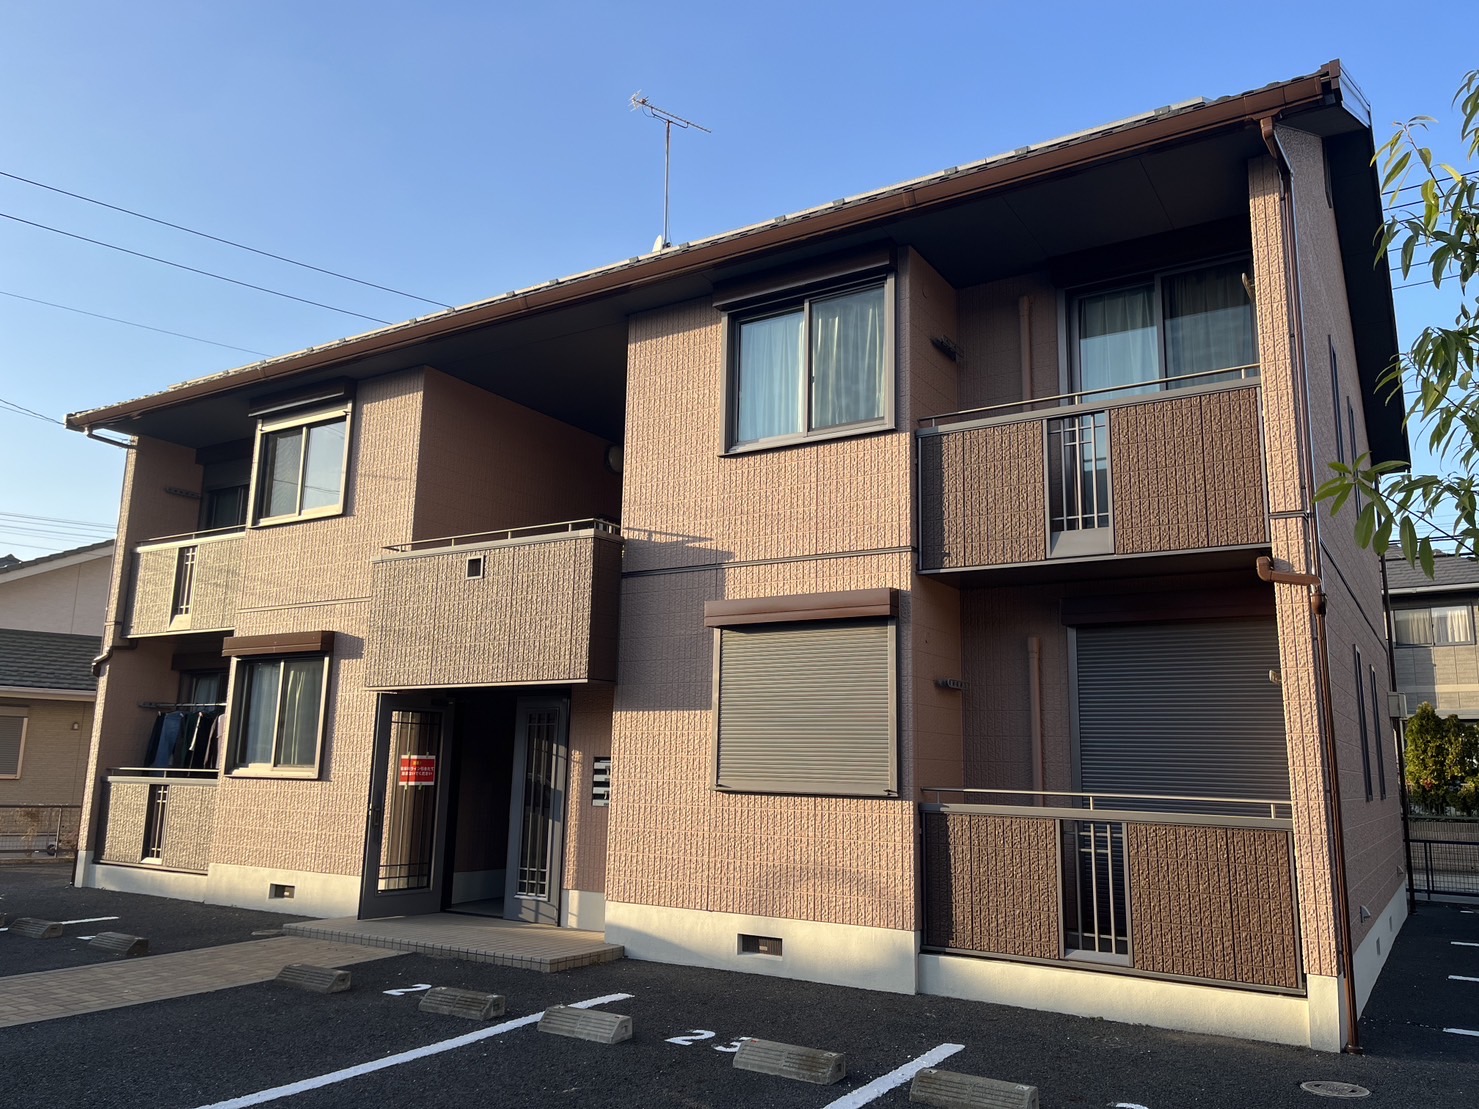
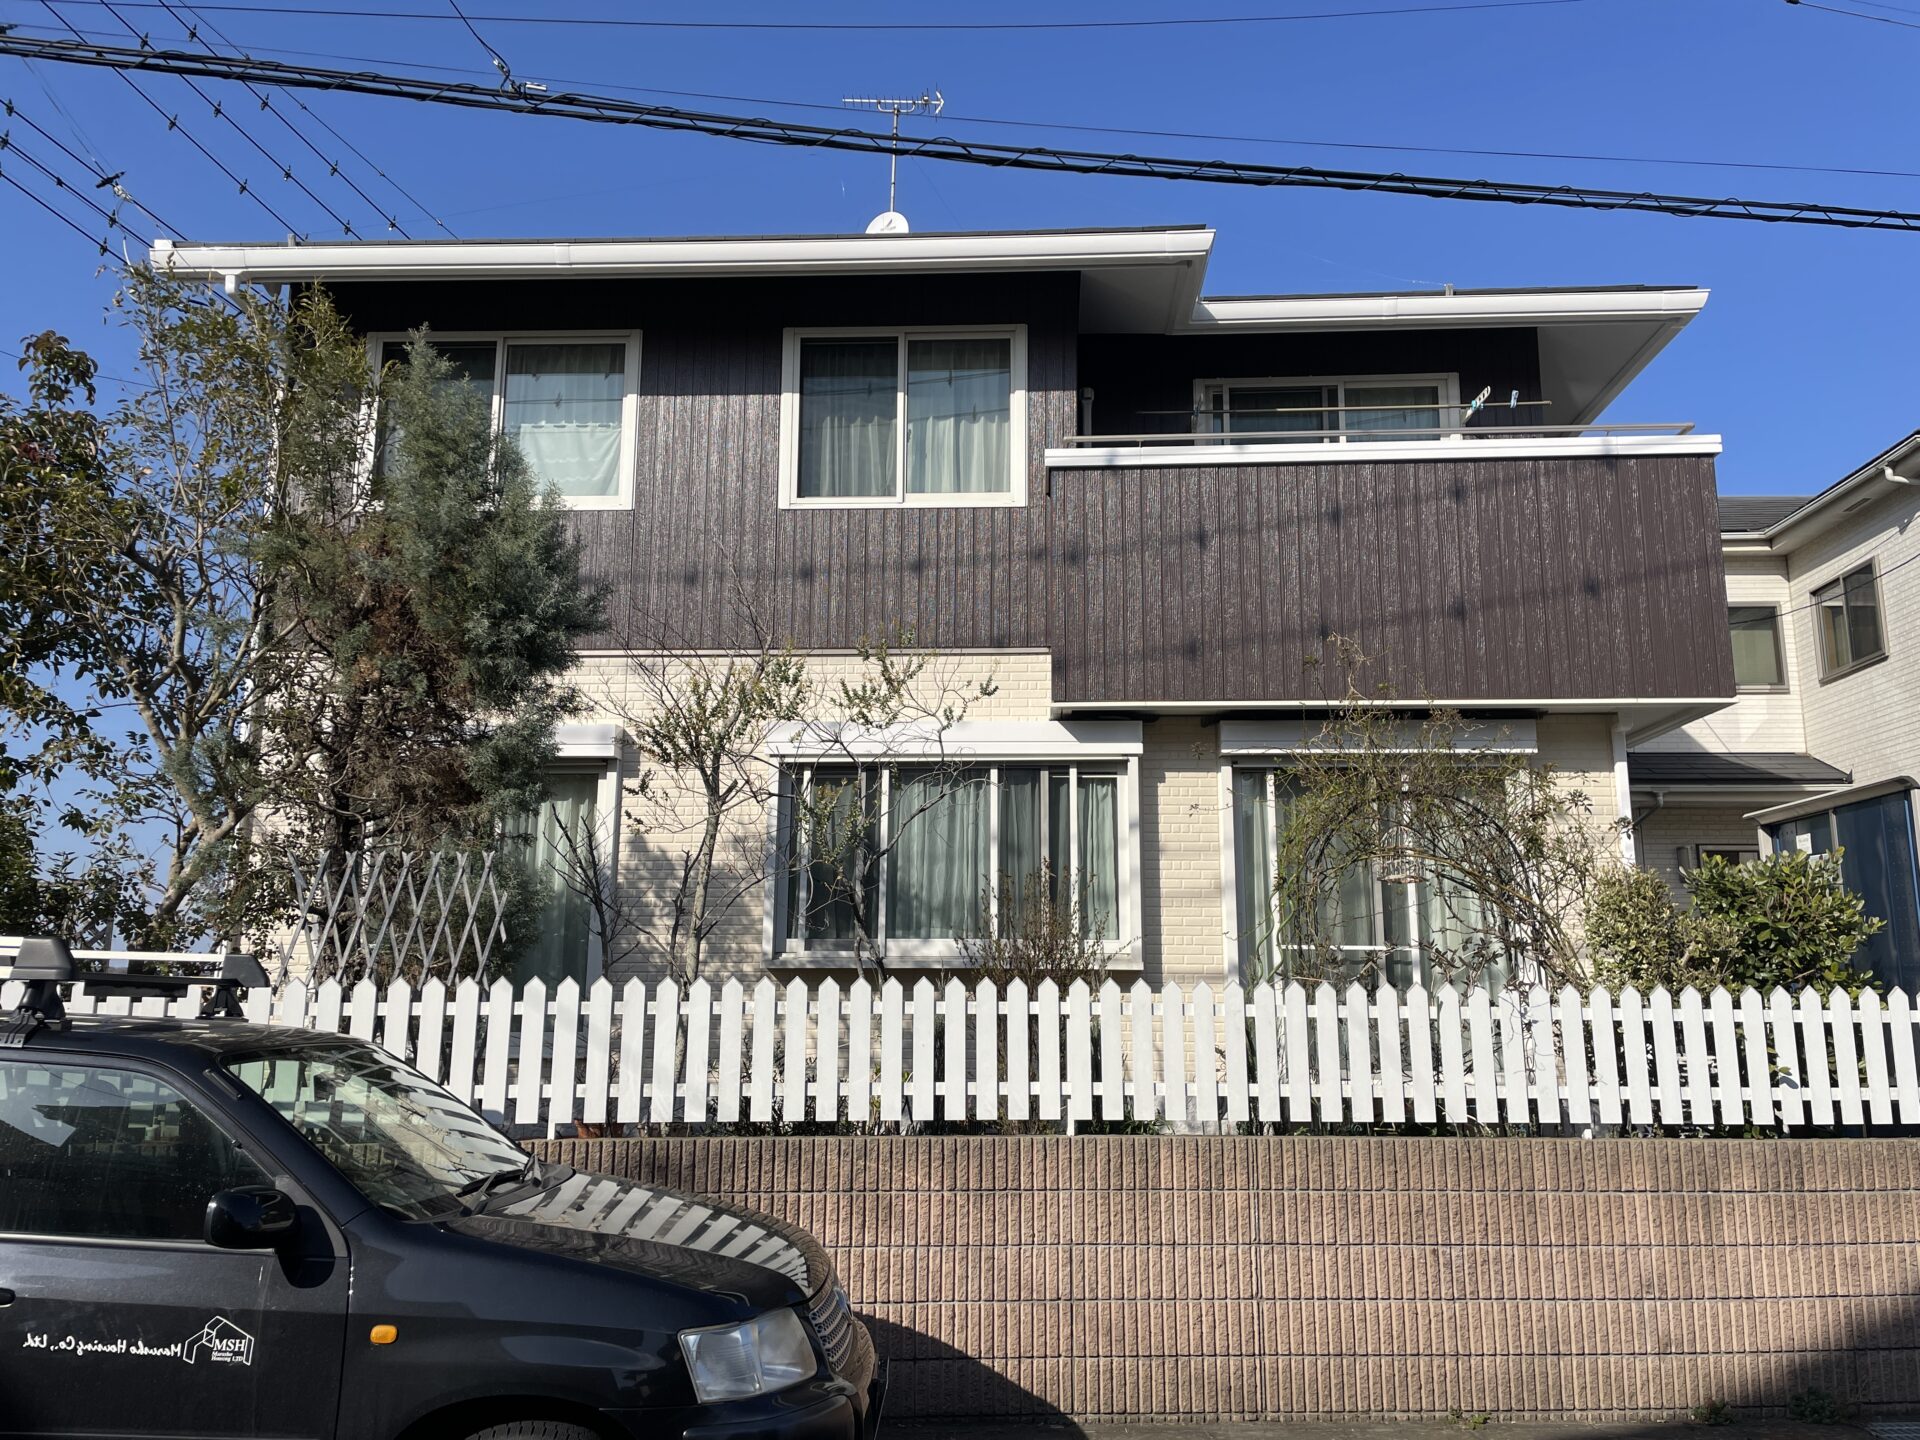
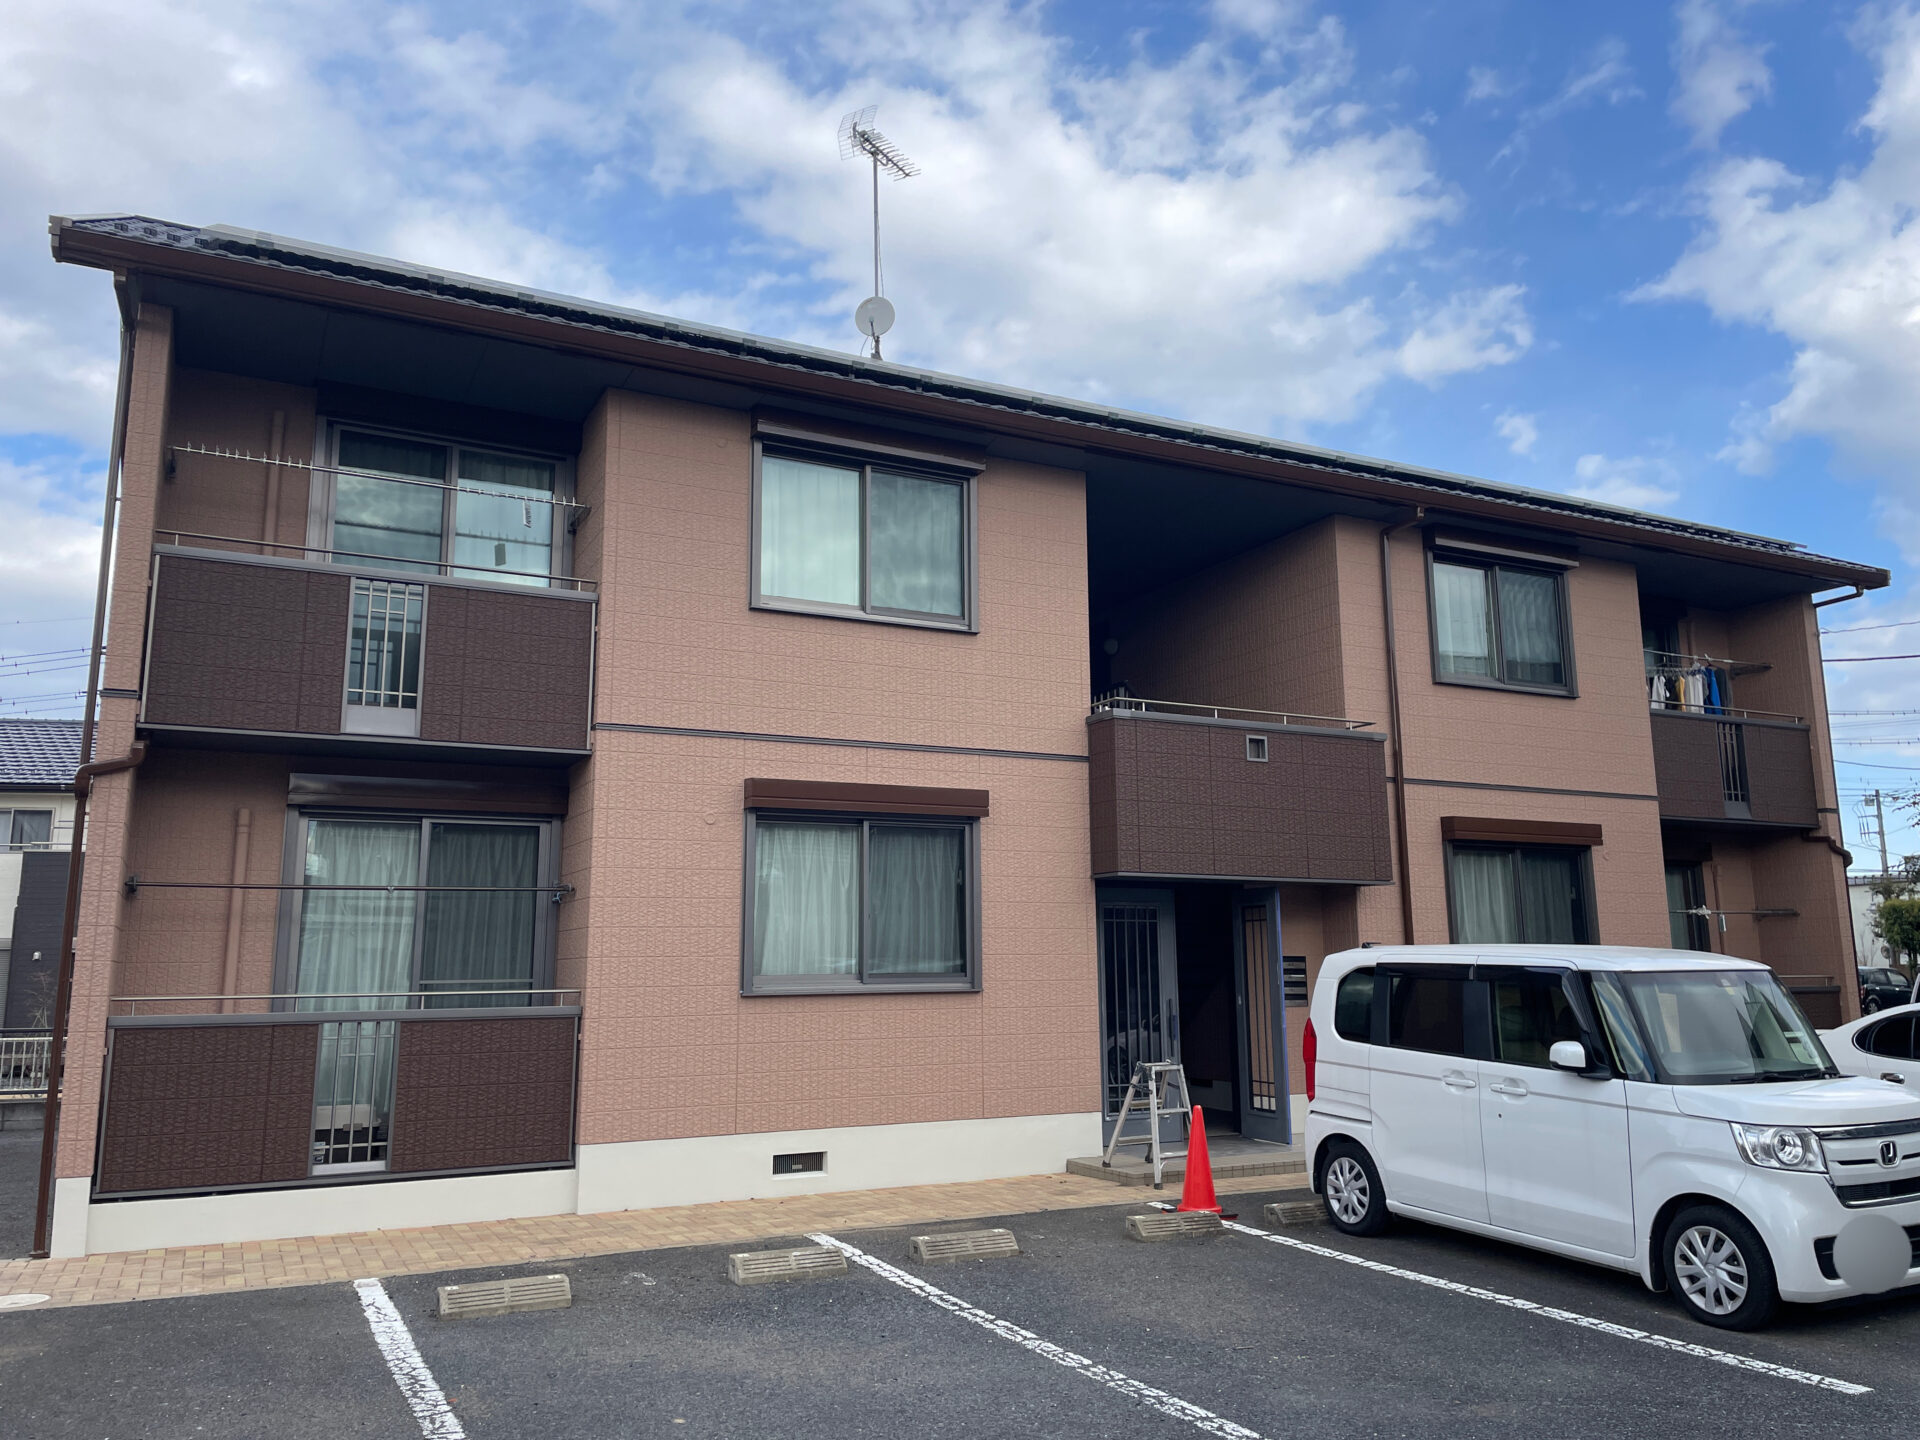
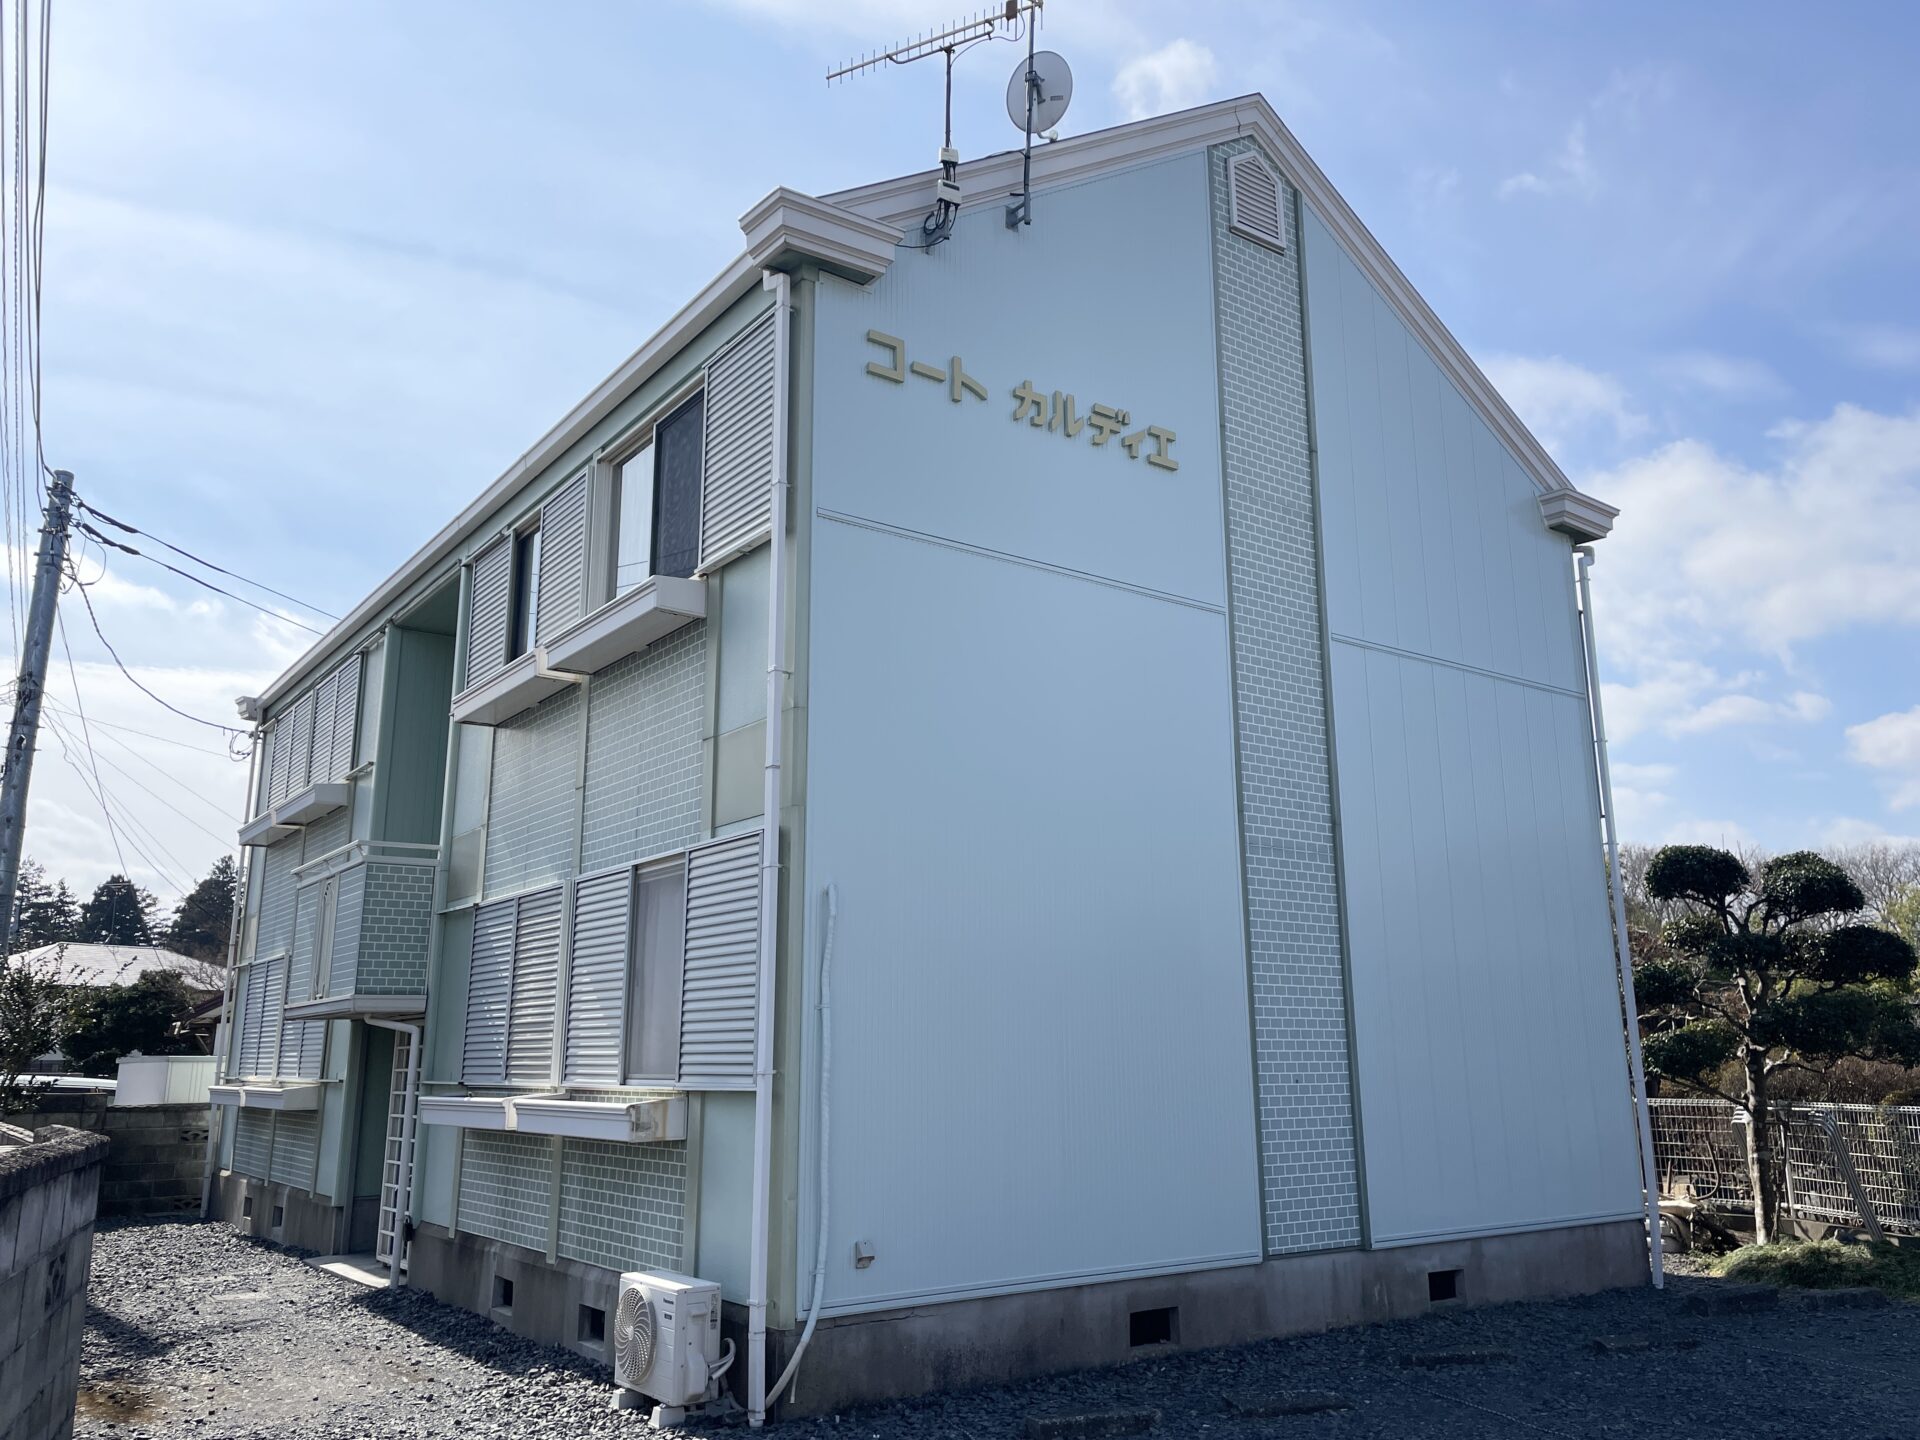
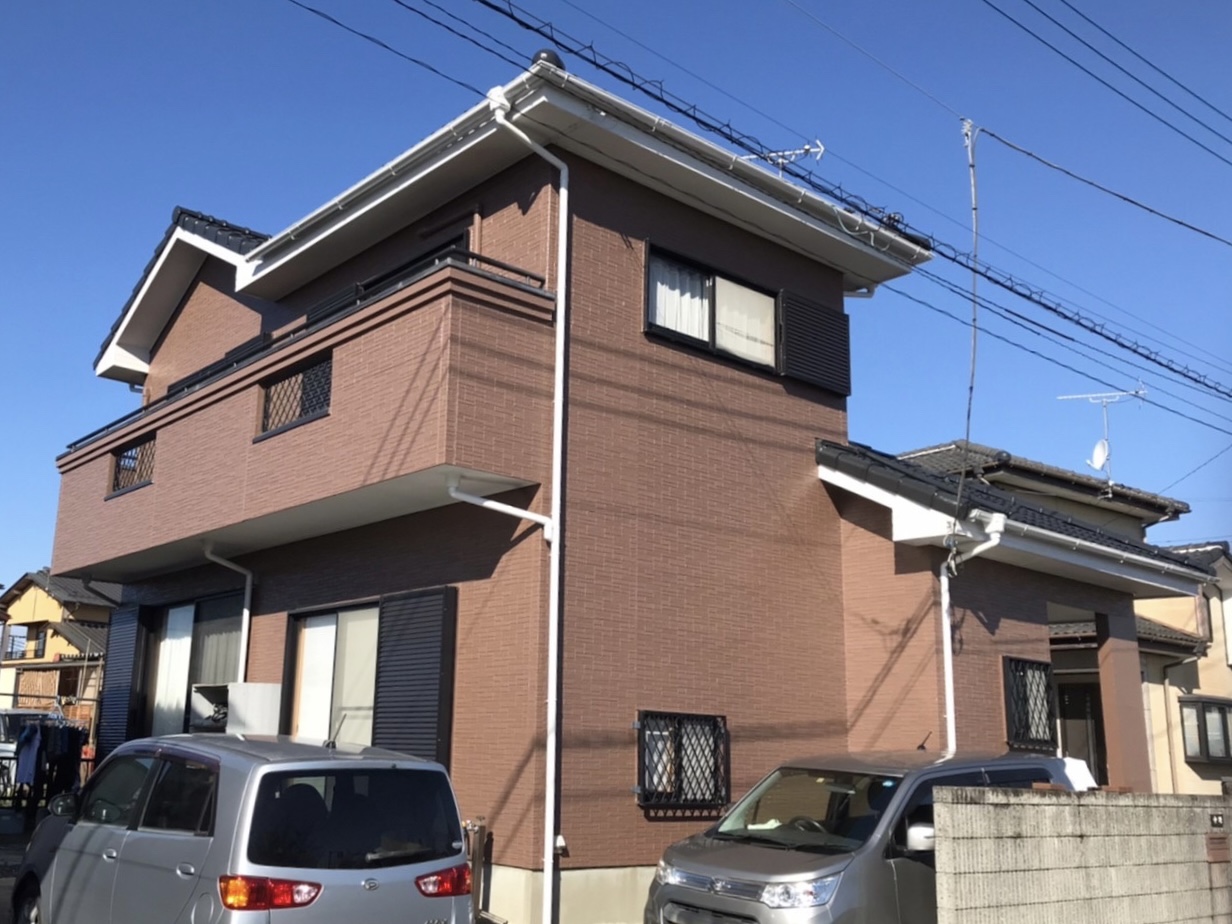
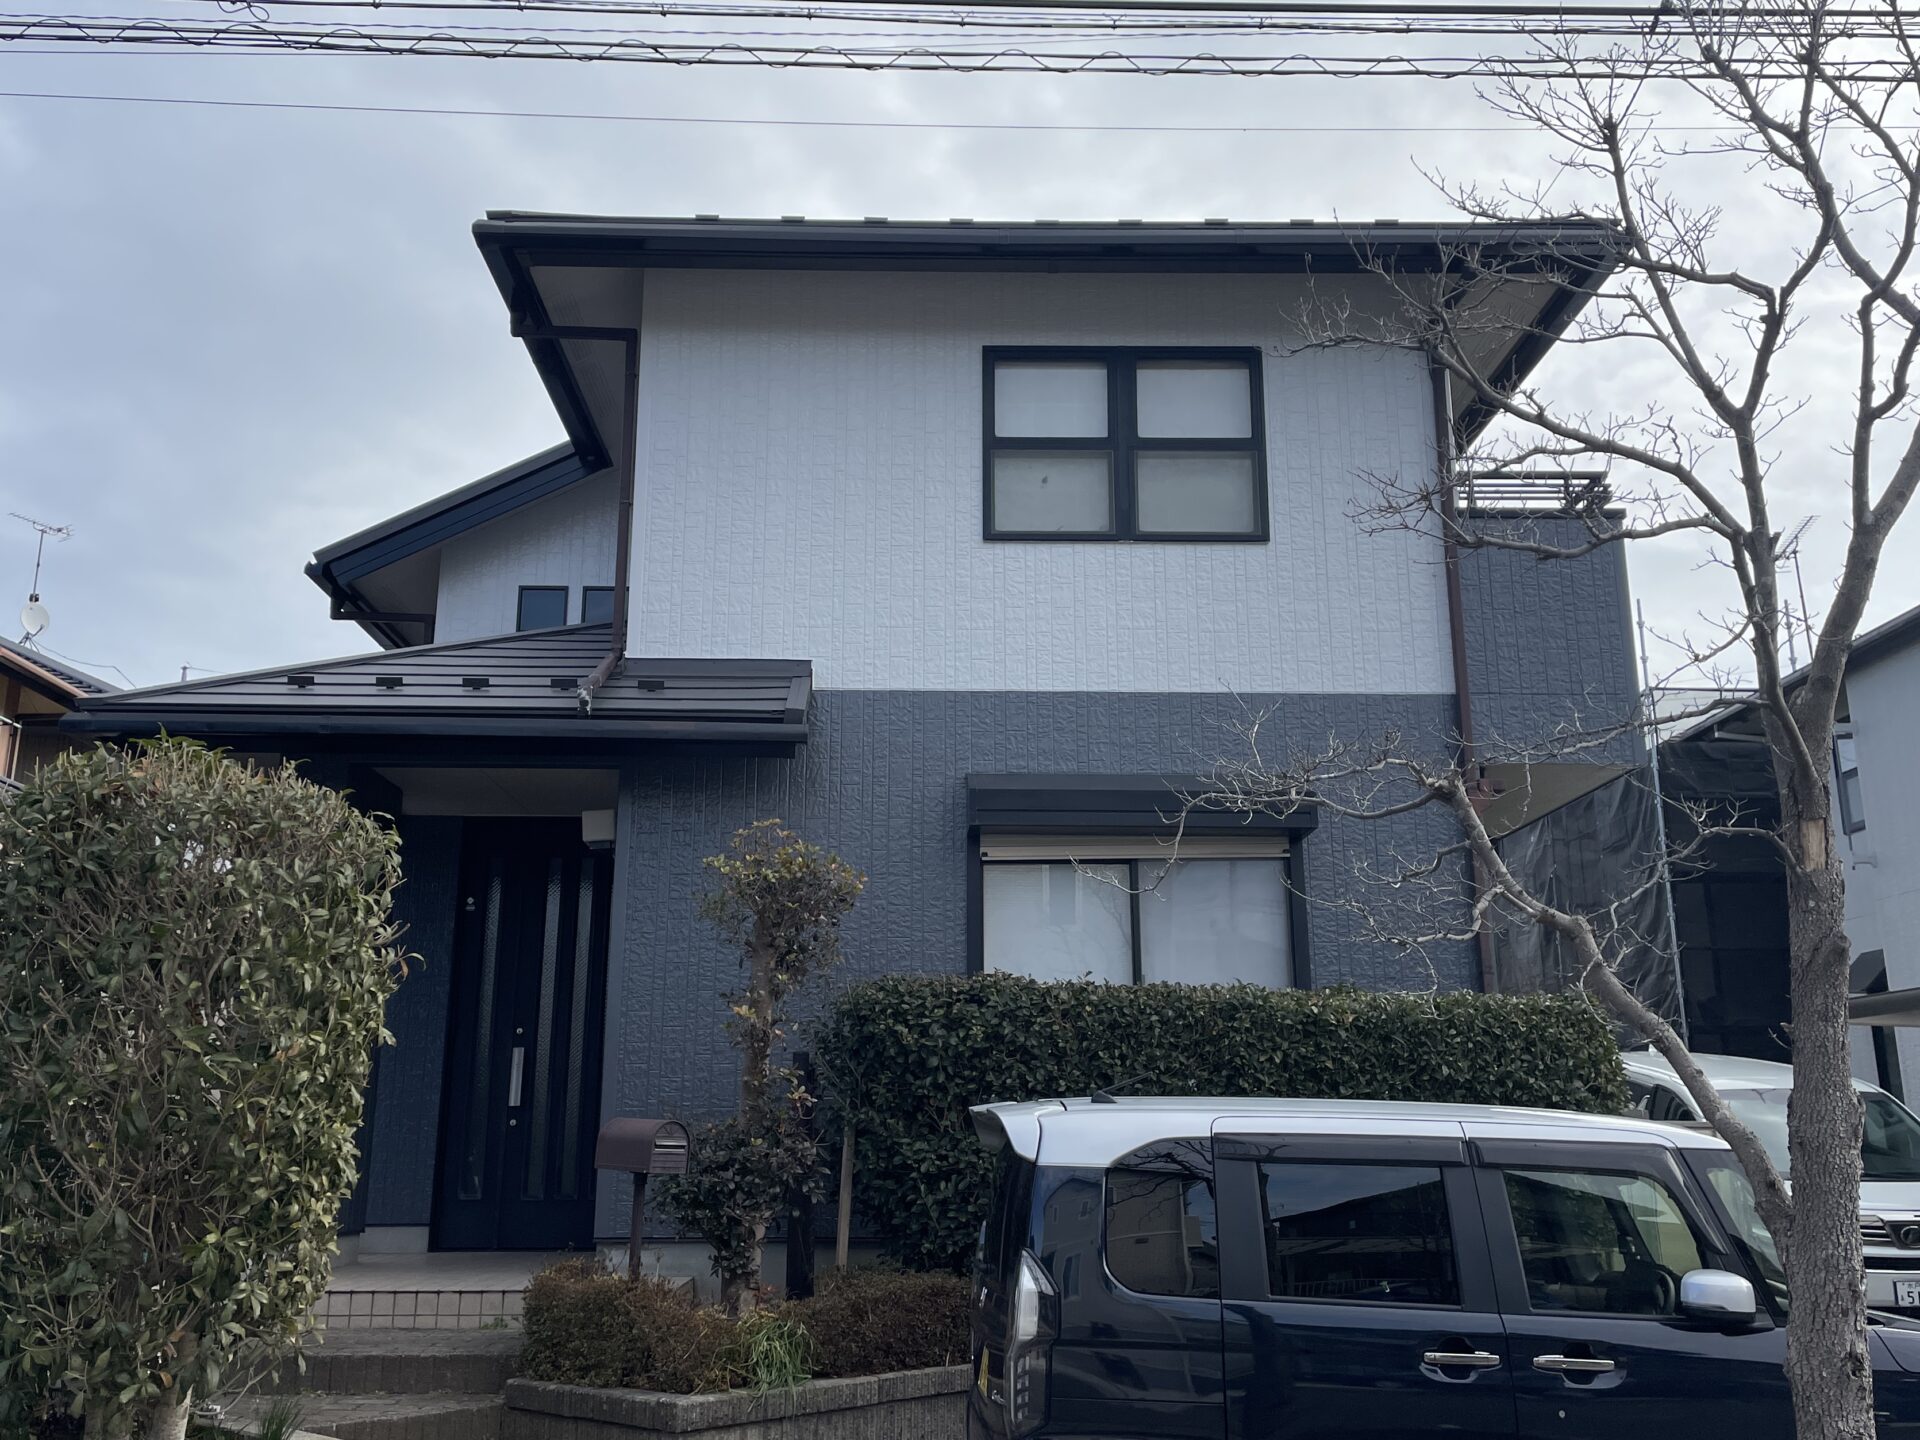
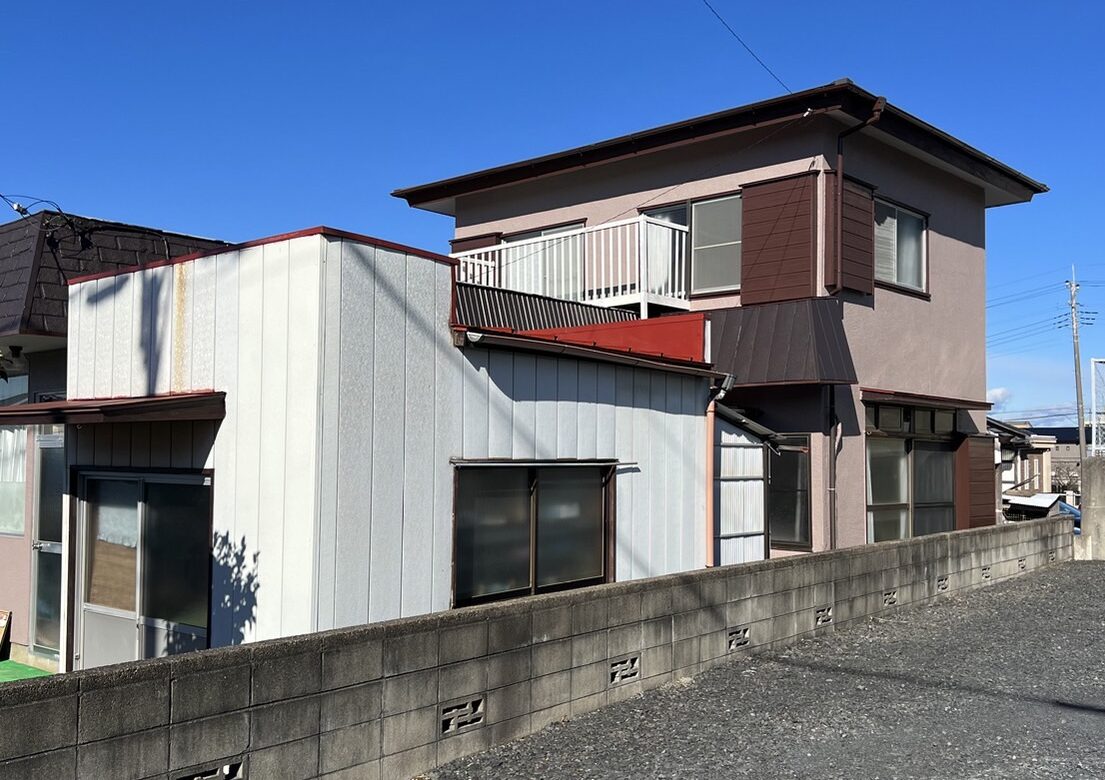
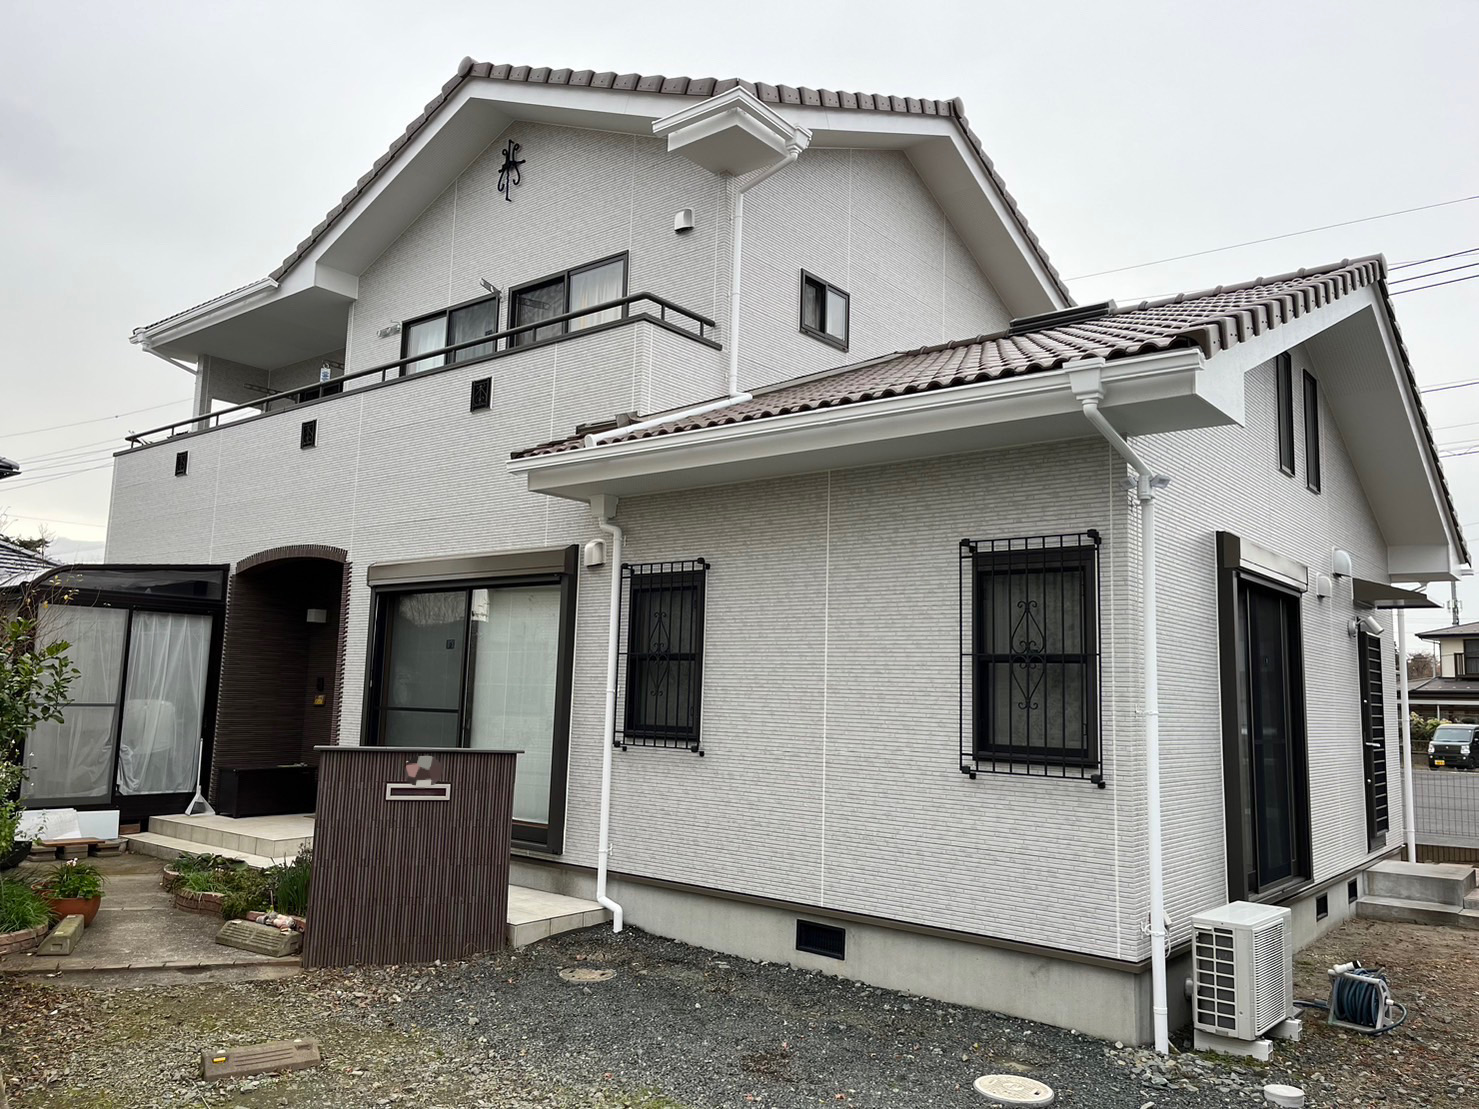
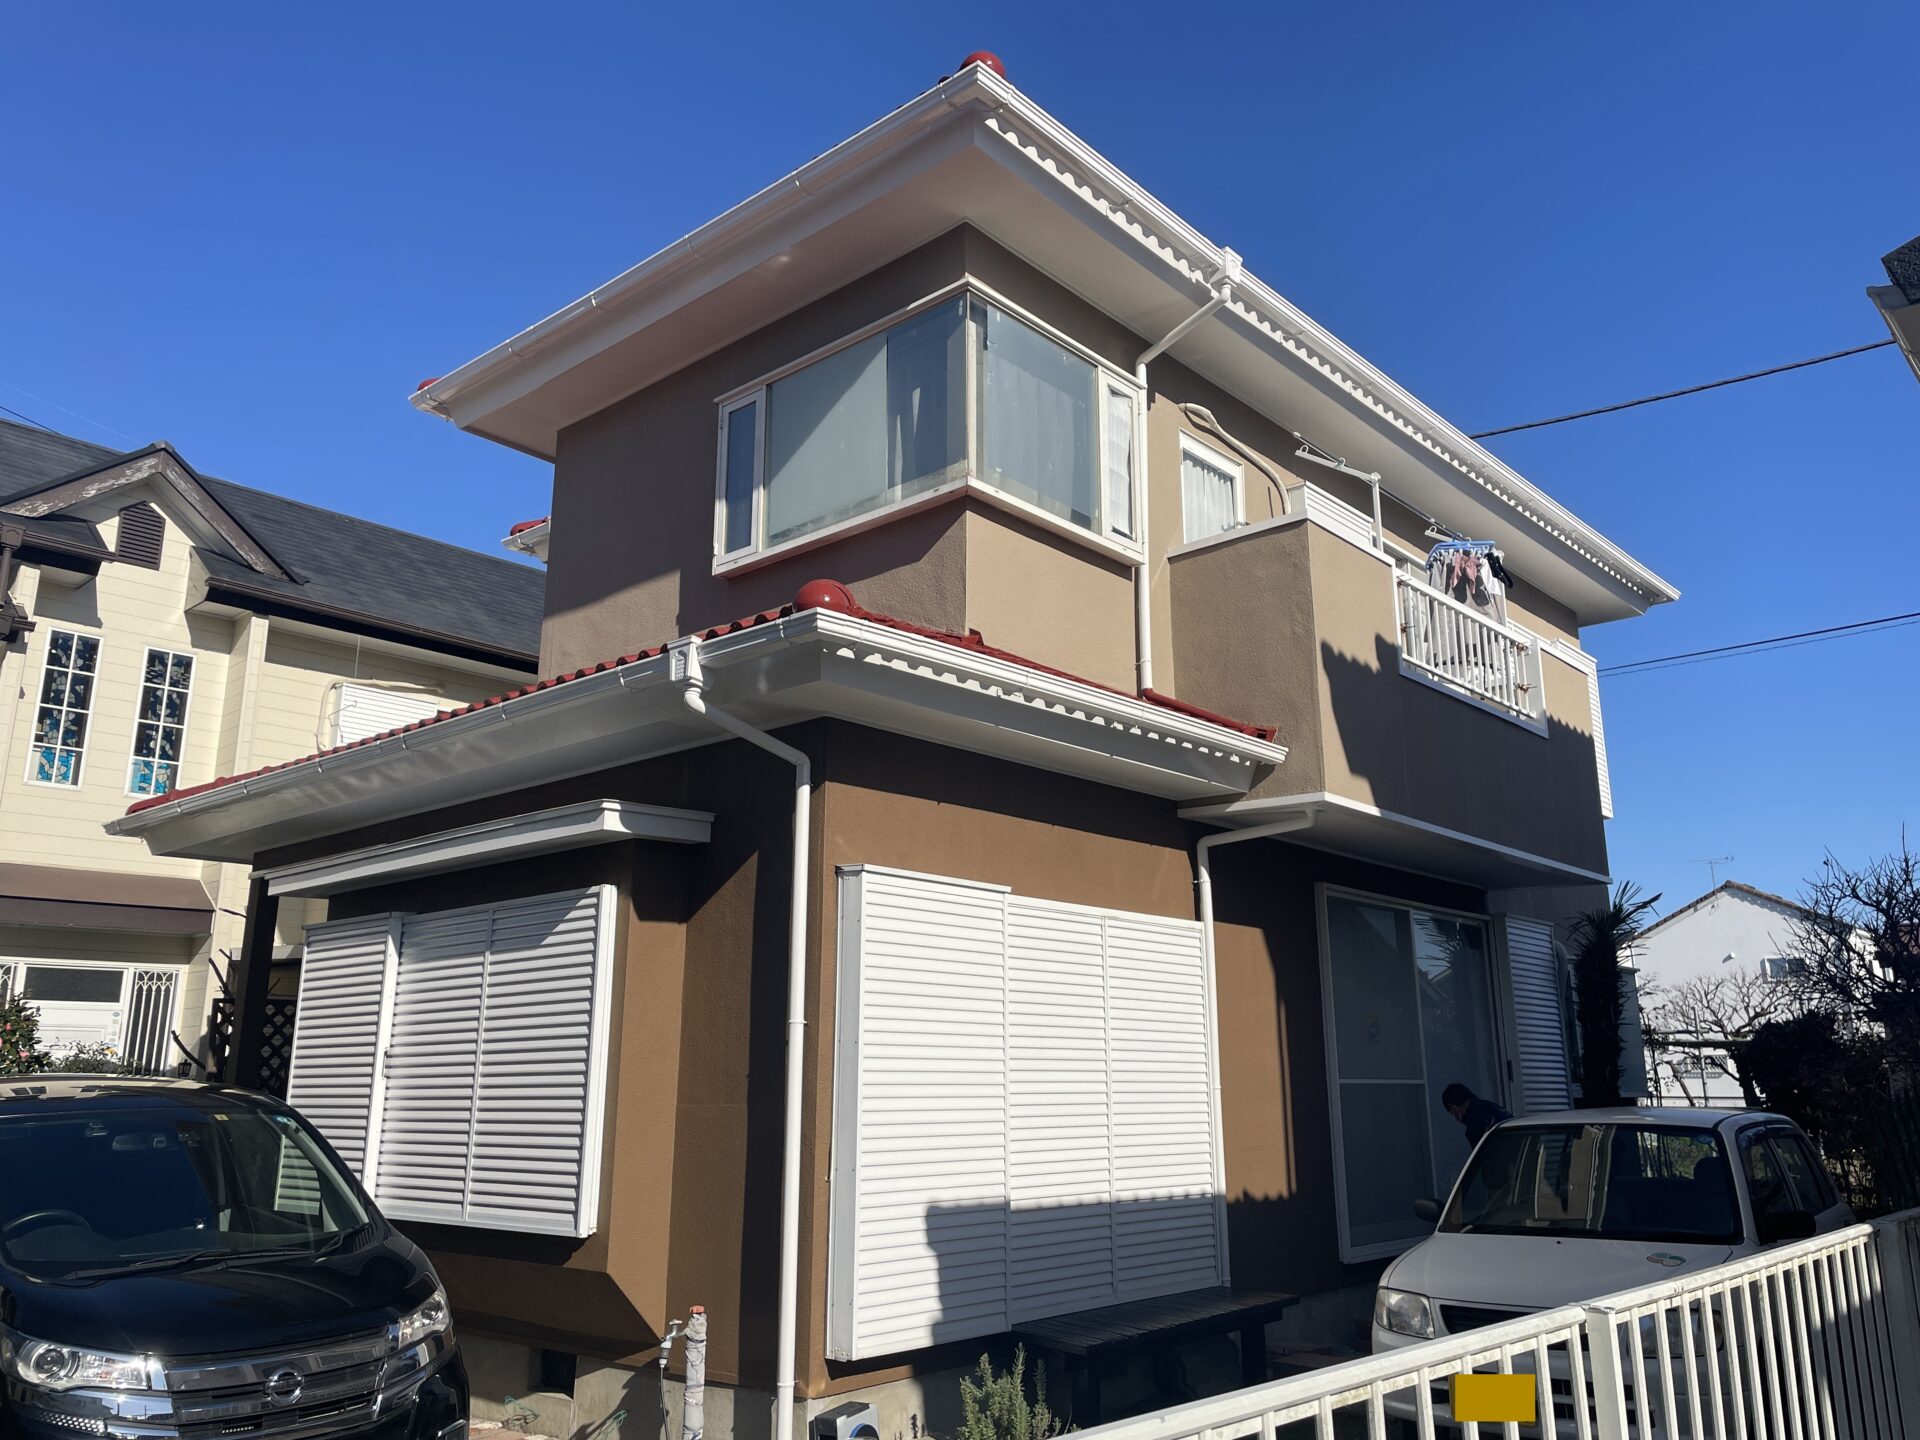
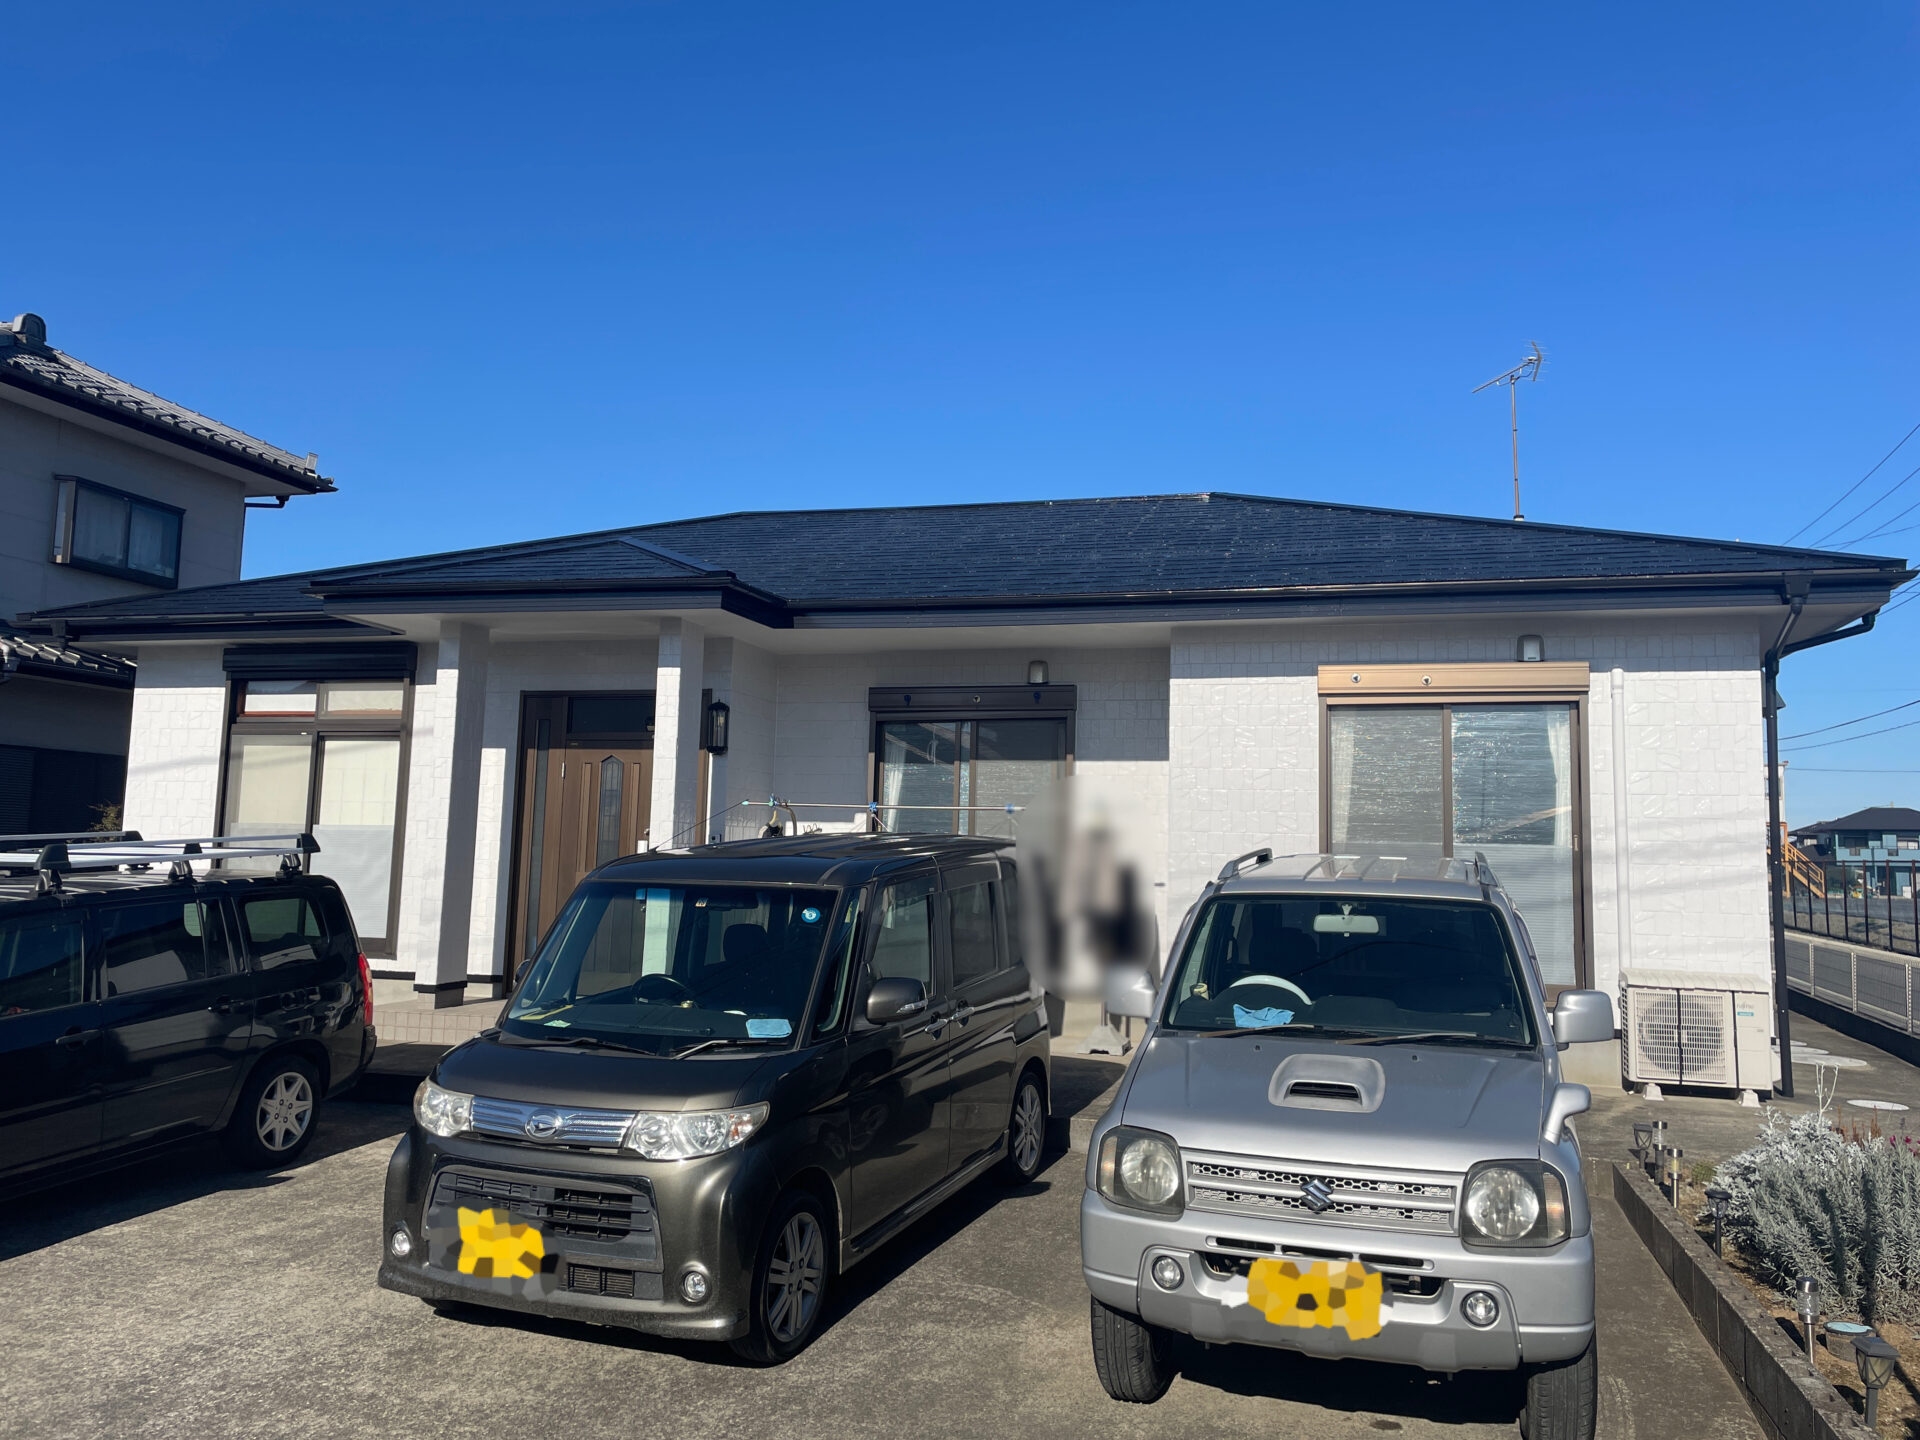
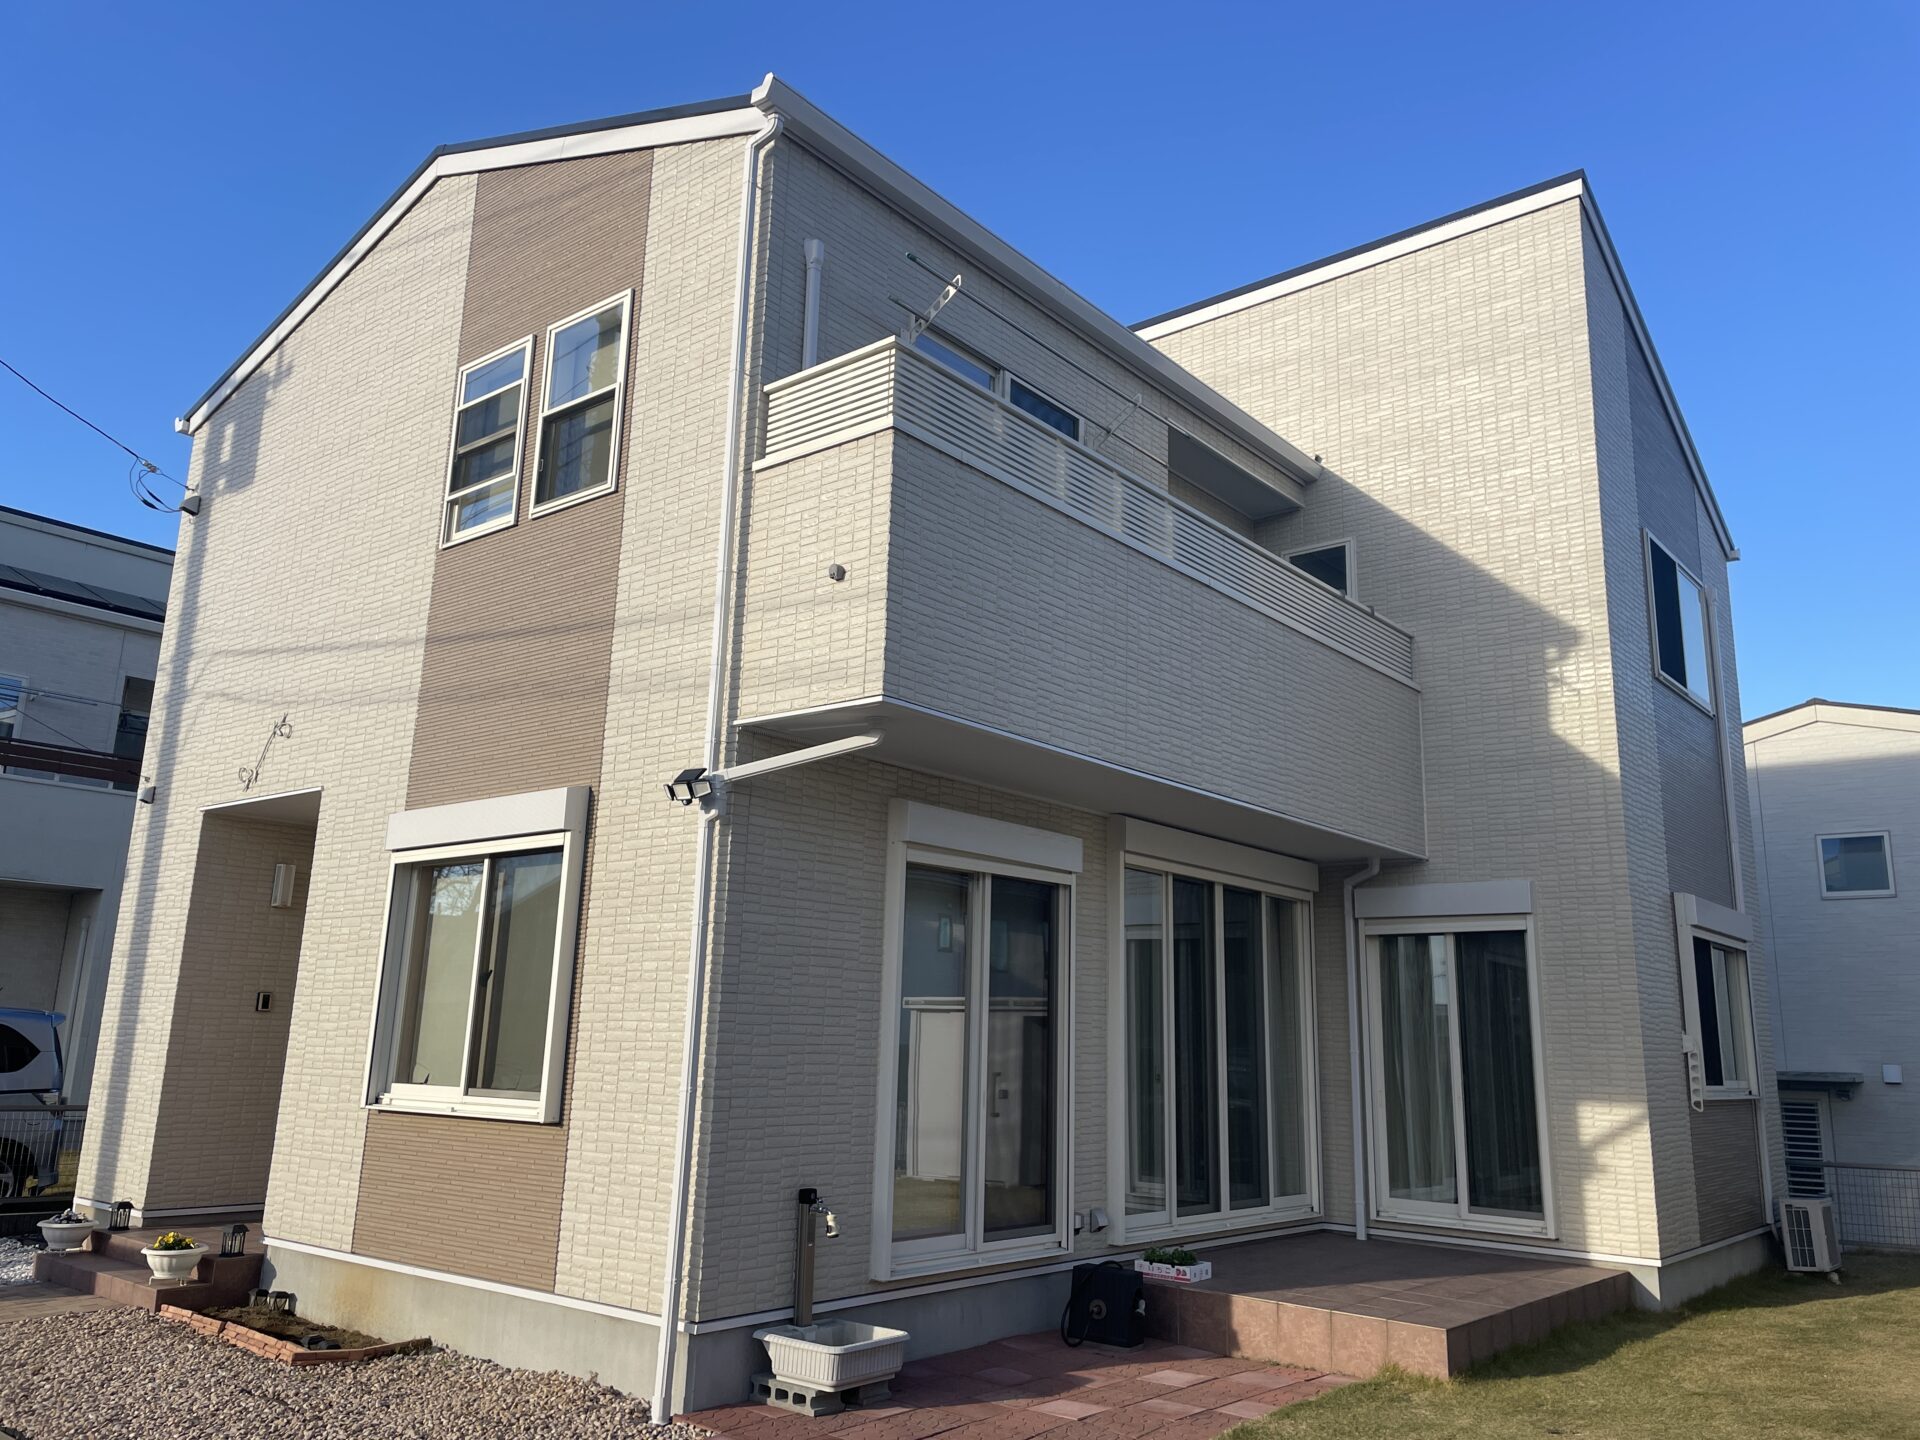
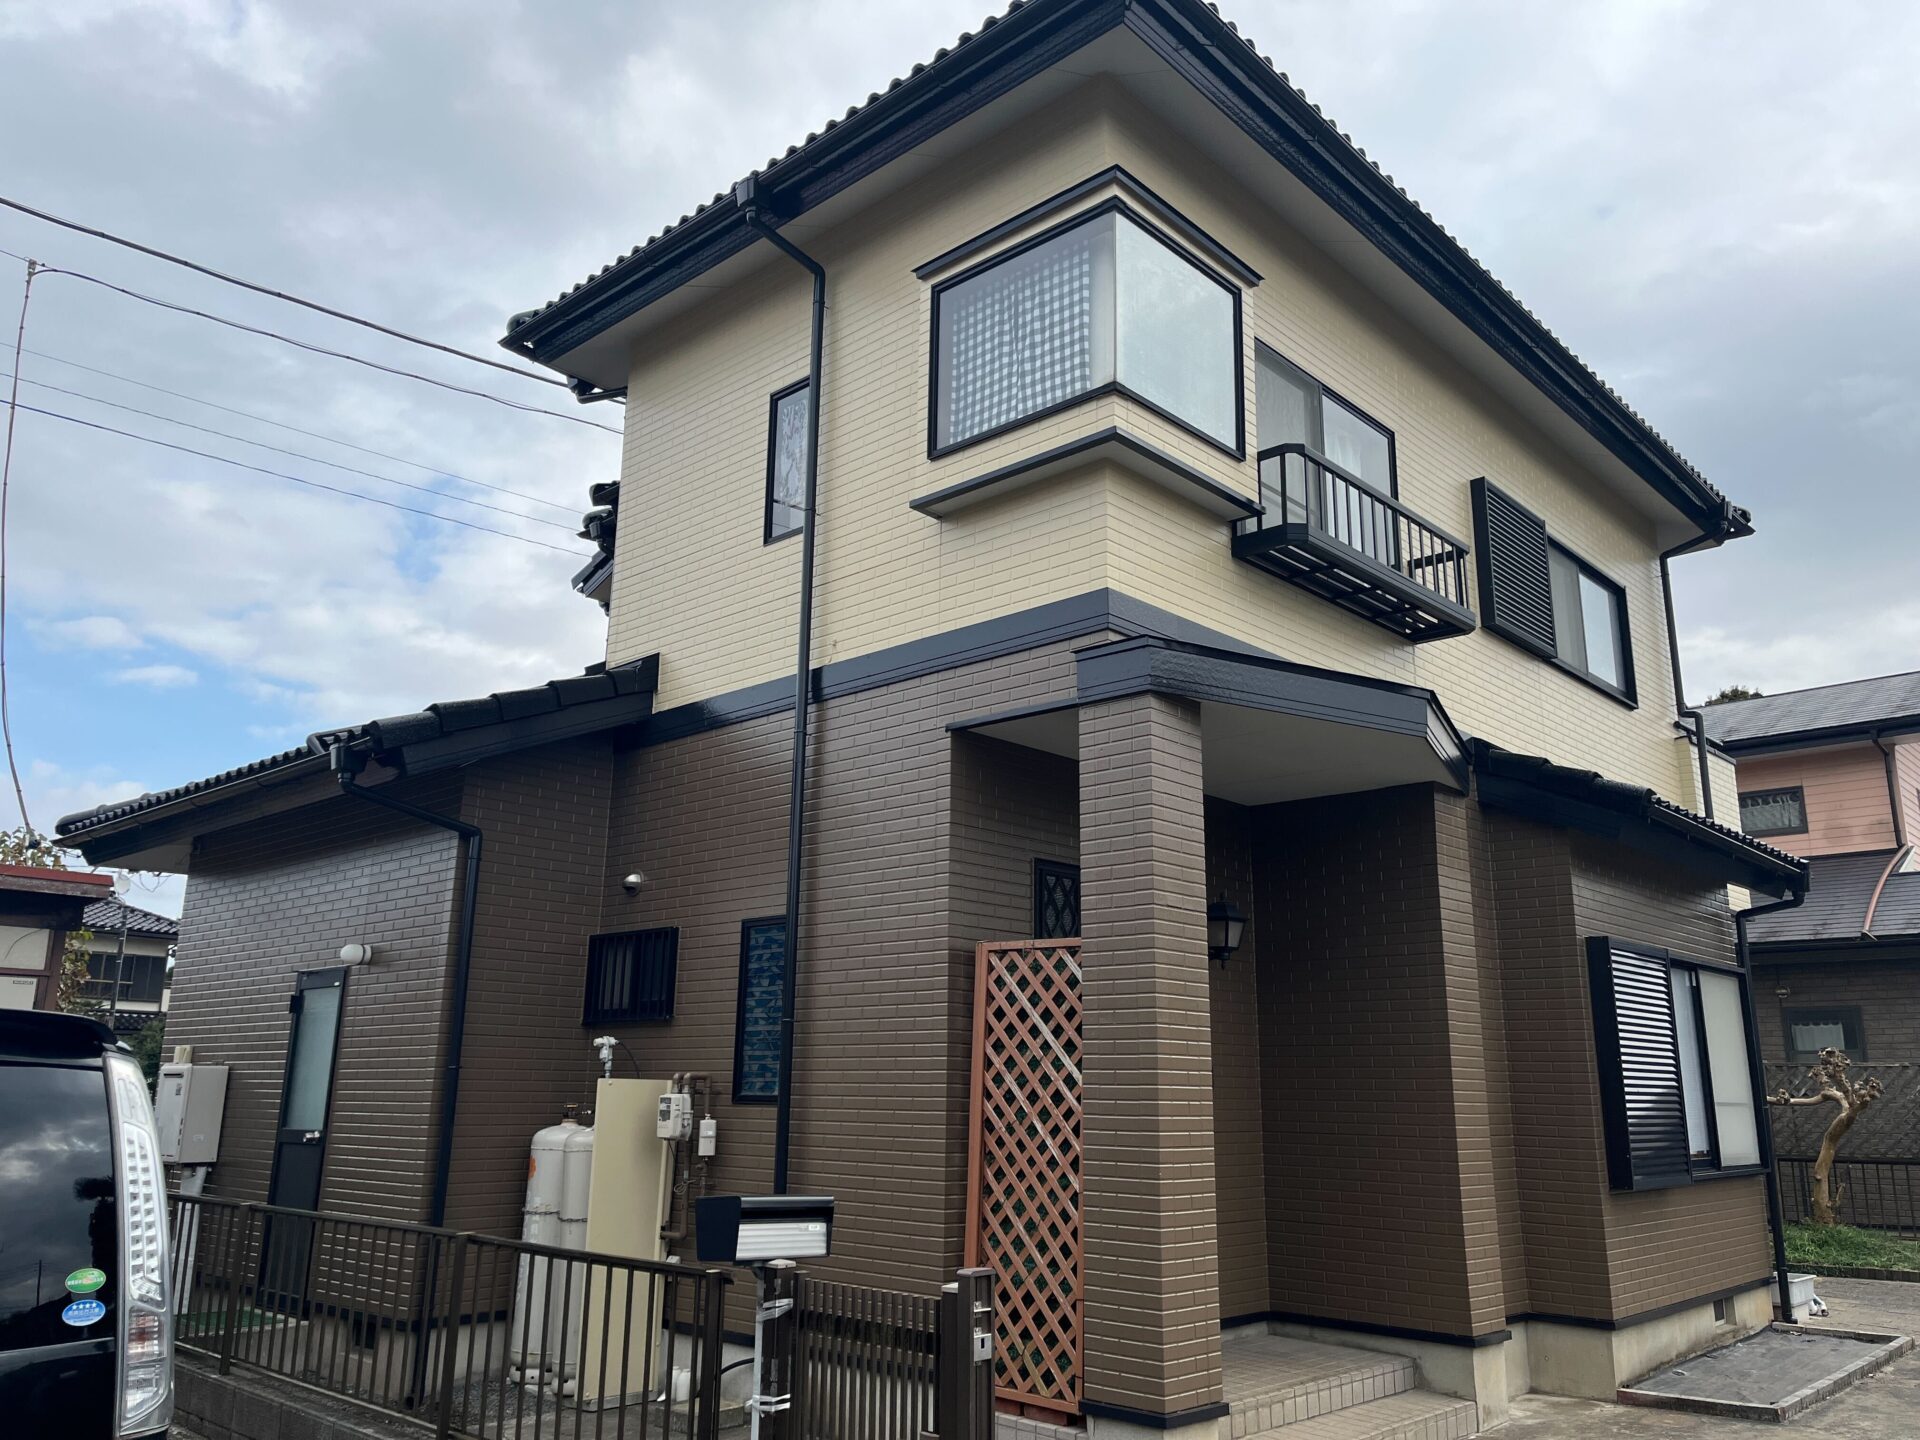
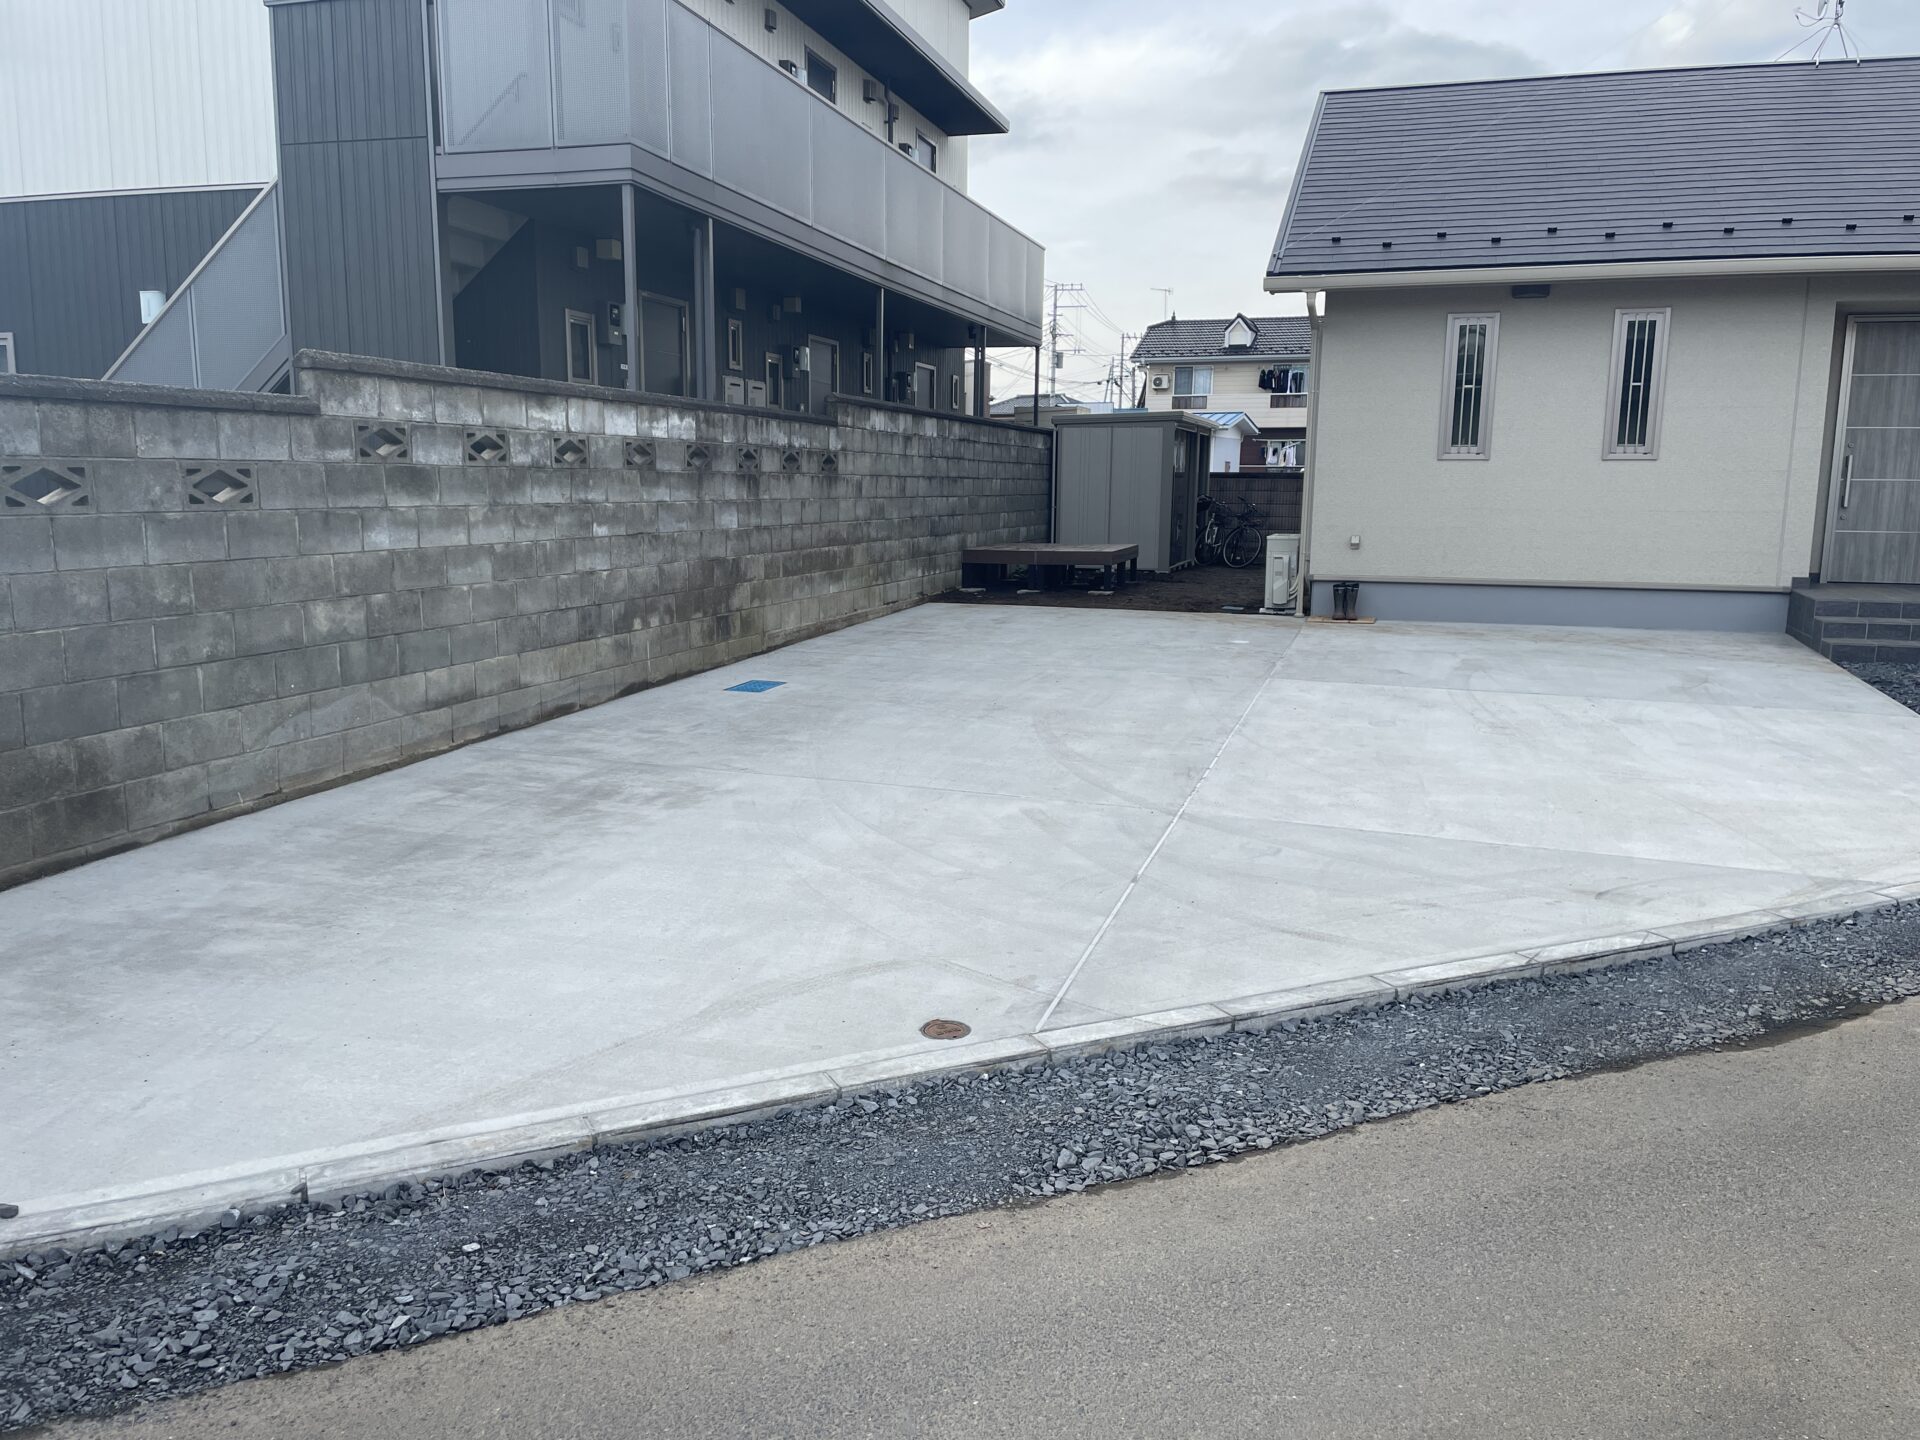
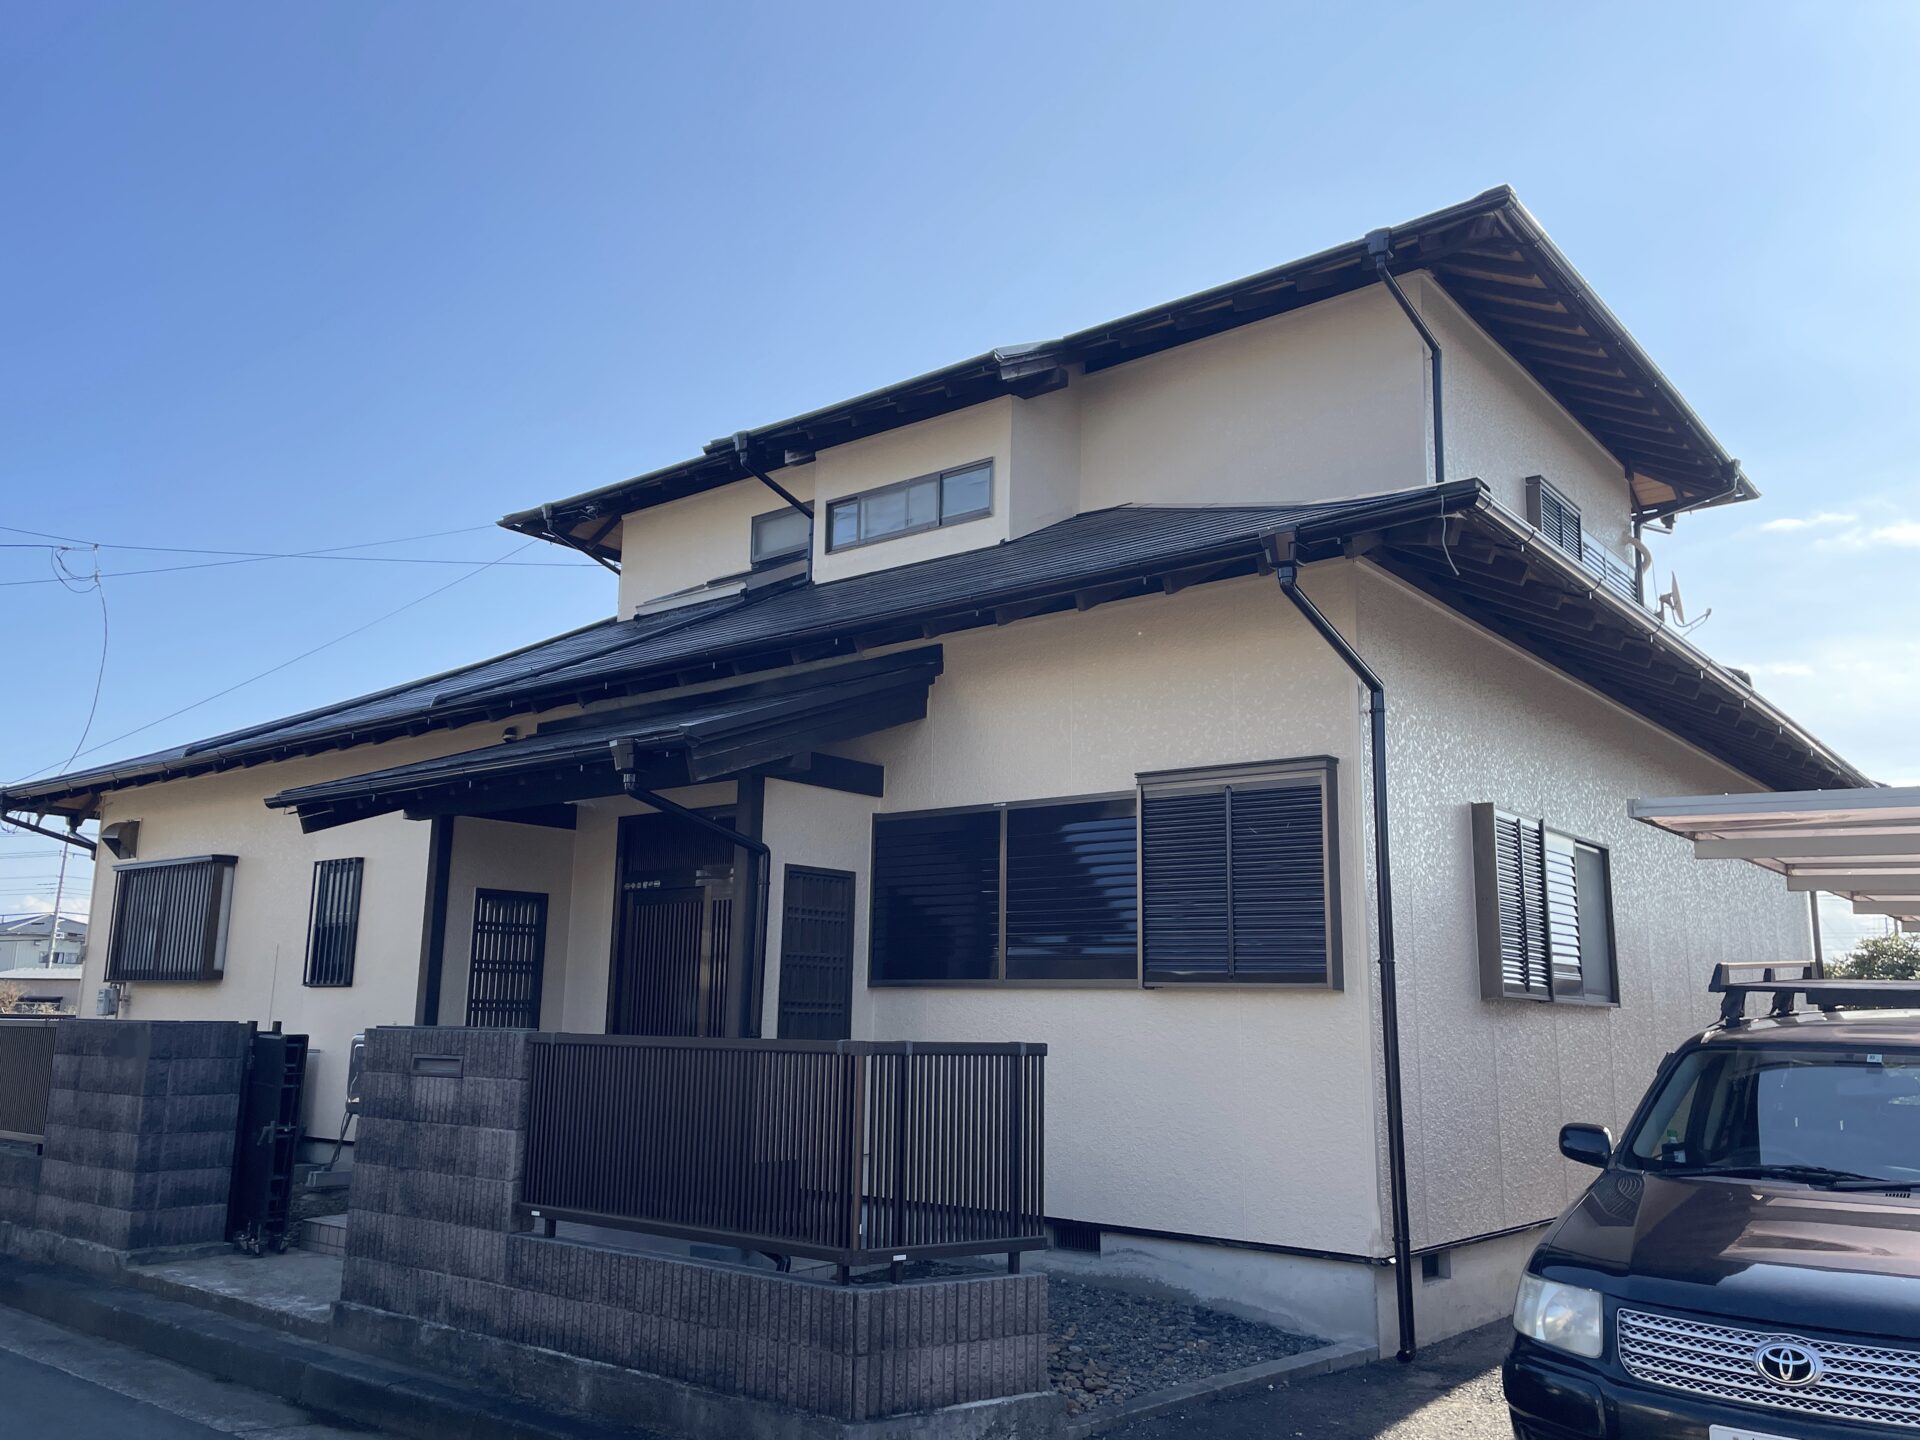
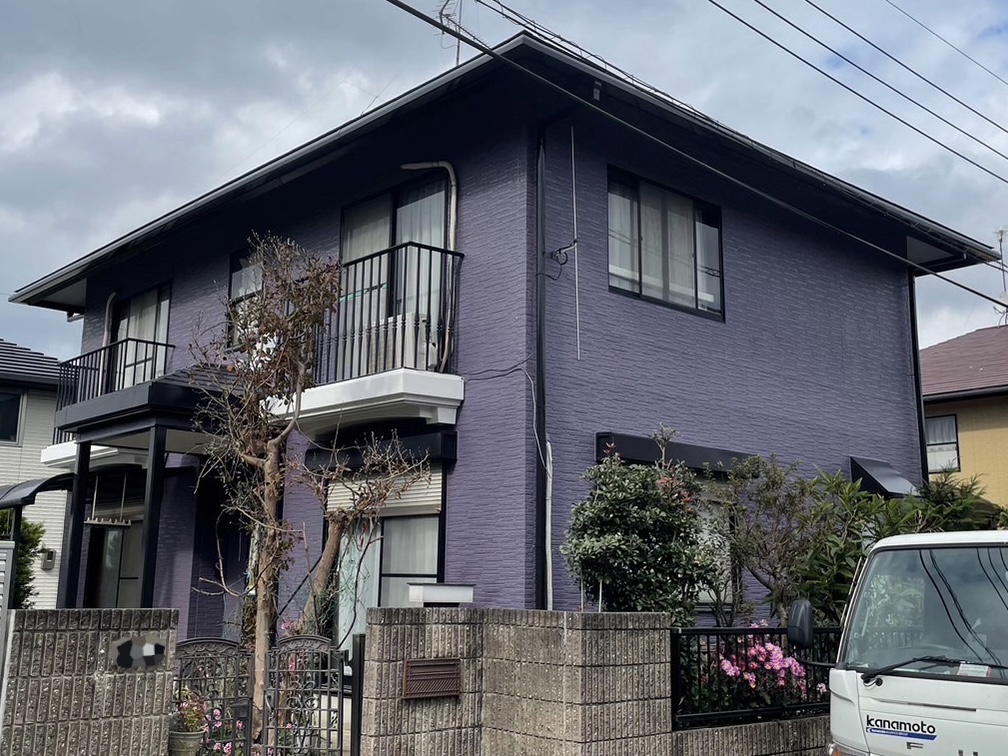
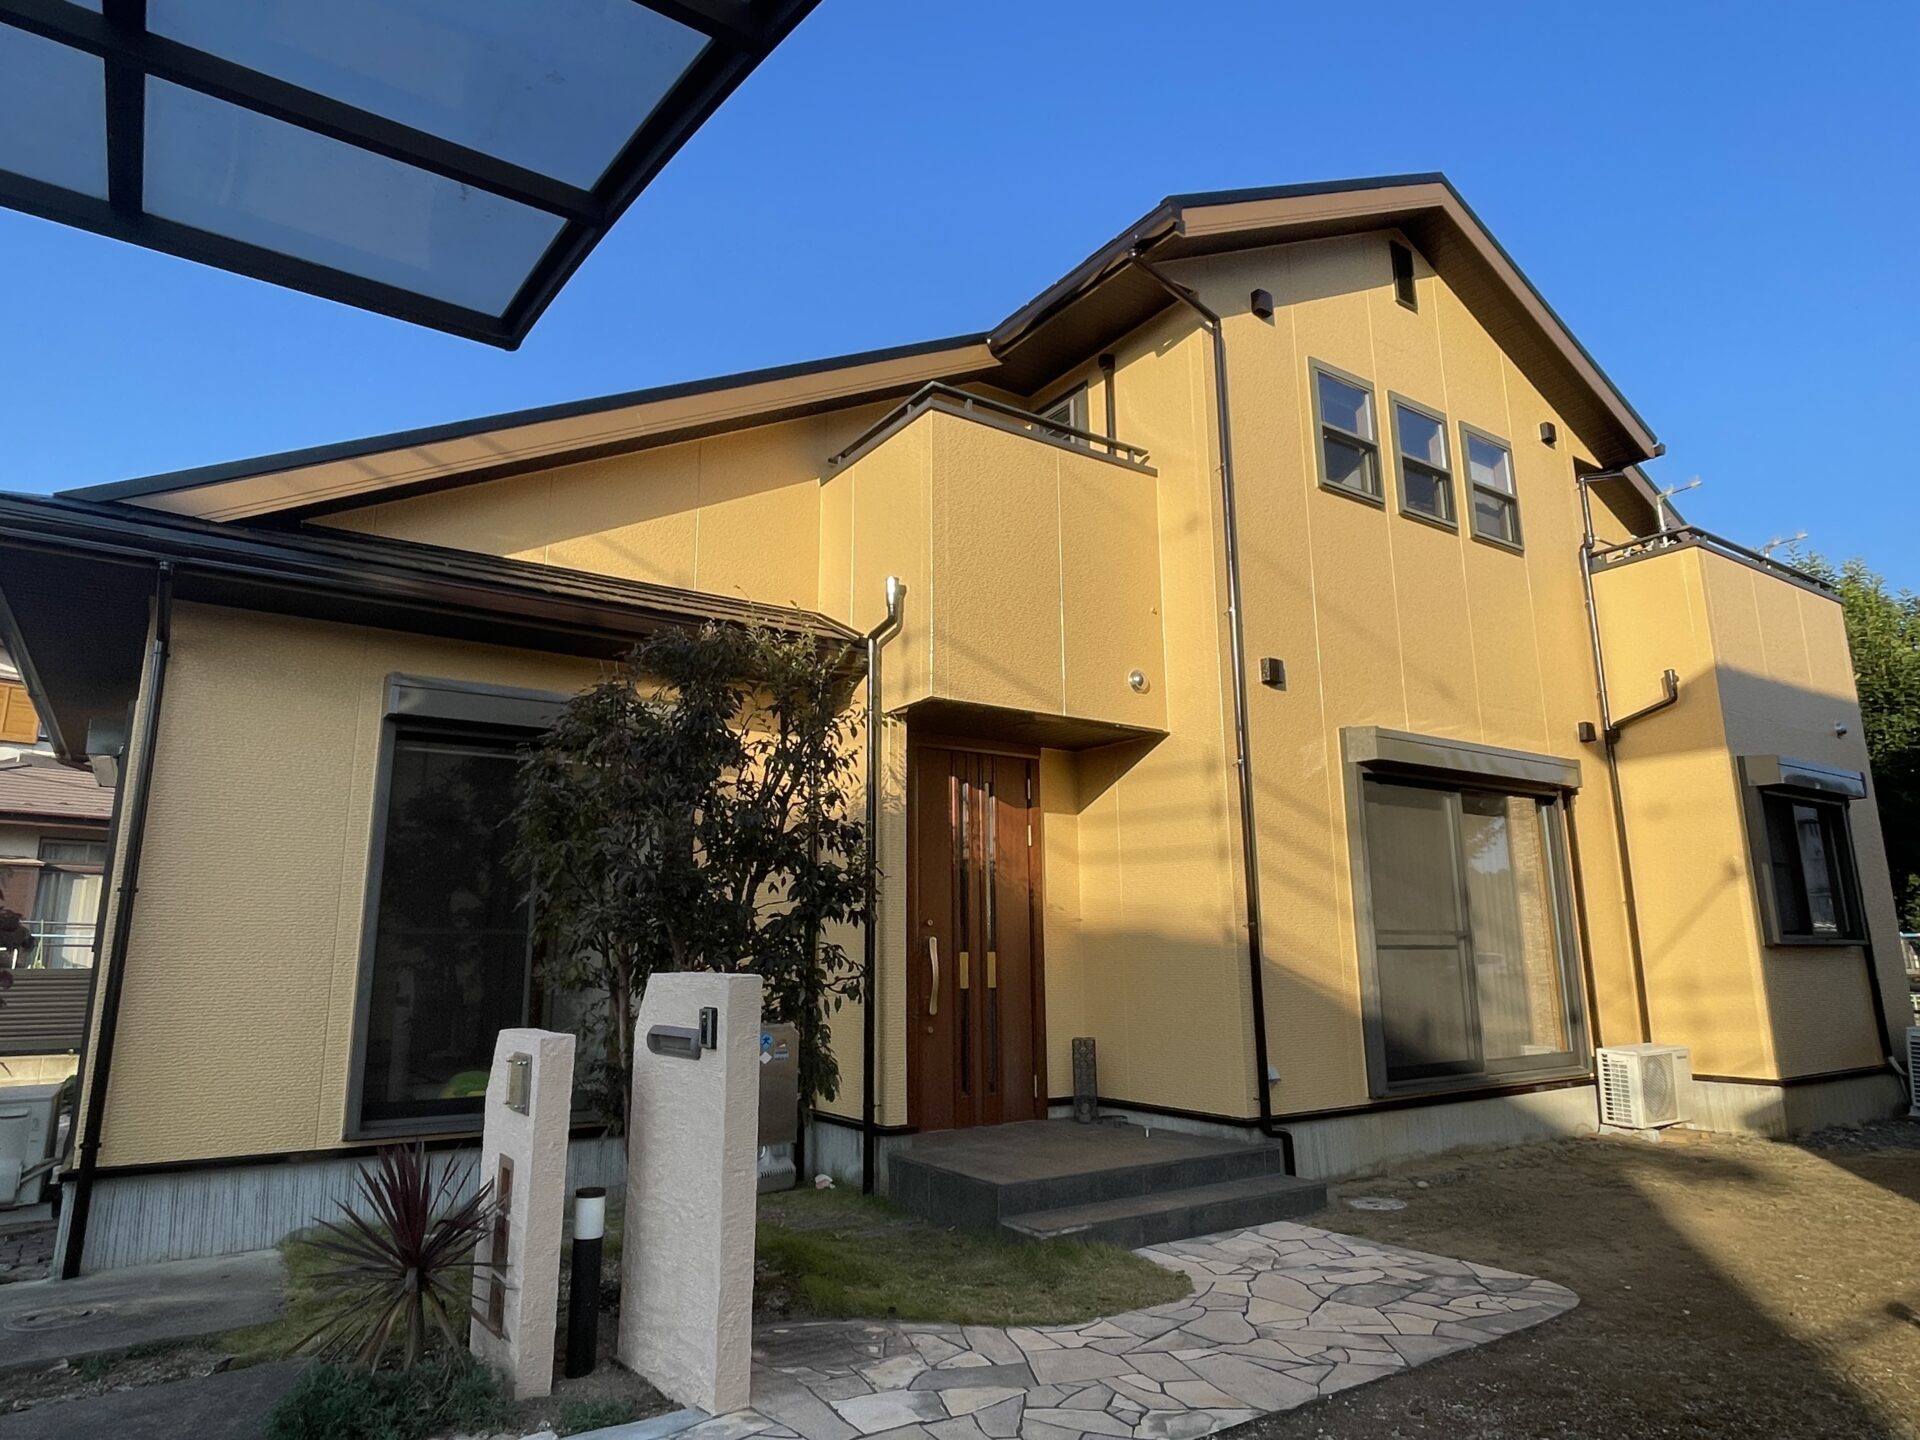
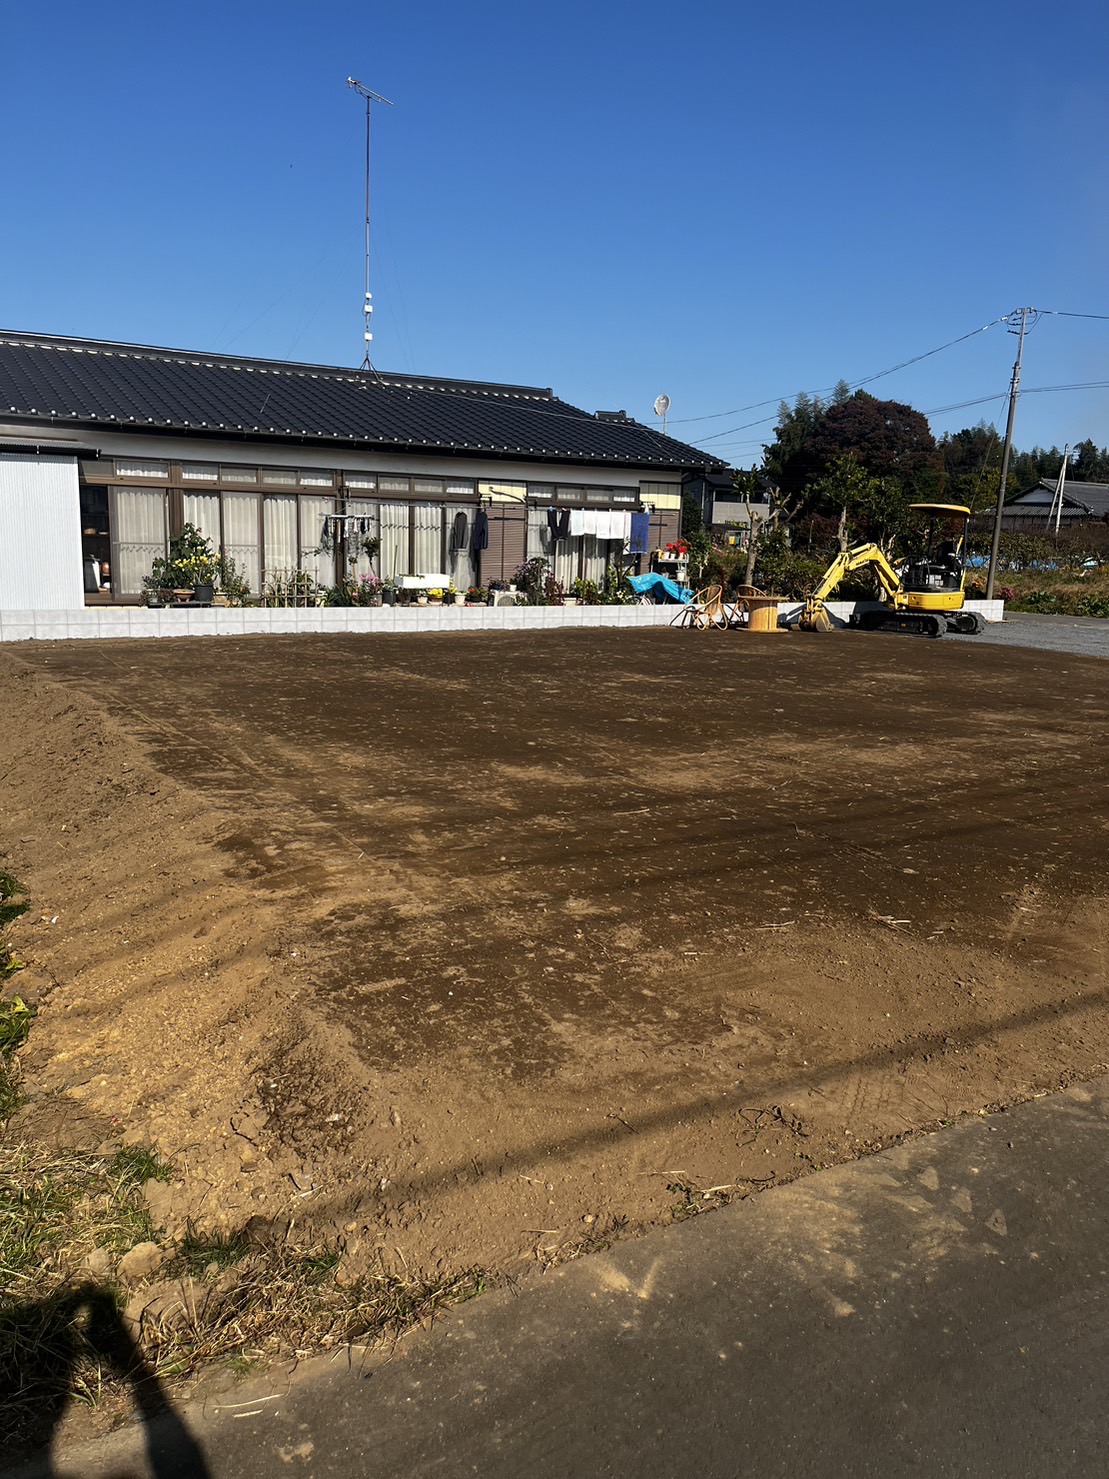
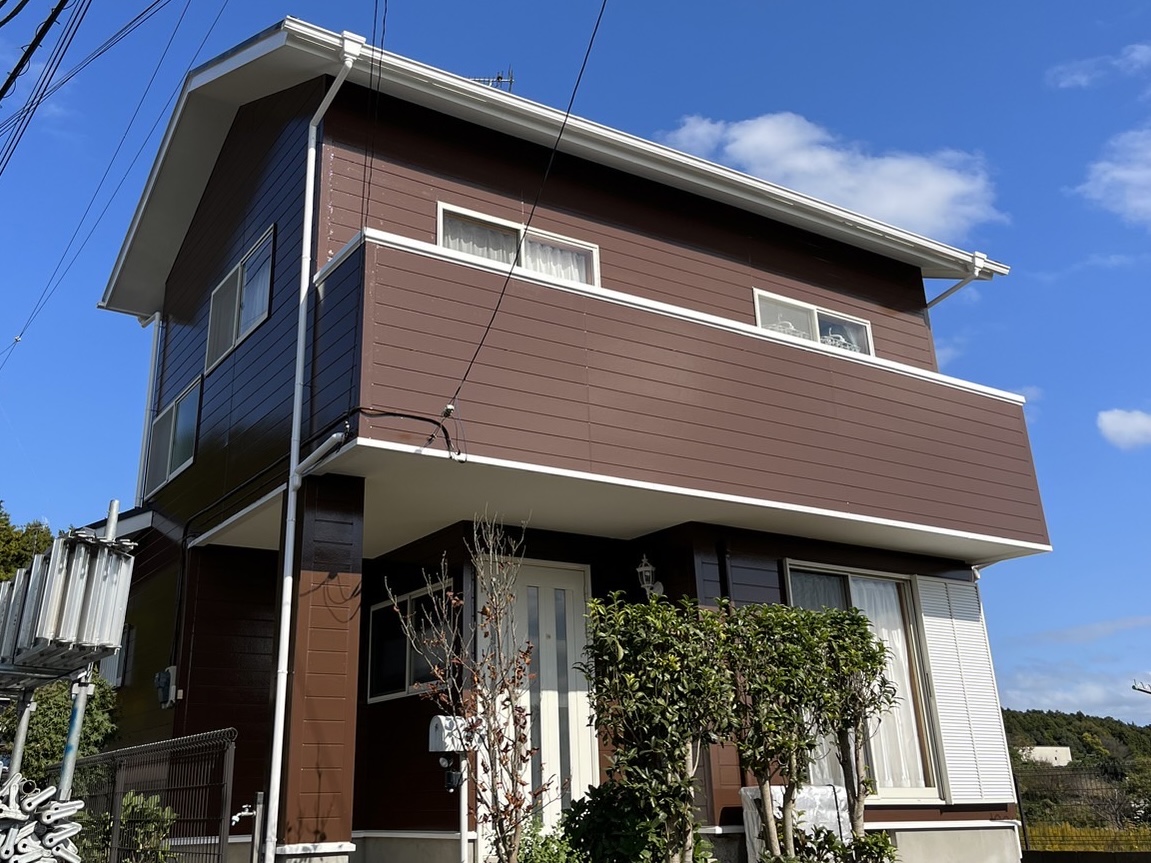
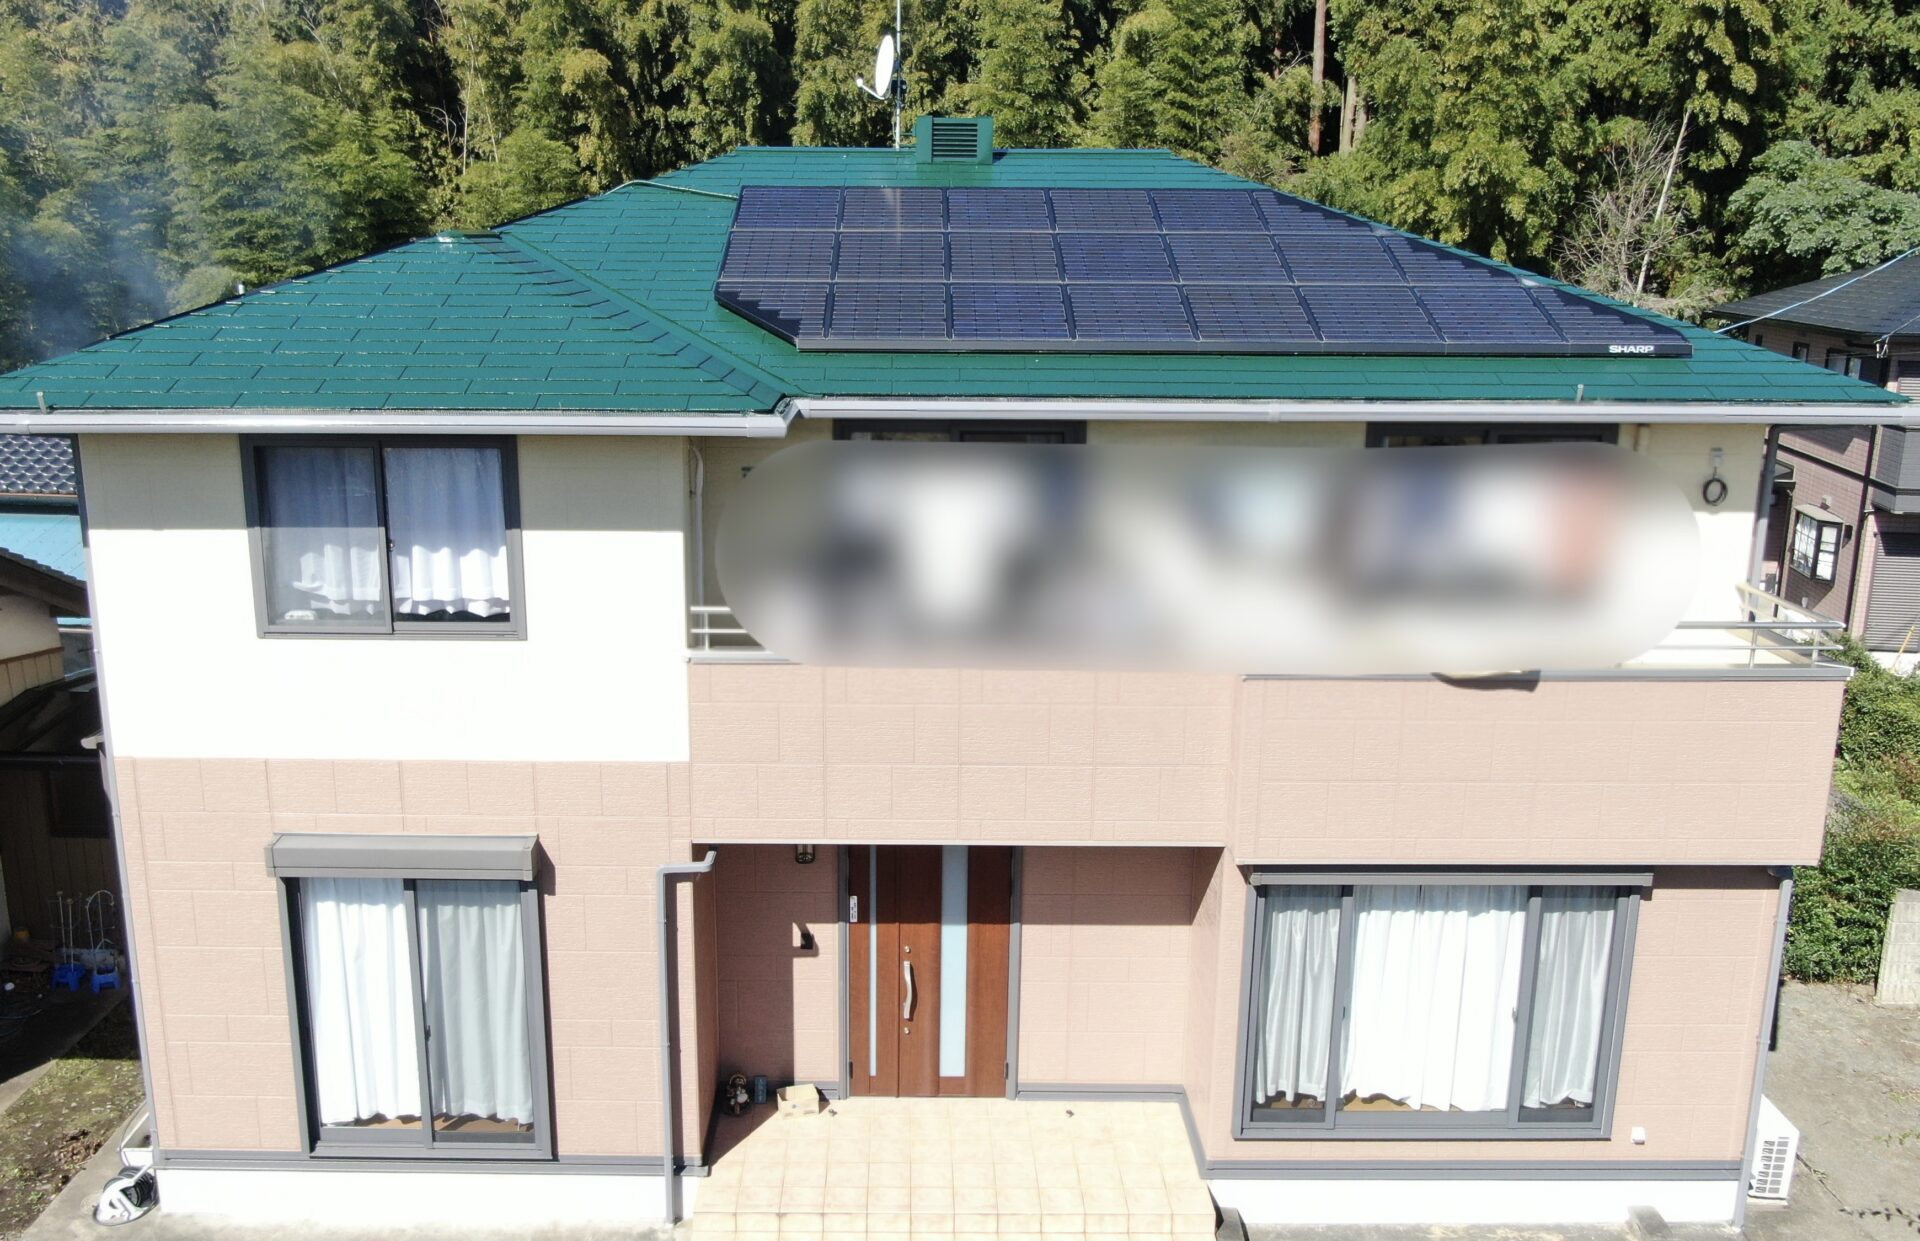
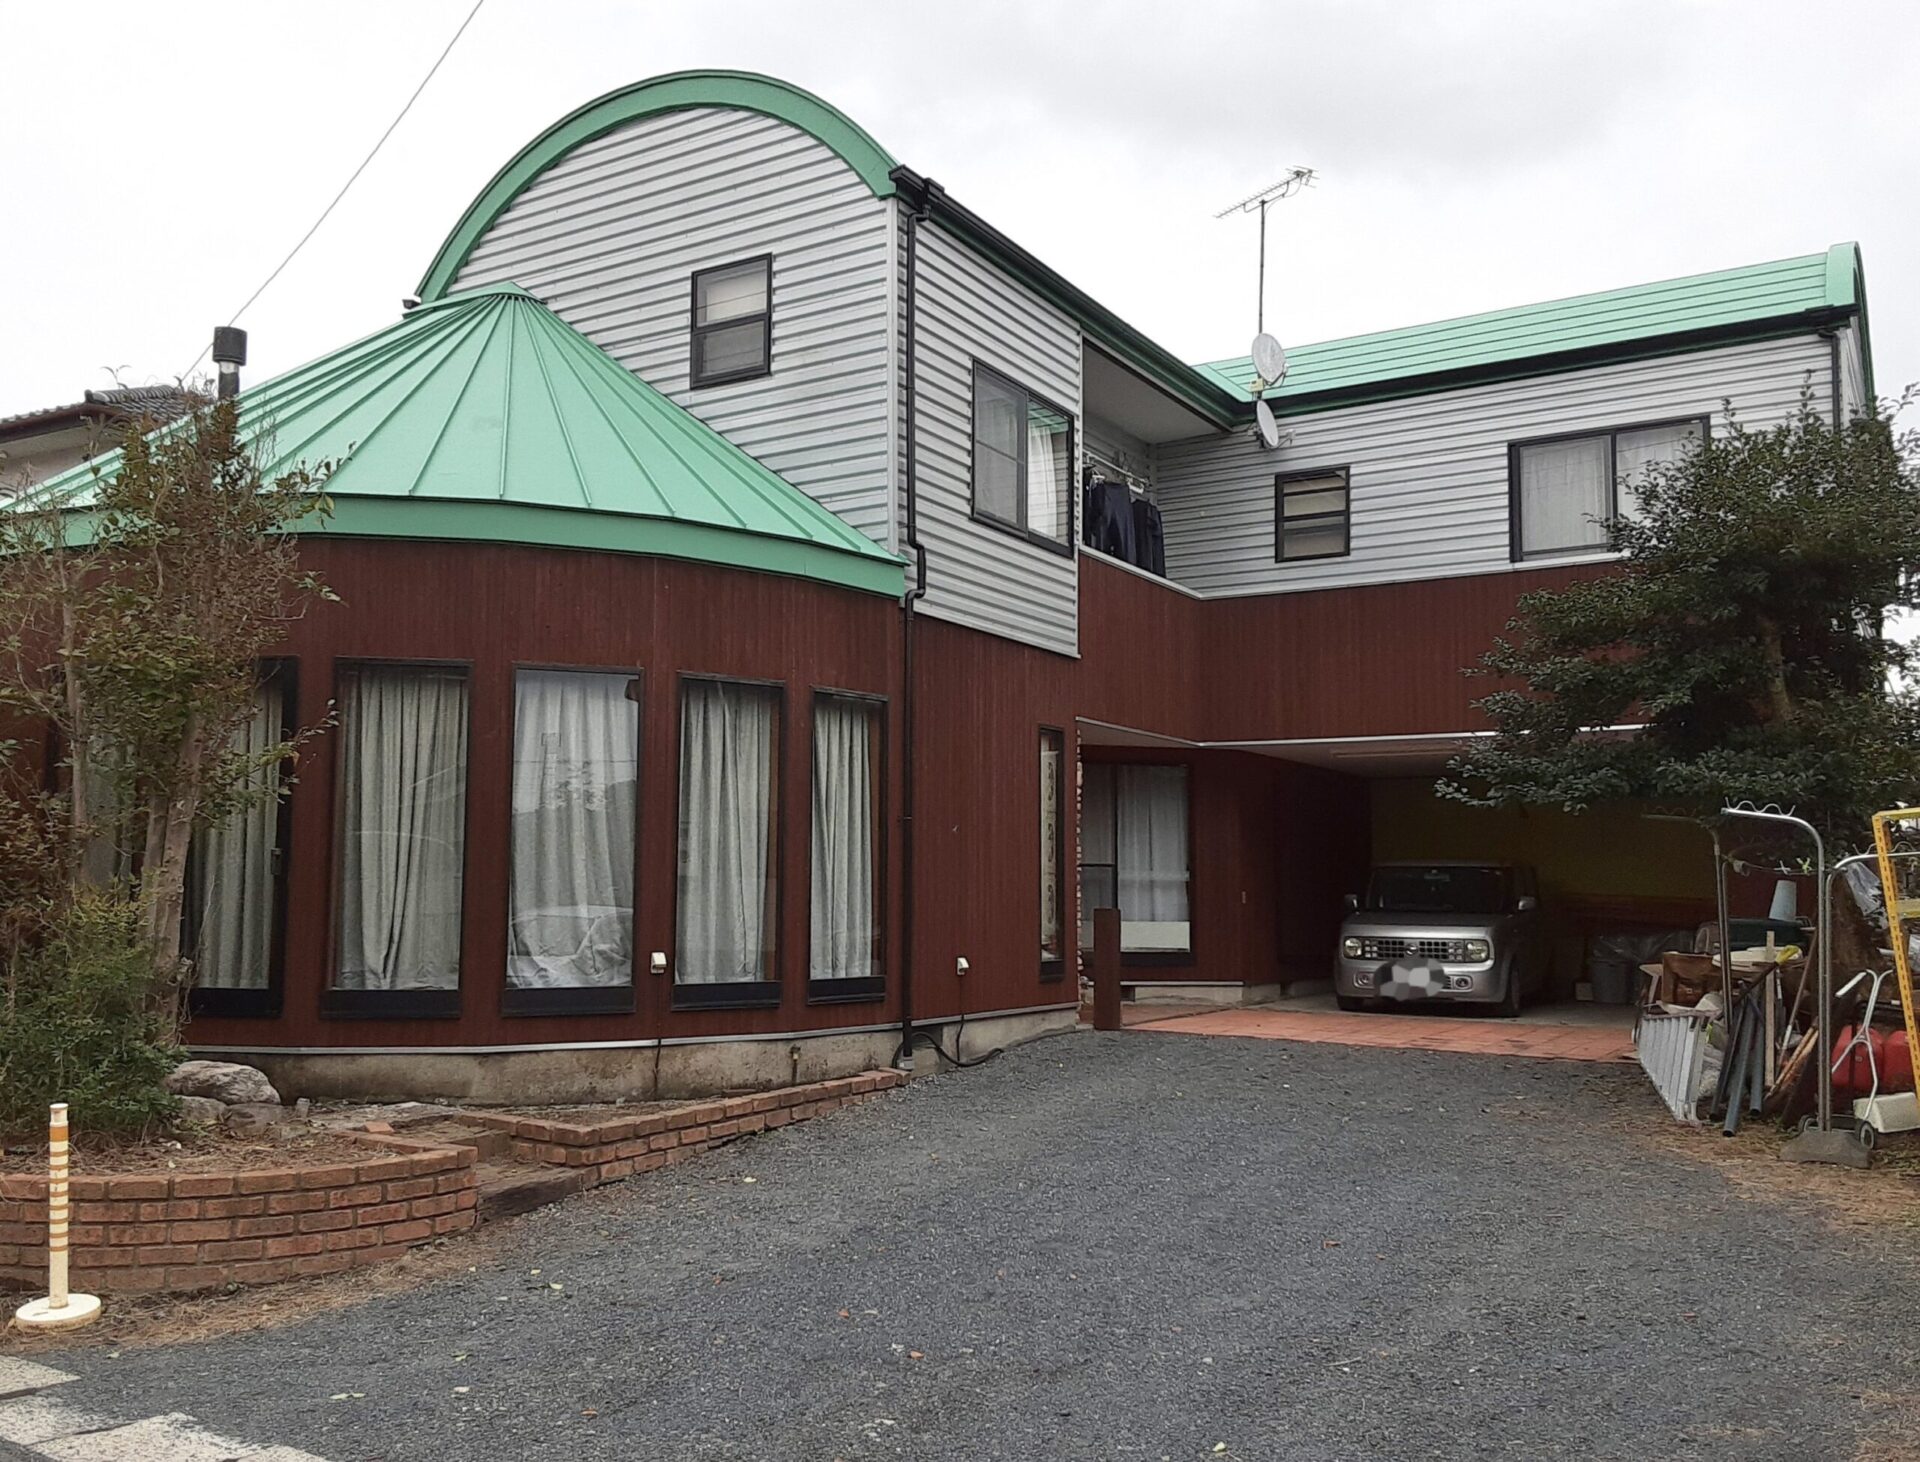
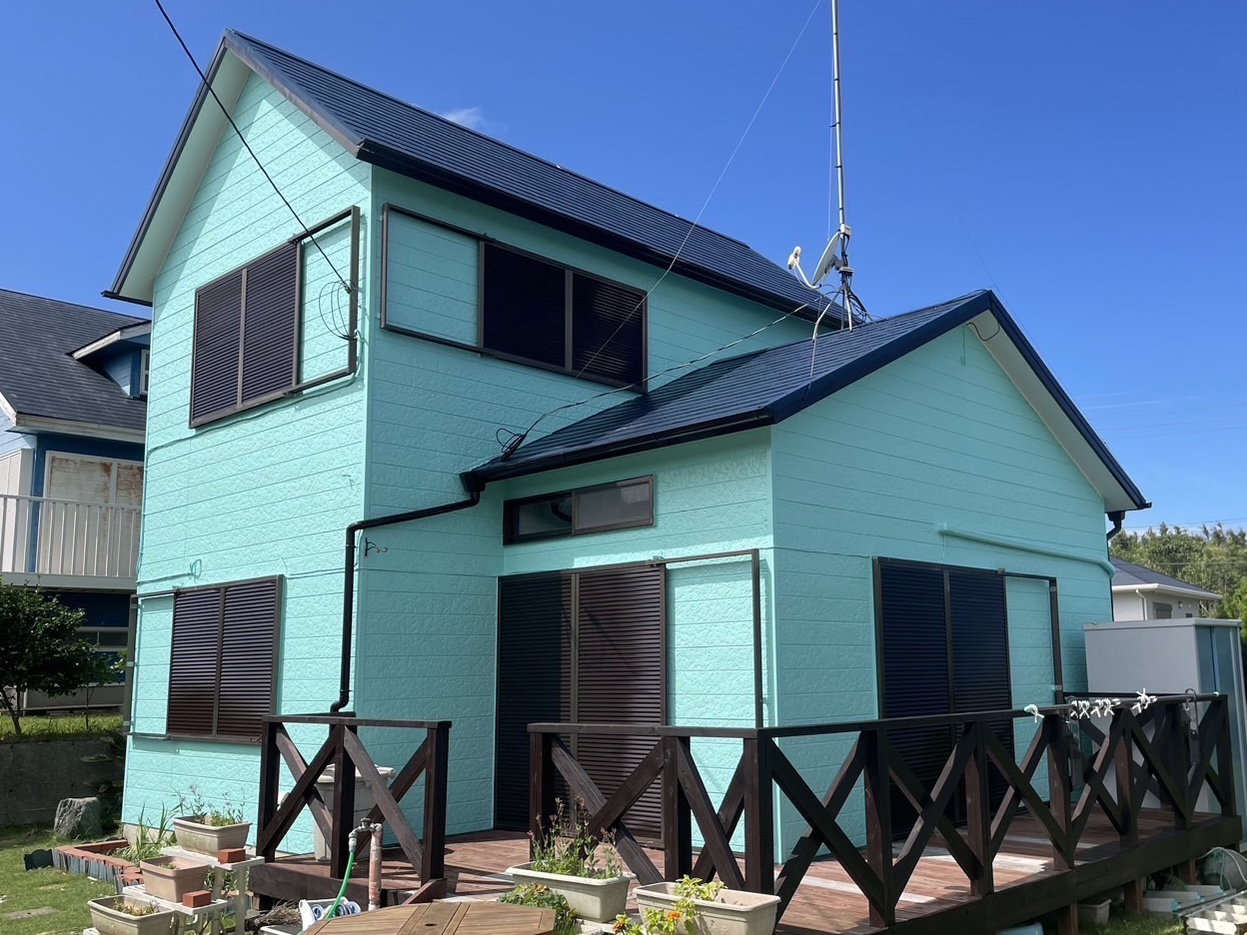
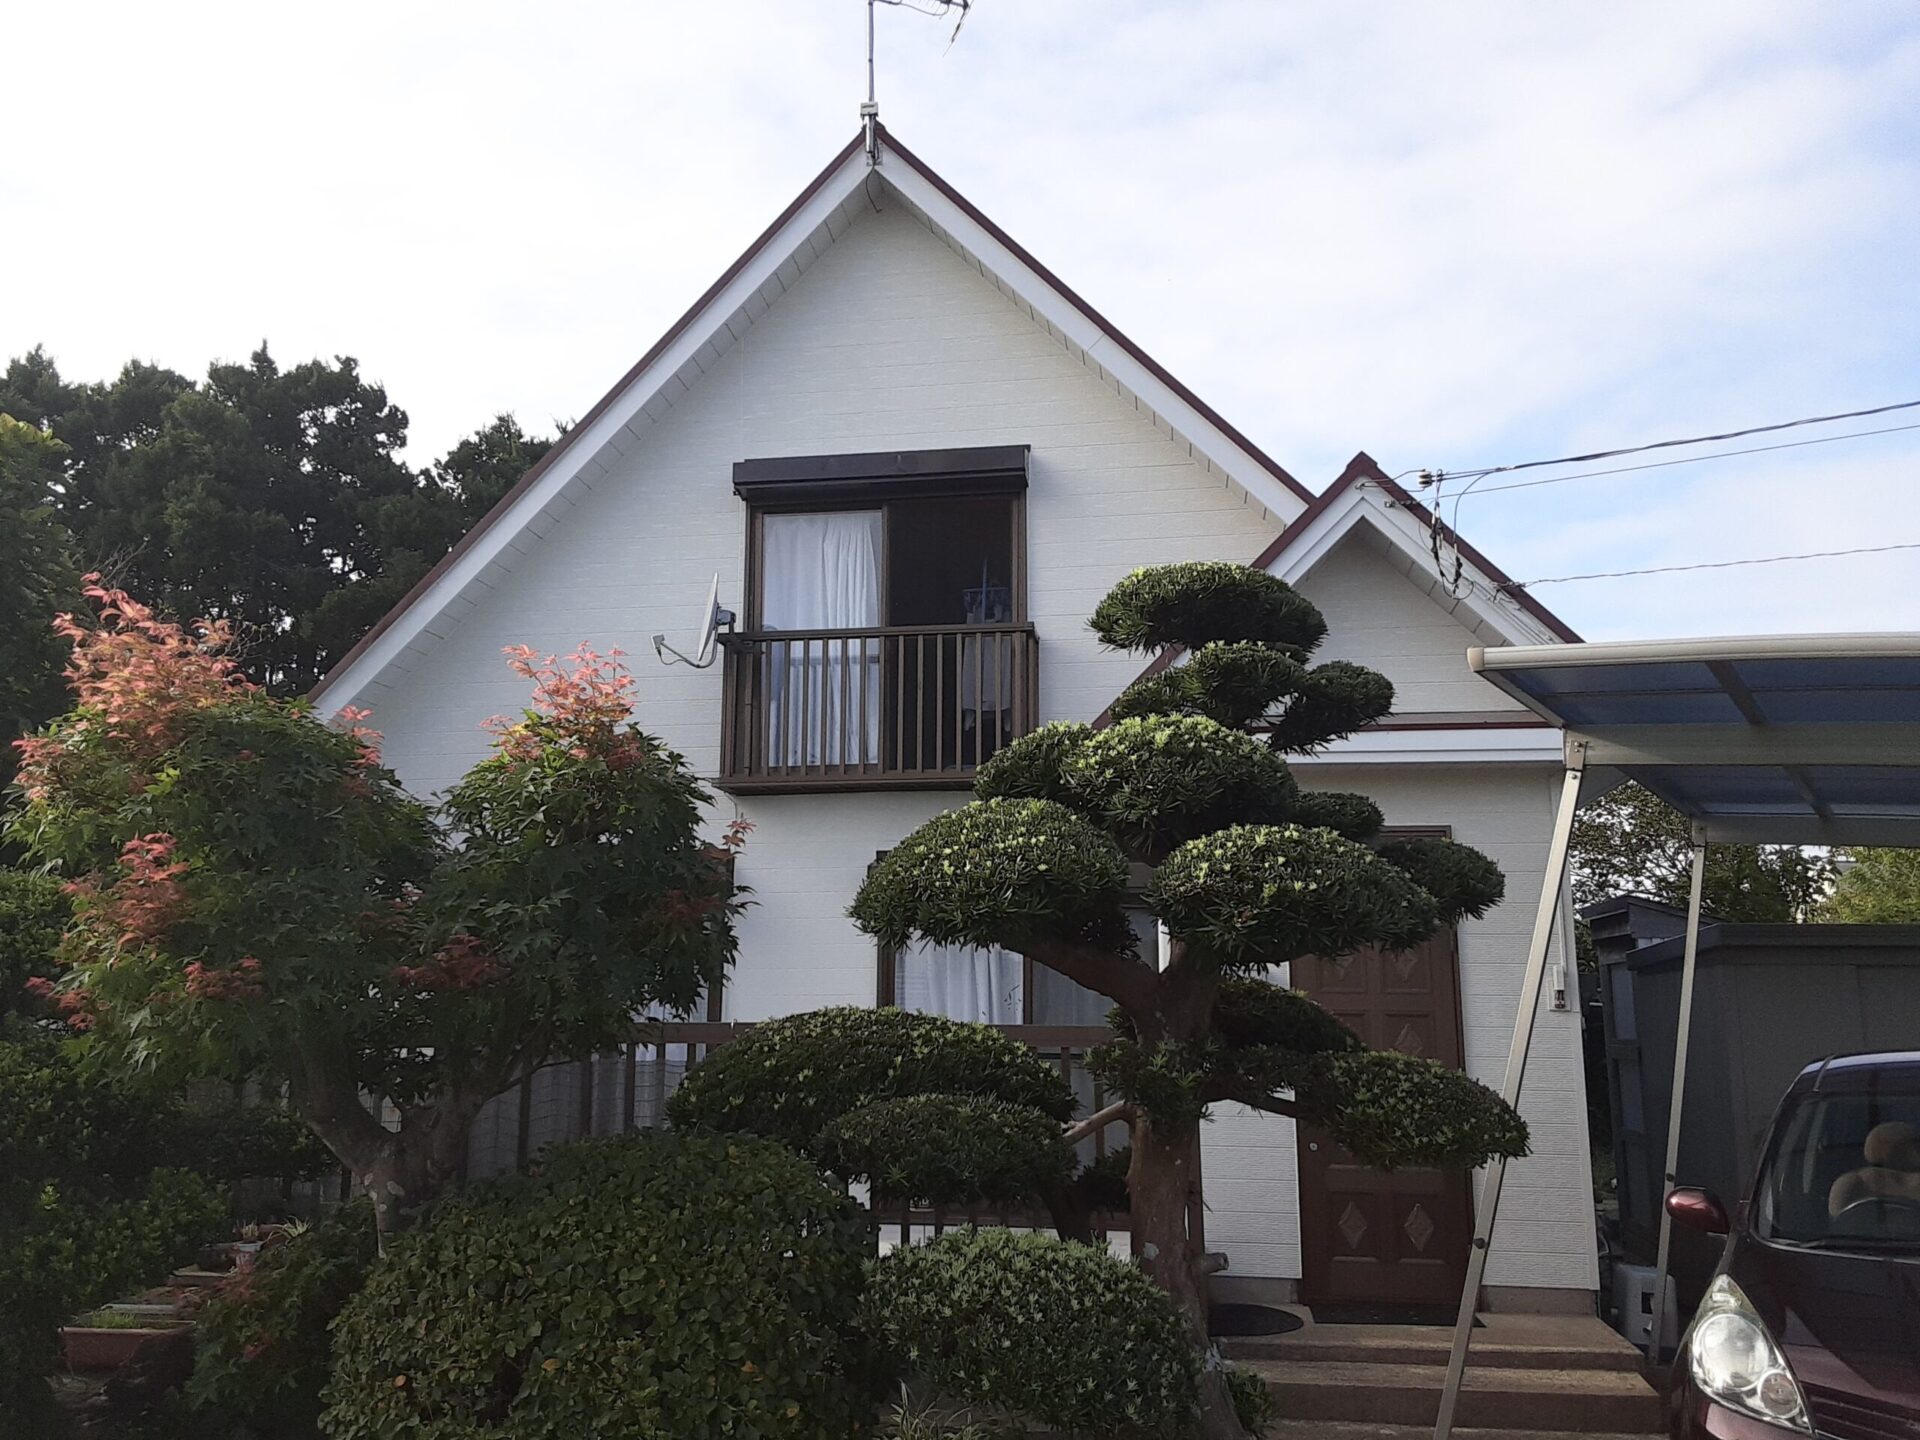
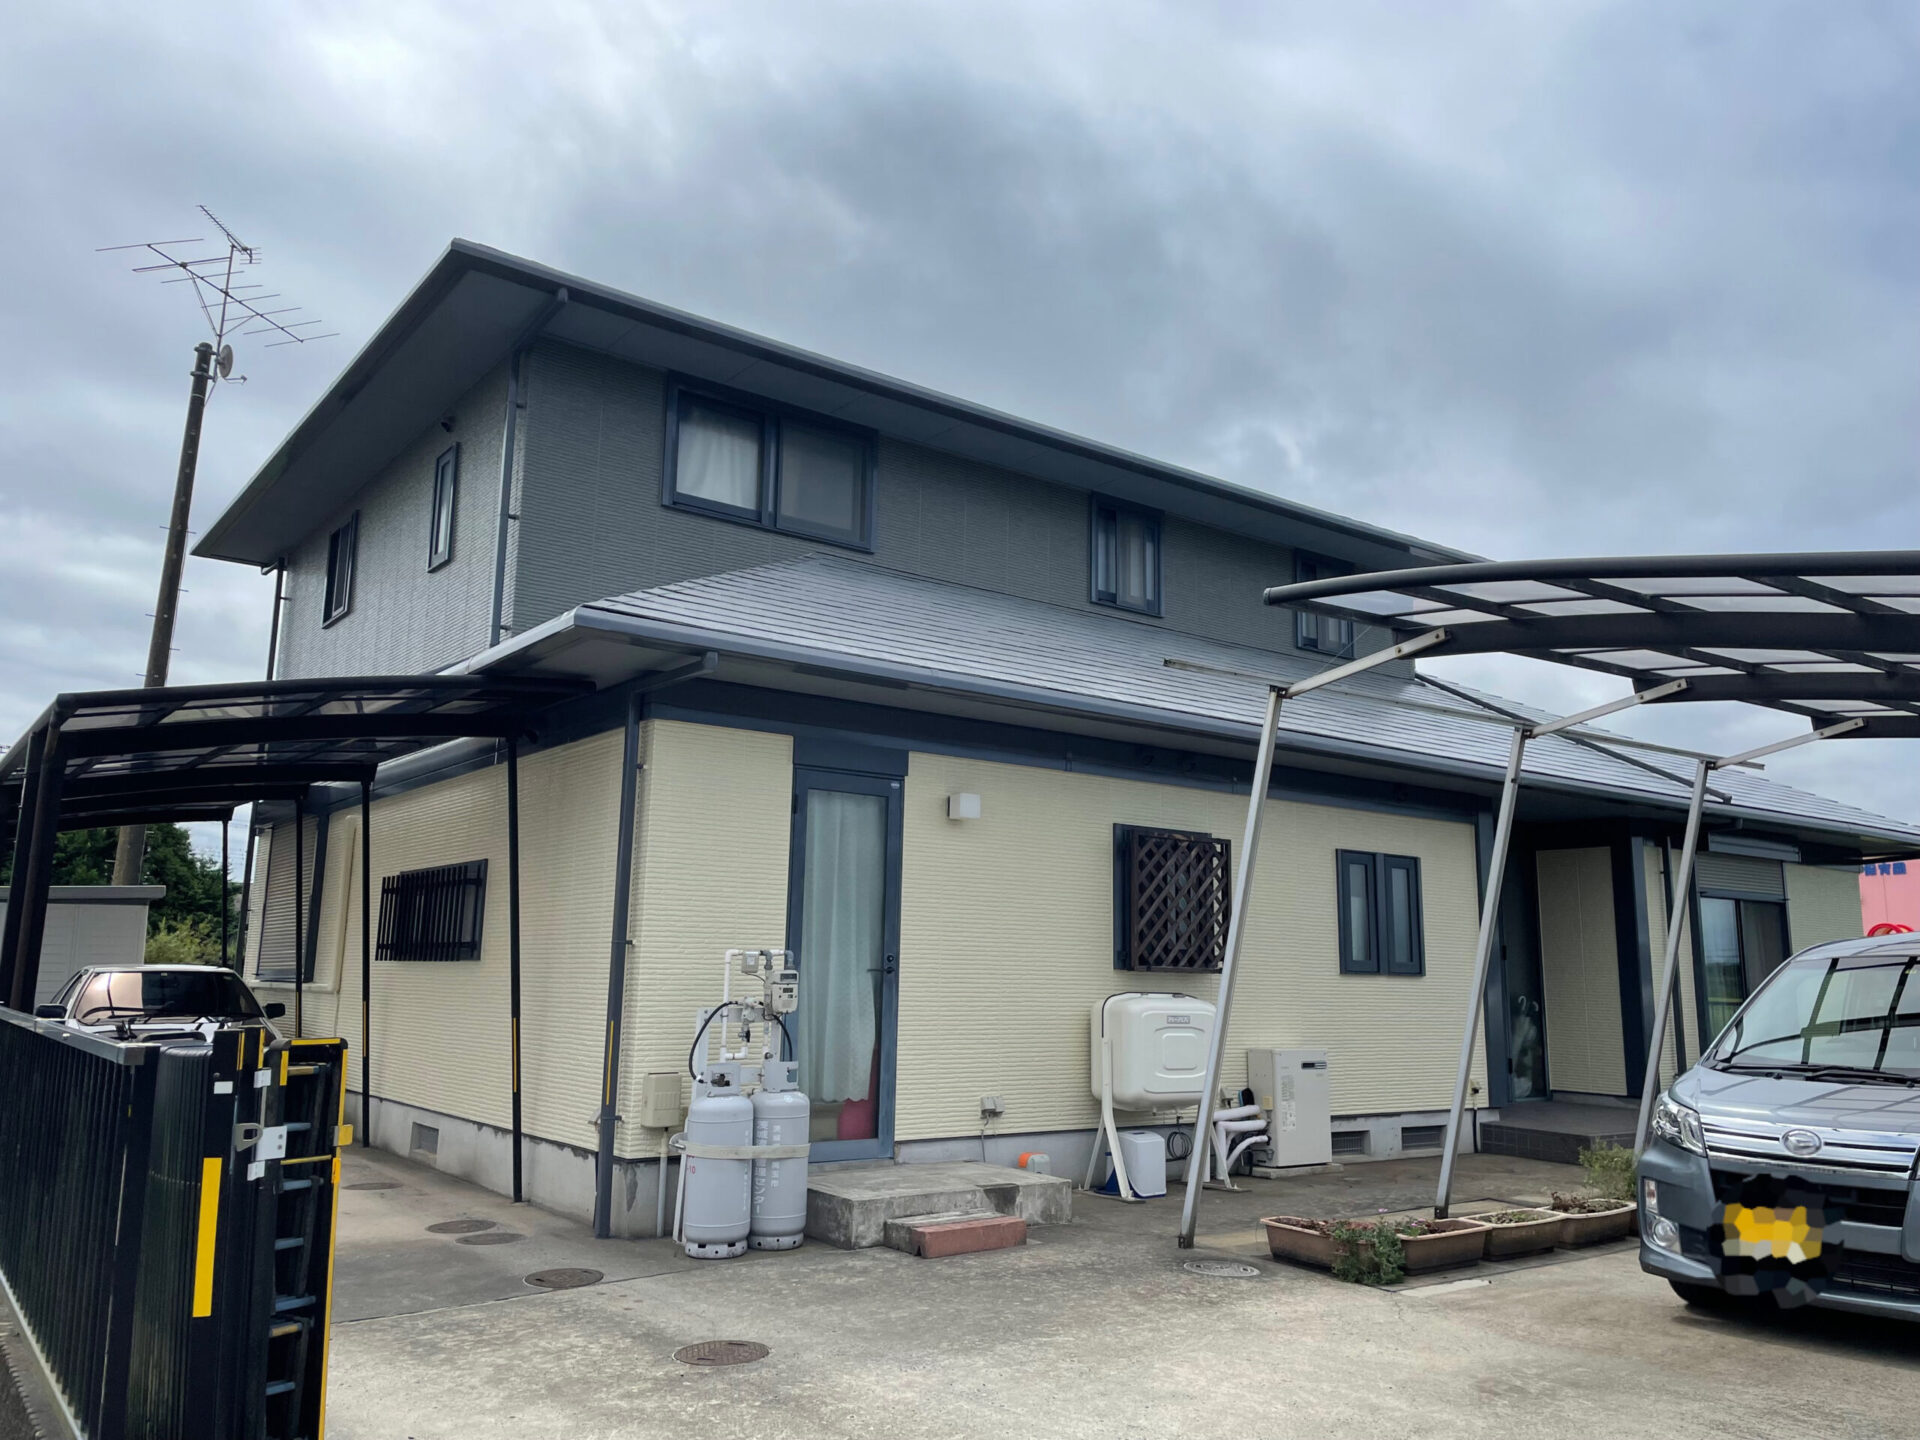
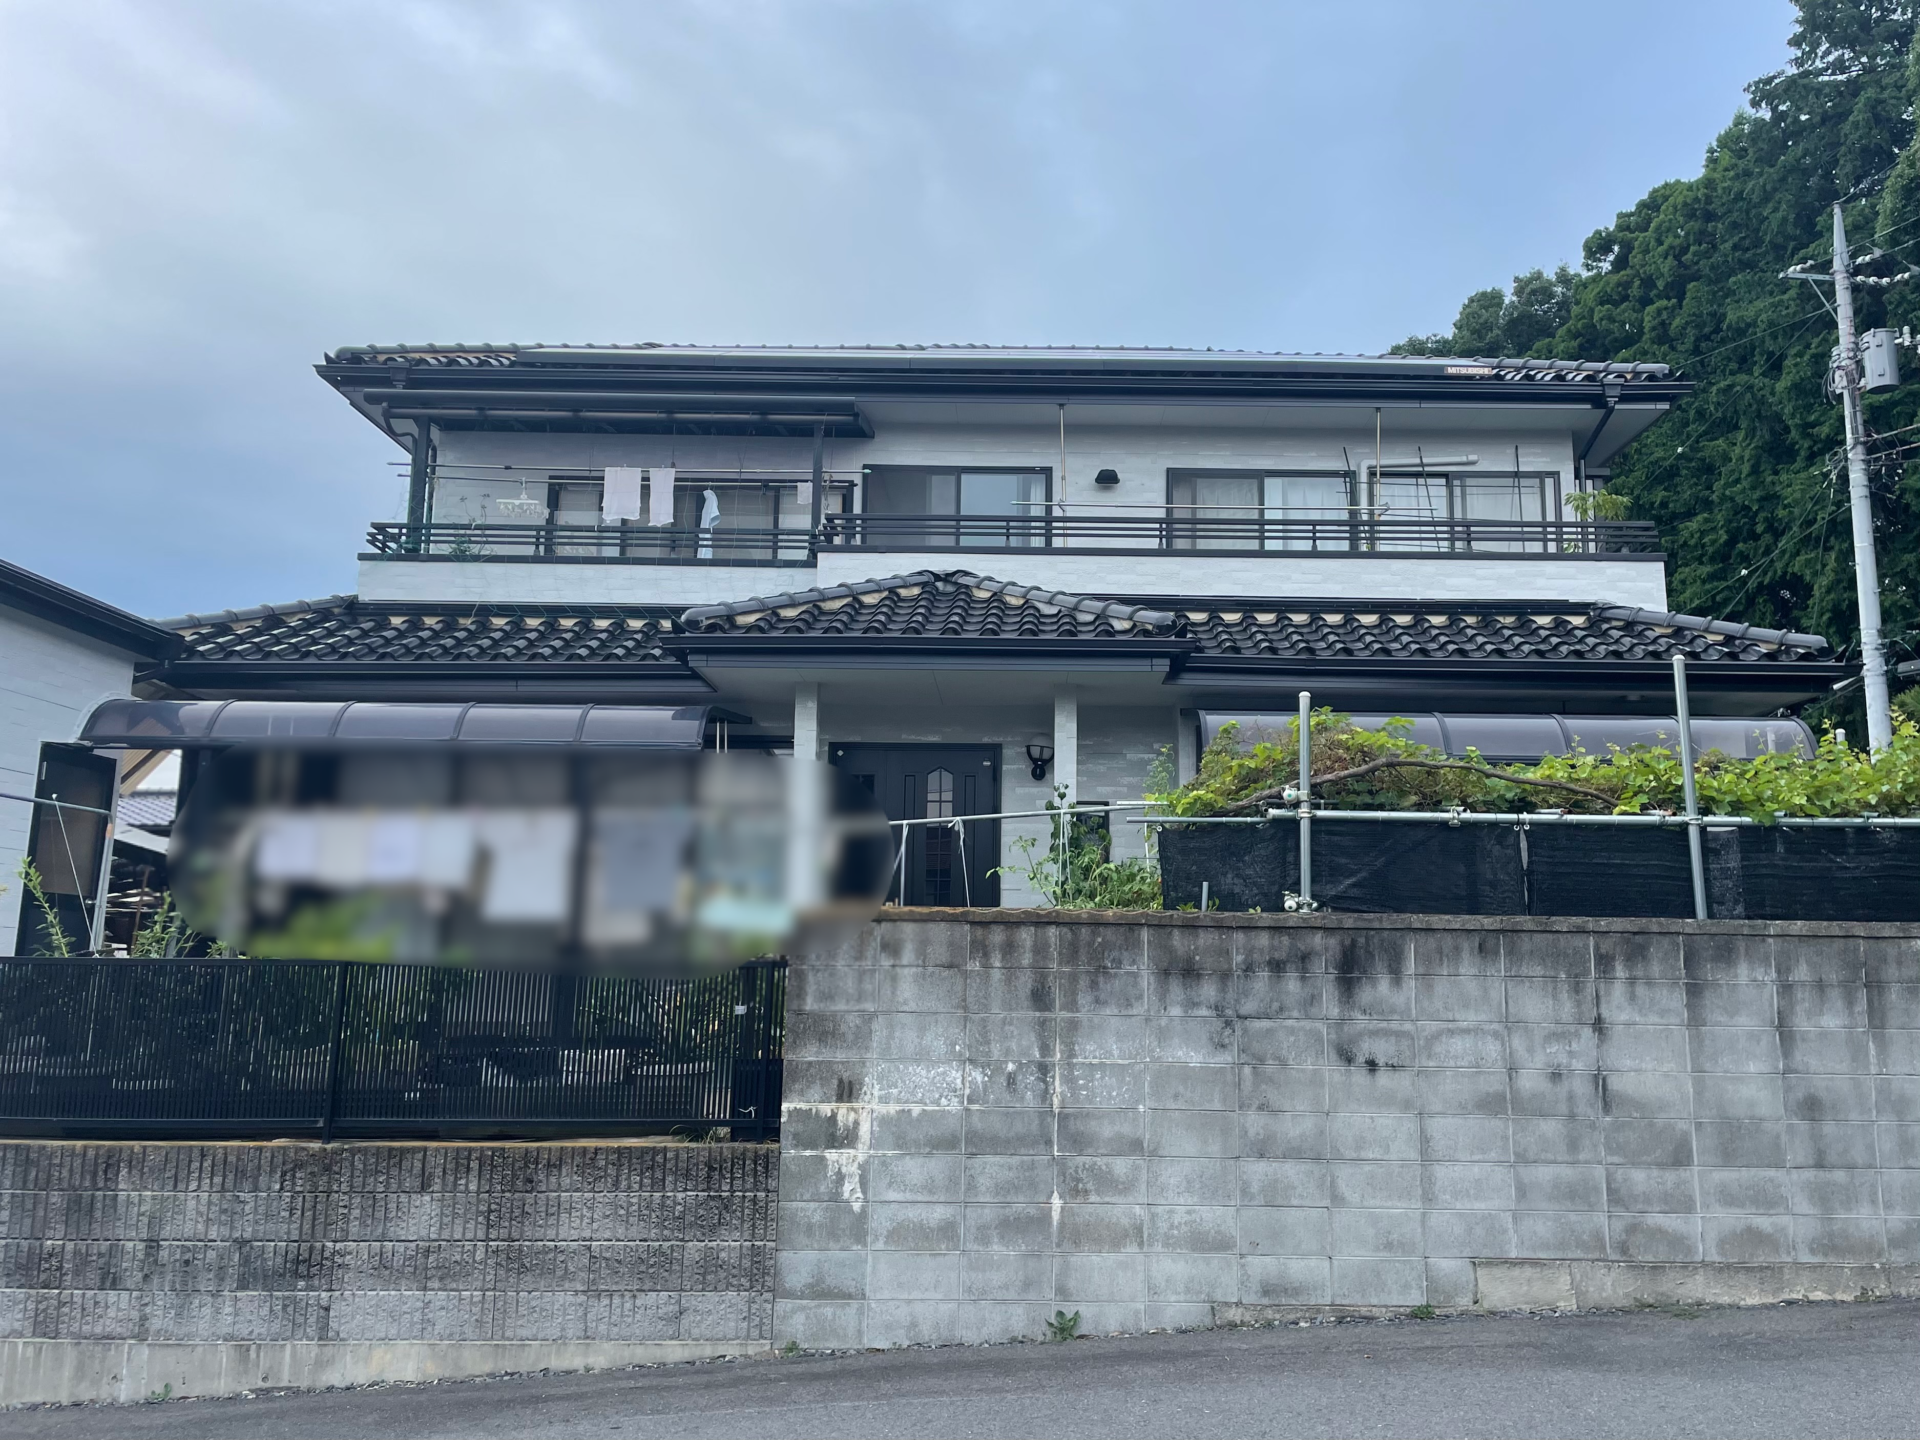
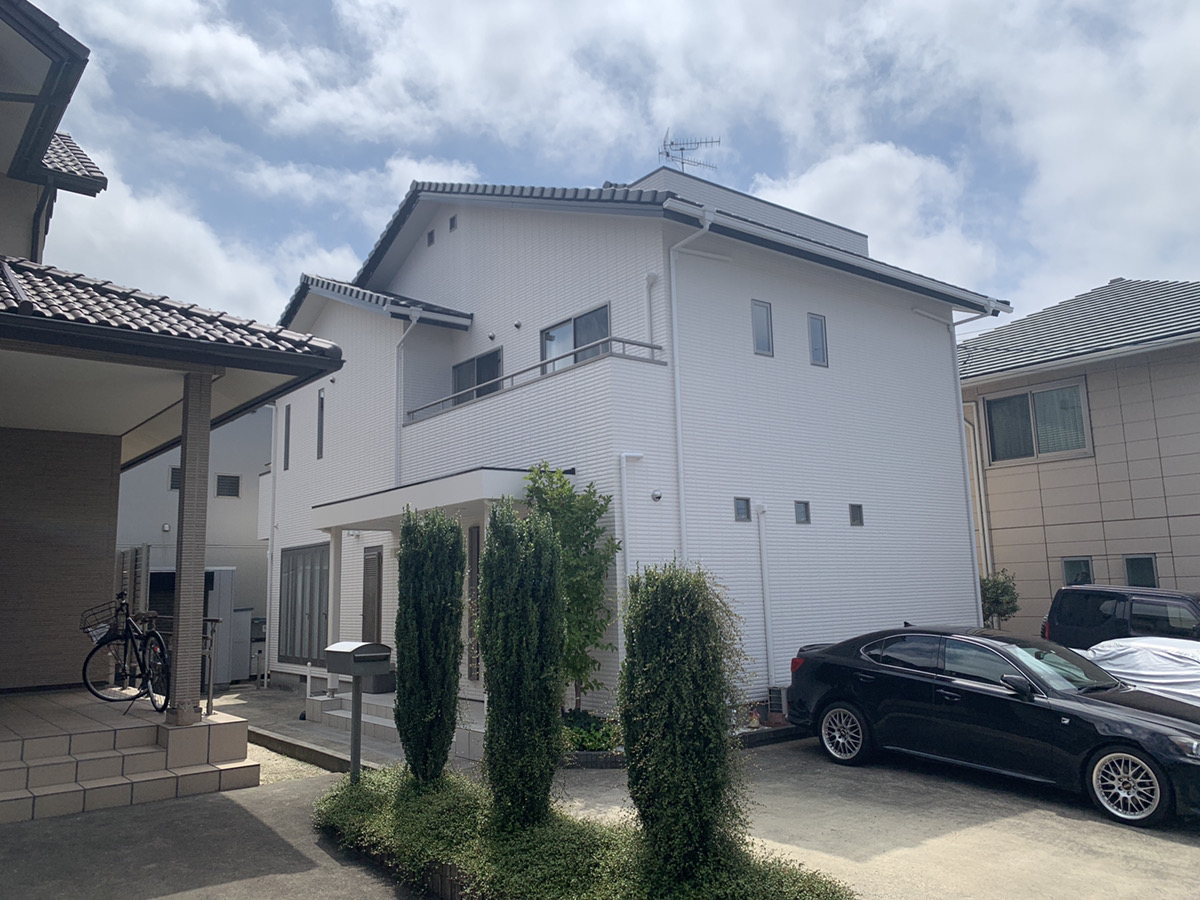
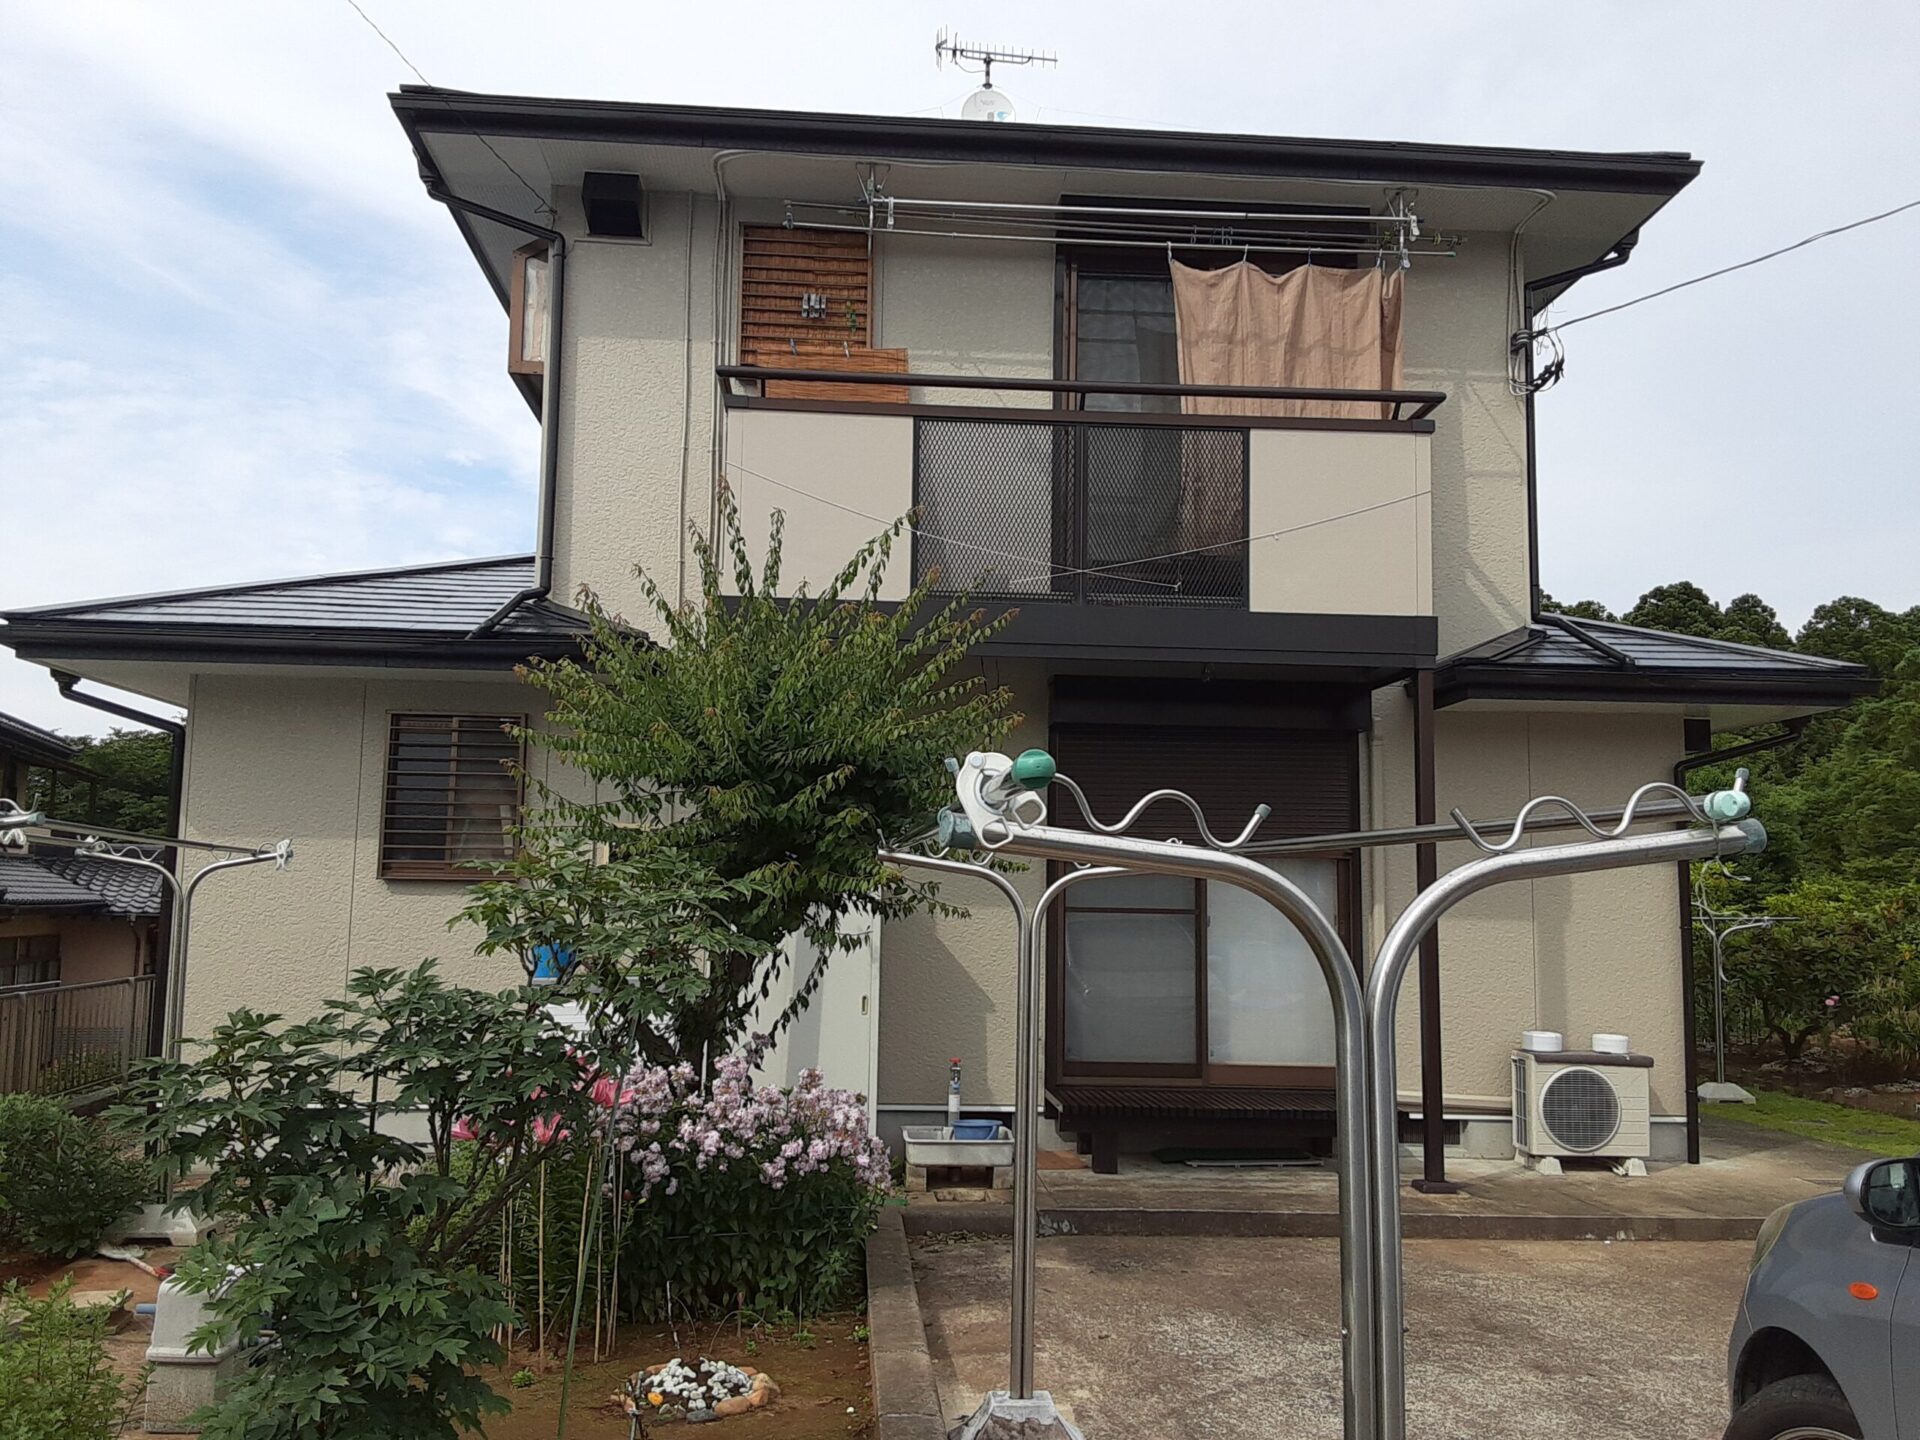
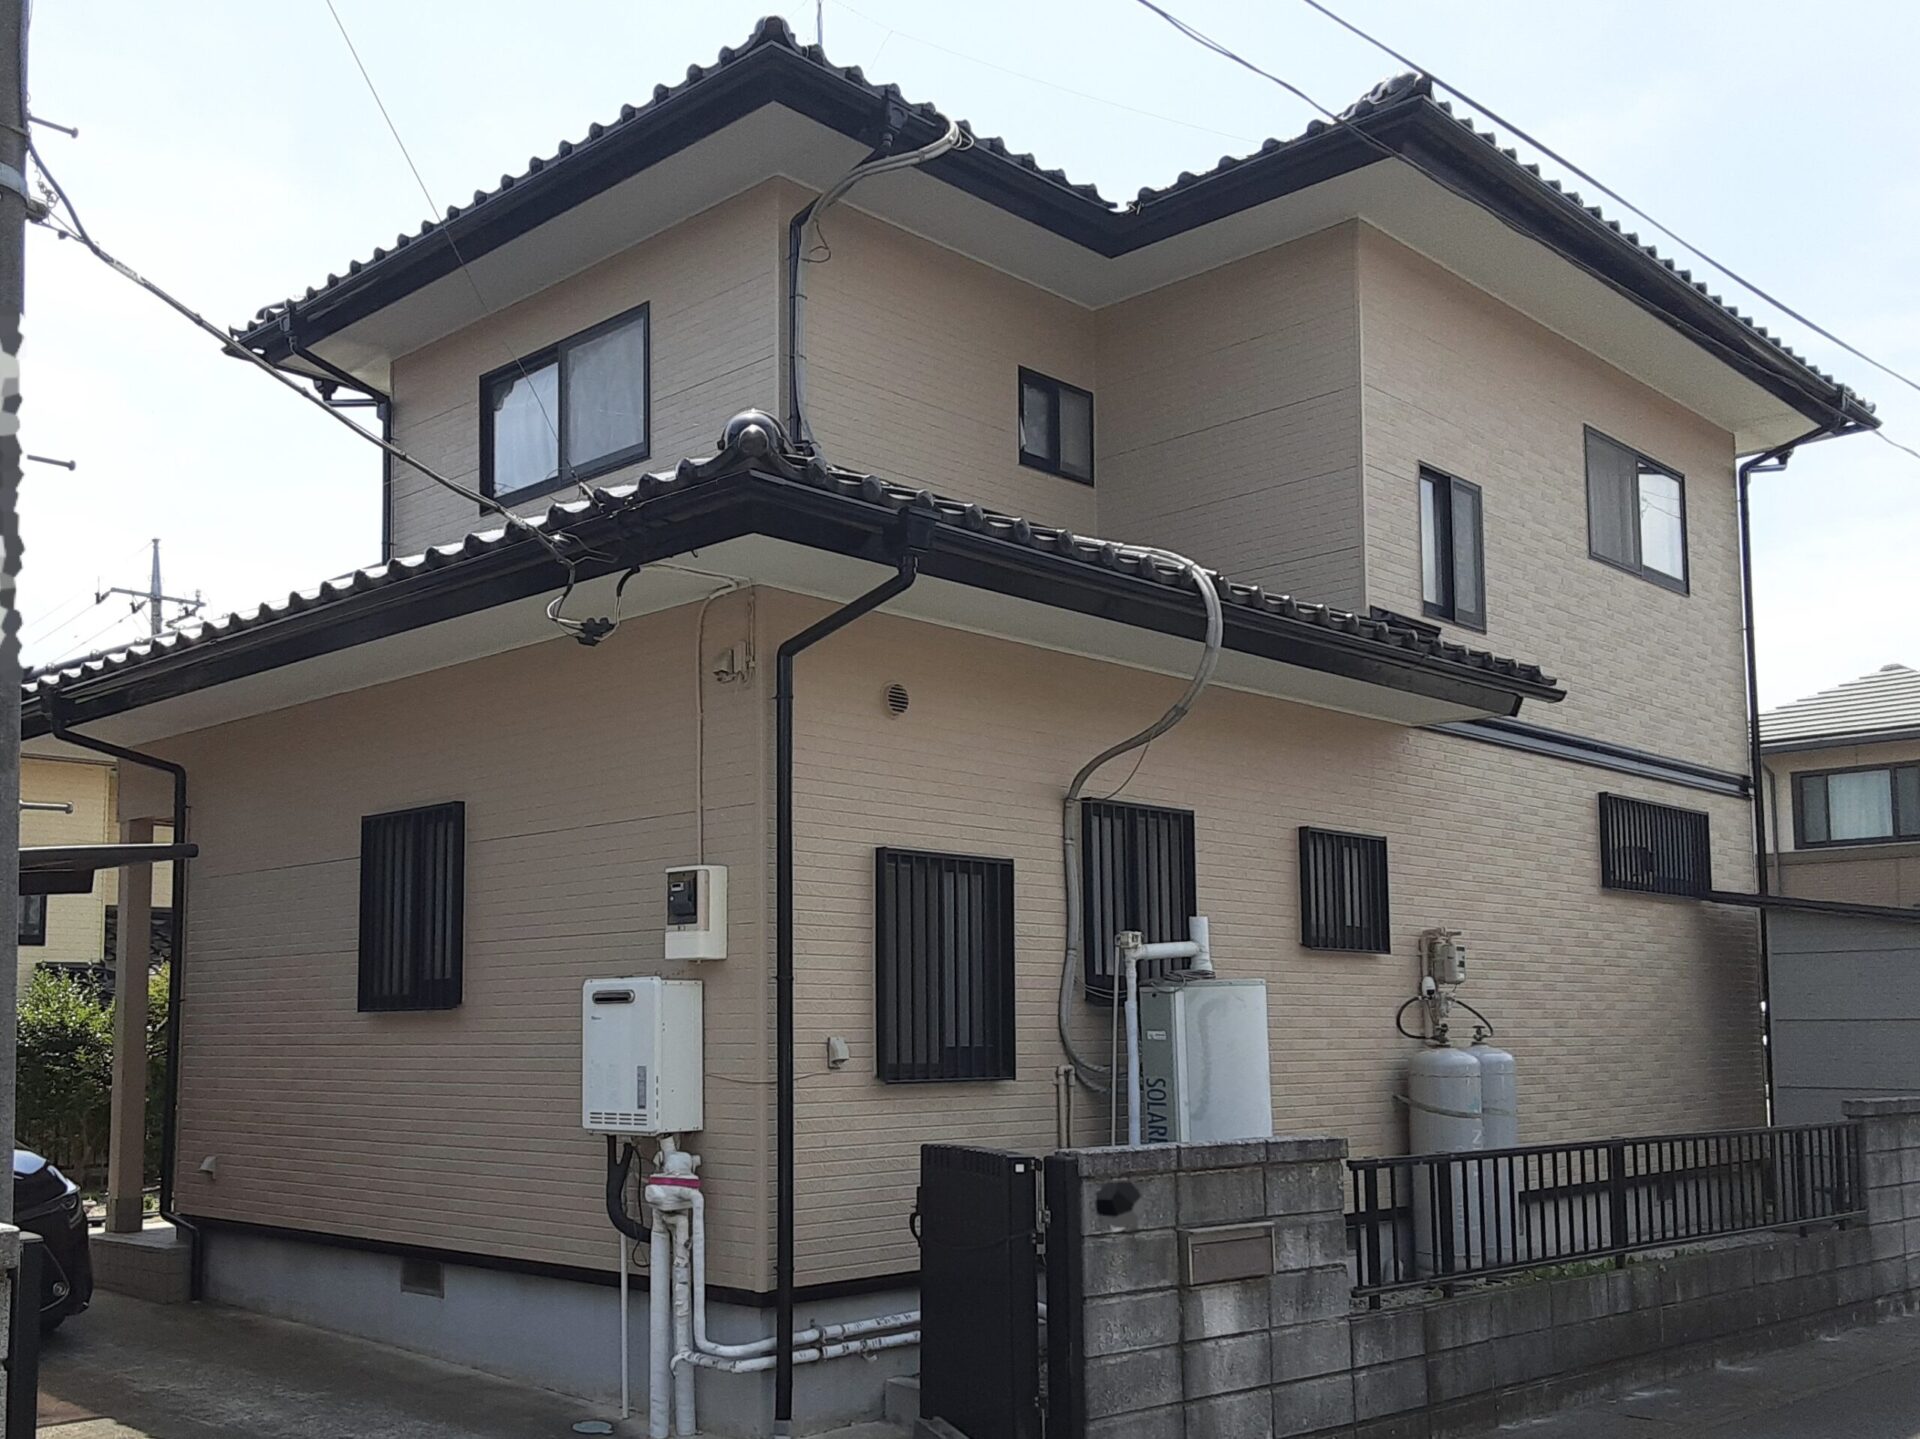
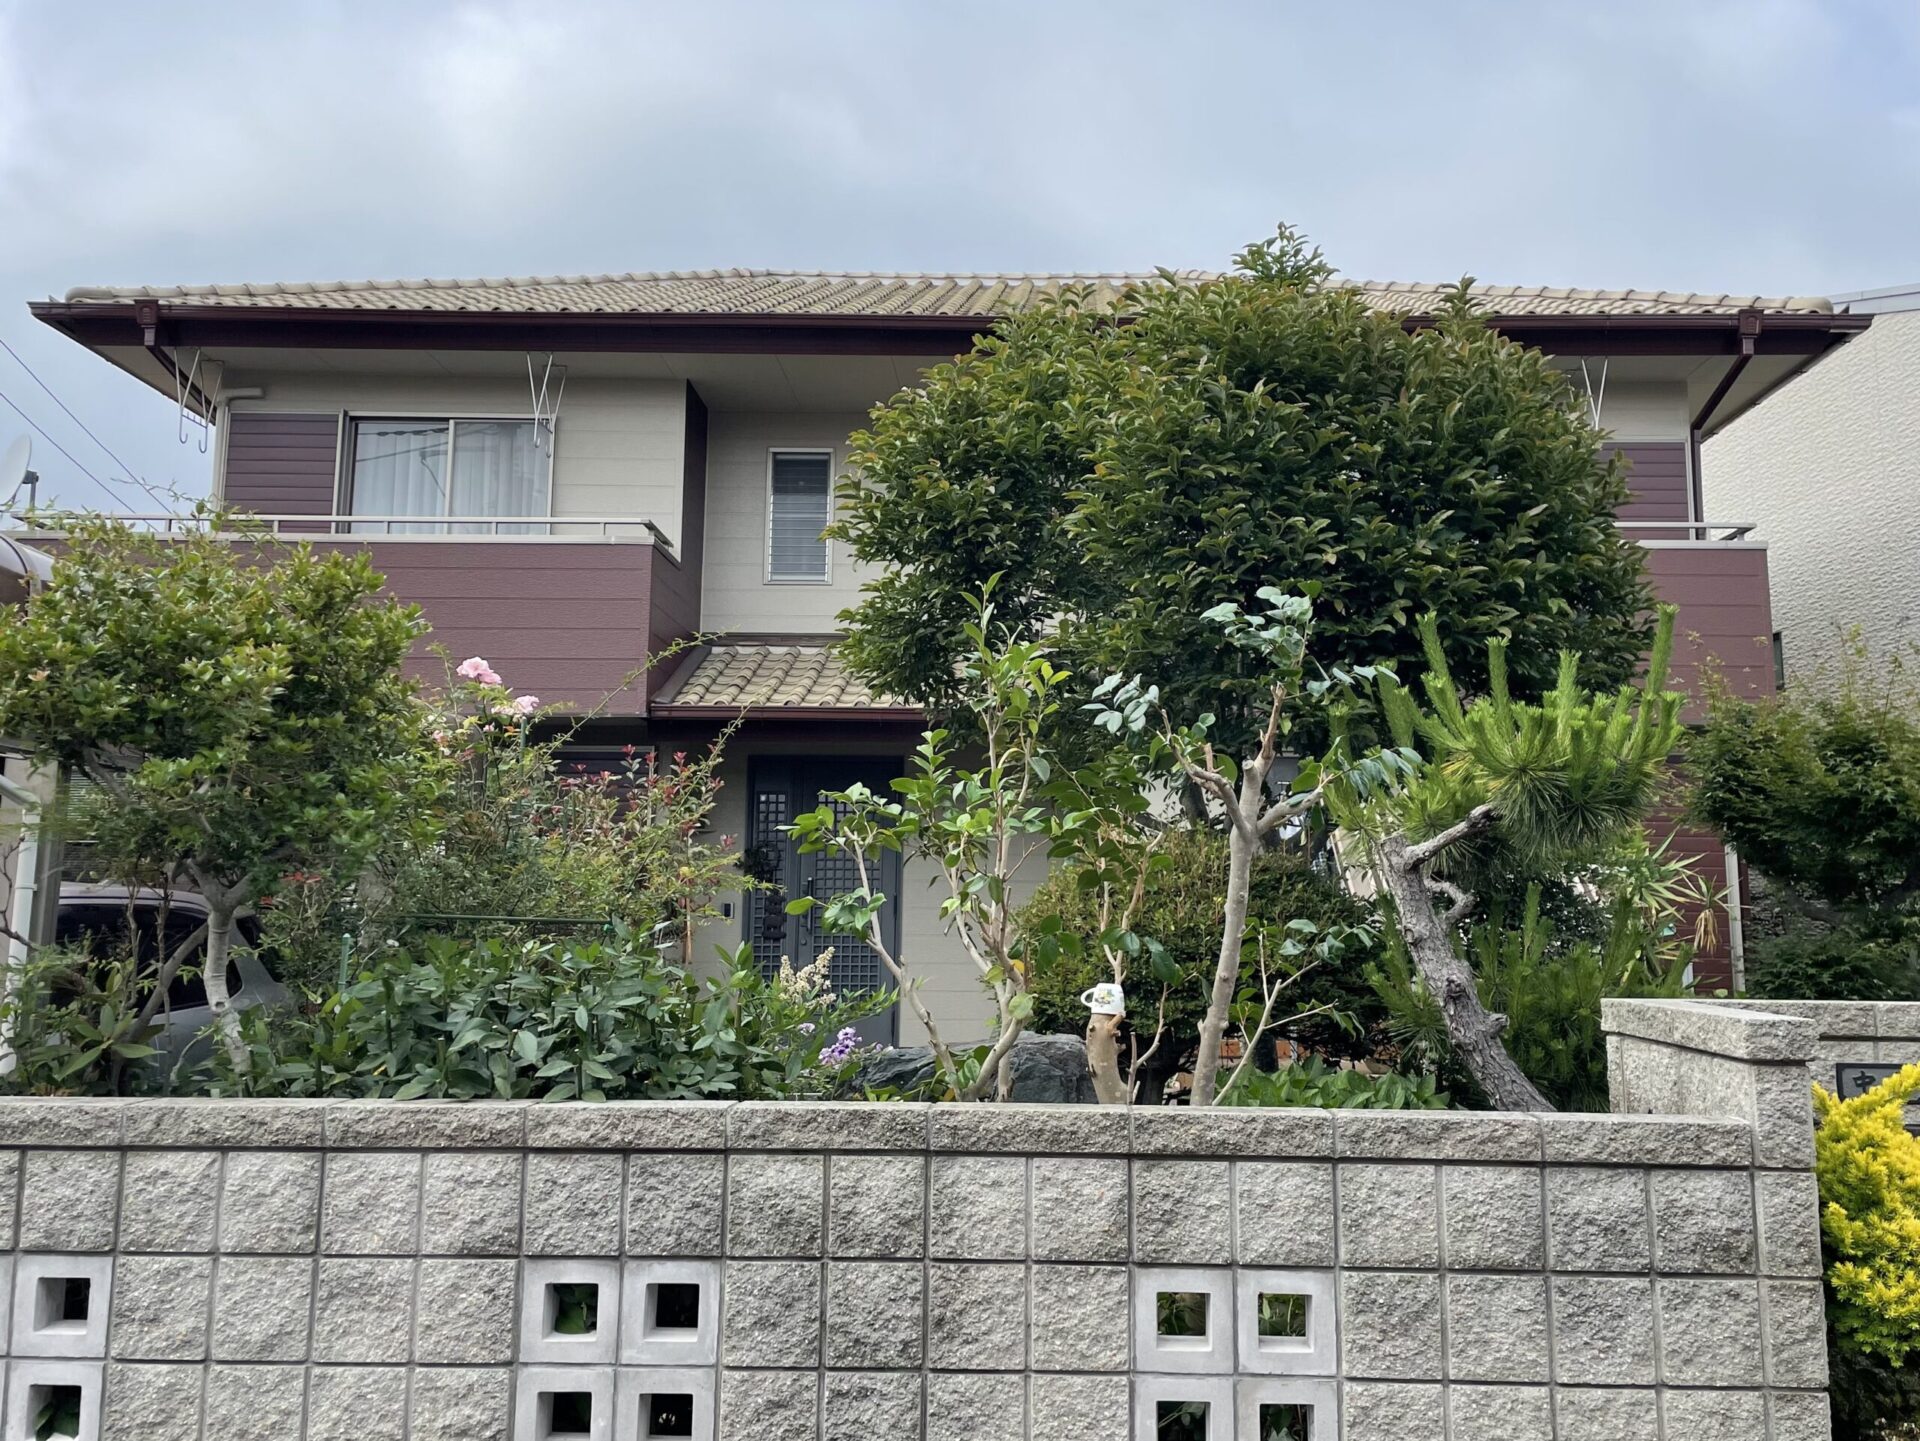
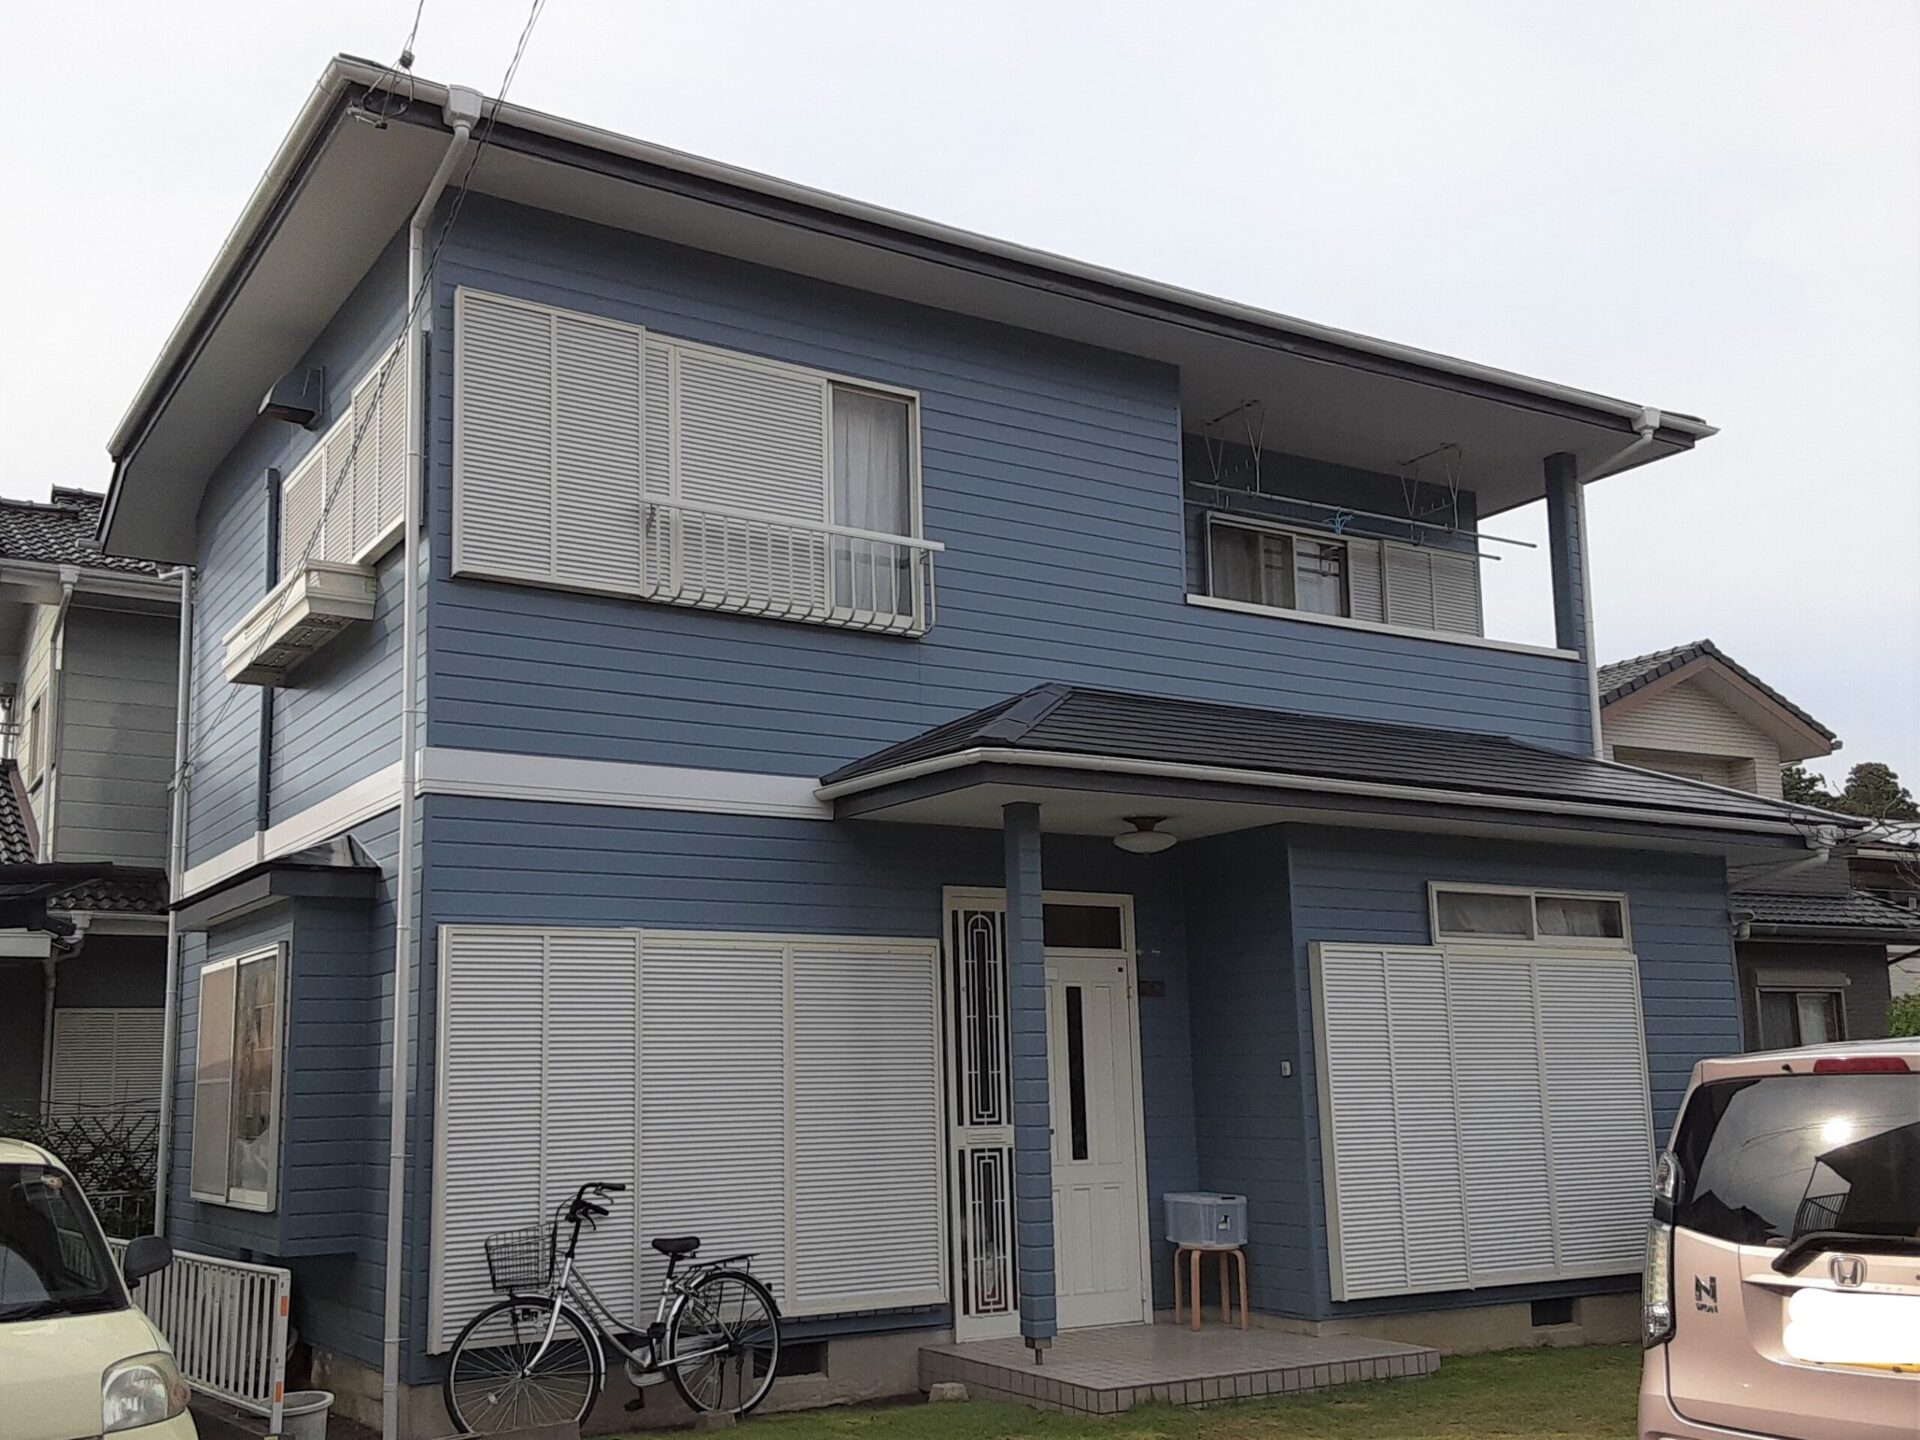
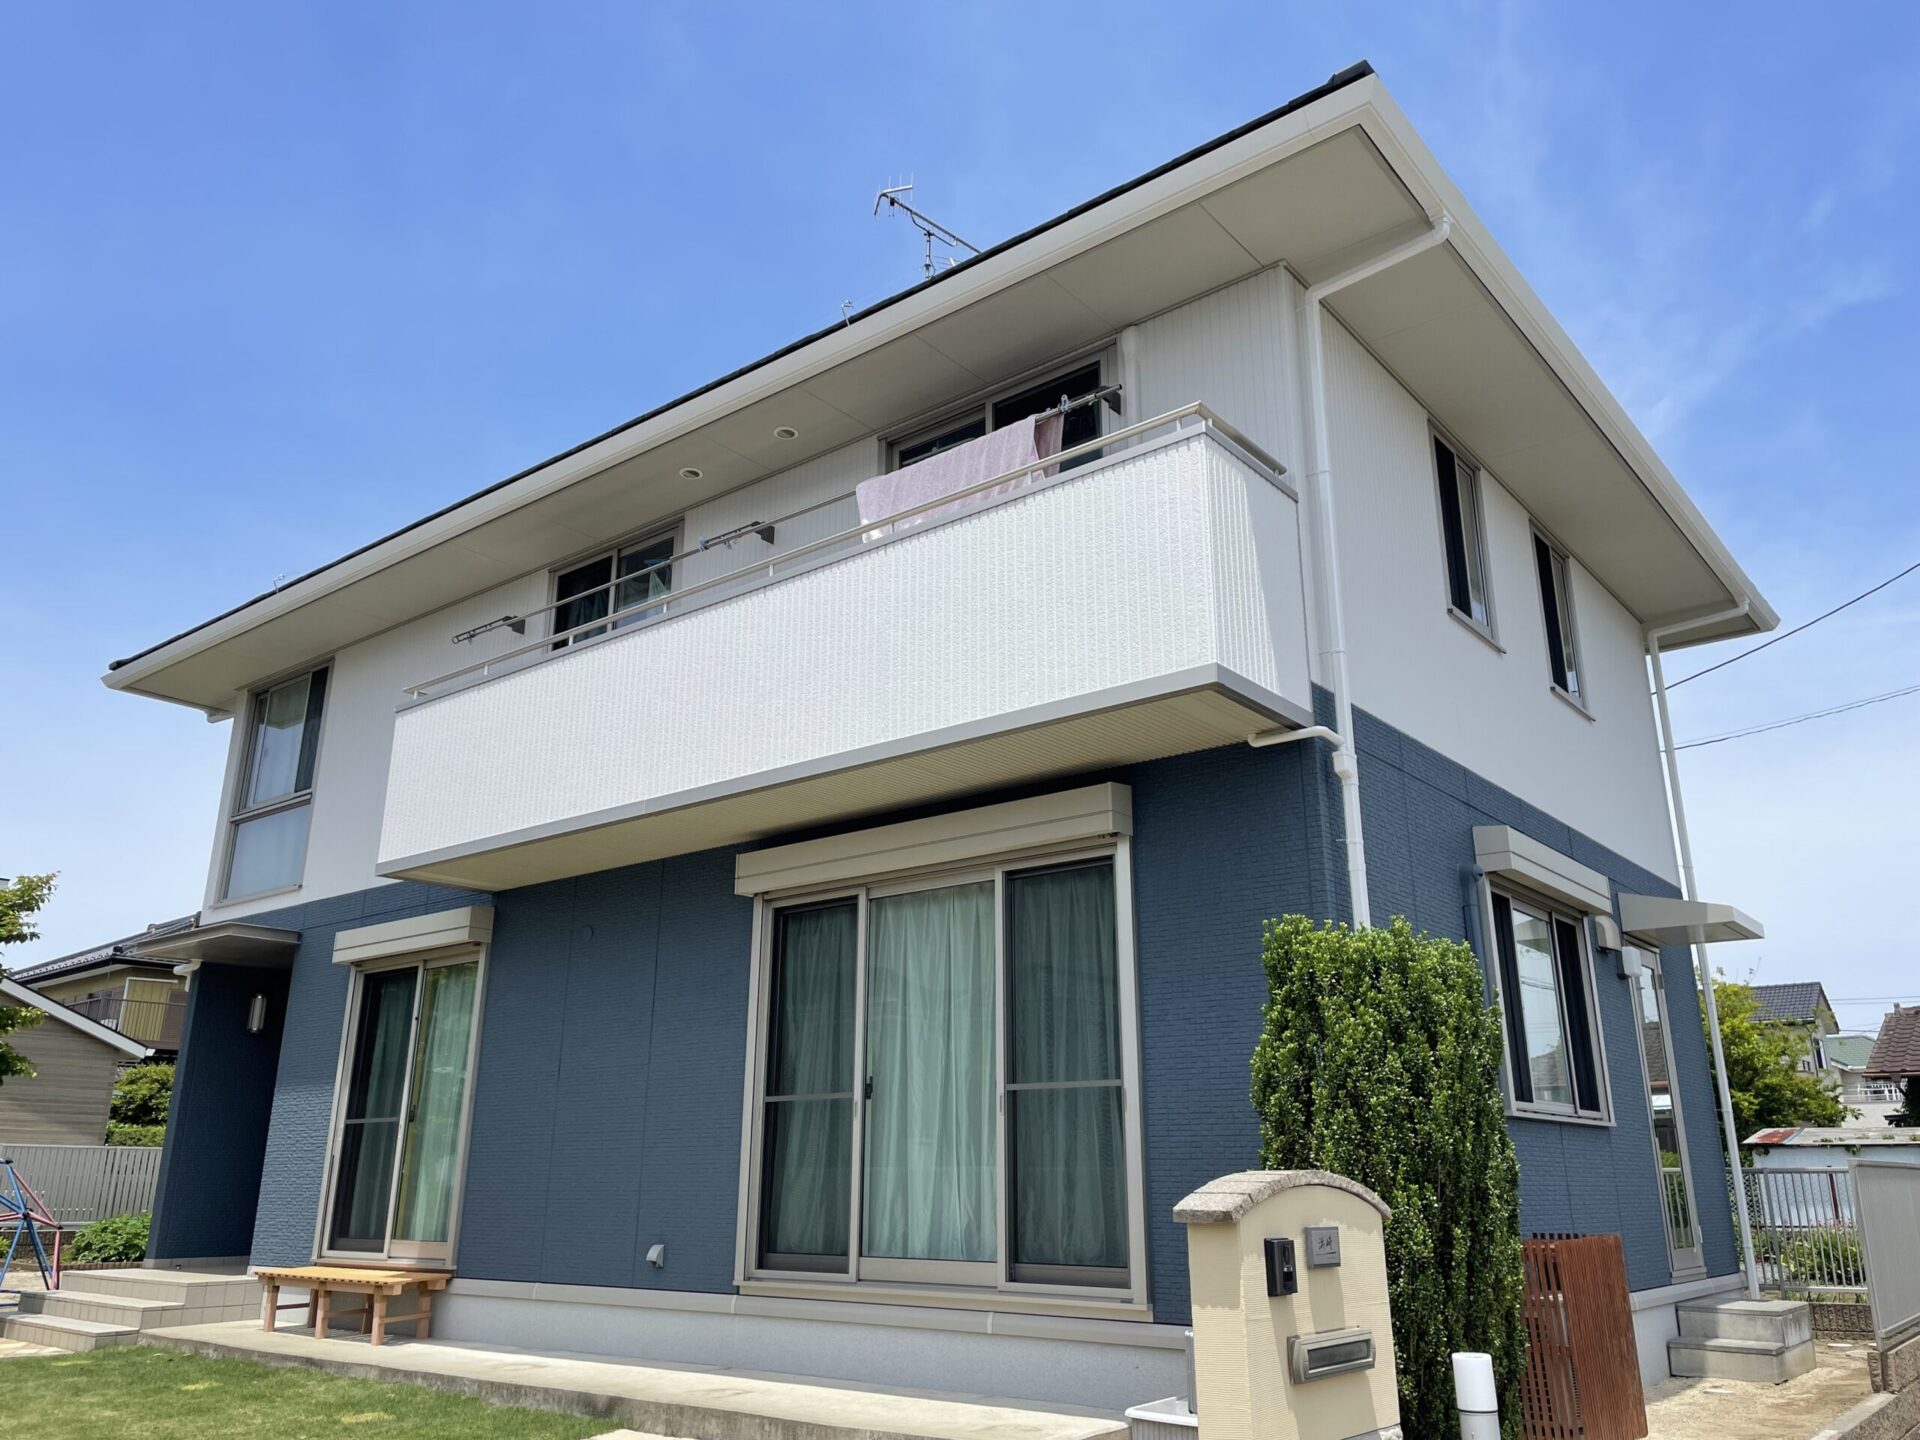
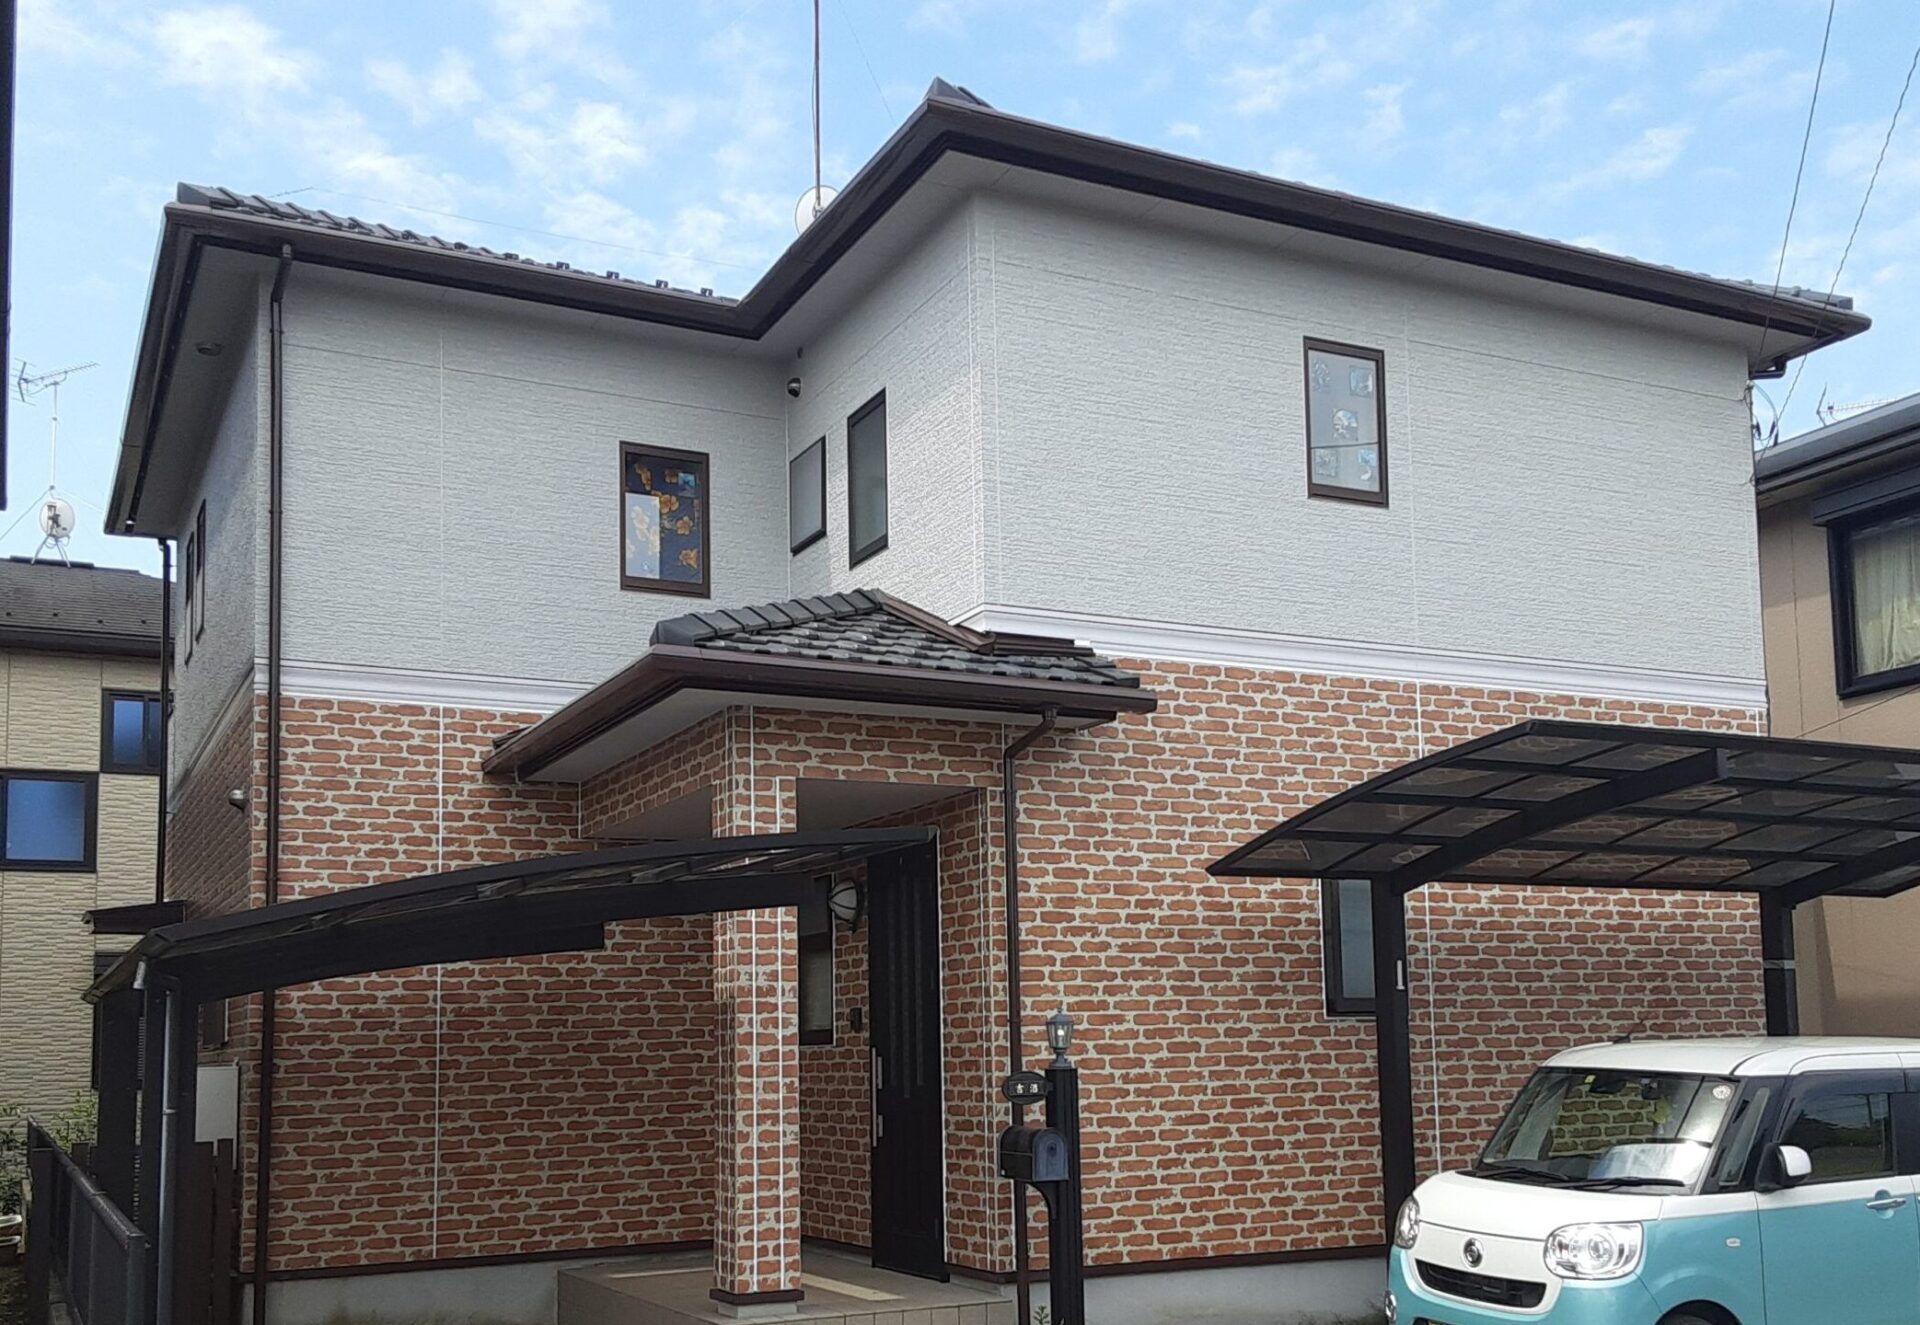
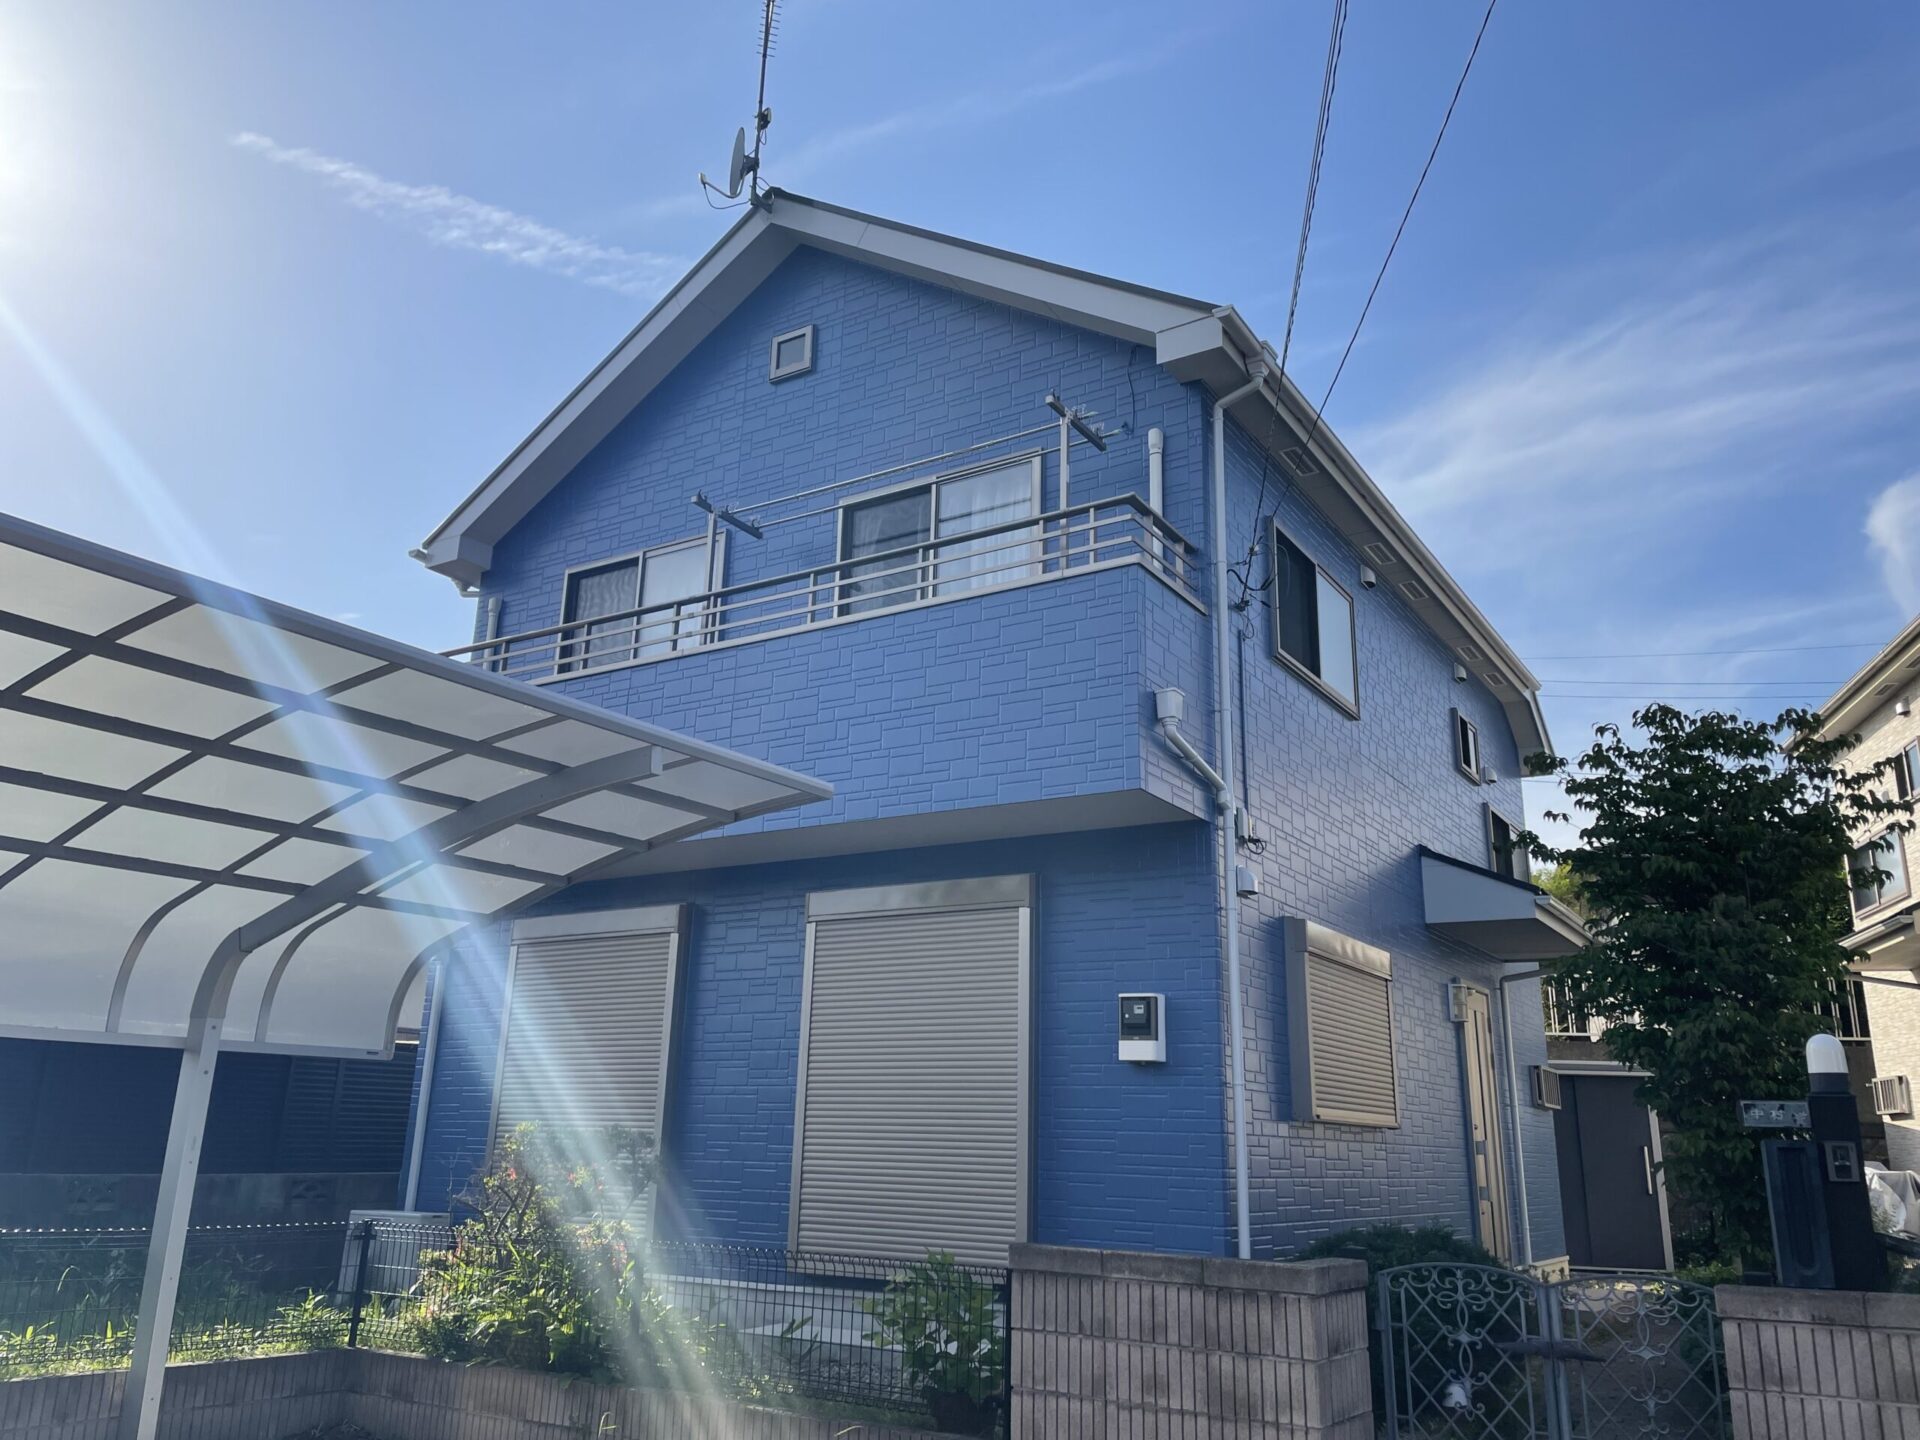
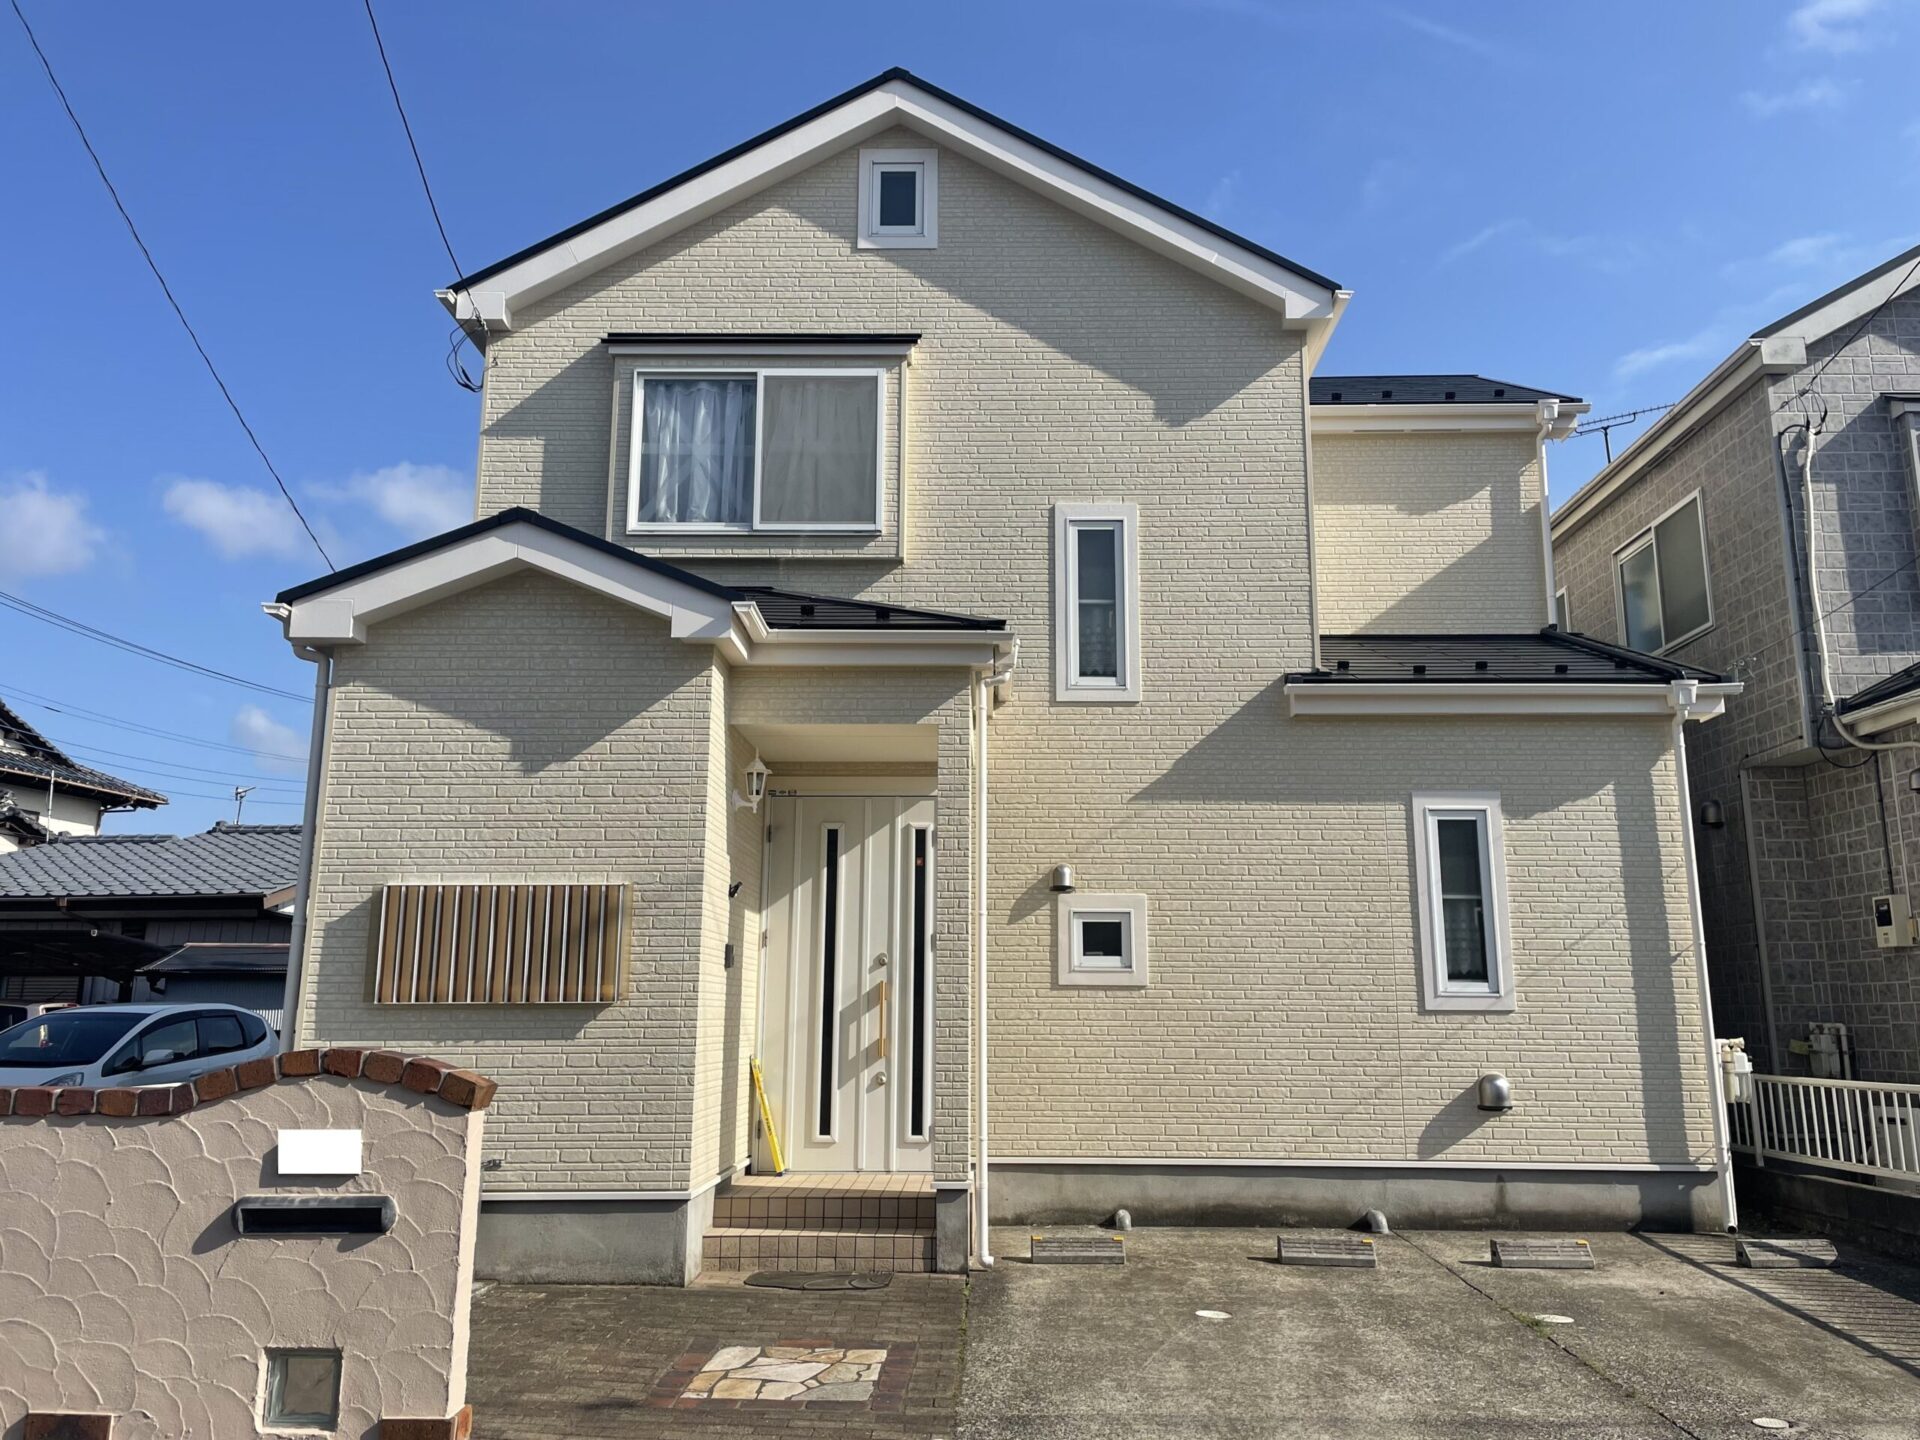
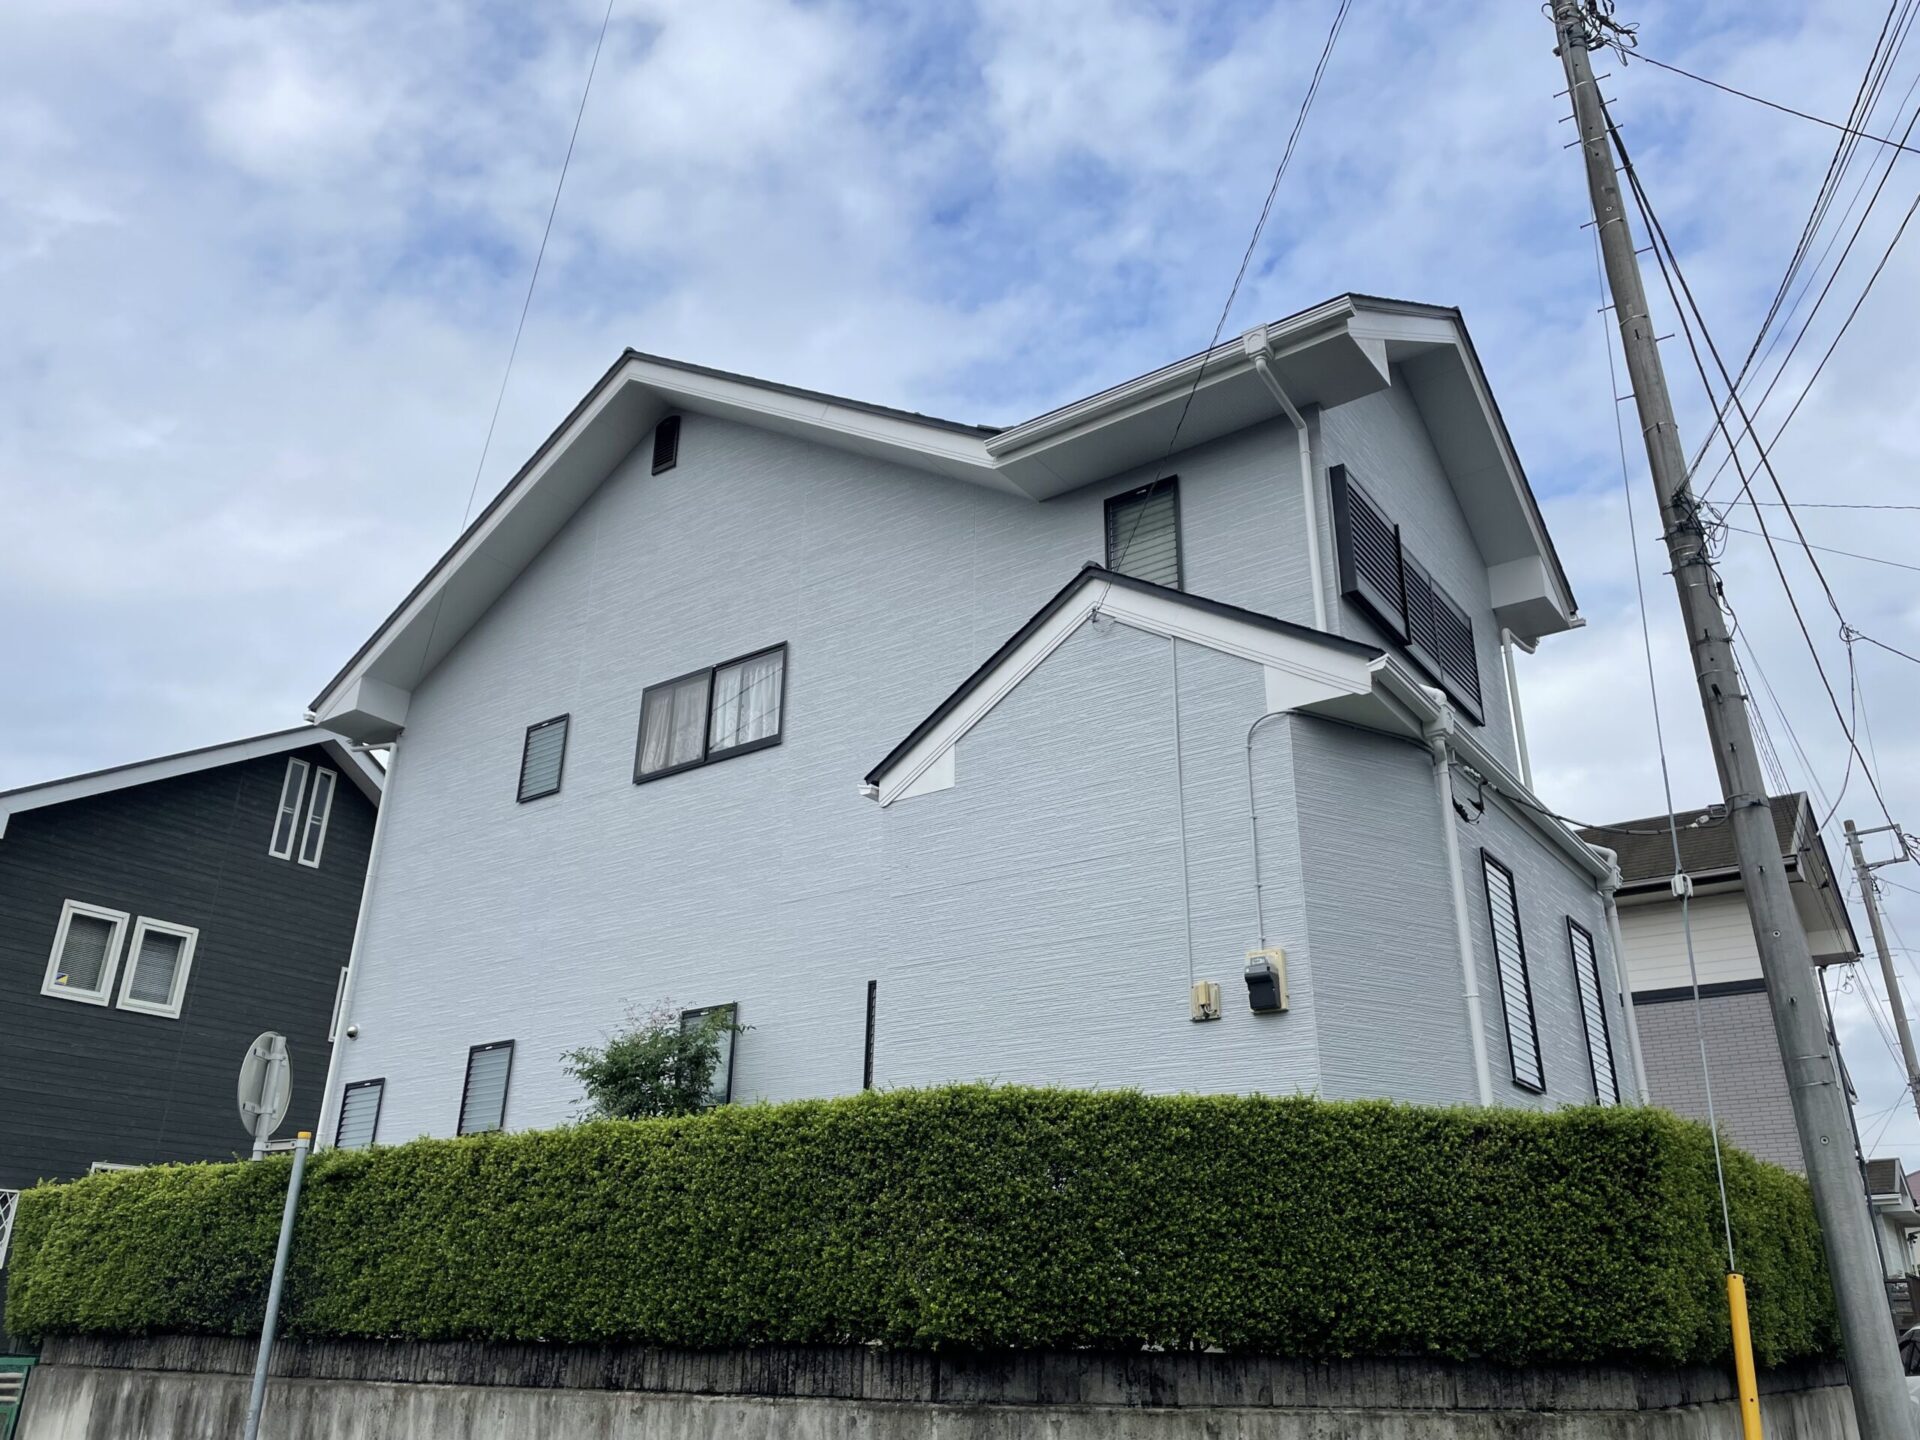
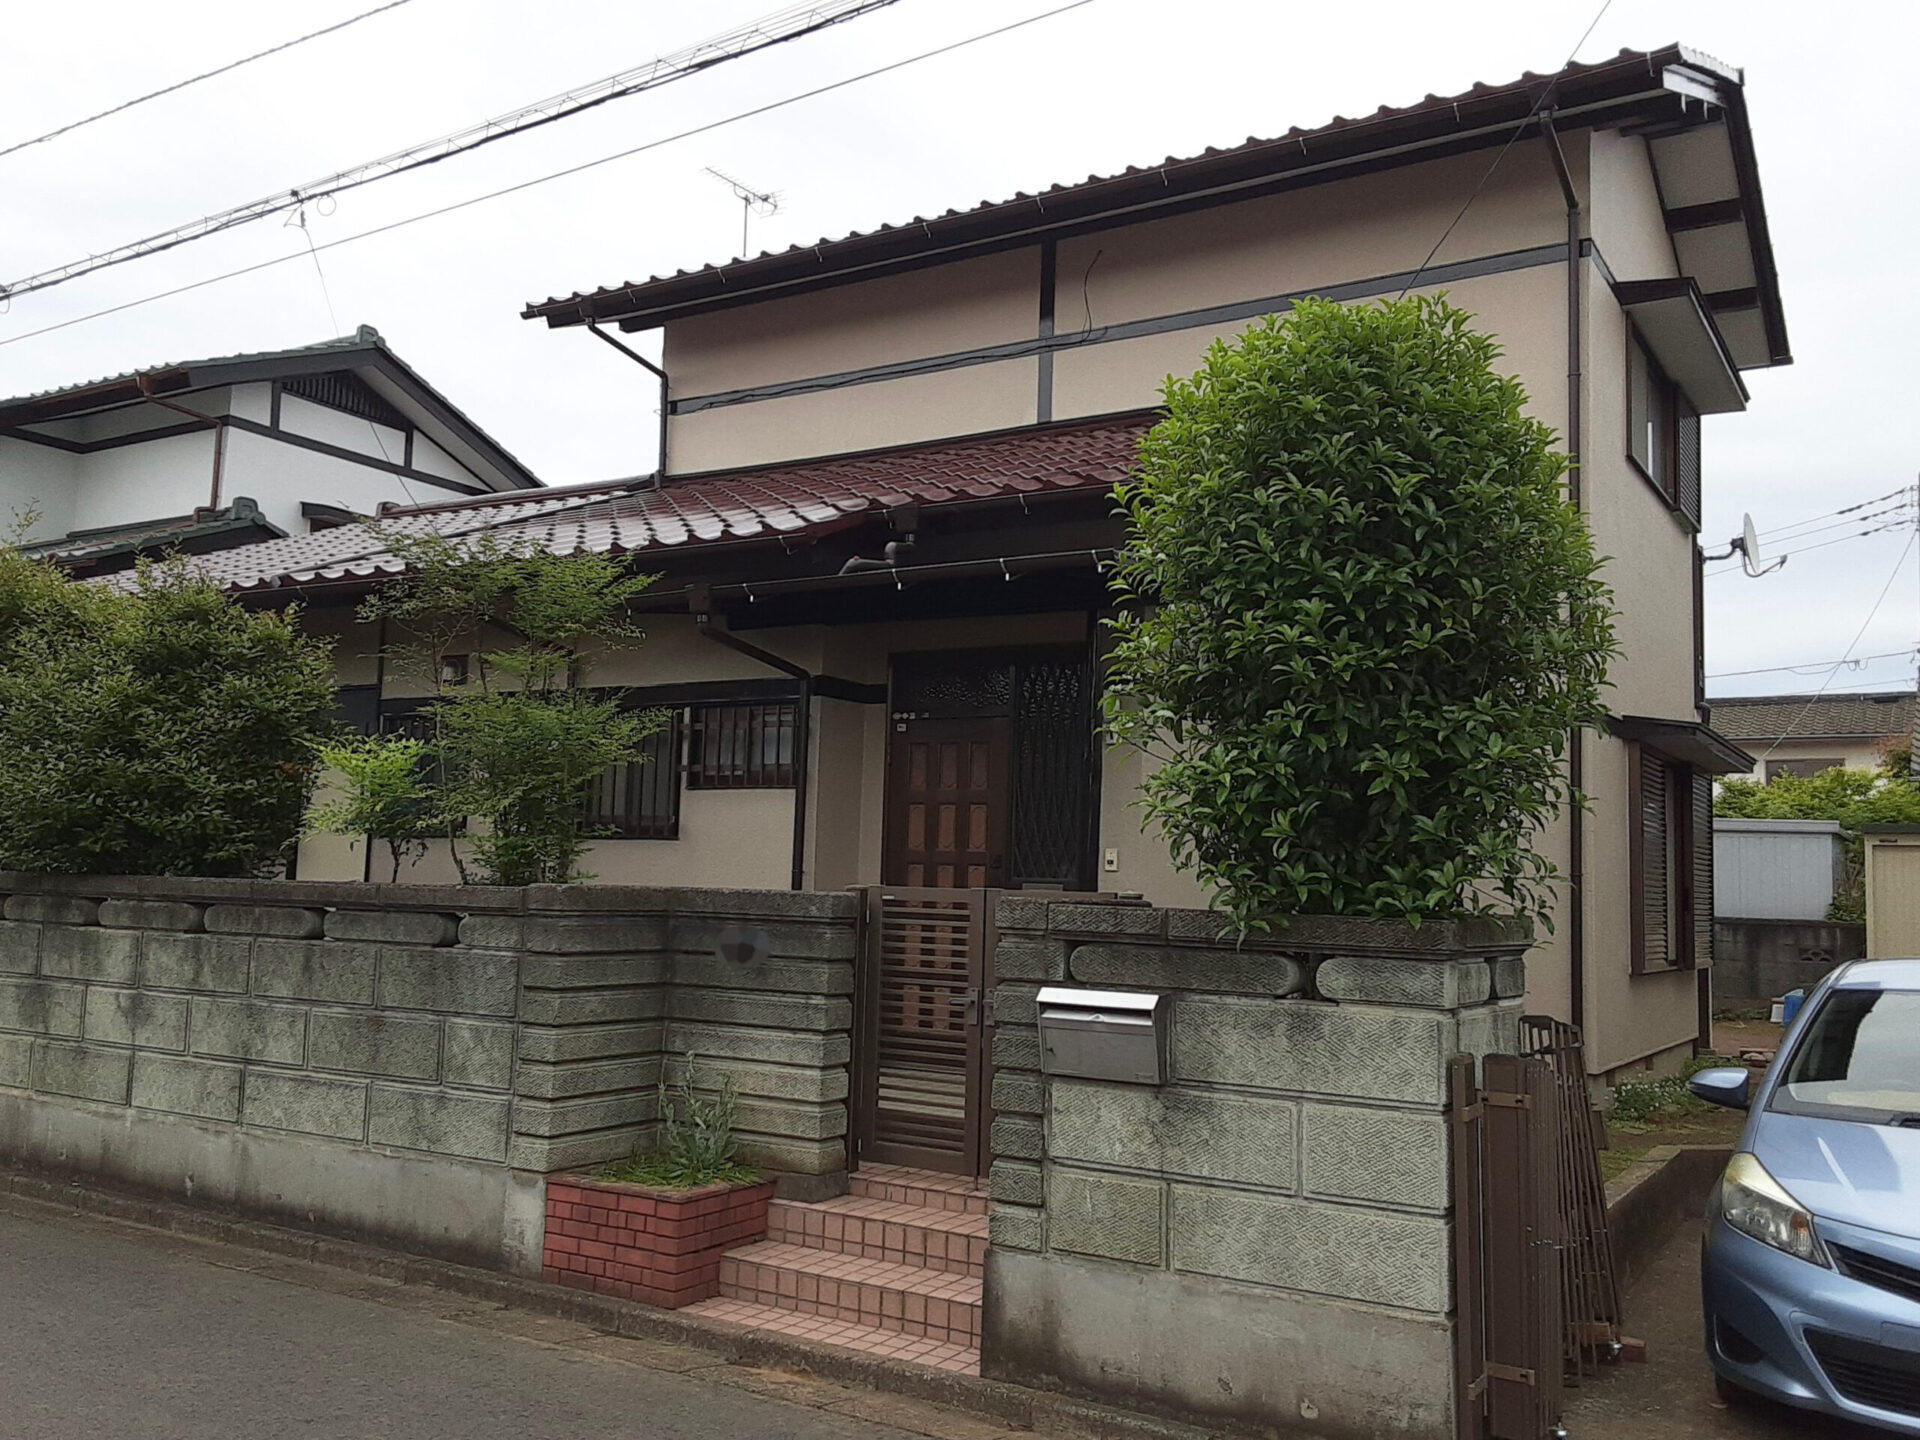
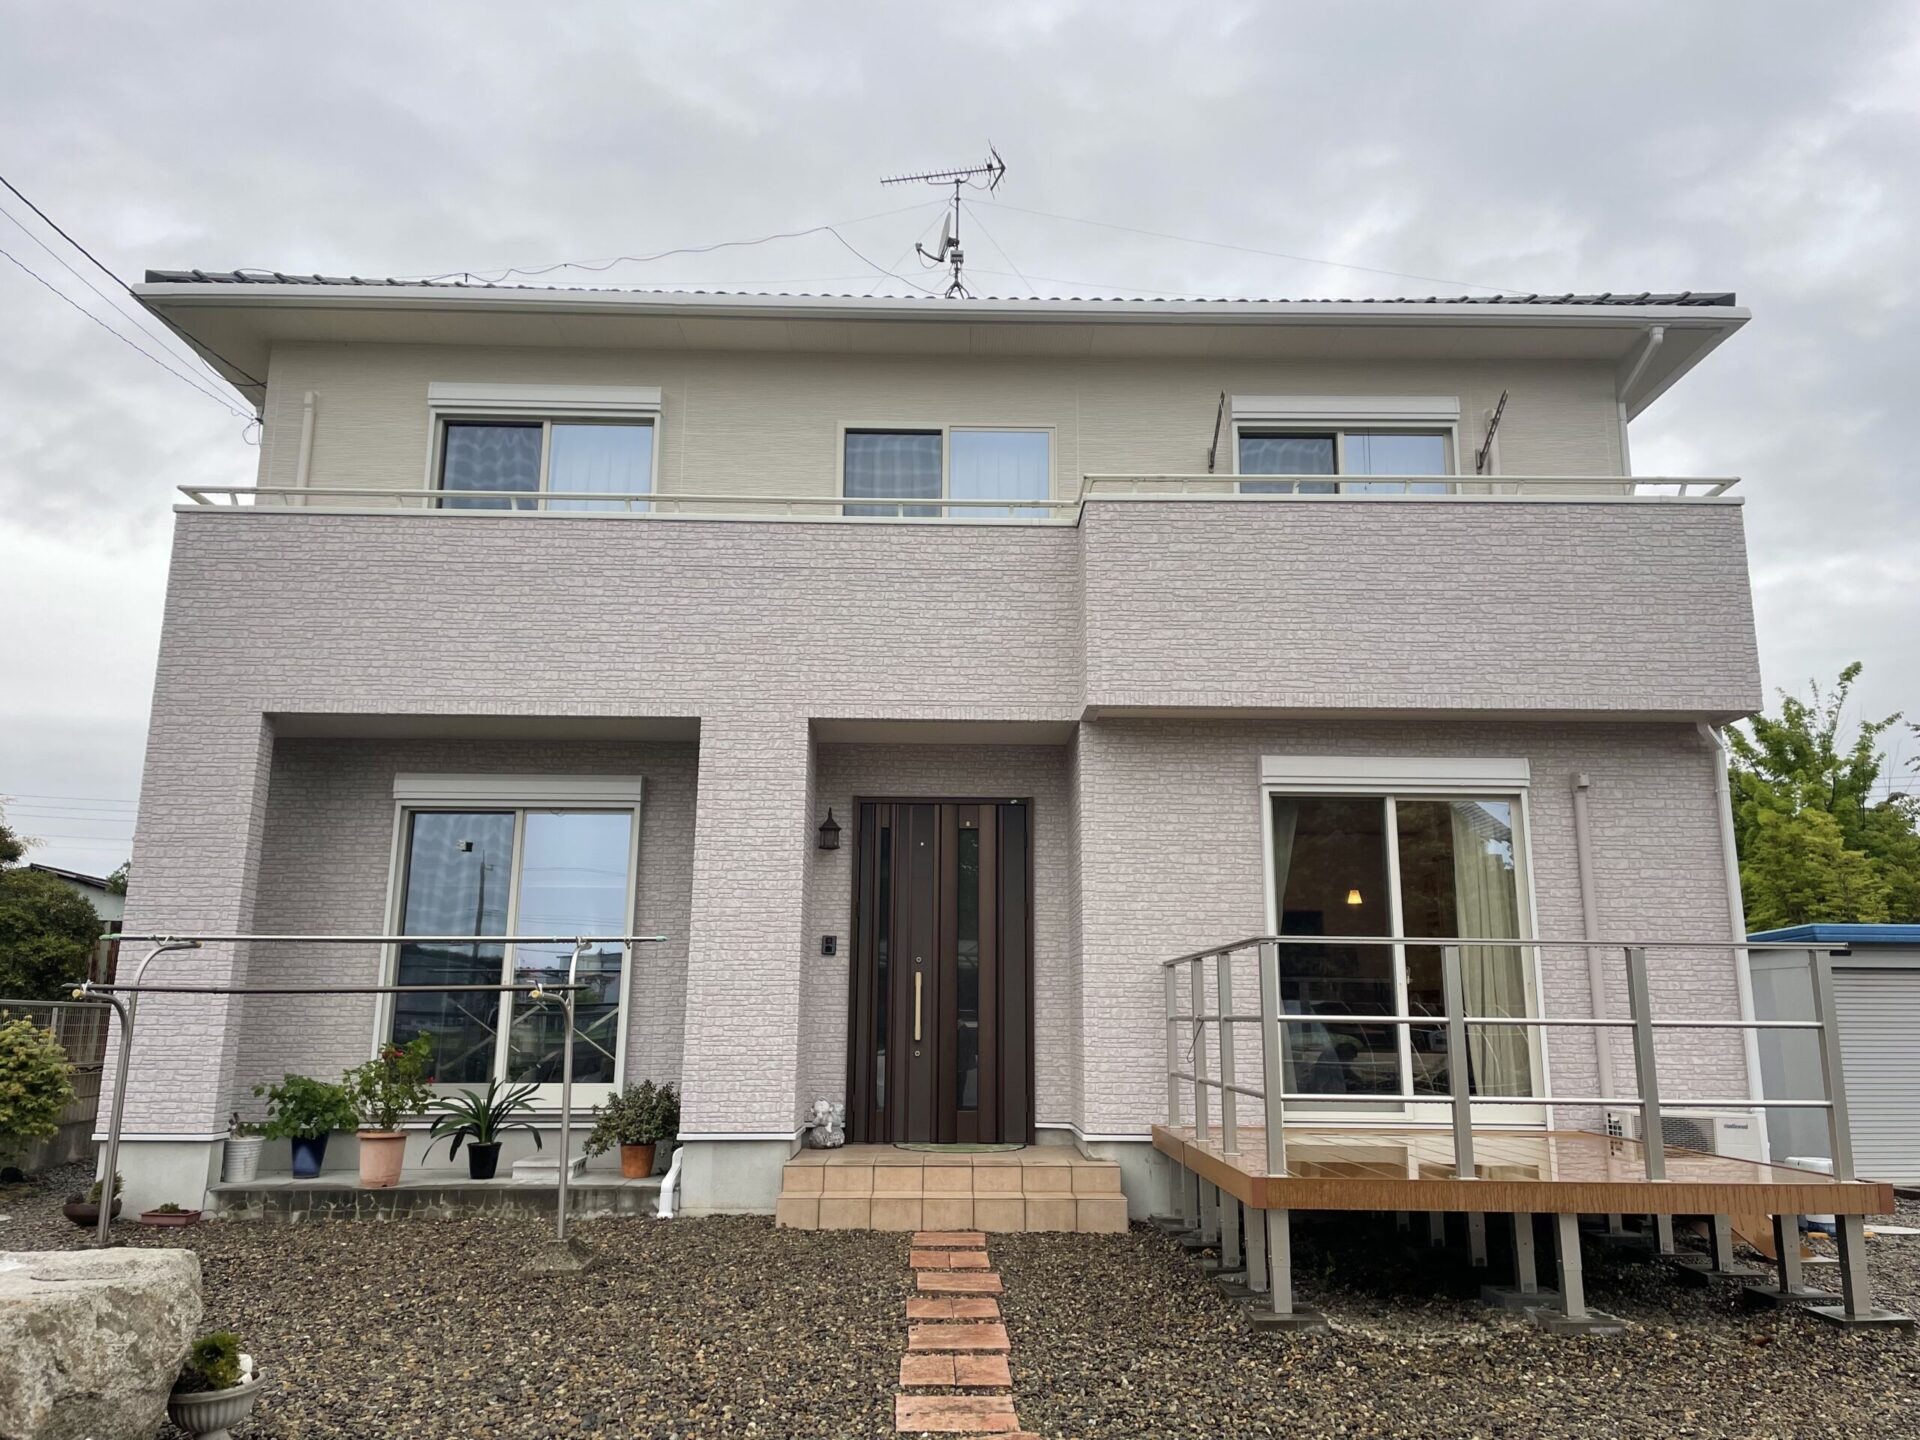
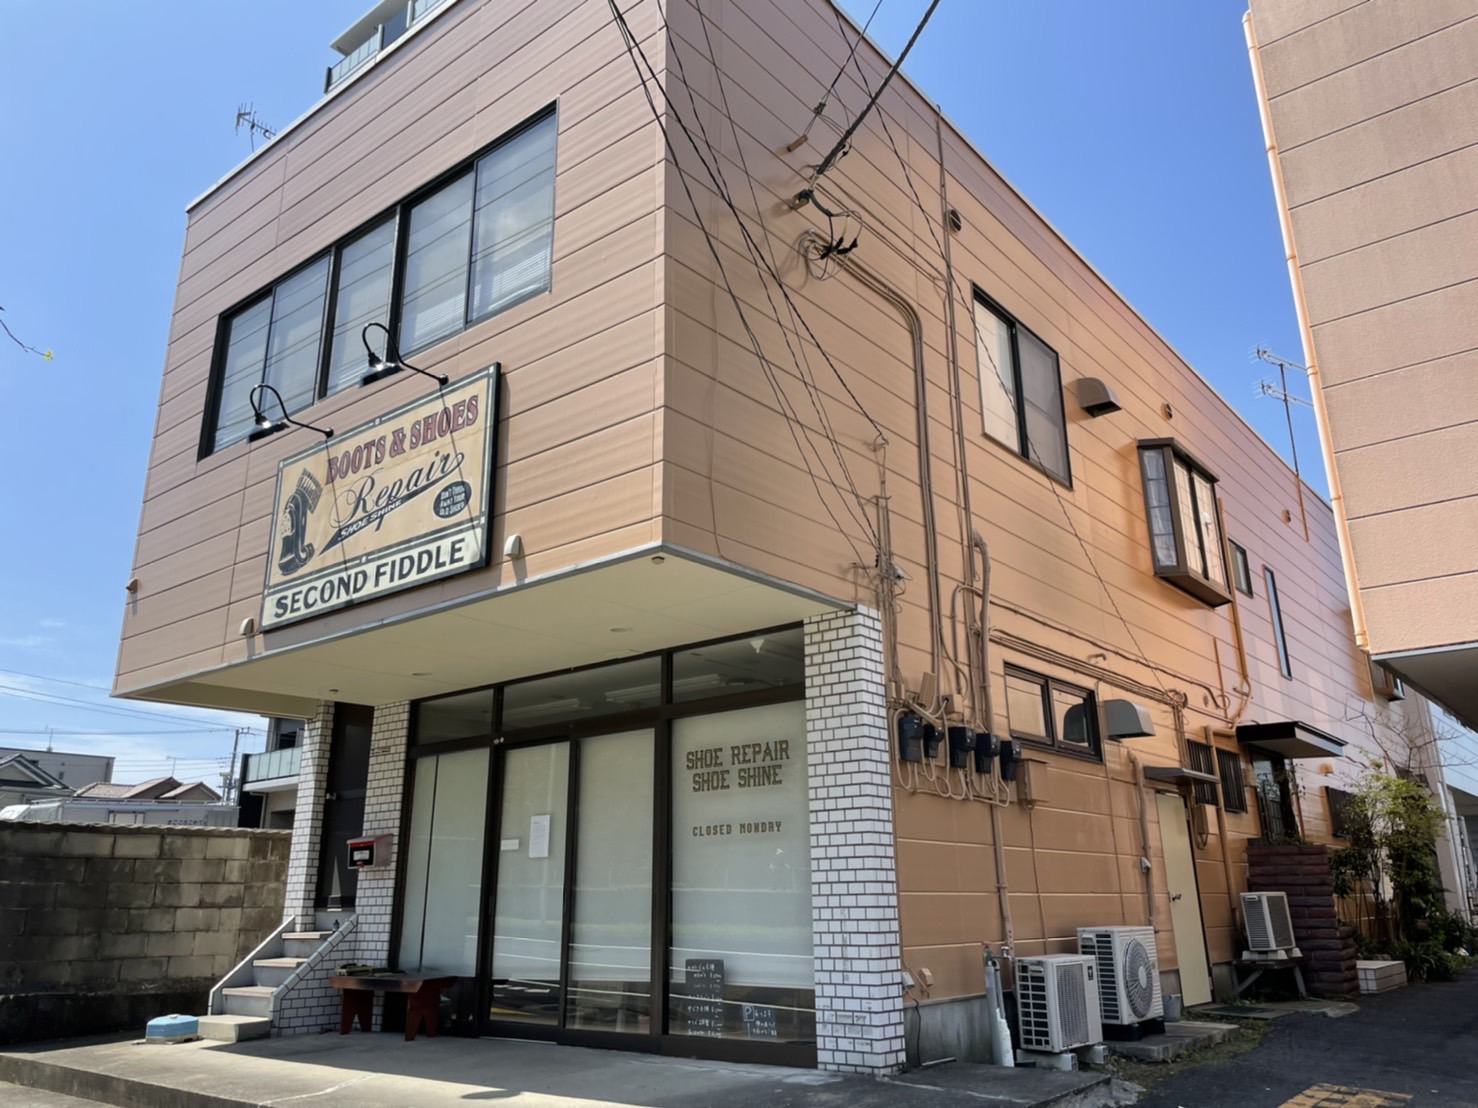
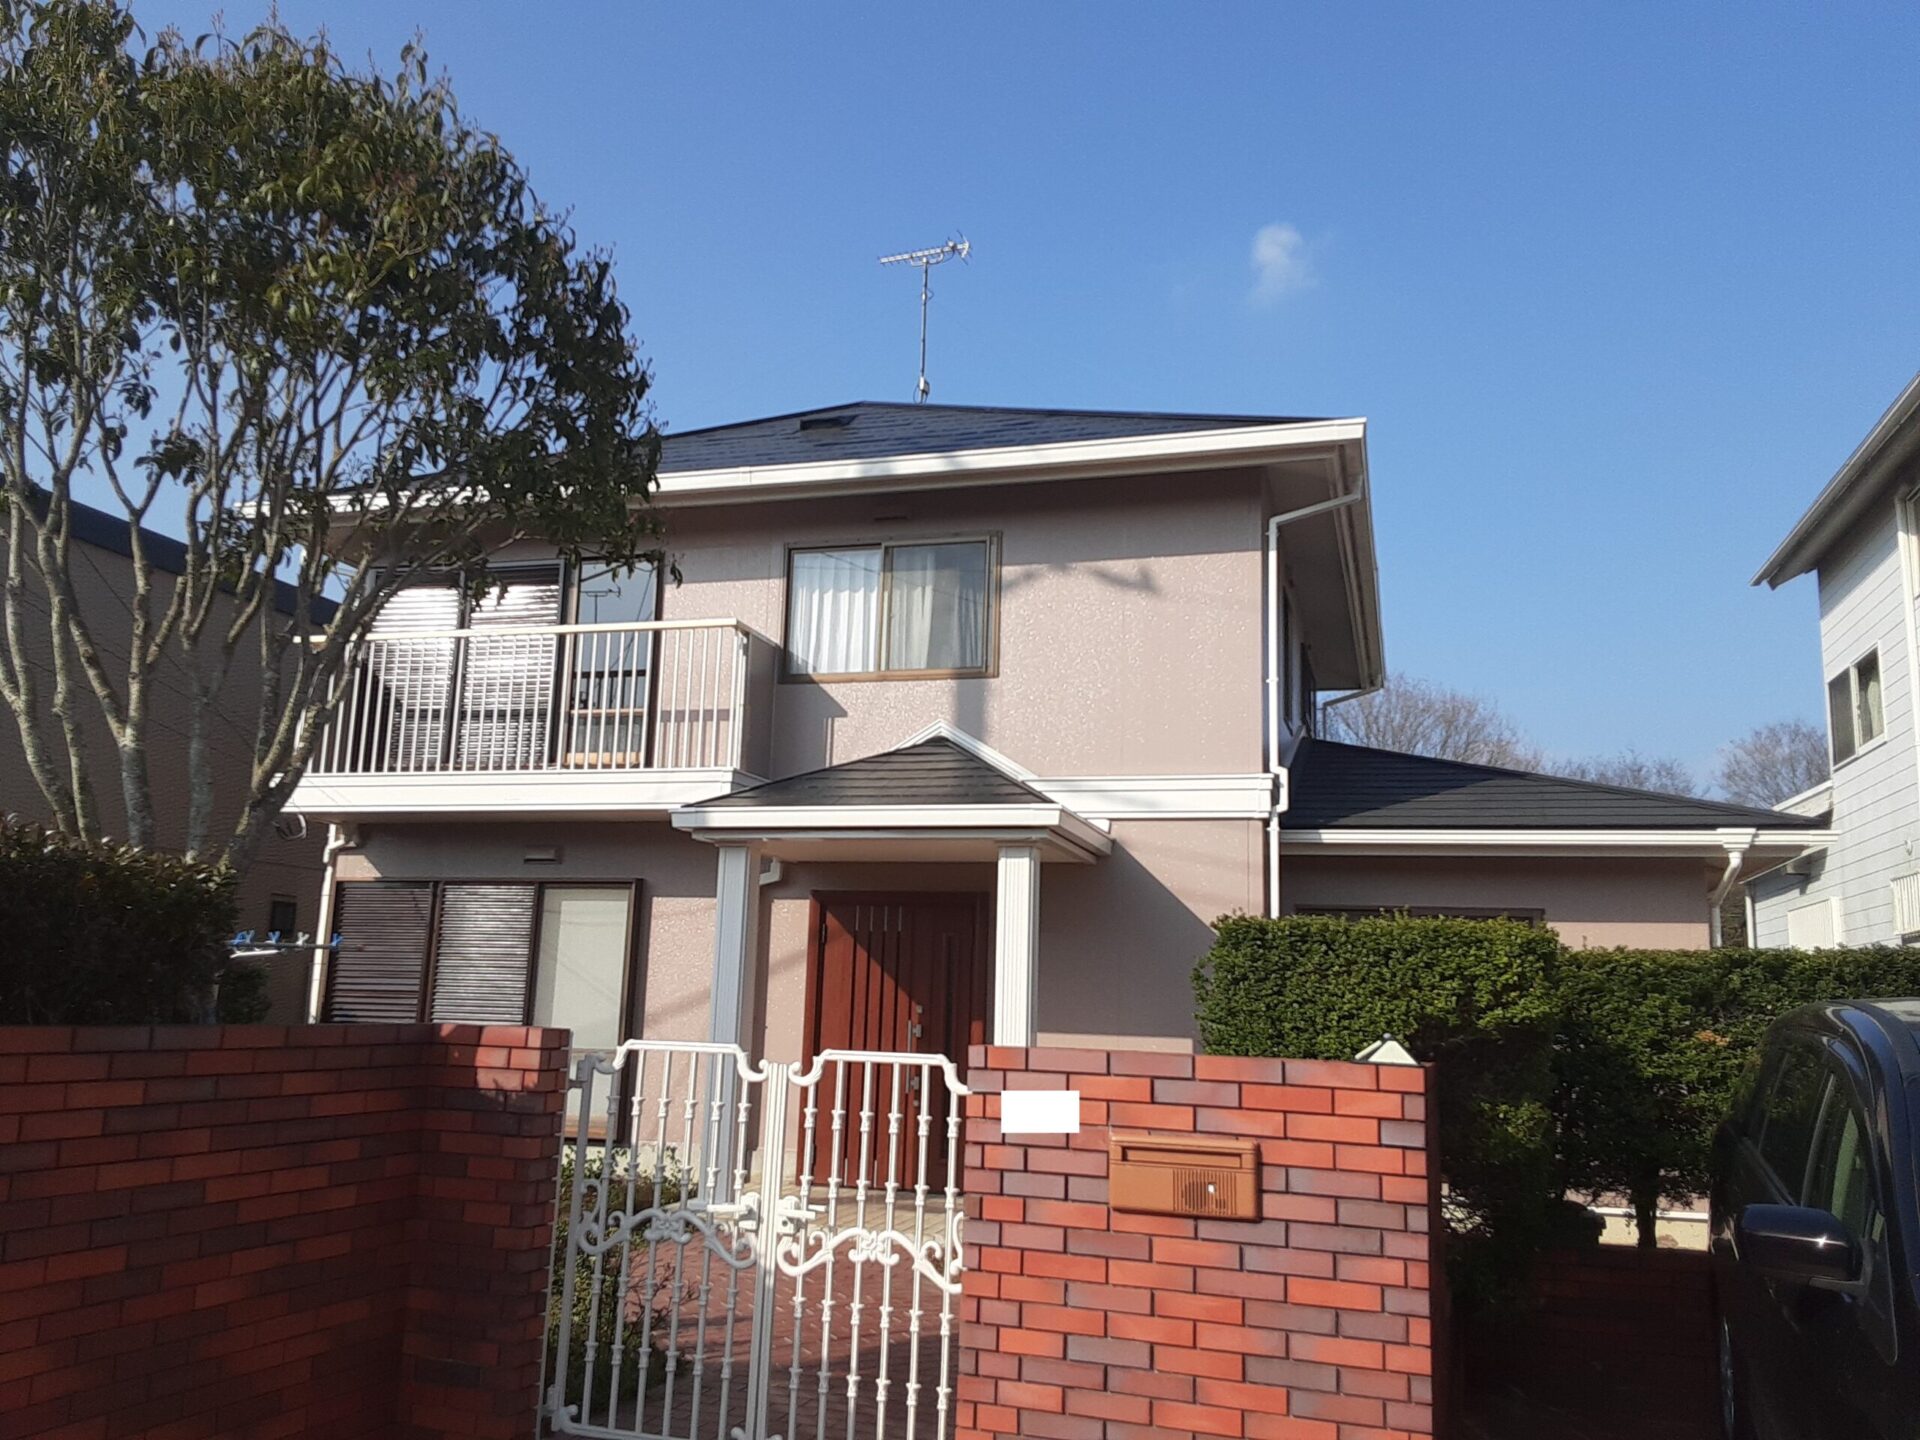
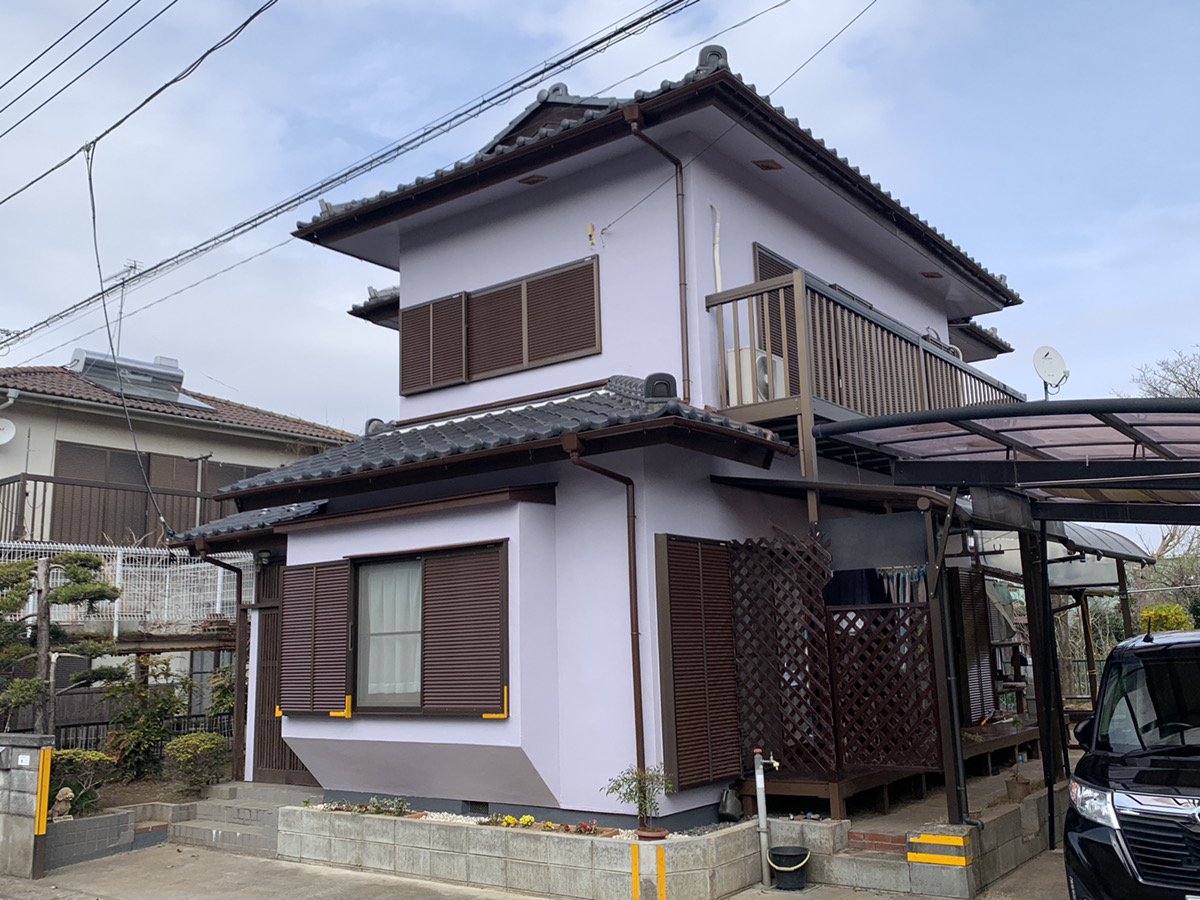
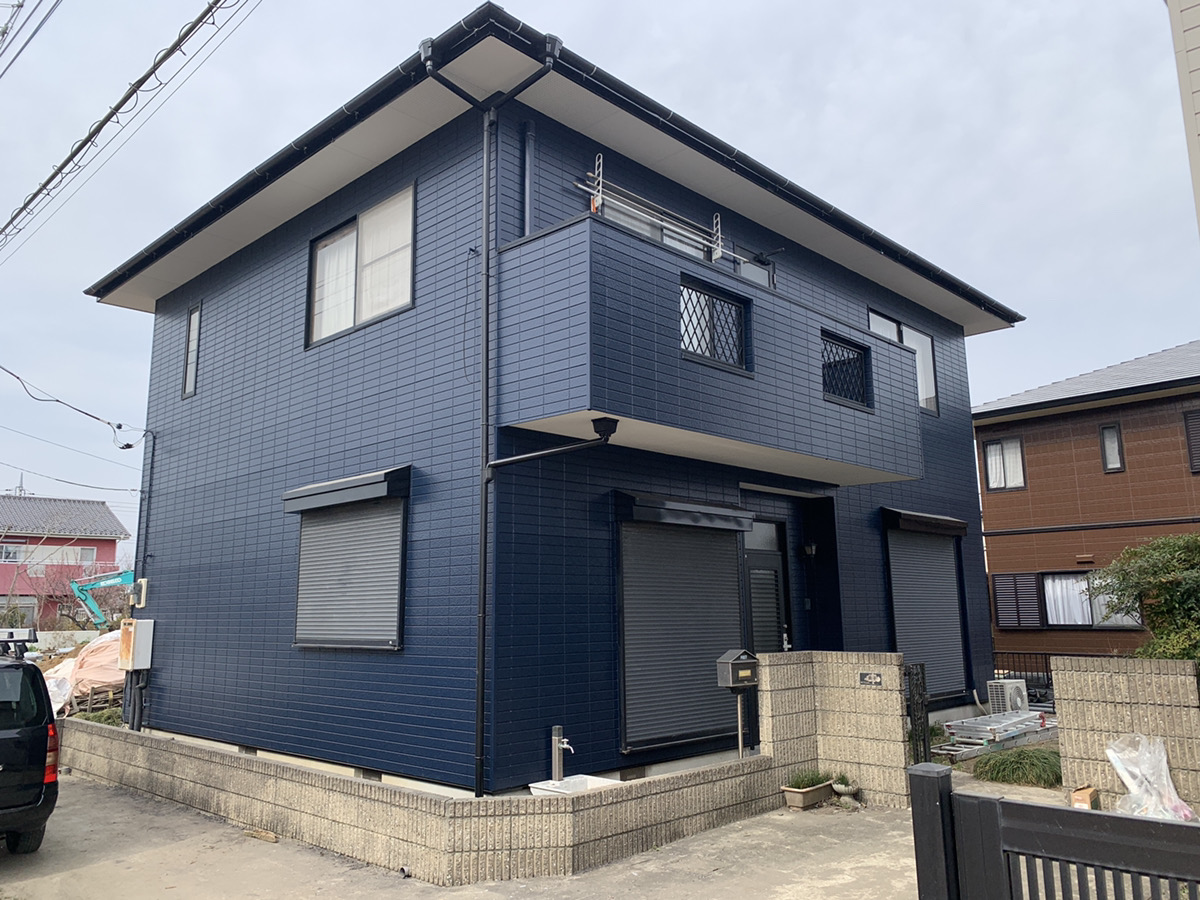
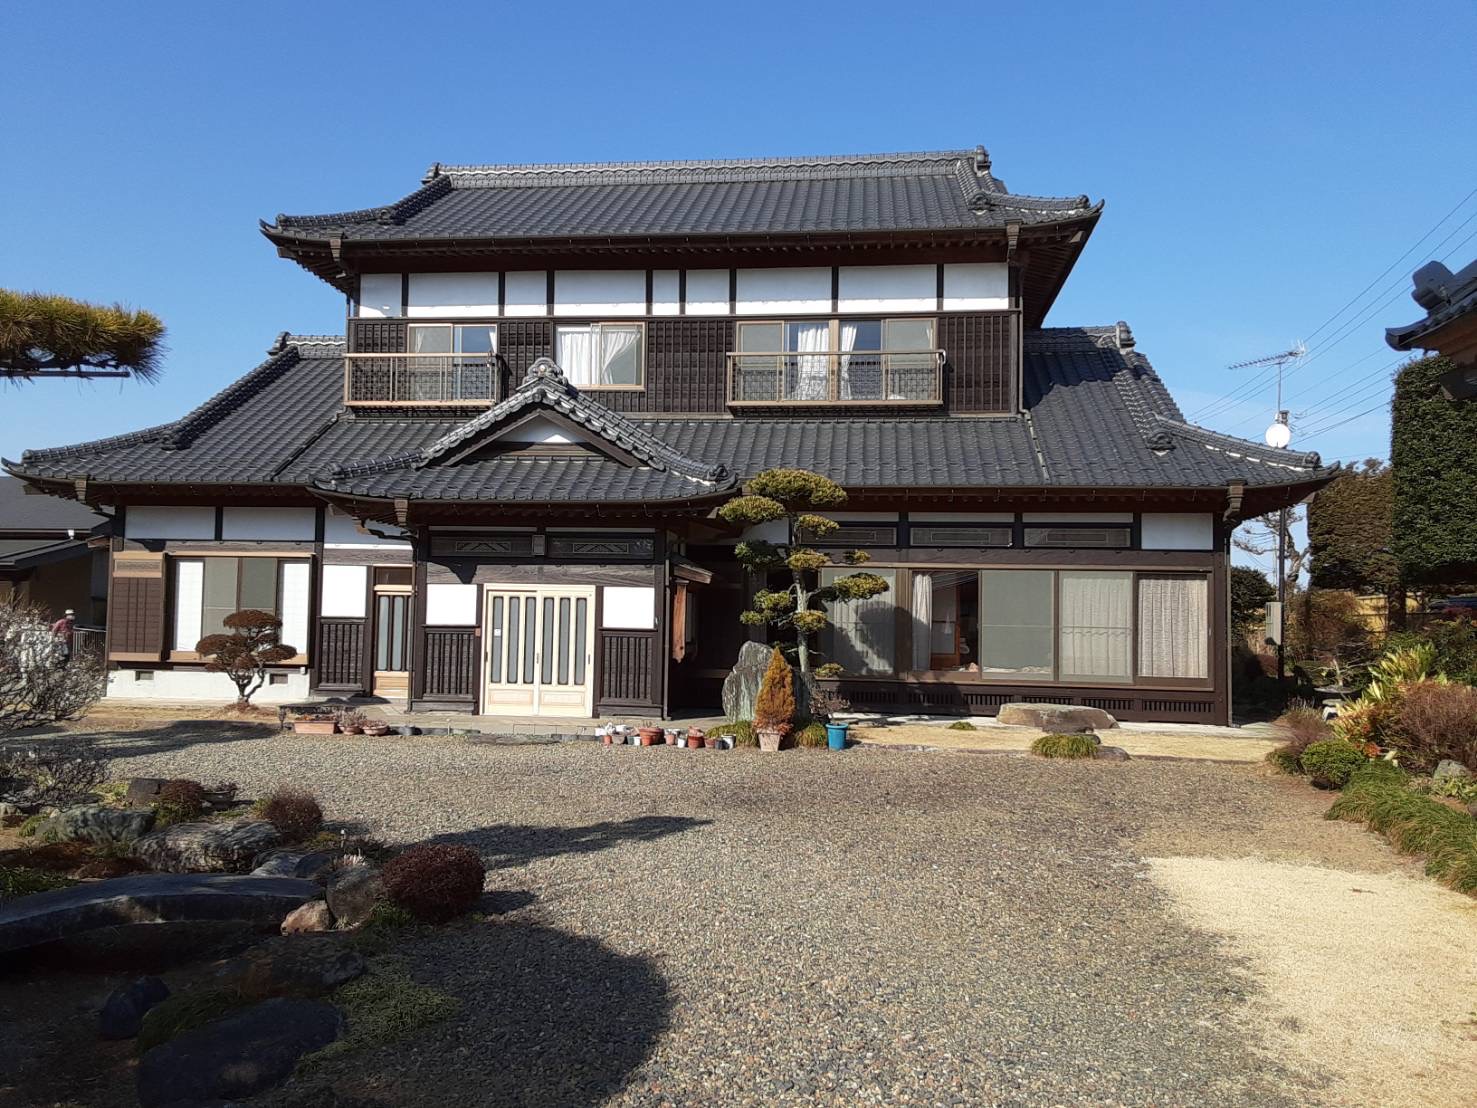
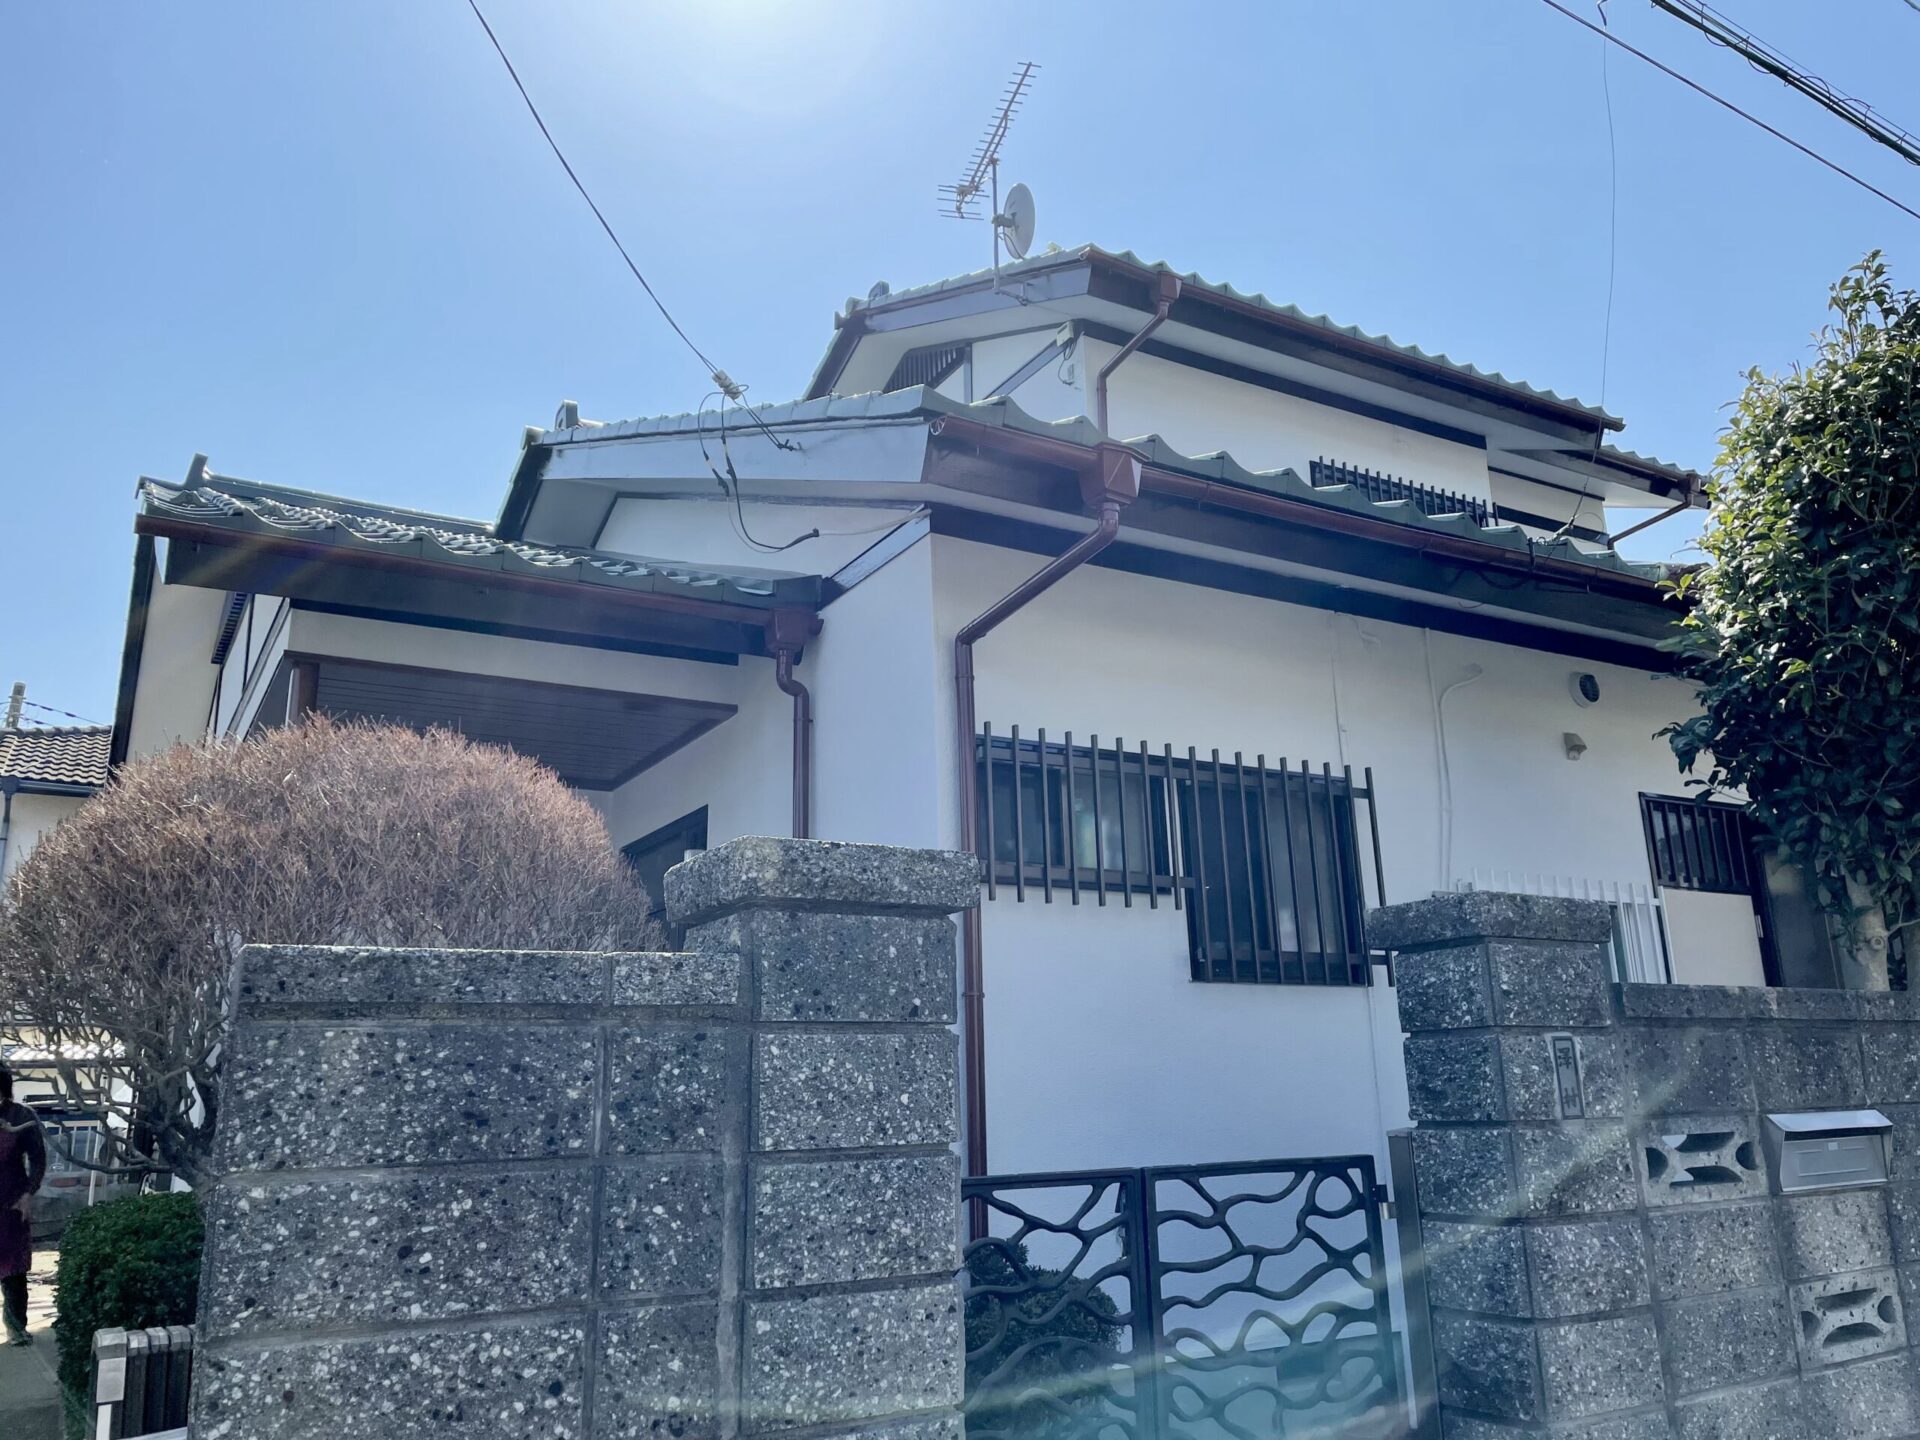
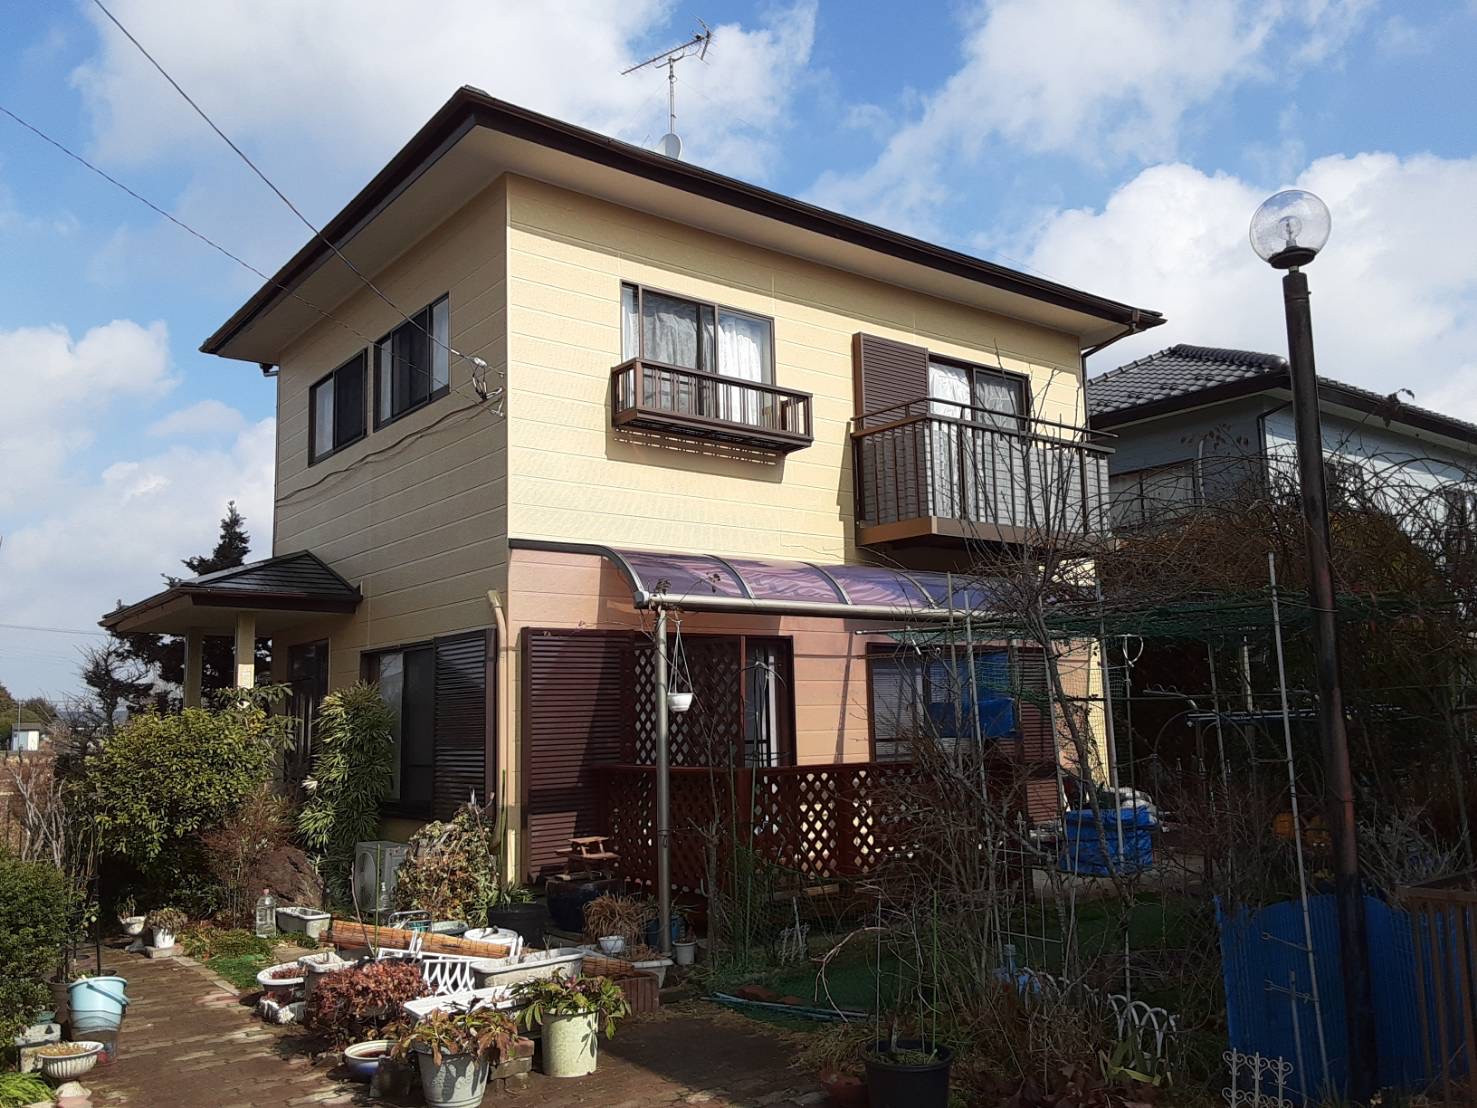
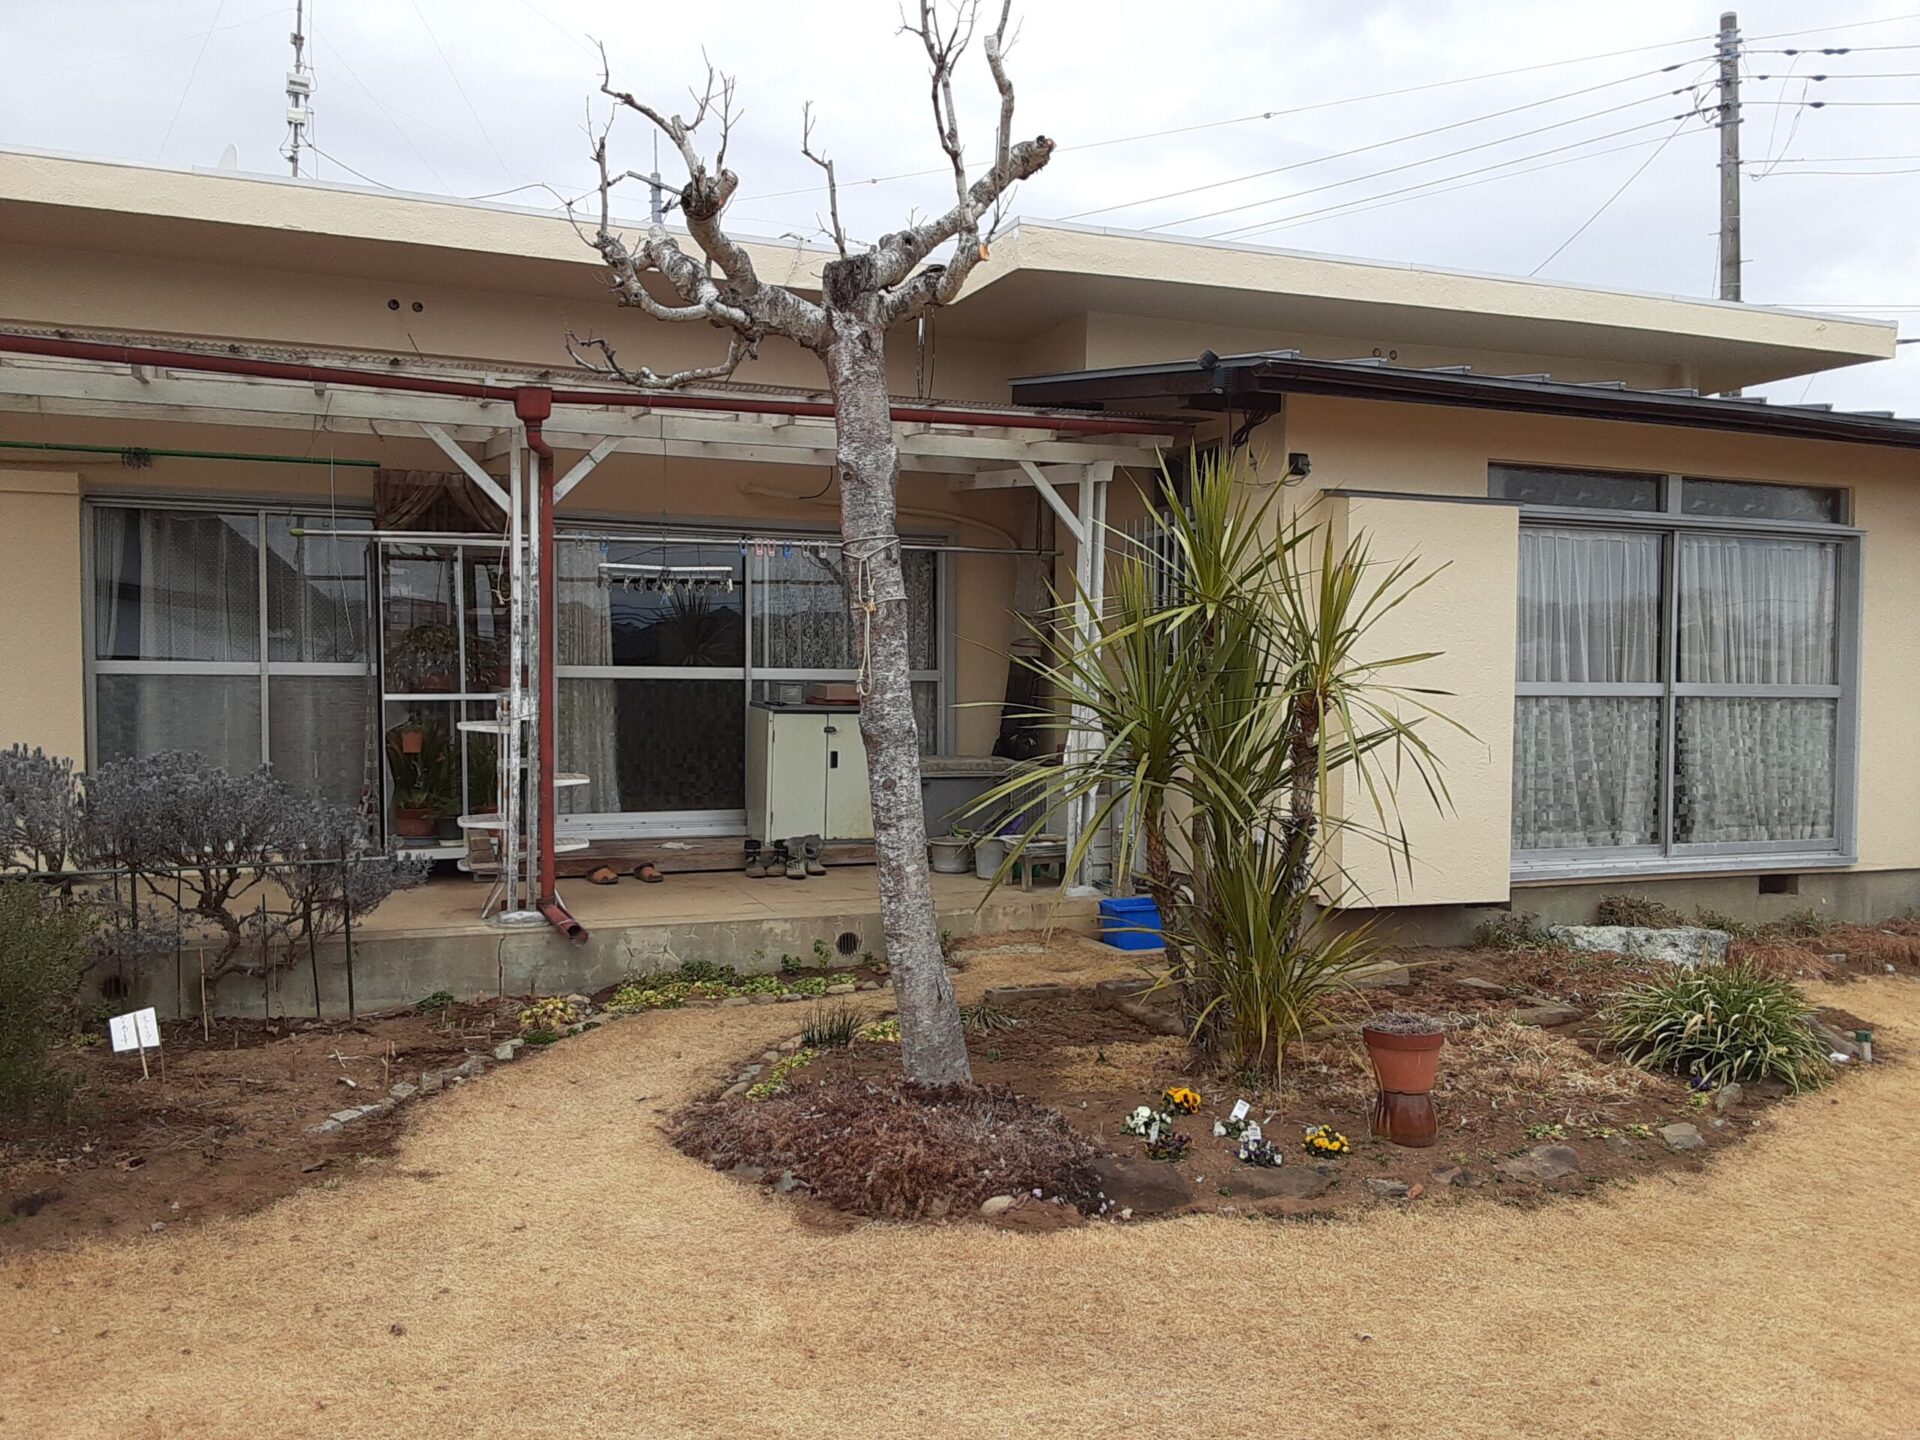
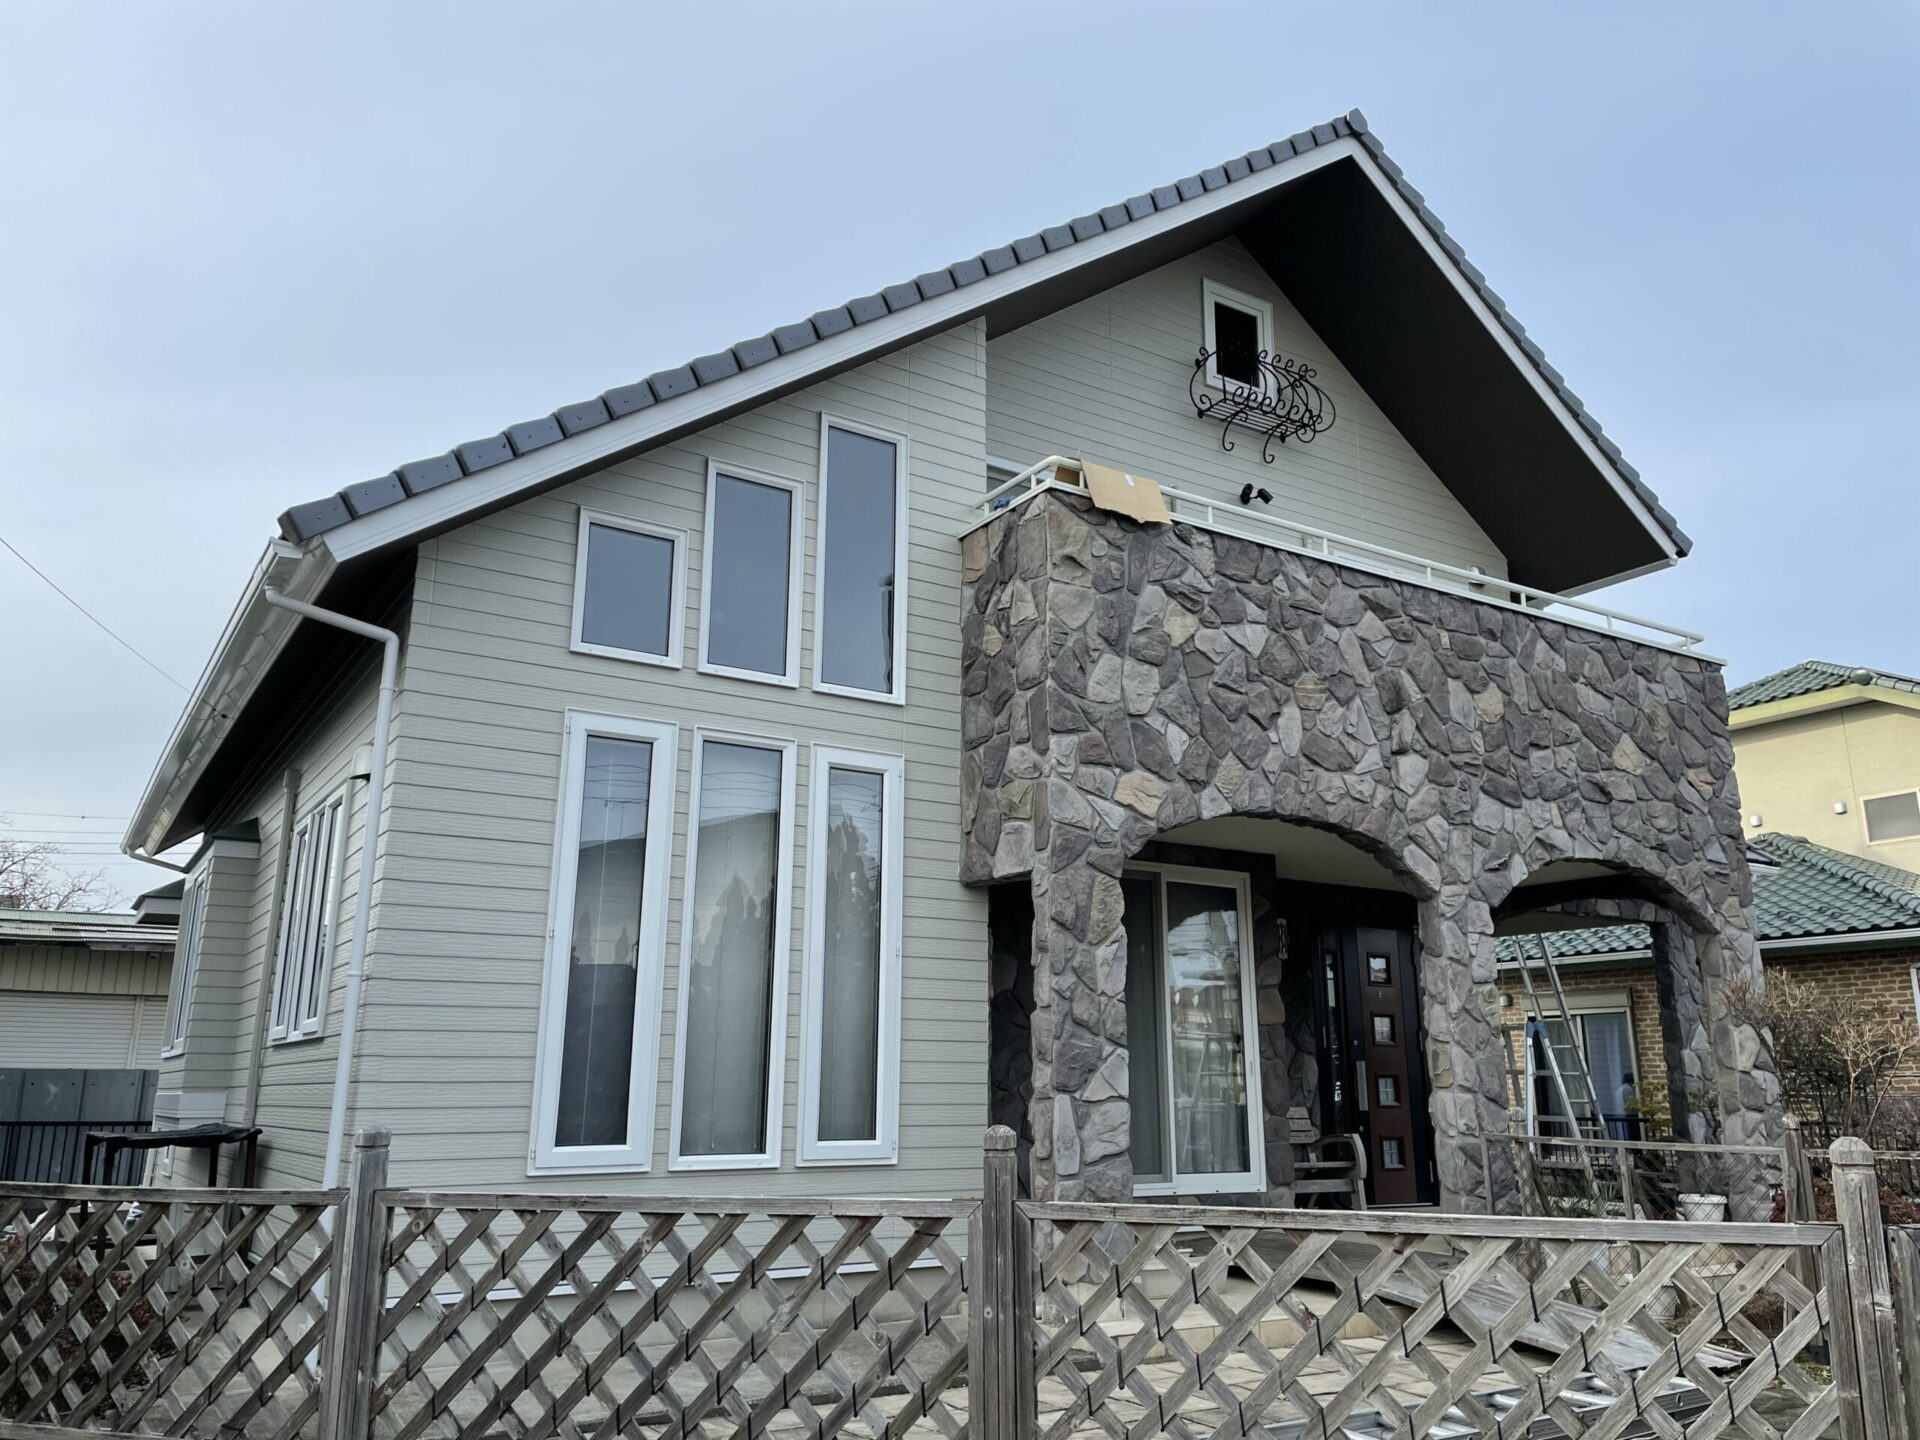
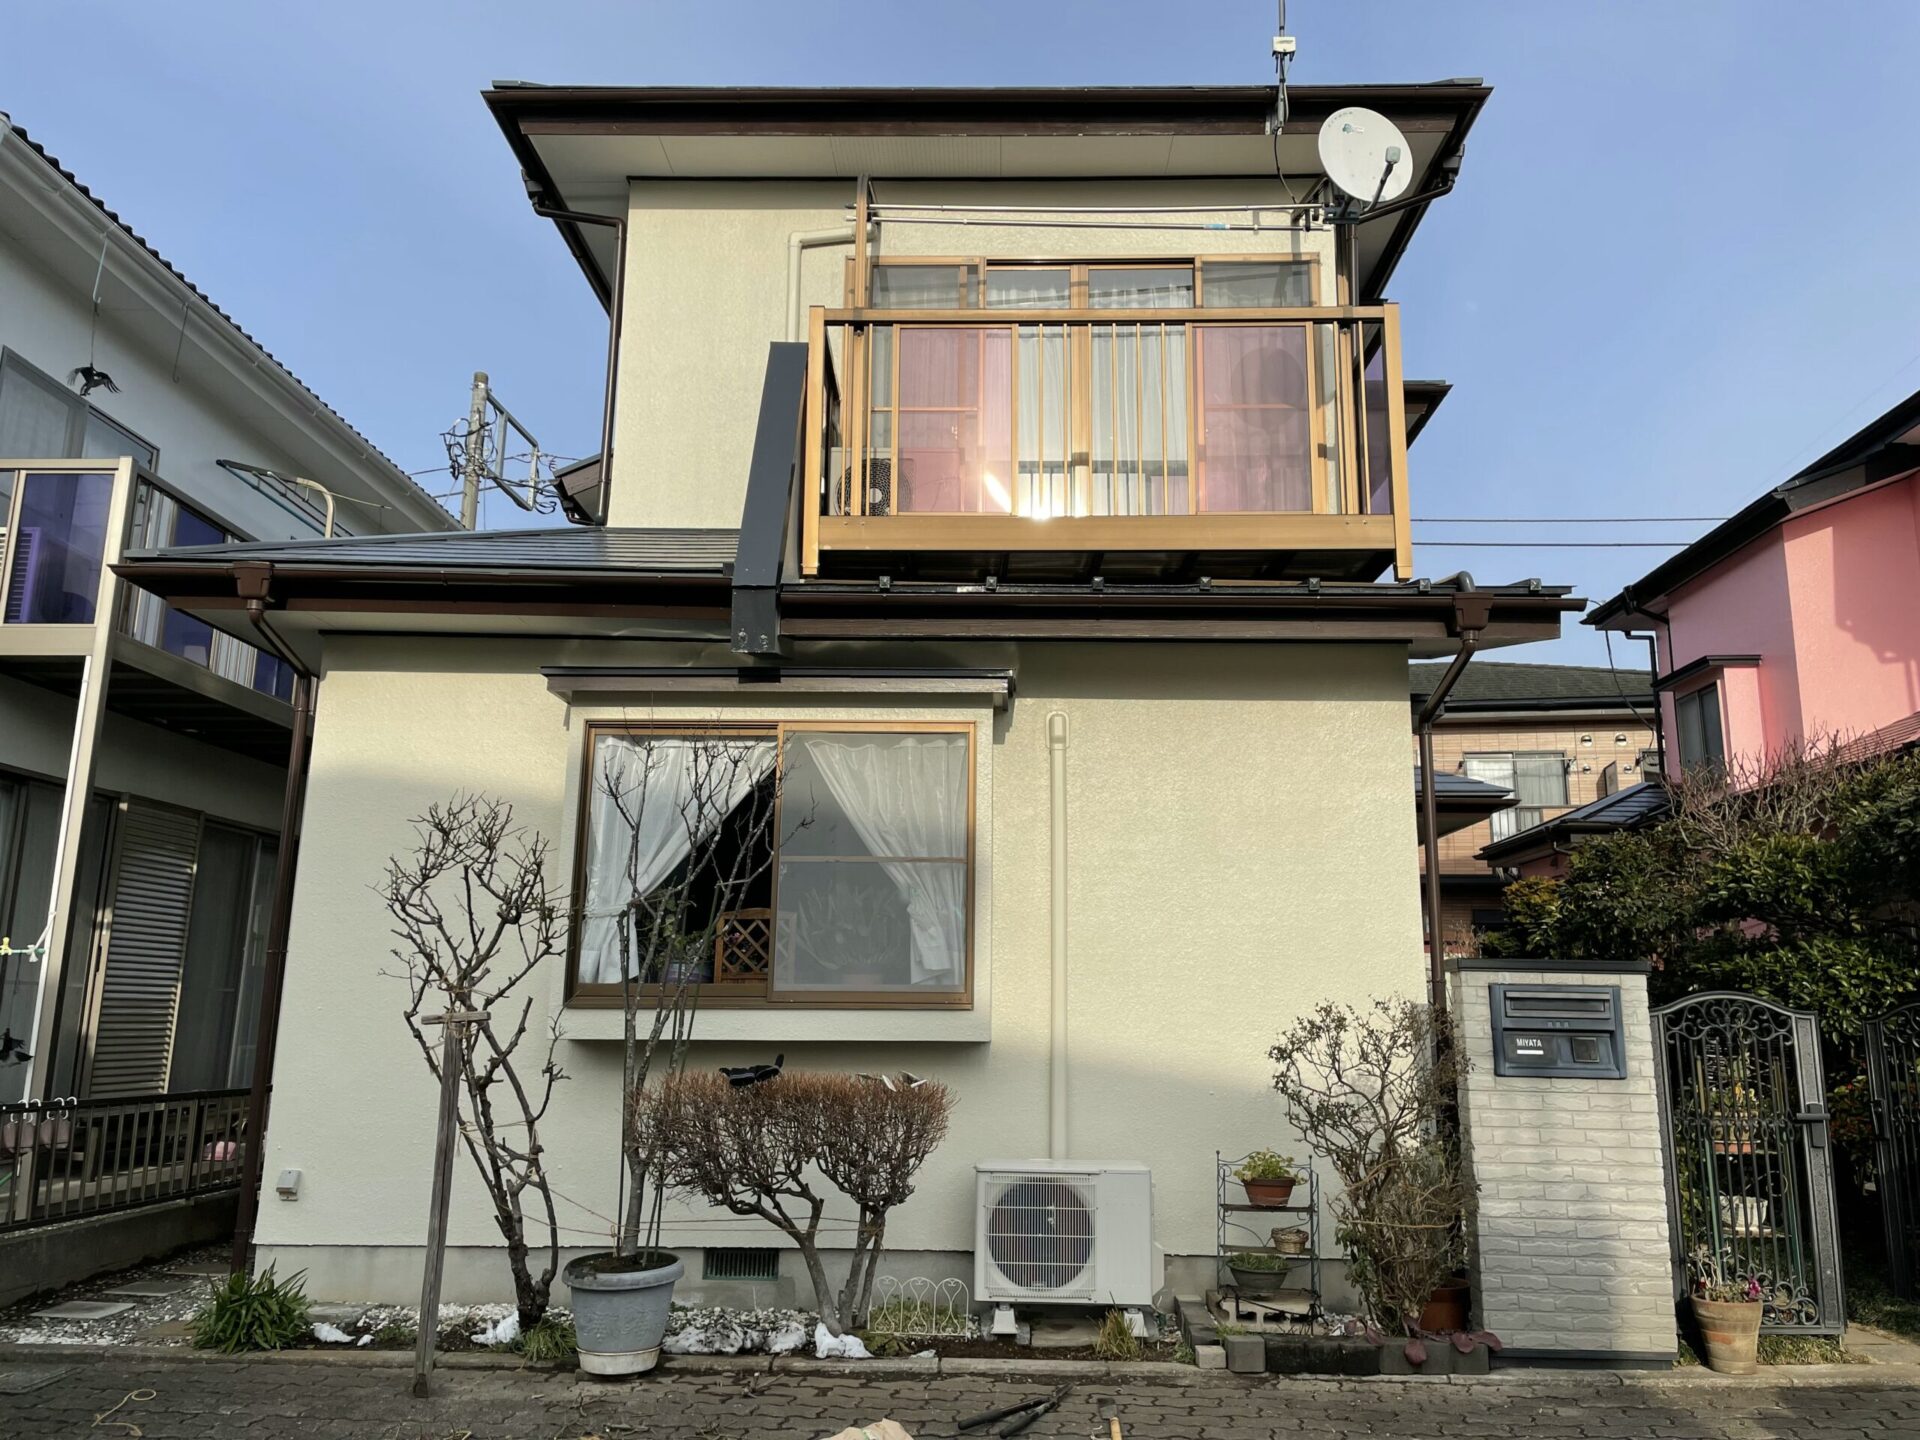
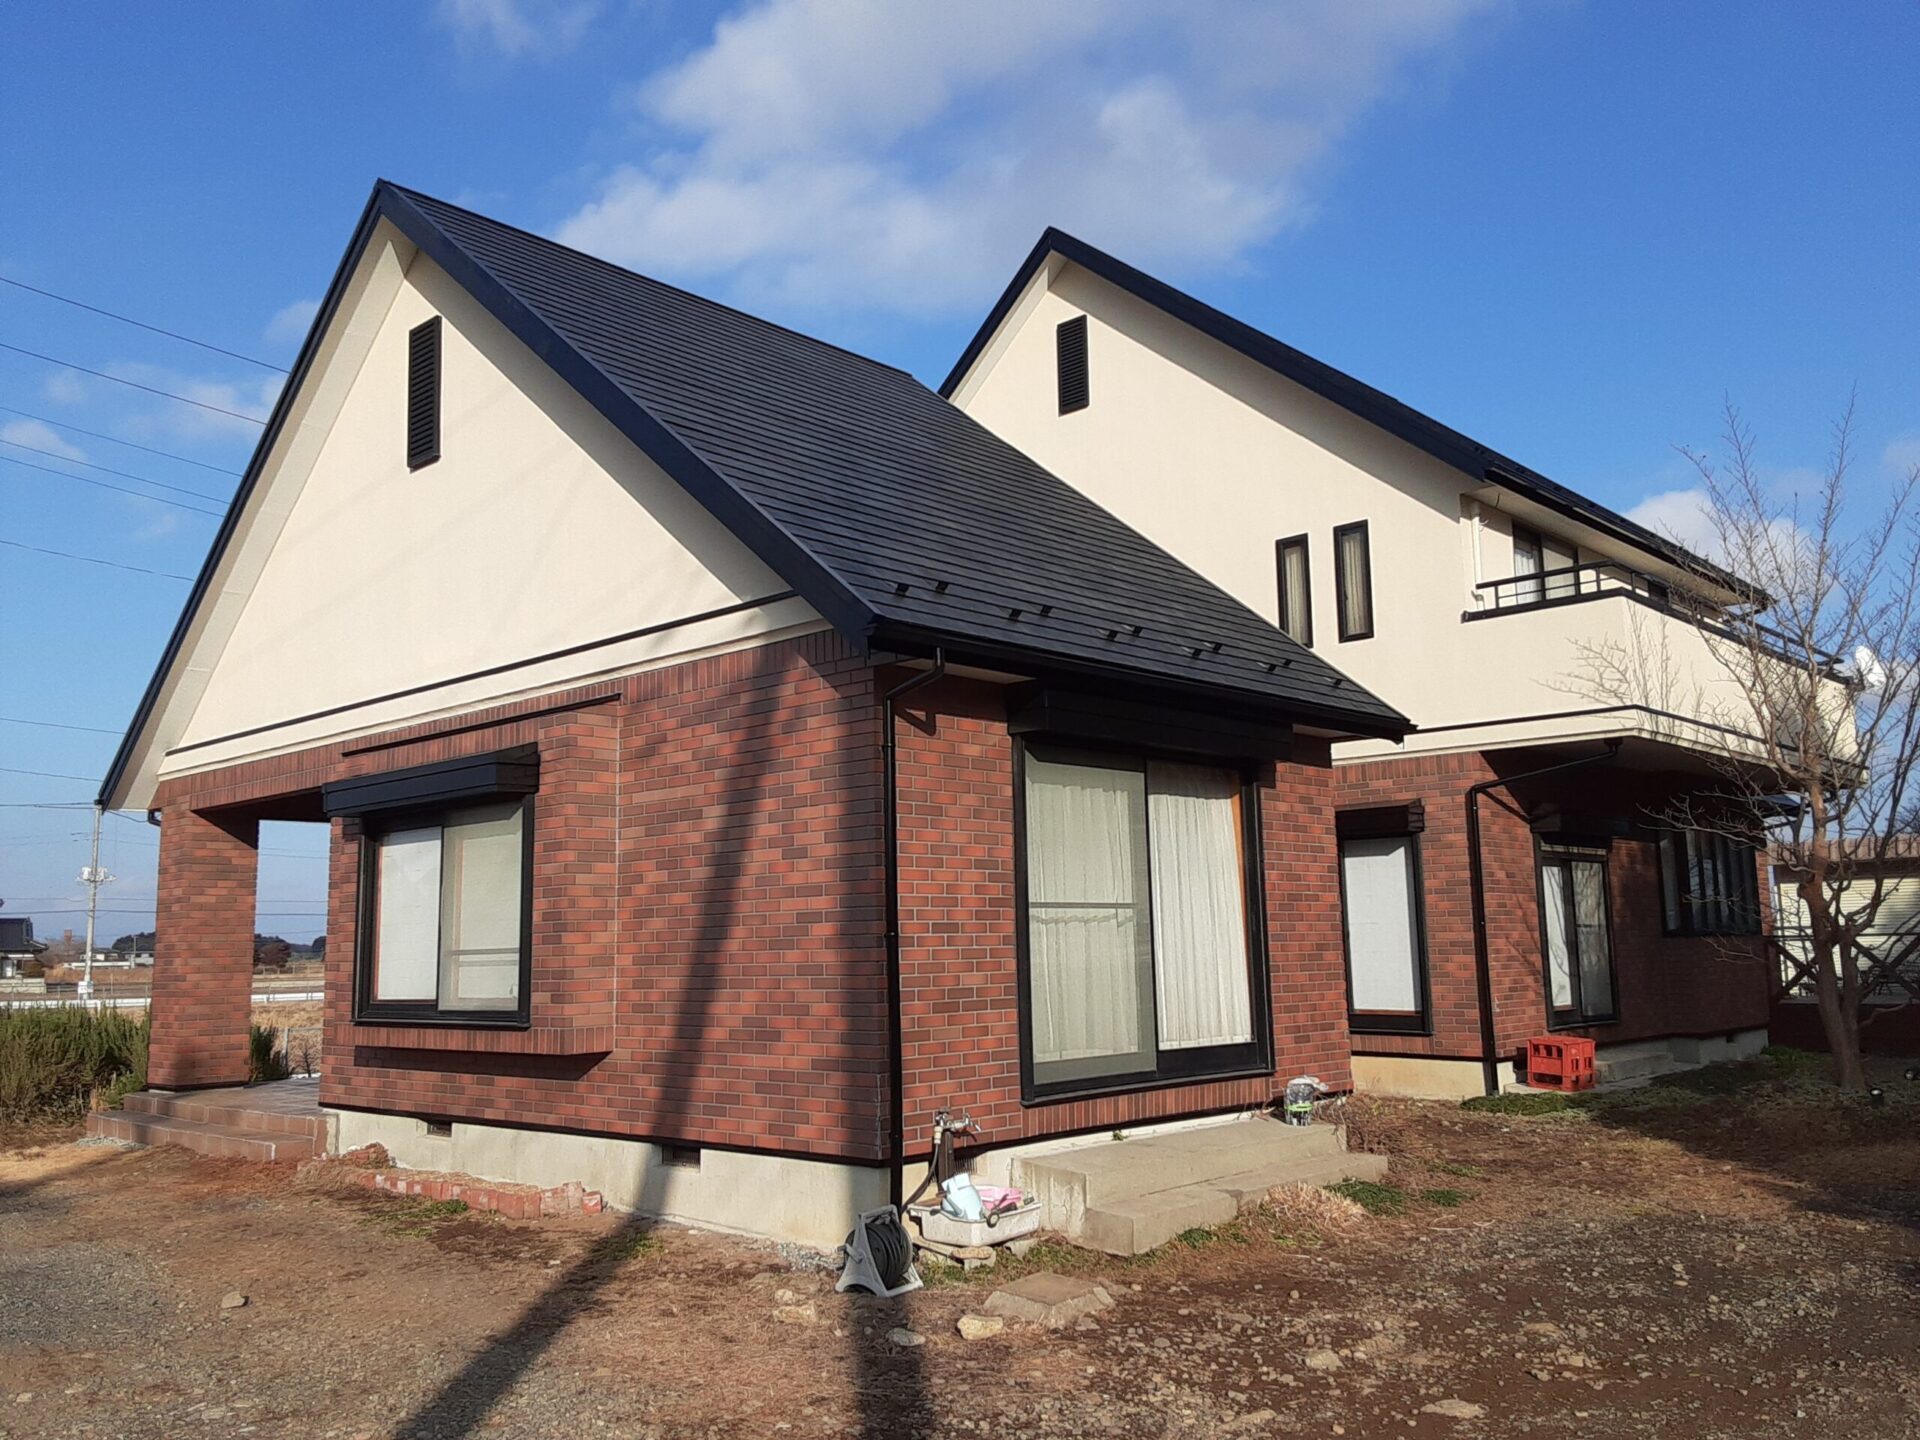
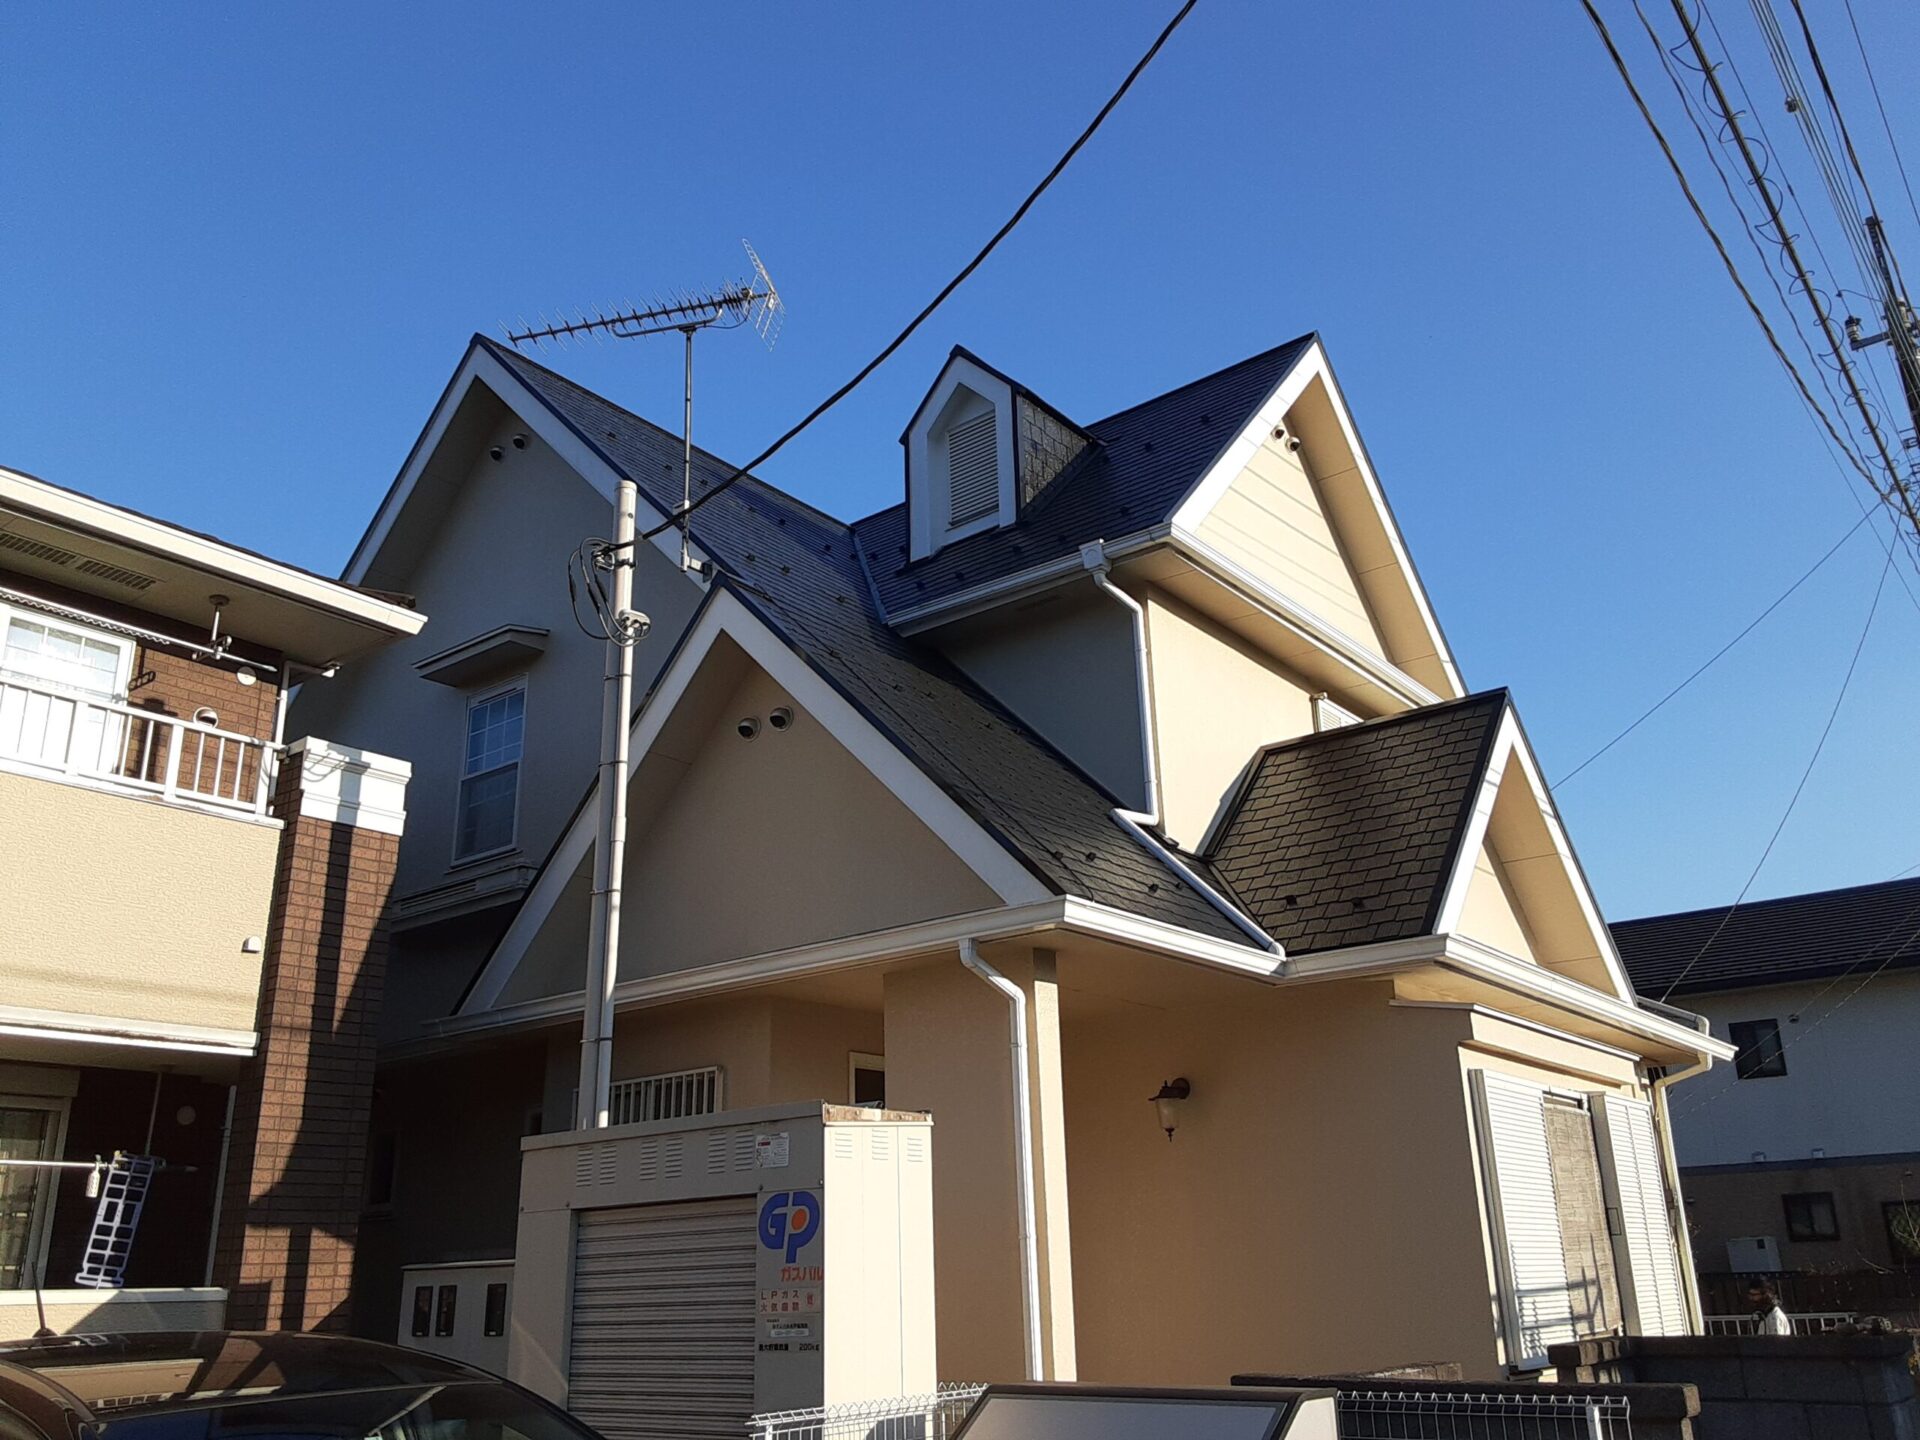
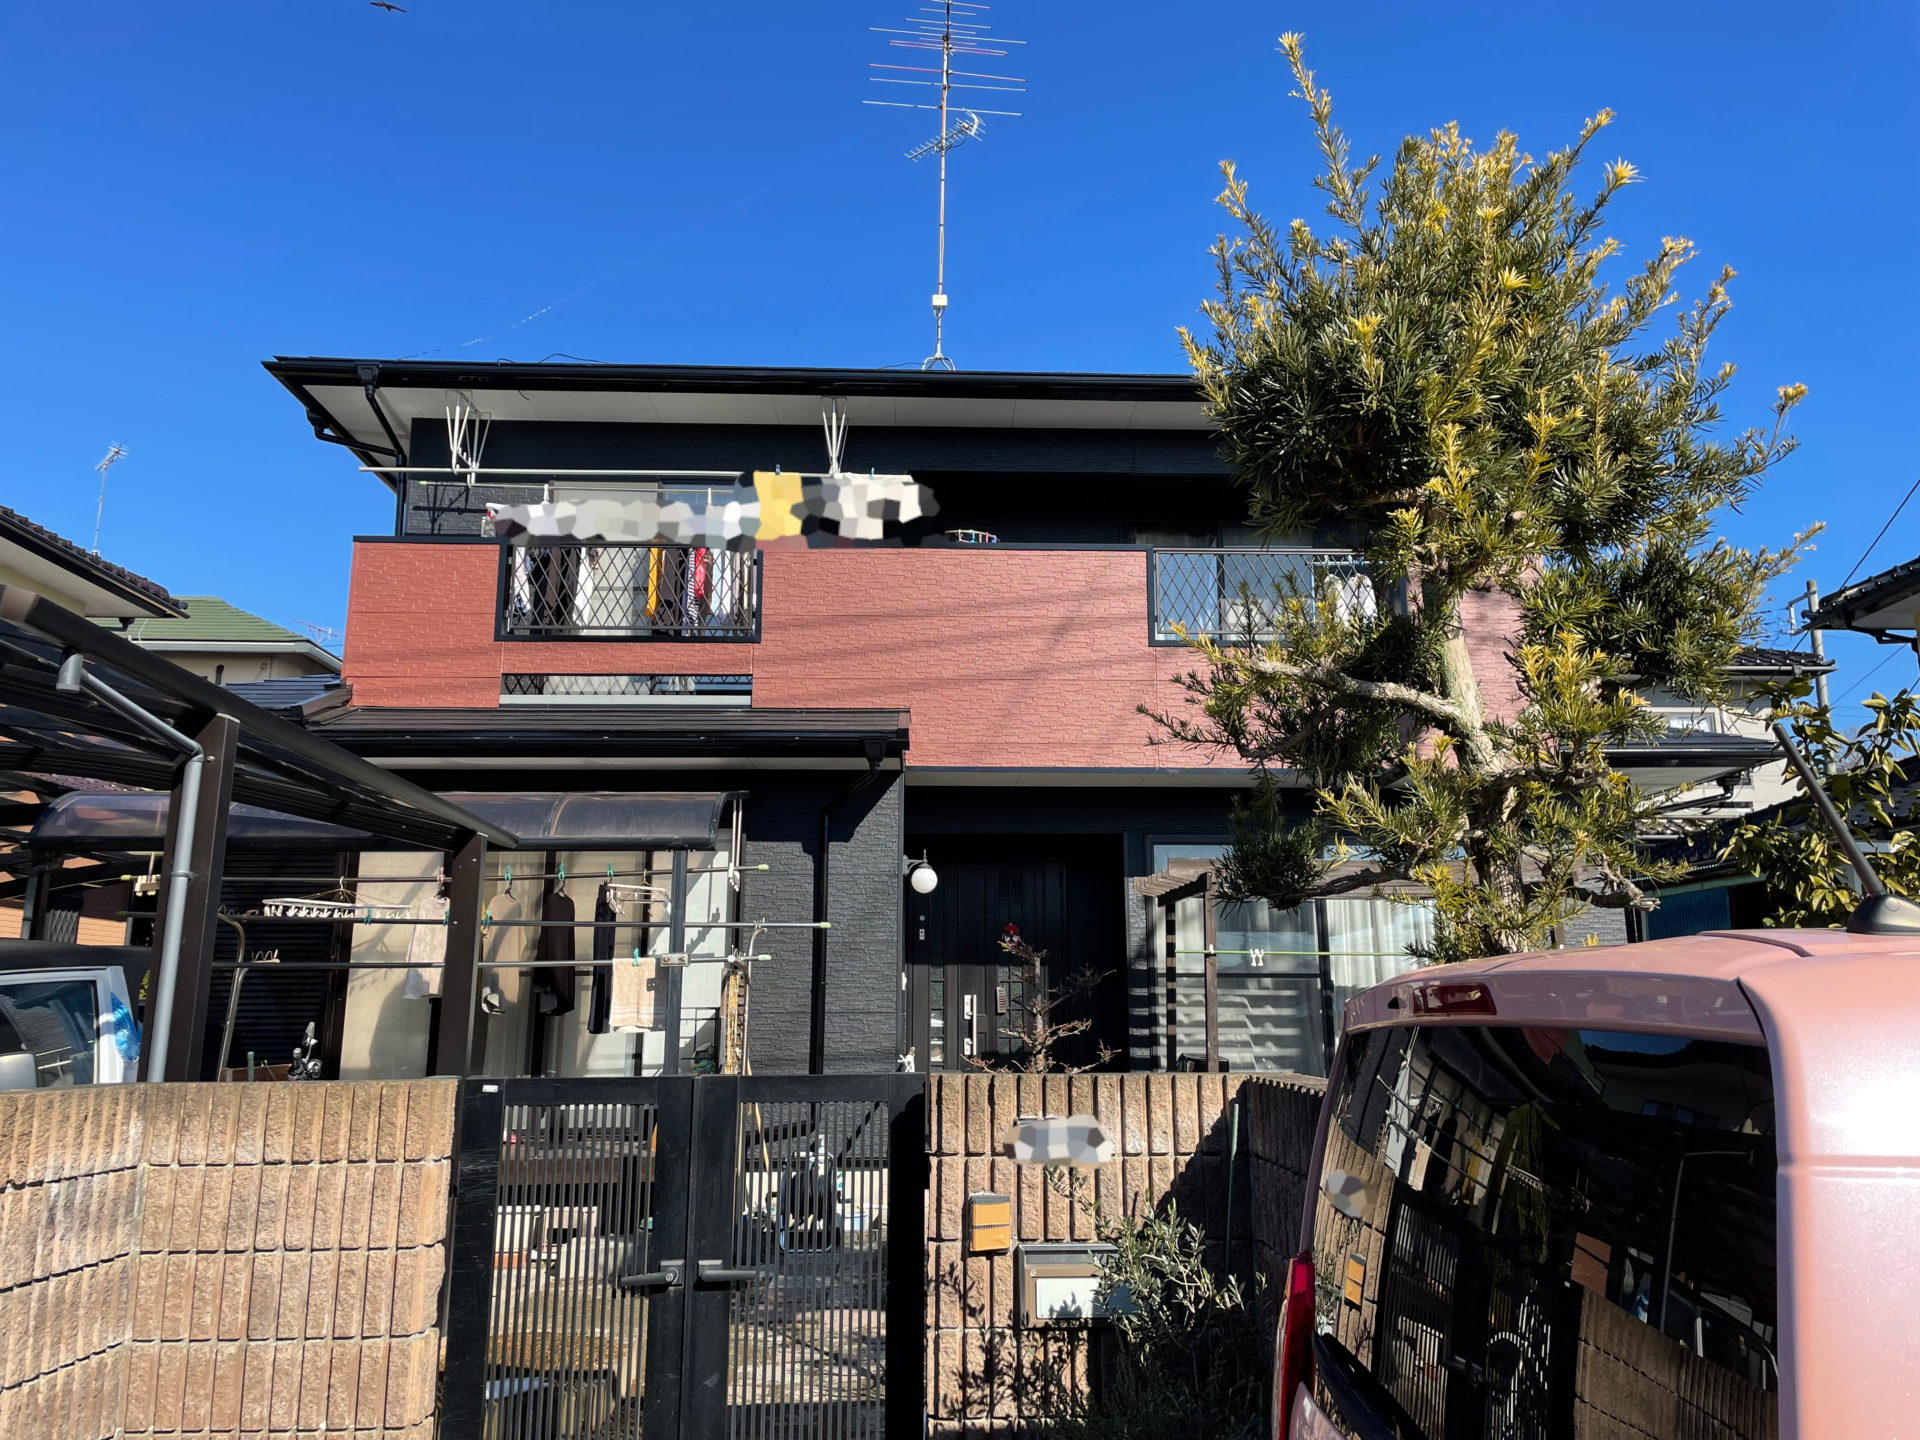
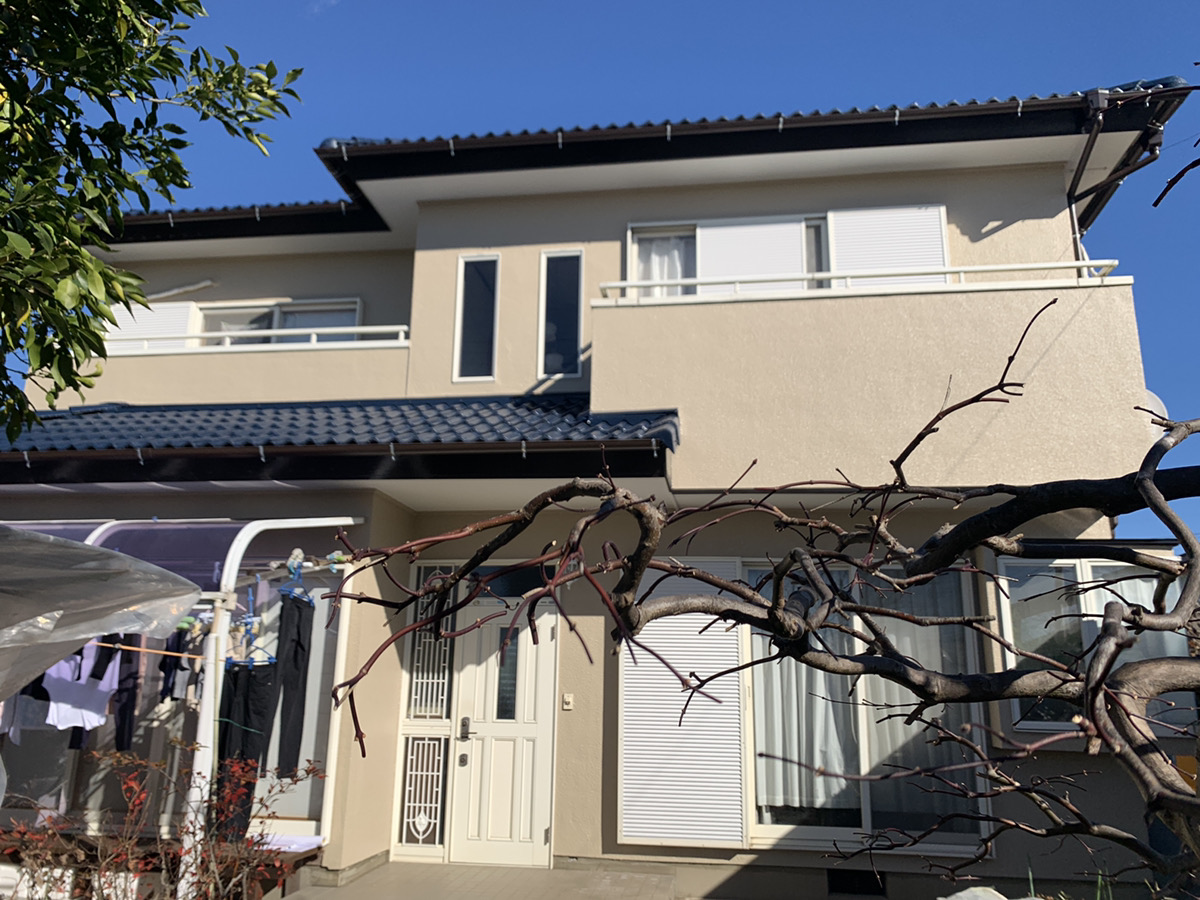
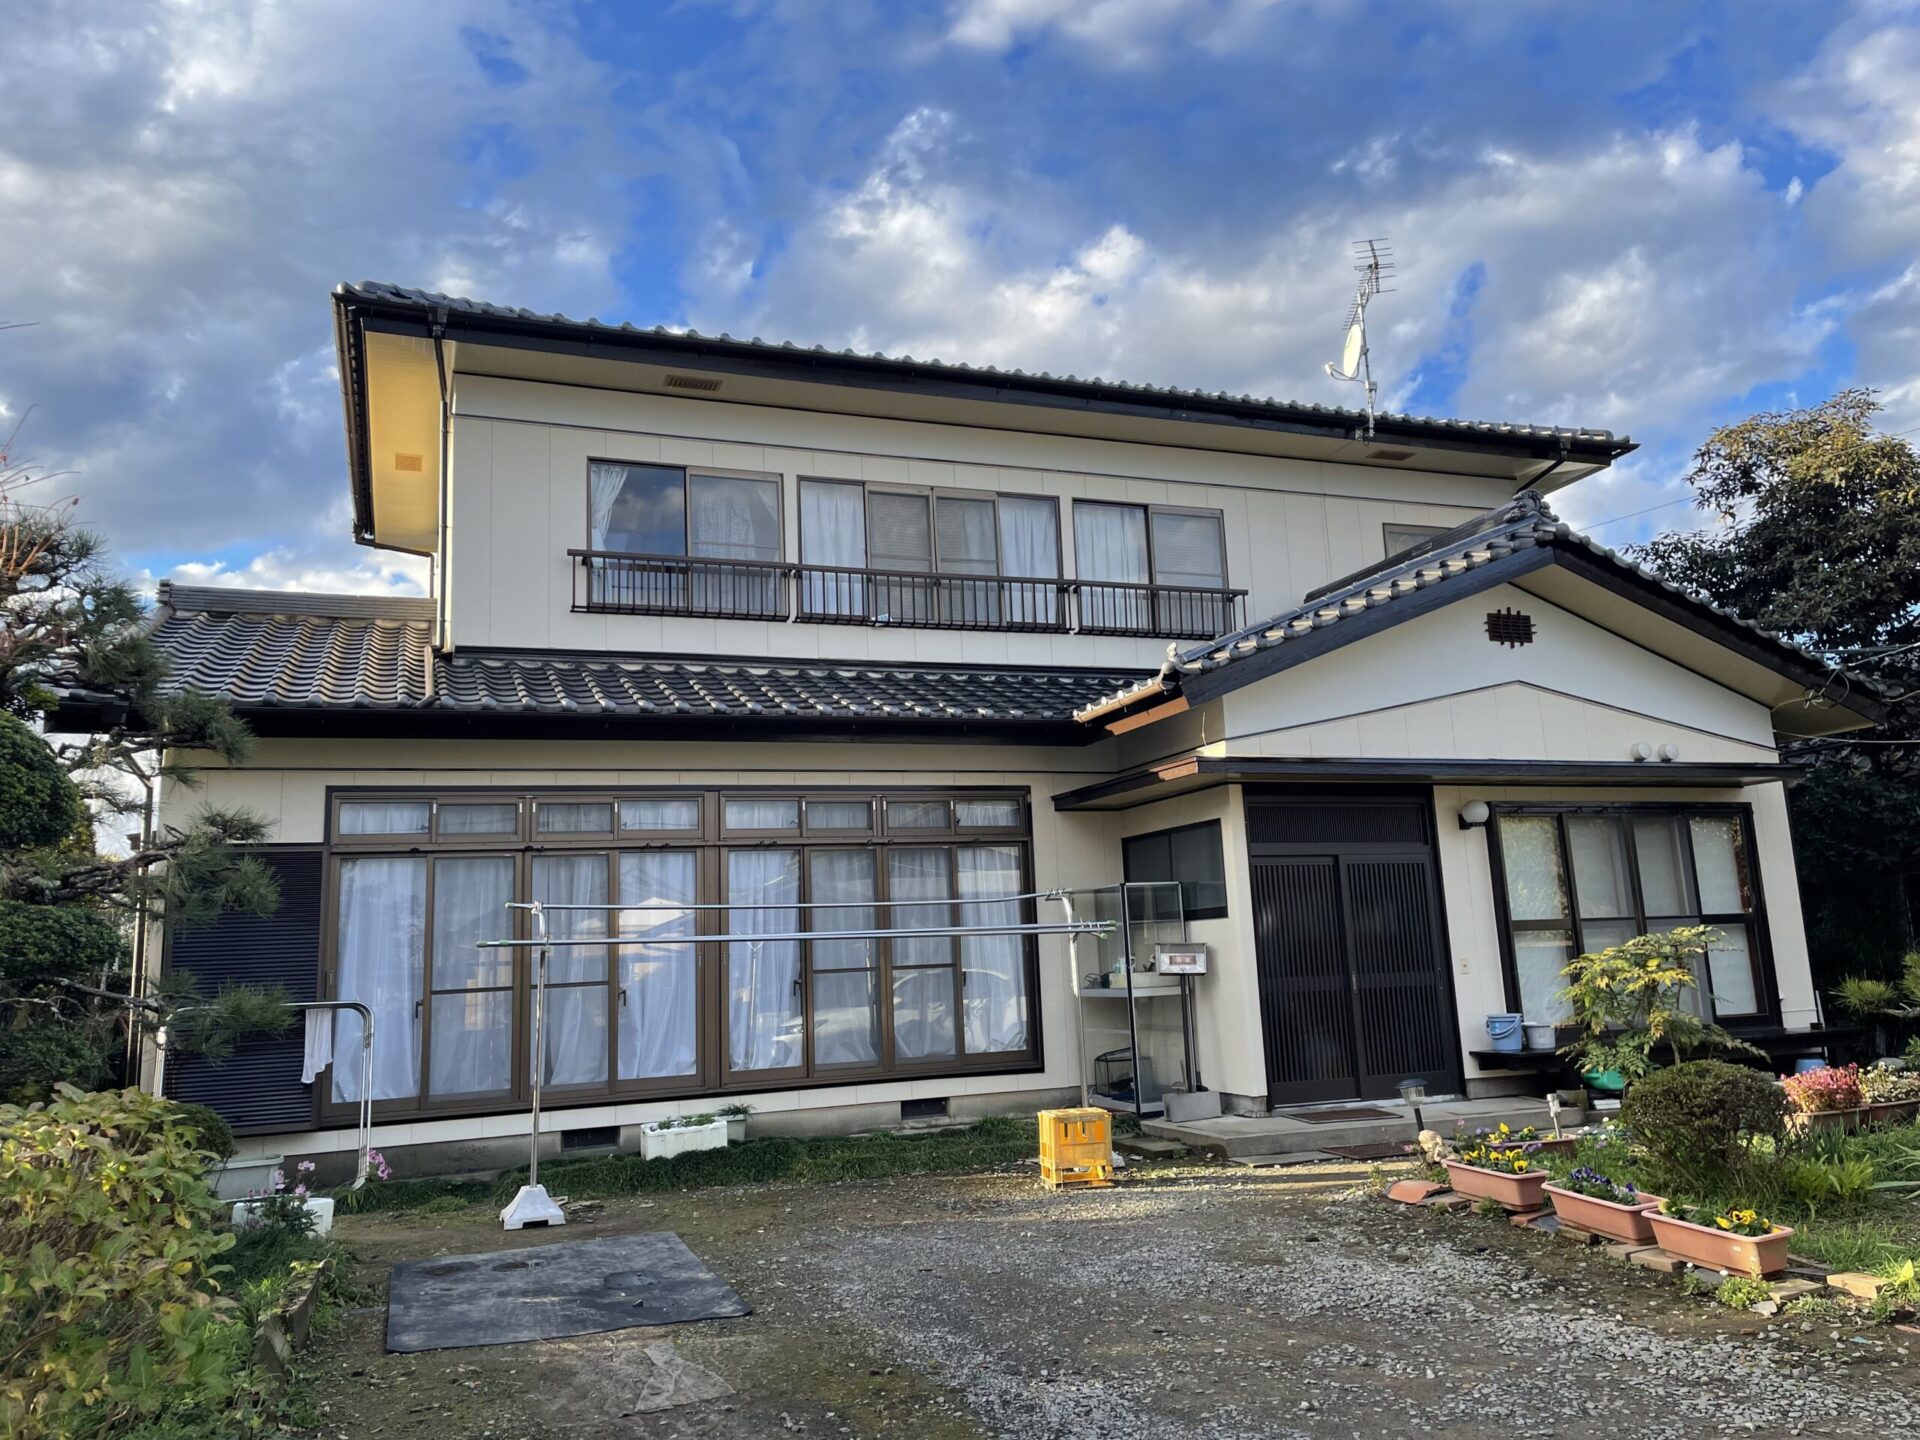
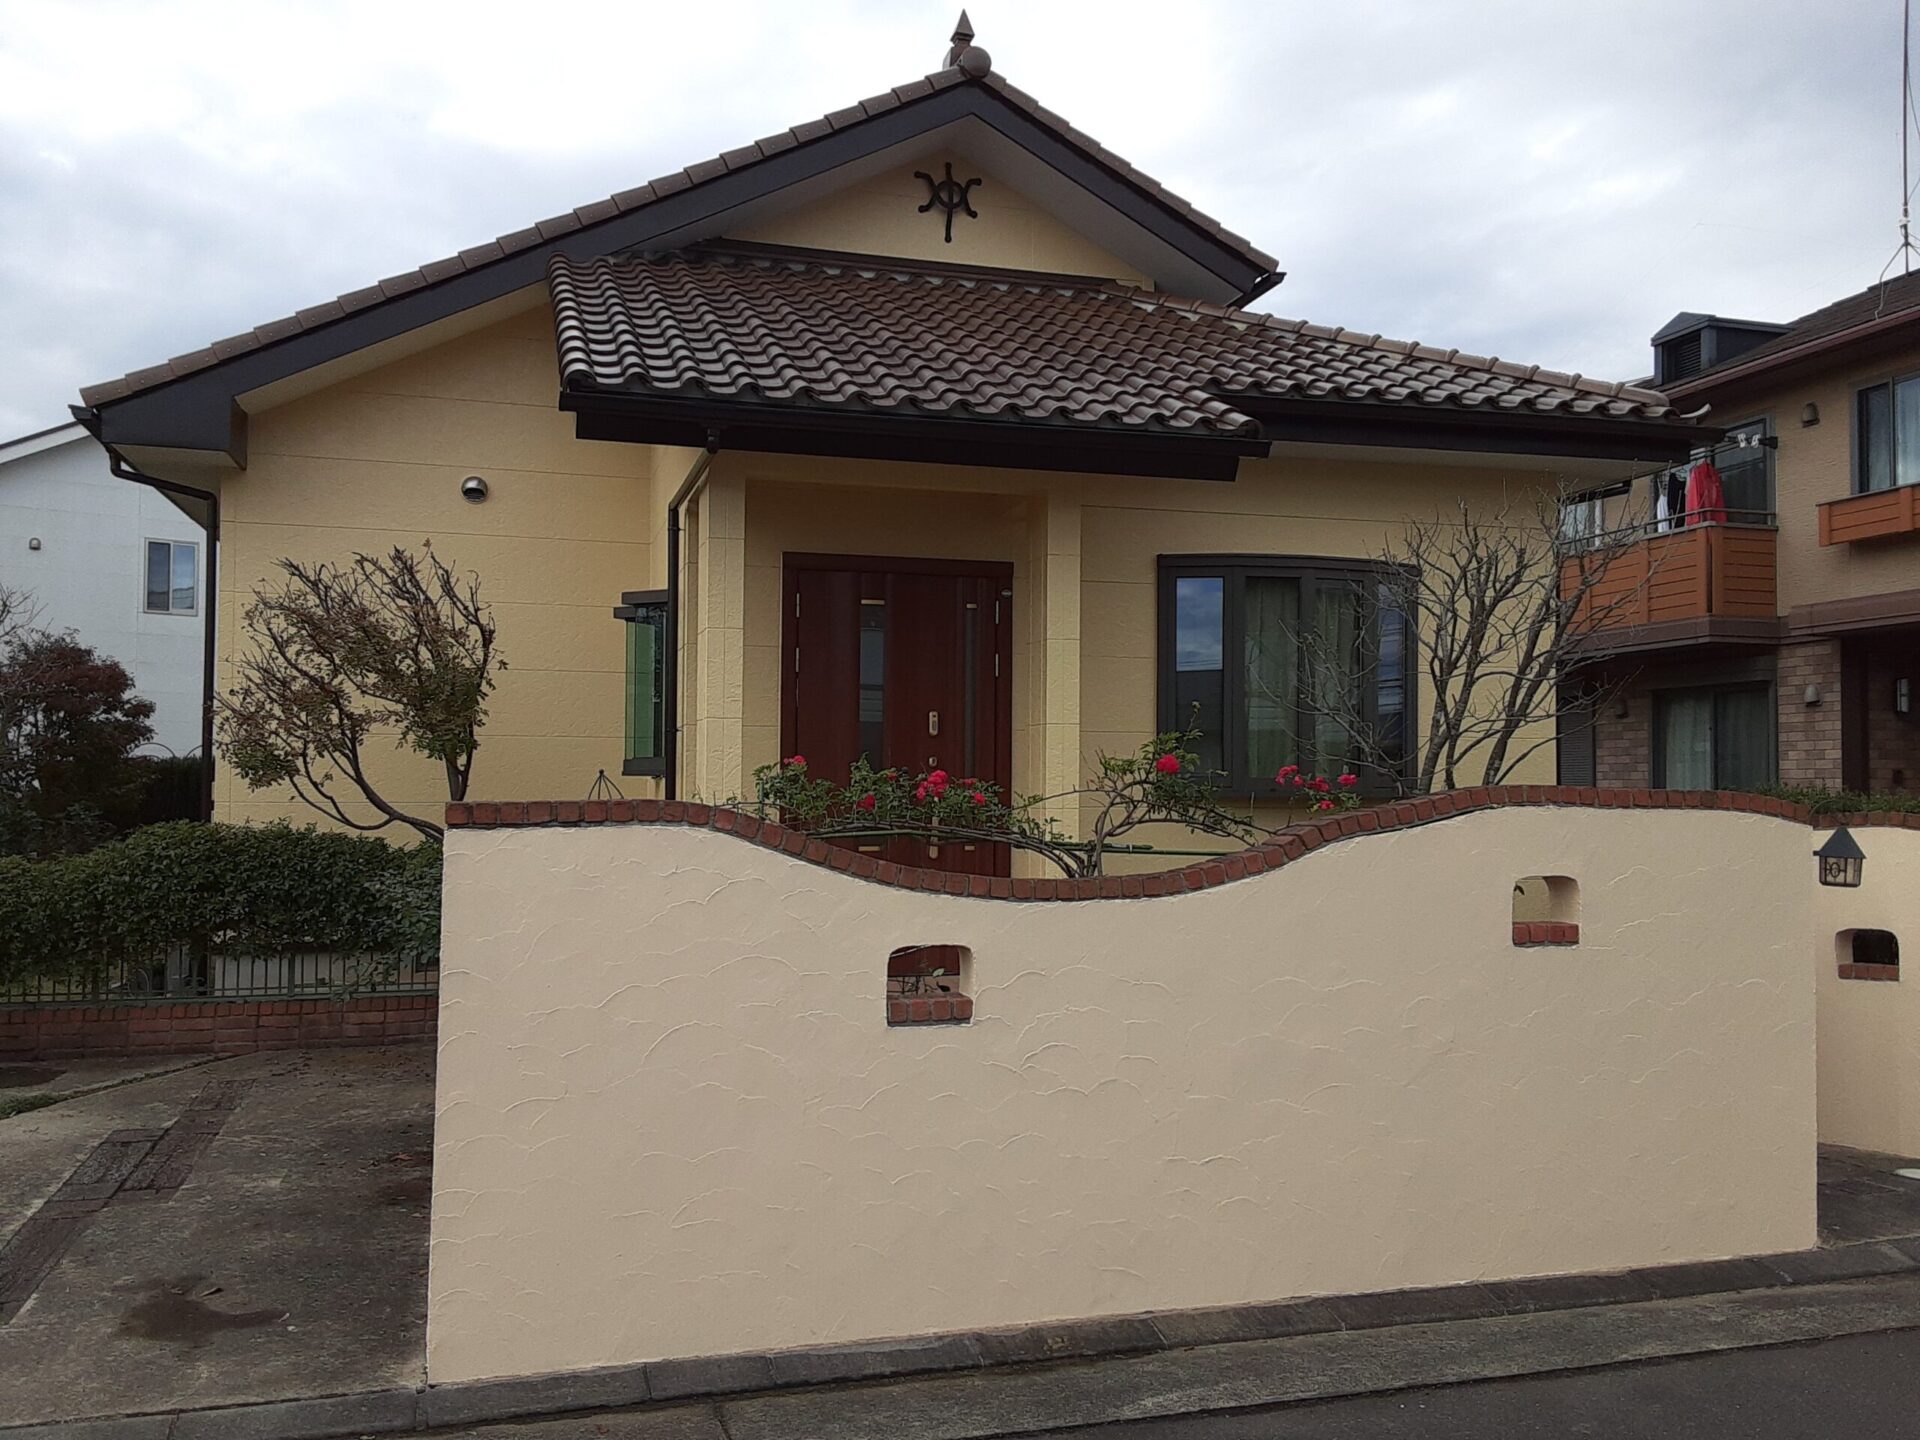
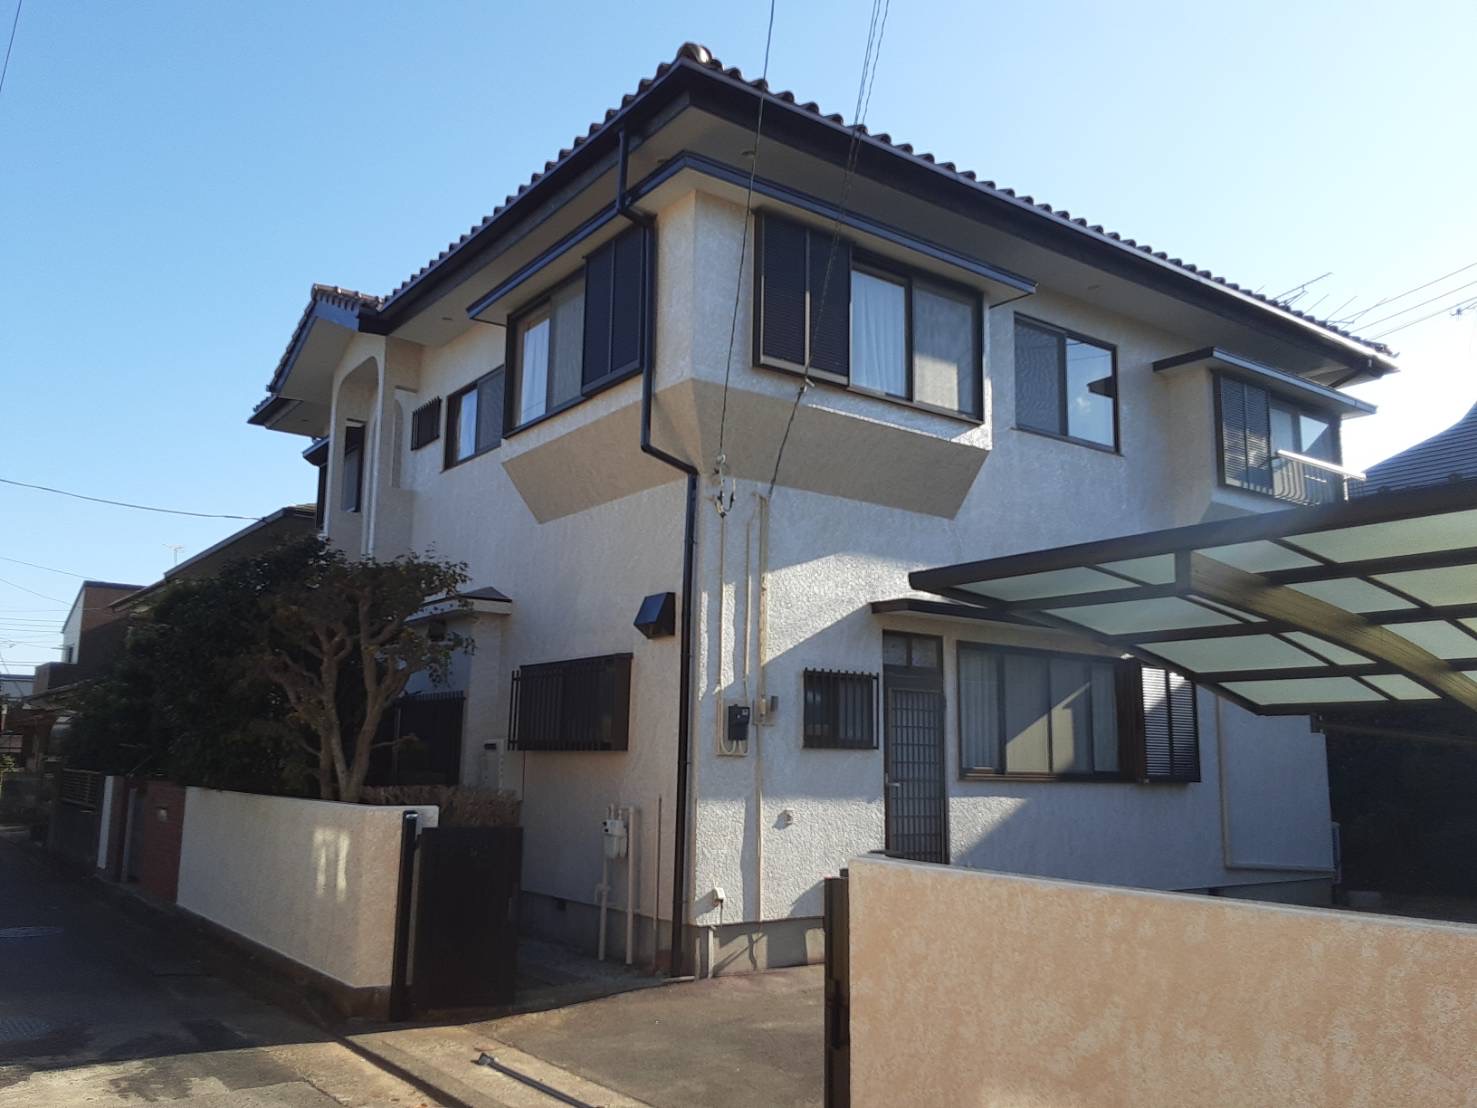
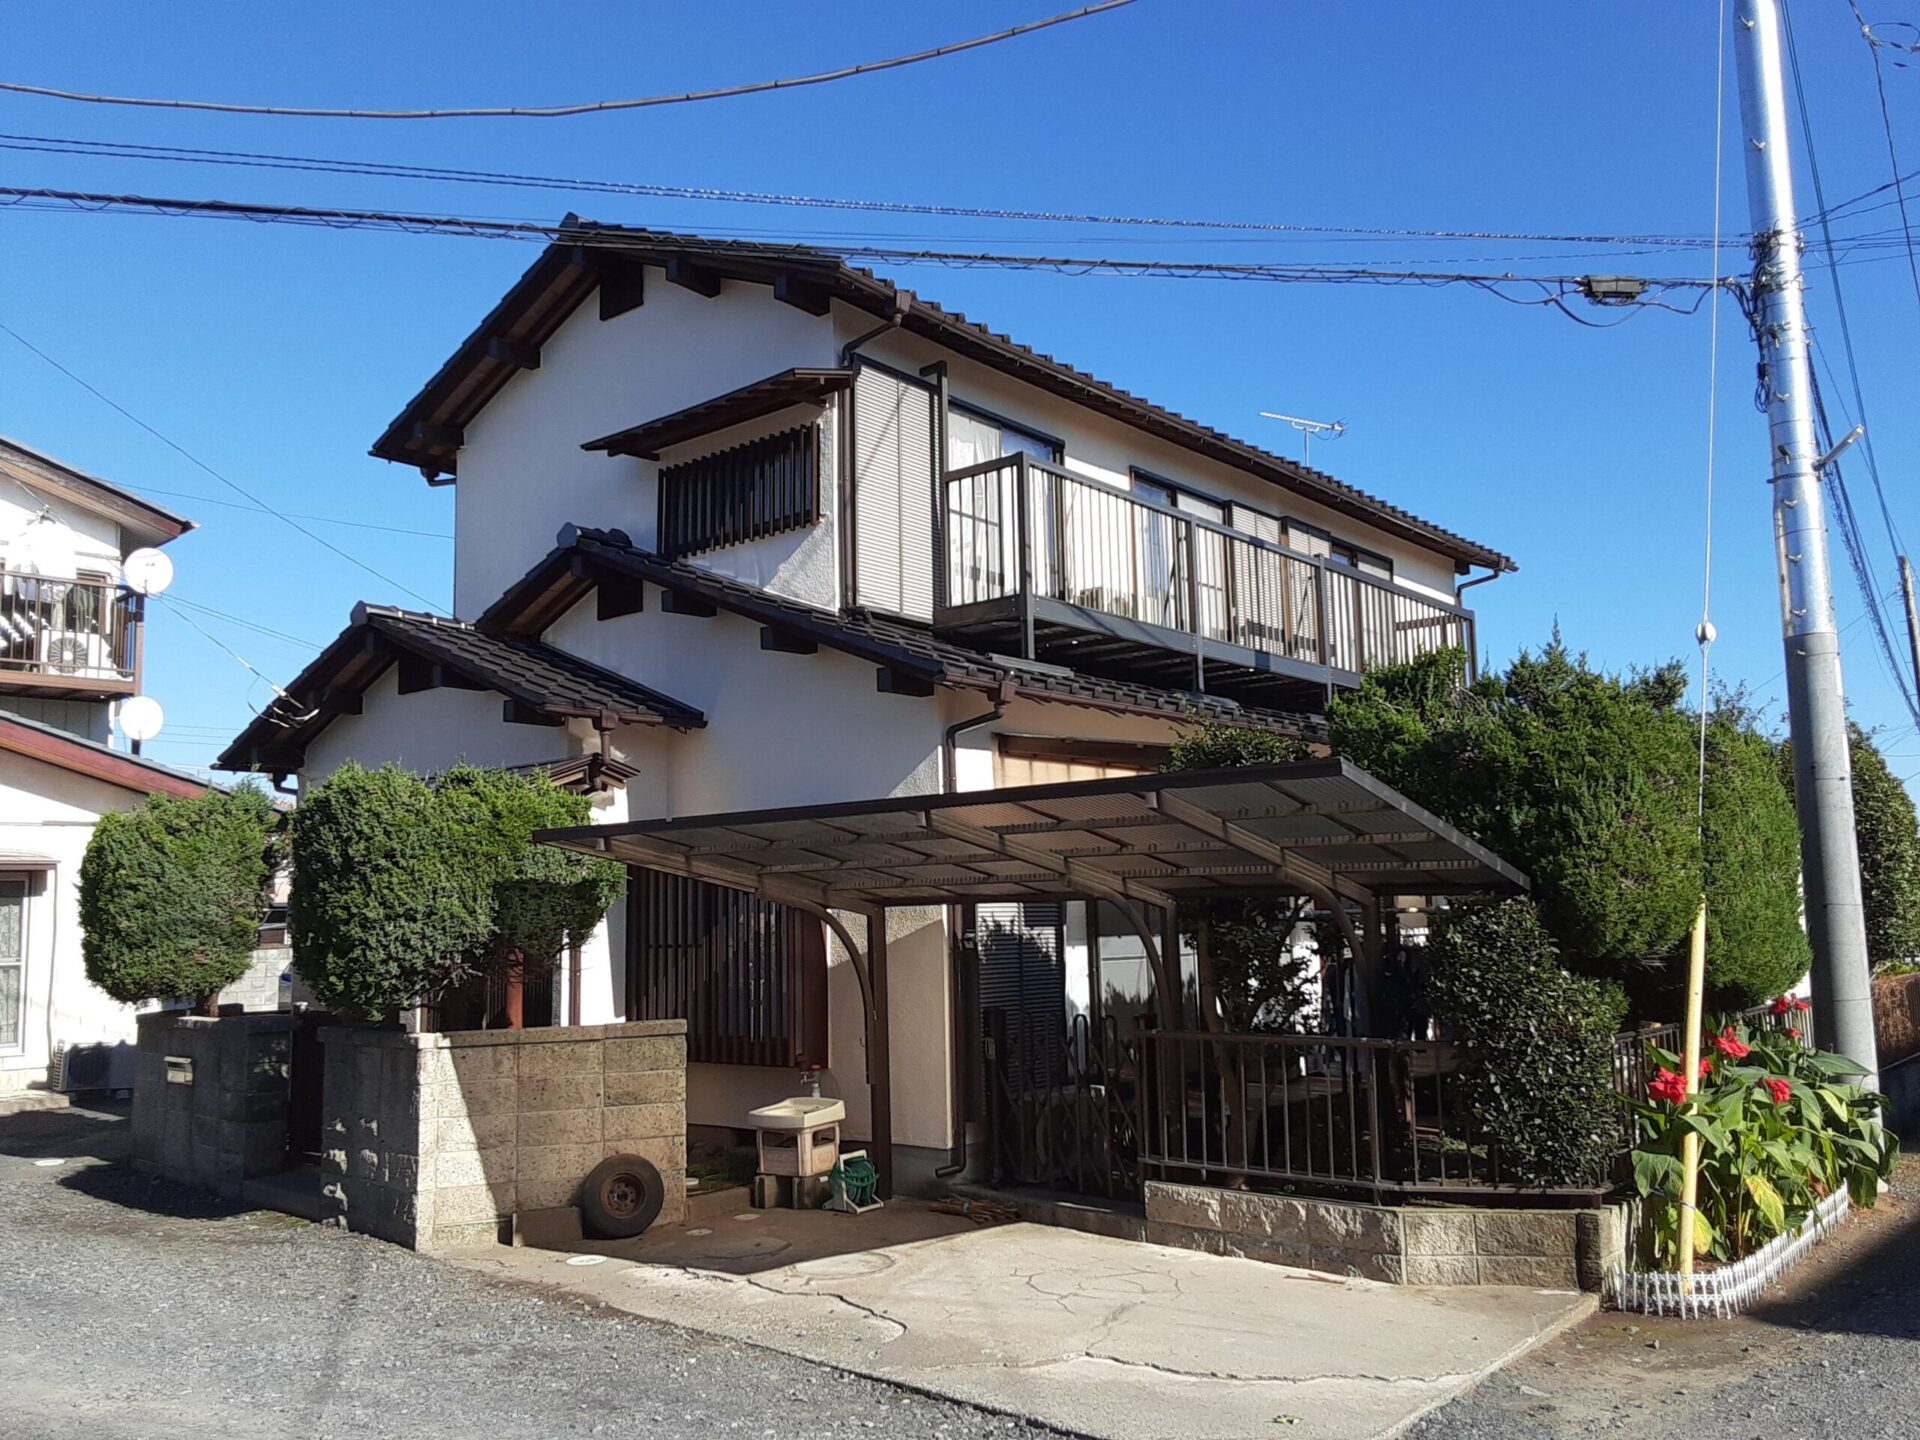
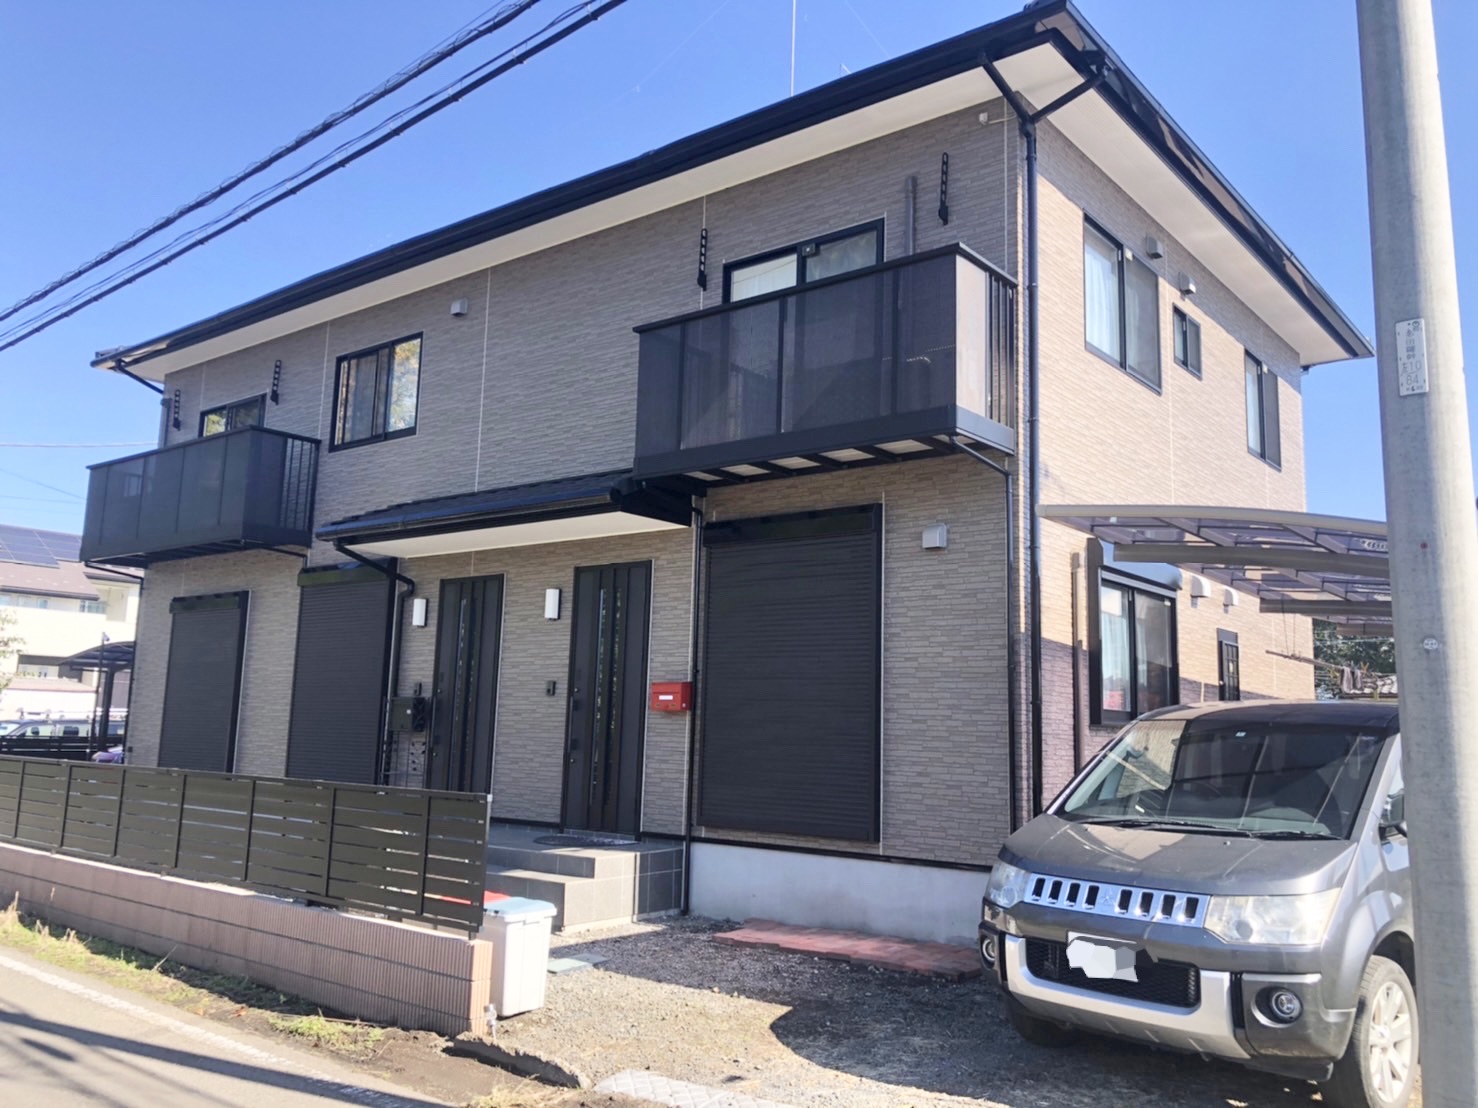
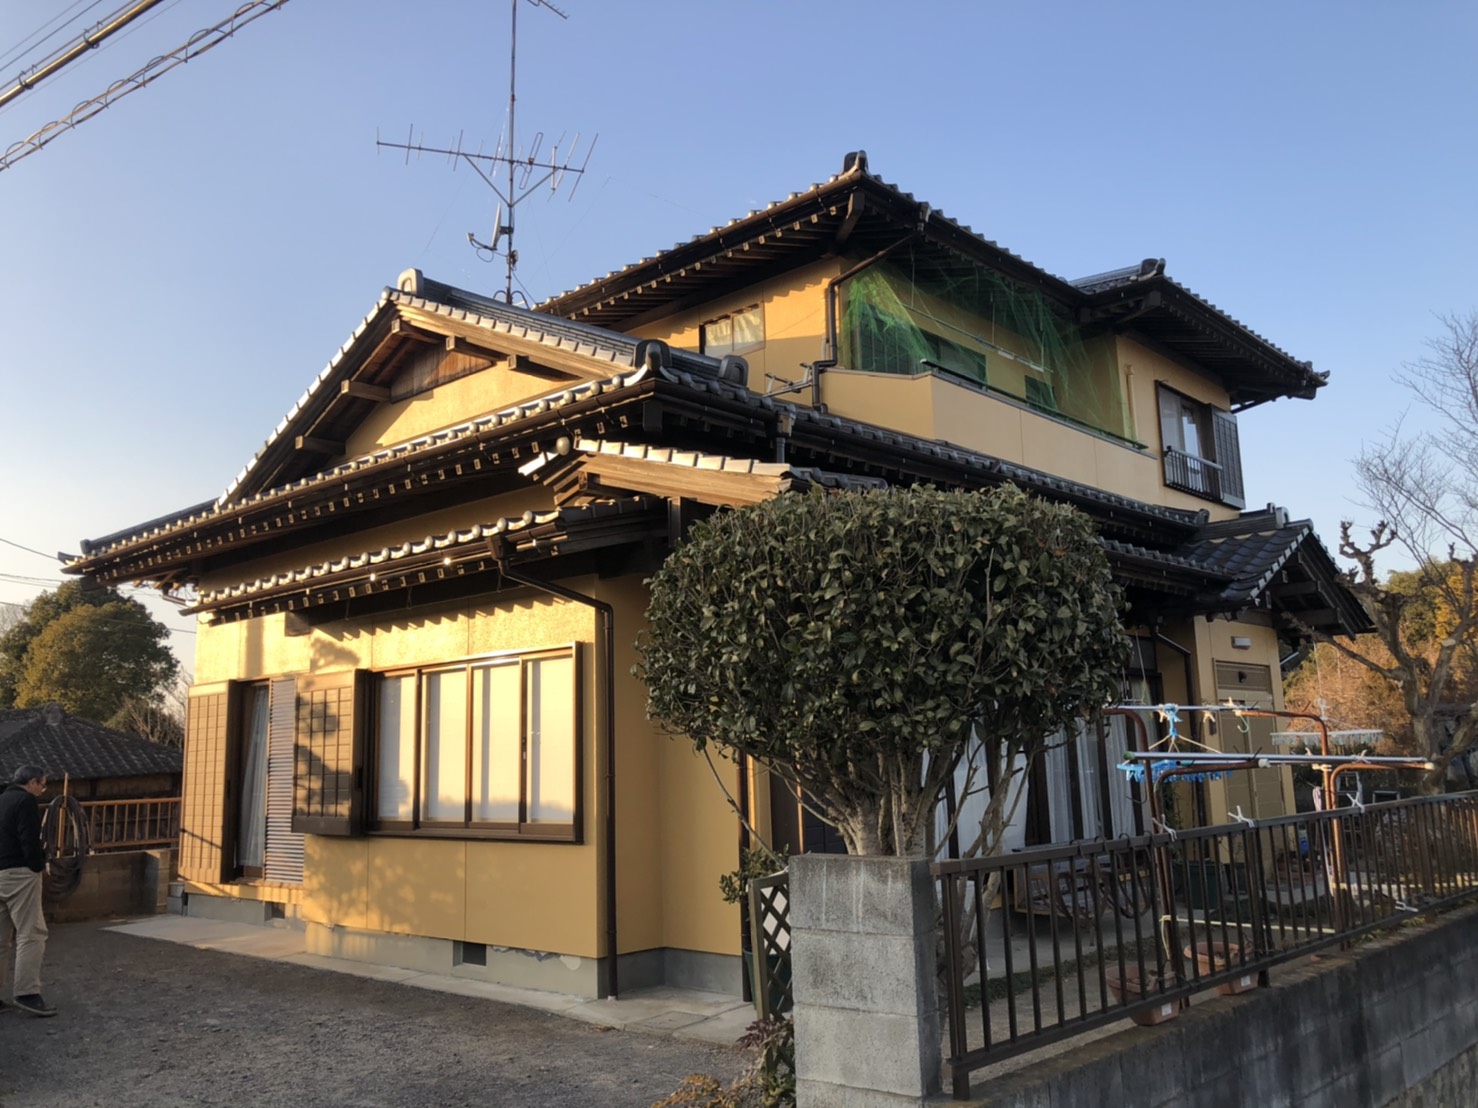
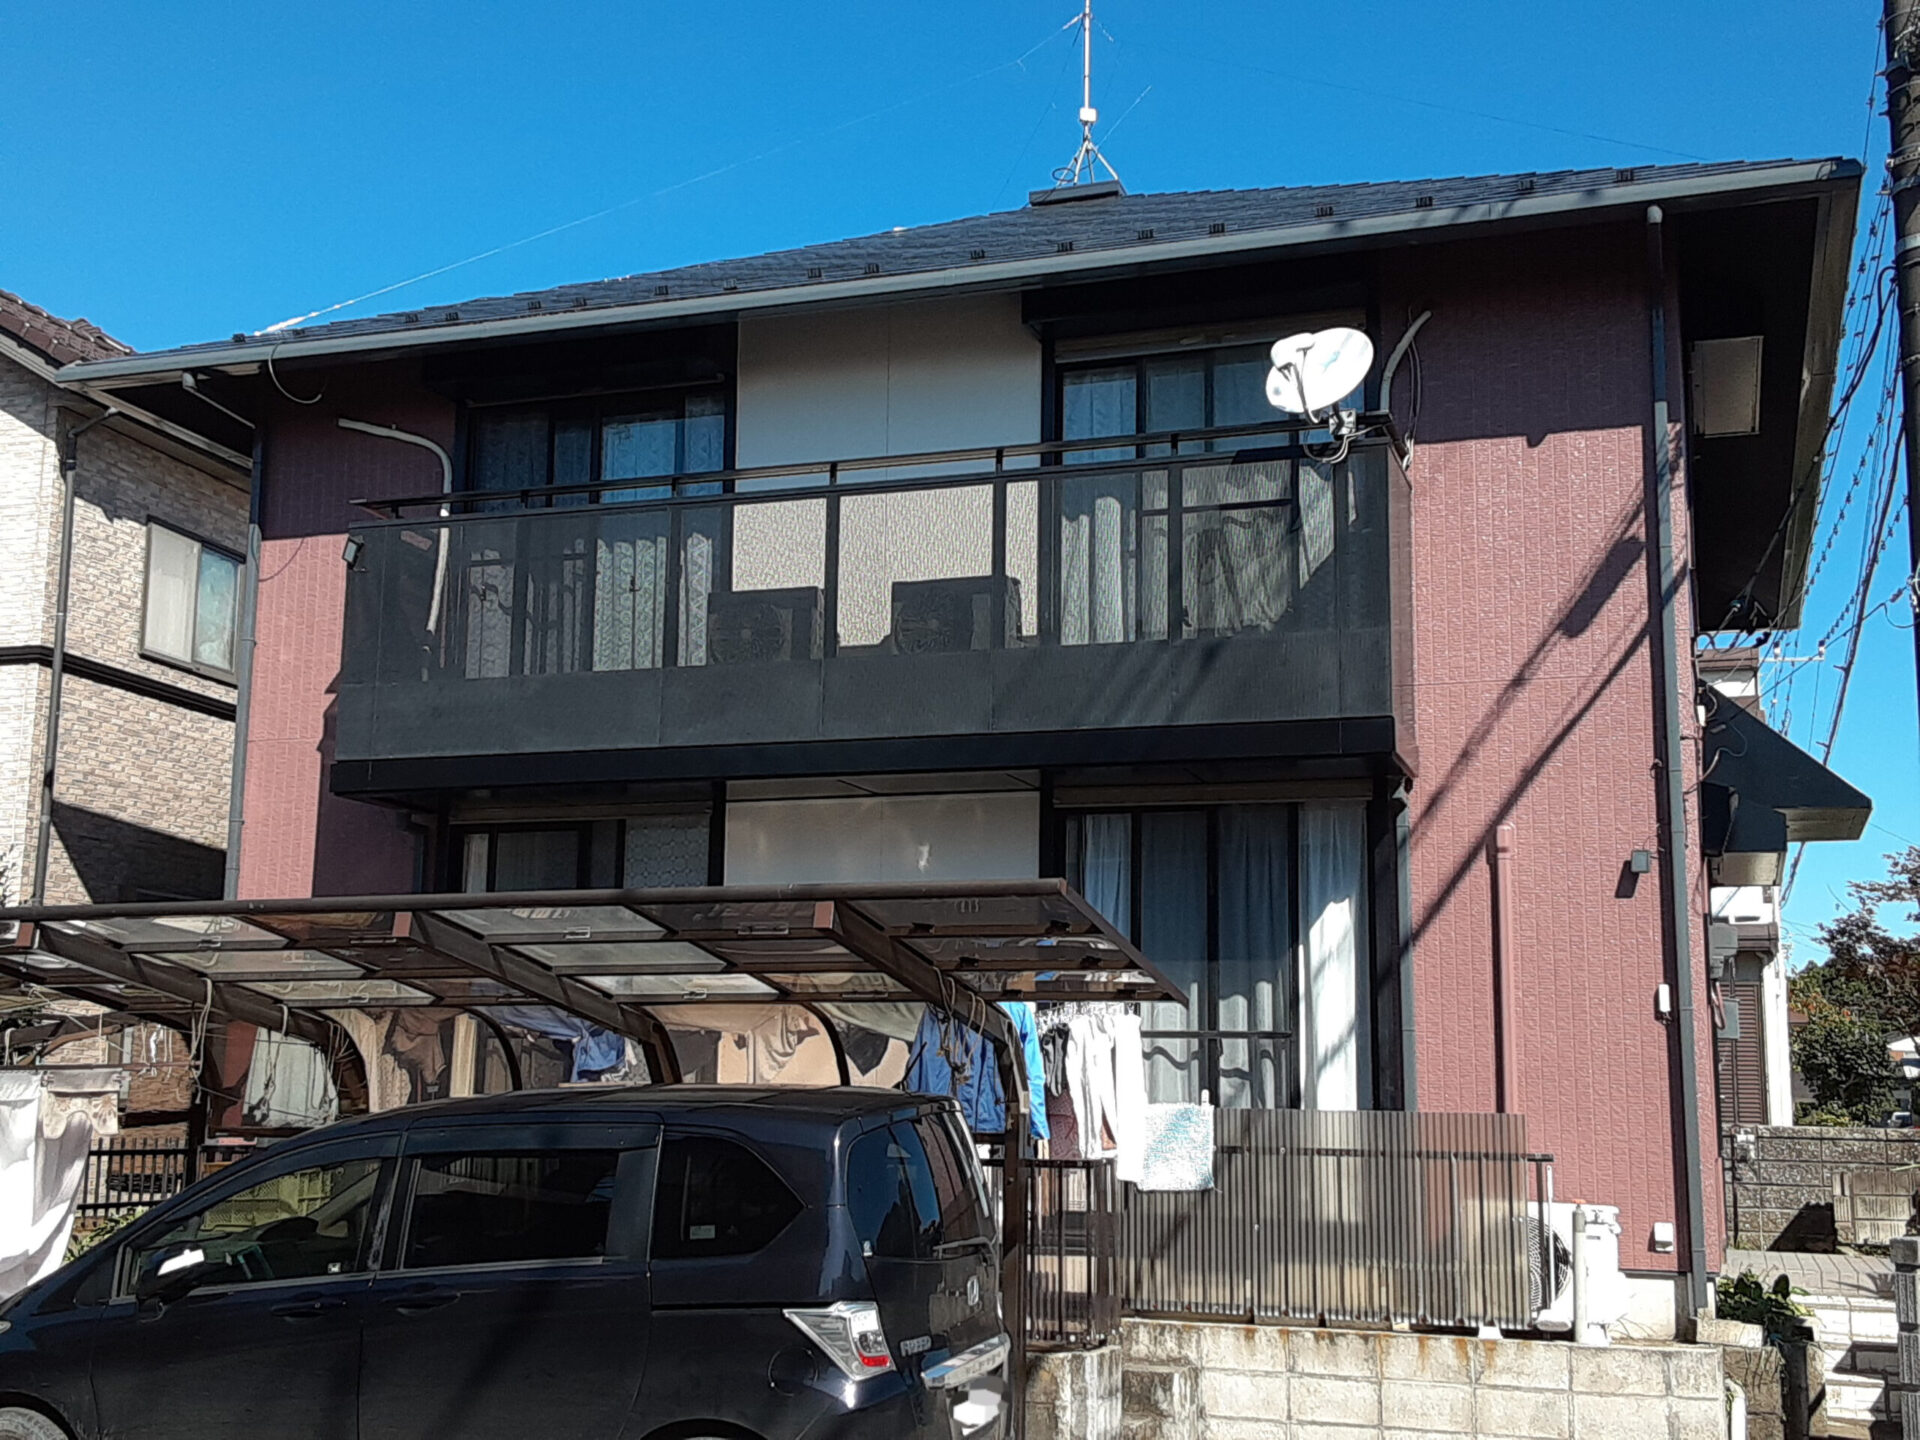
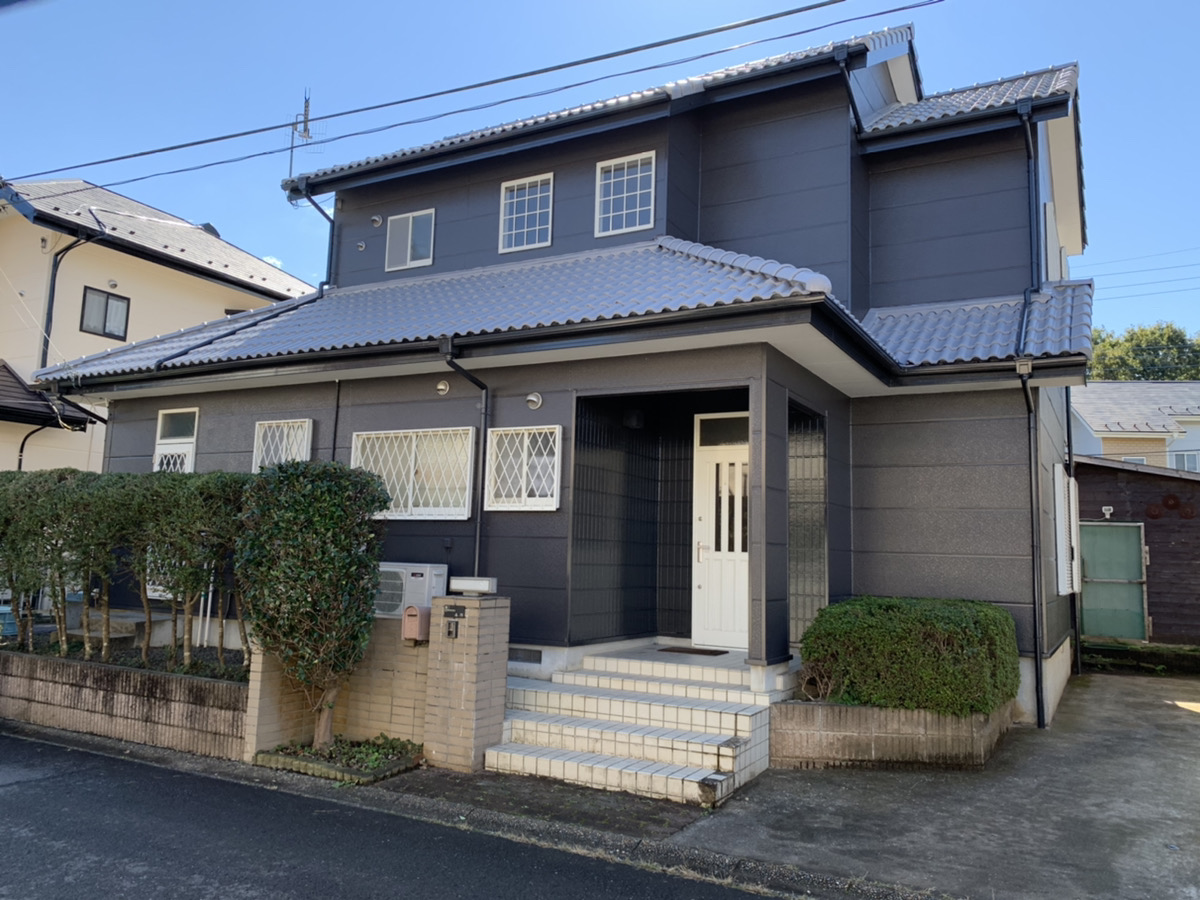
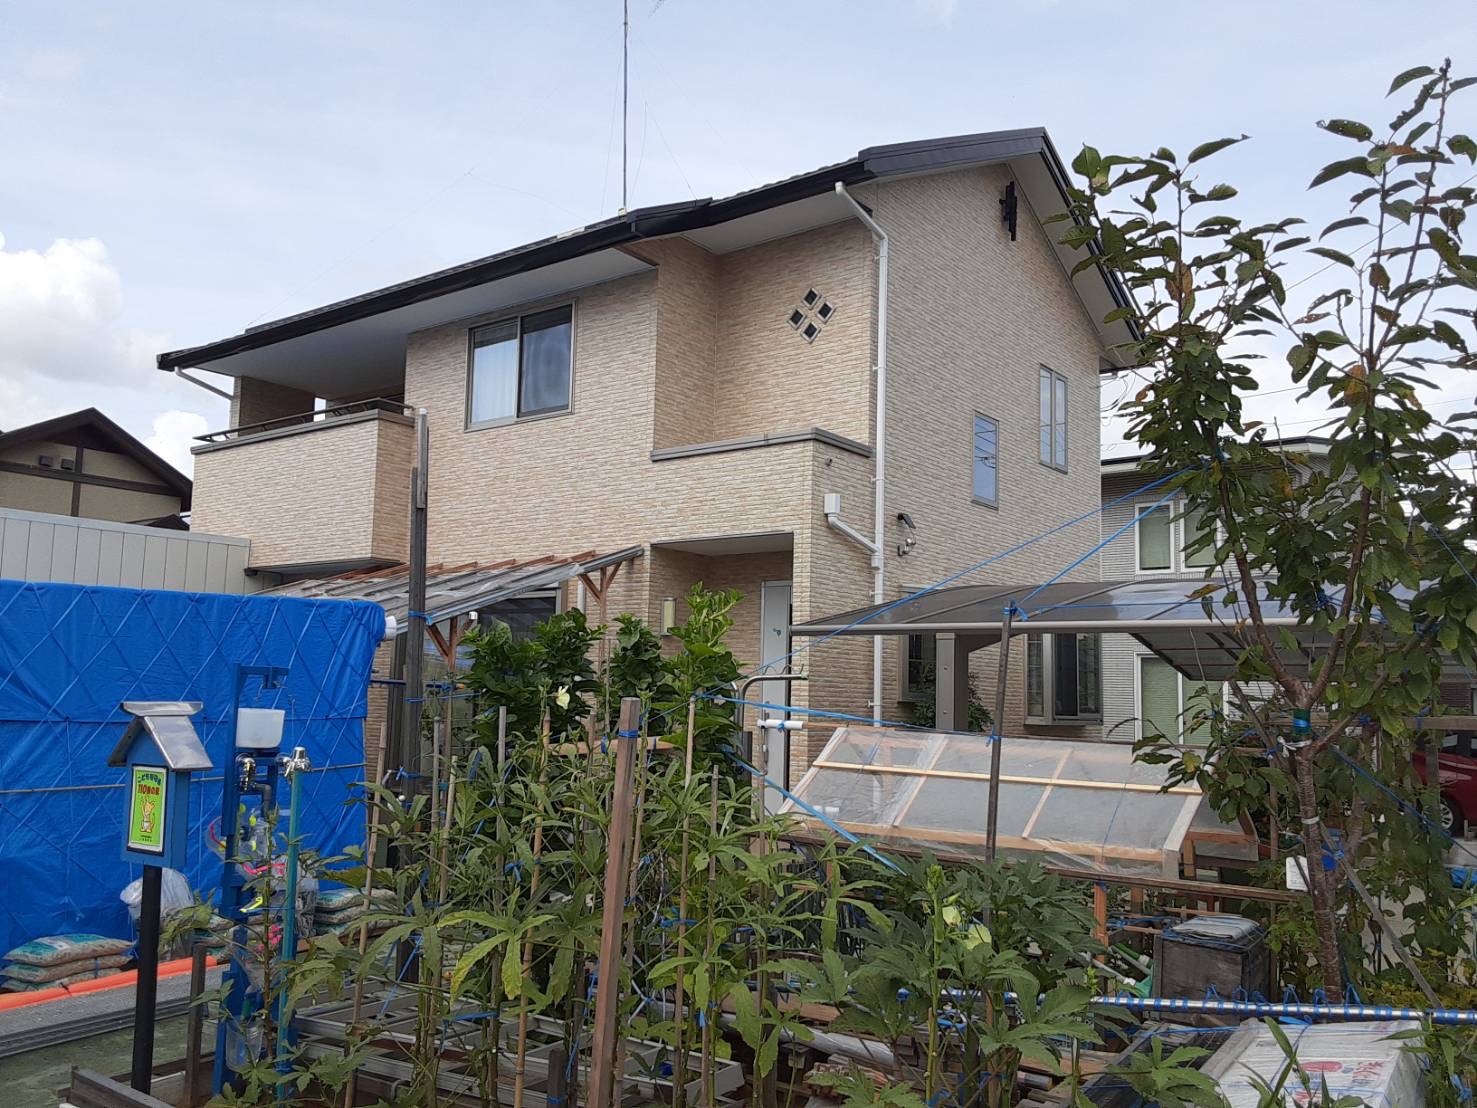
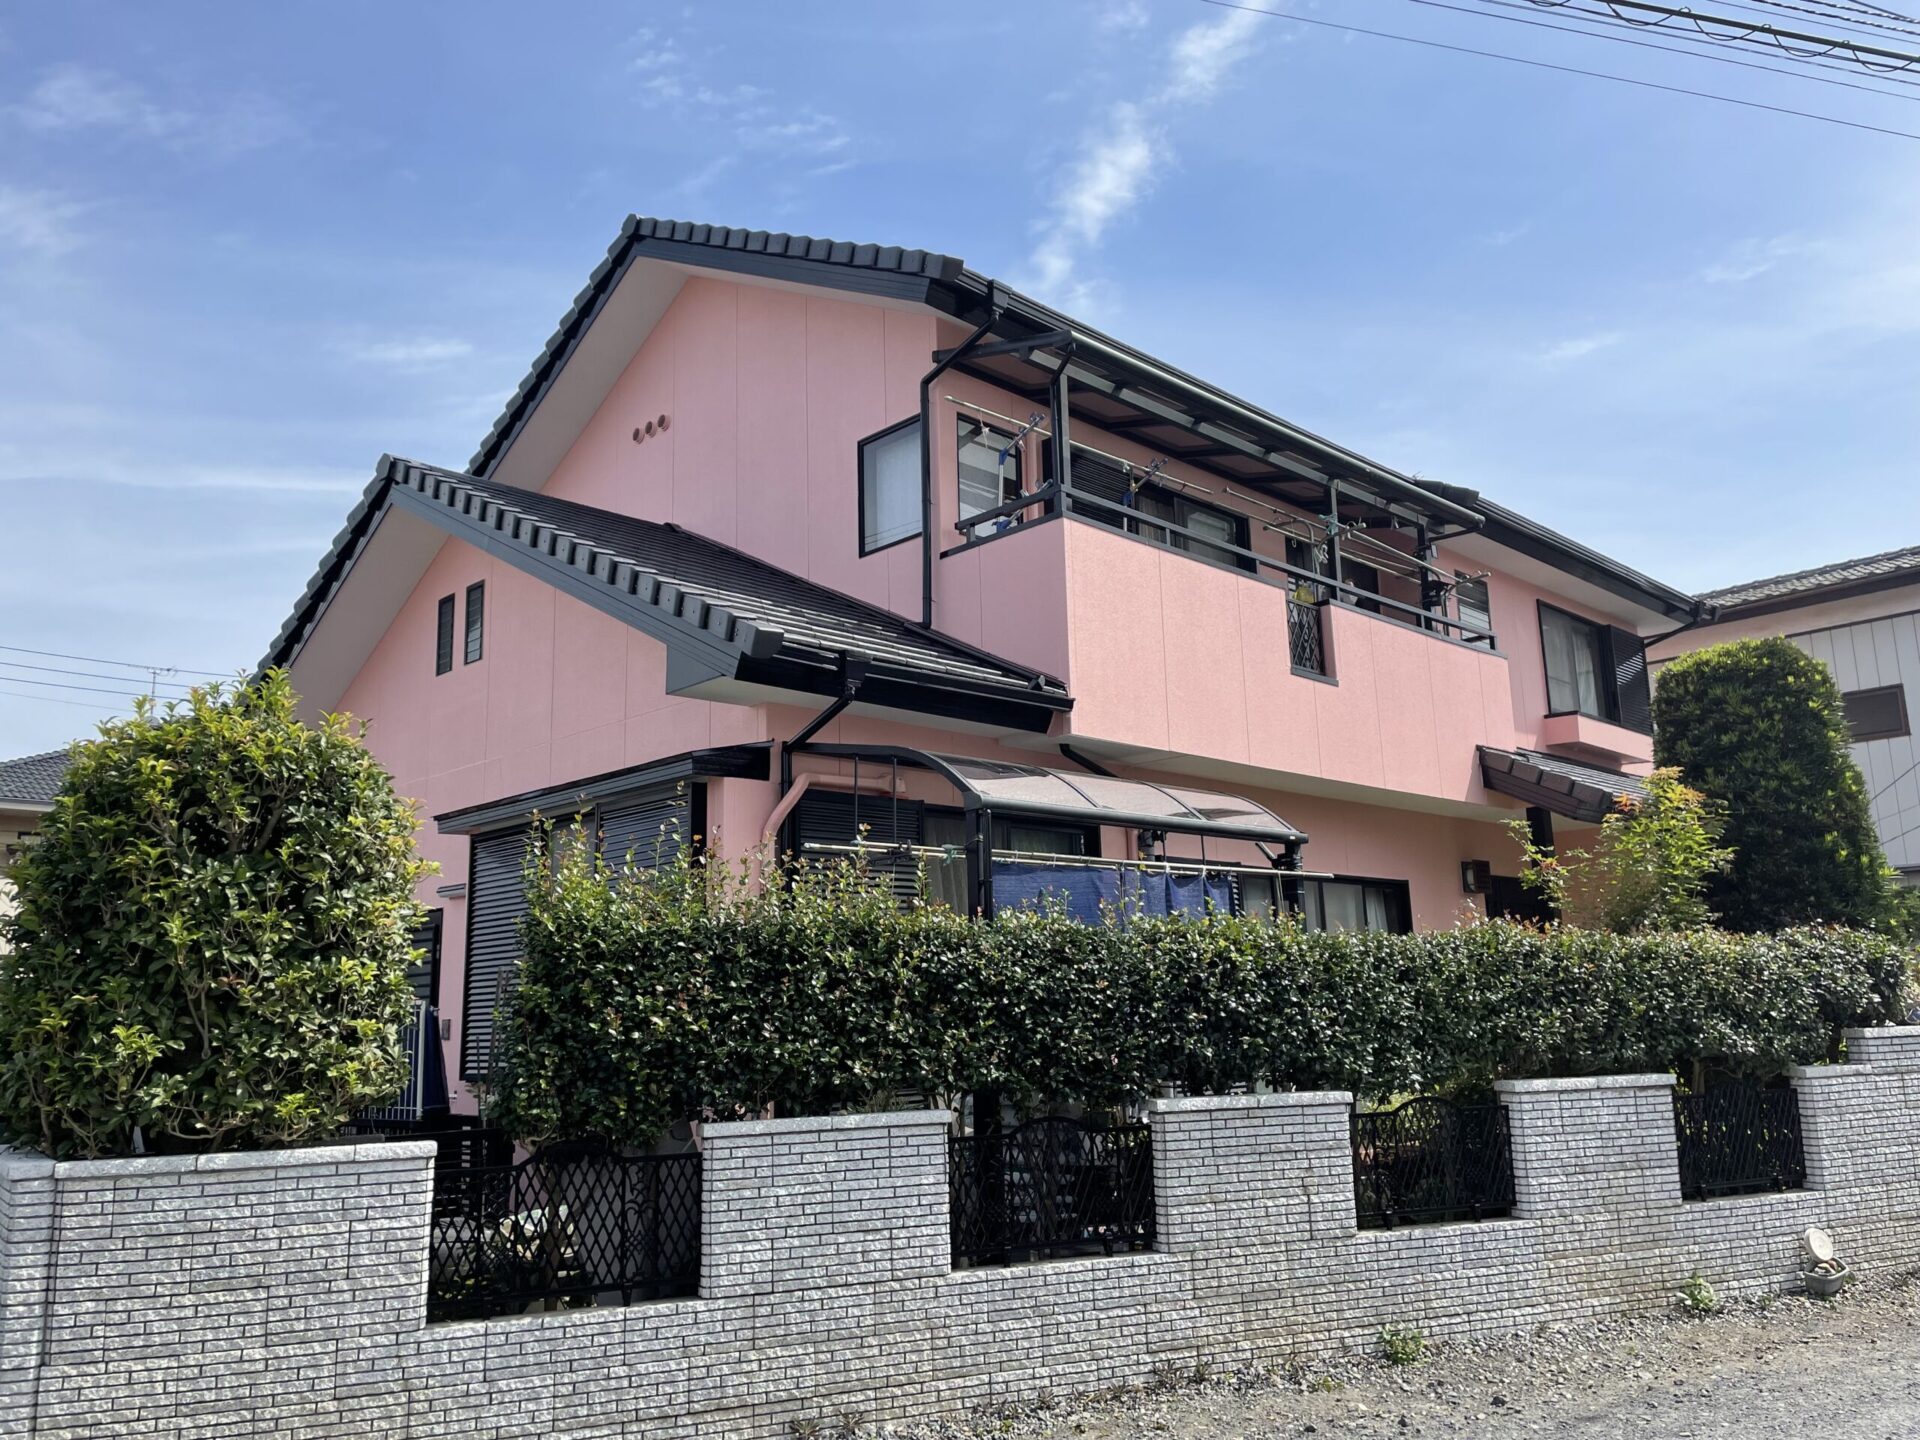
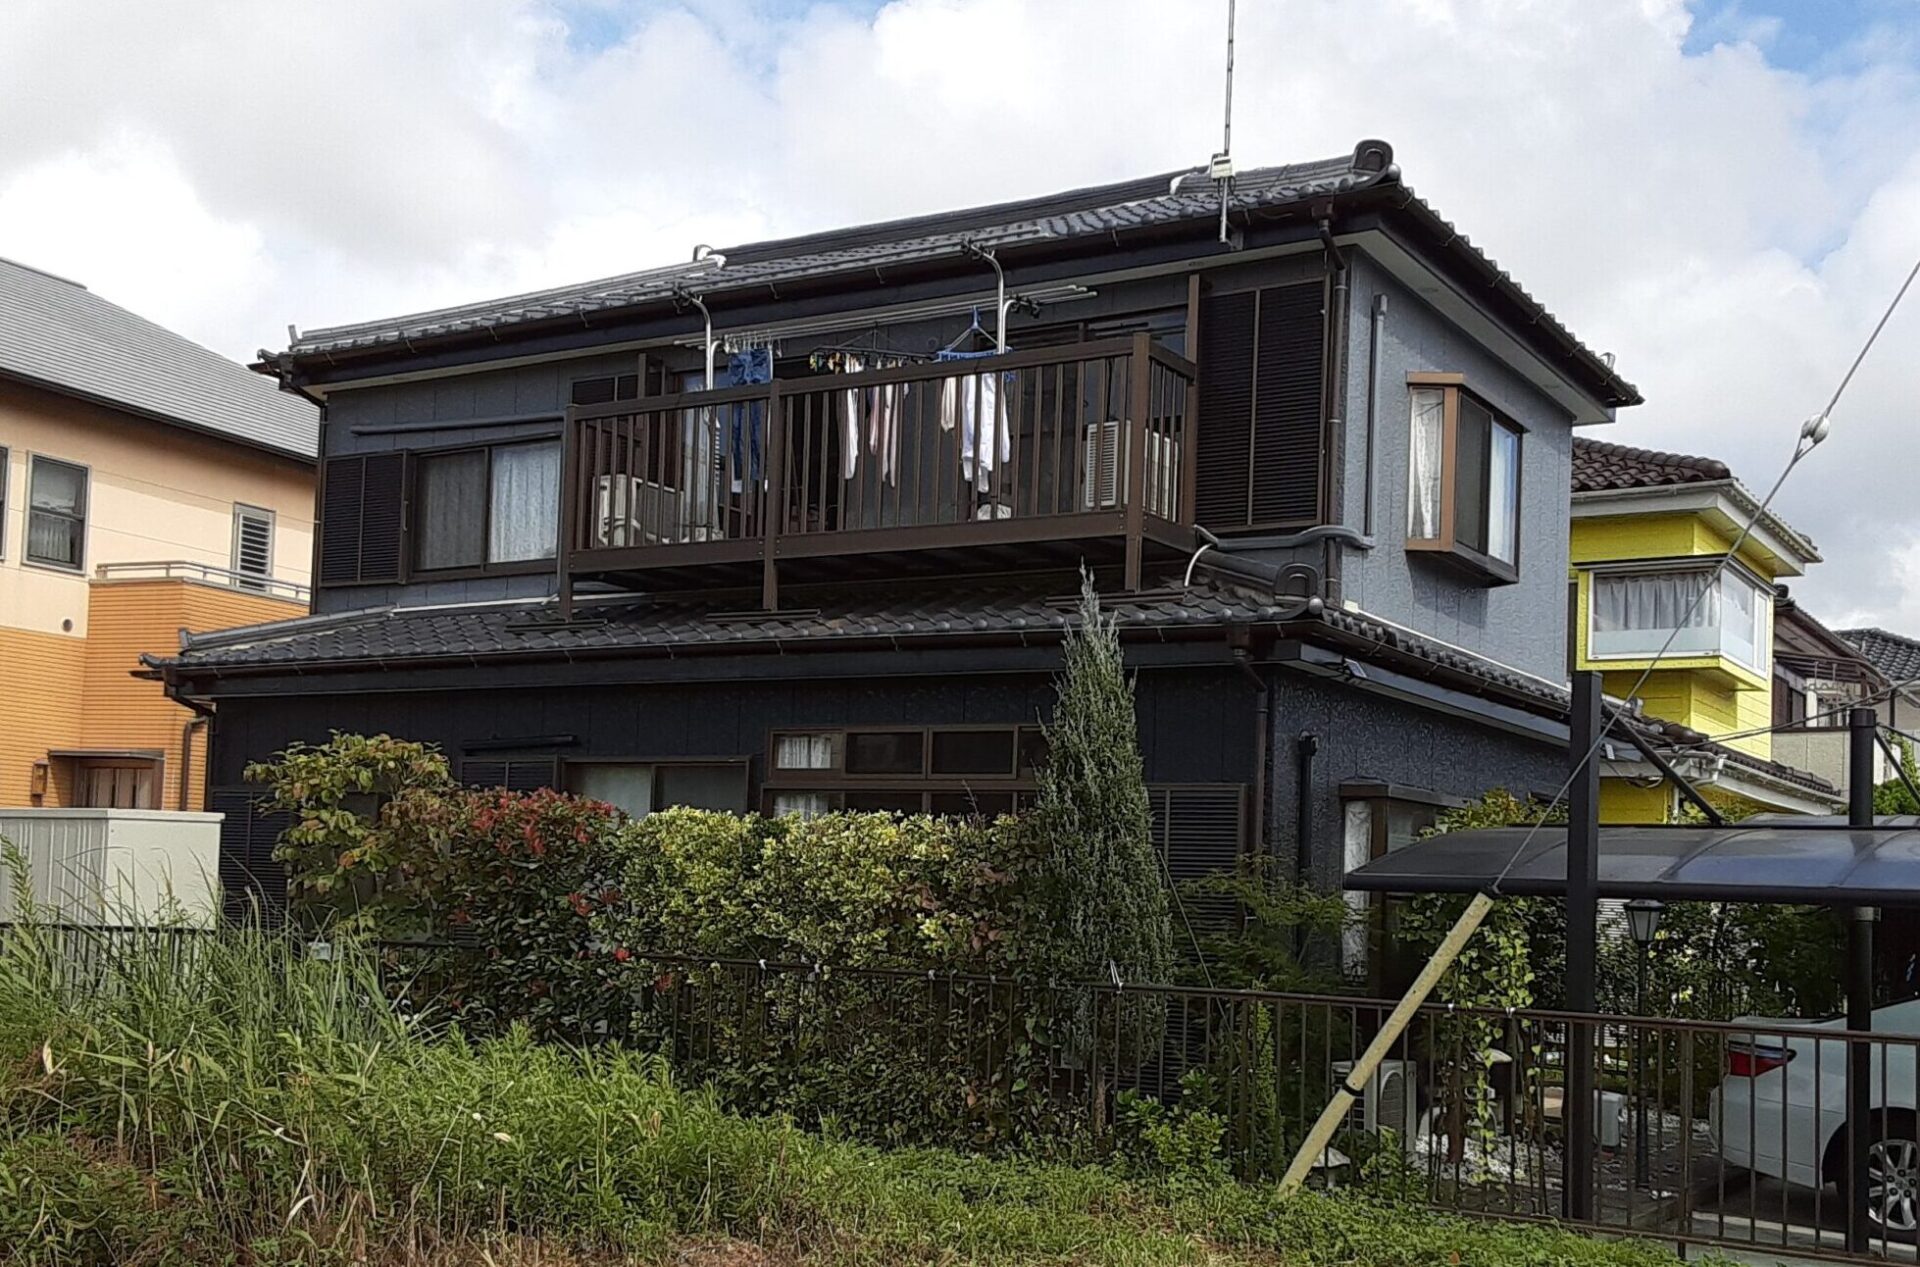
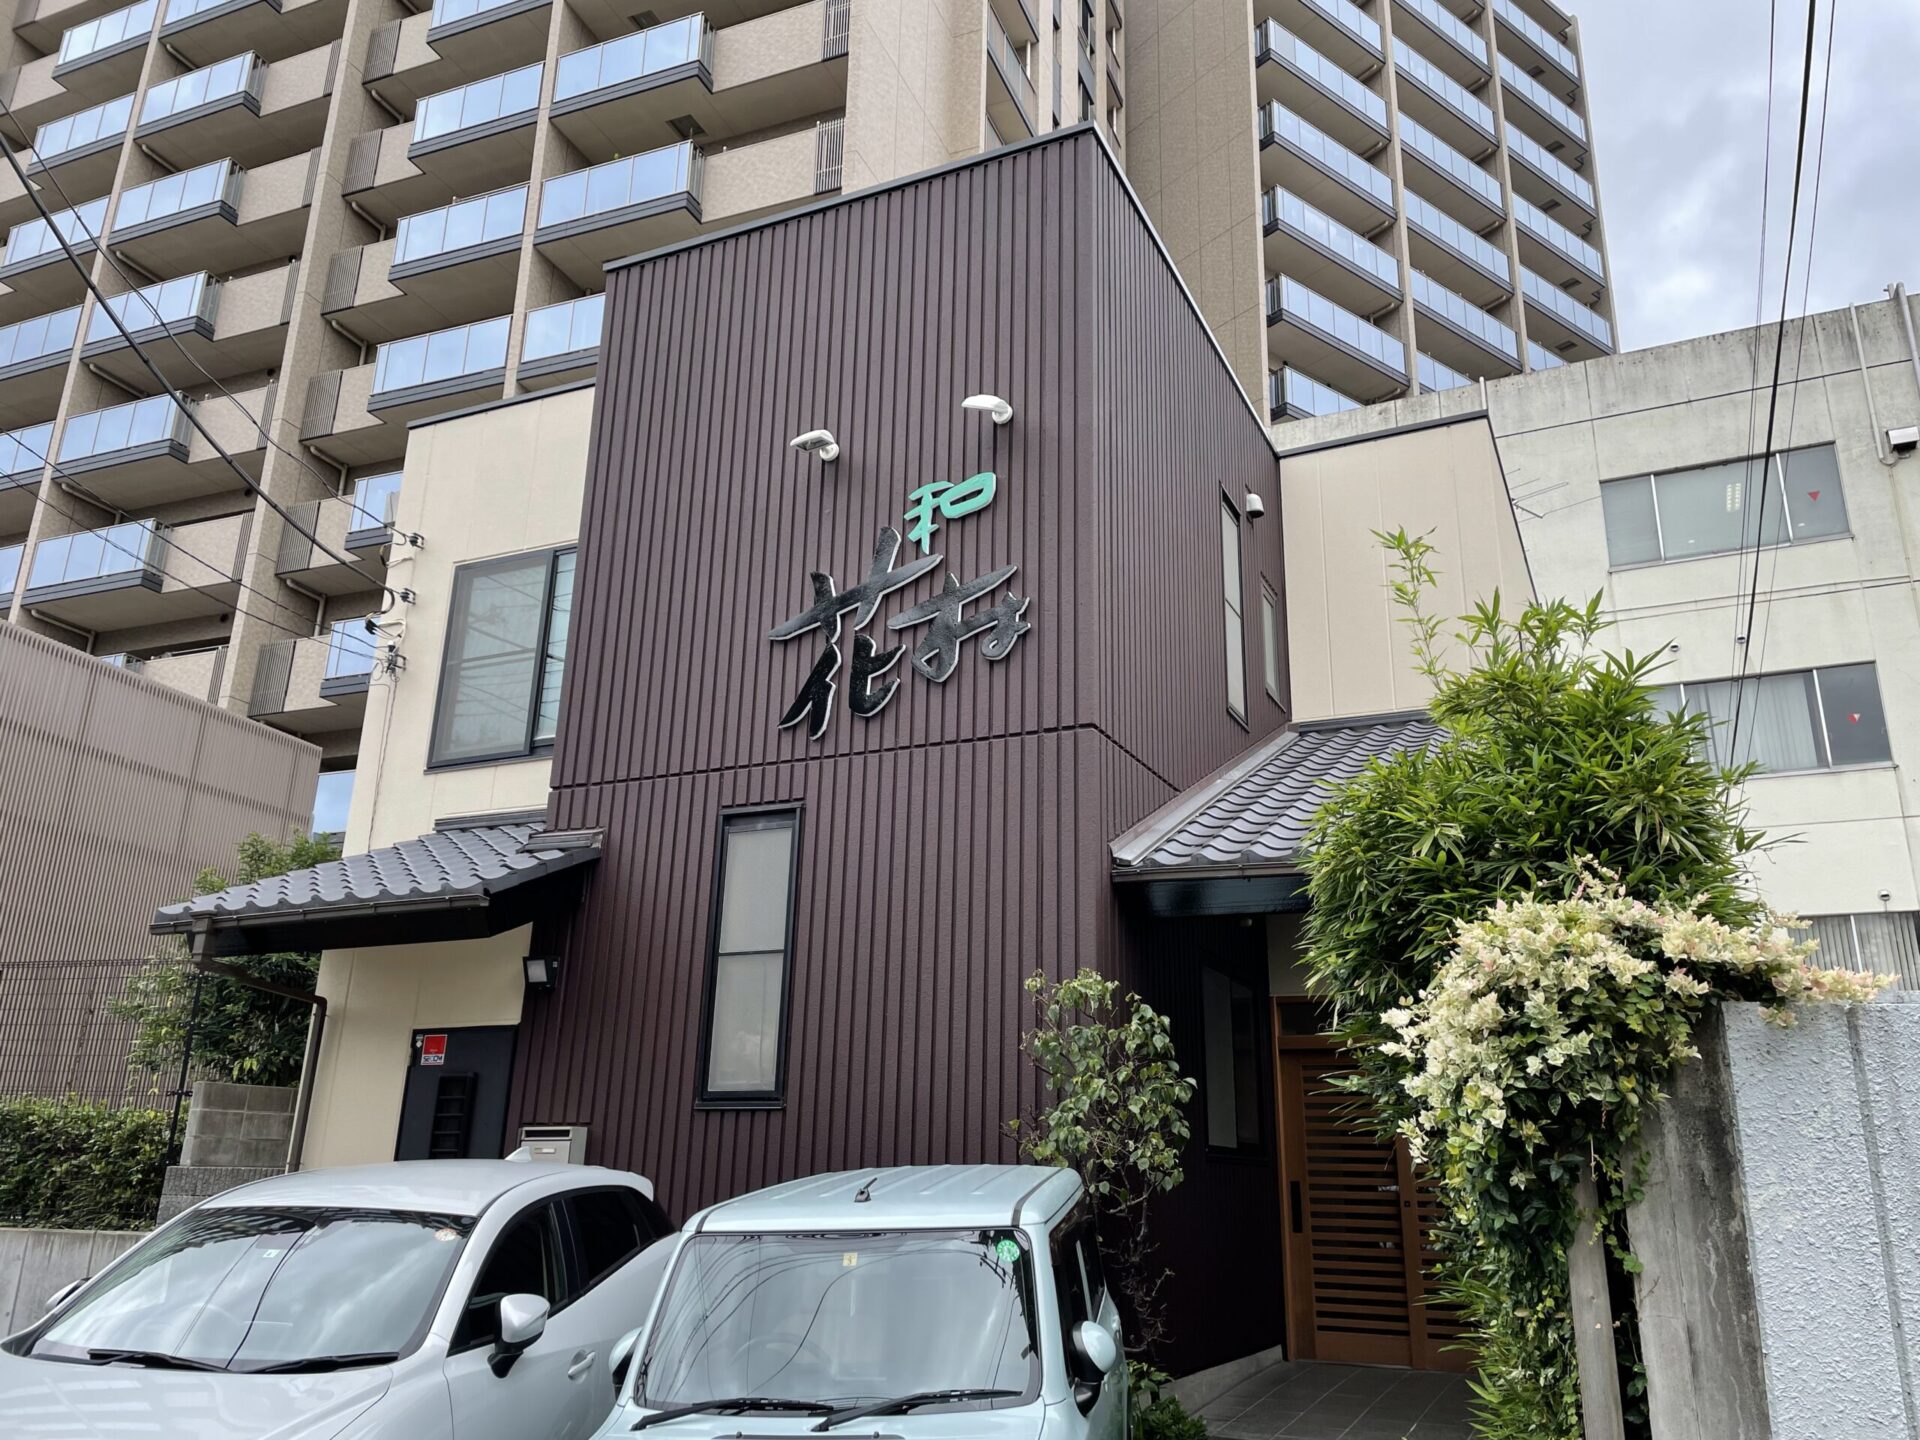
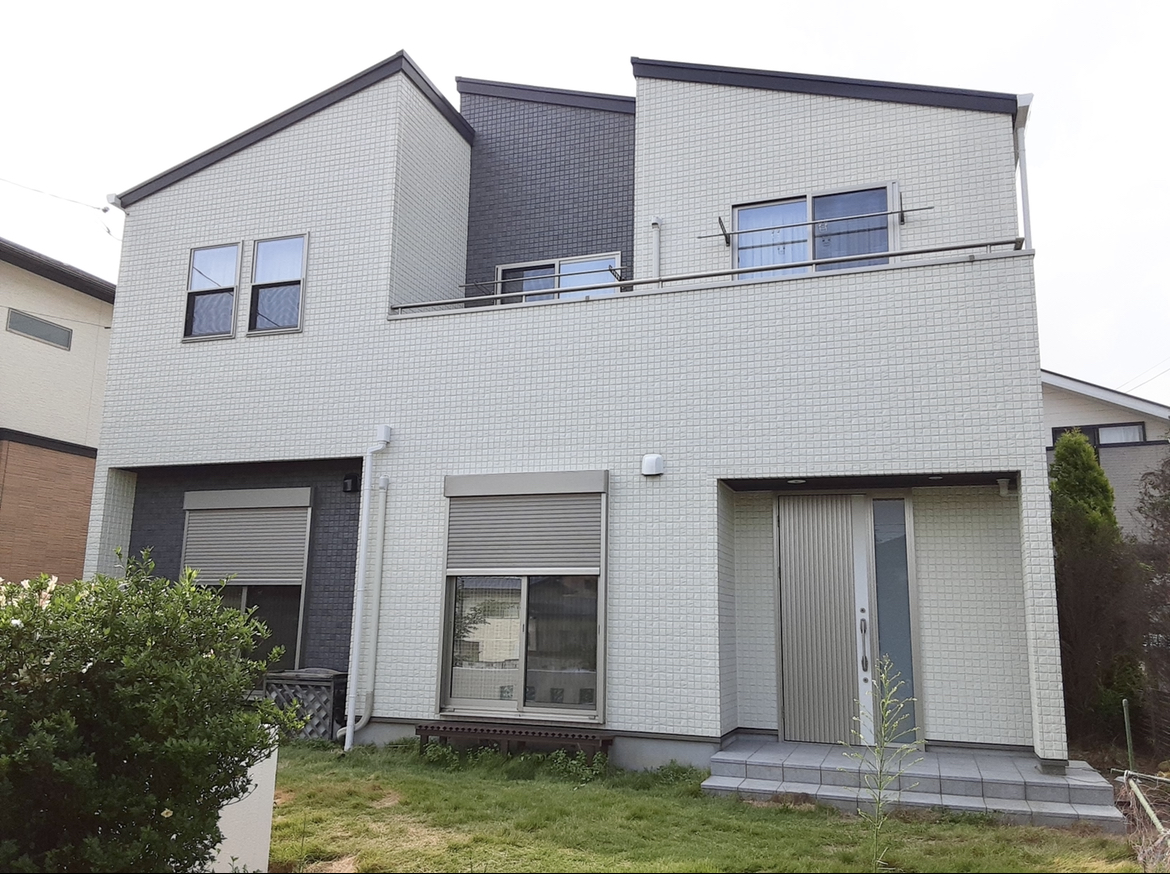
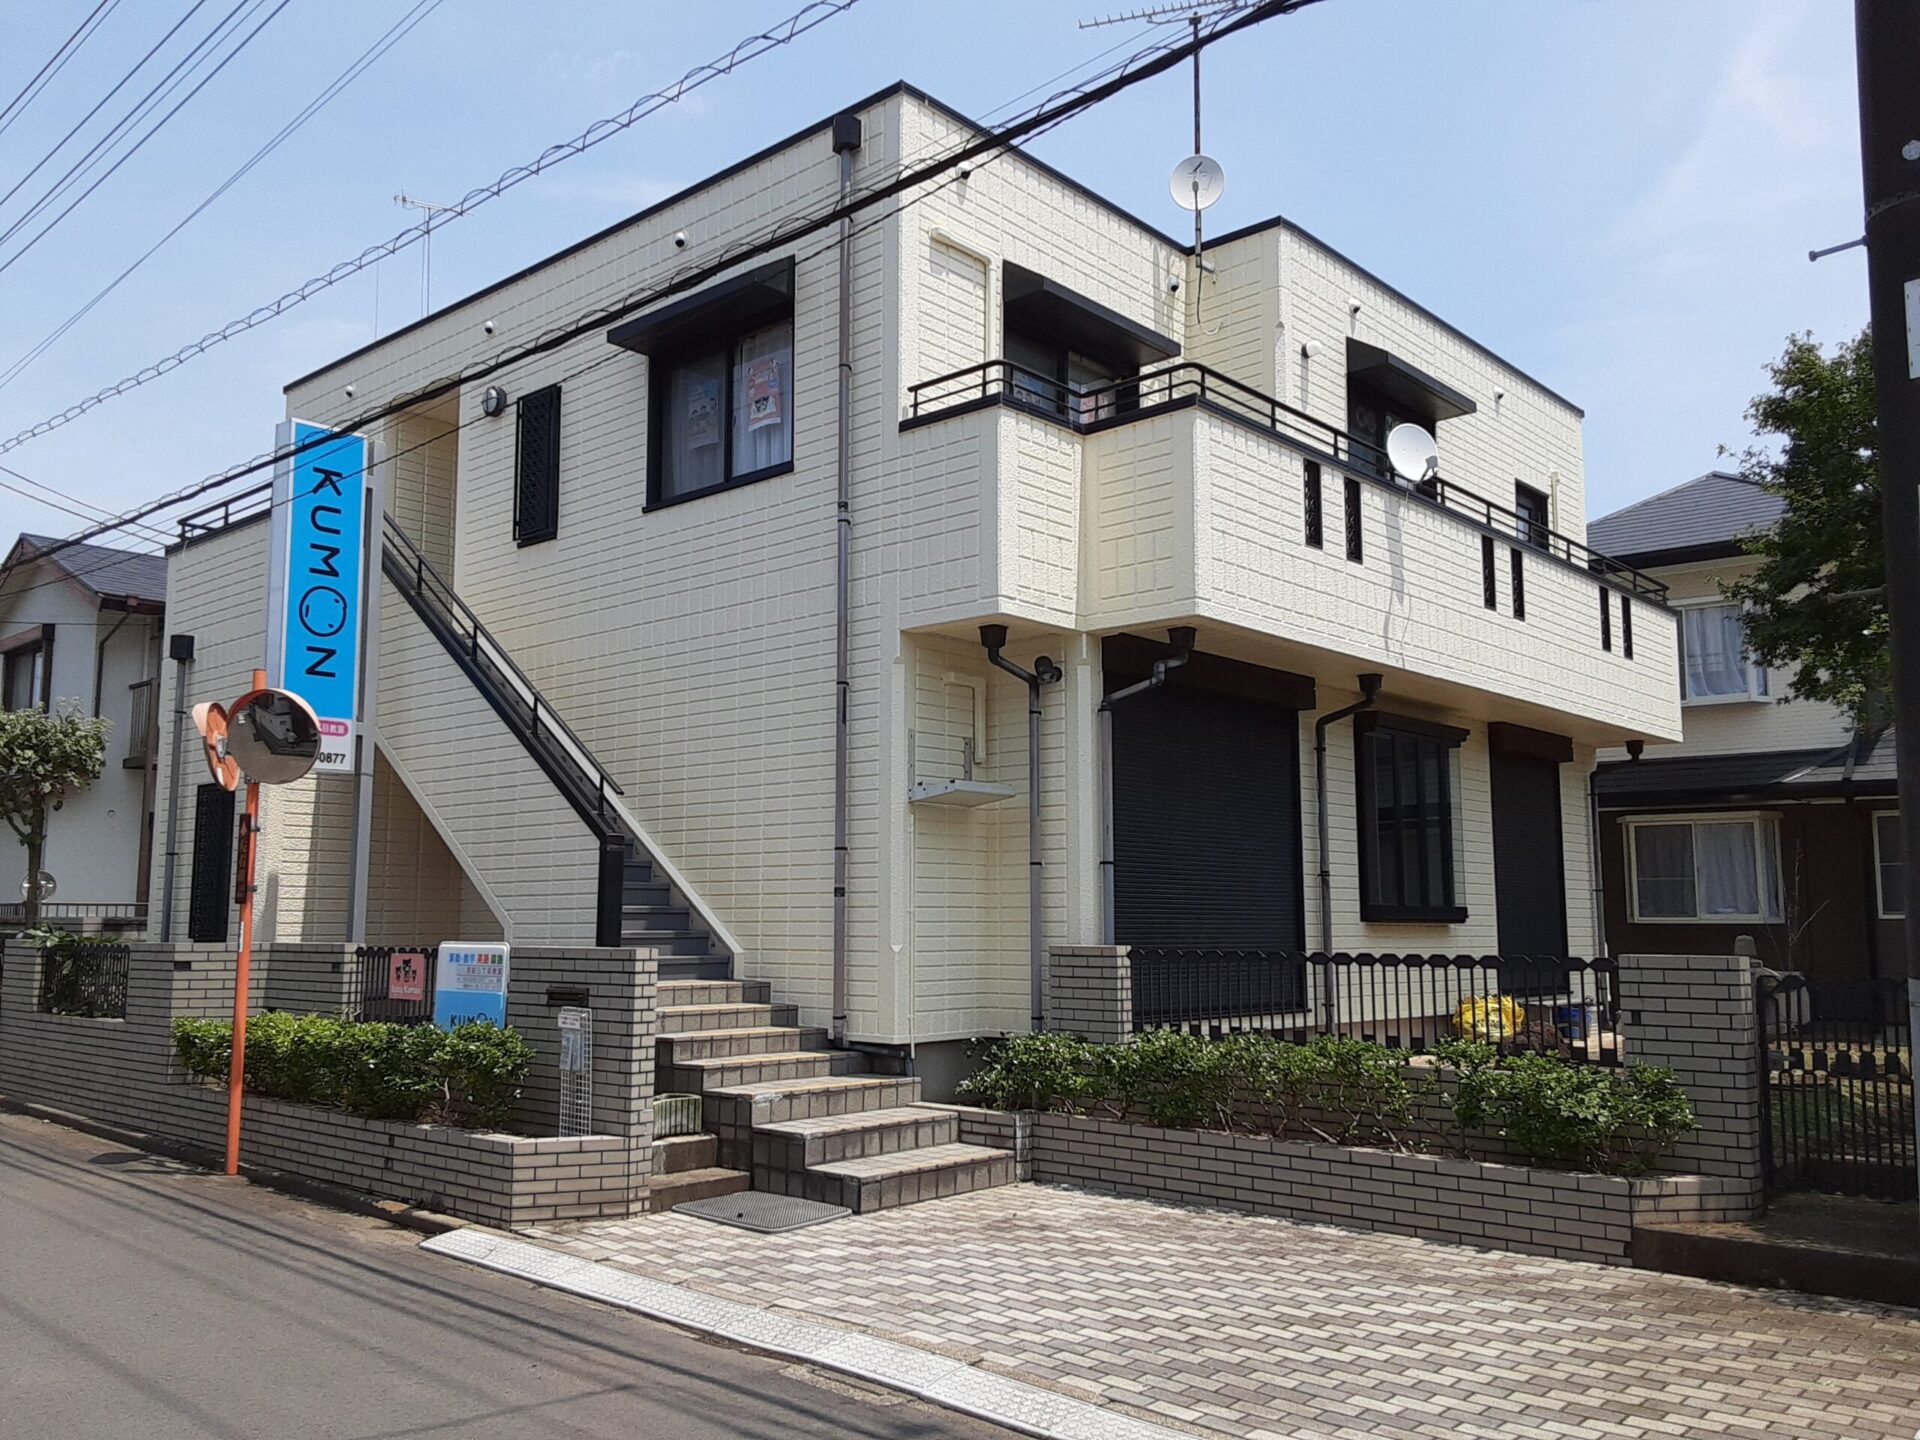
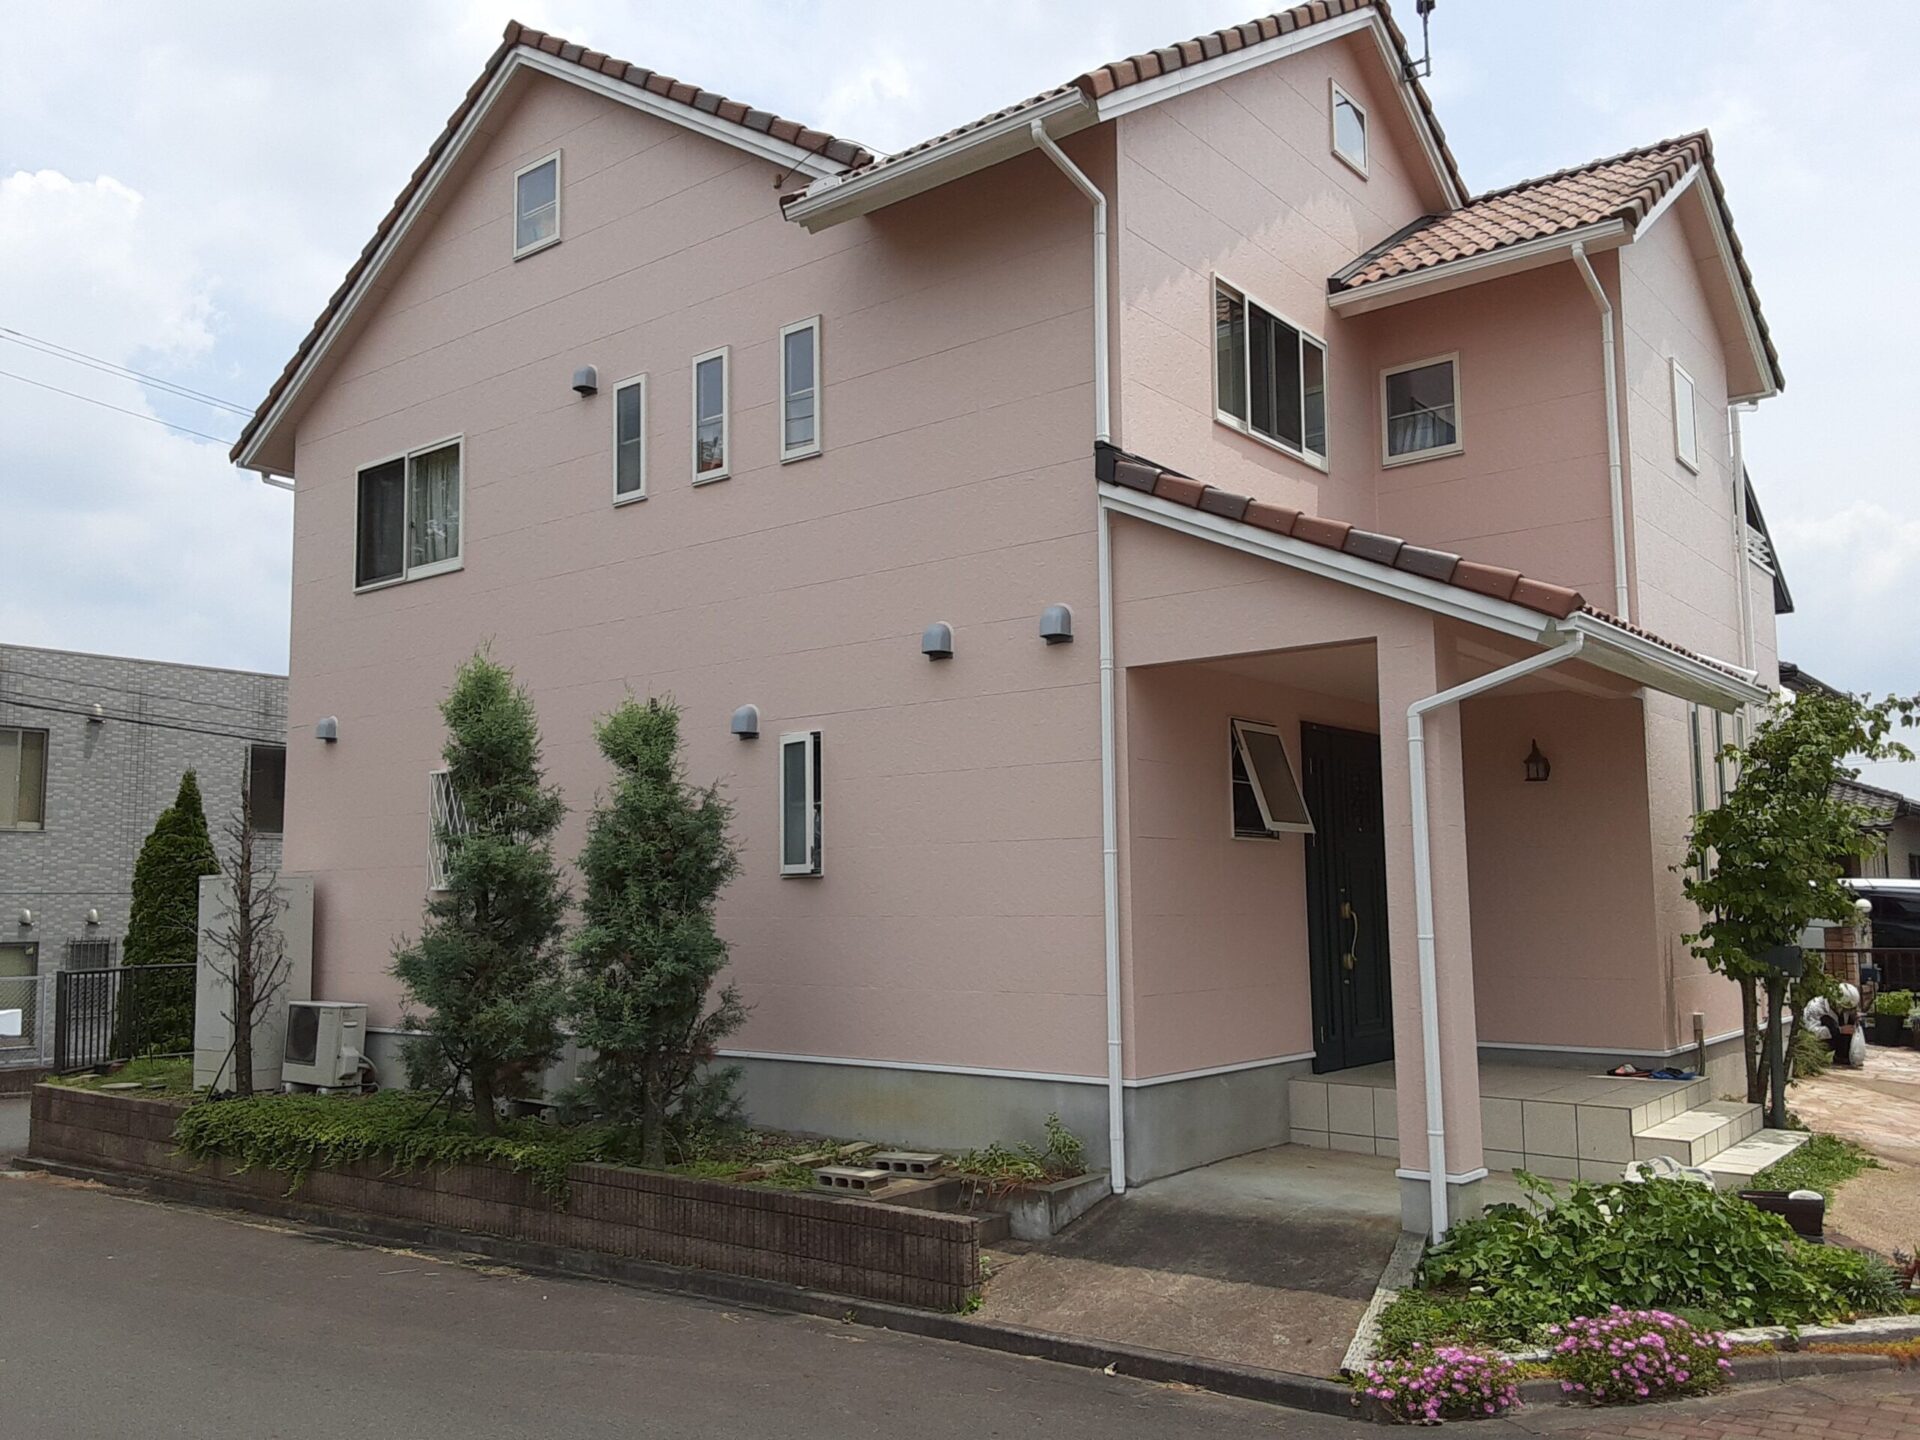
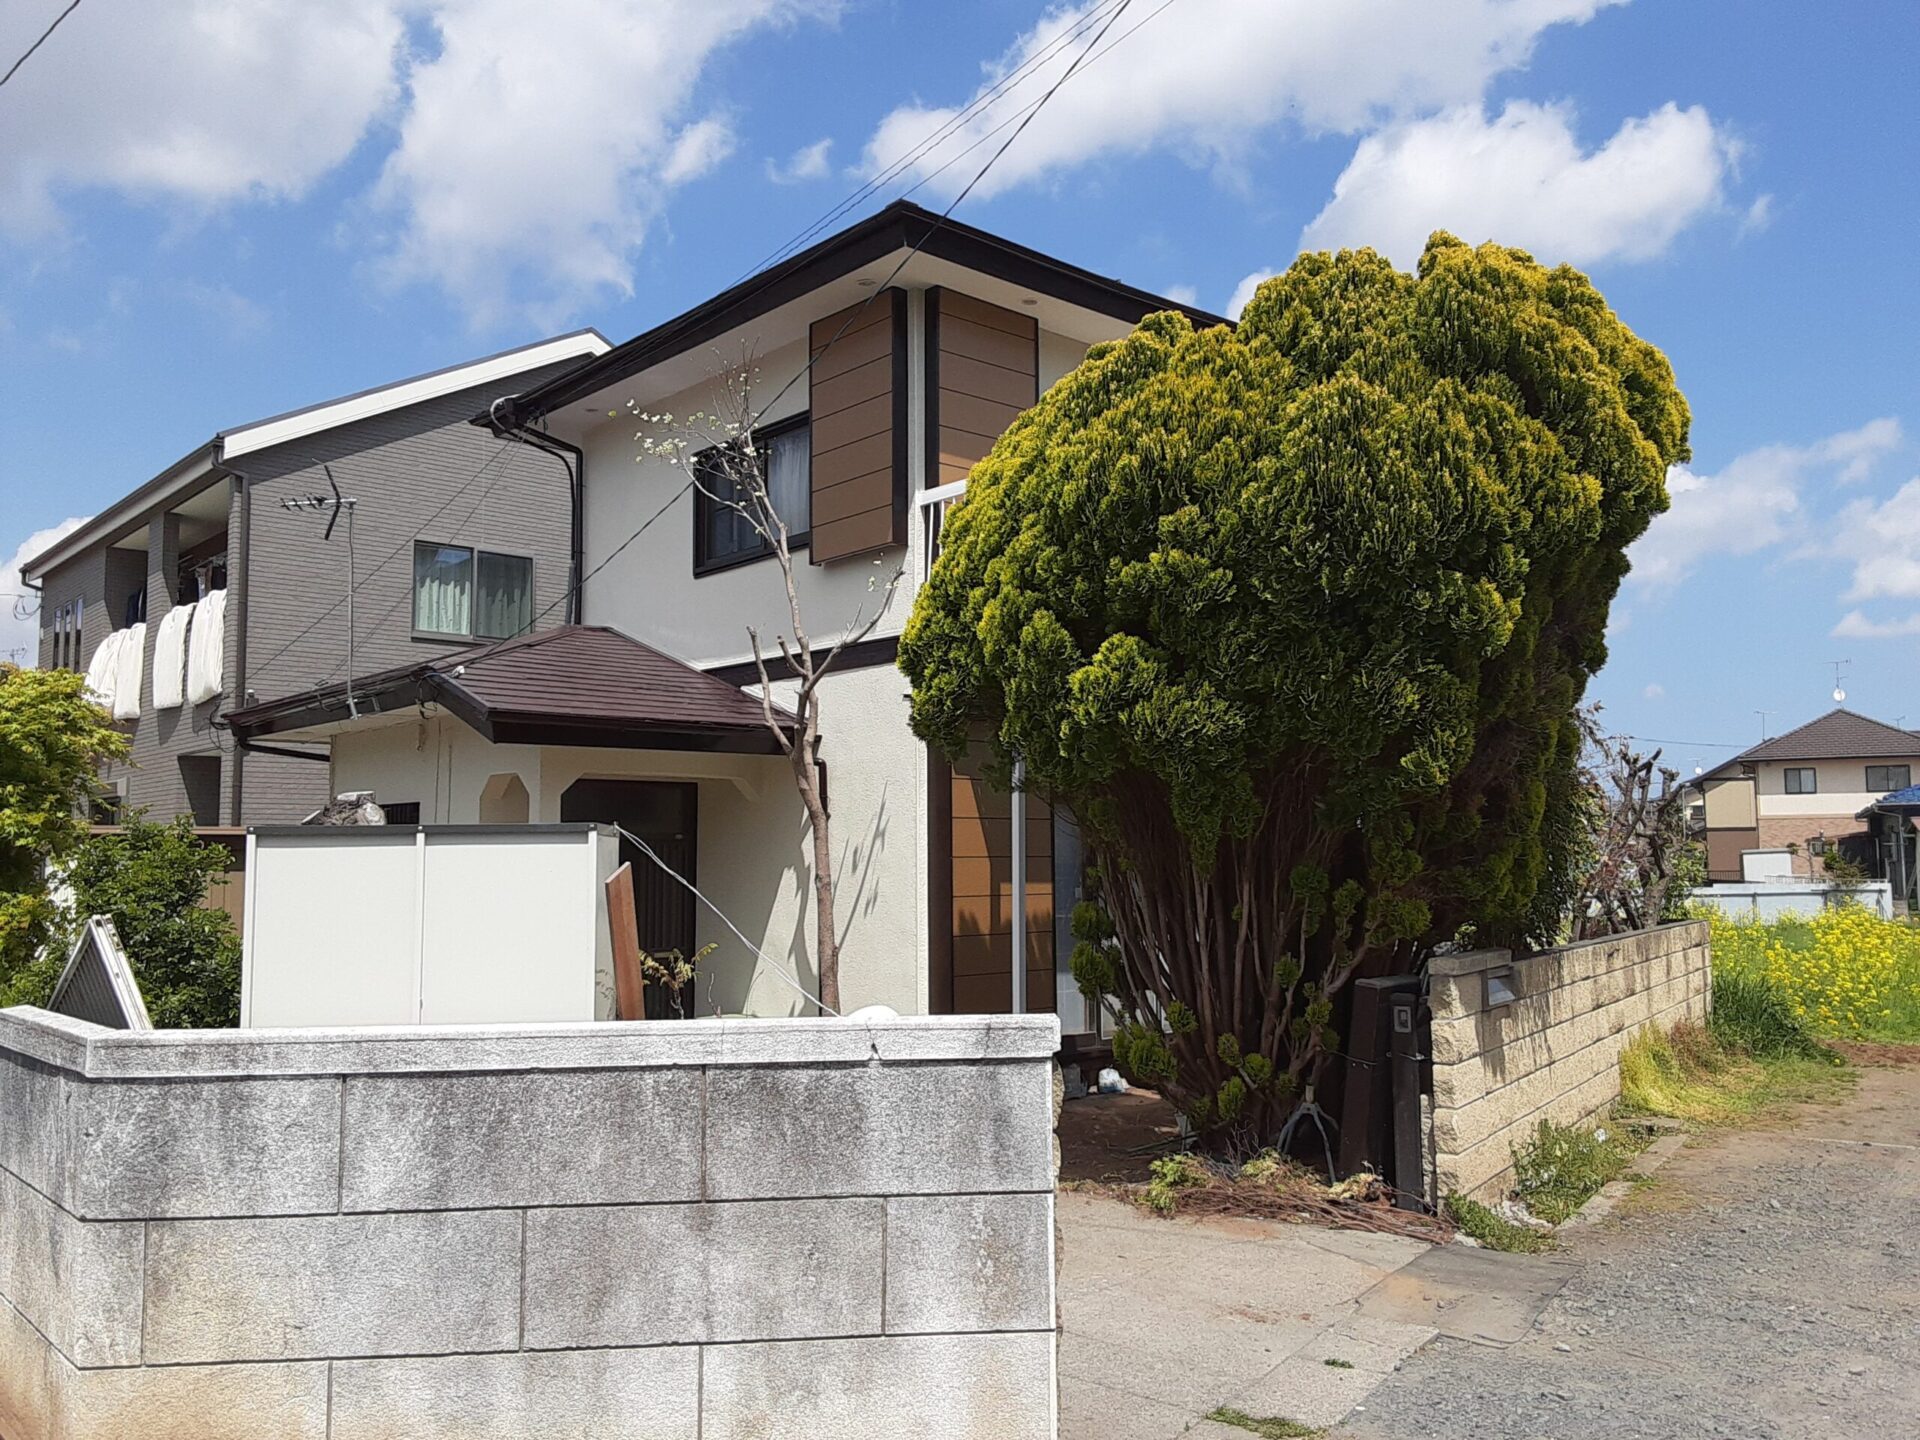
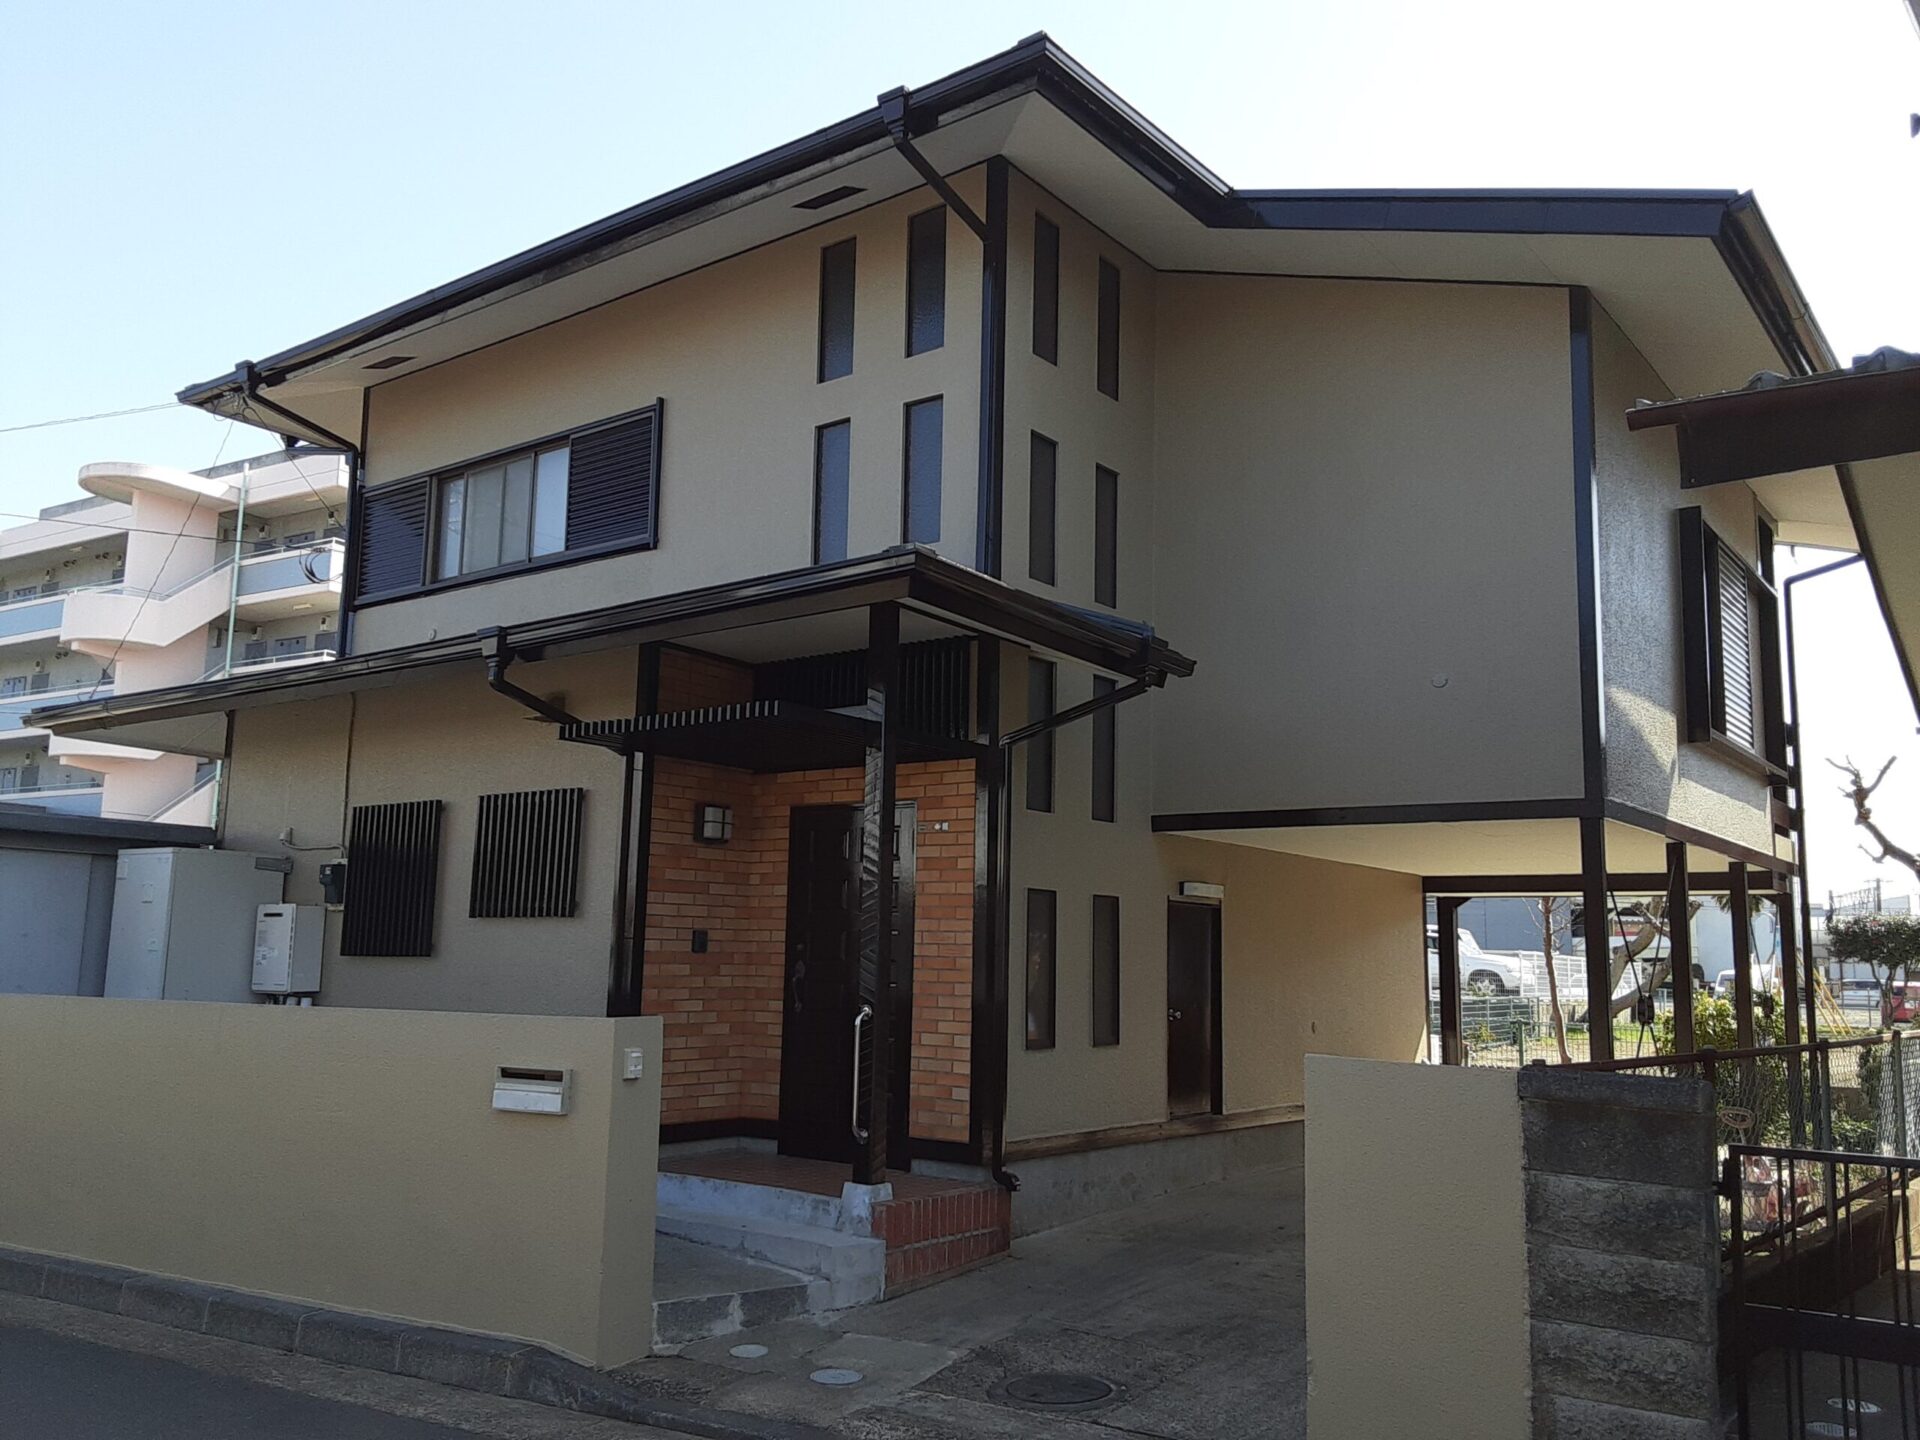
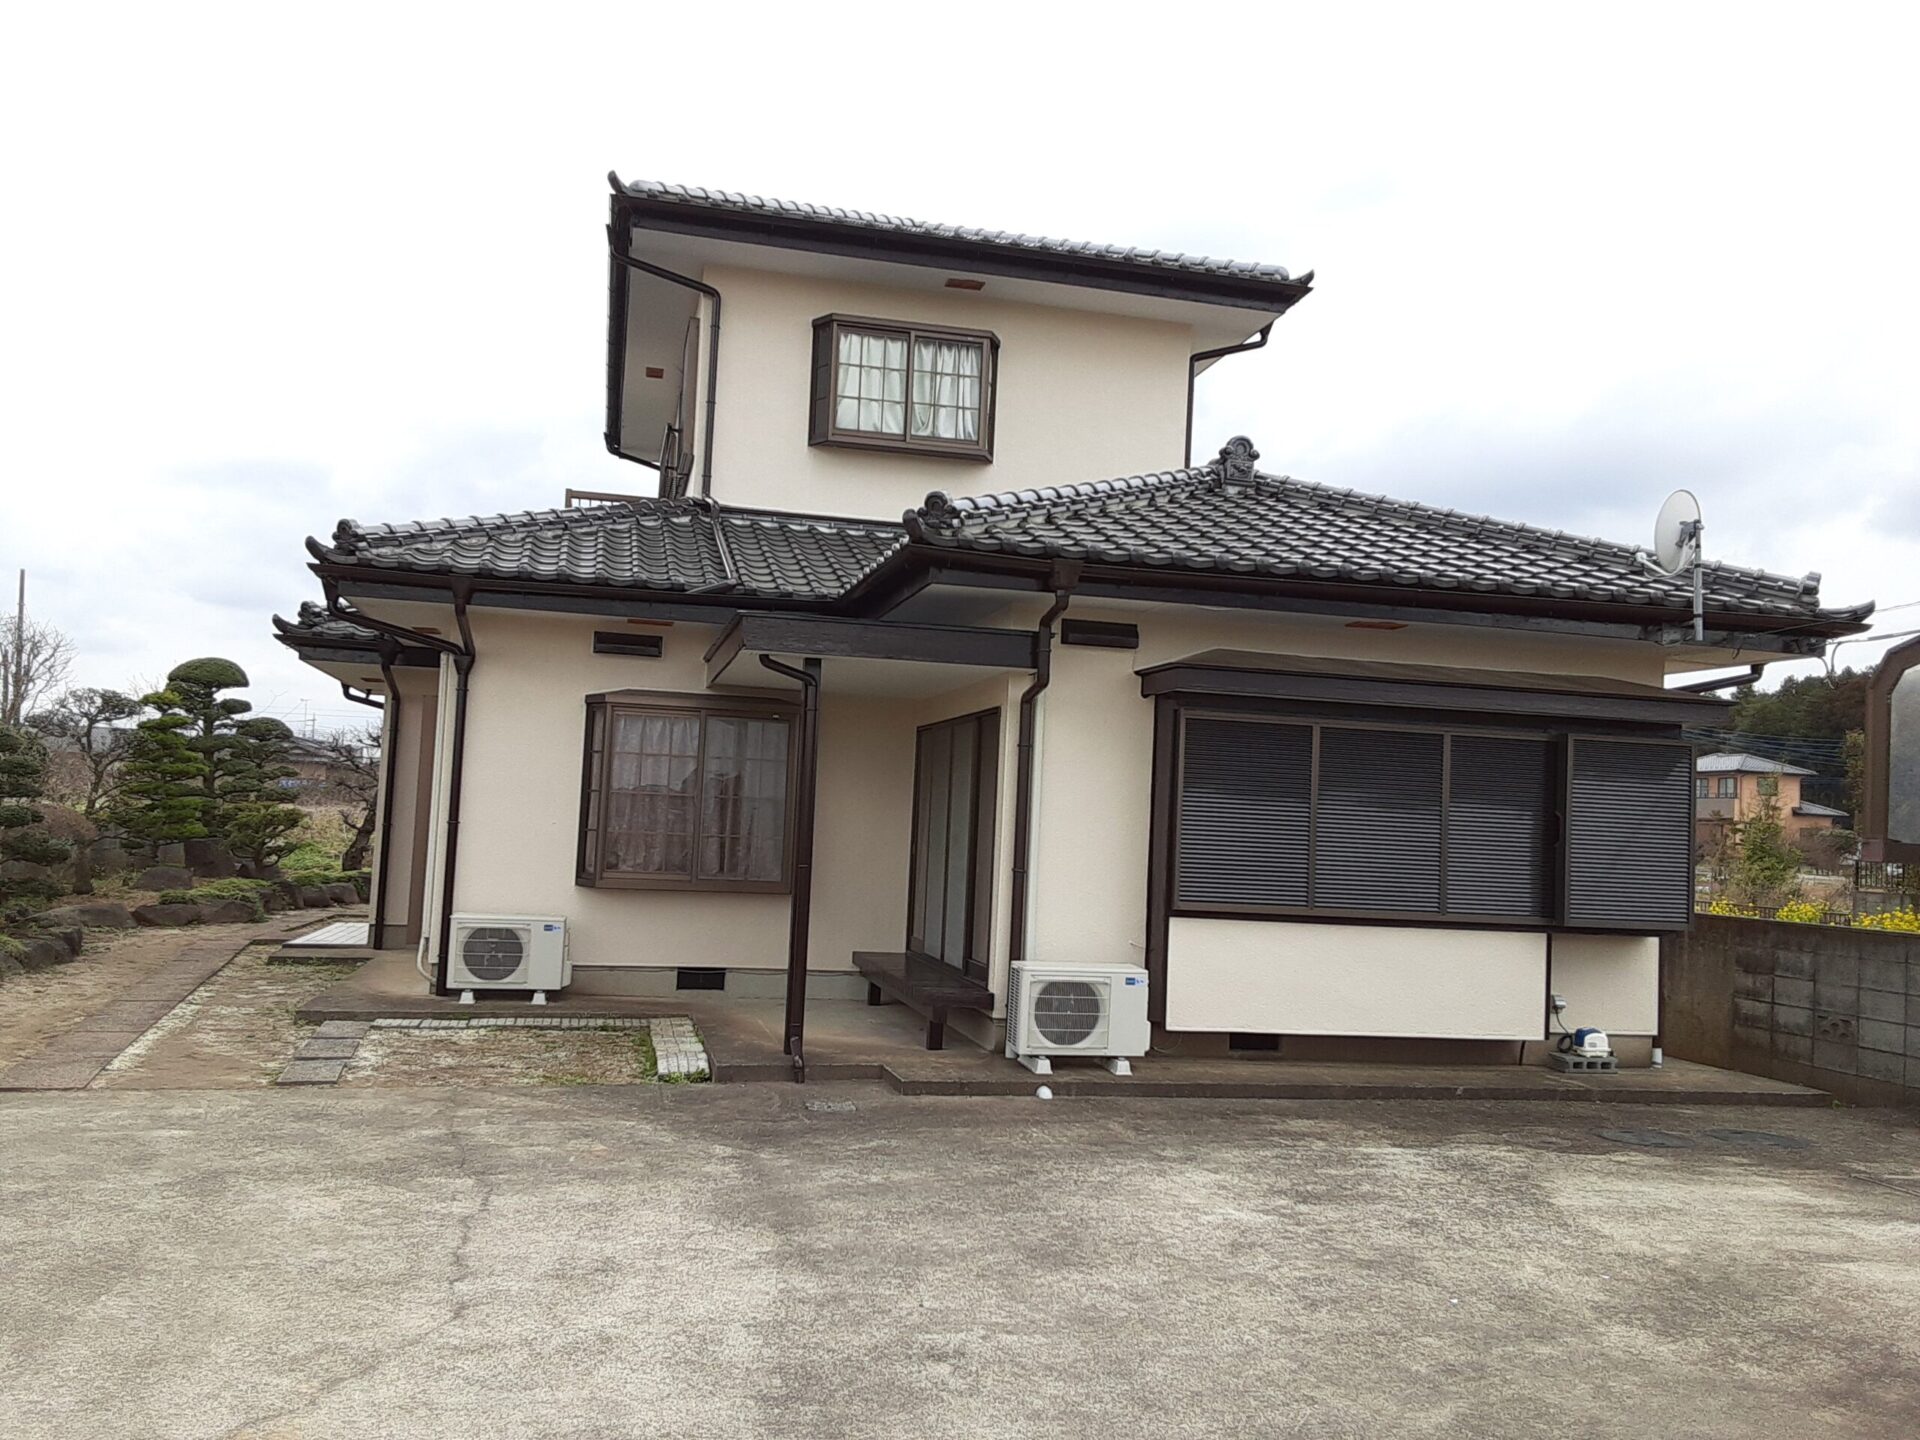
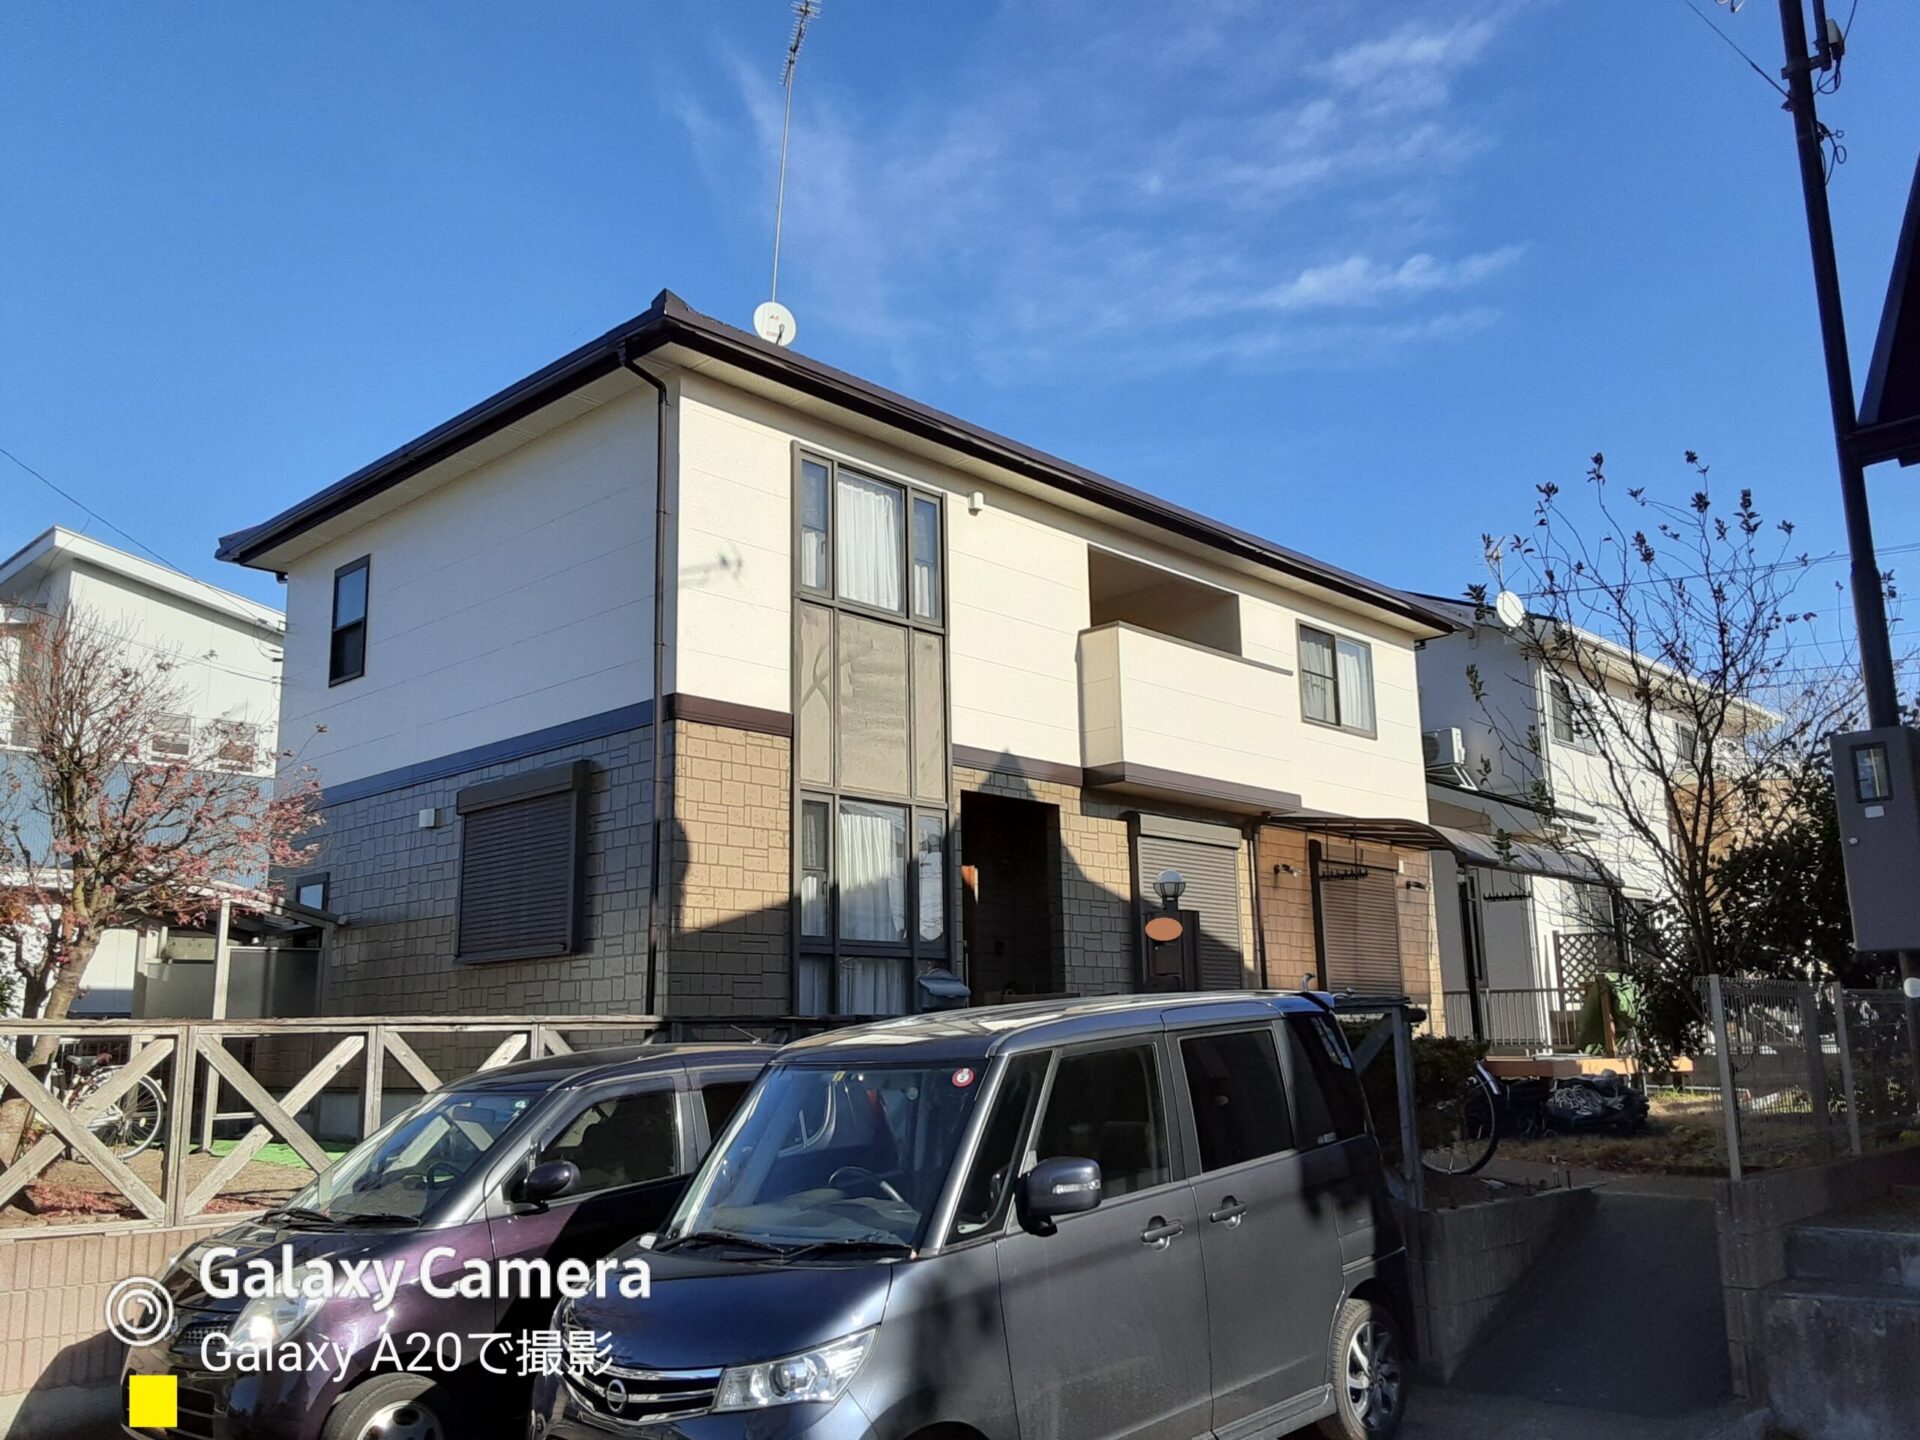
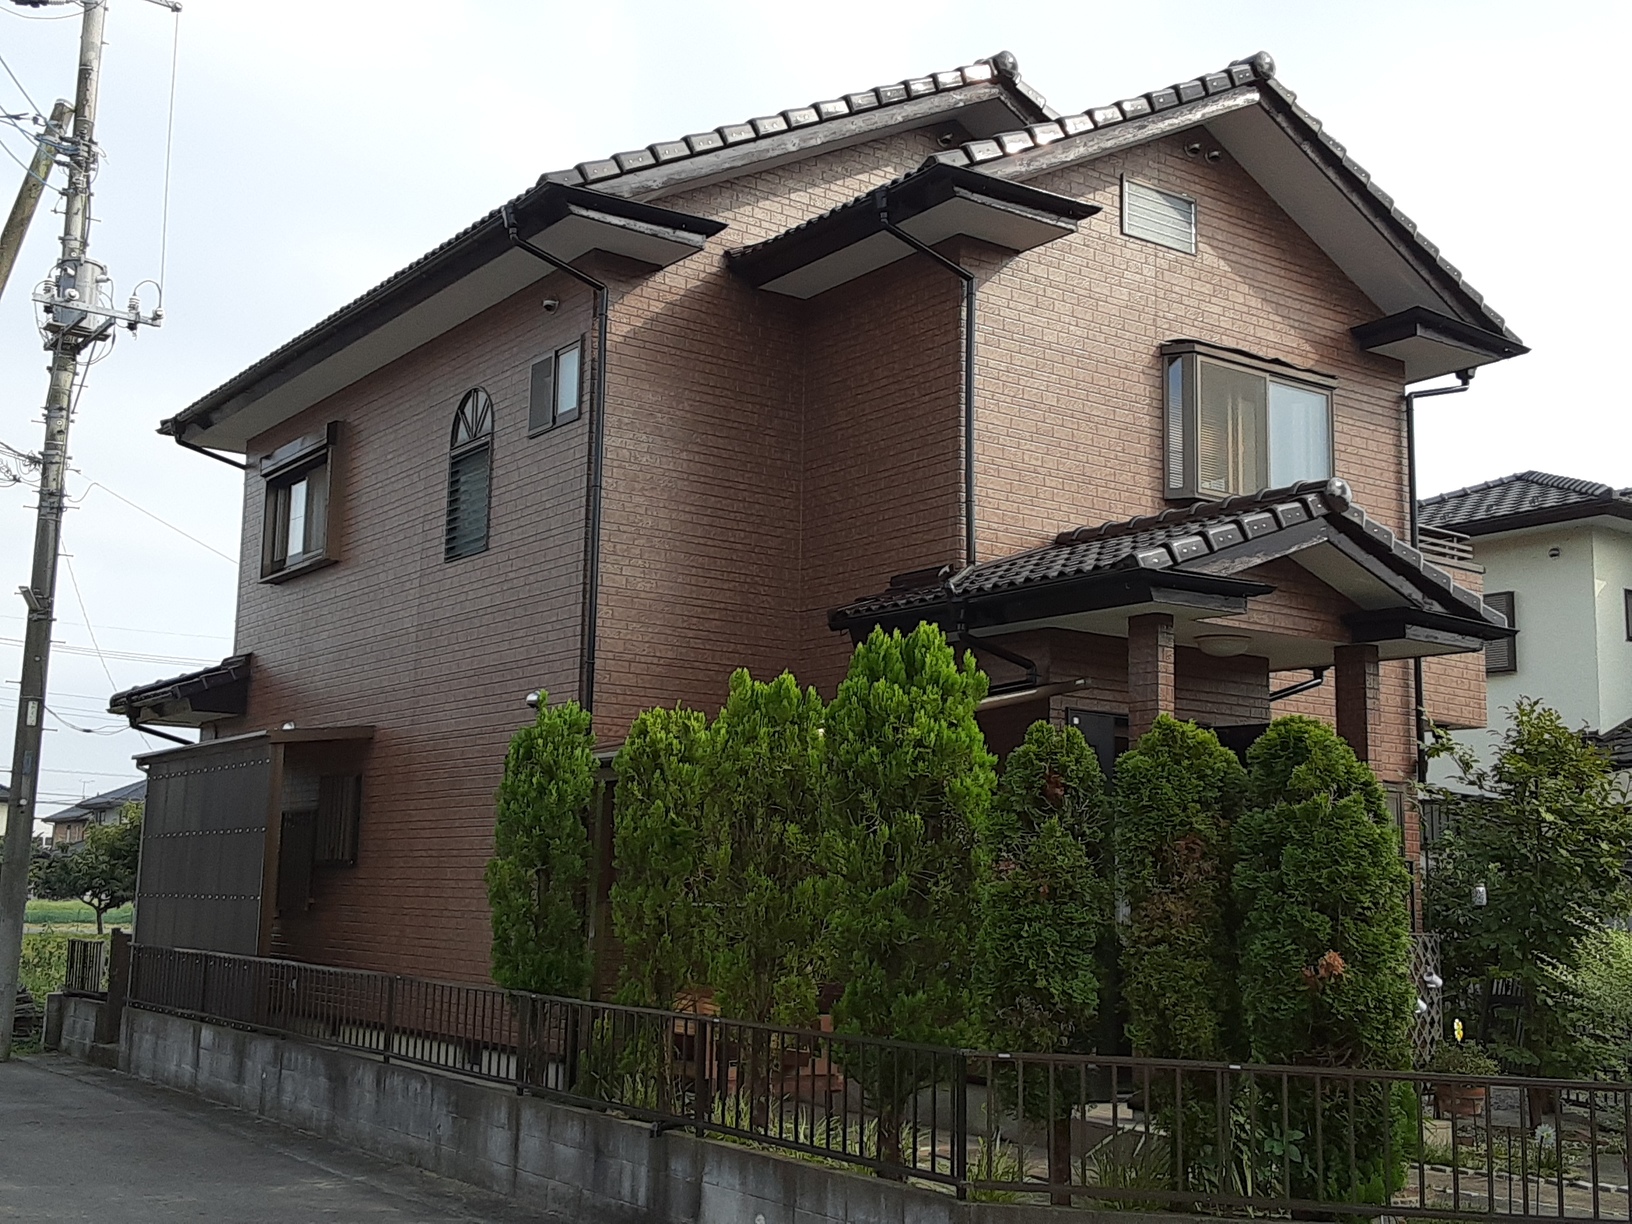
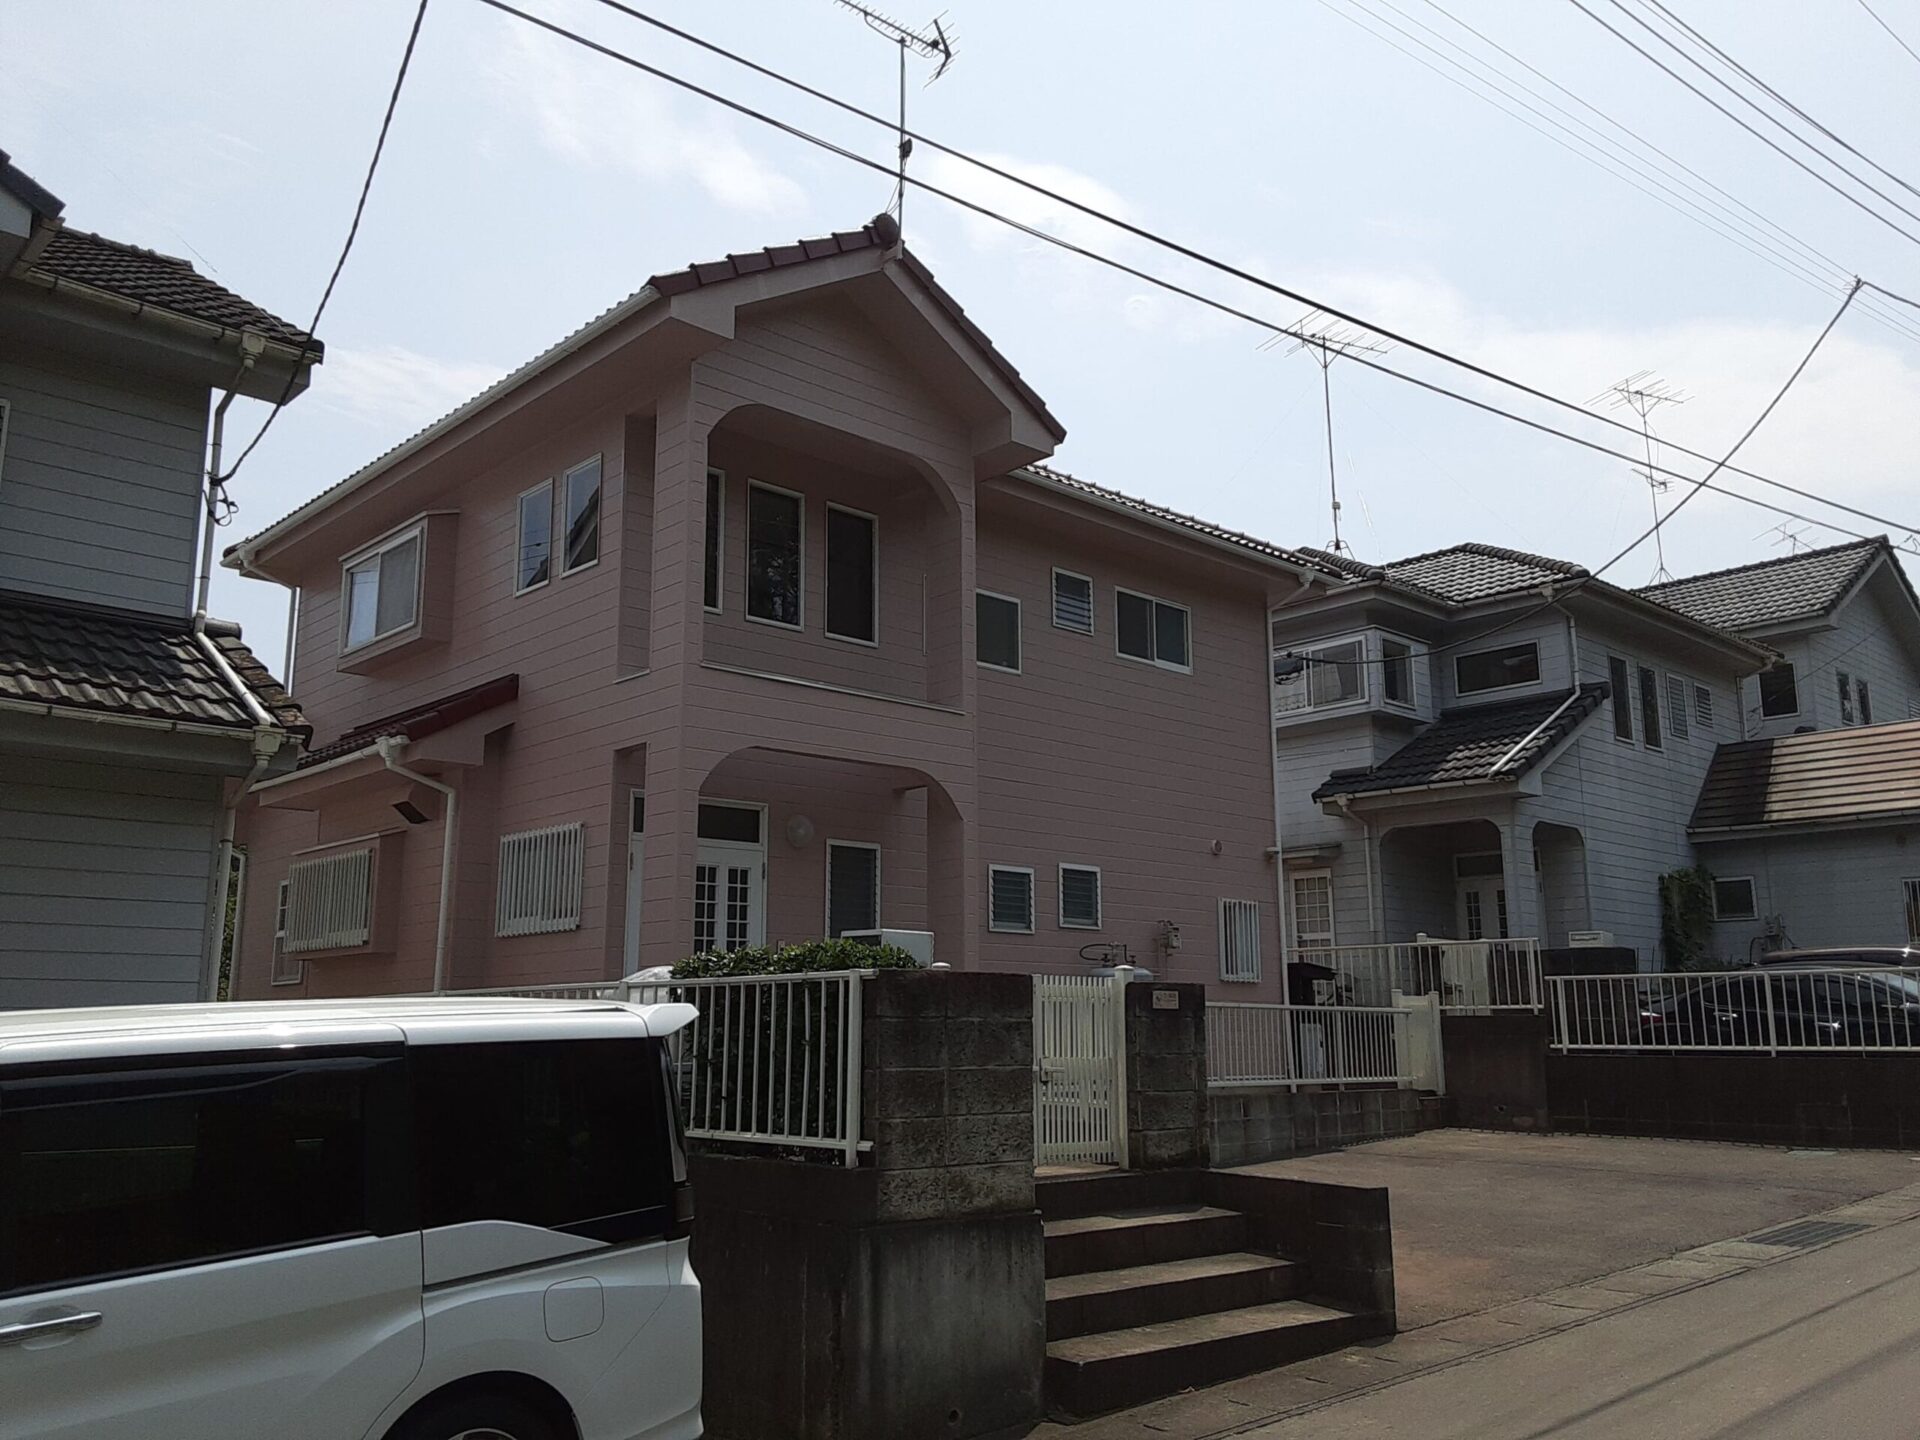
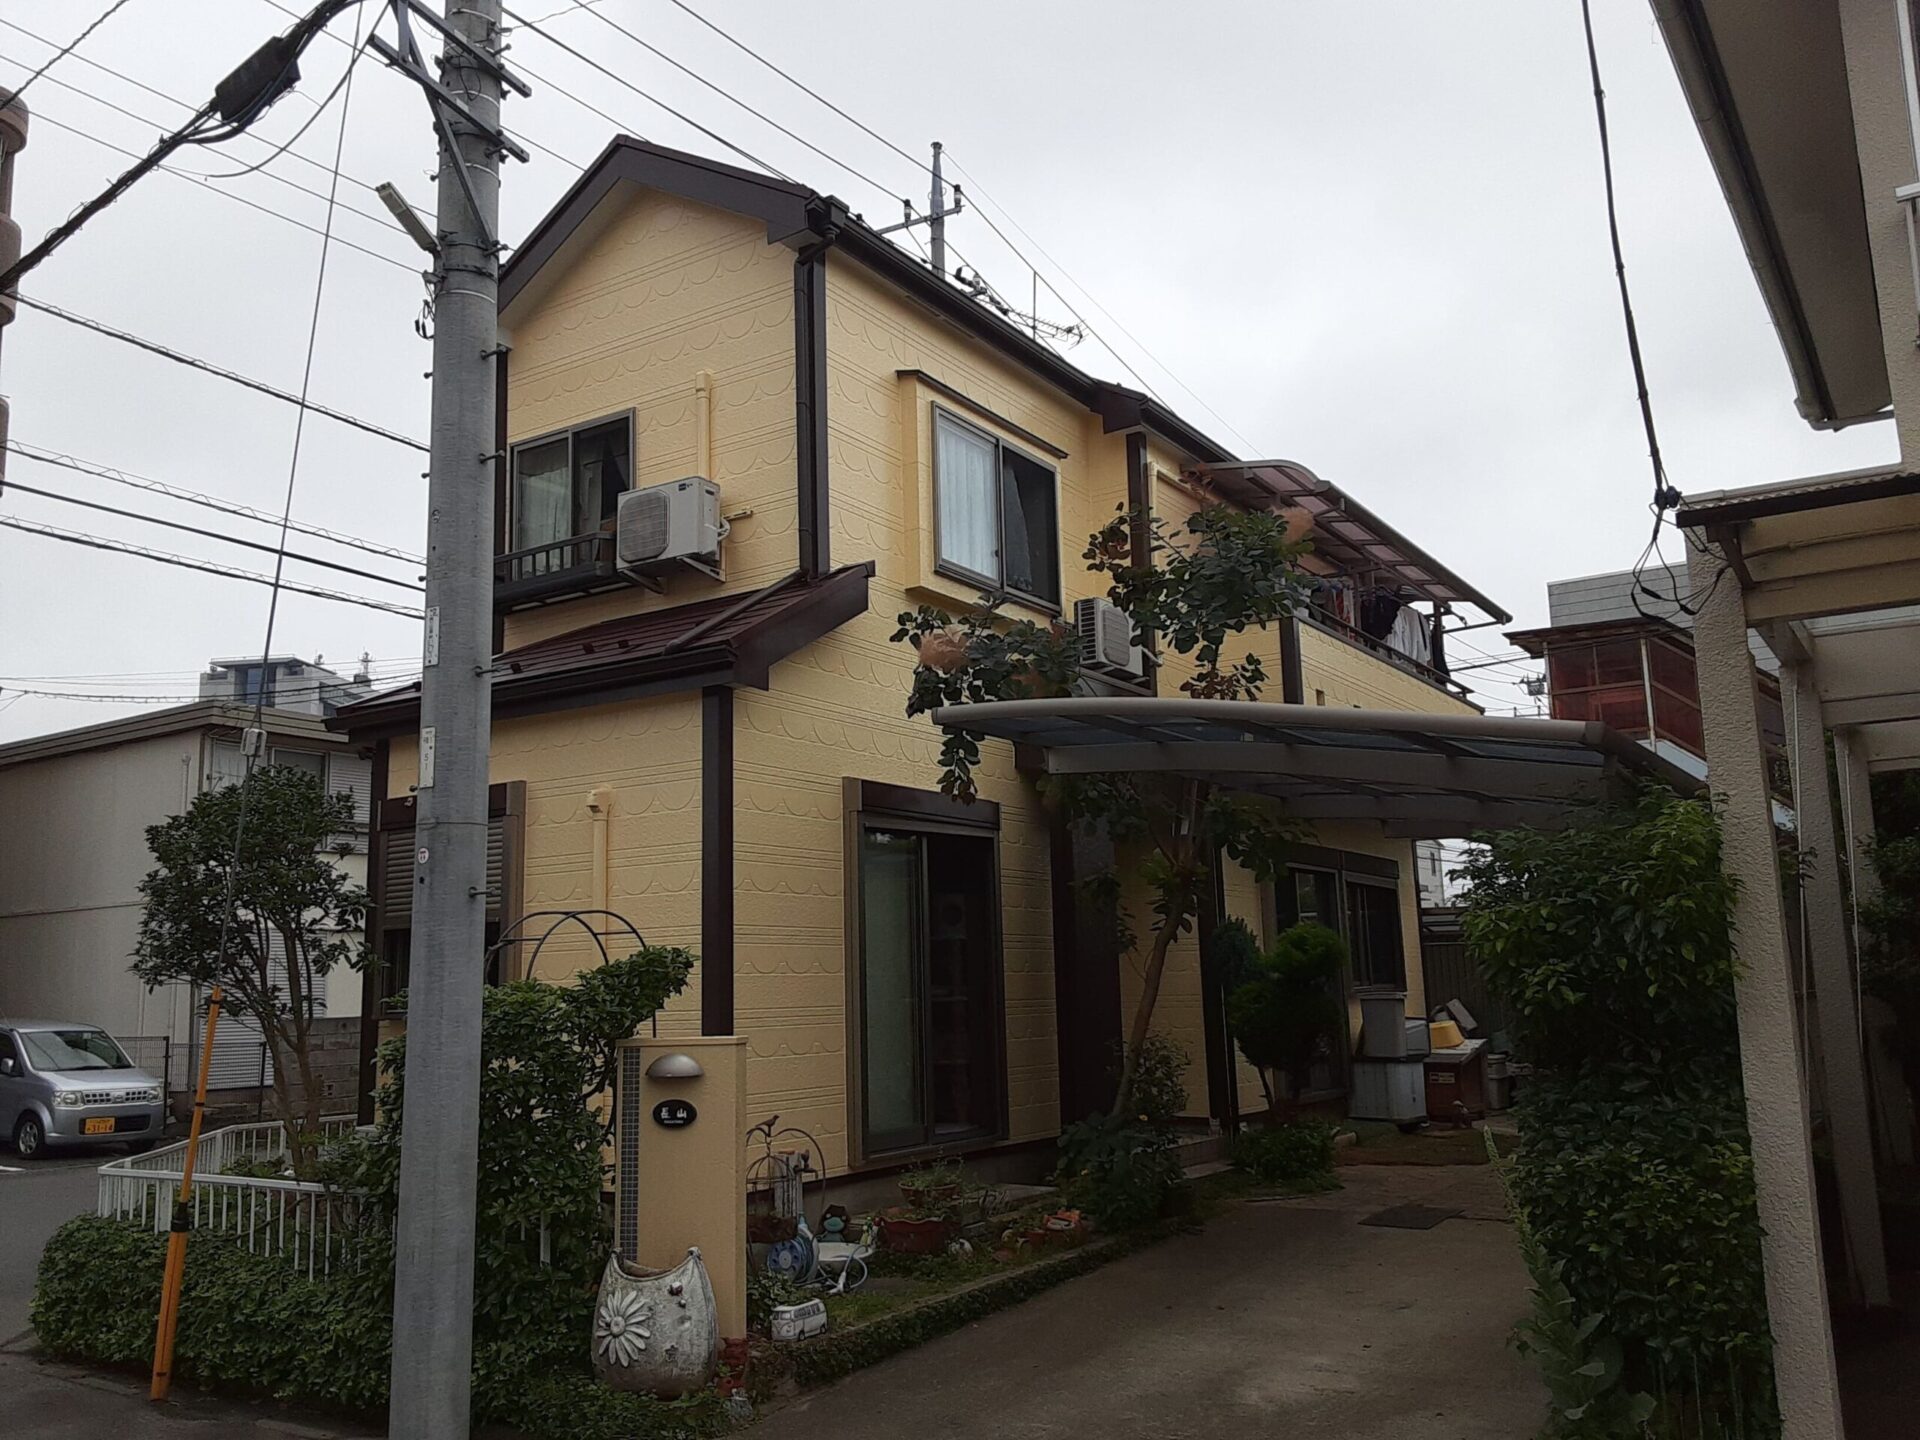
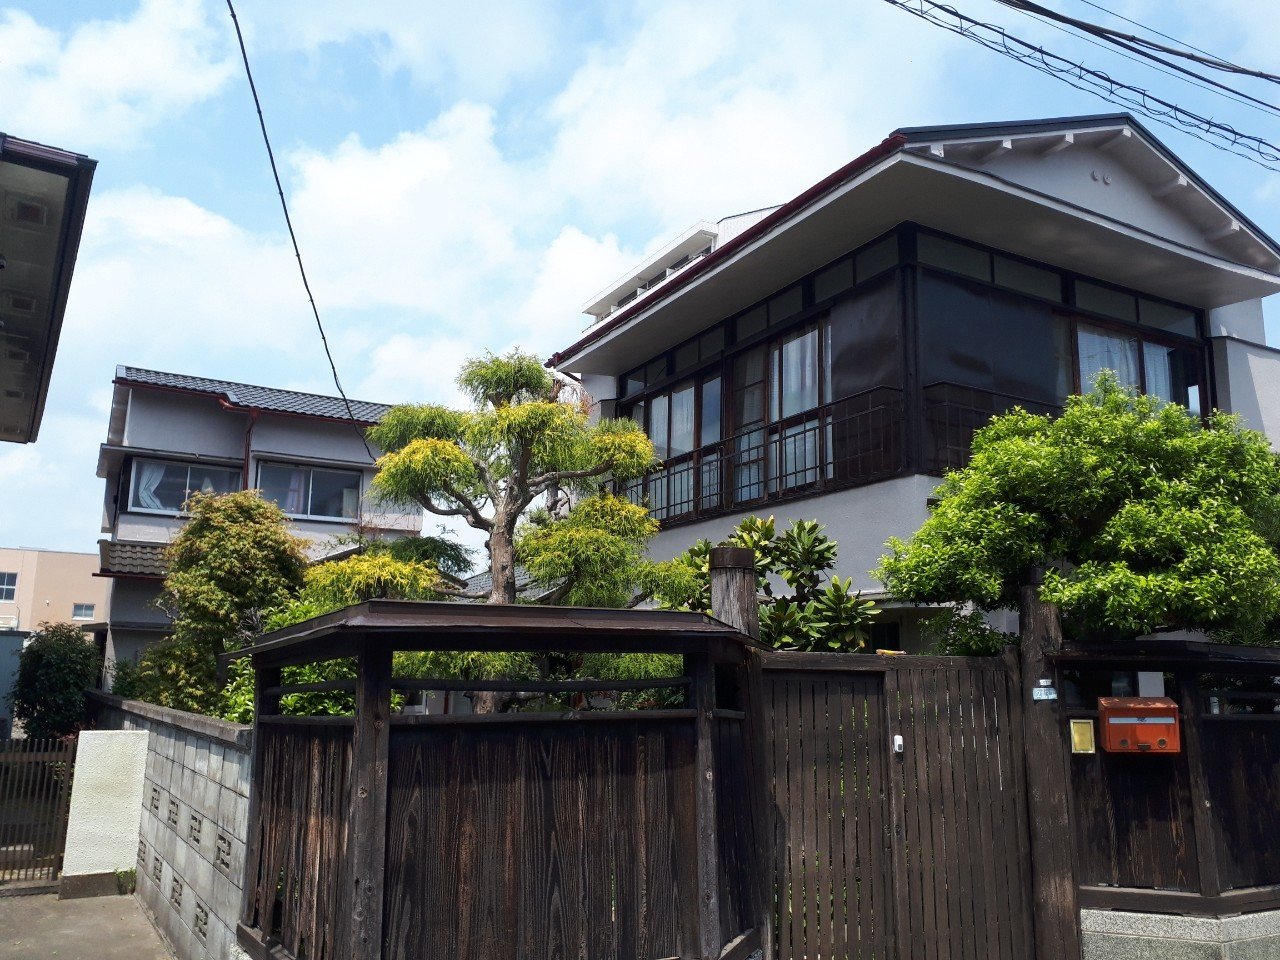
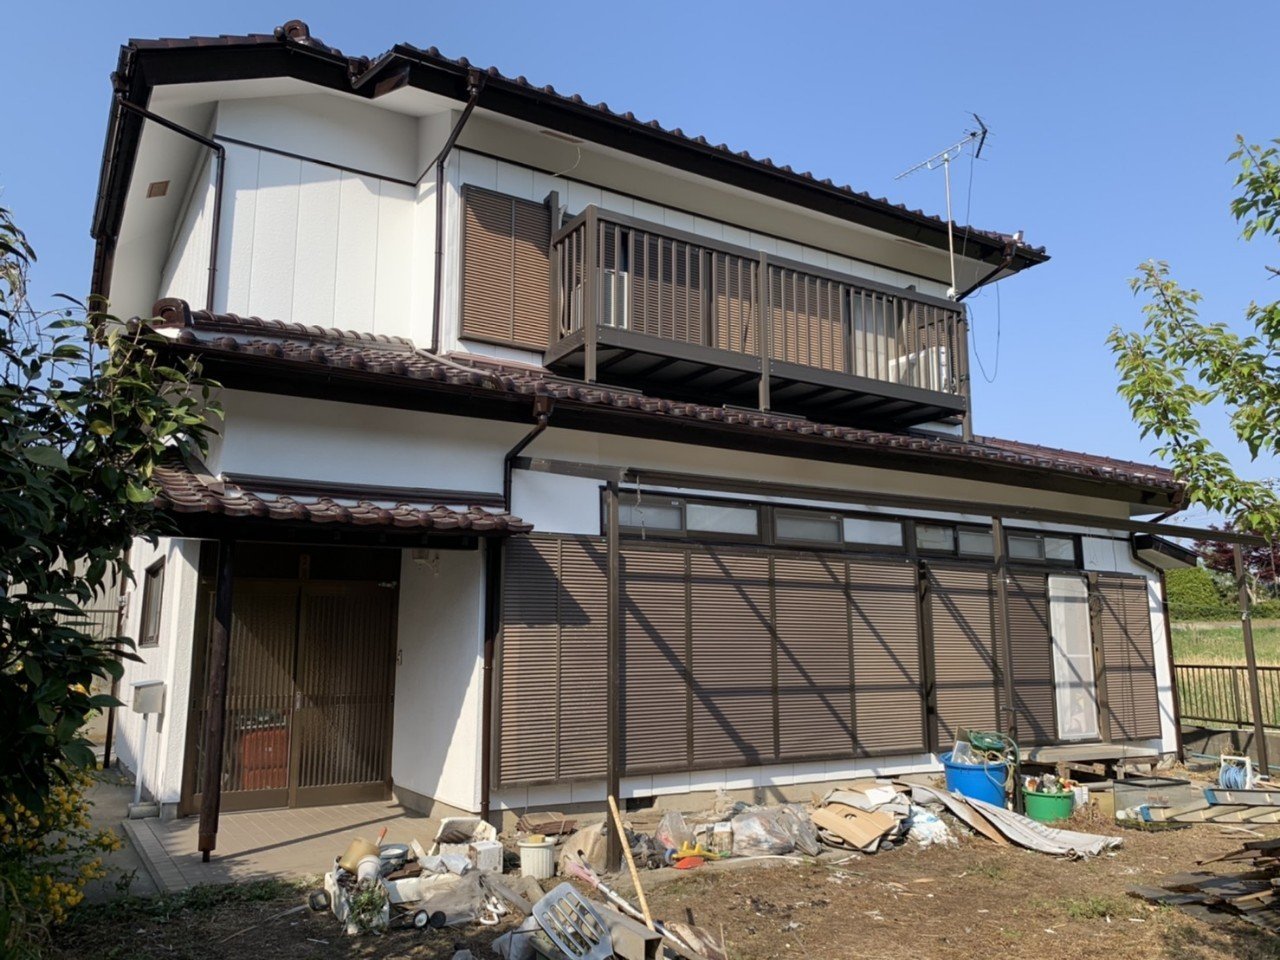
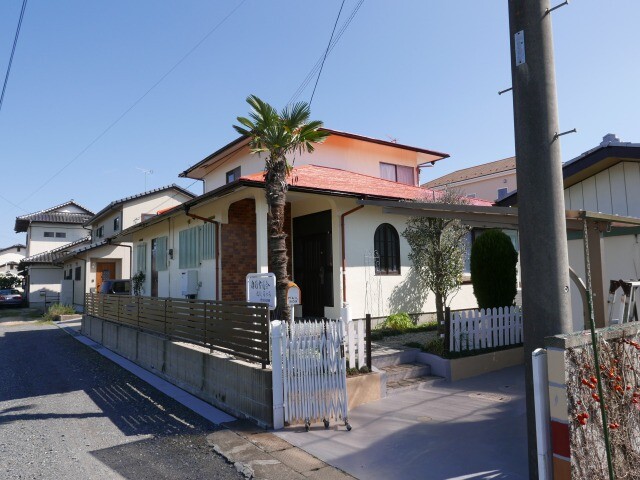
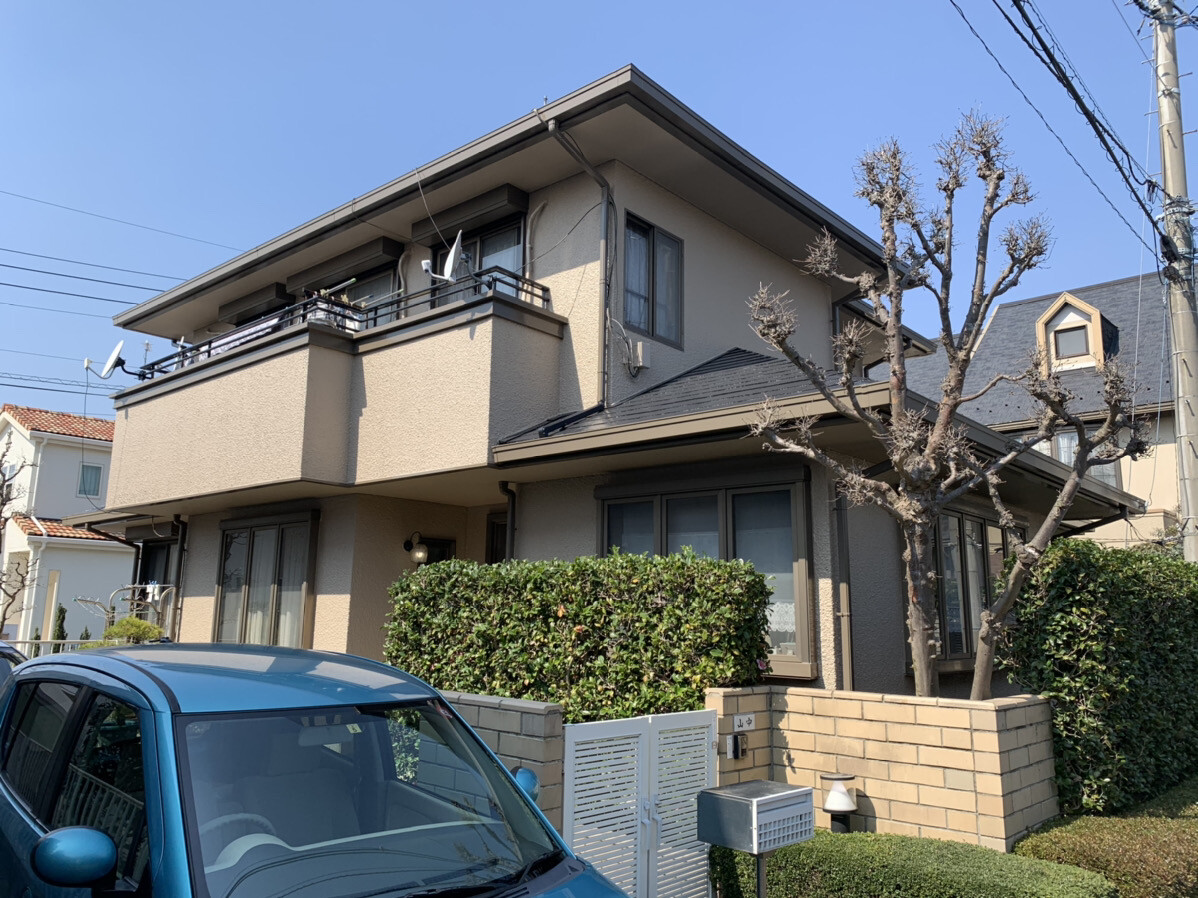
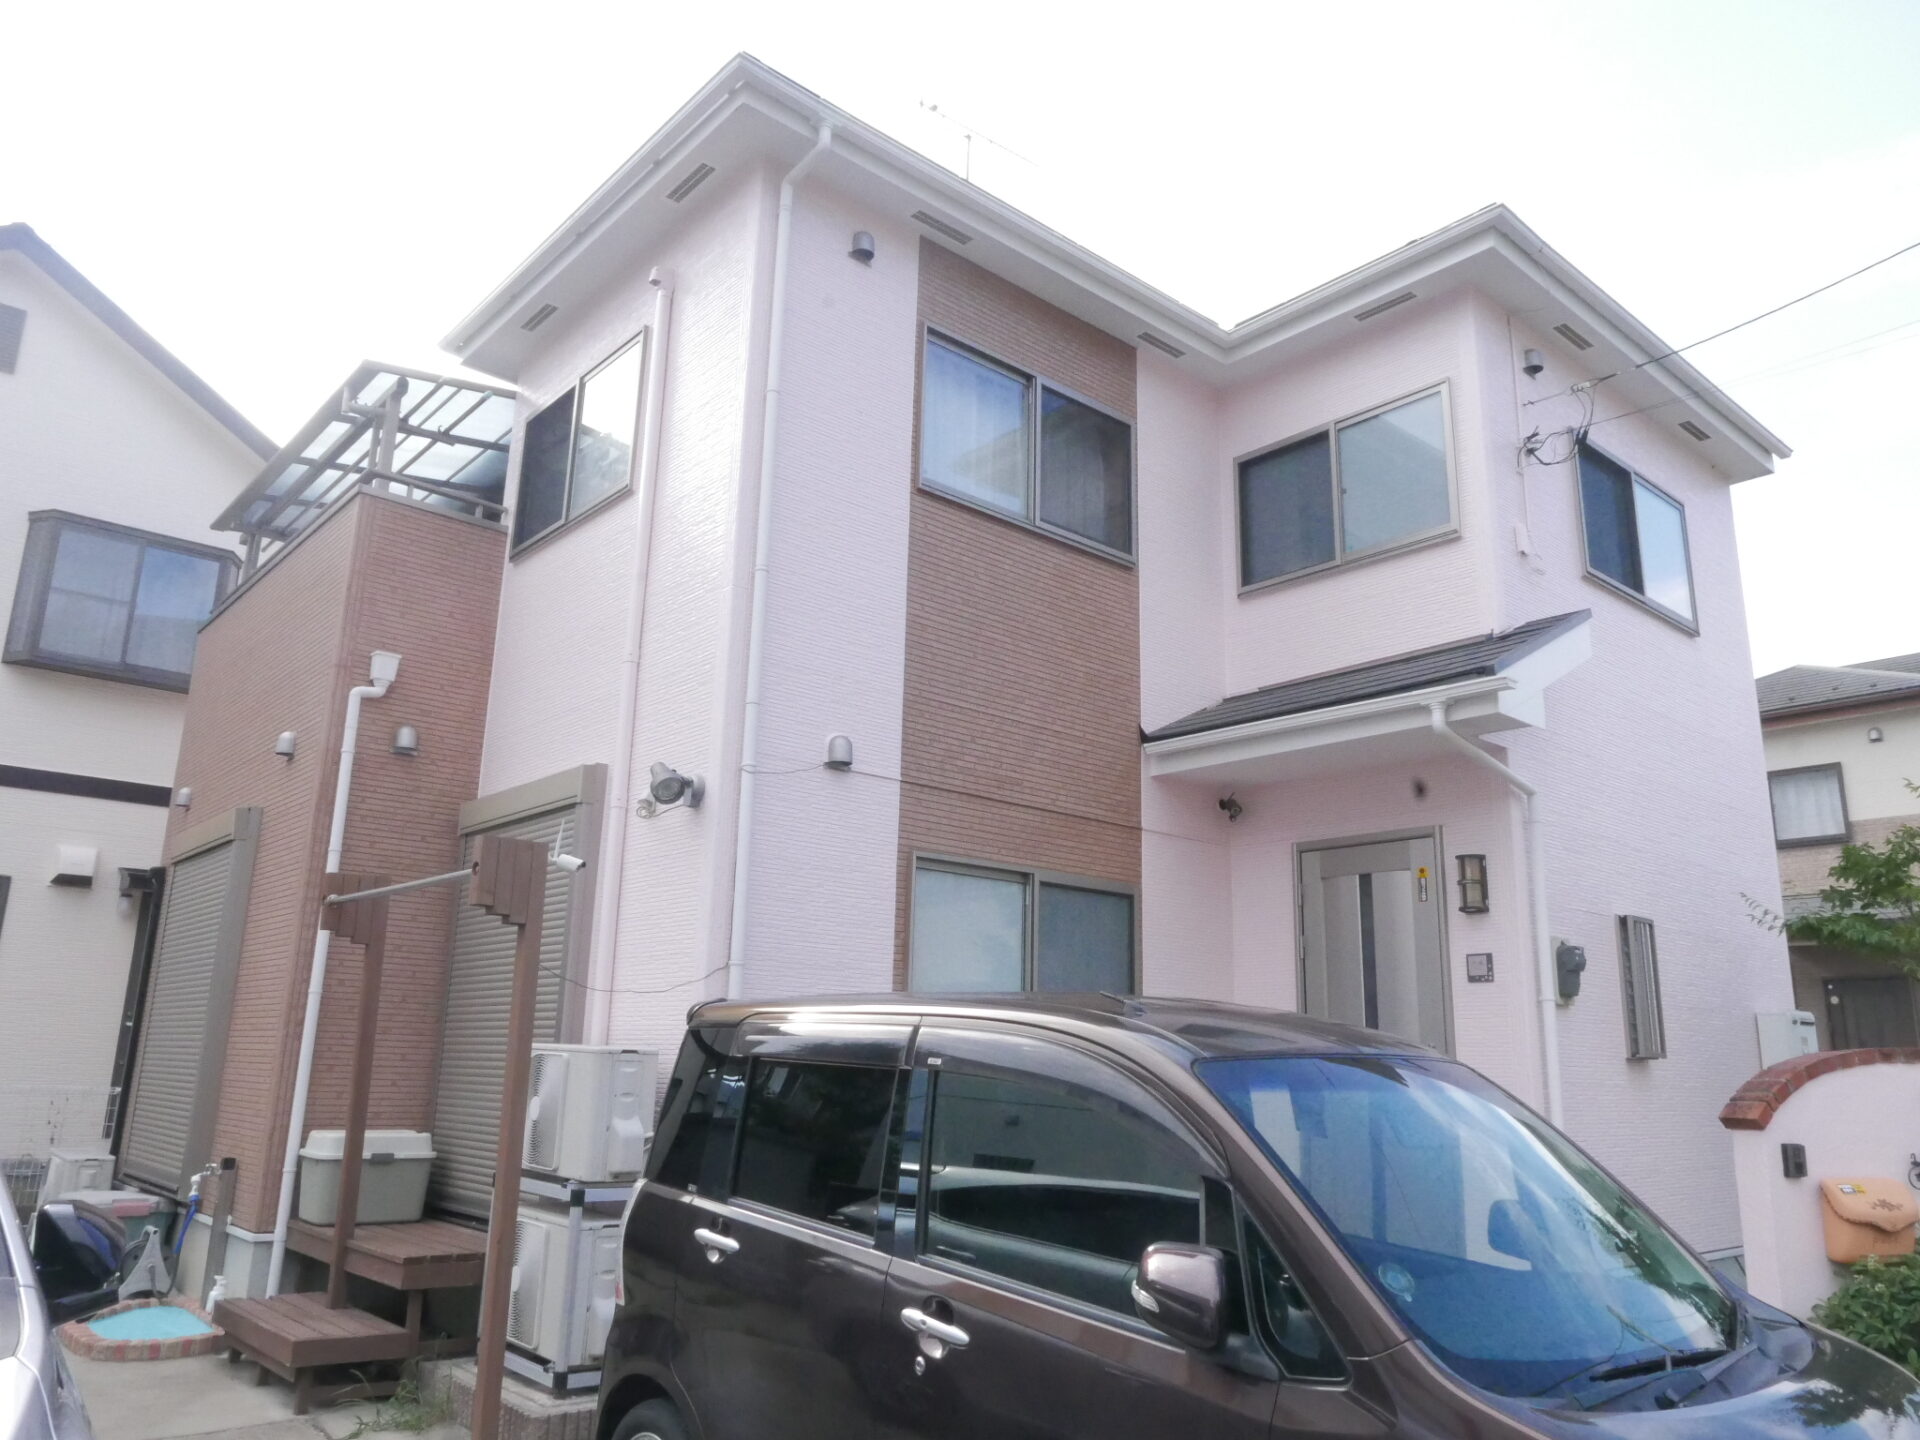
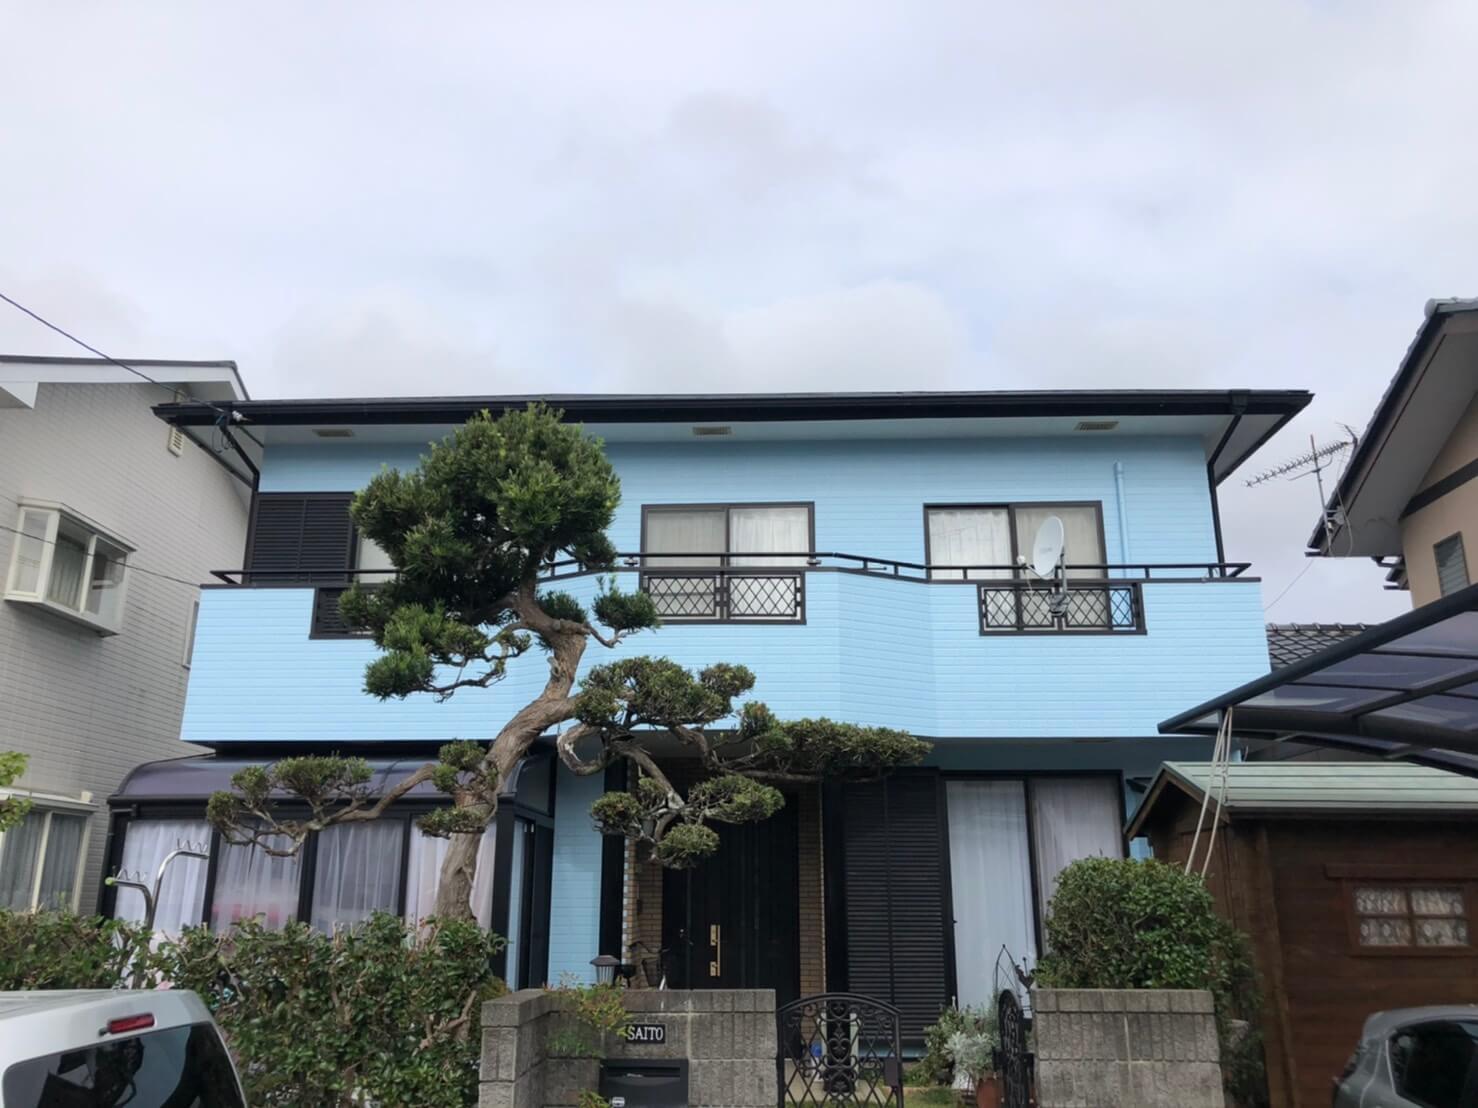
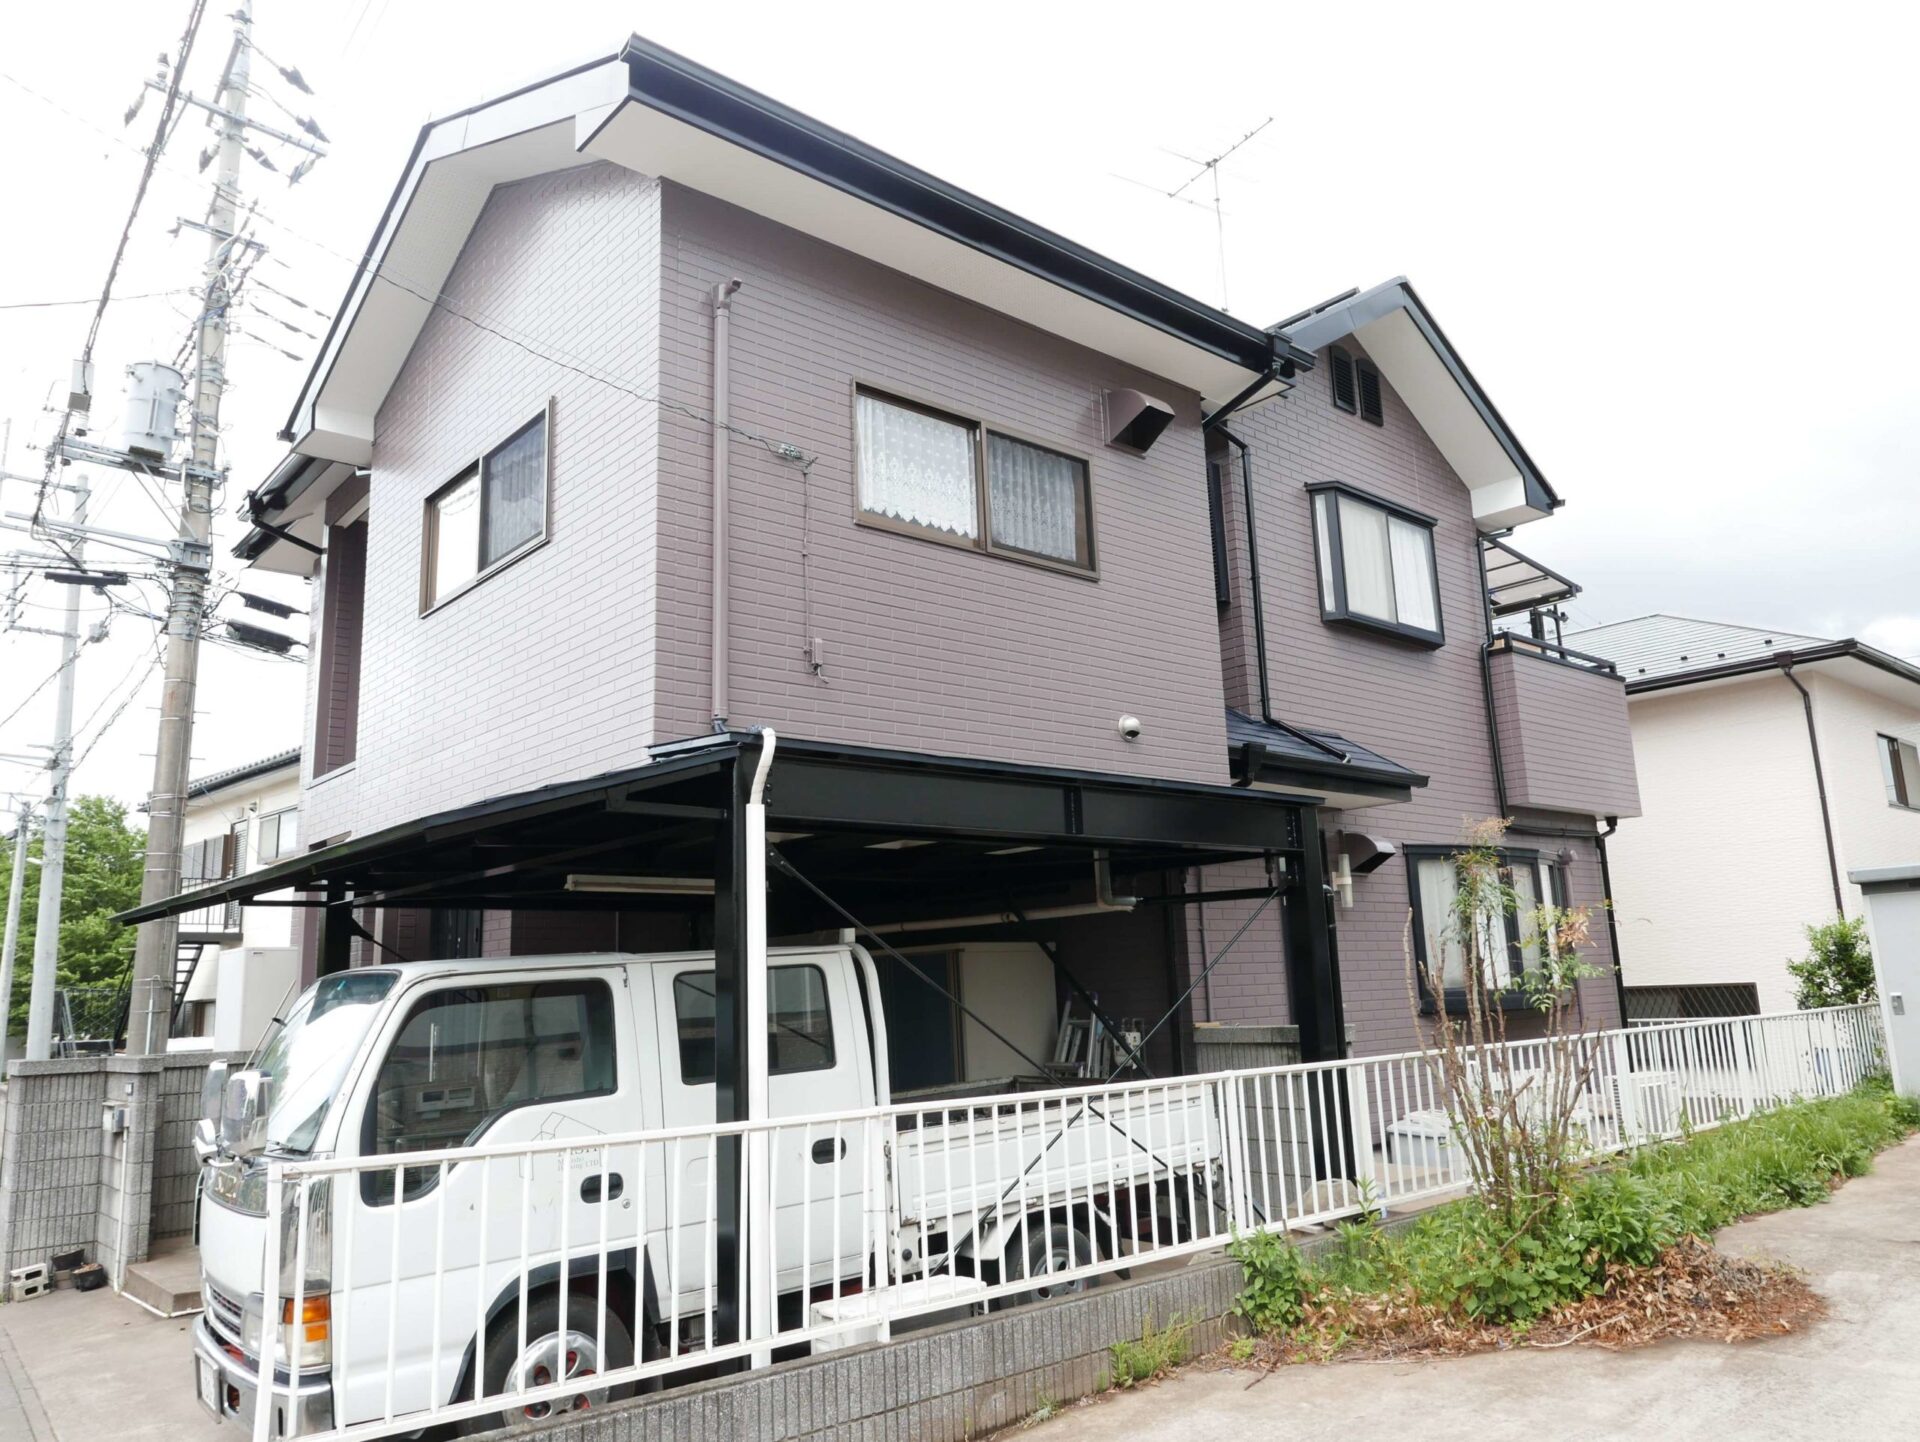
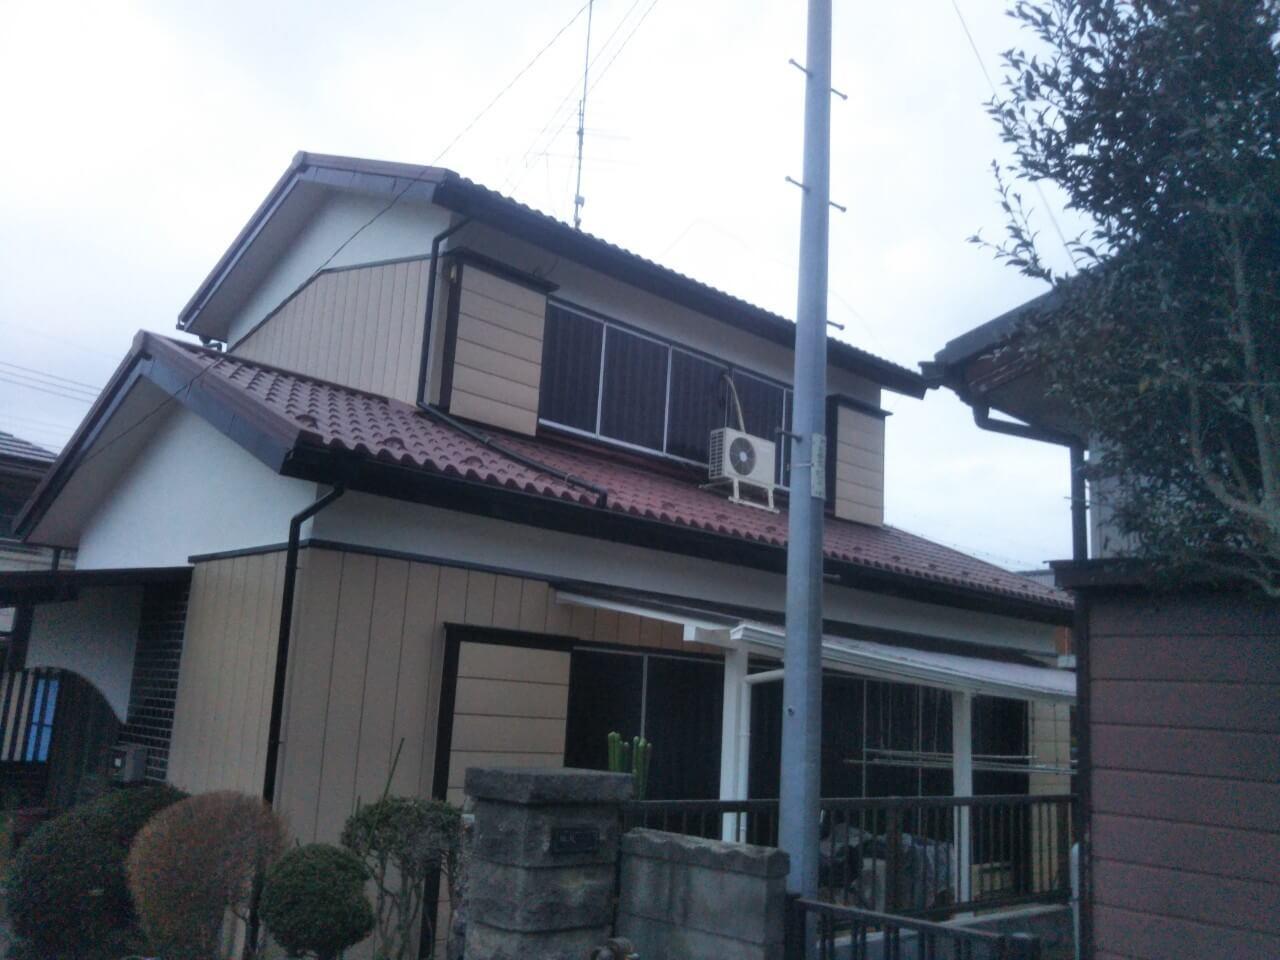
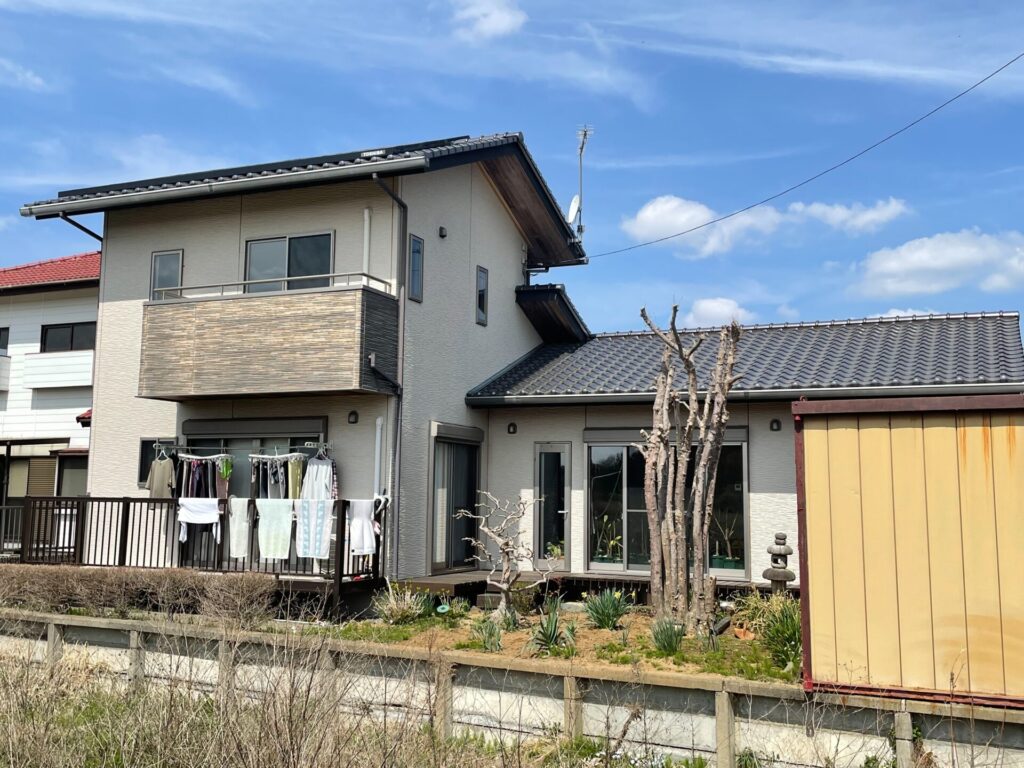
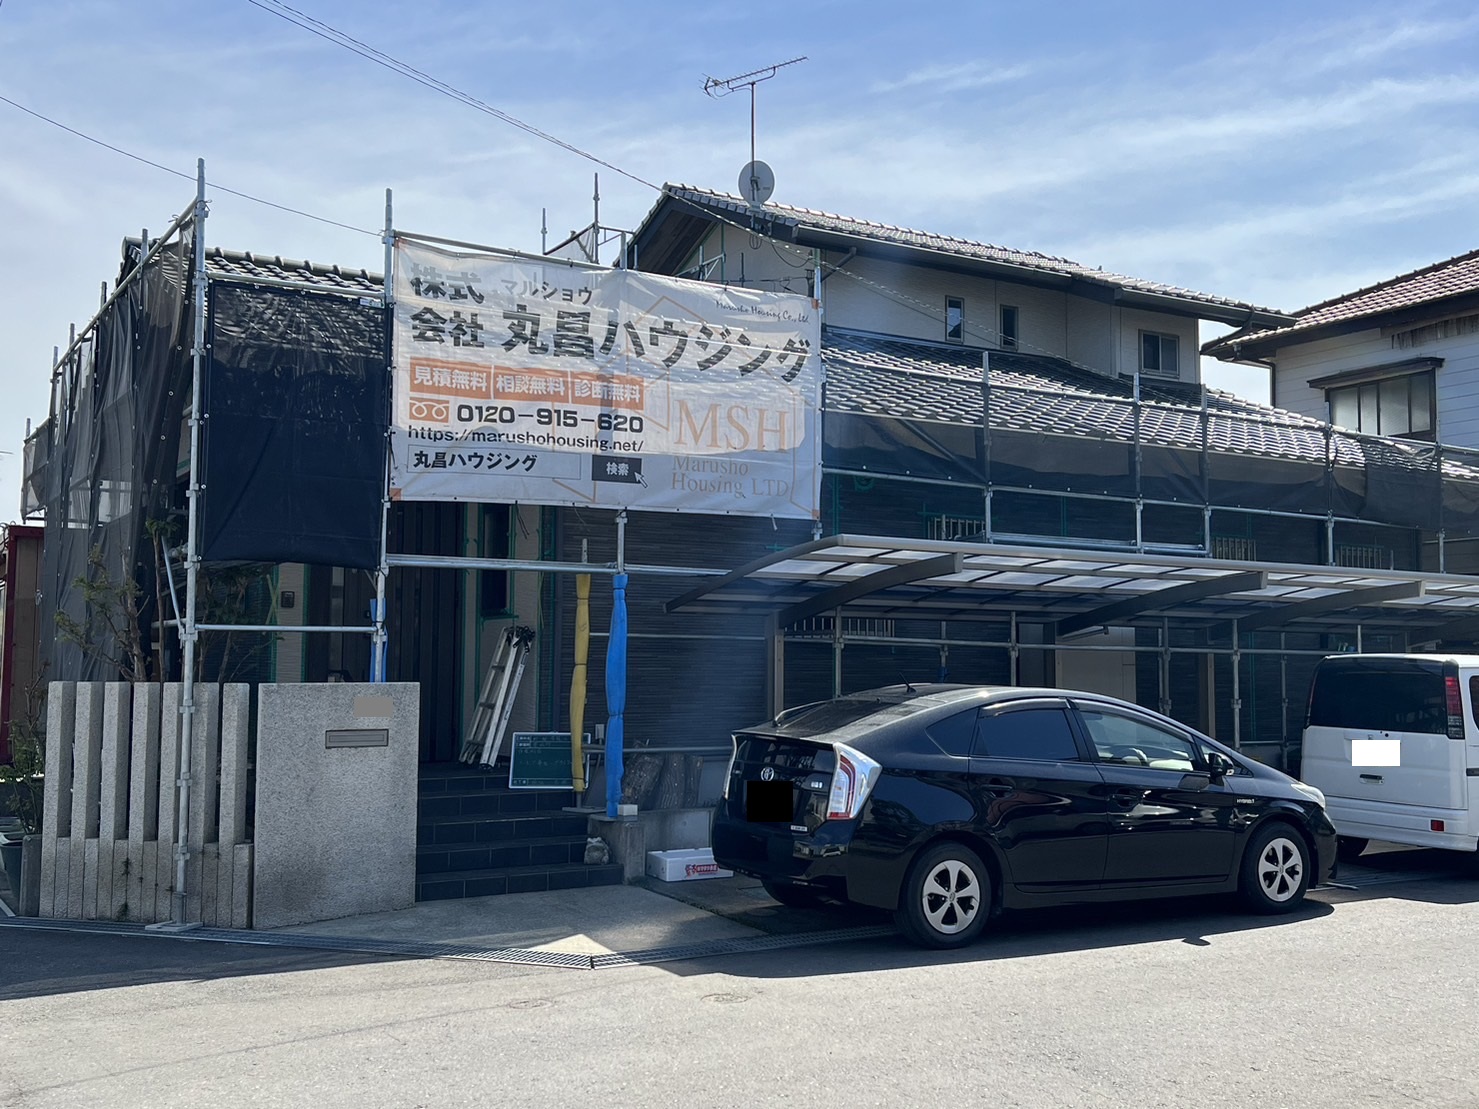
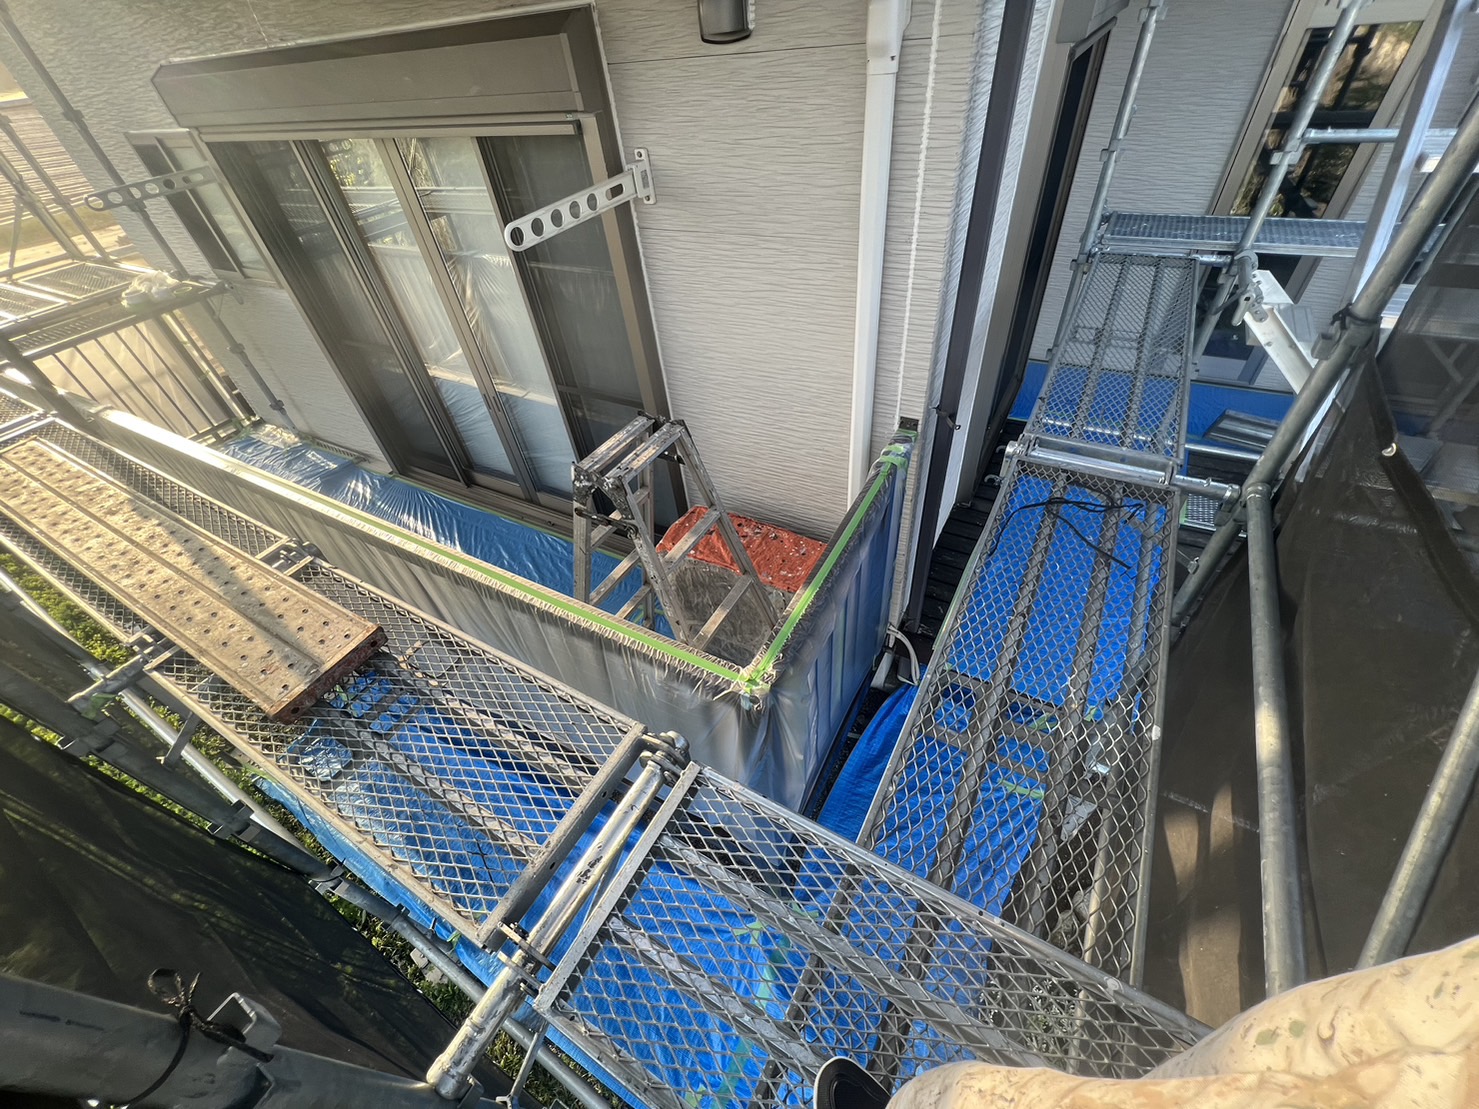
施工前
![](https://marushohousing.net/wp-content/uploads/2023/04/20230401_004145166_iOS.jpg)
![](https://marushohousing.net/wp-content/uploads/2023/04/20230401_004247633_iOS.jpg)
足場組立
塗装工事を行うにあたり必ず必要なのは足場組立です。
高所での作業になる為、落下しないよう十分に気を付けて作業をします。
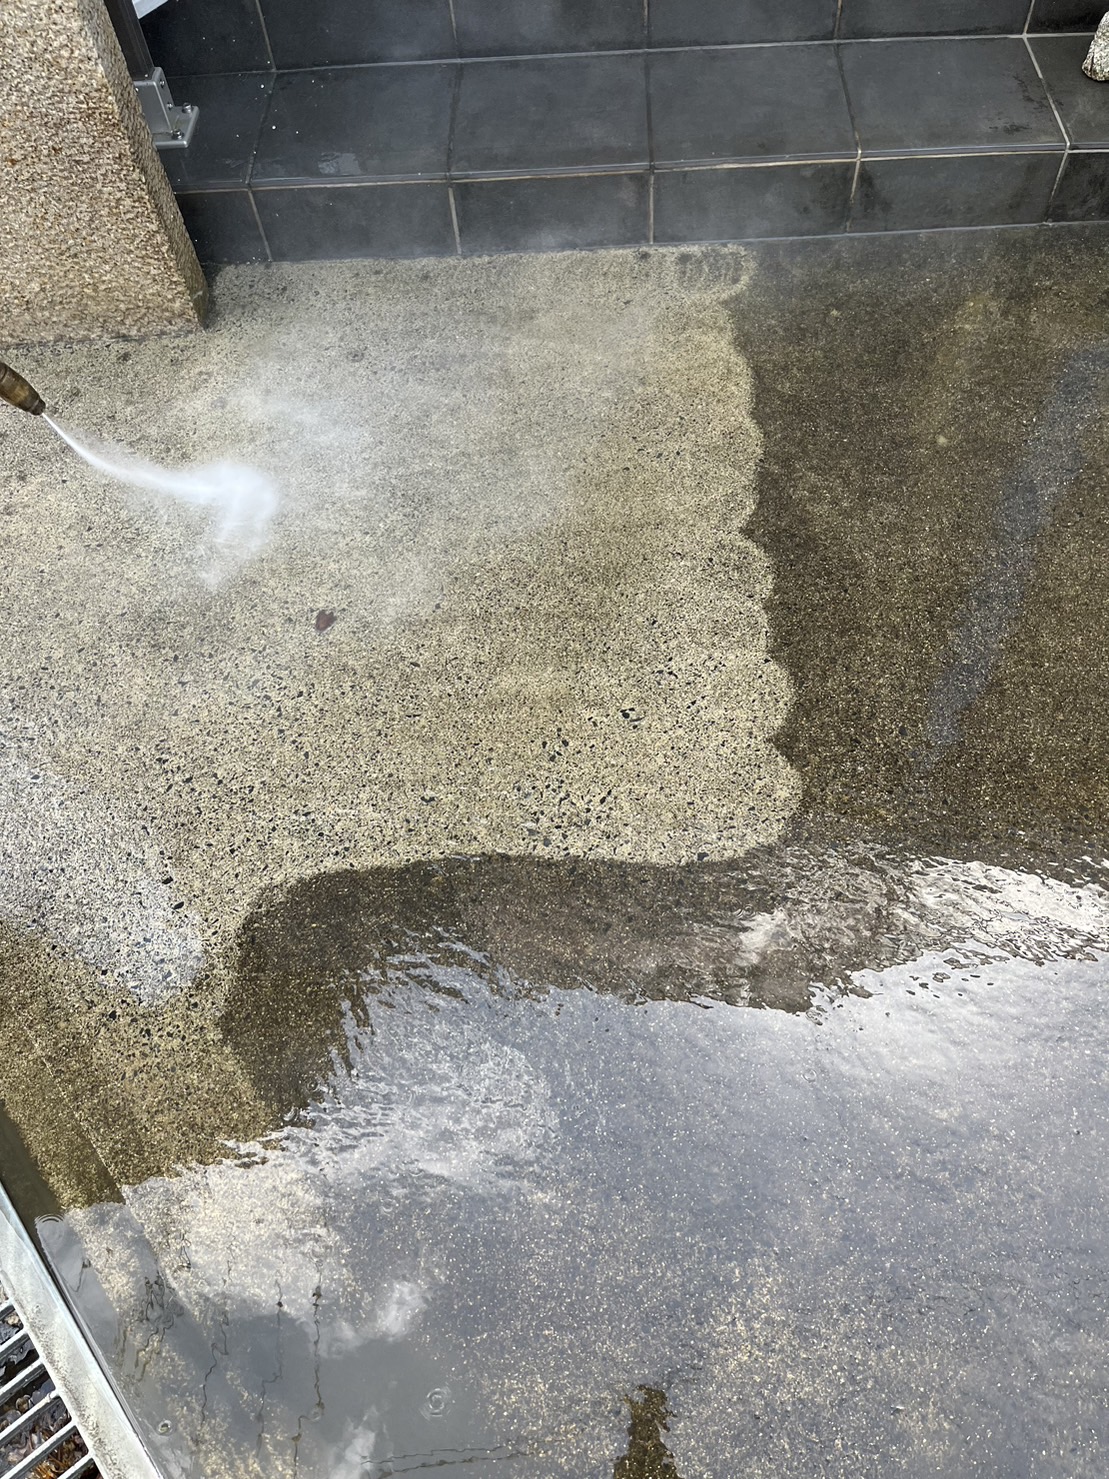
![](https://marushohousing.net/wp-content/uploads/2023/04/20230419_044844232_iOS-1.jpg)
洗浄
エンジン式の高圧洗浄機を使用し、外壁・屋根についた汚れを丁寧に落としていきます。
冬場の作業はとても寒く、かなり過酷な作業です!💦
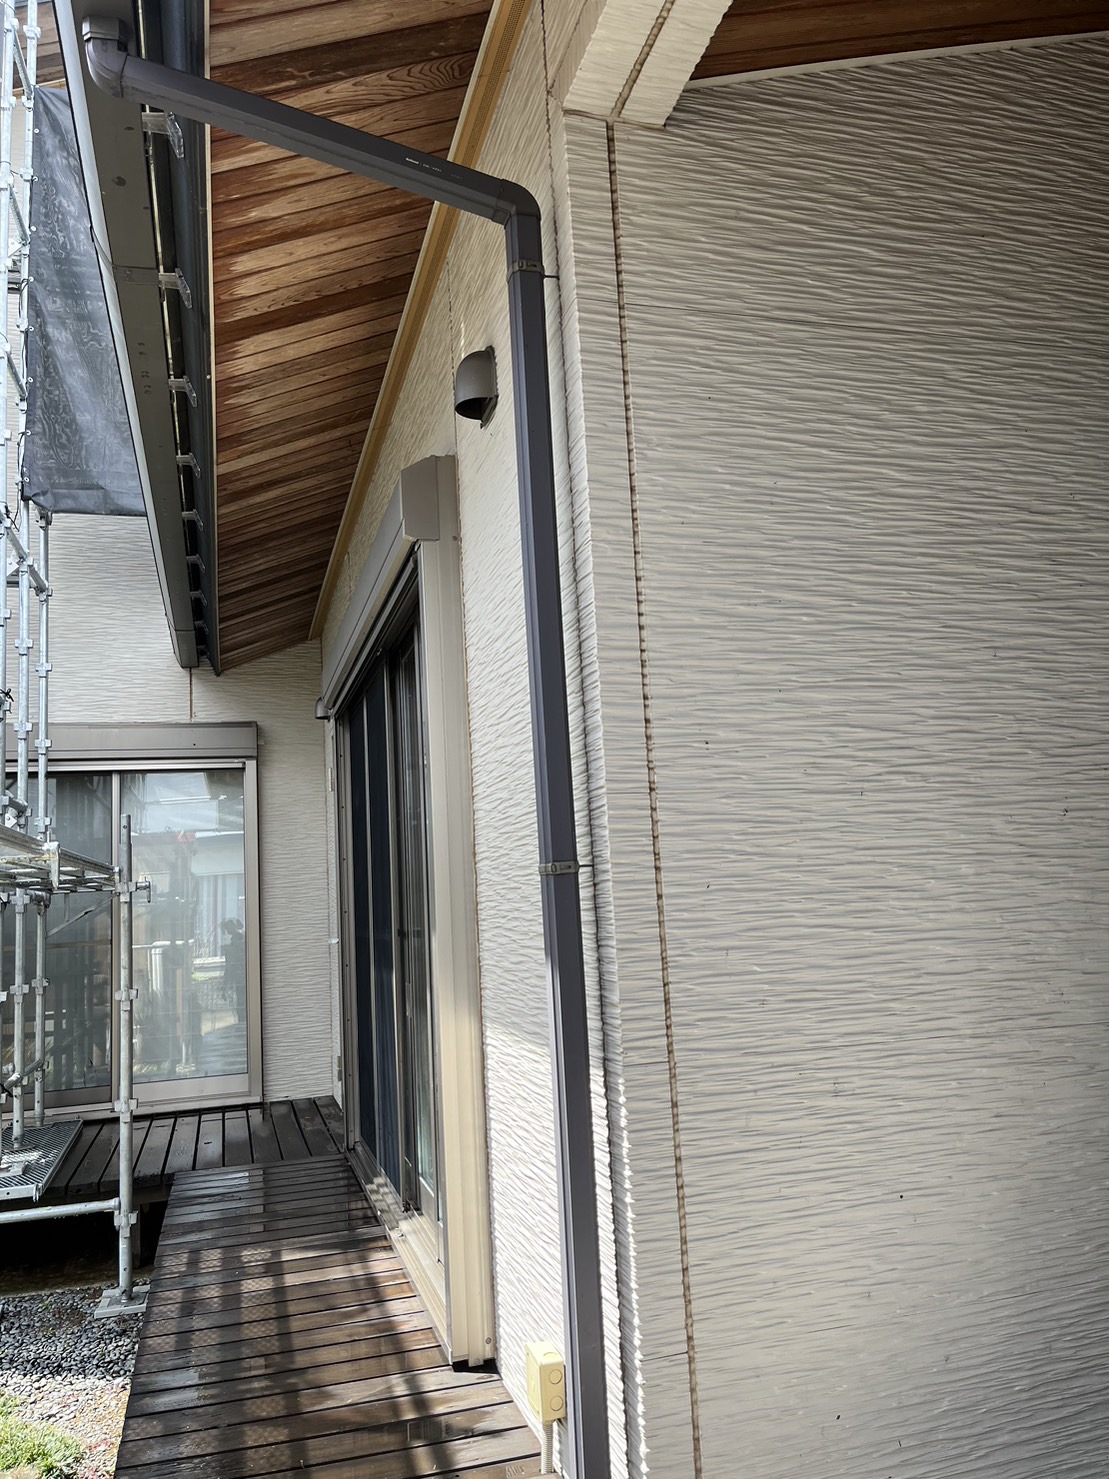
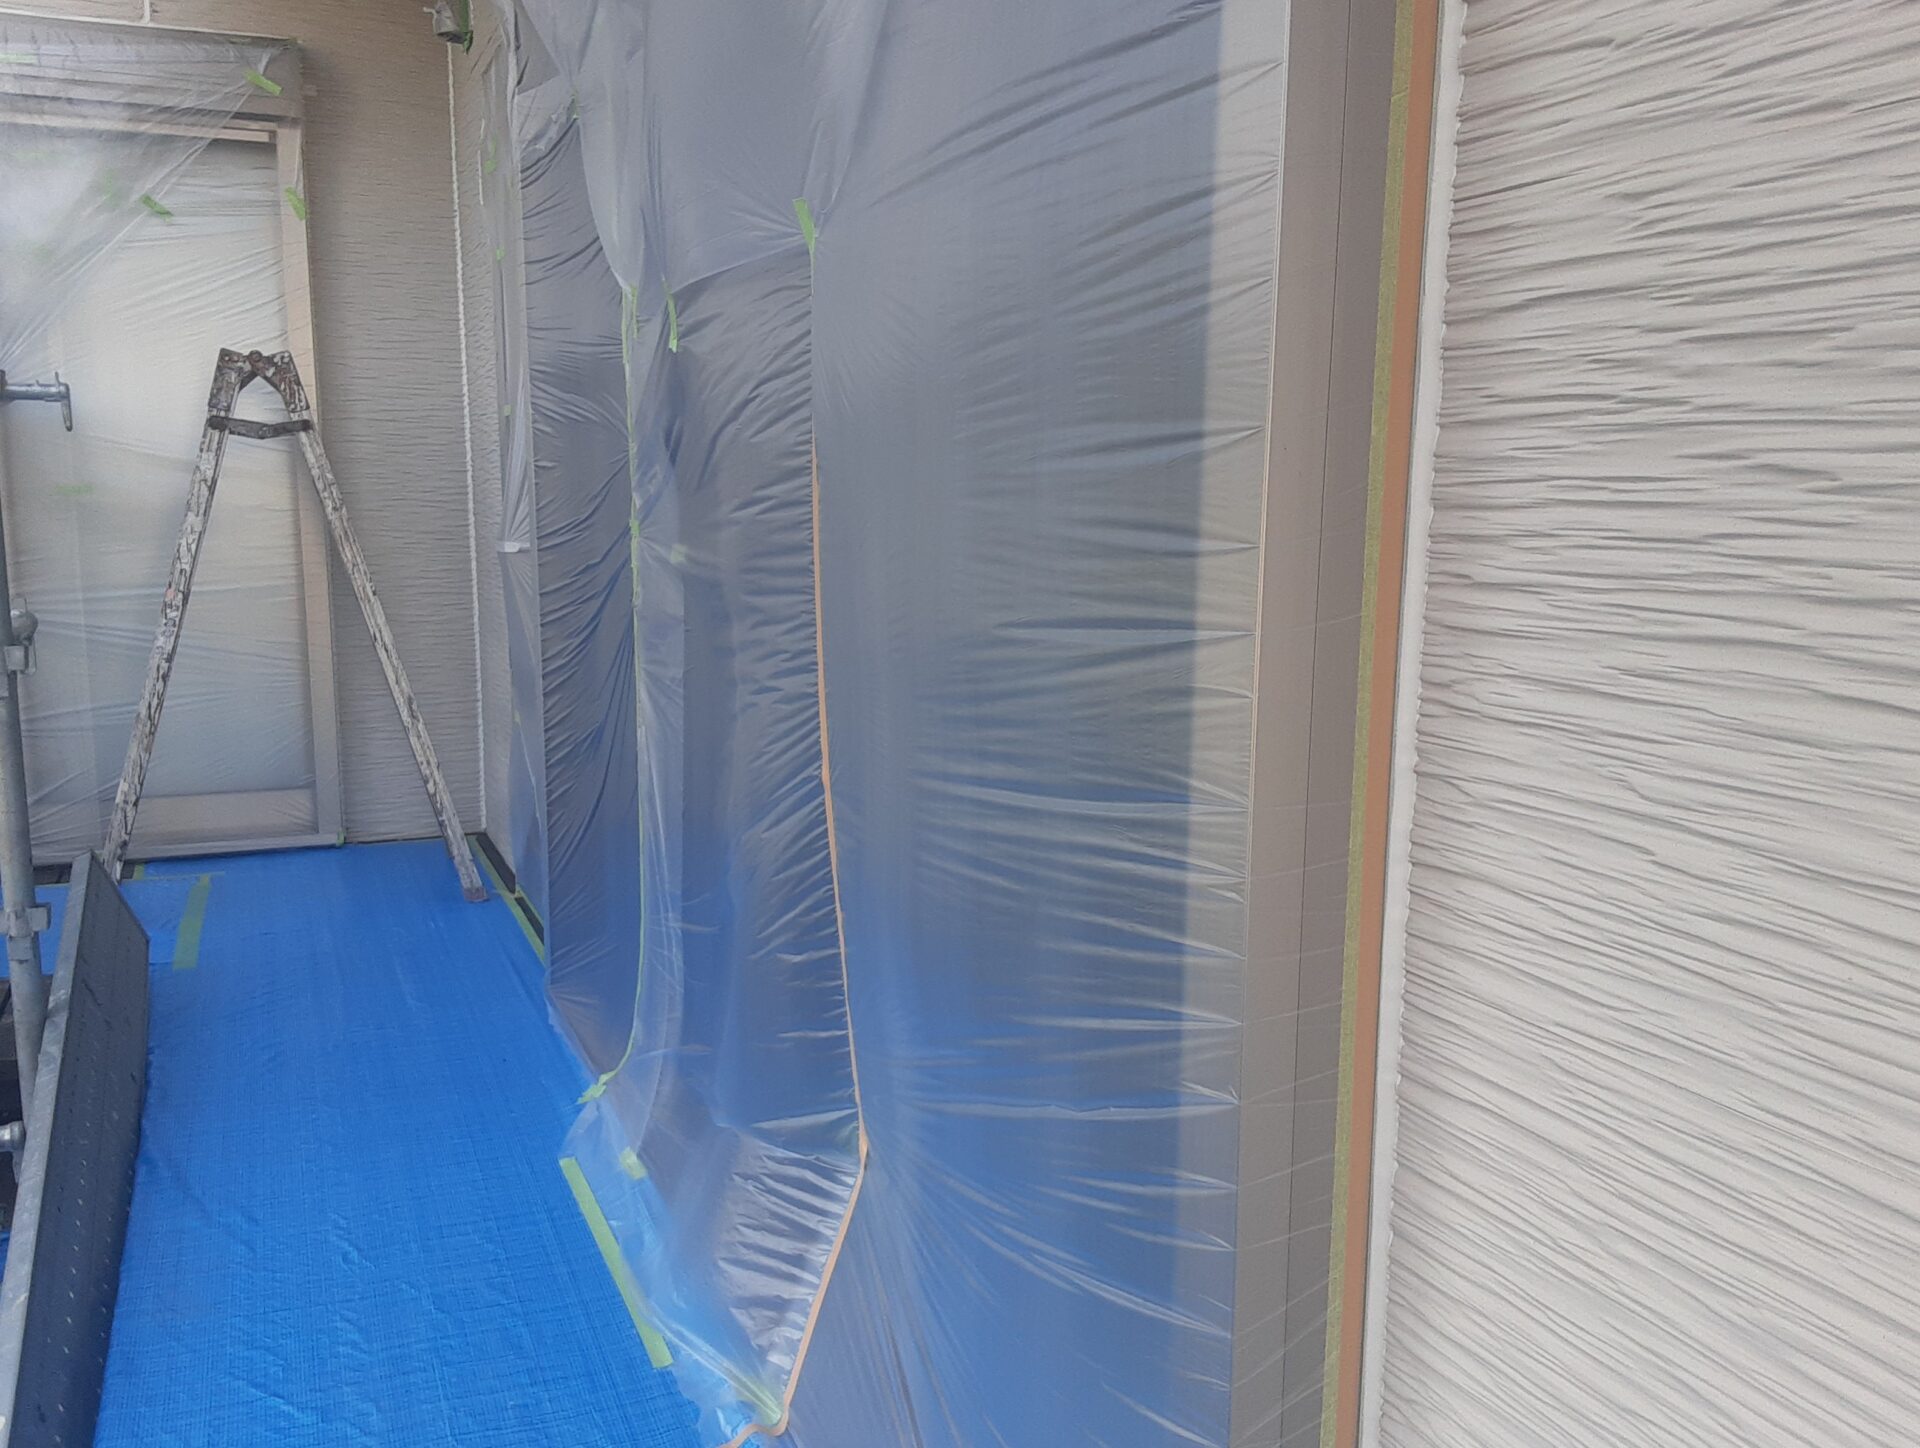
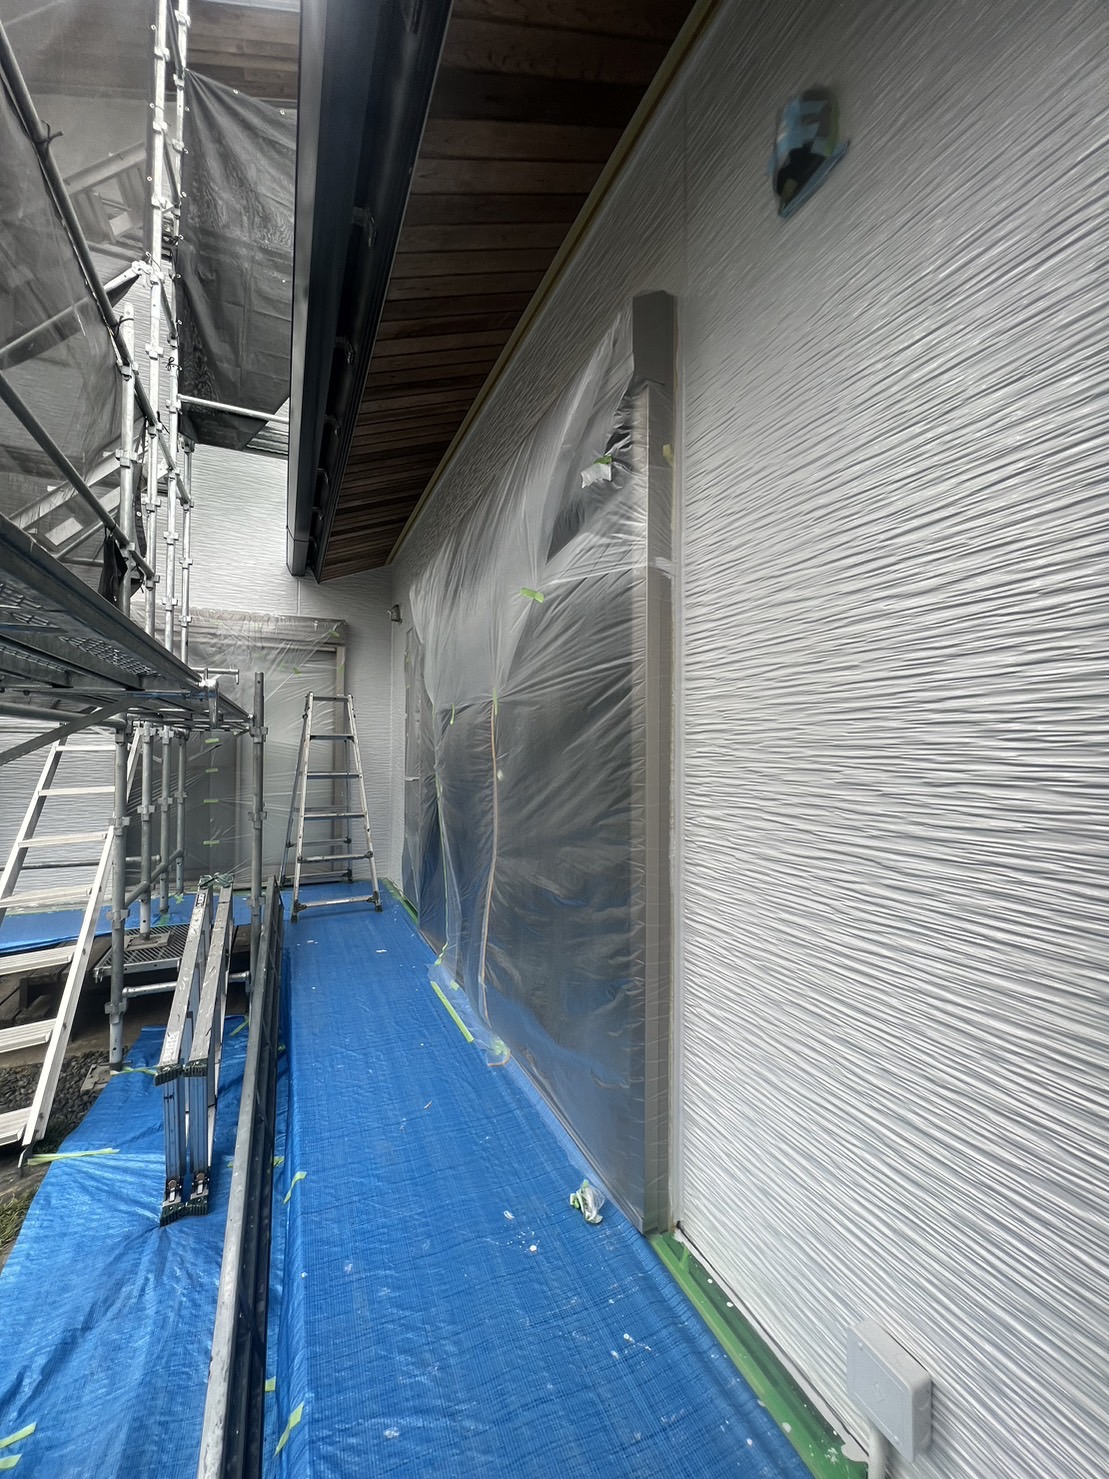
![](https://marushohousing.net/wp-content/uploads/2023/04/1682067147696.jpg)
![](https://marushohousing.net/wp-content/uploads/2023/04/1682067147798.jpg)
養生
サッシやご自宅周りを汚さないよう、しっかりと養生していきます。
この作業を怠ると、塗装終了後の清掃がとても大変です!
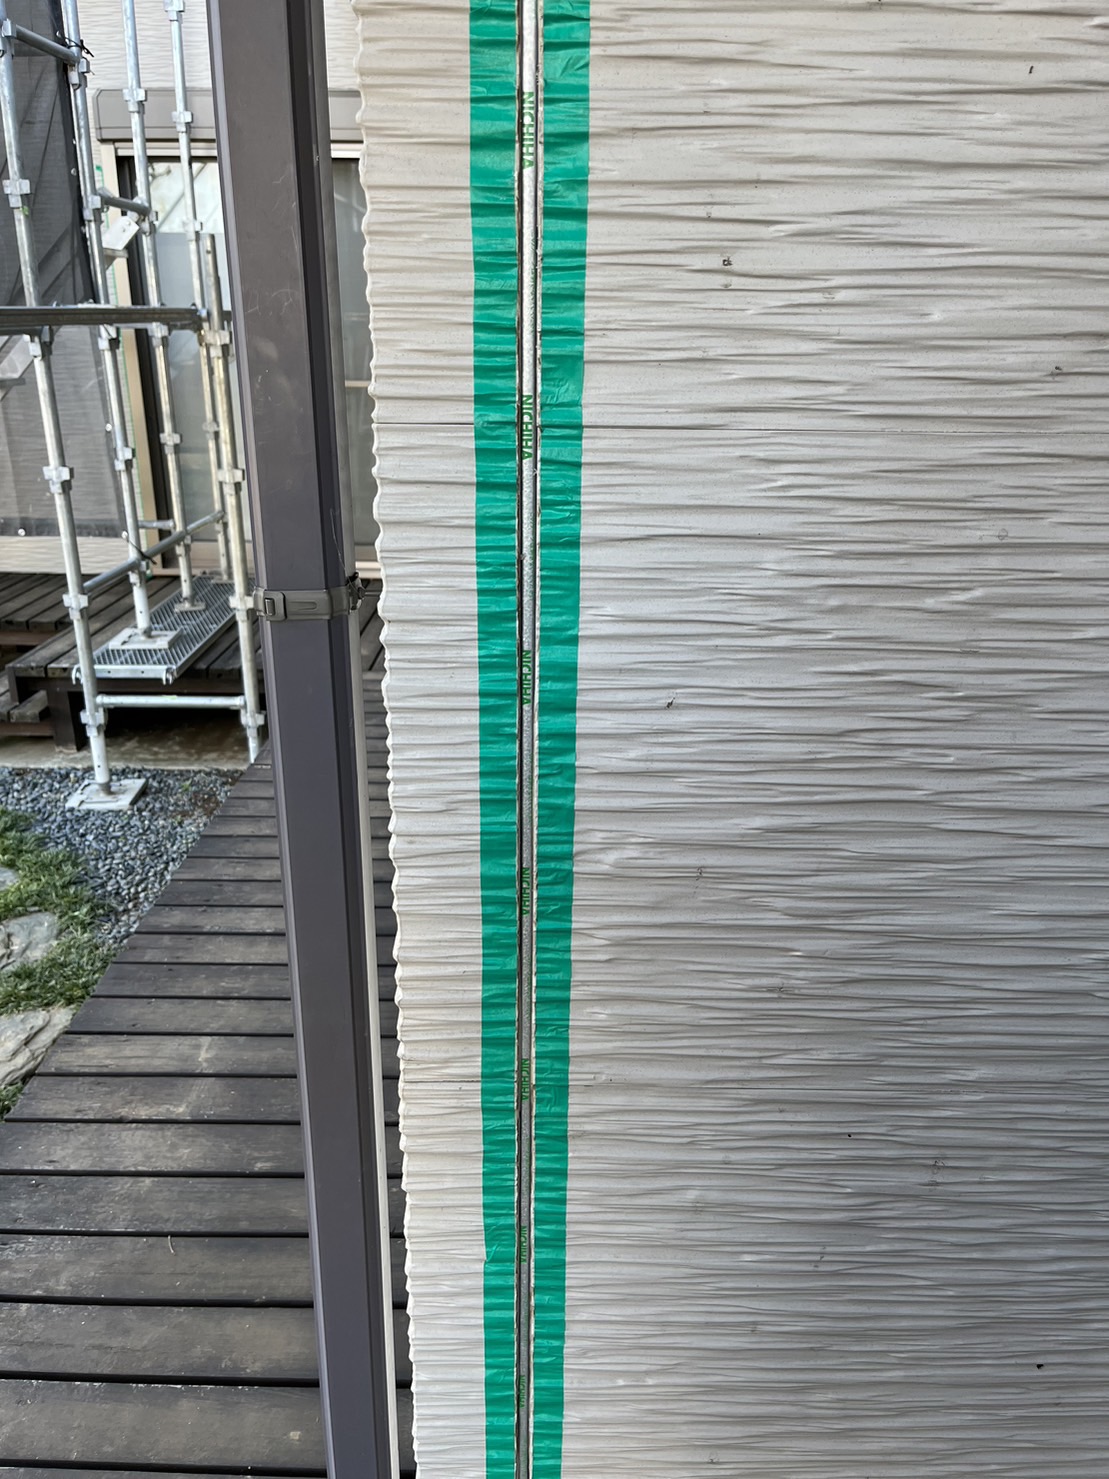
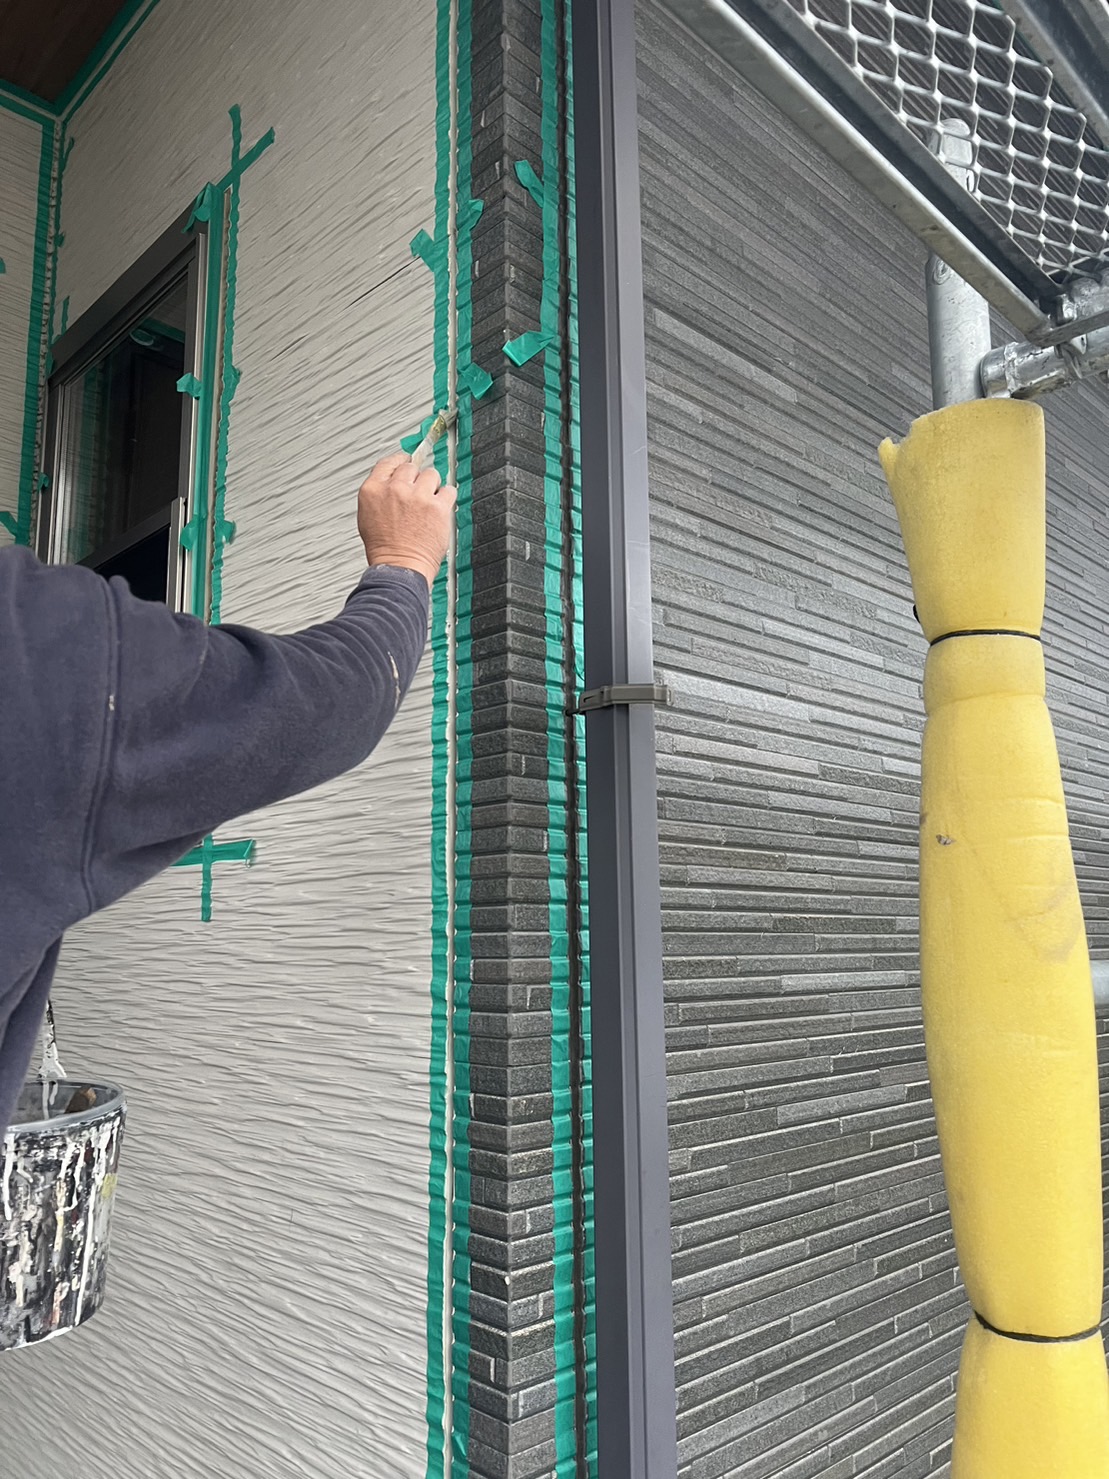
![](https://marushohousing.net/wp-content/uploads/2023/04/IMG_20230421_153321.jpg)
![](https://marushohousing.net/wp-content/uploads/2023/04/1682067325196.jpg)
シーリング撤去・打設
外壁塗装をする時期になると、既存のシーリングは基本的に劣化が進んでいます。
側面切れや、シーリングのひび割れ部分から水が侵入し、雨漏りや凍害を起こす可能性があります。
縦目地に関しては打ち替え、サッシ廻りや入隅は既存シーリングの上に打ち増しをします。
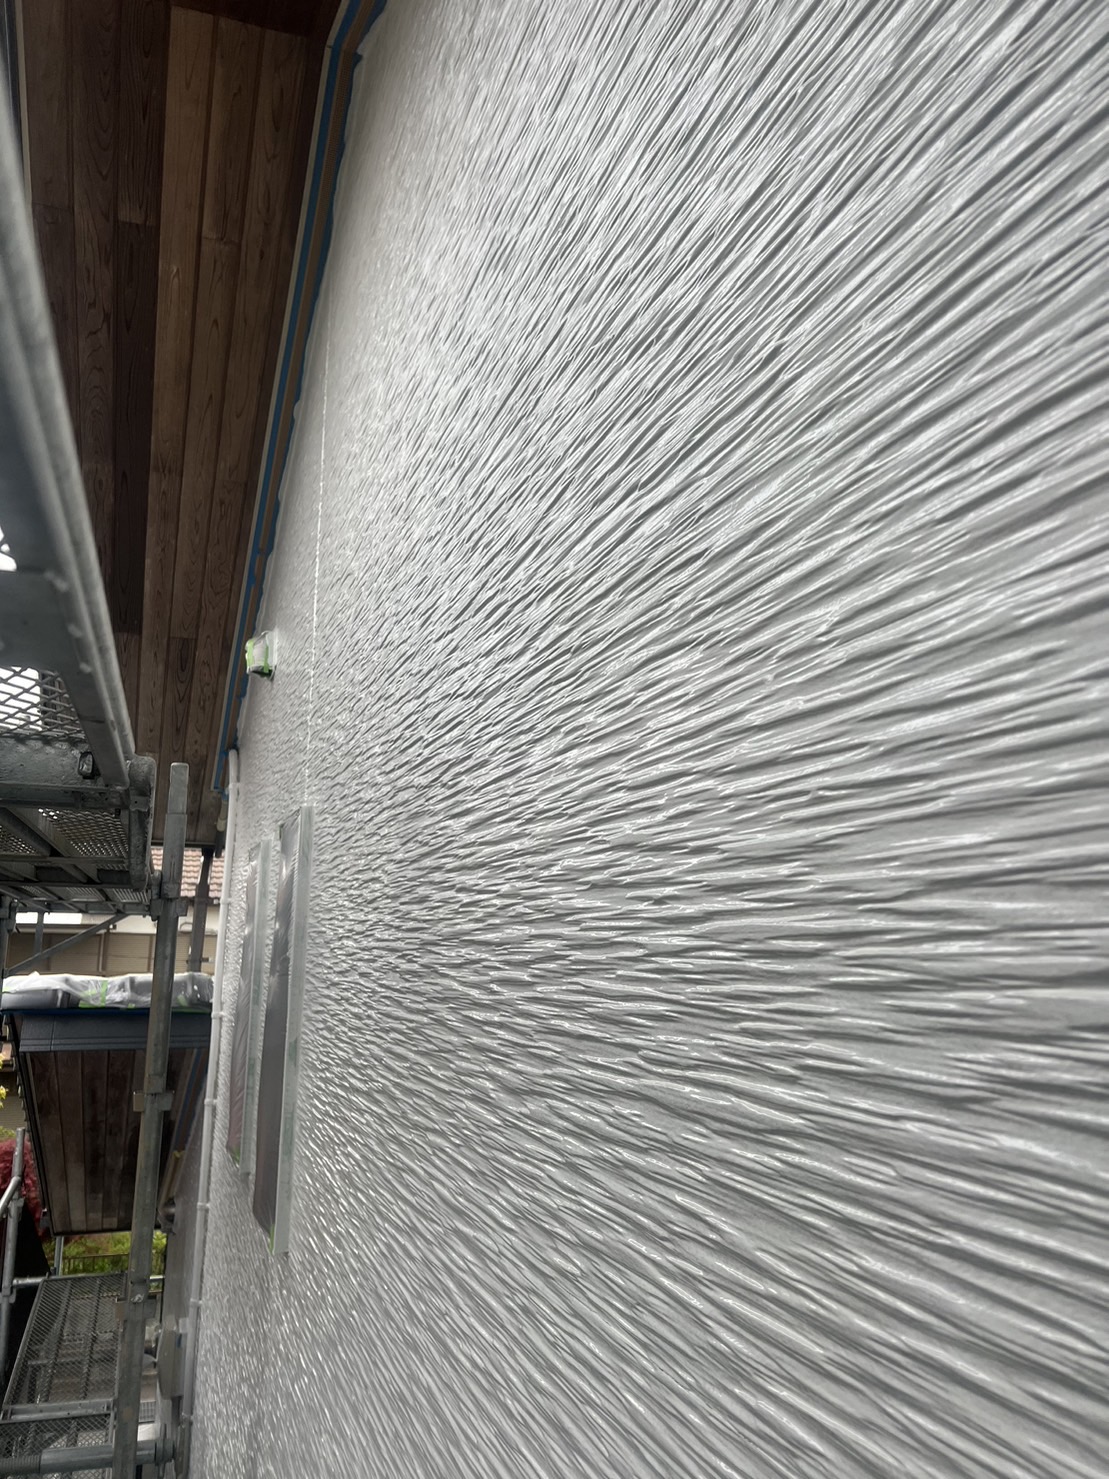
![](https://marushohousing.net/wp-content/uploads/2023/04/1682067148014.jpg)
![](https://marushohousing.net/wp-content/uploads/2023/04/1682067227927.jpg)
![](https://marushohousing.net/wp-content/uploads/2023/04/1682067287563.jpg)
外壁塗装下塗り(窯業サイディング)
窯業サイディングの下塗りは、主にプライマーを使用します。
外壁と中・上塗り塗料の密着性を高めるためにとても重要な工程です。
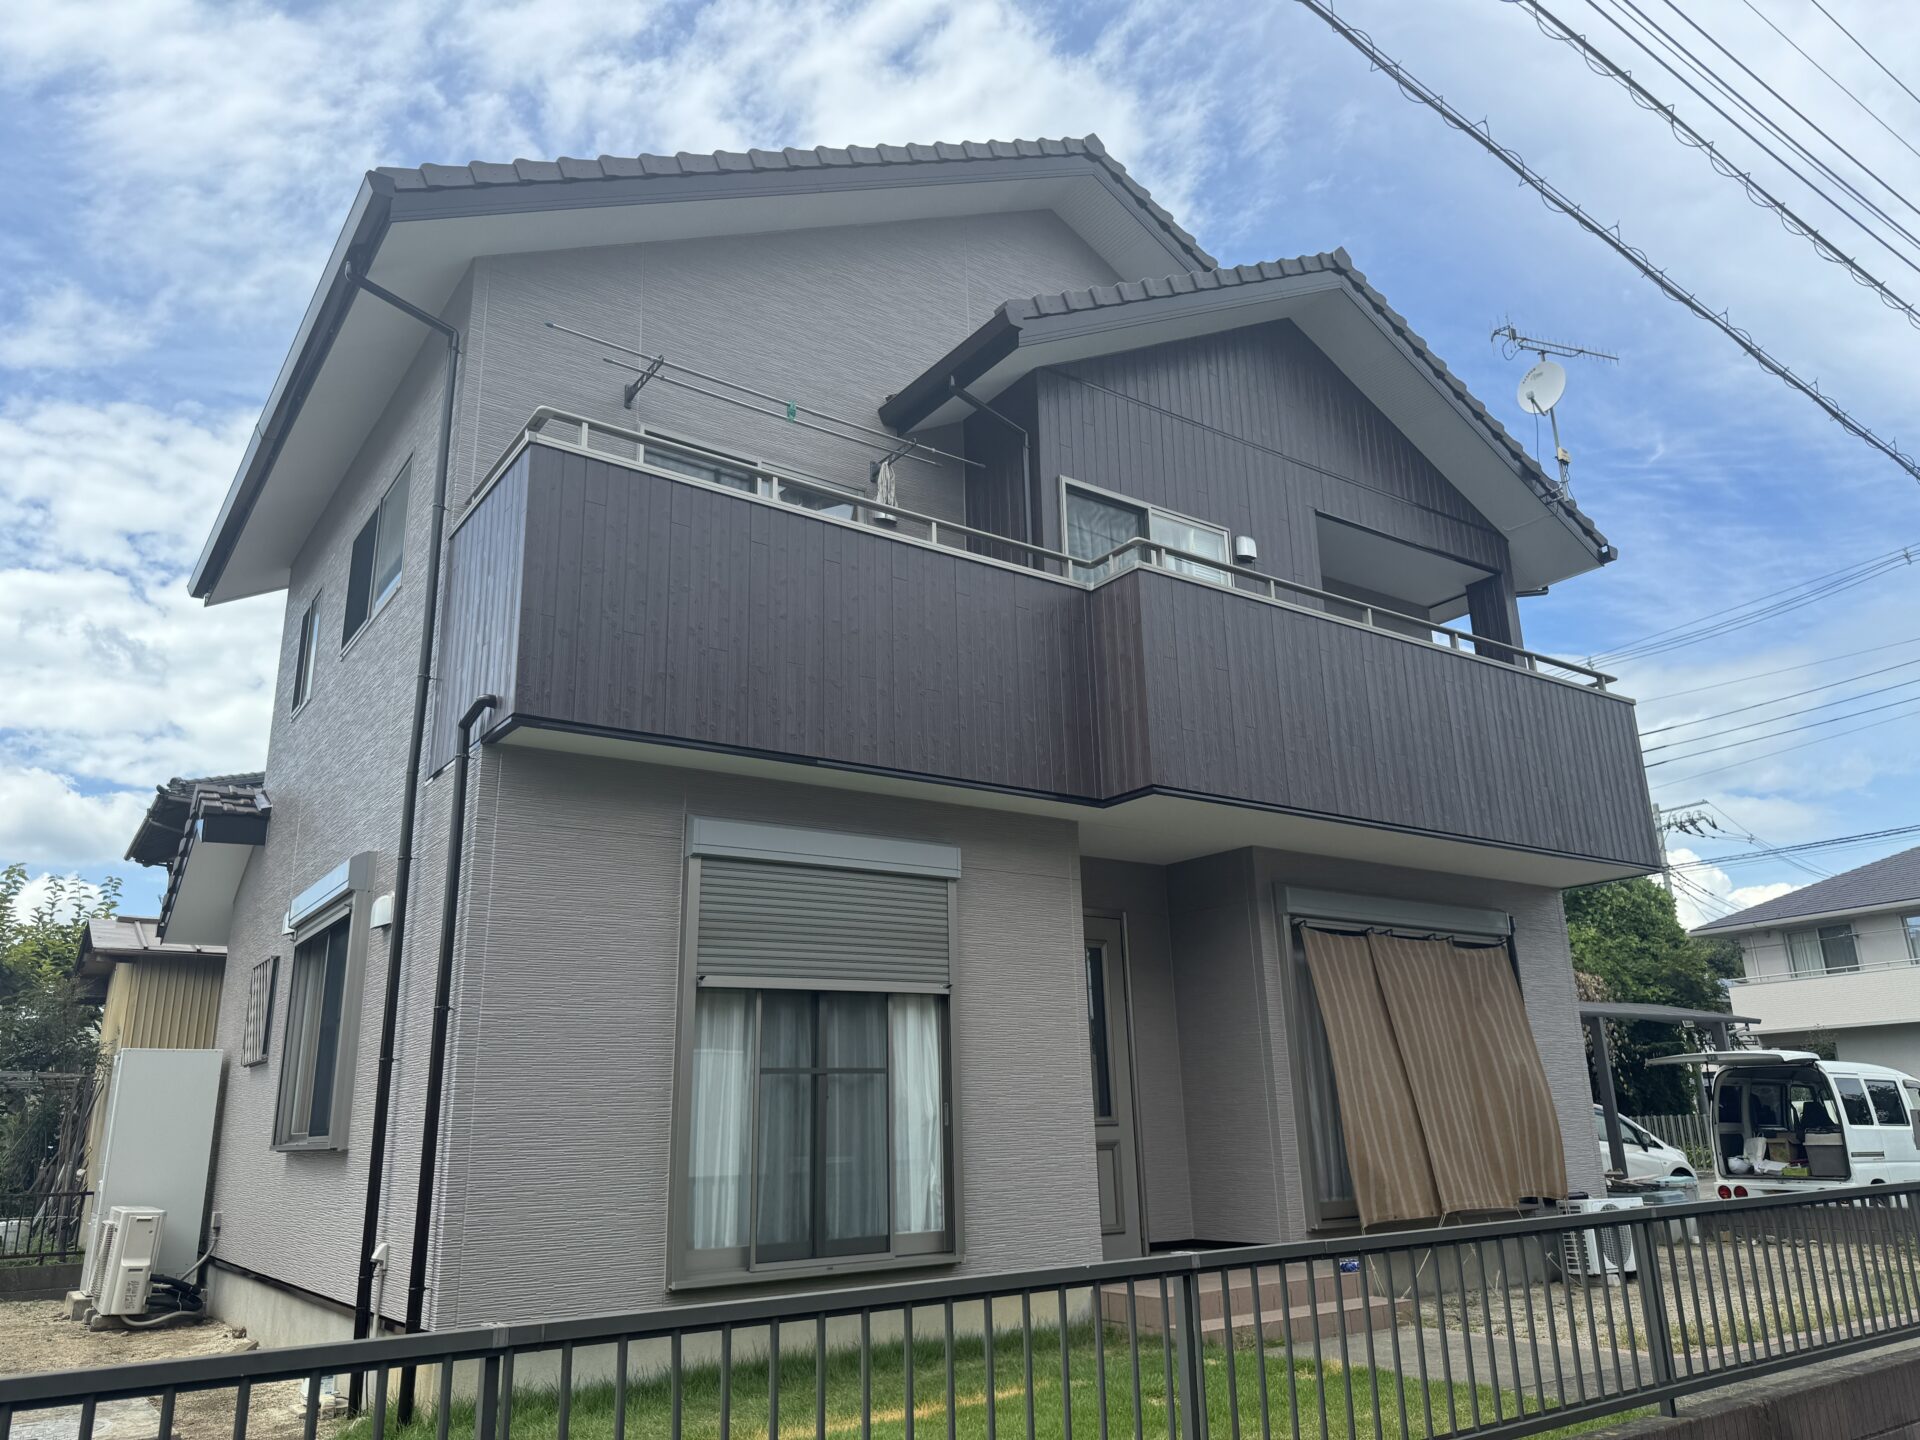
![](https://marushohousing.net/wp-content/uploads/2023/04/IMG_20230424_162920.jpg)
![](https://marushohousing.net/wp-content/uploads/2023/04/1682152794506.jpg)
外壁塗装中塗り(窯業サイディング)
上塗りの仕上げをより良くする為に、中塗りを行います。
決められた乾燥時間を必ず厳守し、丁寧に塗布していきます。
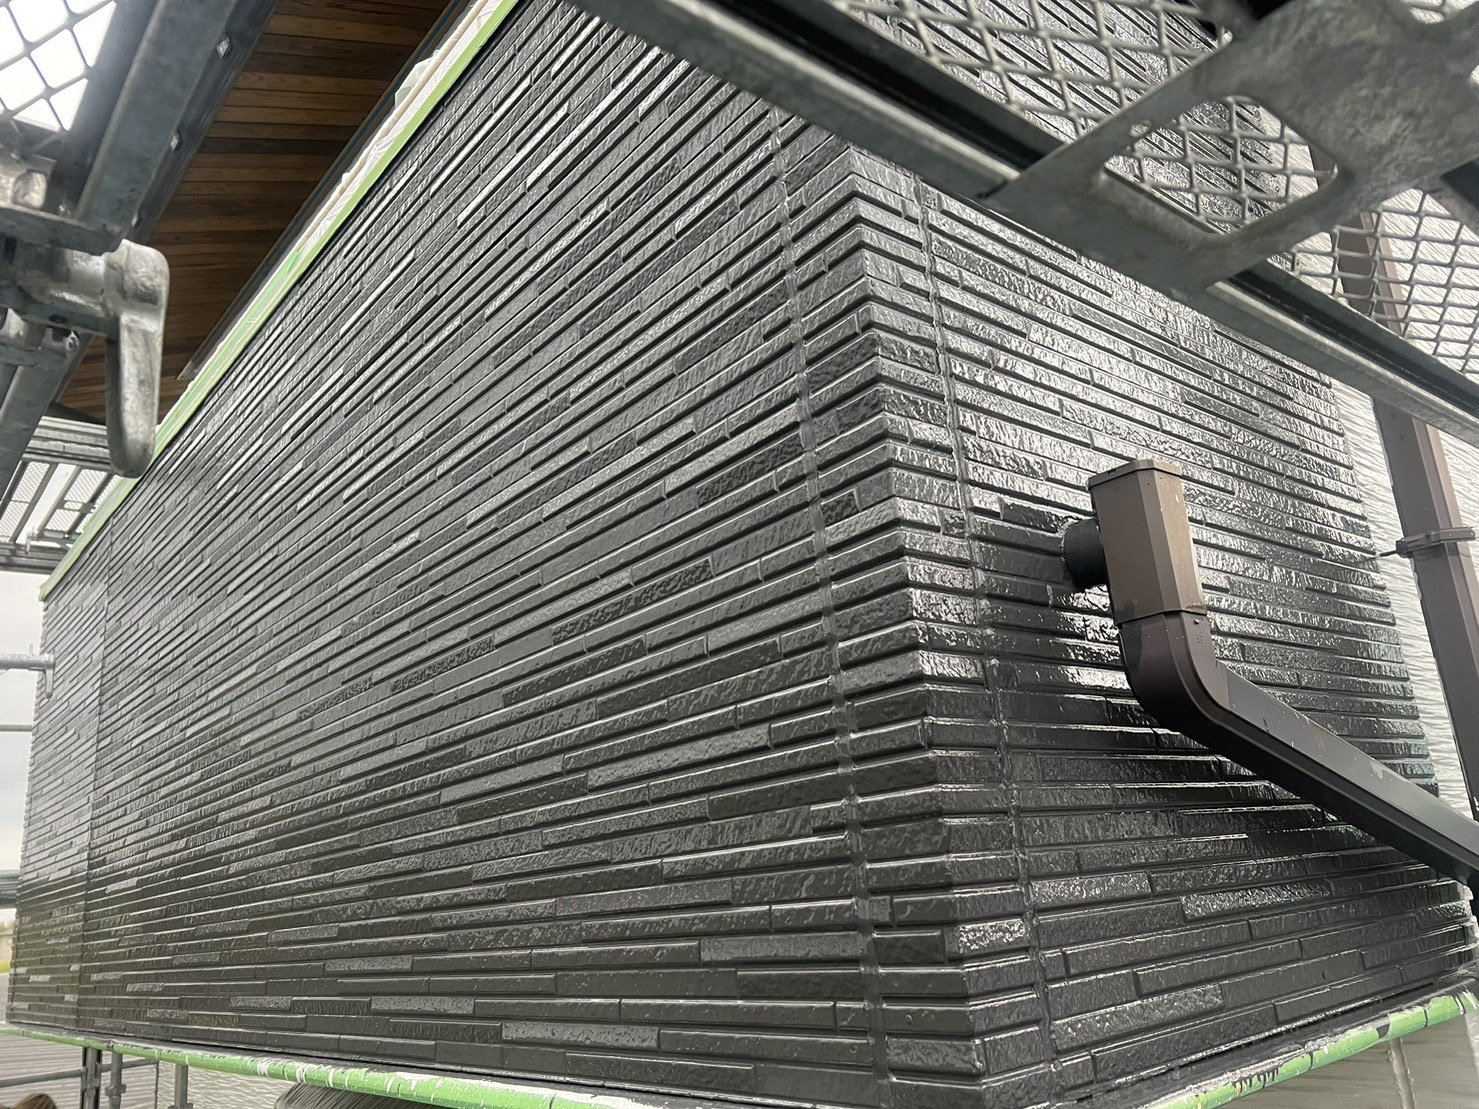
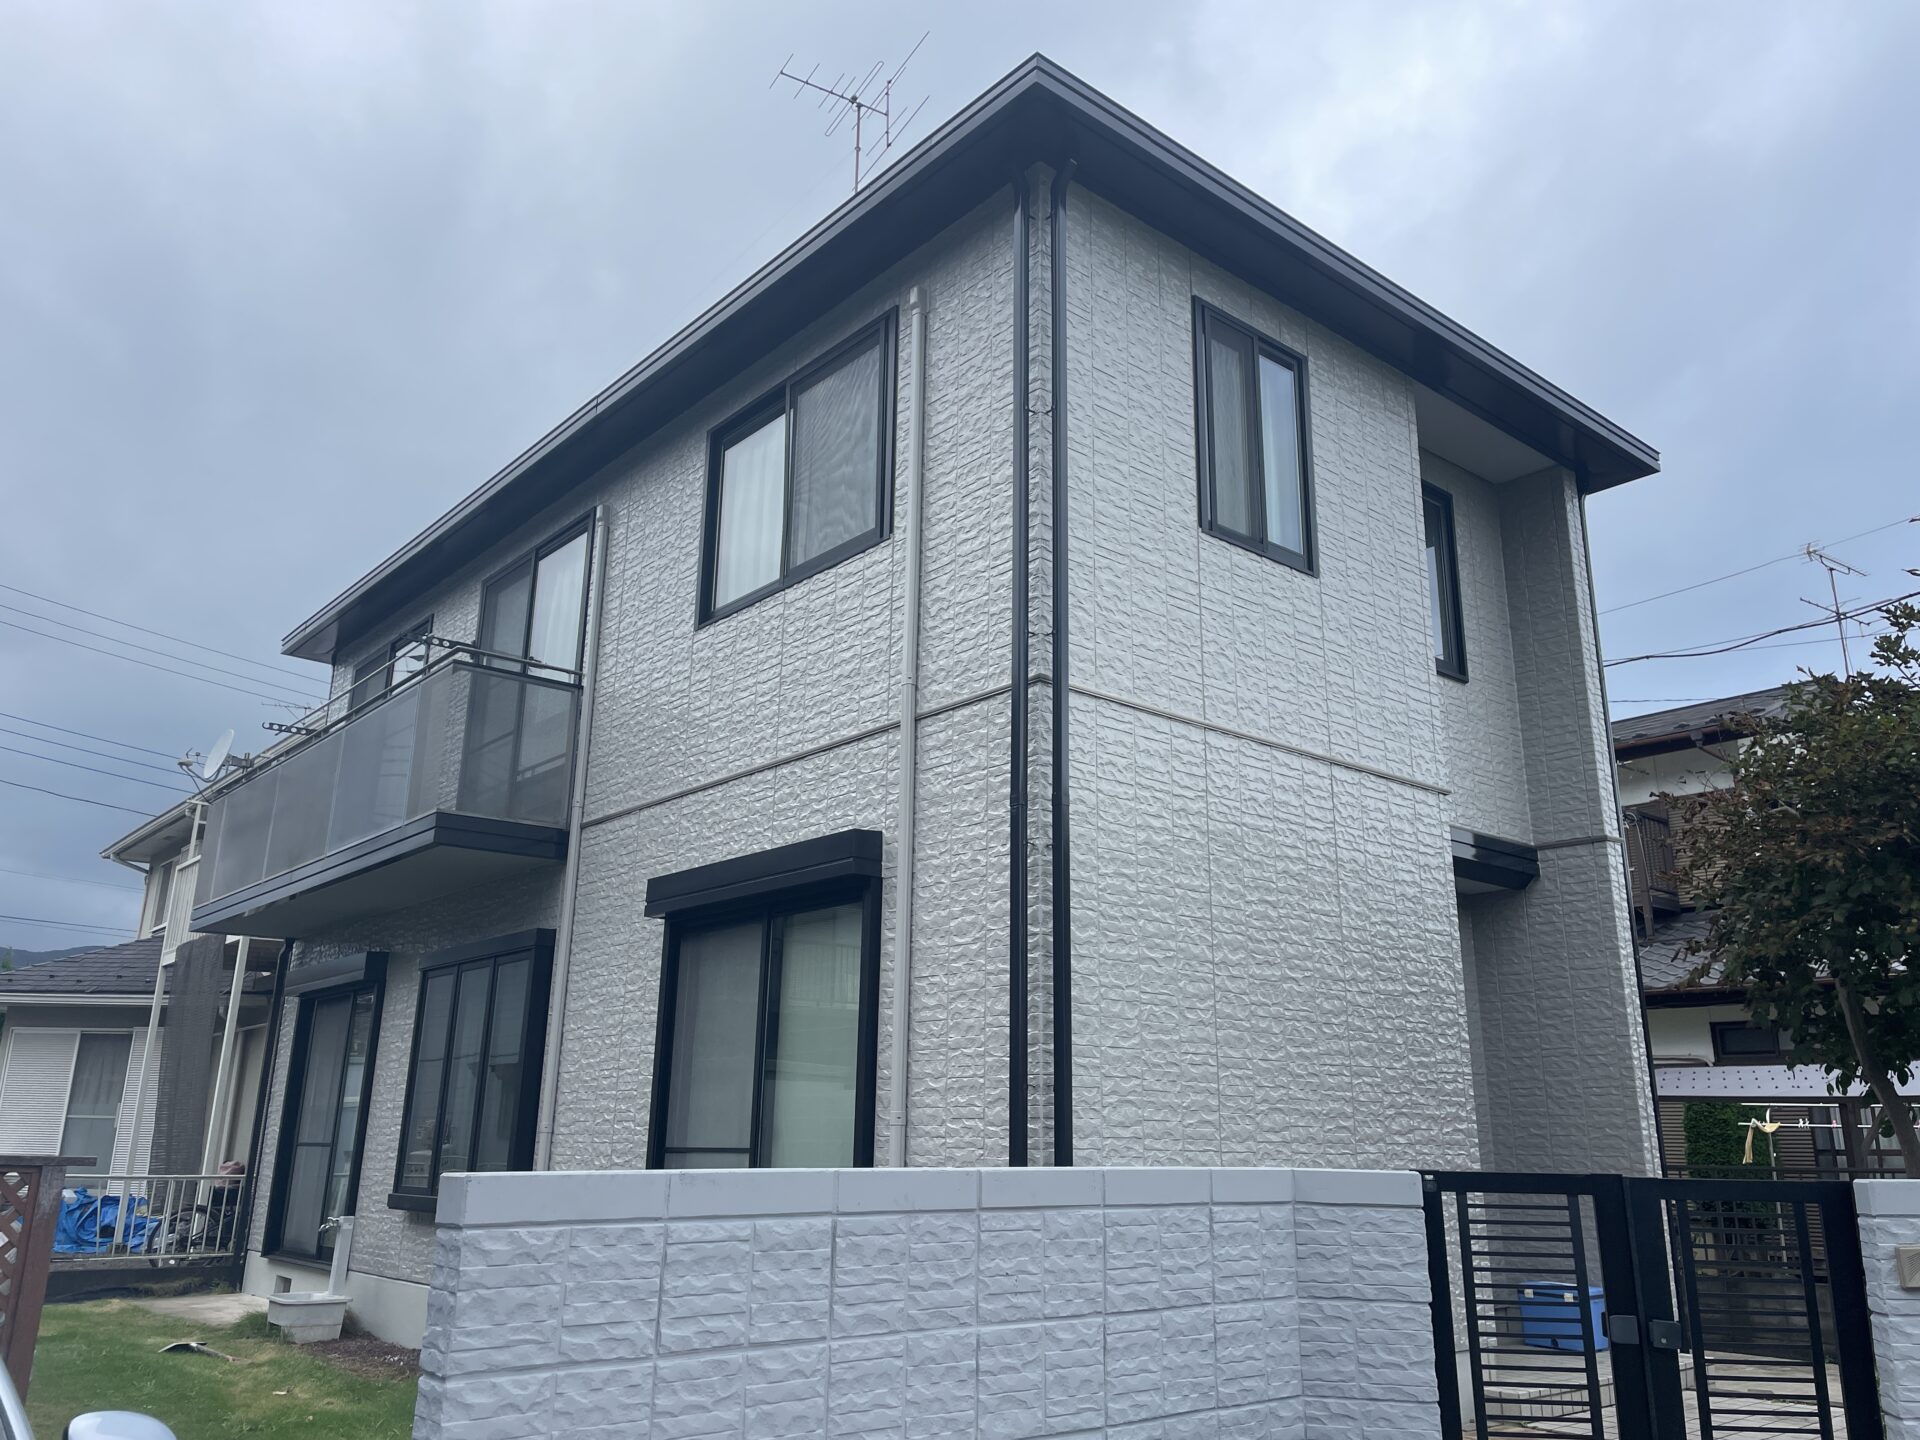
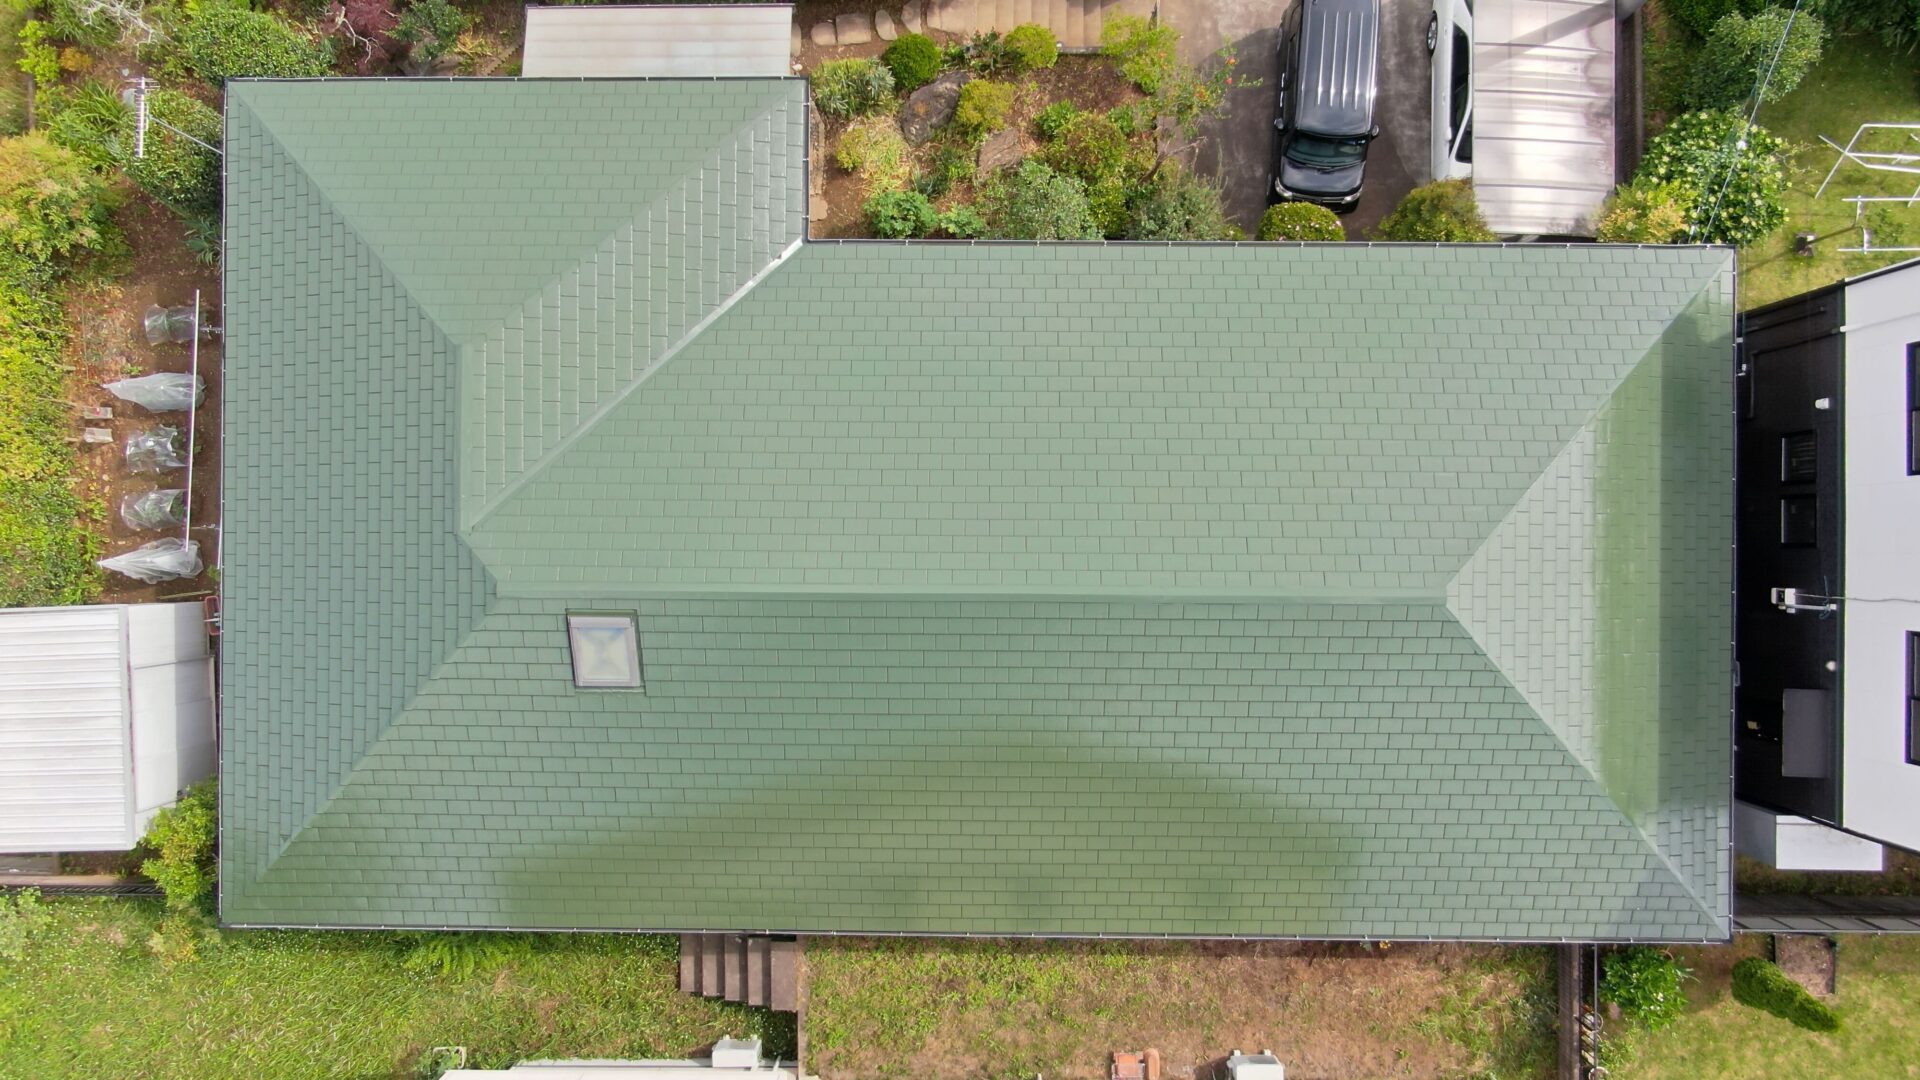
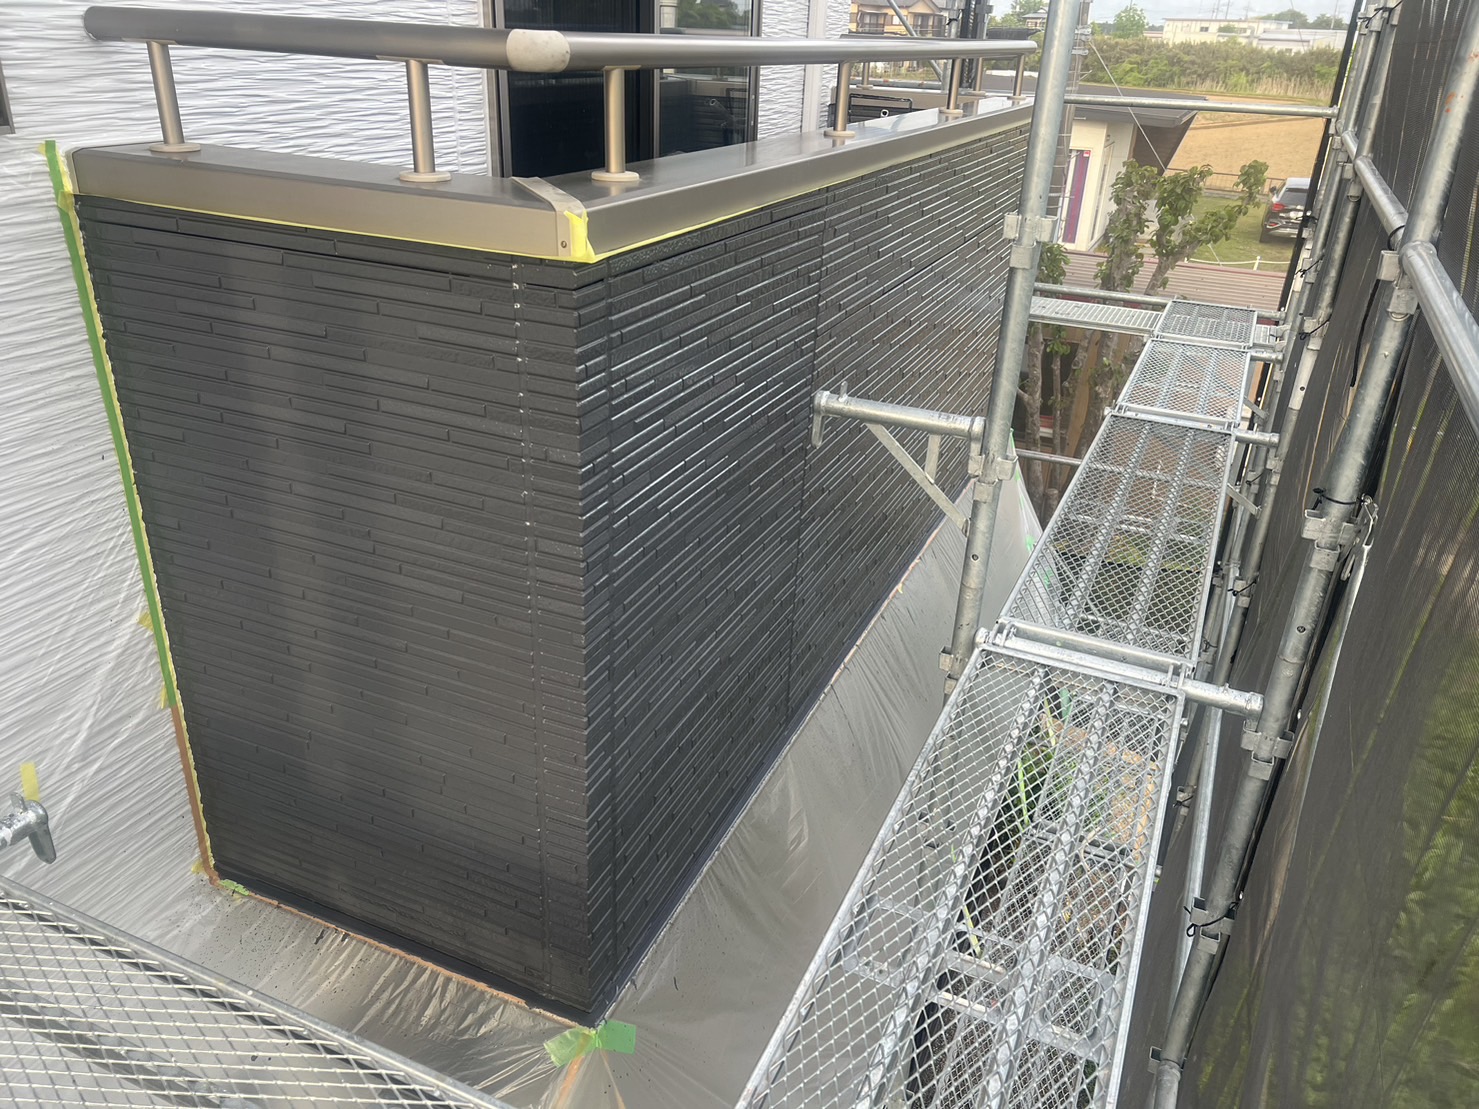
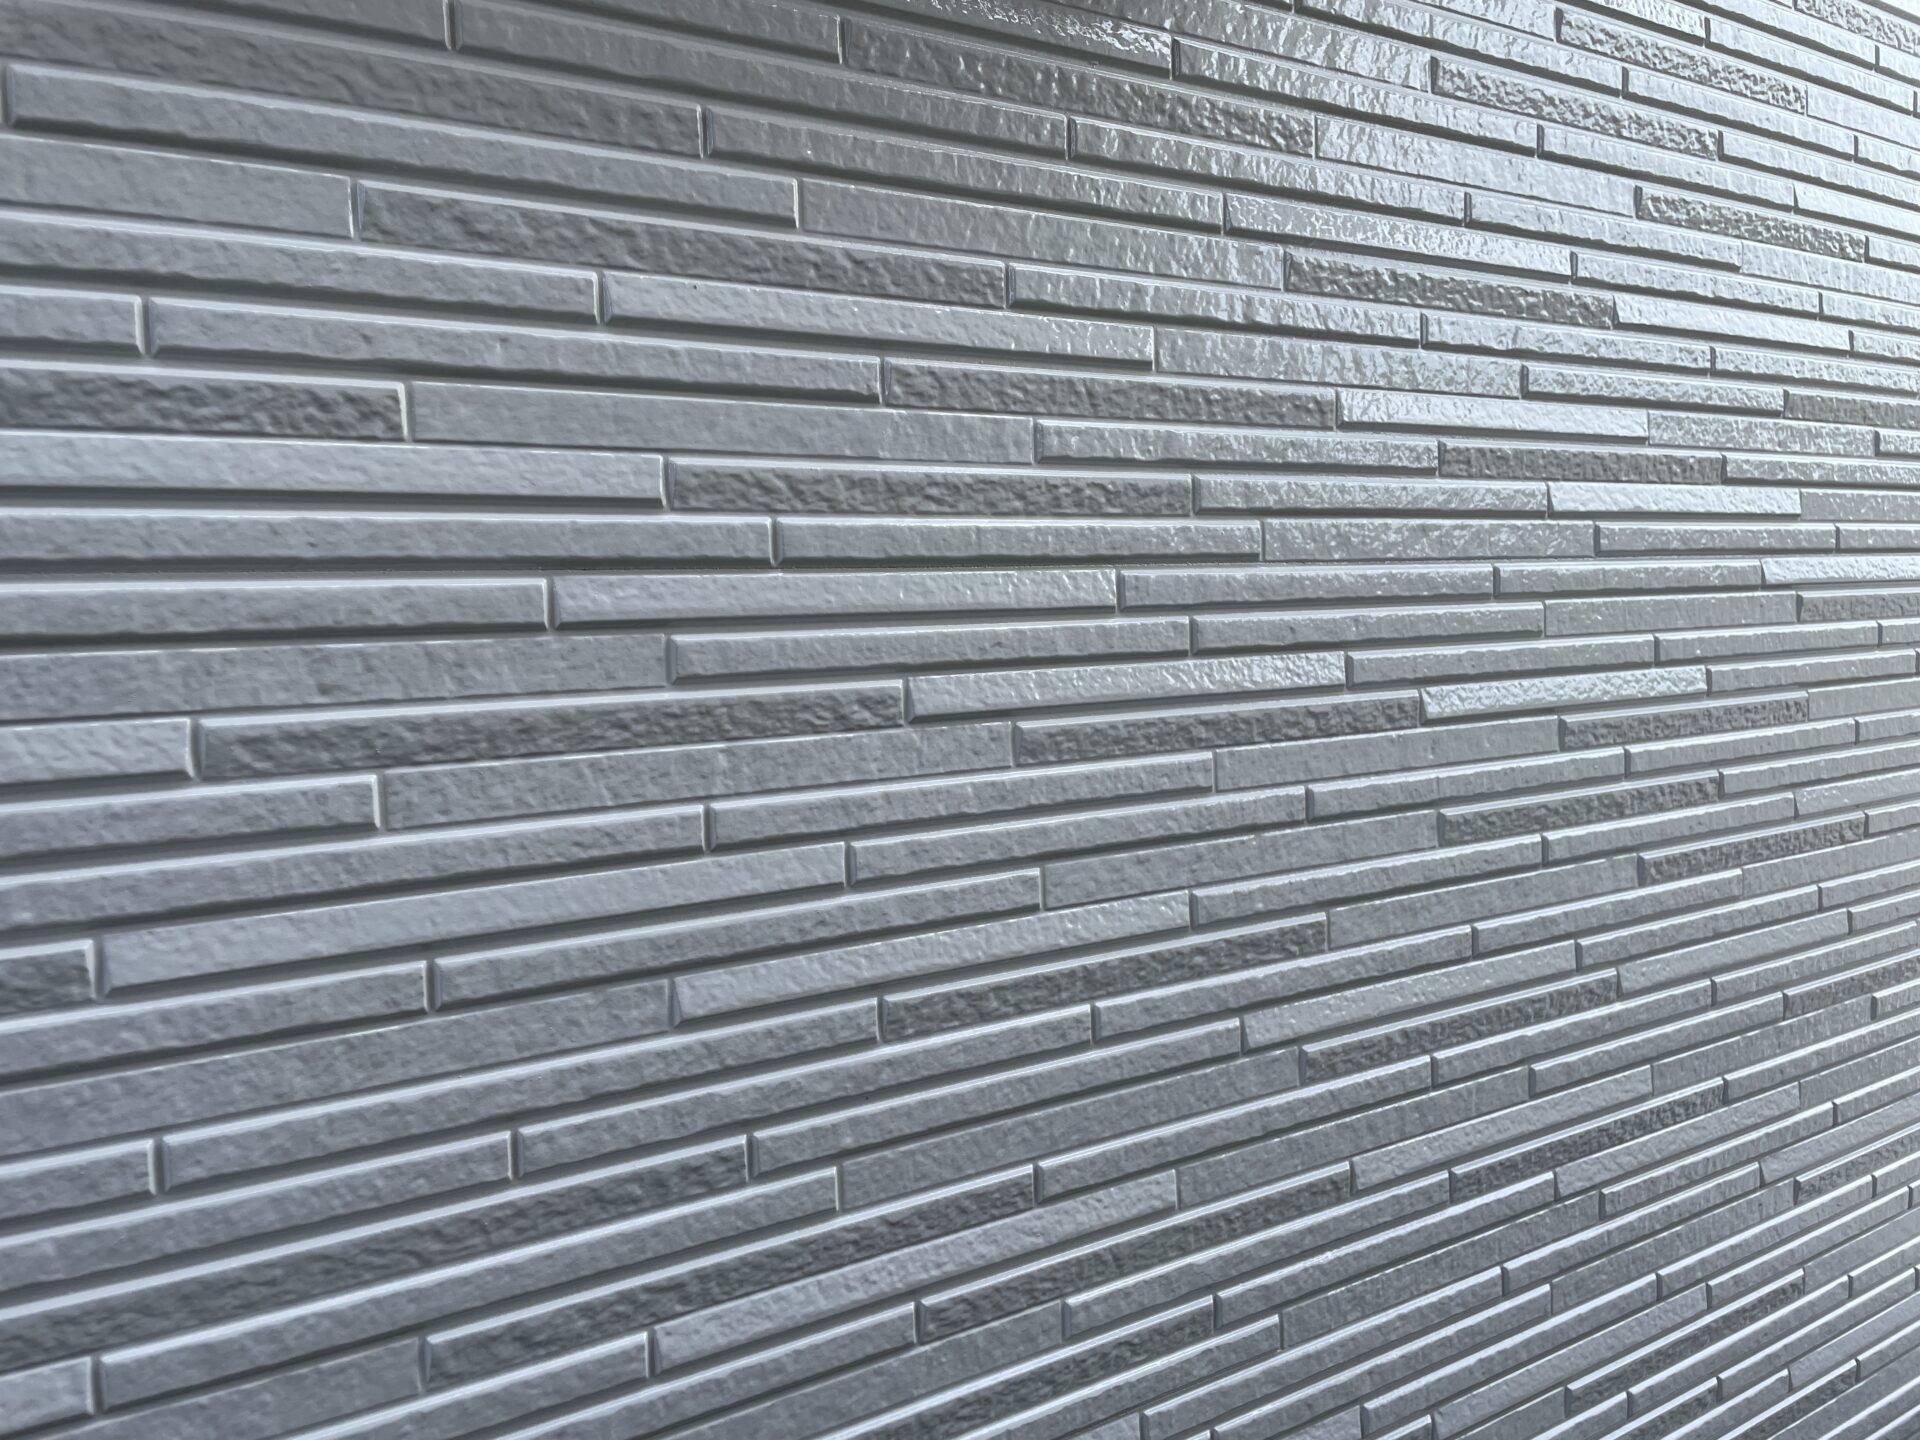
![](https://marushohousing.net/wp-content/uploads/2023/04/1682326267713.jpg)
![](https://marushohousing.net/wp-content/uploads/2023/04/1682467904383.jpg)
![](https://marushohousing.net/wp-content/uploads/2023/04/1682326268086.jpg)
外壁塗装上塗り(窯業サイディング)
外壁塗装、最後の仕上げです。
どの角度から見ても色ムラや透けのないよう丁寧に塗装をしていきます。
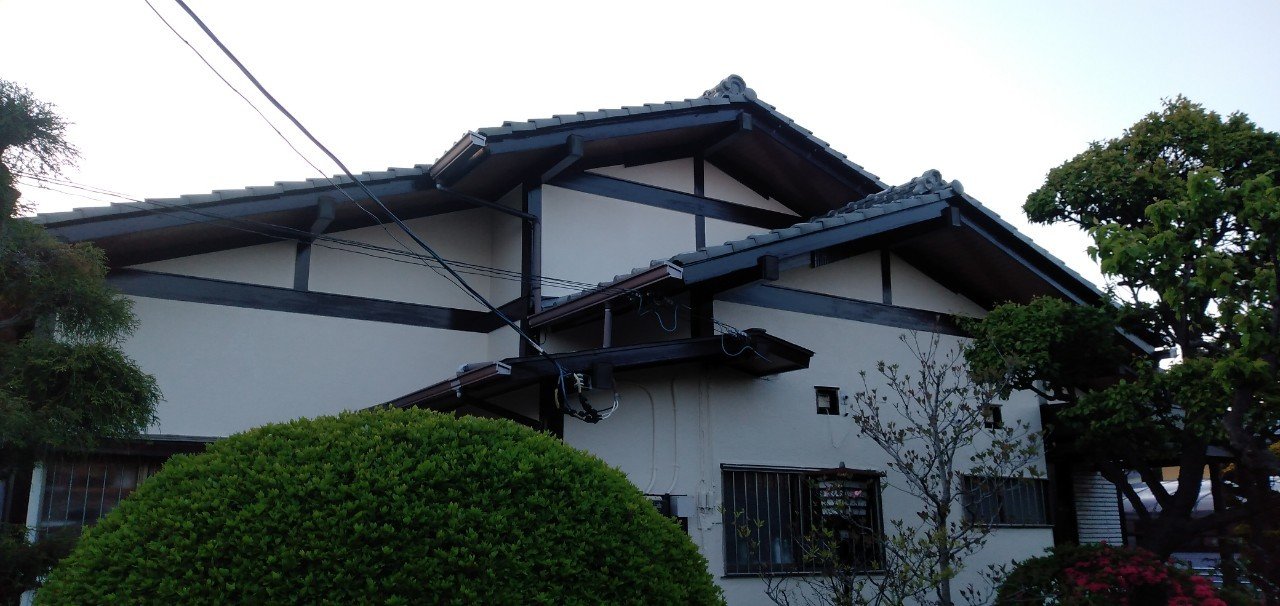
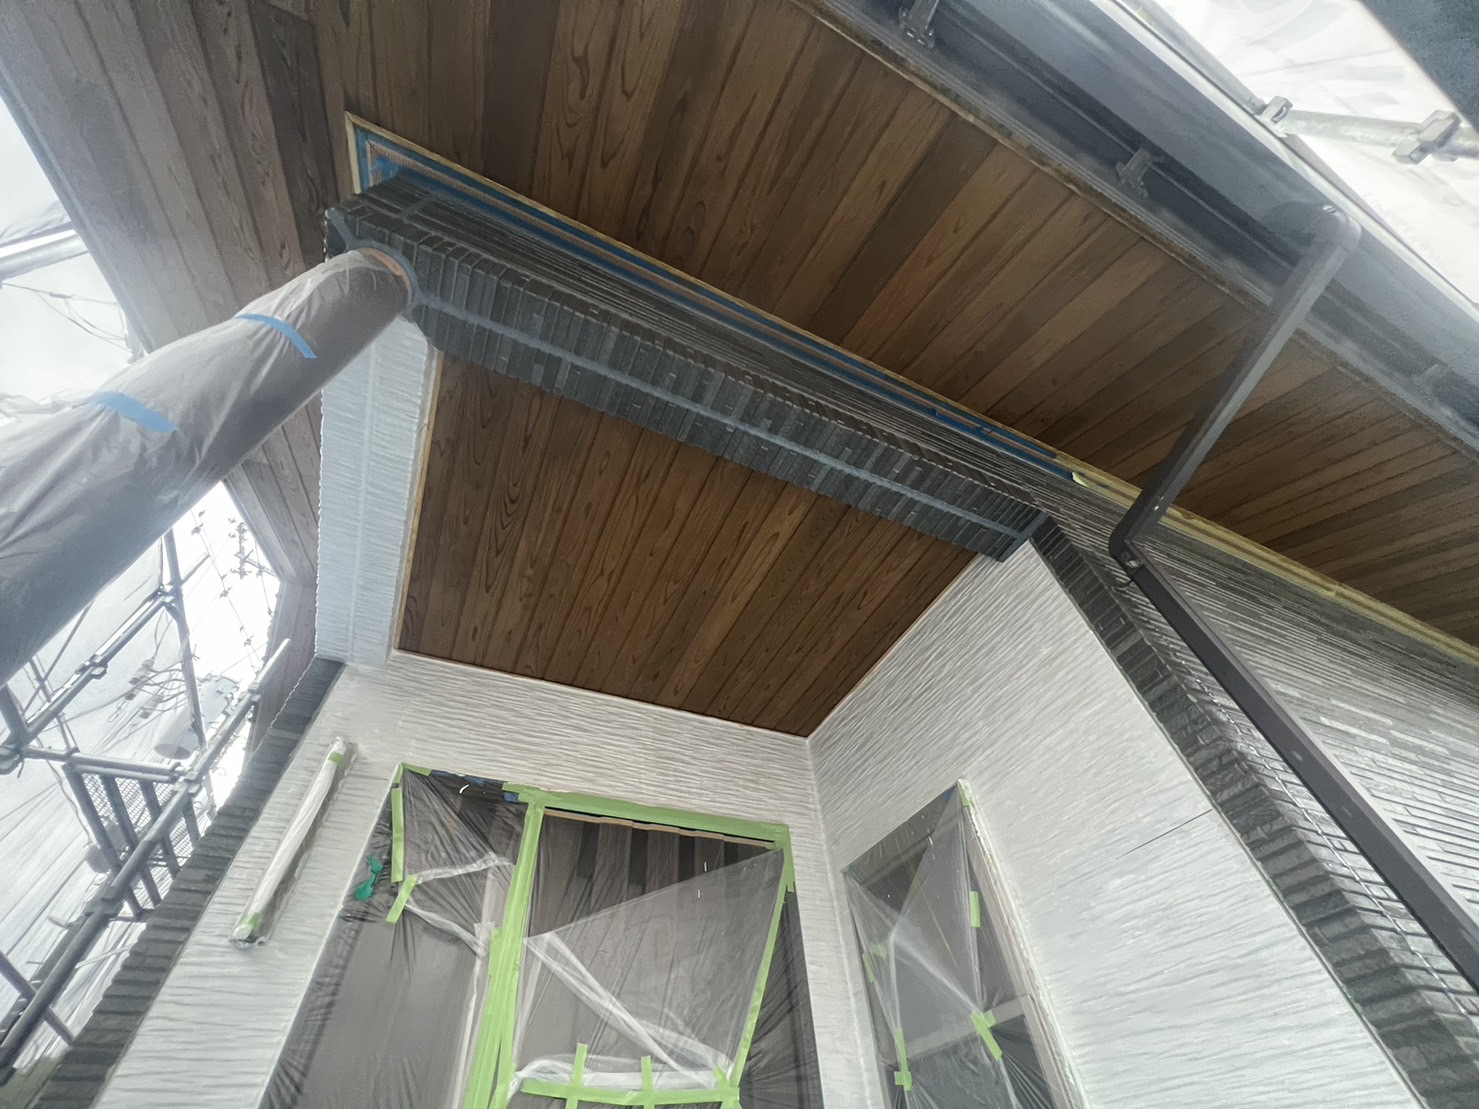
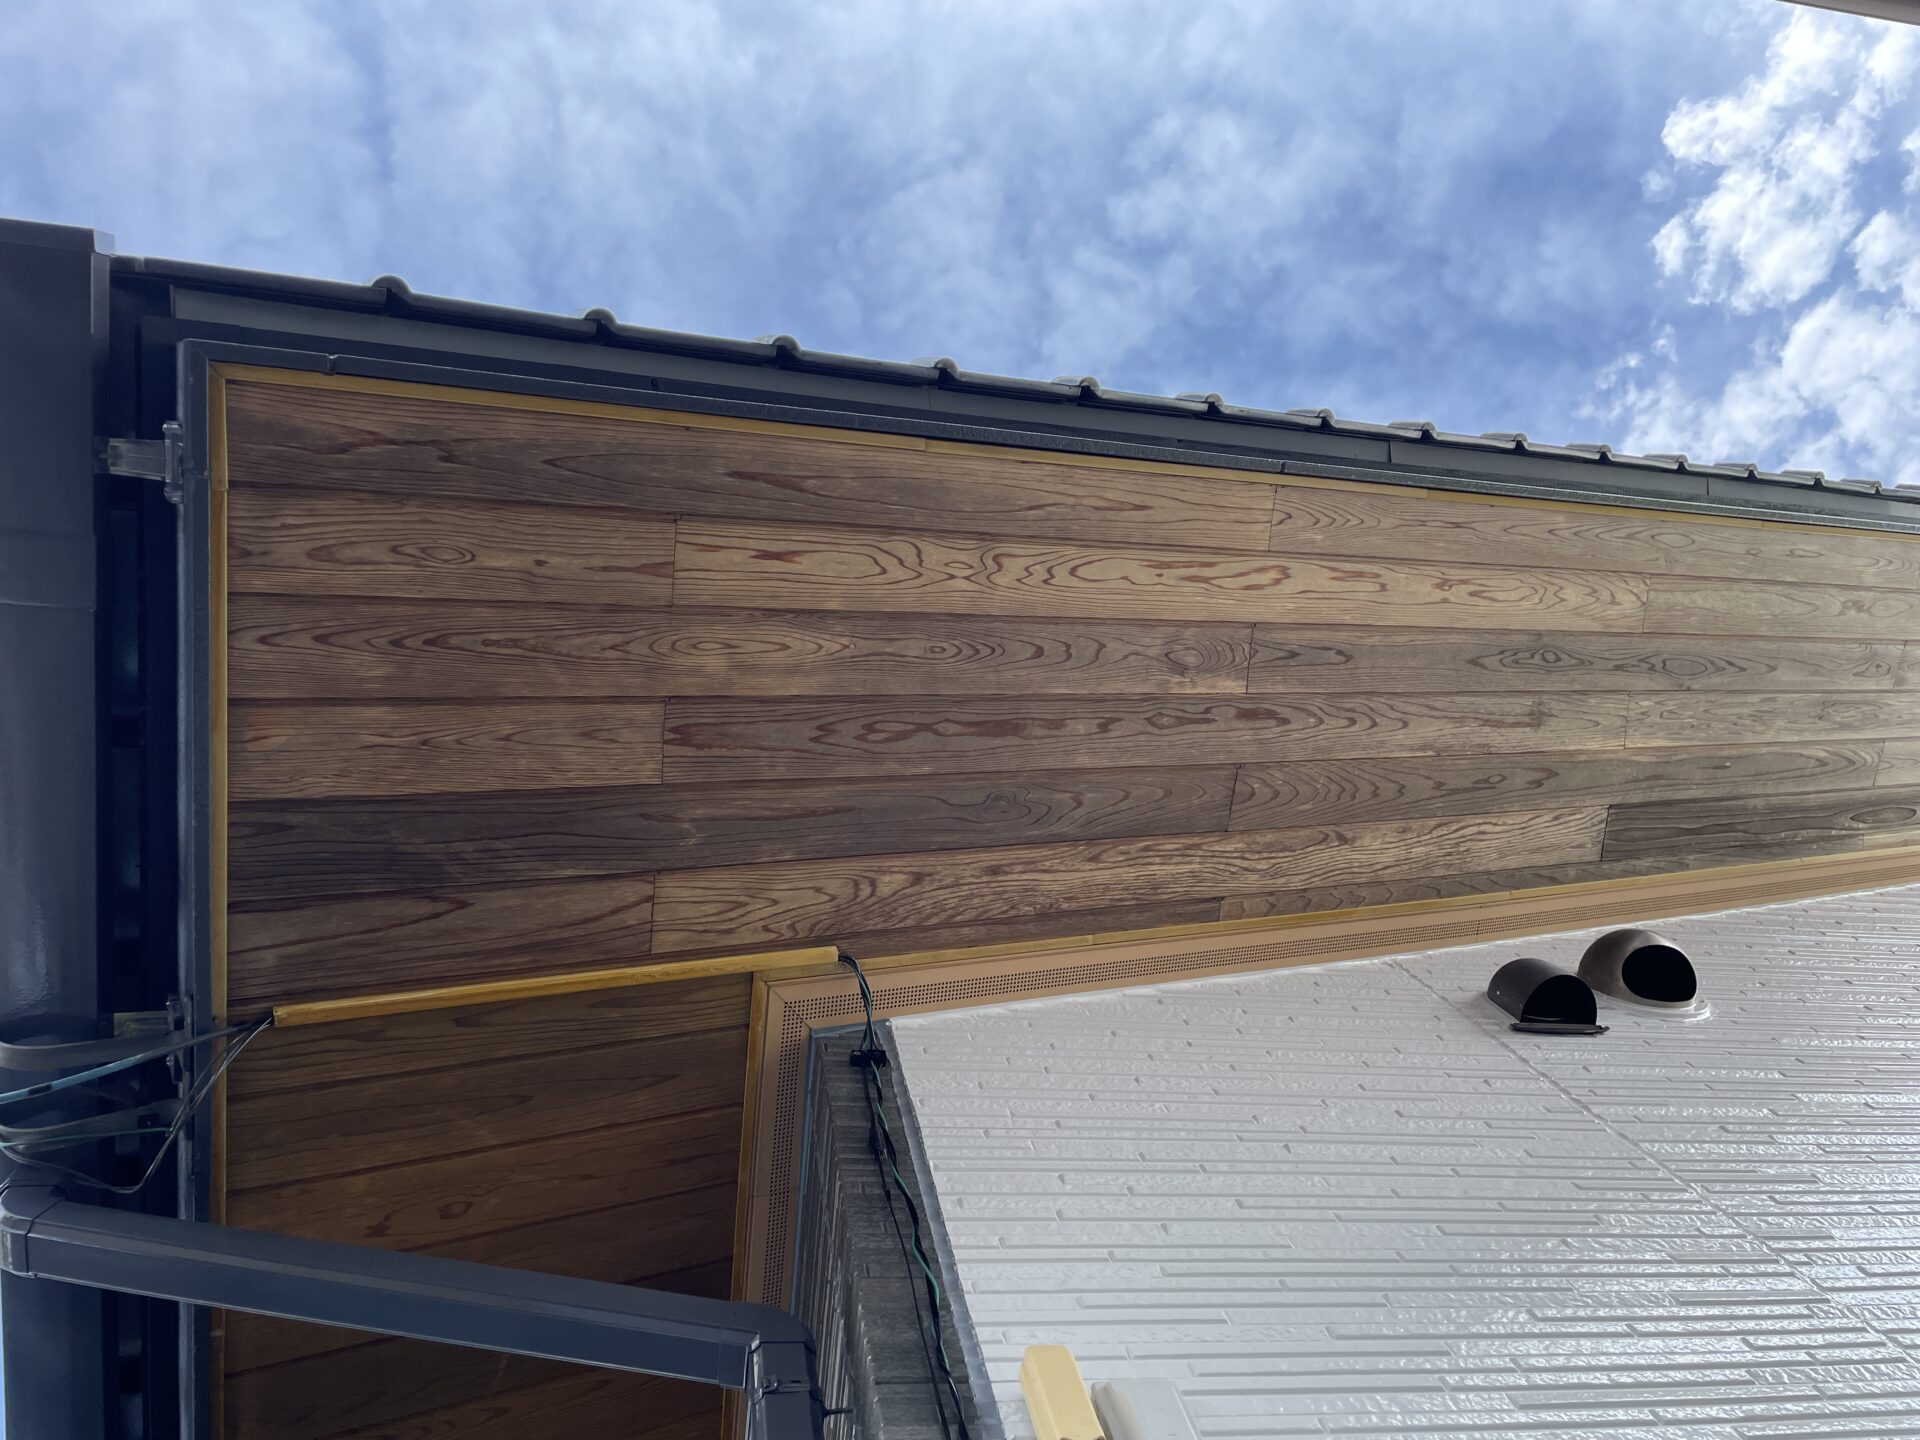
![](https://marushohousing.net/wp-content/uploads/2023/04/IMG_20230424_163246.jpg)
![](https://marushohousing.net/wp-content/uploads/2023/04/1682744922660.jpg)
![](https://marushohousing.net/wp-content/uploads/2023/04/20230506_060146206_iOS.jpg)
軒天塗装
軒天は紫外線や雨風が直接当たらない為、一番傷みにくい箇所です。ただし、劣化しないわけではなくカビや雨染みが発生しやすい箇所でもあるので基本的には外壁・屋根と同じタイミングで塗装をしていきます。
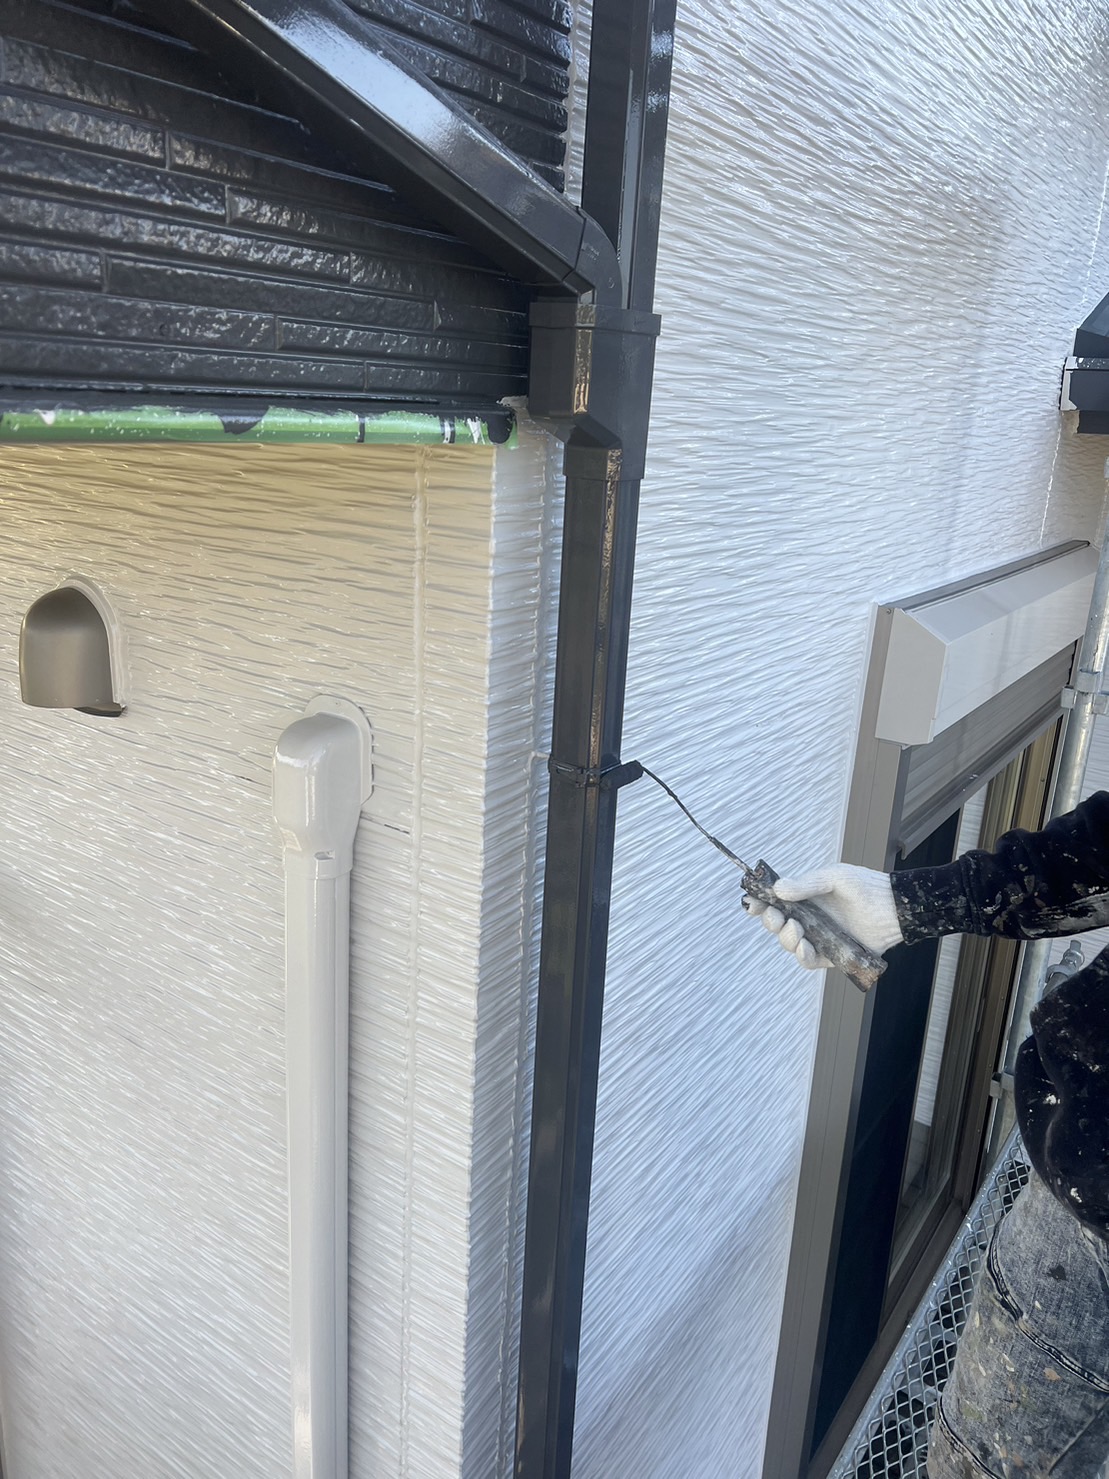
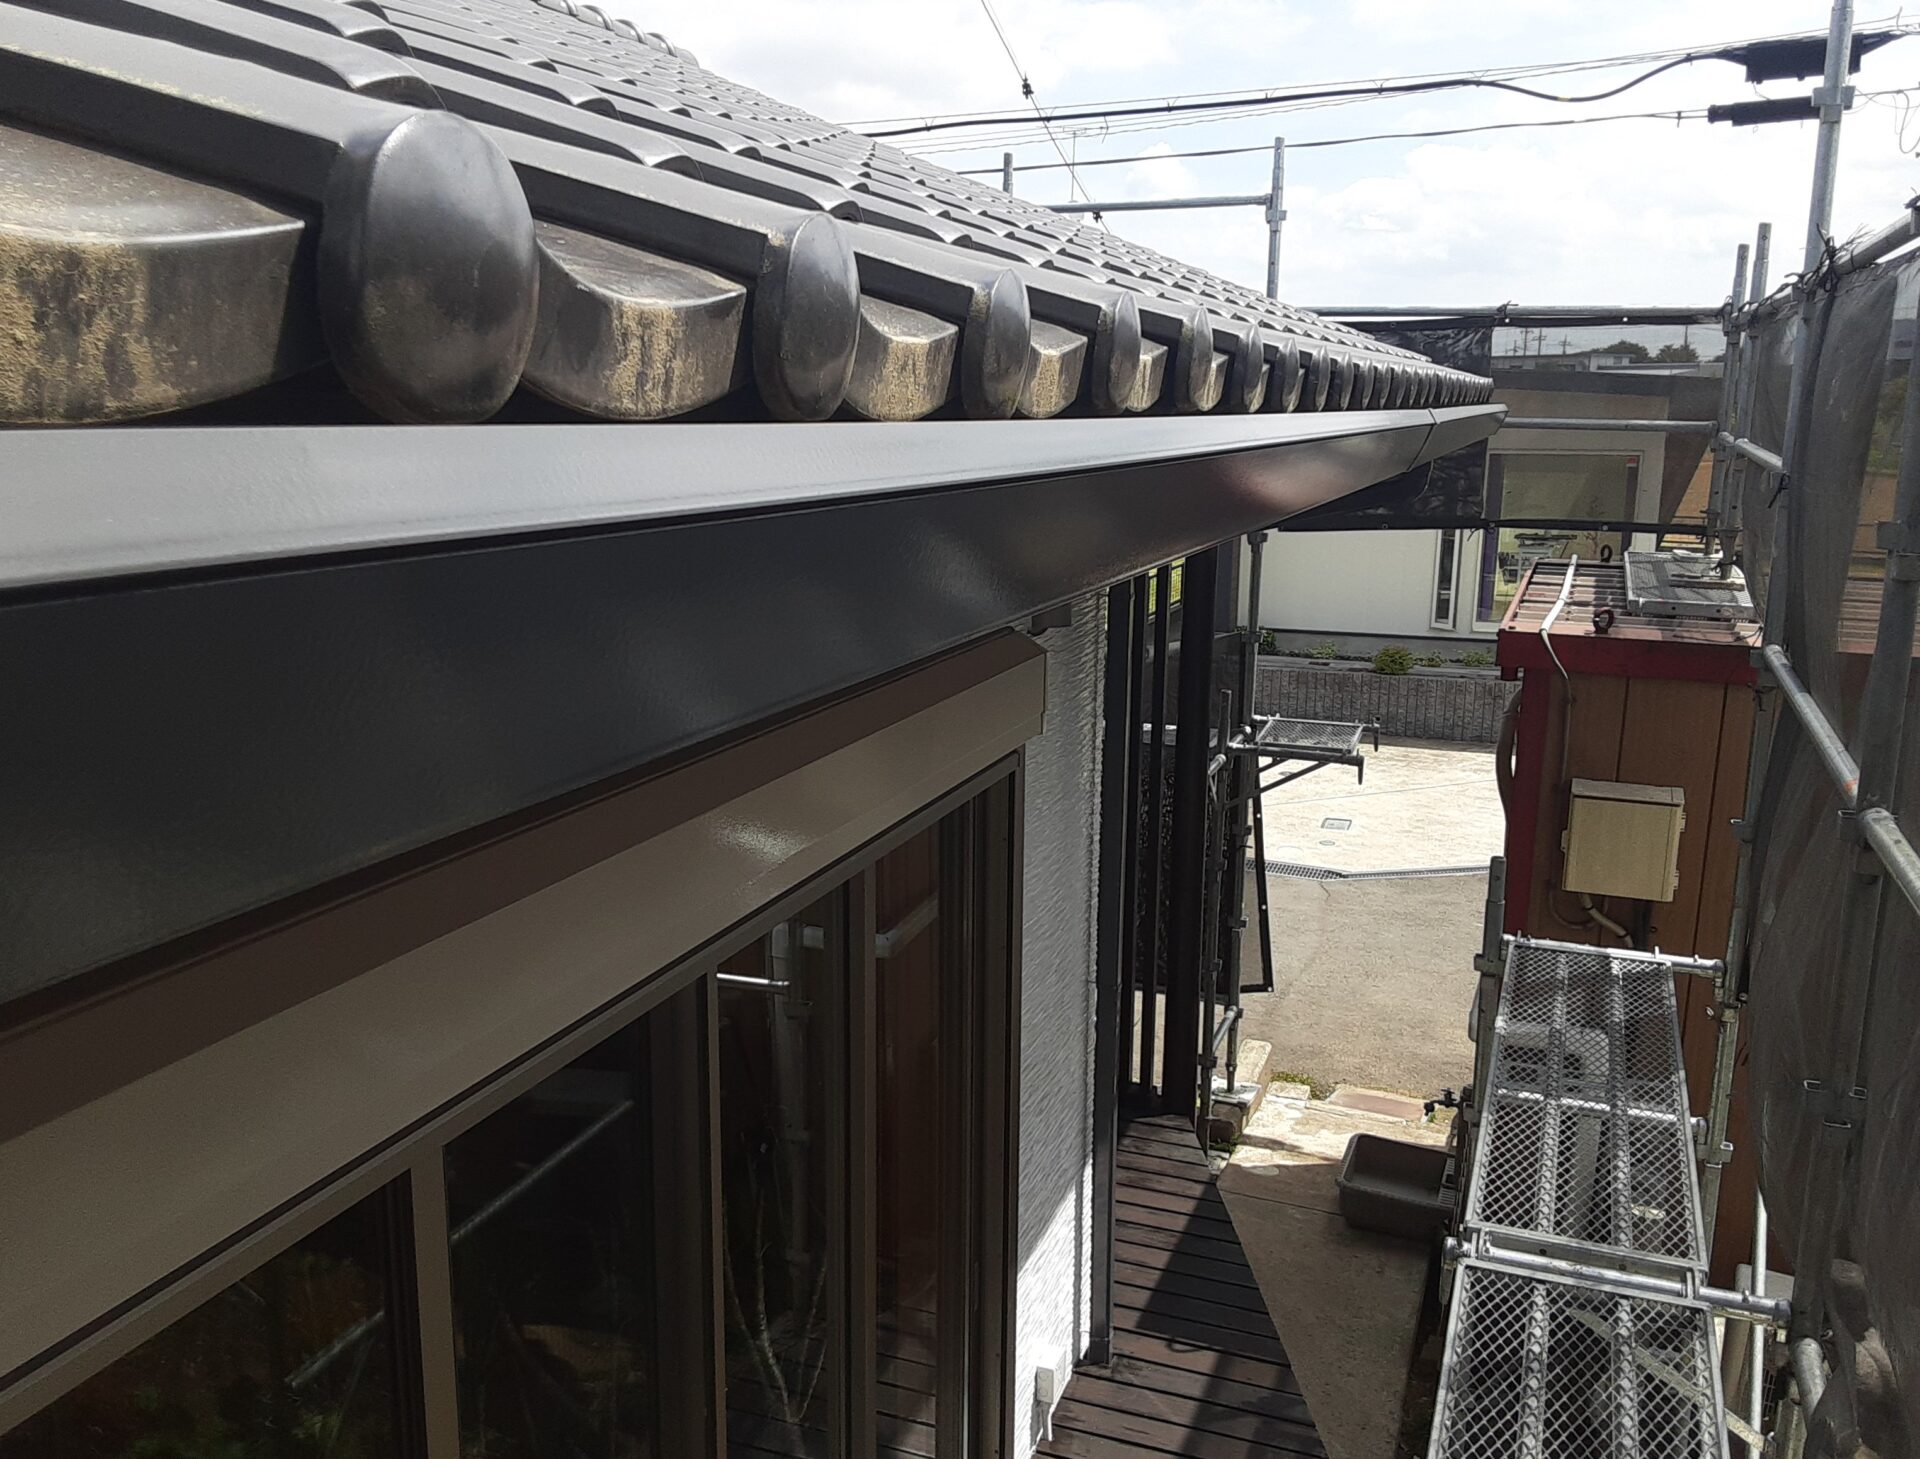
![](https://marushohousing.net/wp-content/uploads/2023/04/1682467904276.jpg)
![](https://marushohousing.net/wp-content/uploads/2023/04/20230506_060139825_iOS.jpg)
雨樋塗装
経年劣化によって色褪せや塗膜剥離が生じているので、綺麗に塗装をしていきます。
基本的には2回塗りですが、劣化が酷く仕上がりきらない場合は3回塗装をします。
![](https://marushohousing.net/wp-content/uploads/2023/04/1682744777459.jpg)
![](https://marushohousing.net/wp-content/uploads/2023/04/IMG_20230429_101856.jpg)
![](https://marushohousing.net/wp-content/uploads/2023/04/20230506_060024219_iOS.jpg)
シャッターBOX塗装
経年劣化で色褪せや塗膜剥離が生じている場合は塗装をします。ただし、アルミで出来ているものや、サッシ、シャッター表面部分は基本的に塗装はできません。
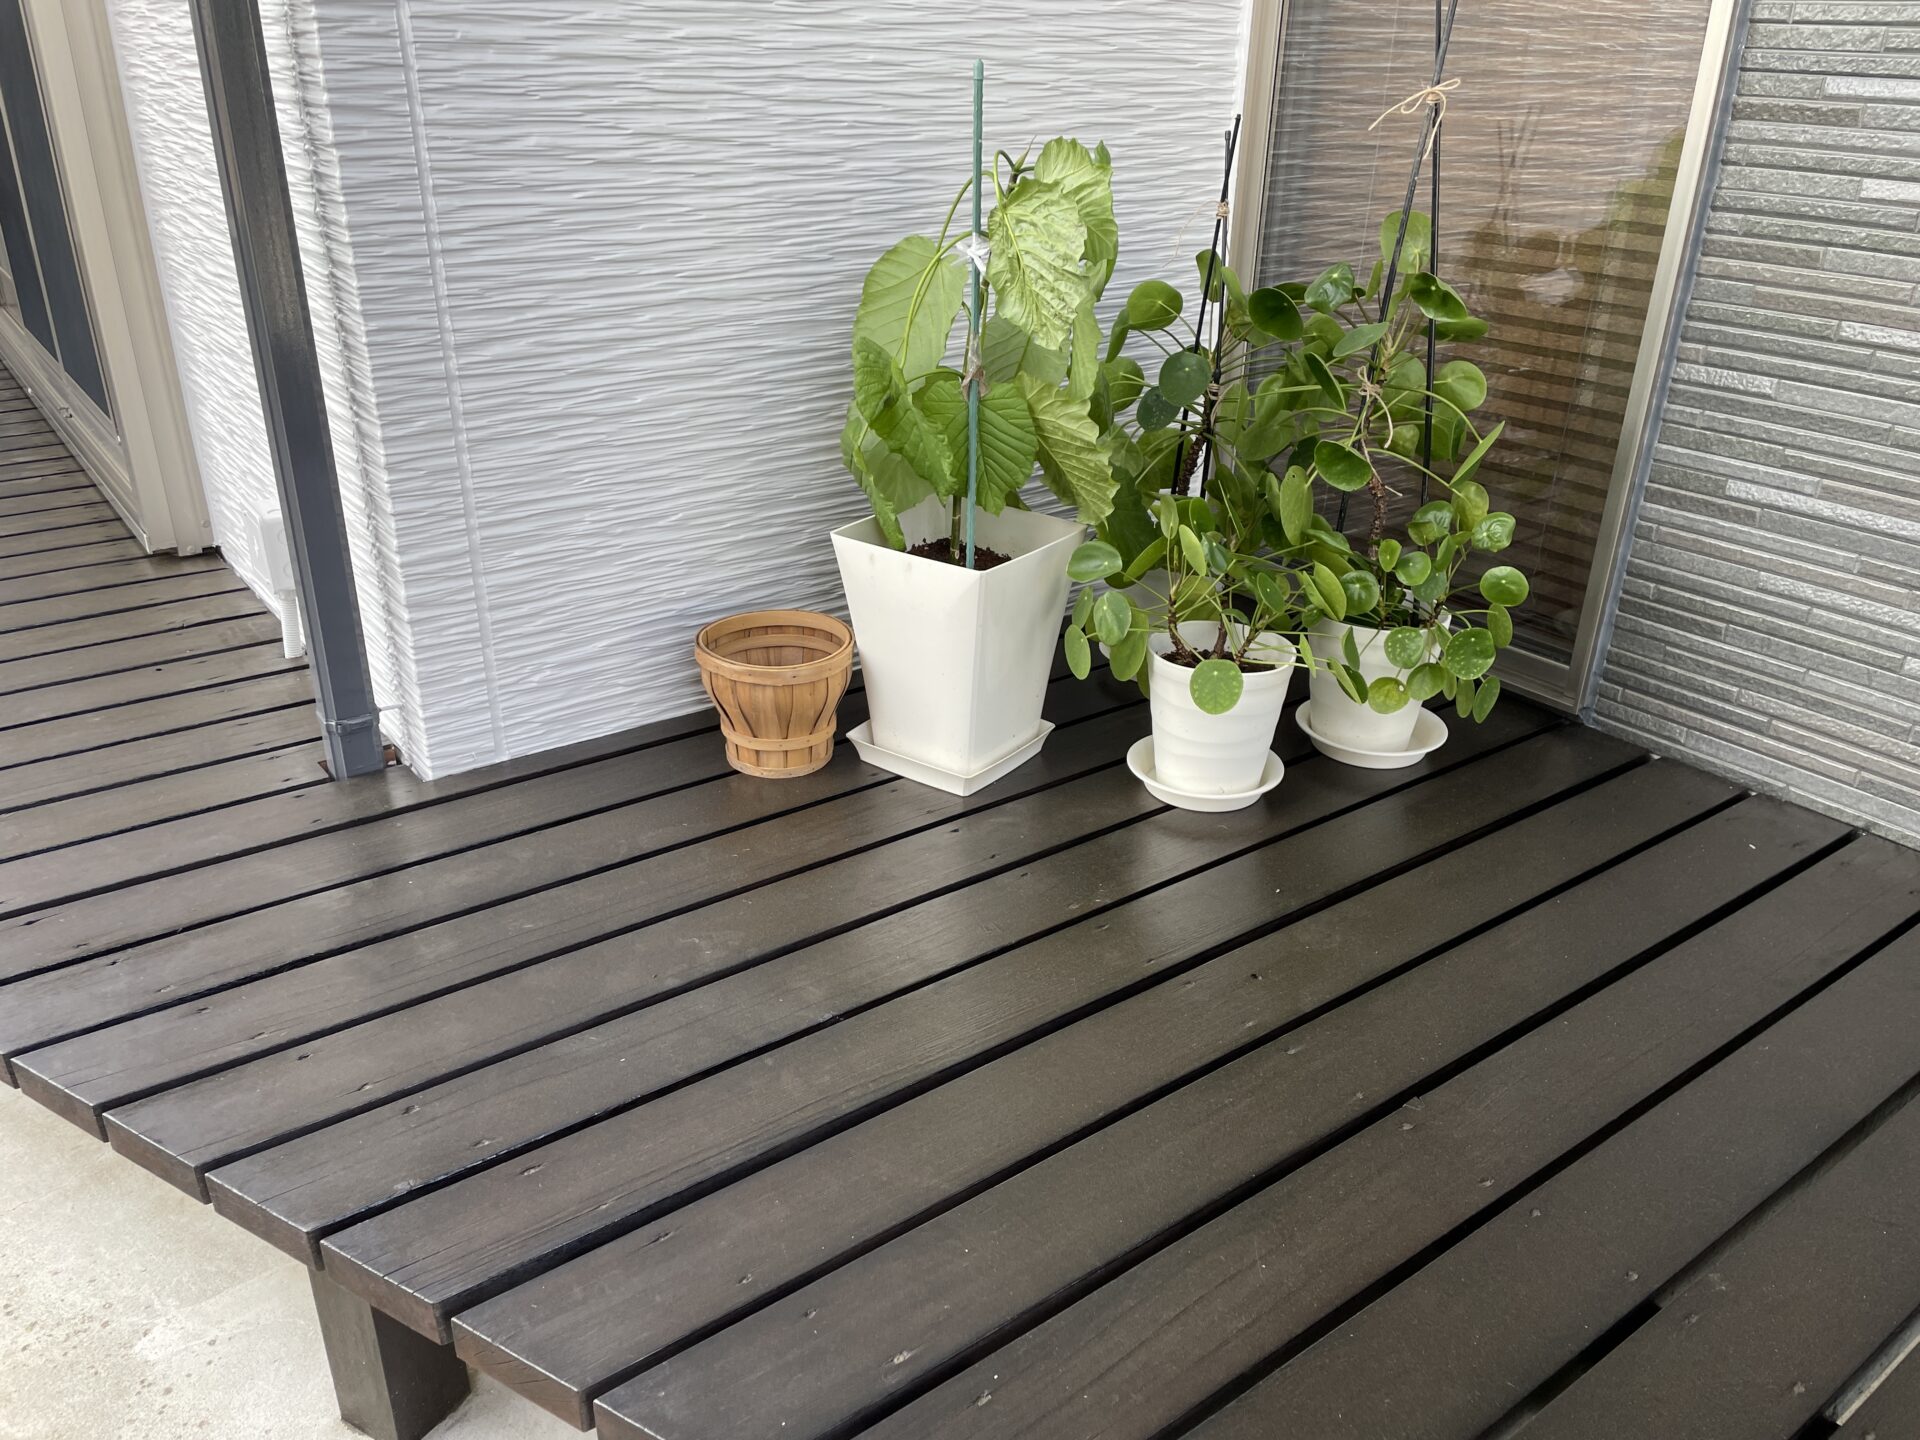
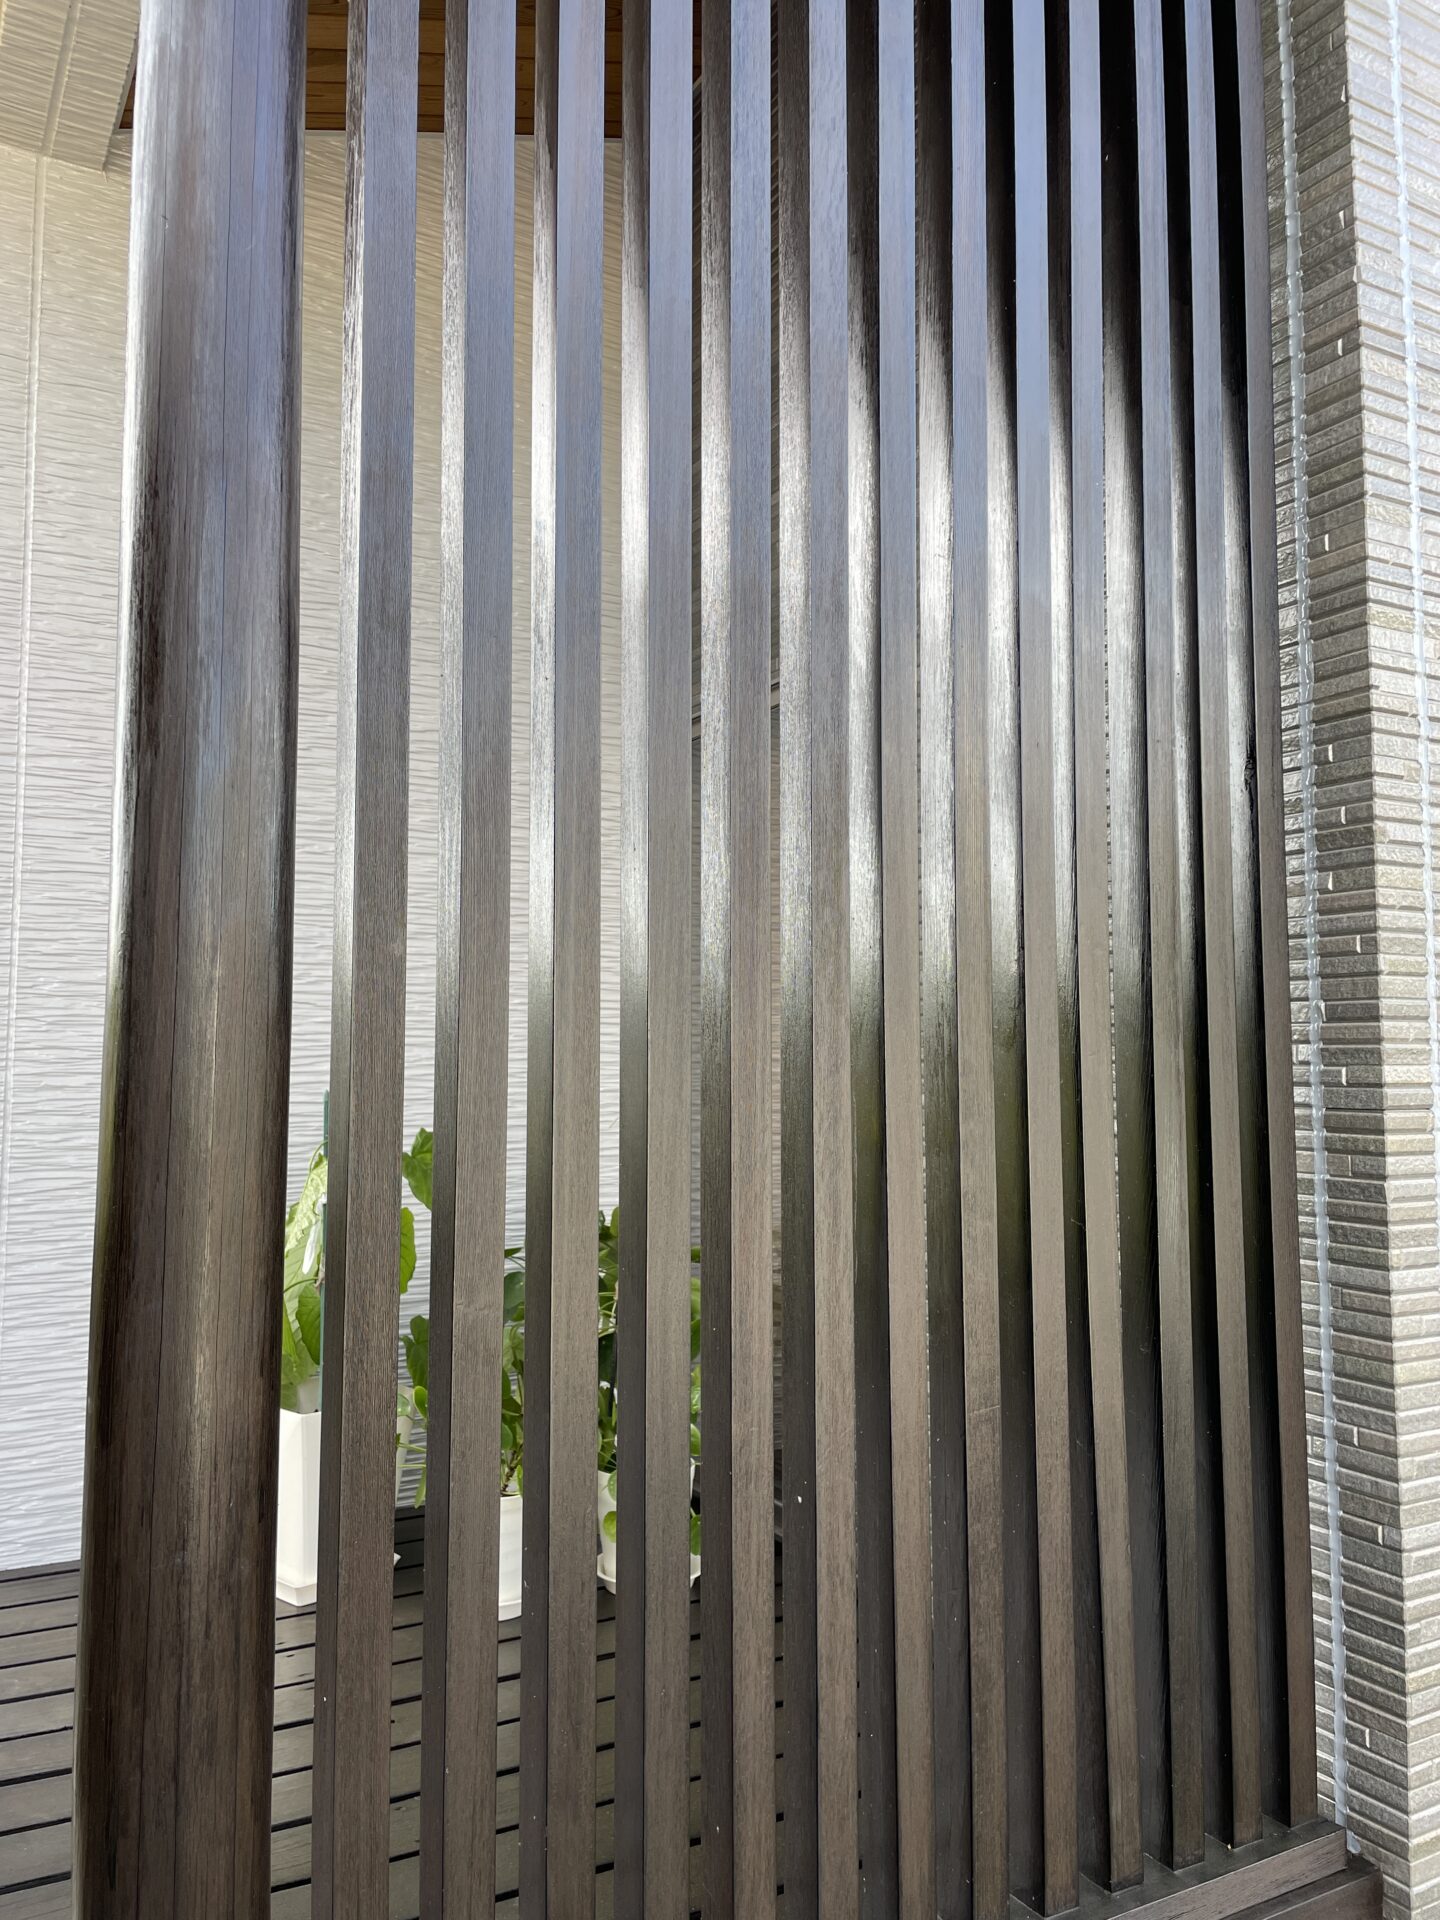
![](https://marushohousing.net/wp-content/uploads/2023/04/20230506_060306128_iOS.jpg)
木部塗装
傷みが酷い場合は、下塗り材や専用プライマー、錆止めを入れ3工程で塗装を仕上げていきます。ムラや透けが出来ないよう、ゆっくり丁寧に塗装をします。
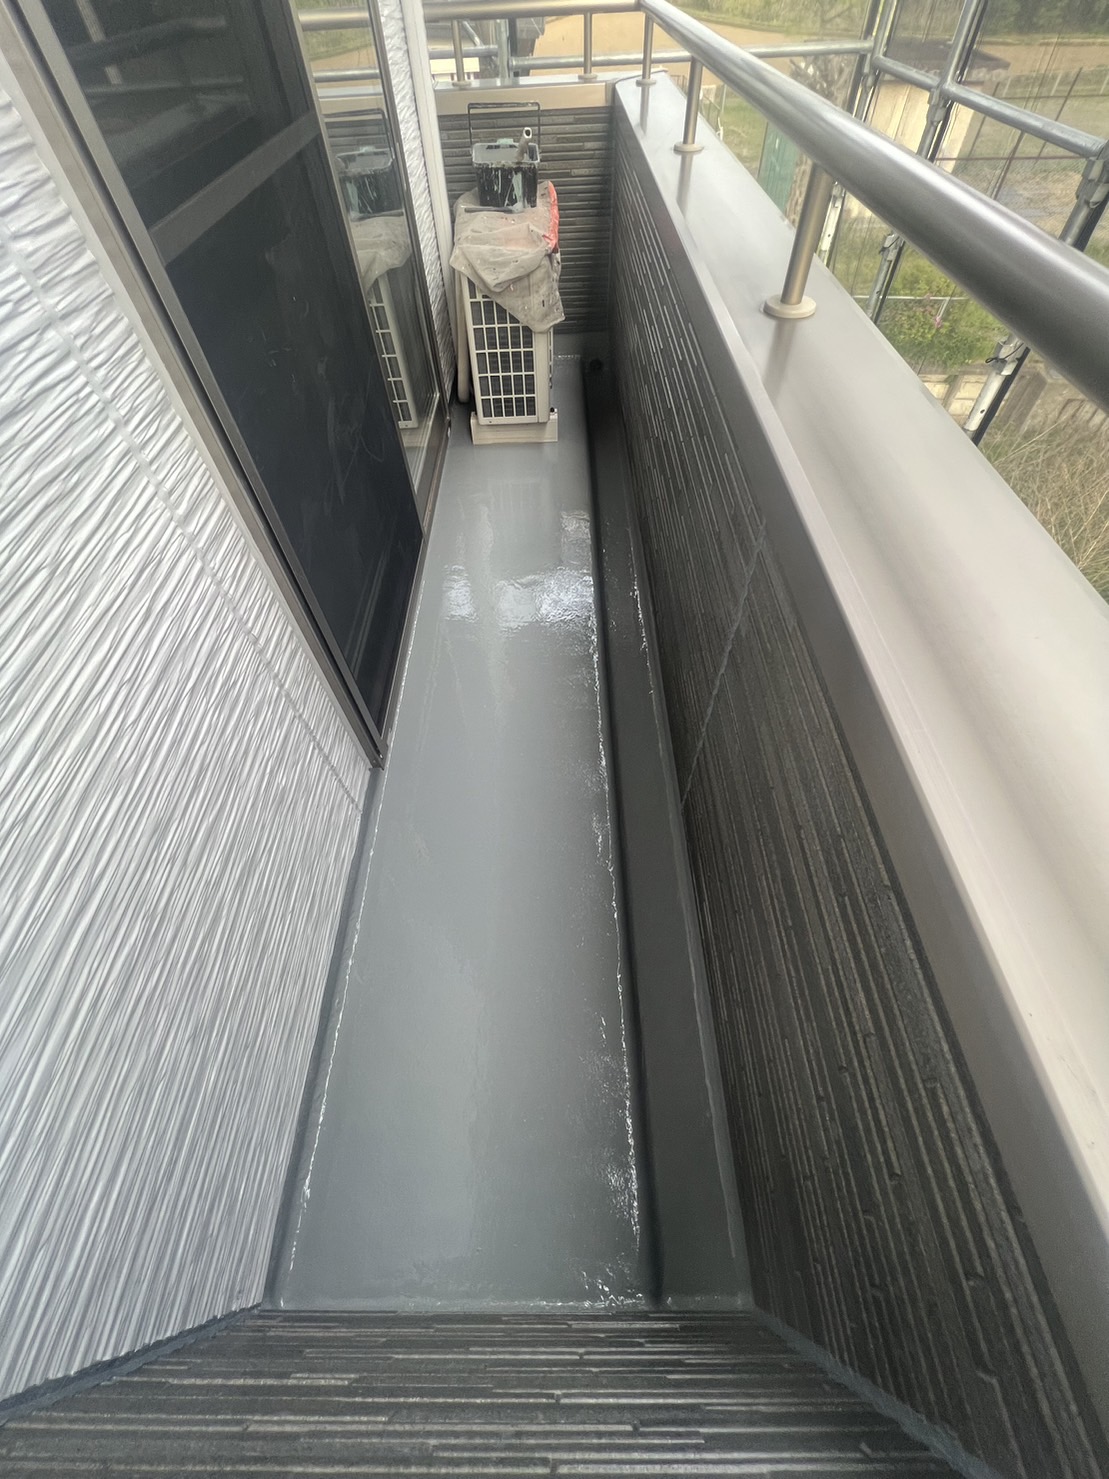
![](https://marushohousing.net/wp-content/uploads/2023/04/20230506_060323063_iOS.jpg)
![](https://marushohousing.net/wp-content/uploads/2023/04/20230506_060331600_iOS.jpg)
ベランダ防水
ベランダの防水塗膜は約10年ほどで経年劣化によりひび割れが生じます。ベランダの劣化状況に合った防水材を使用し作業を行います。
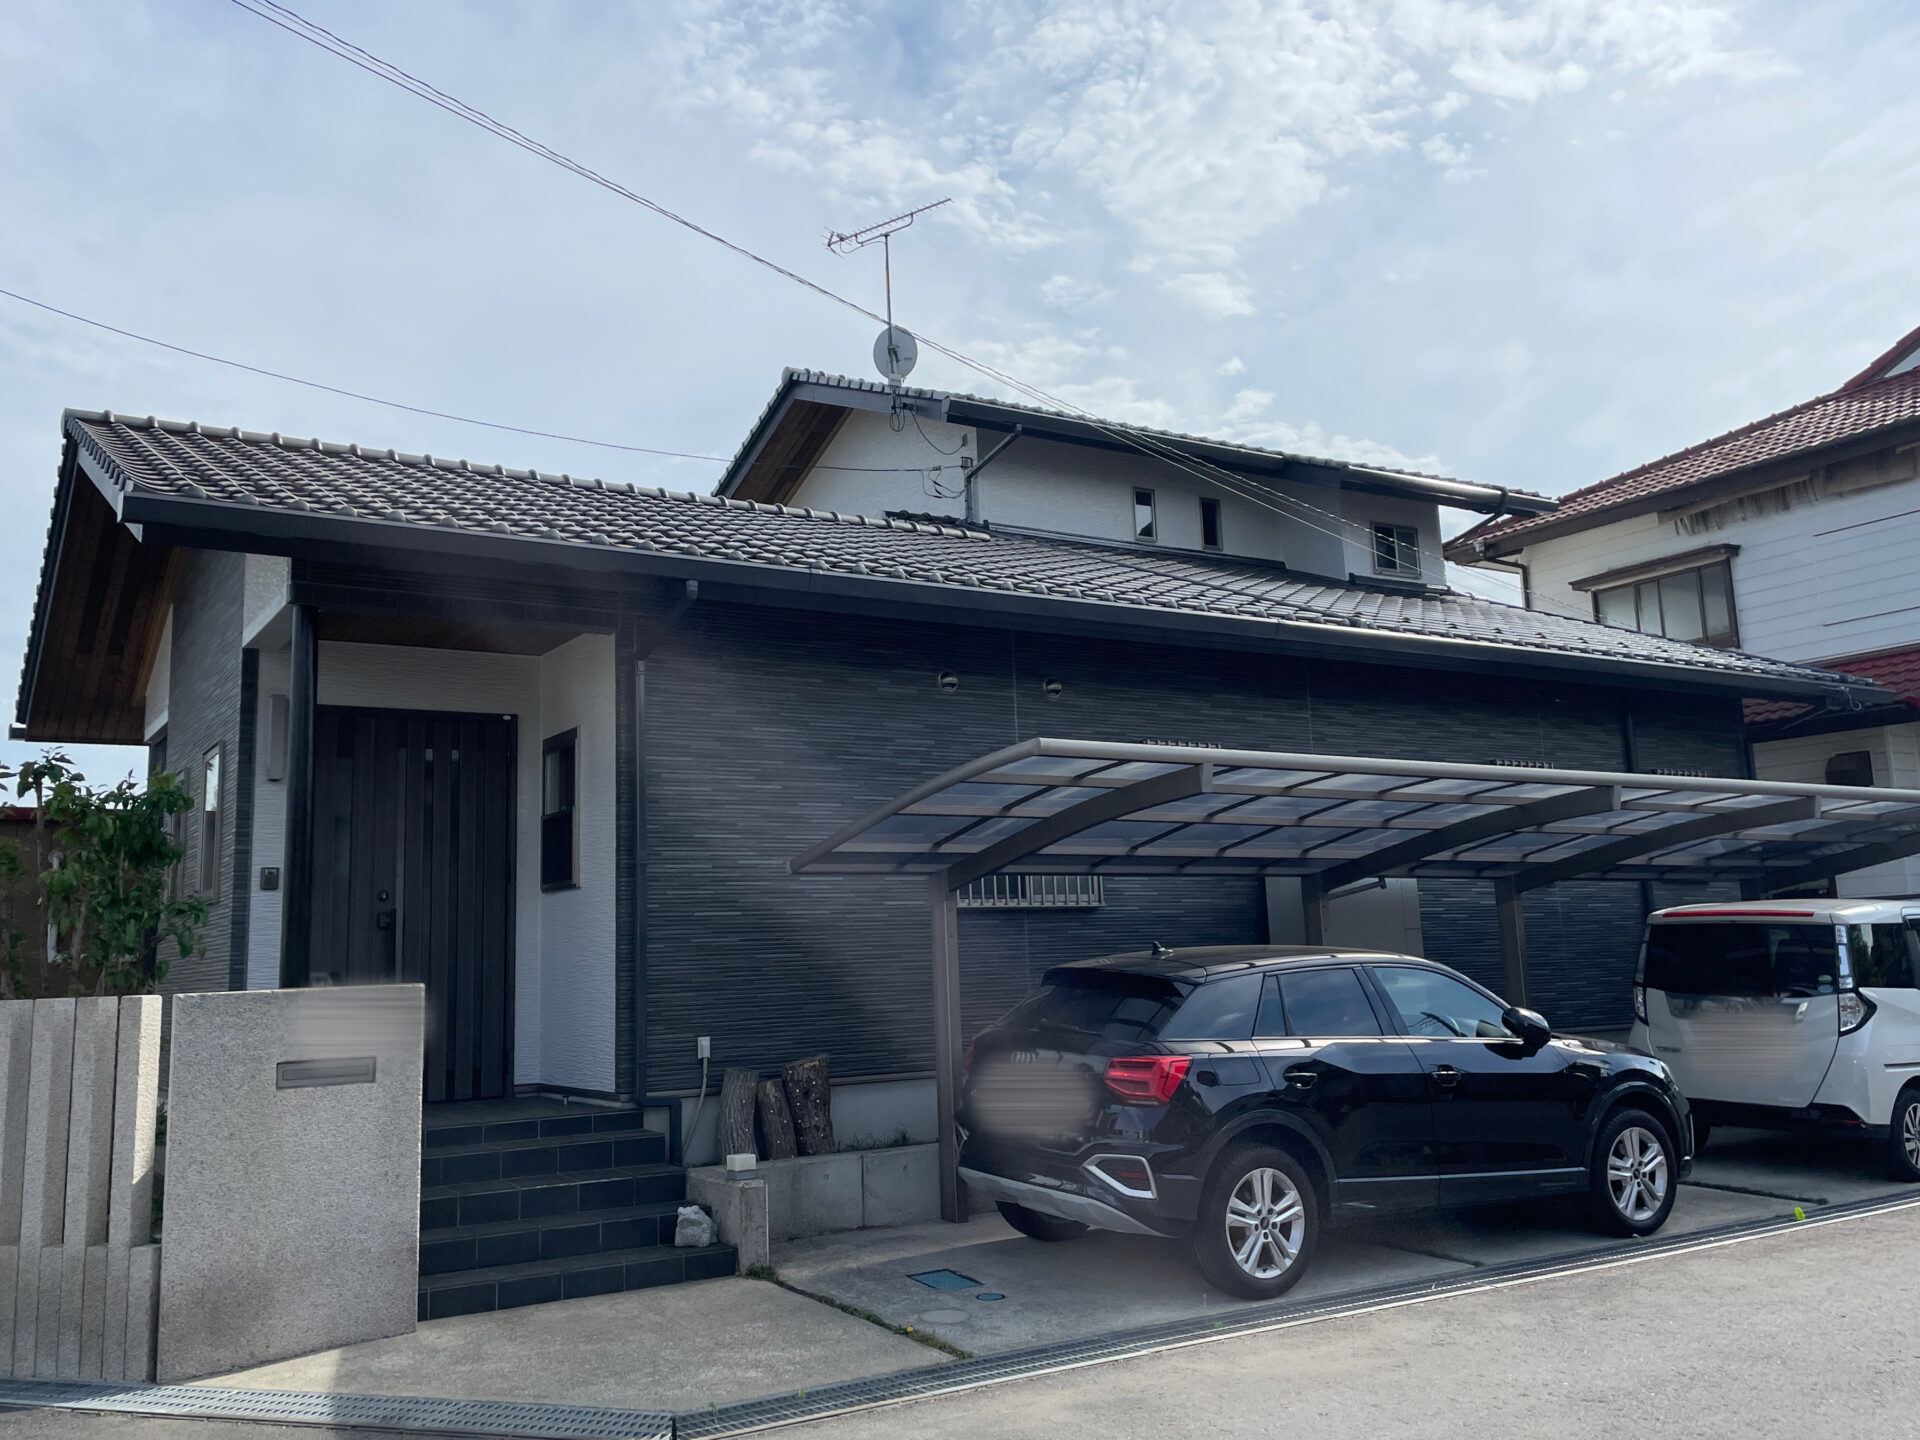
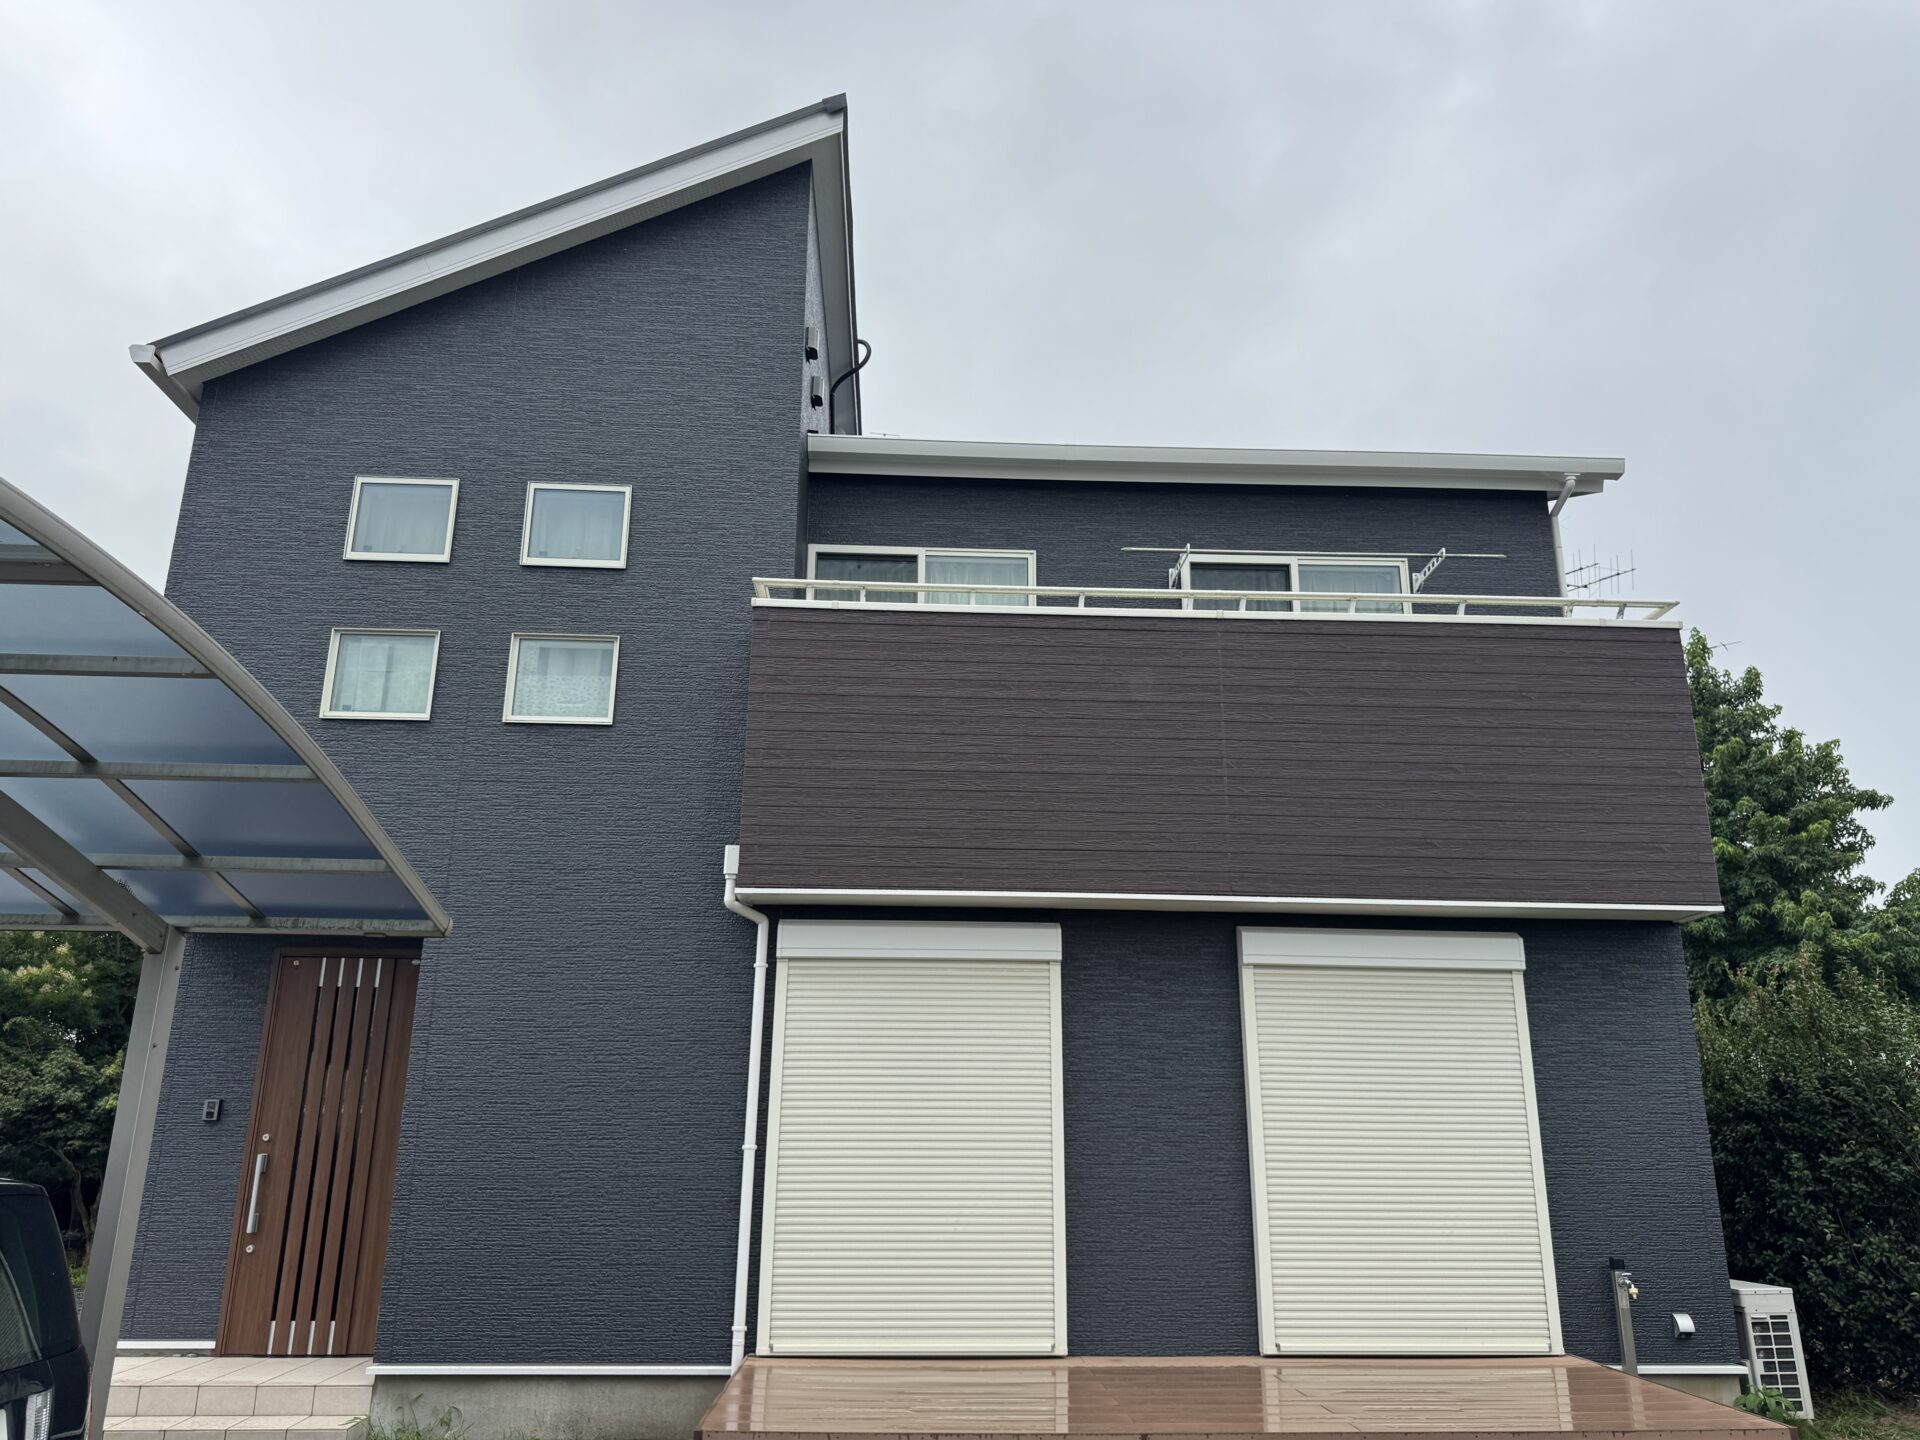
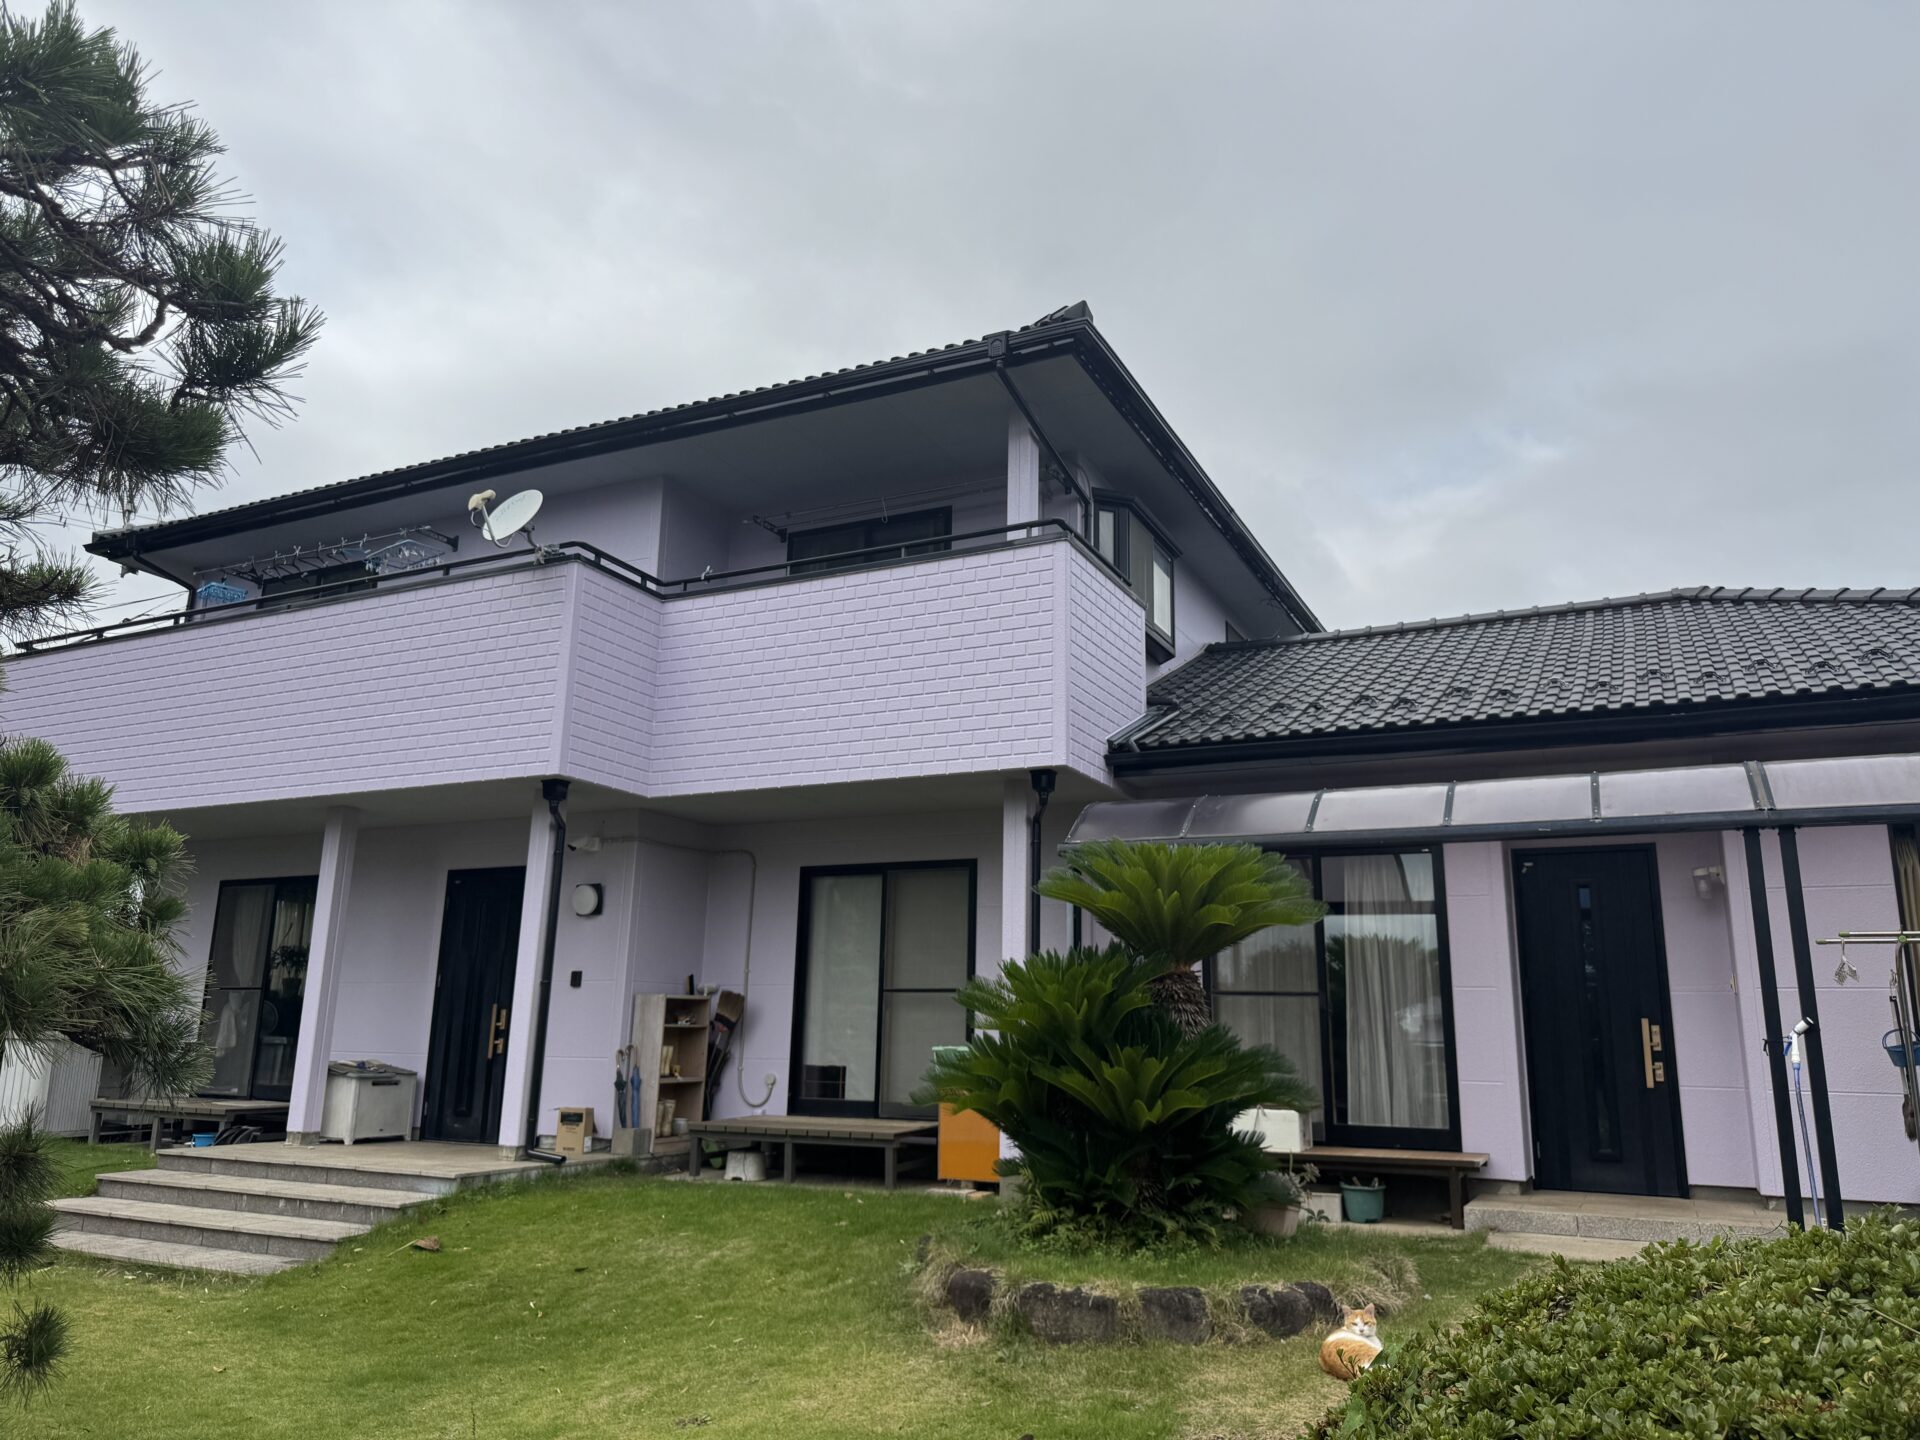
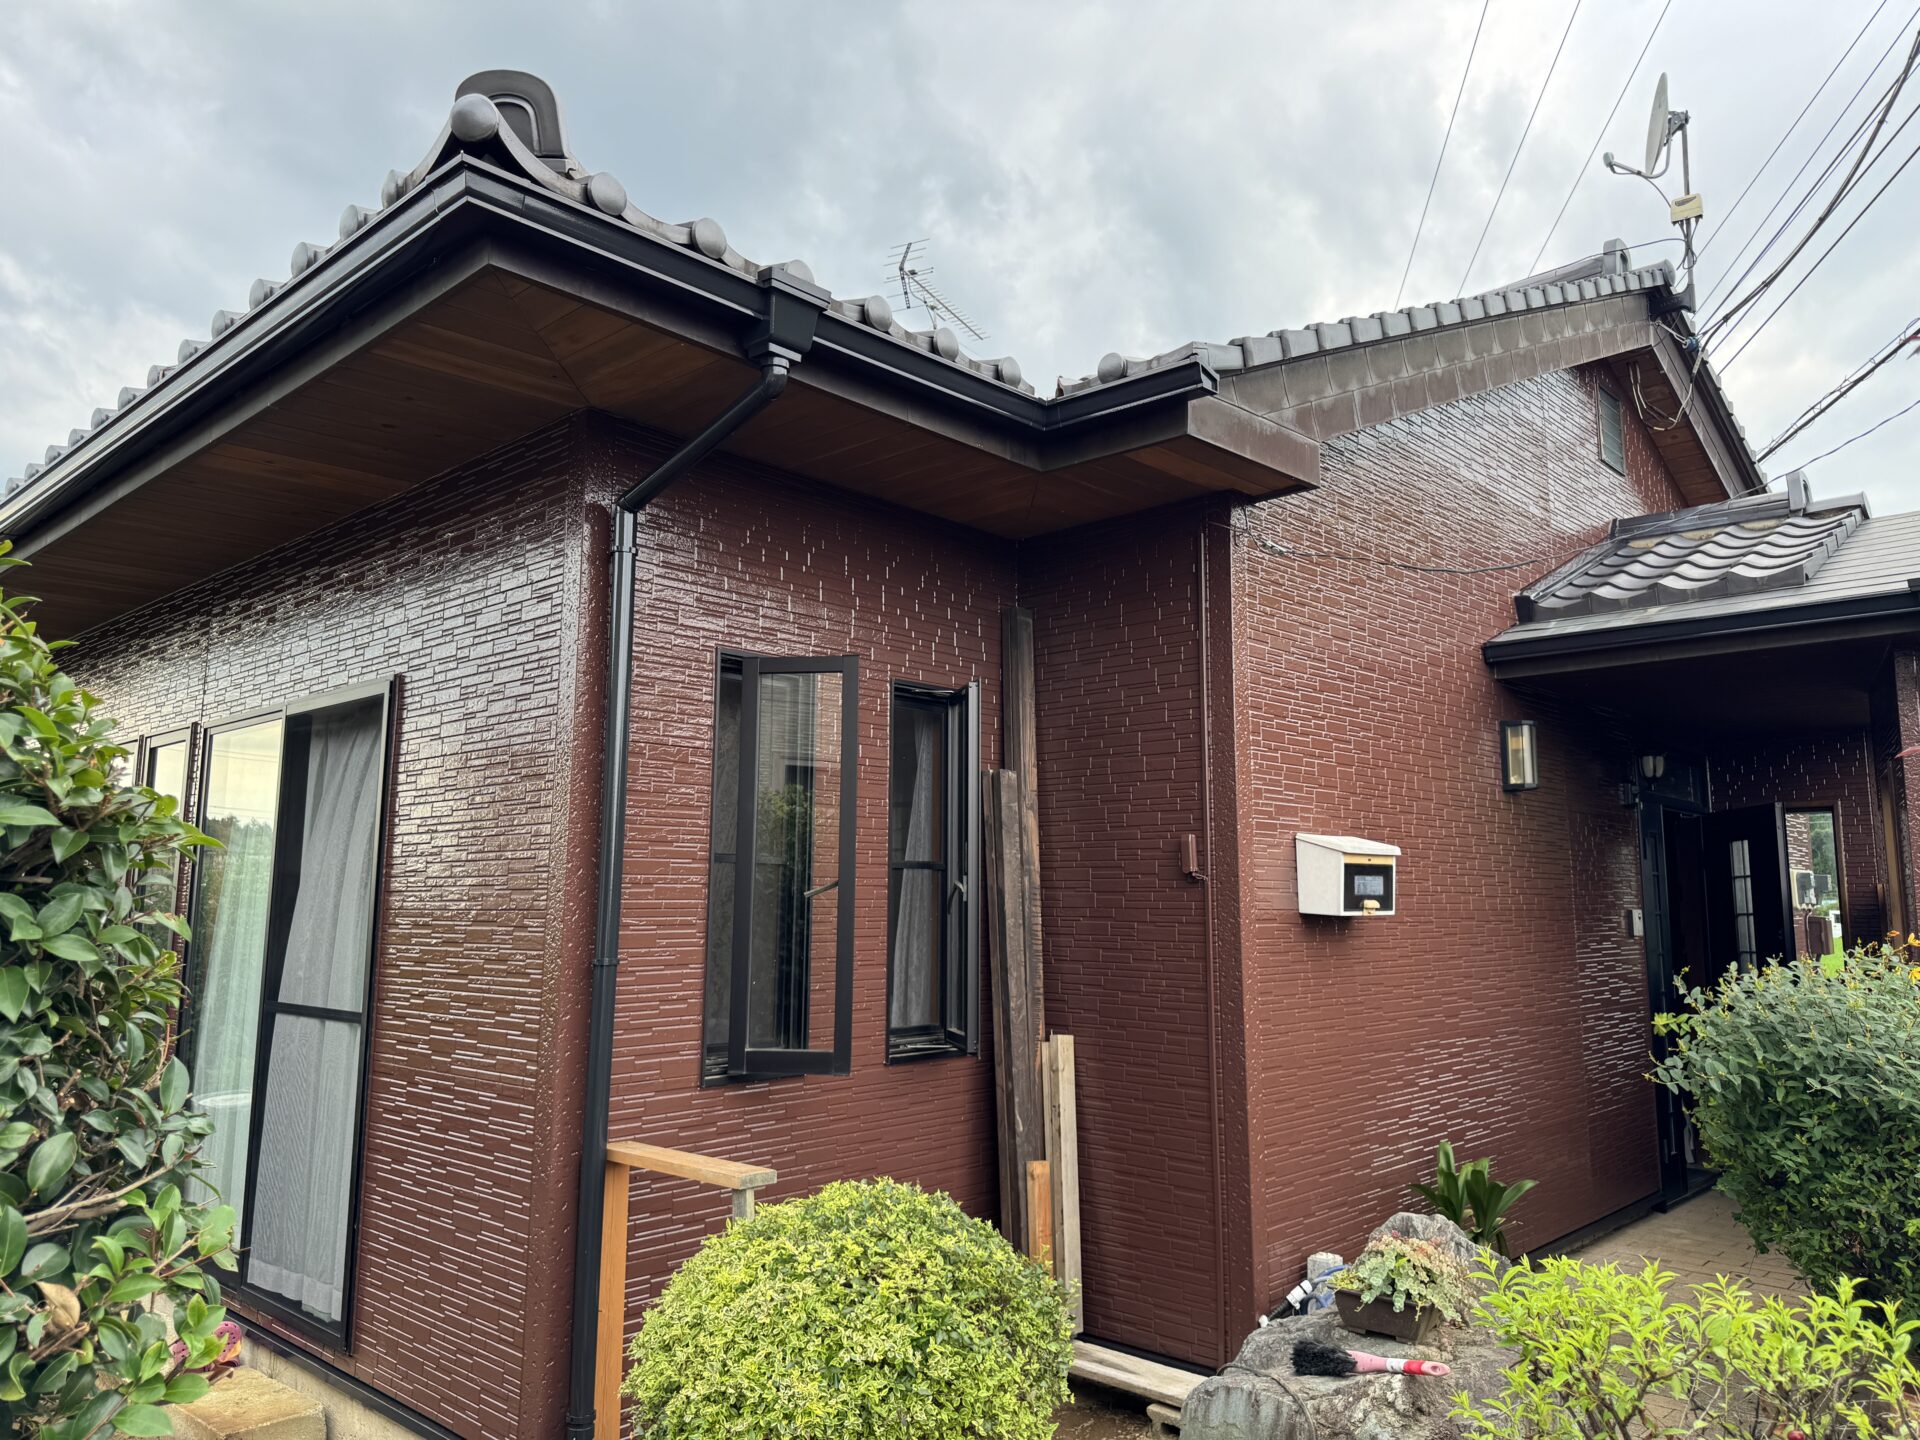
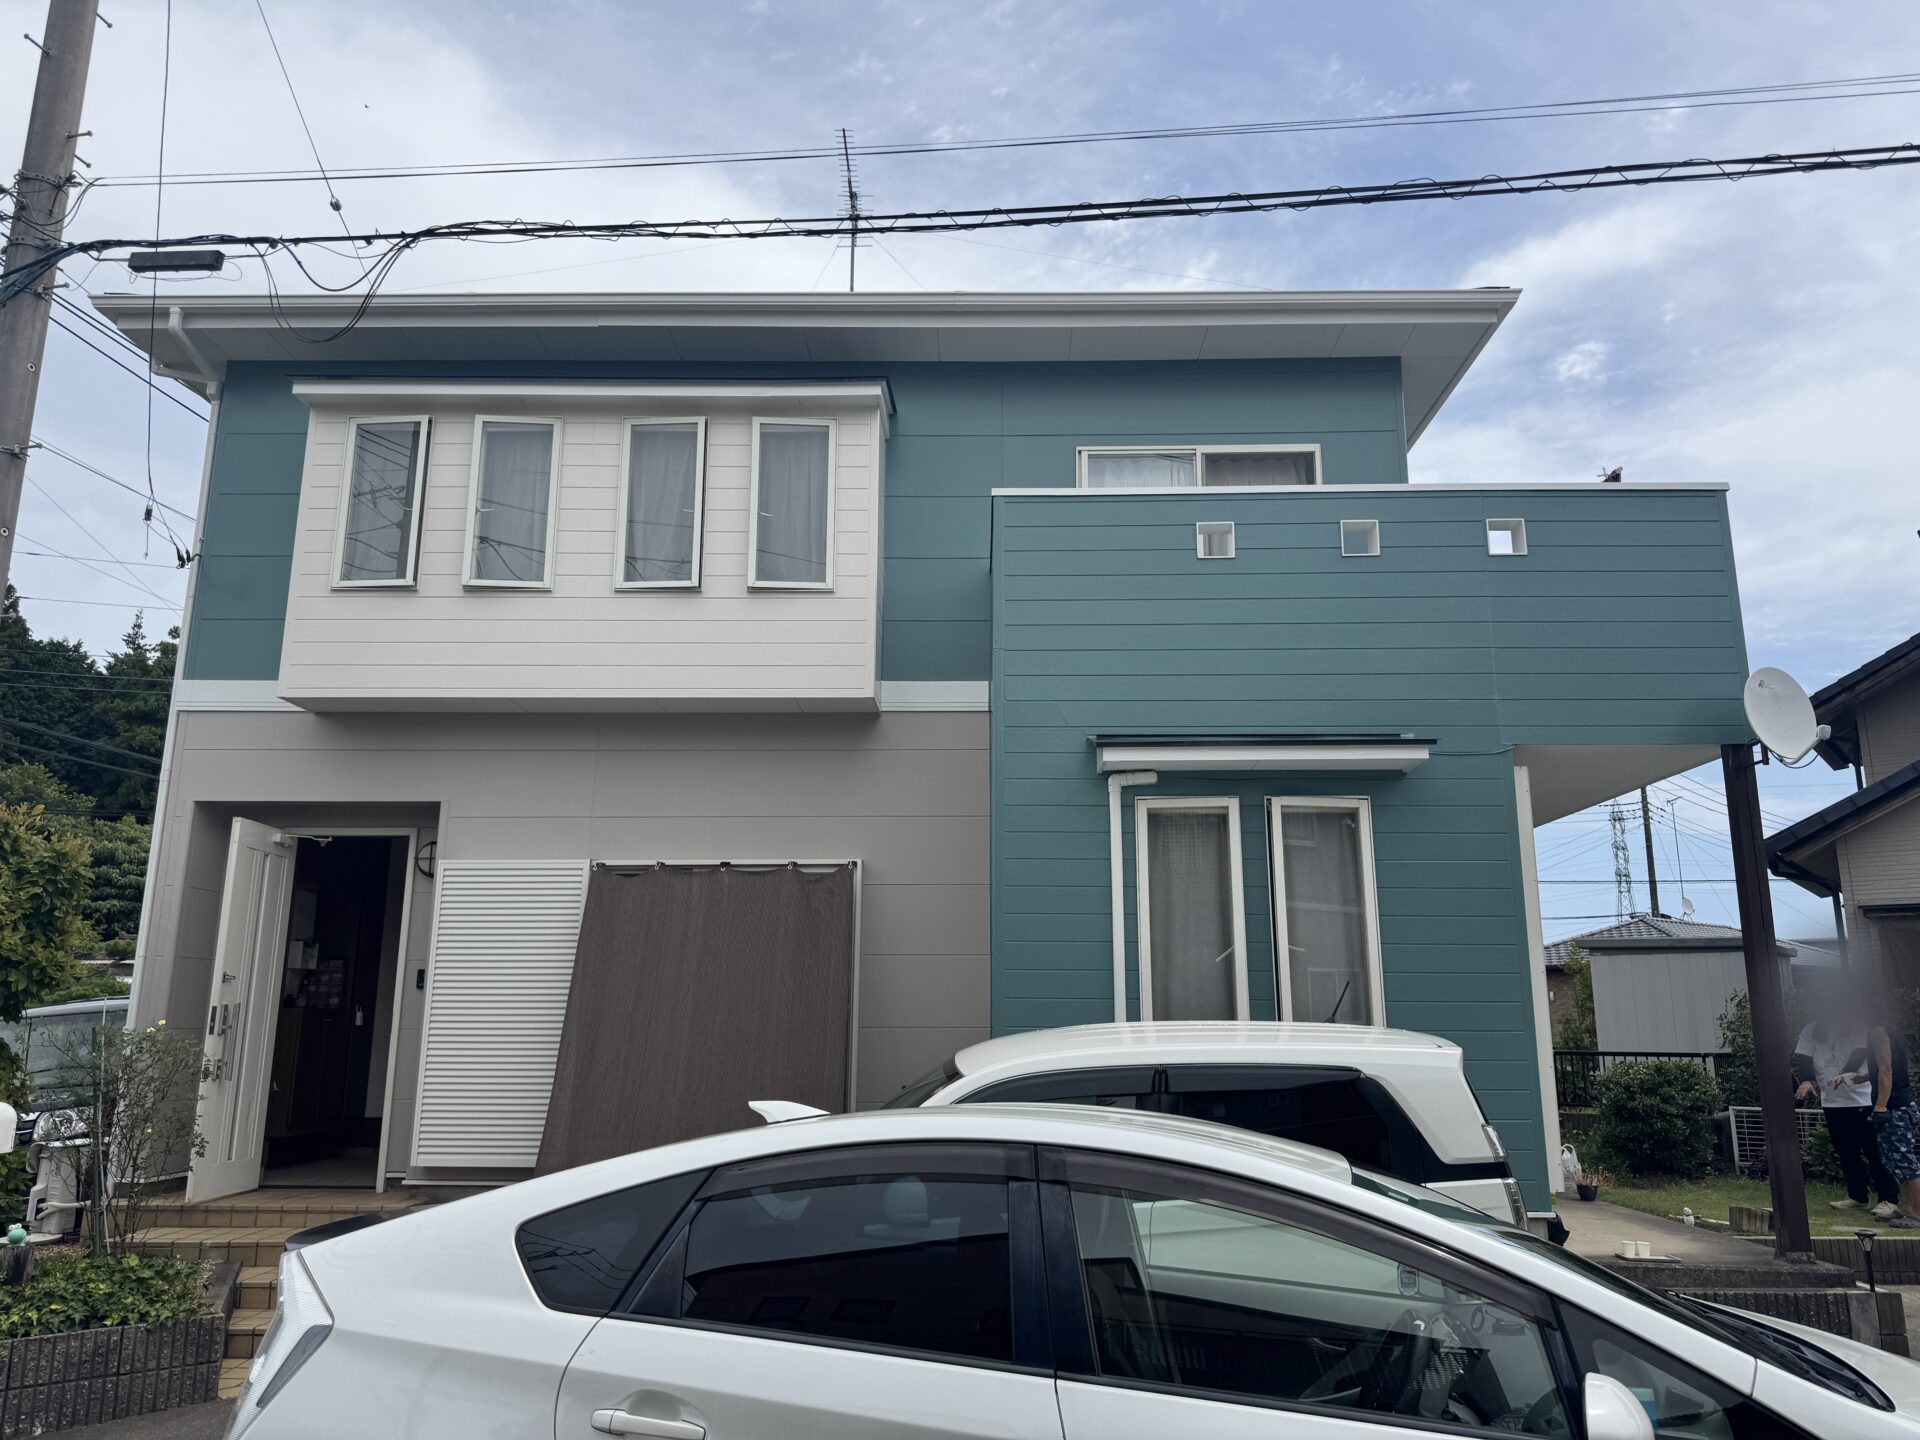
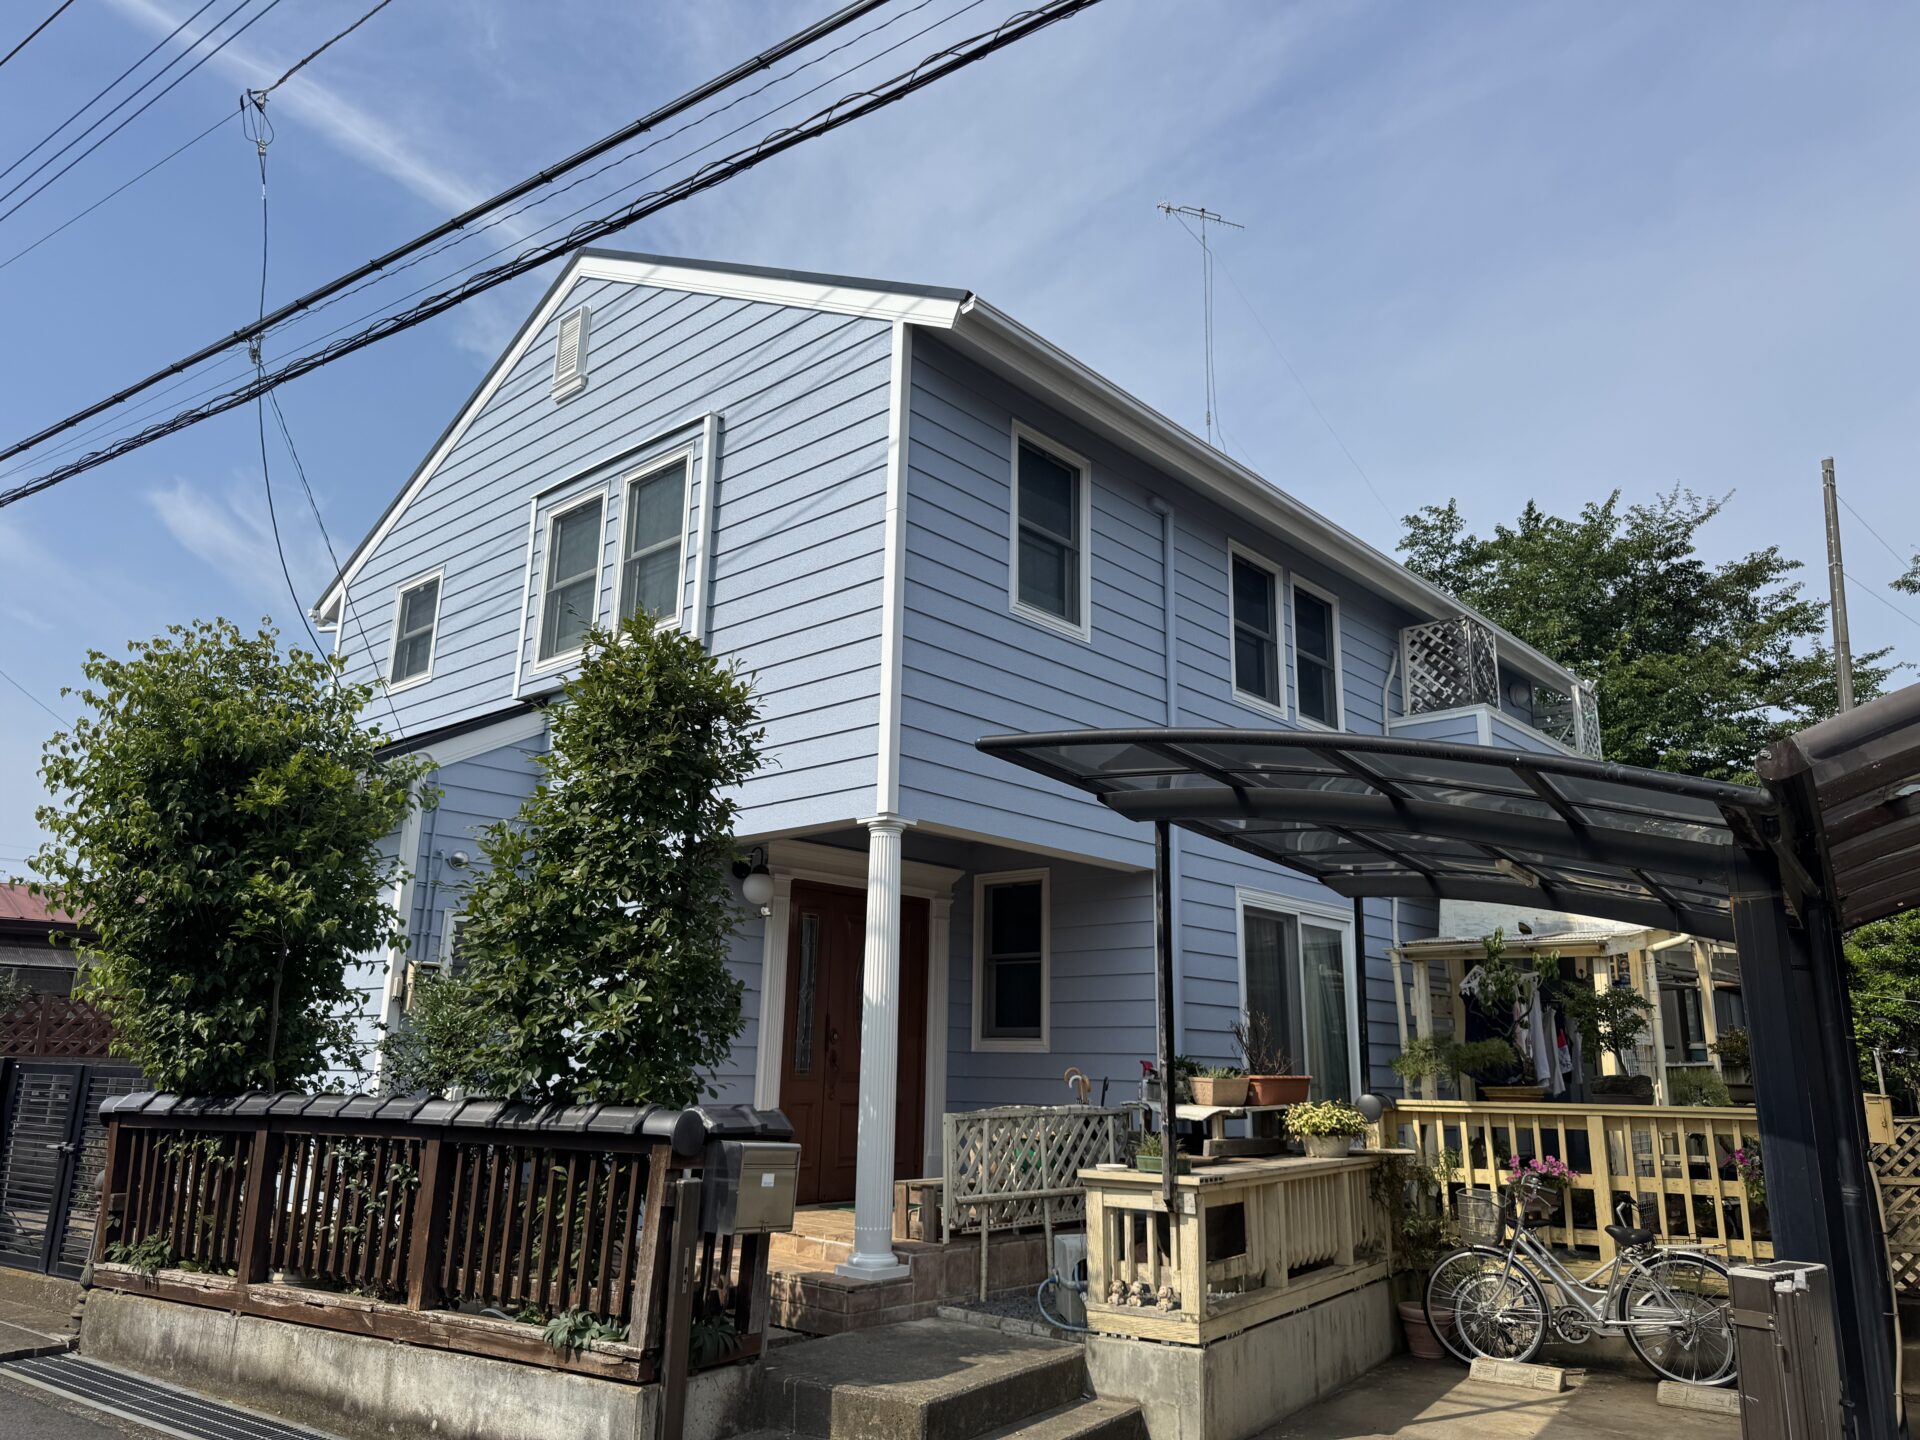
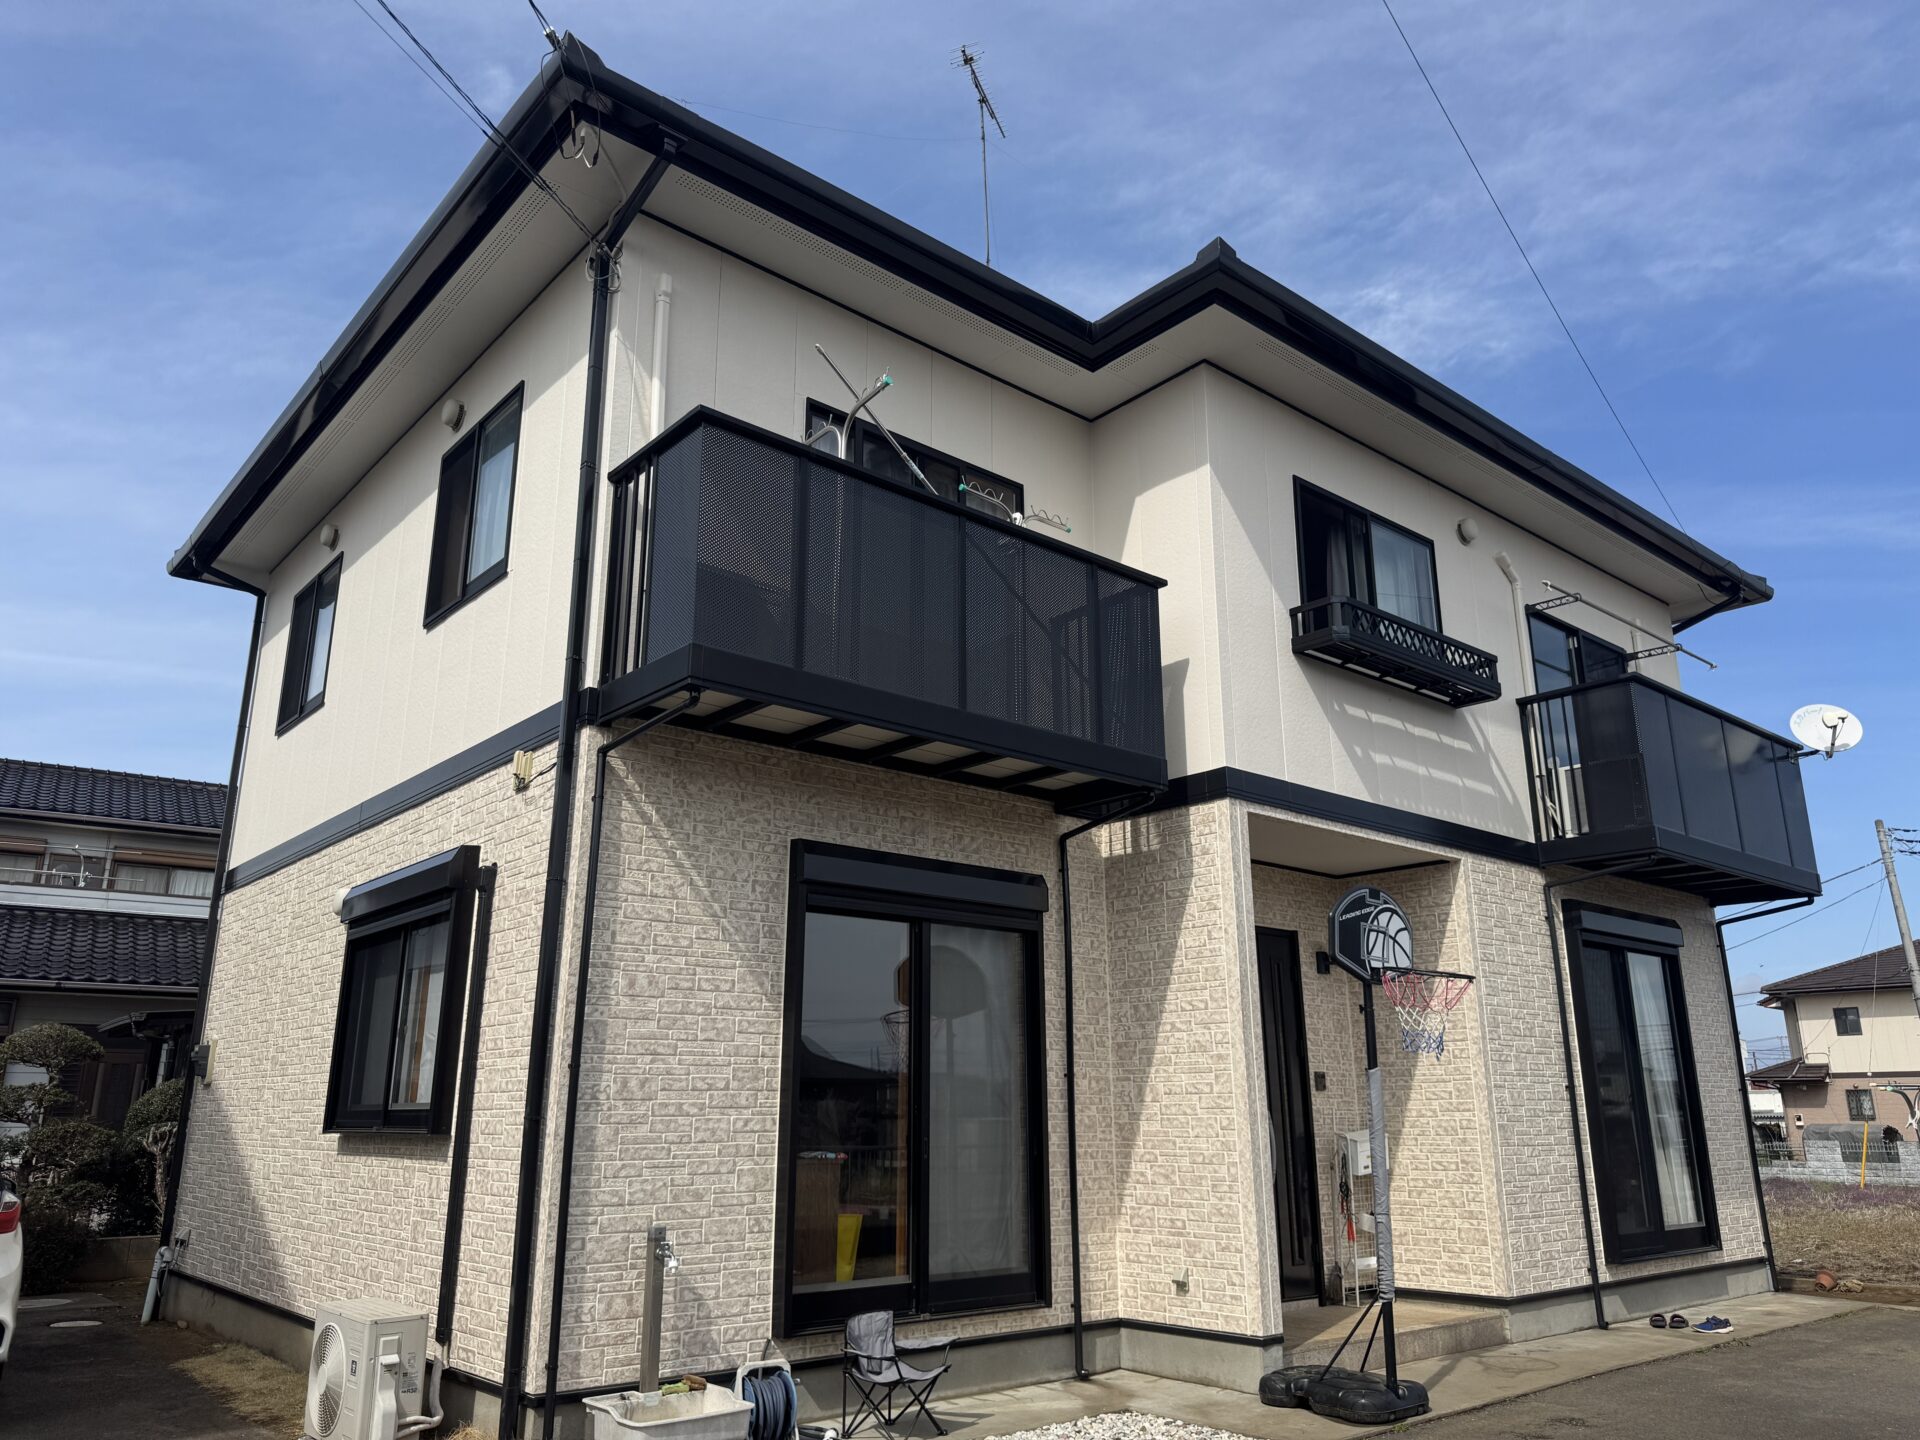
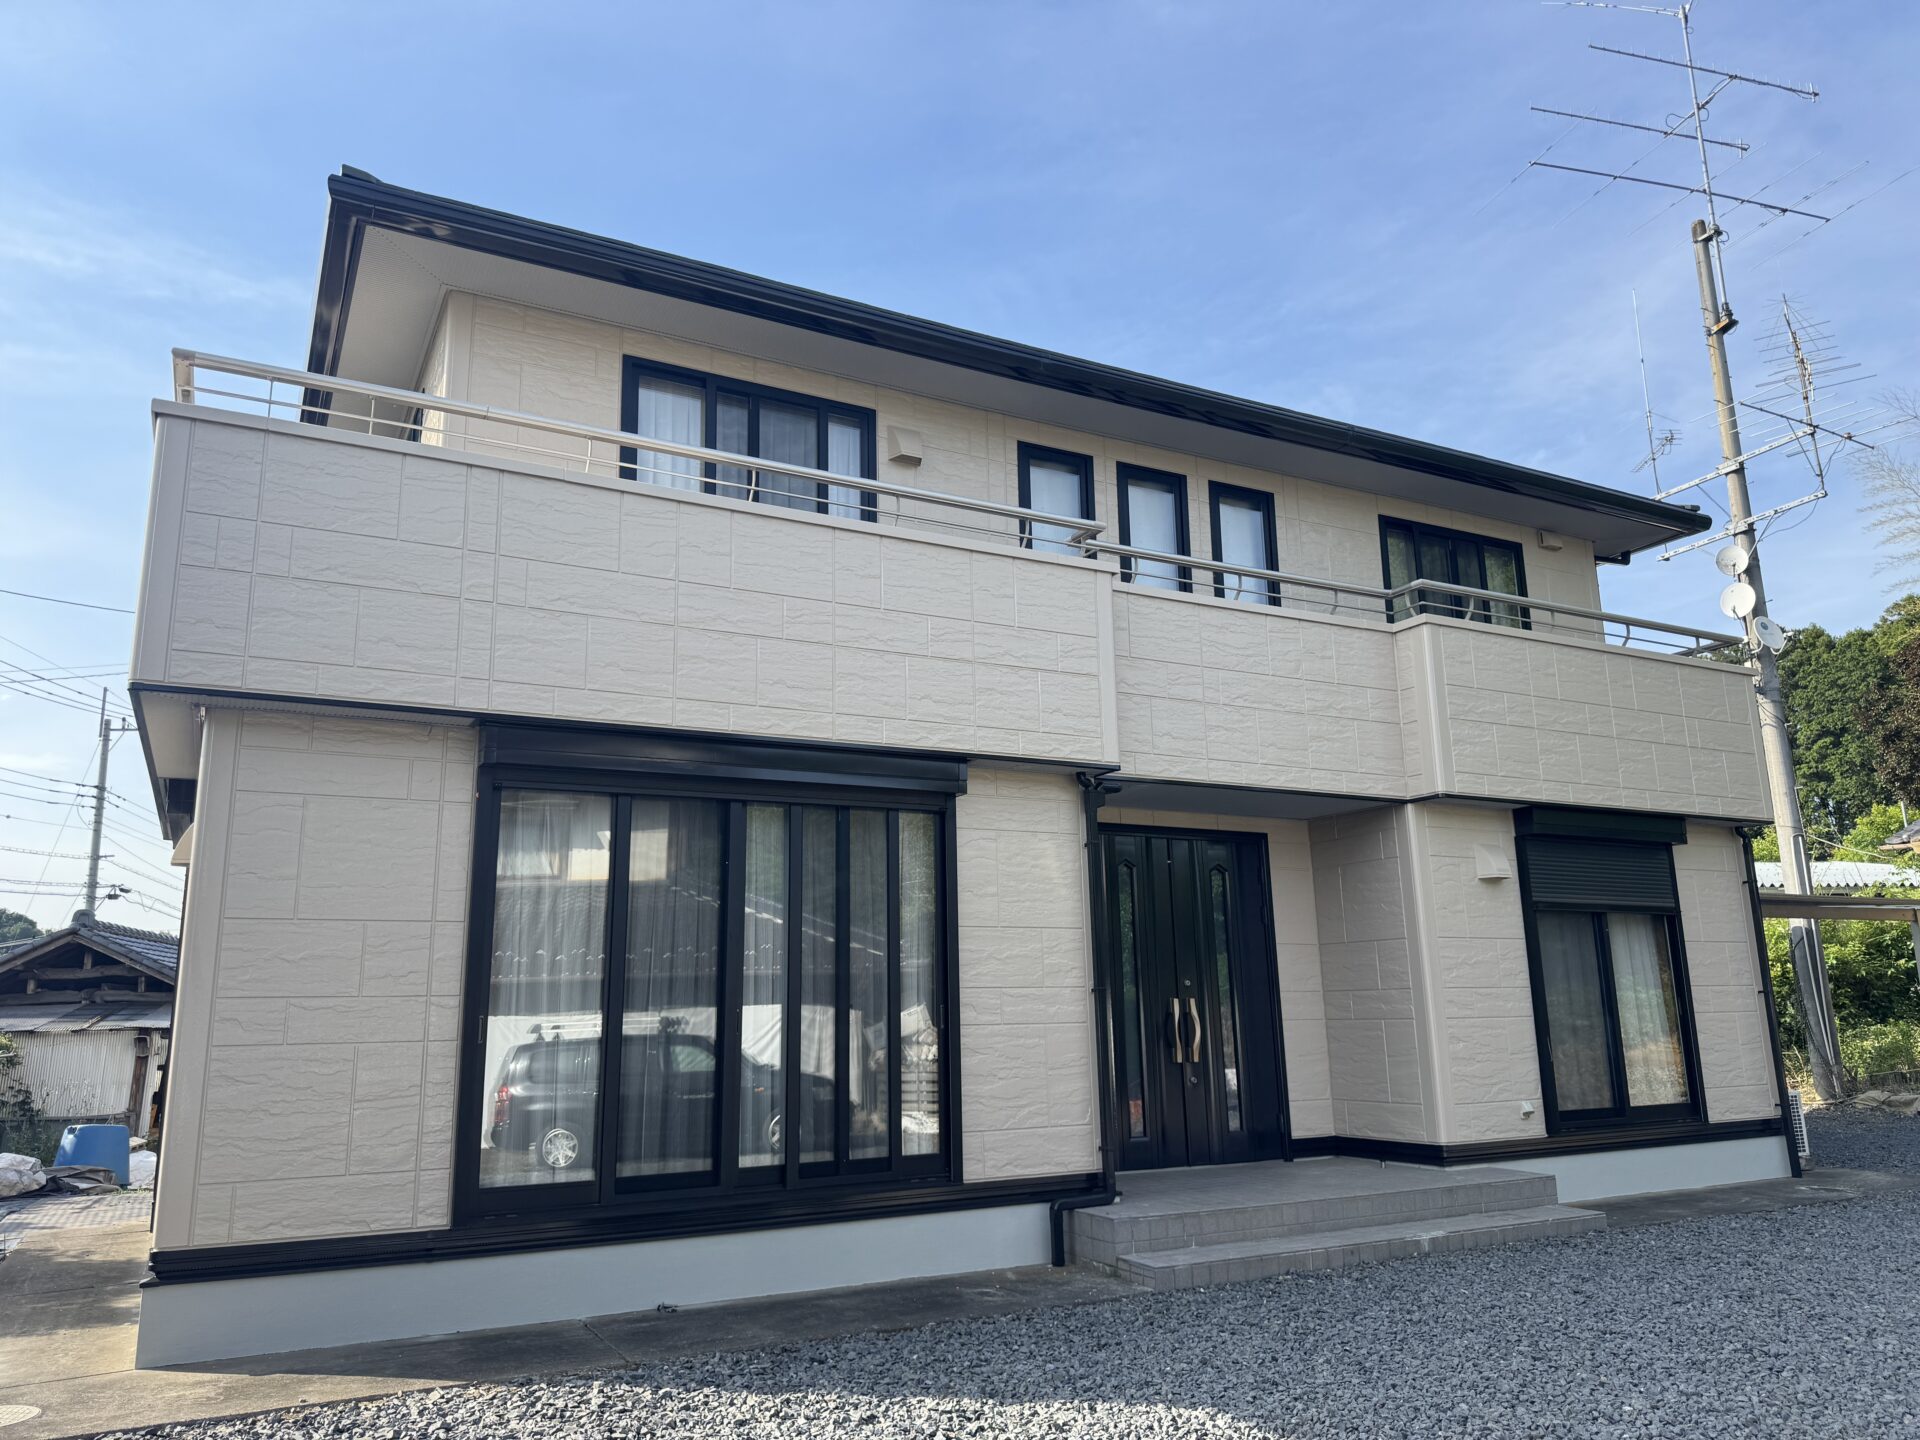
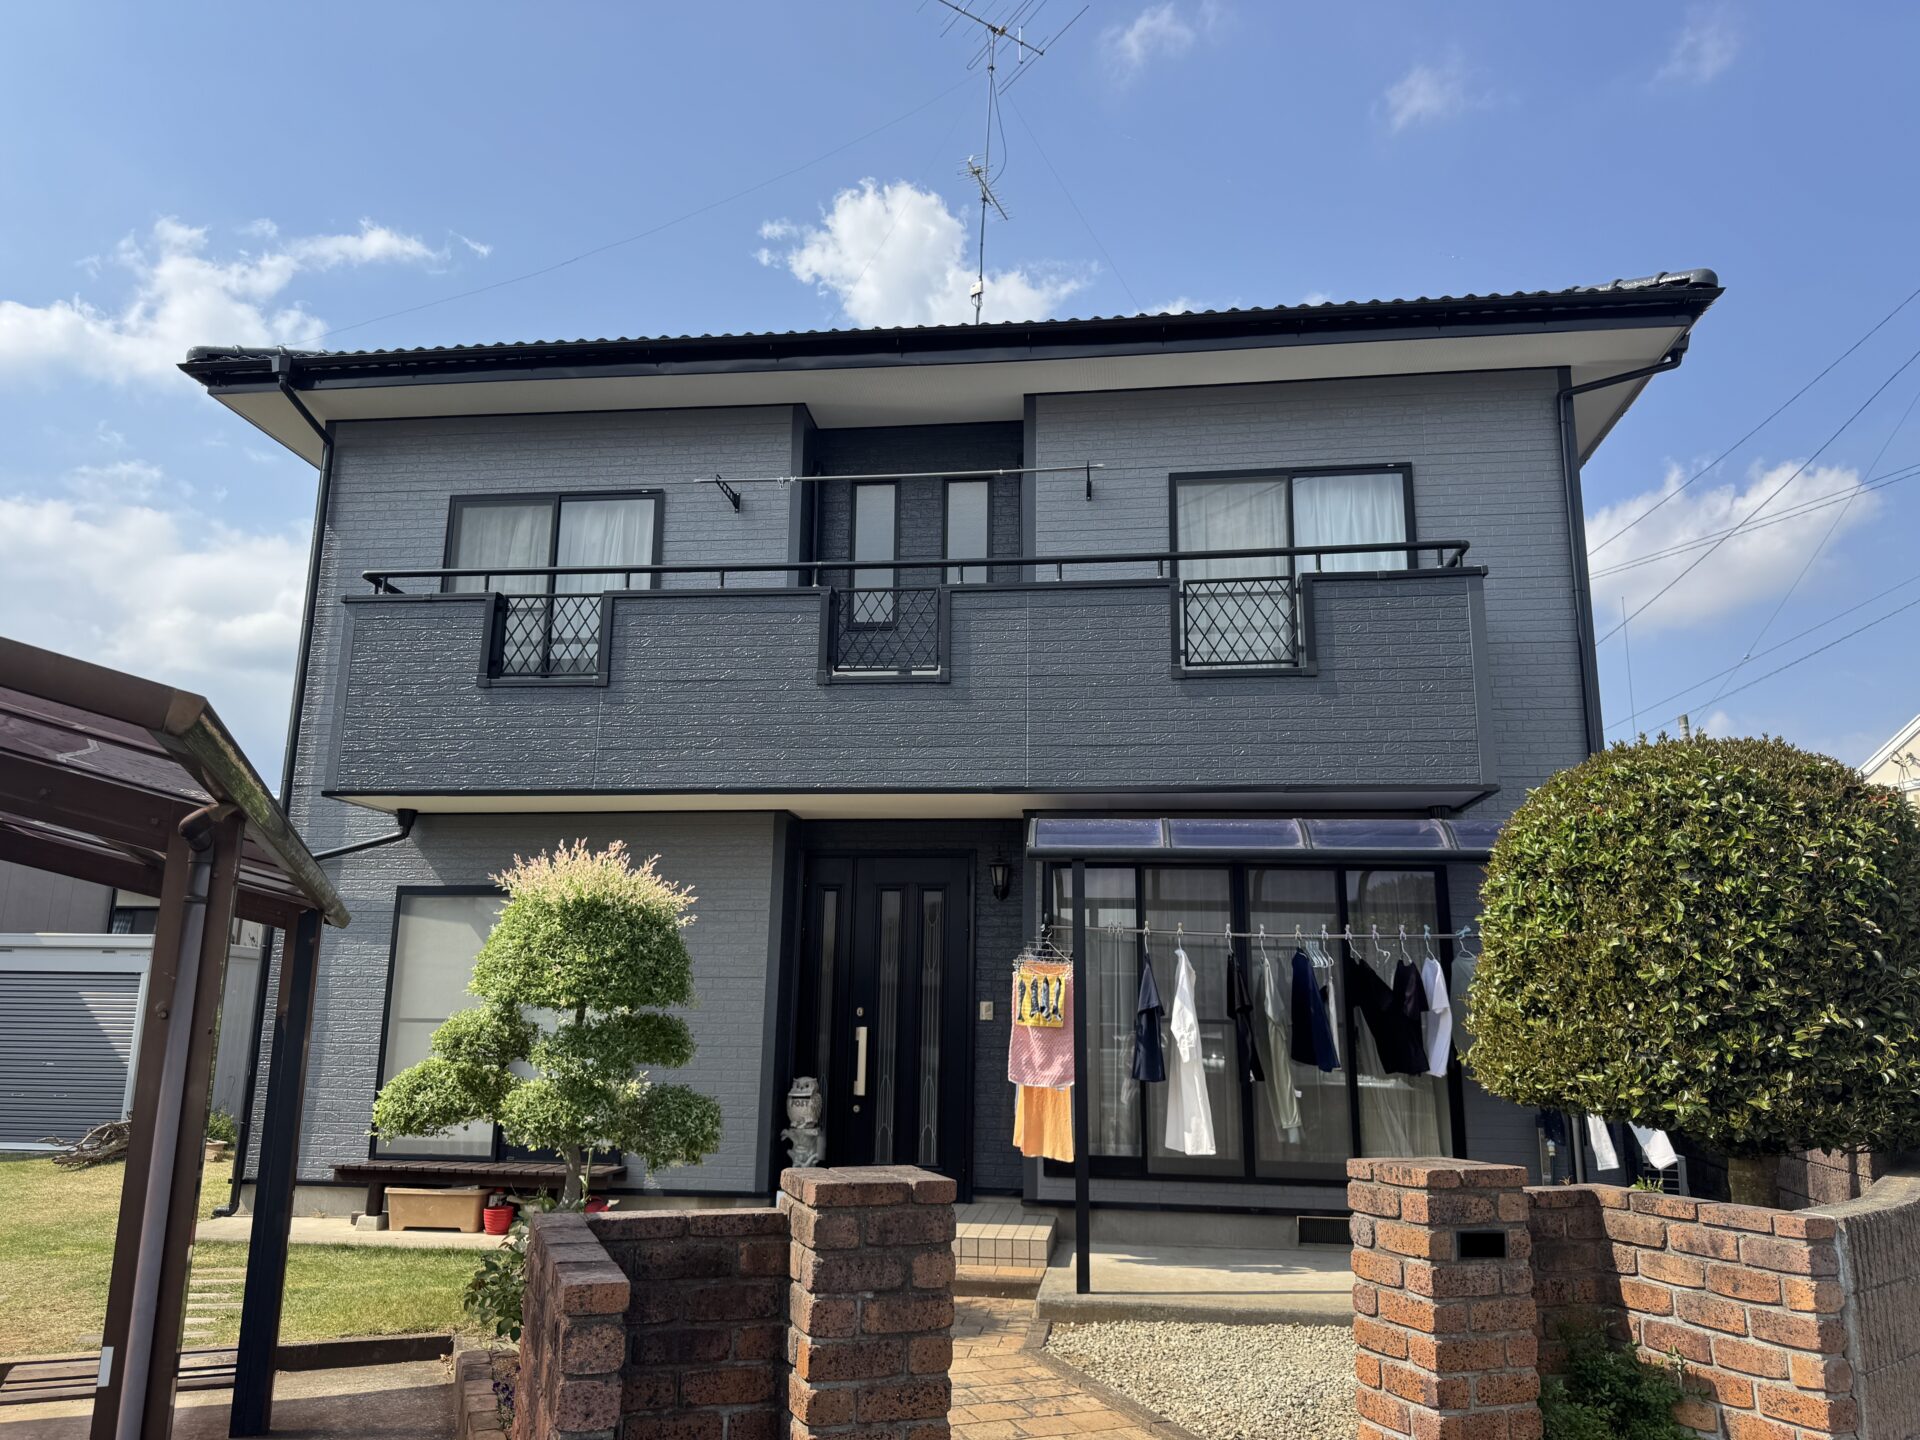
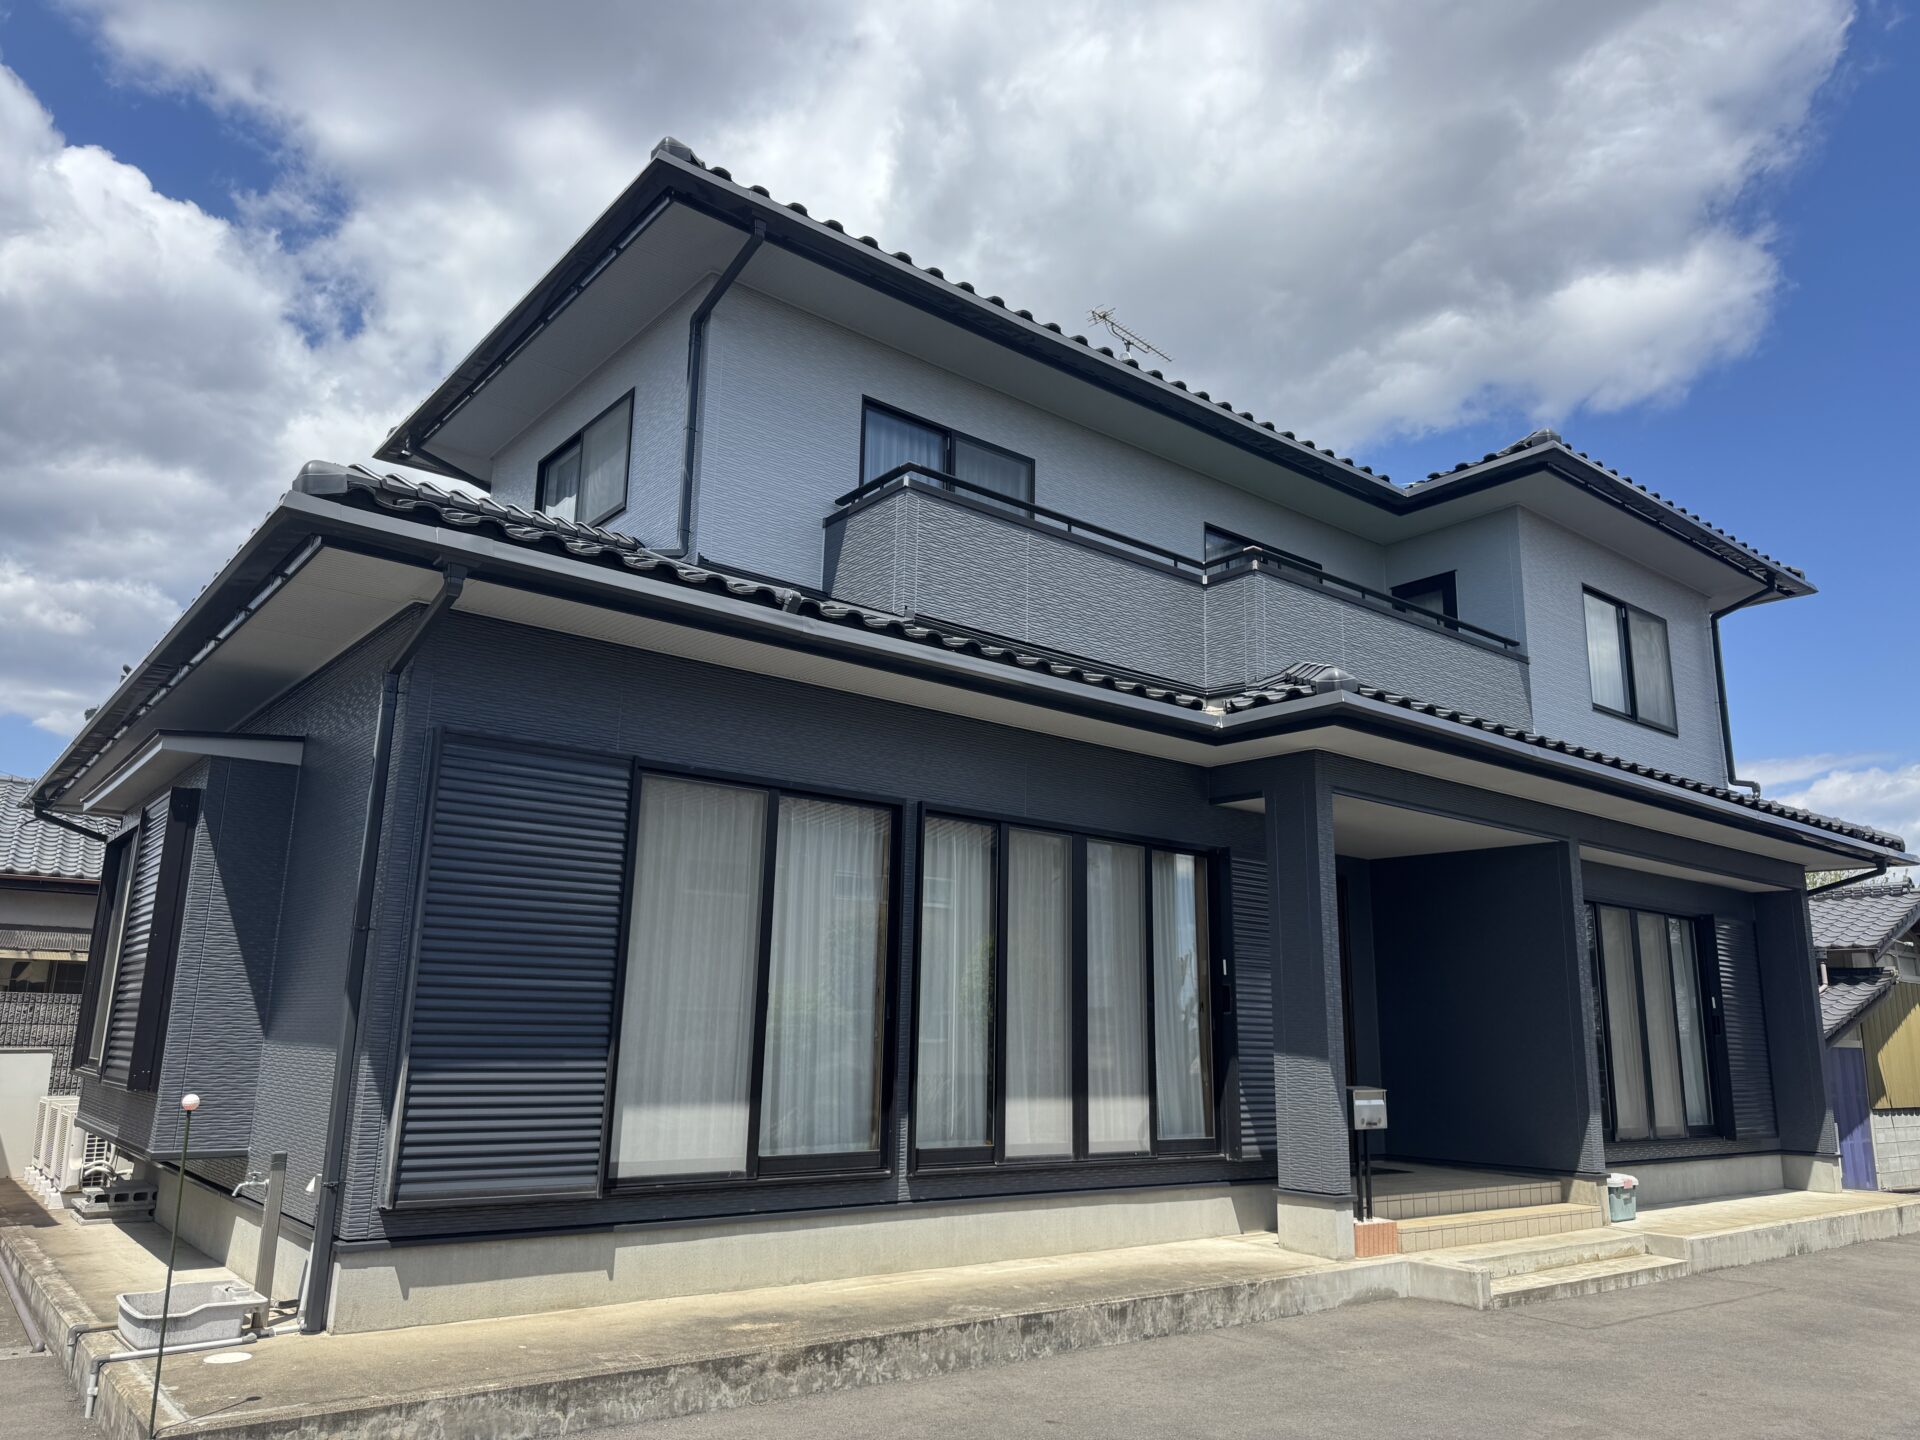
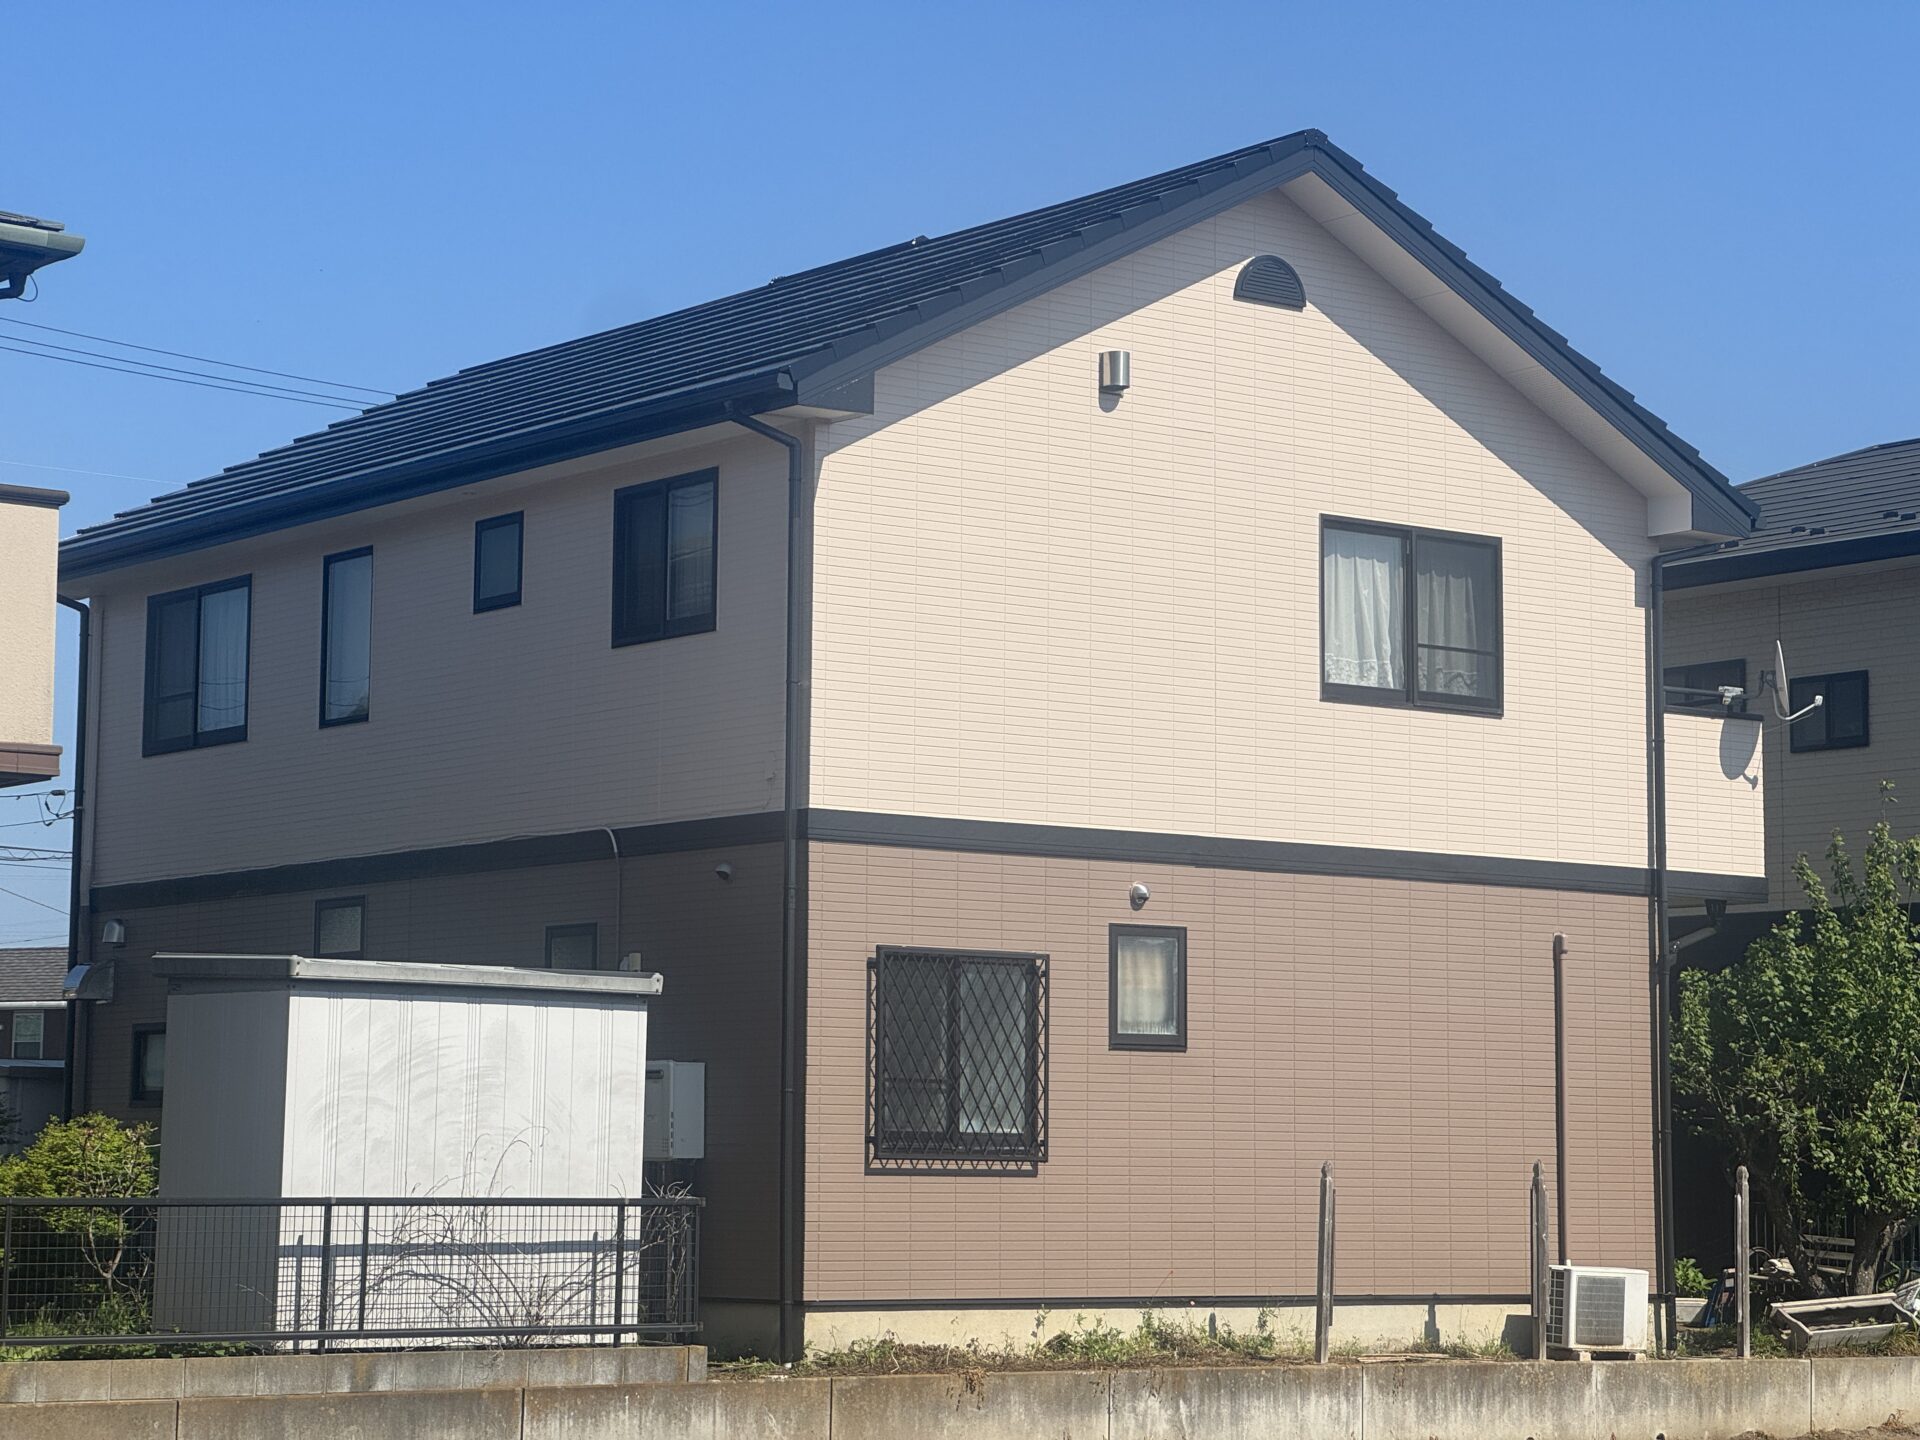
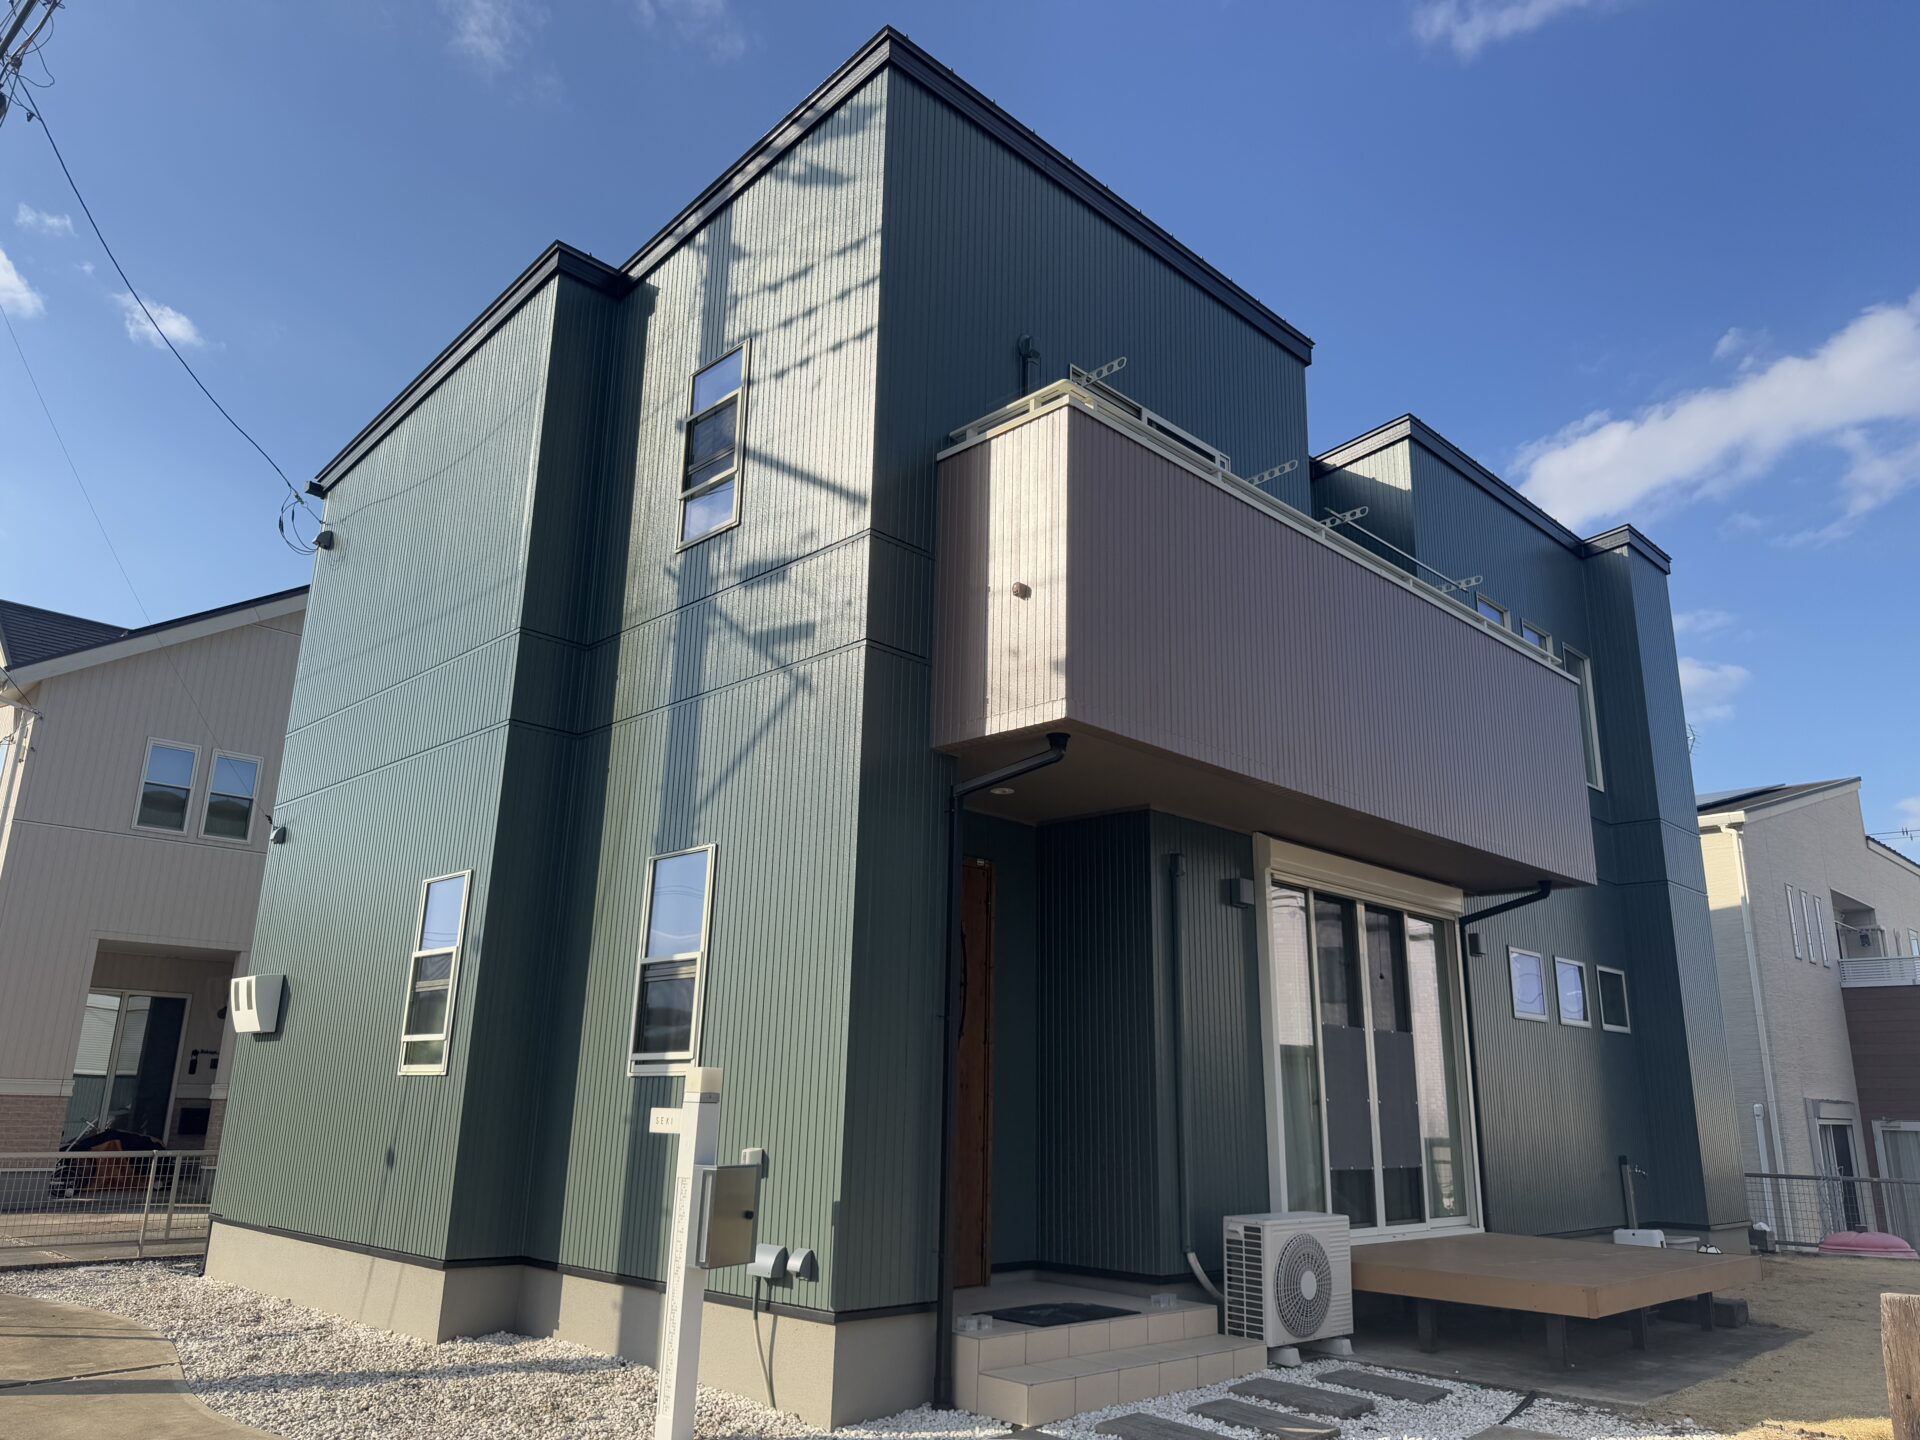
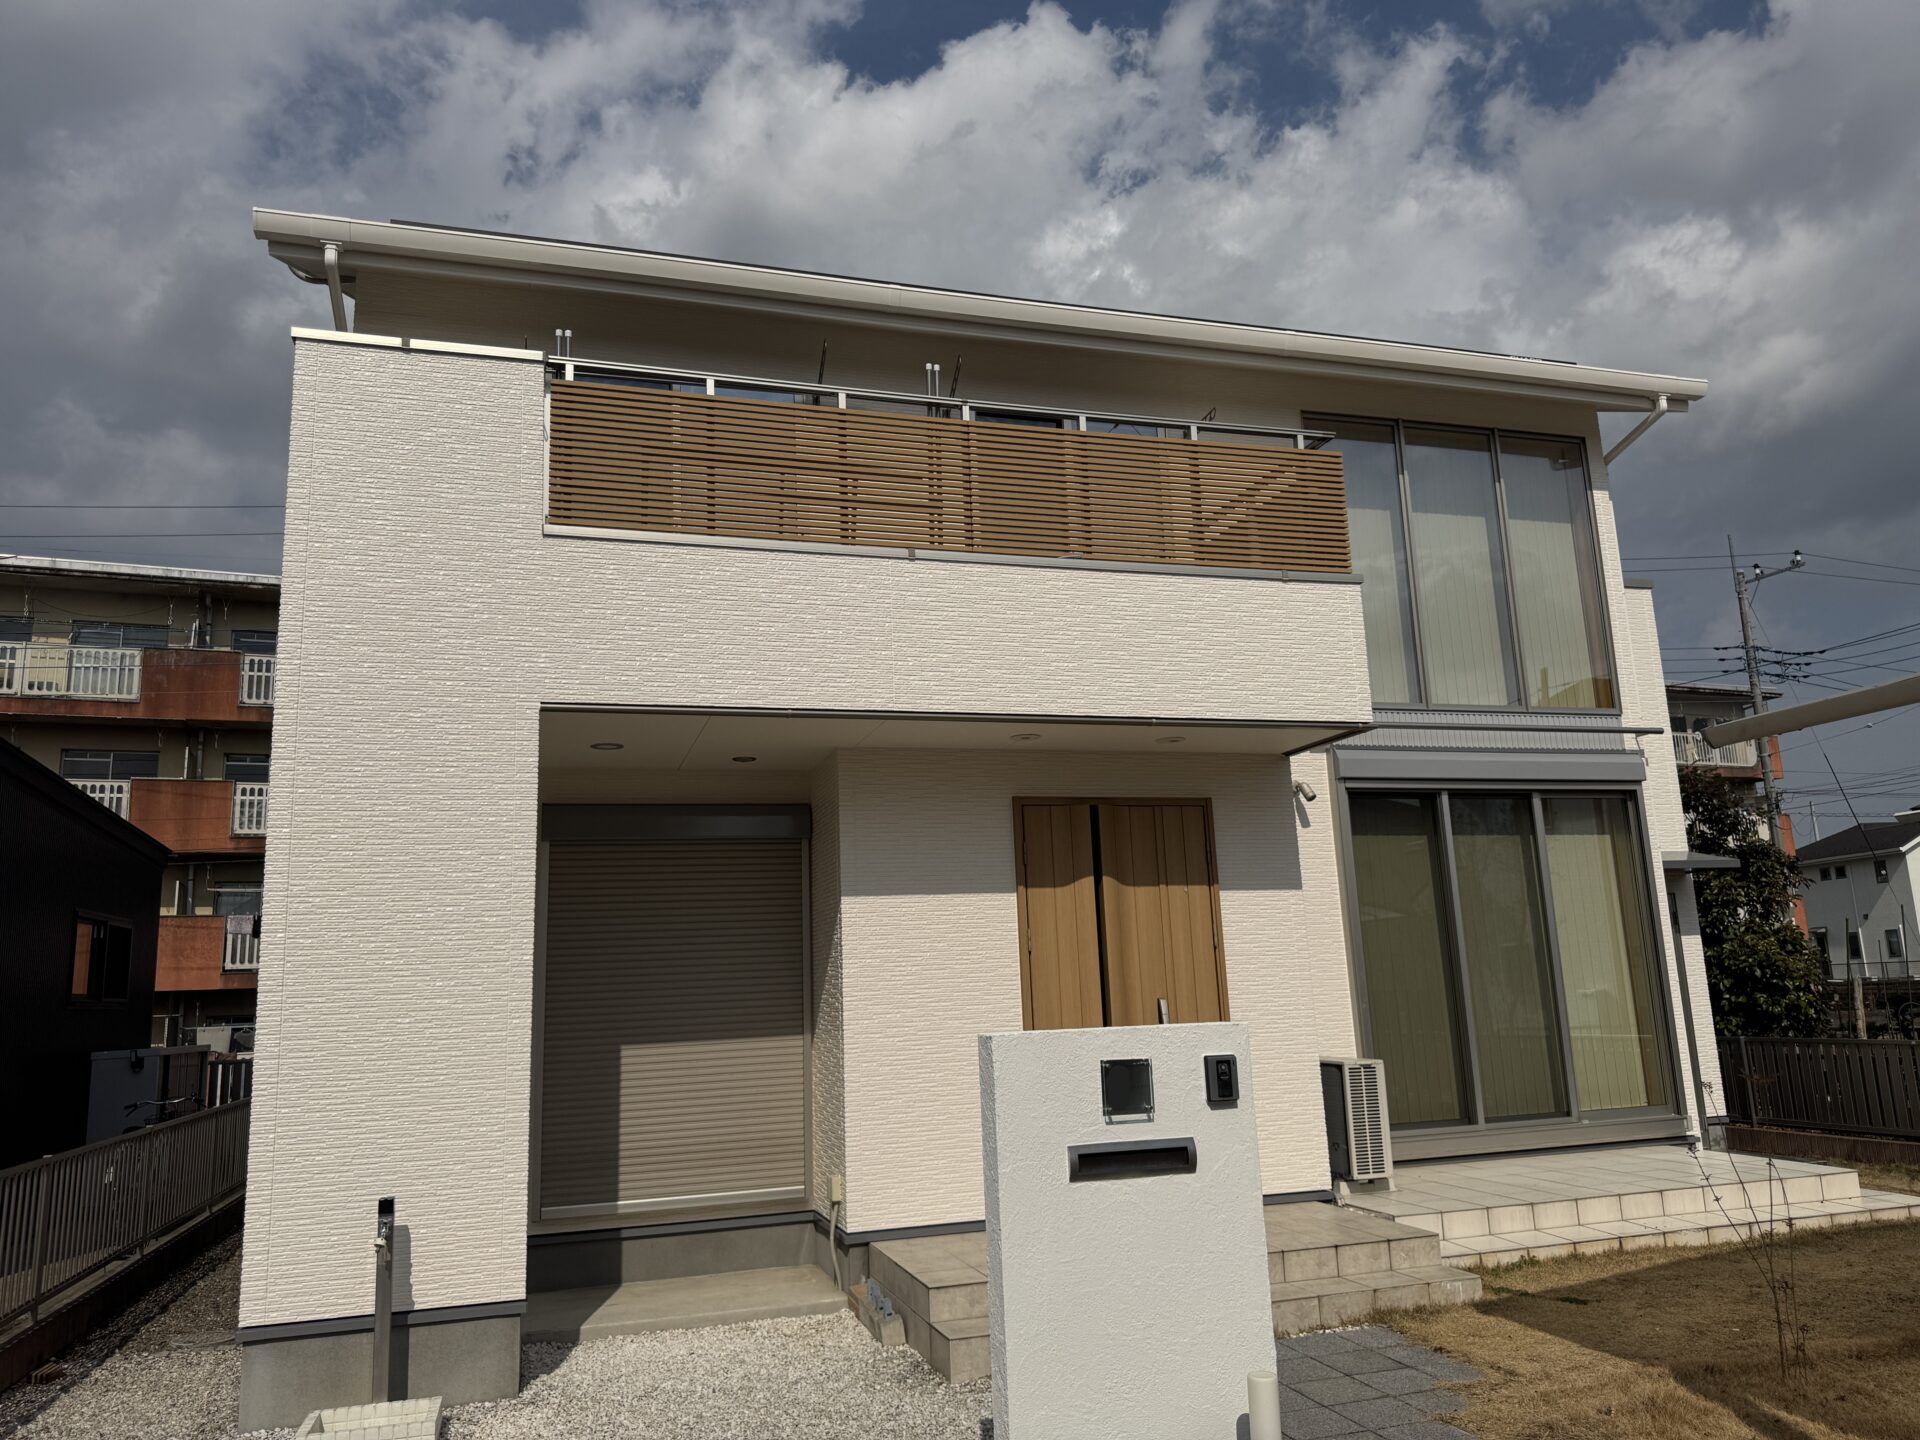
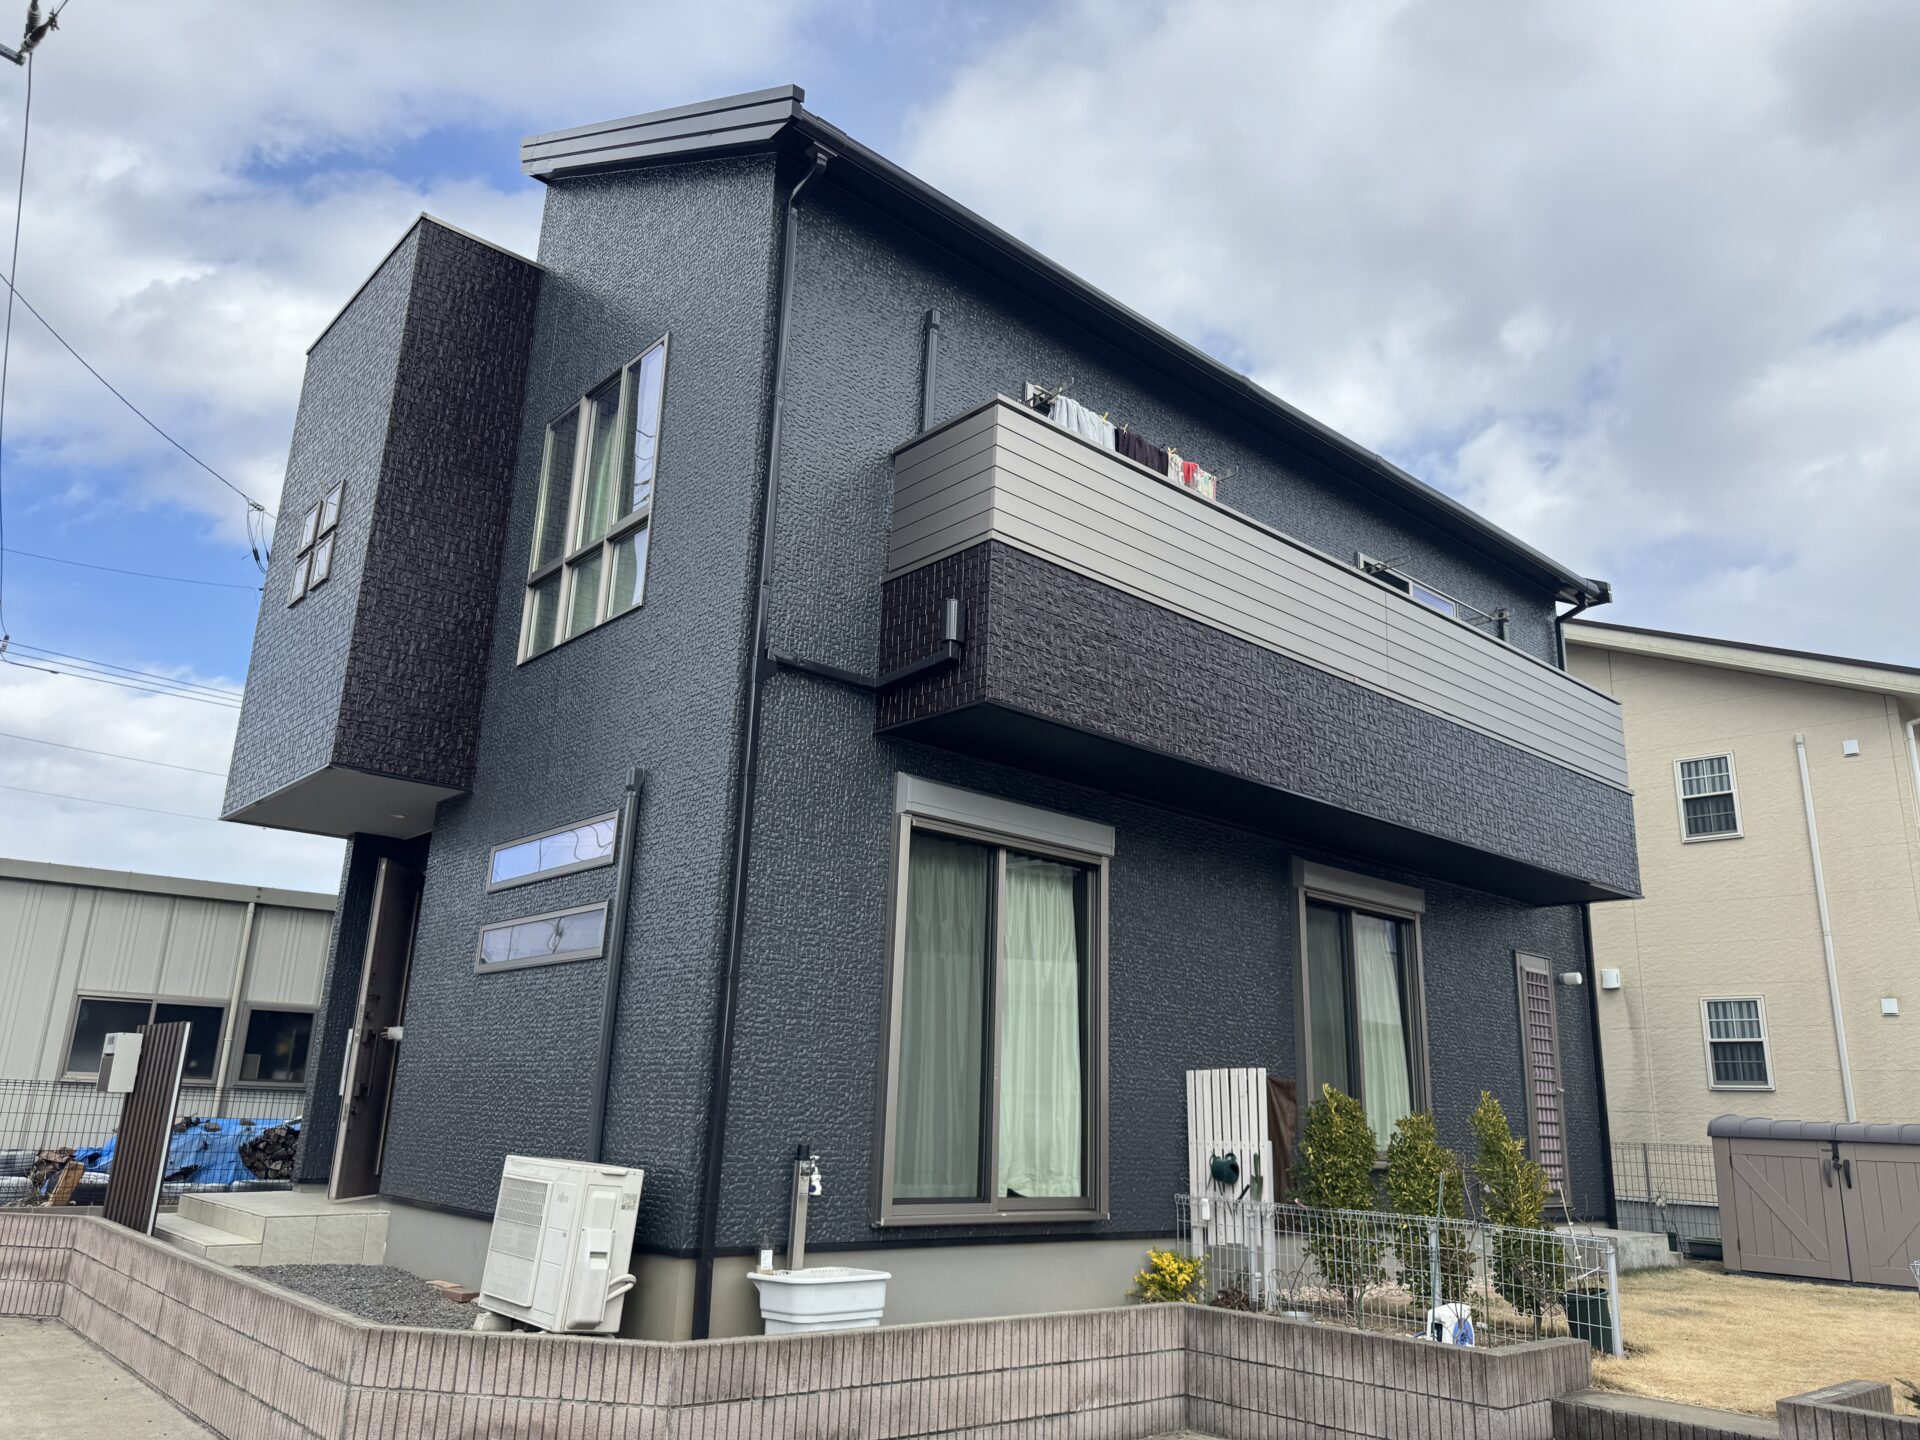
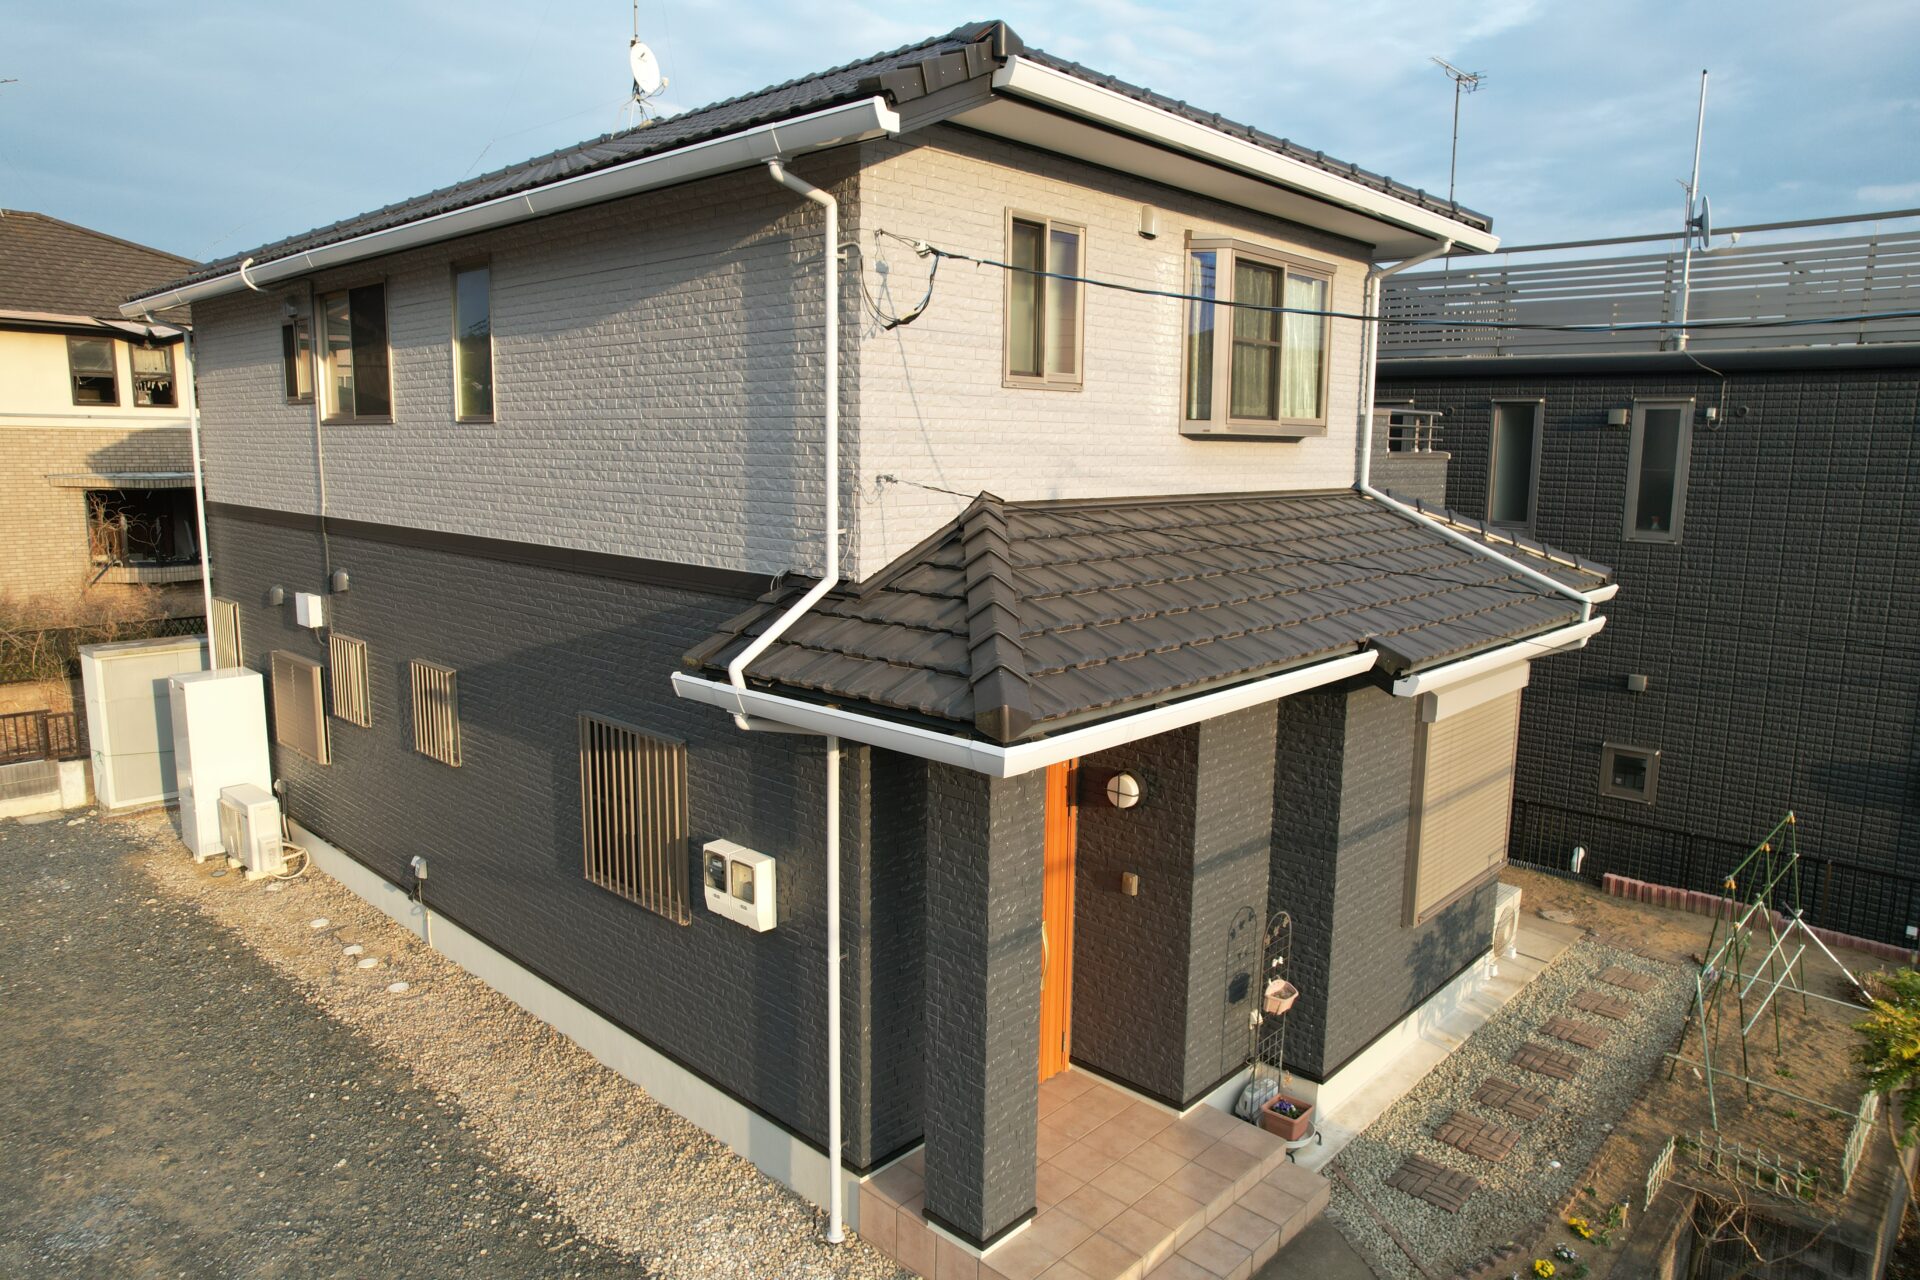
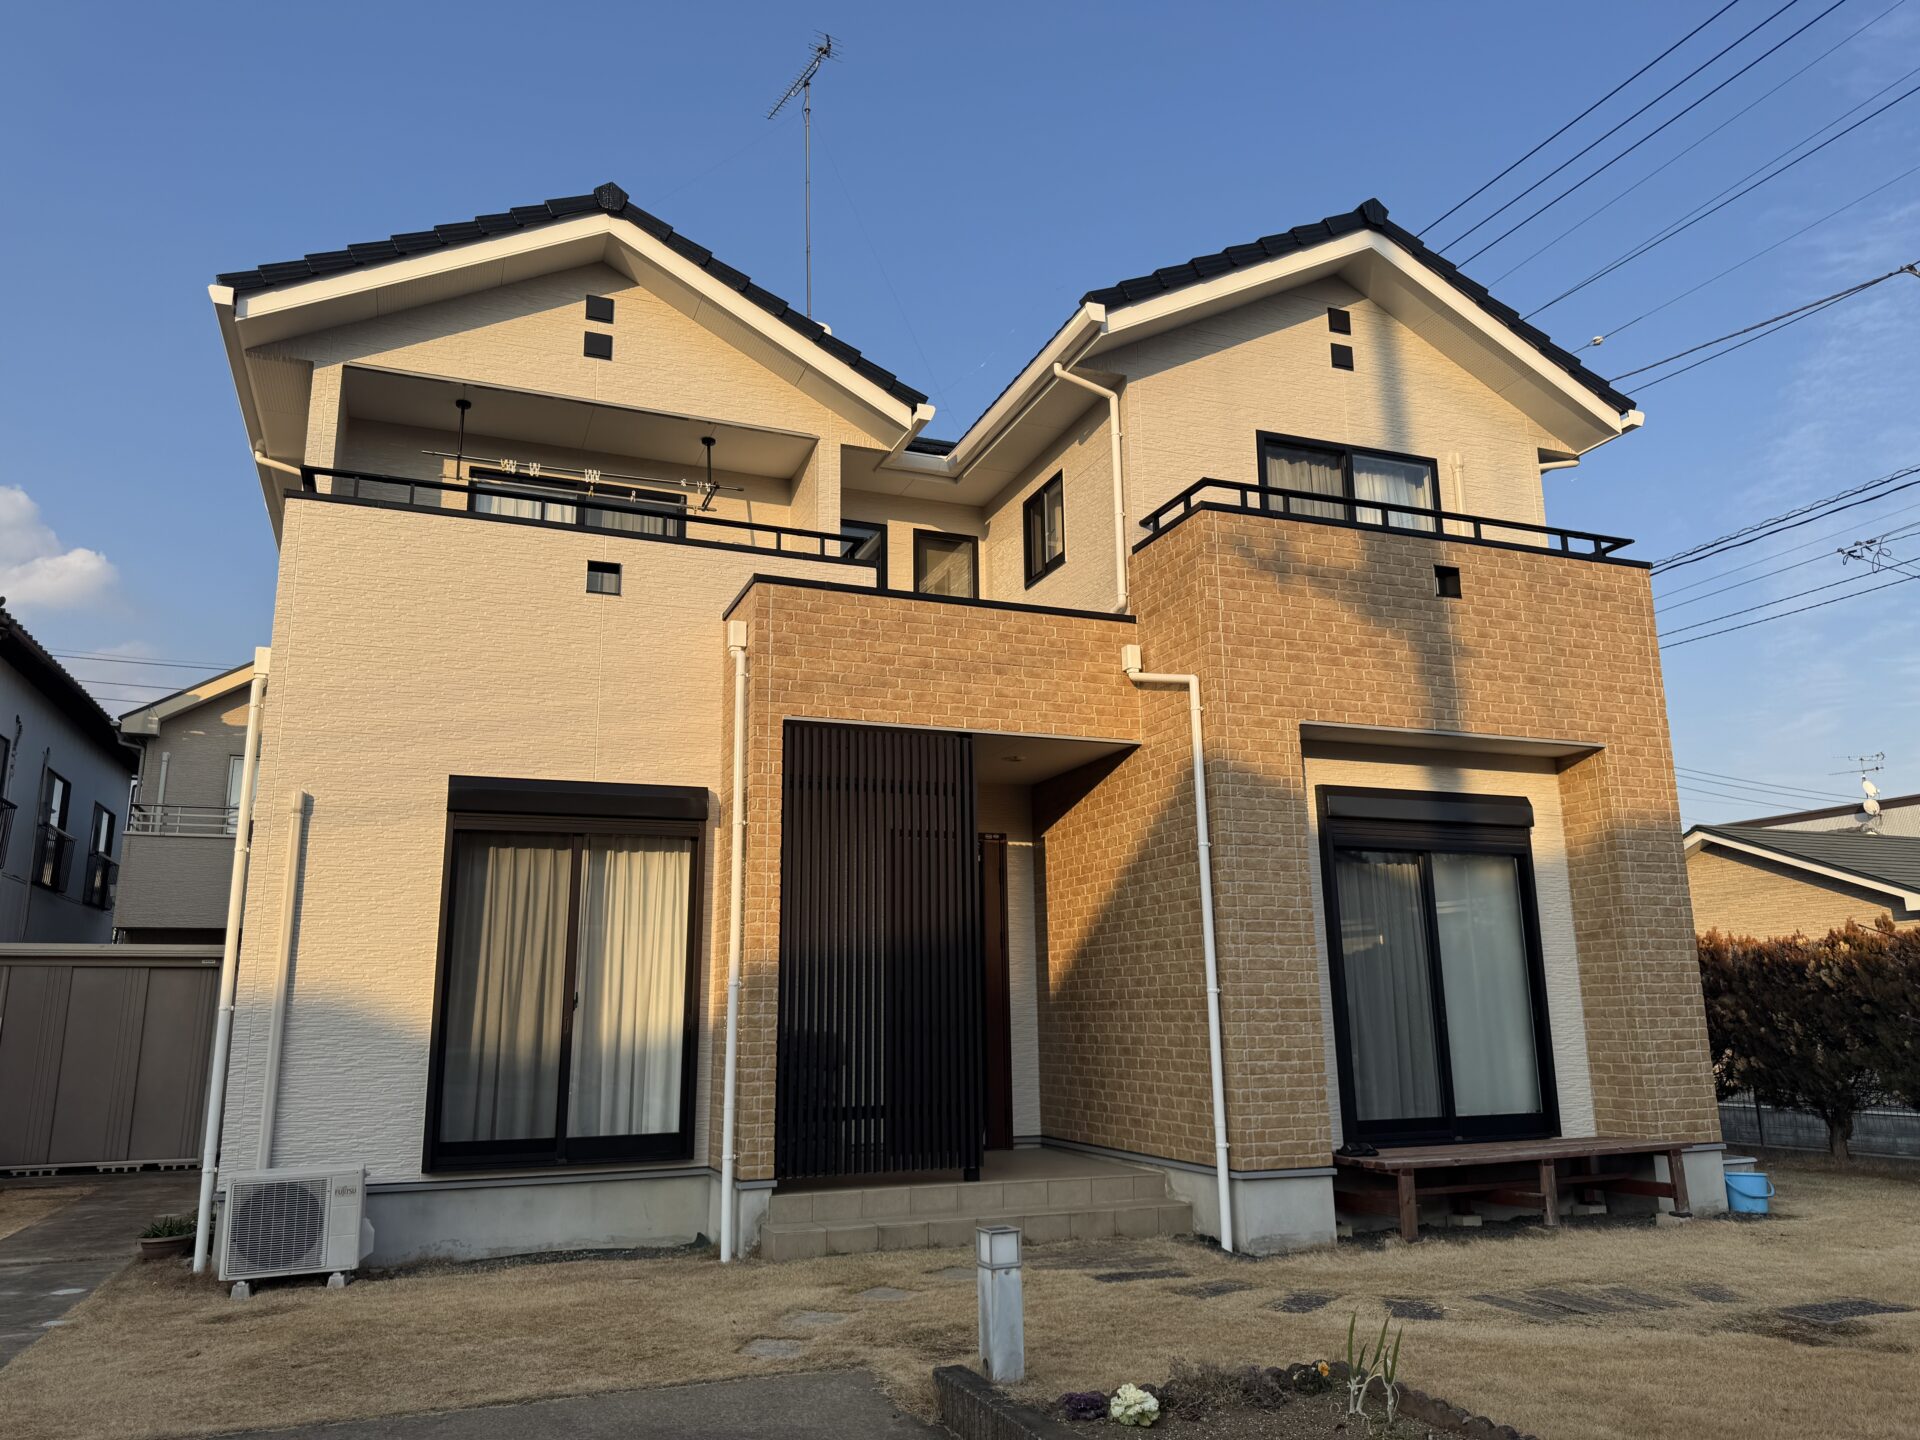
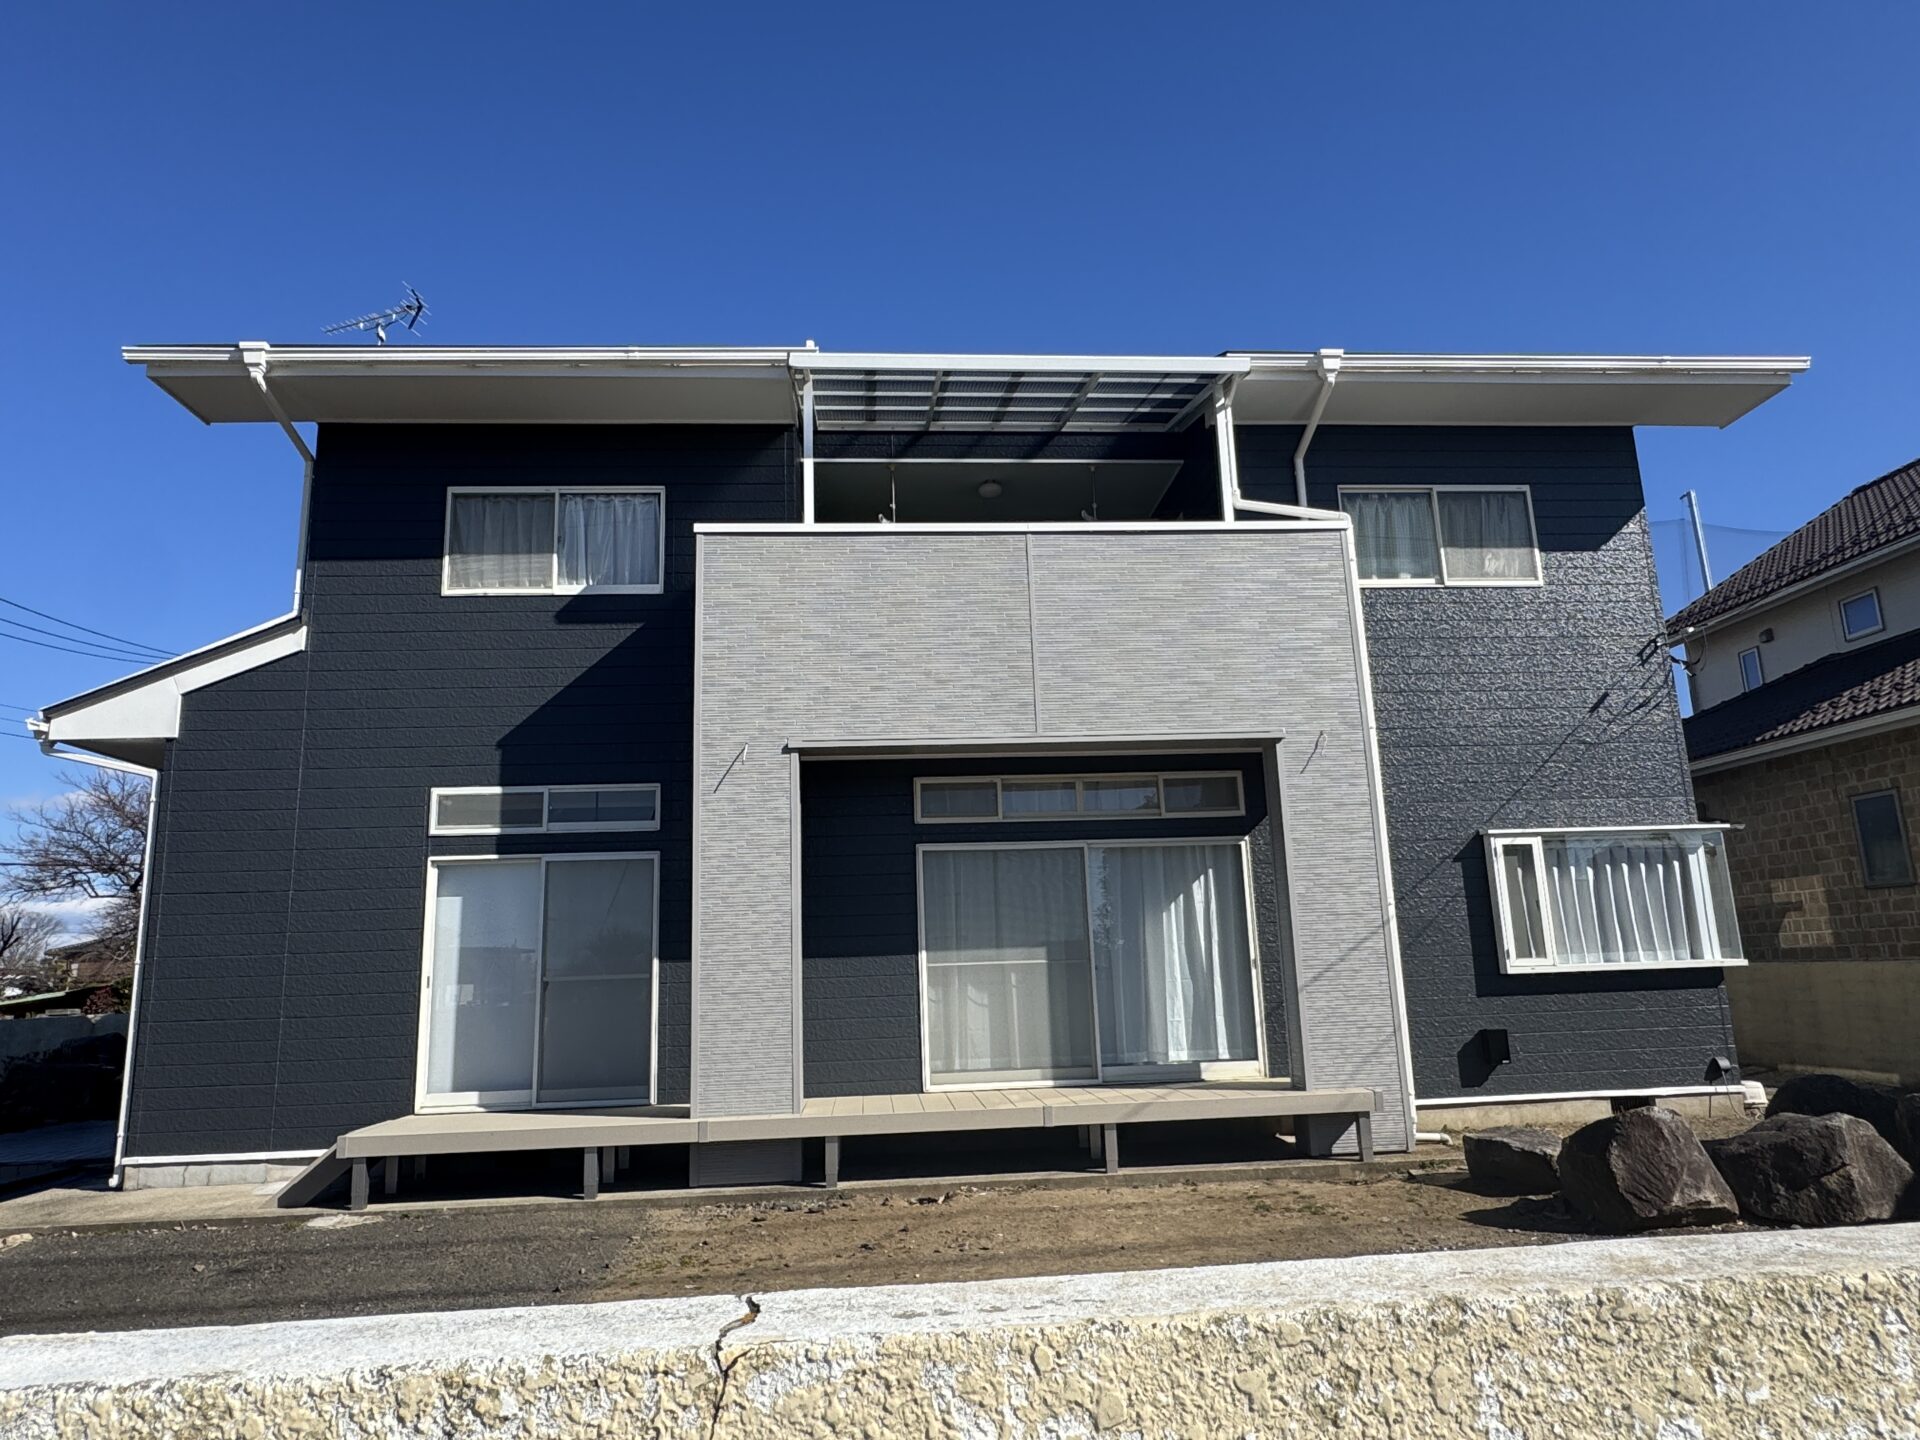
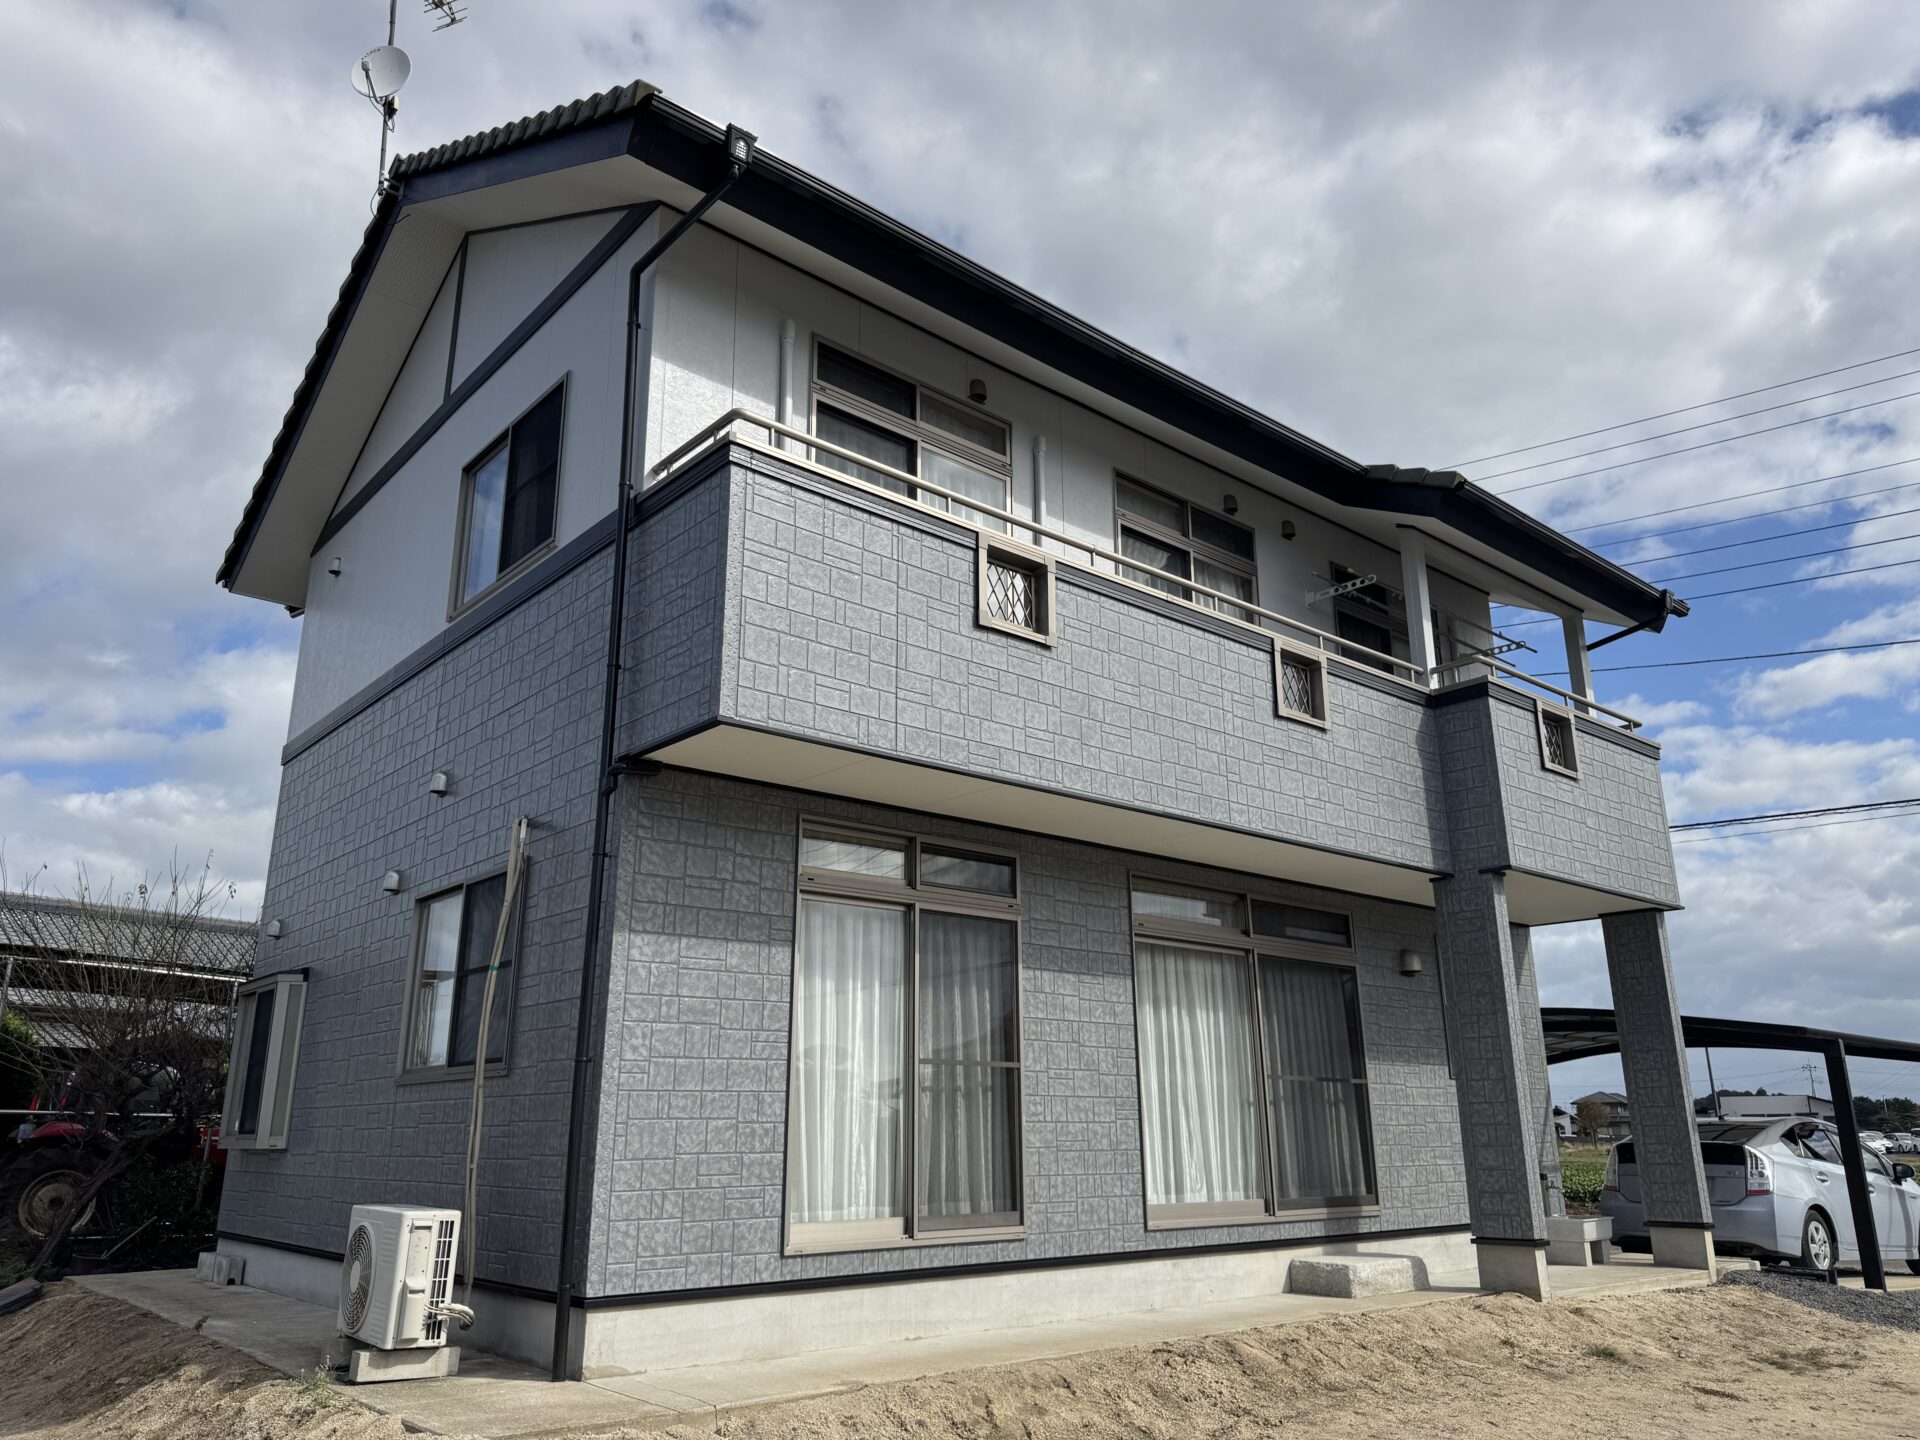
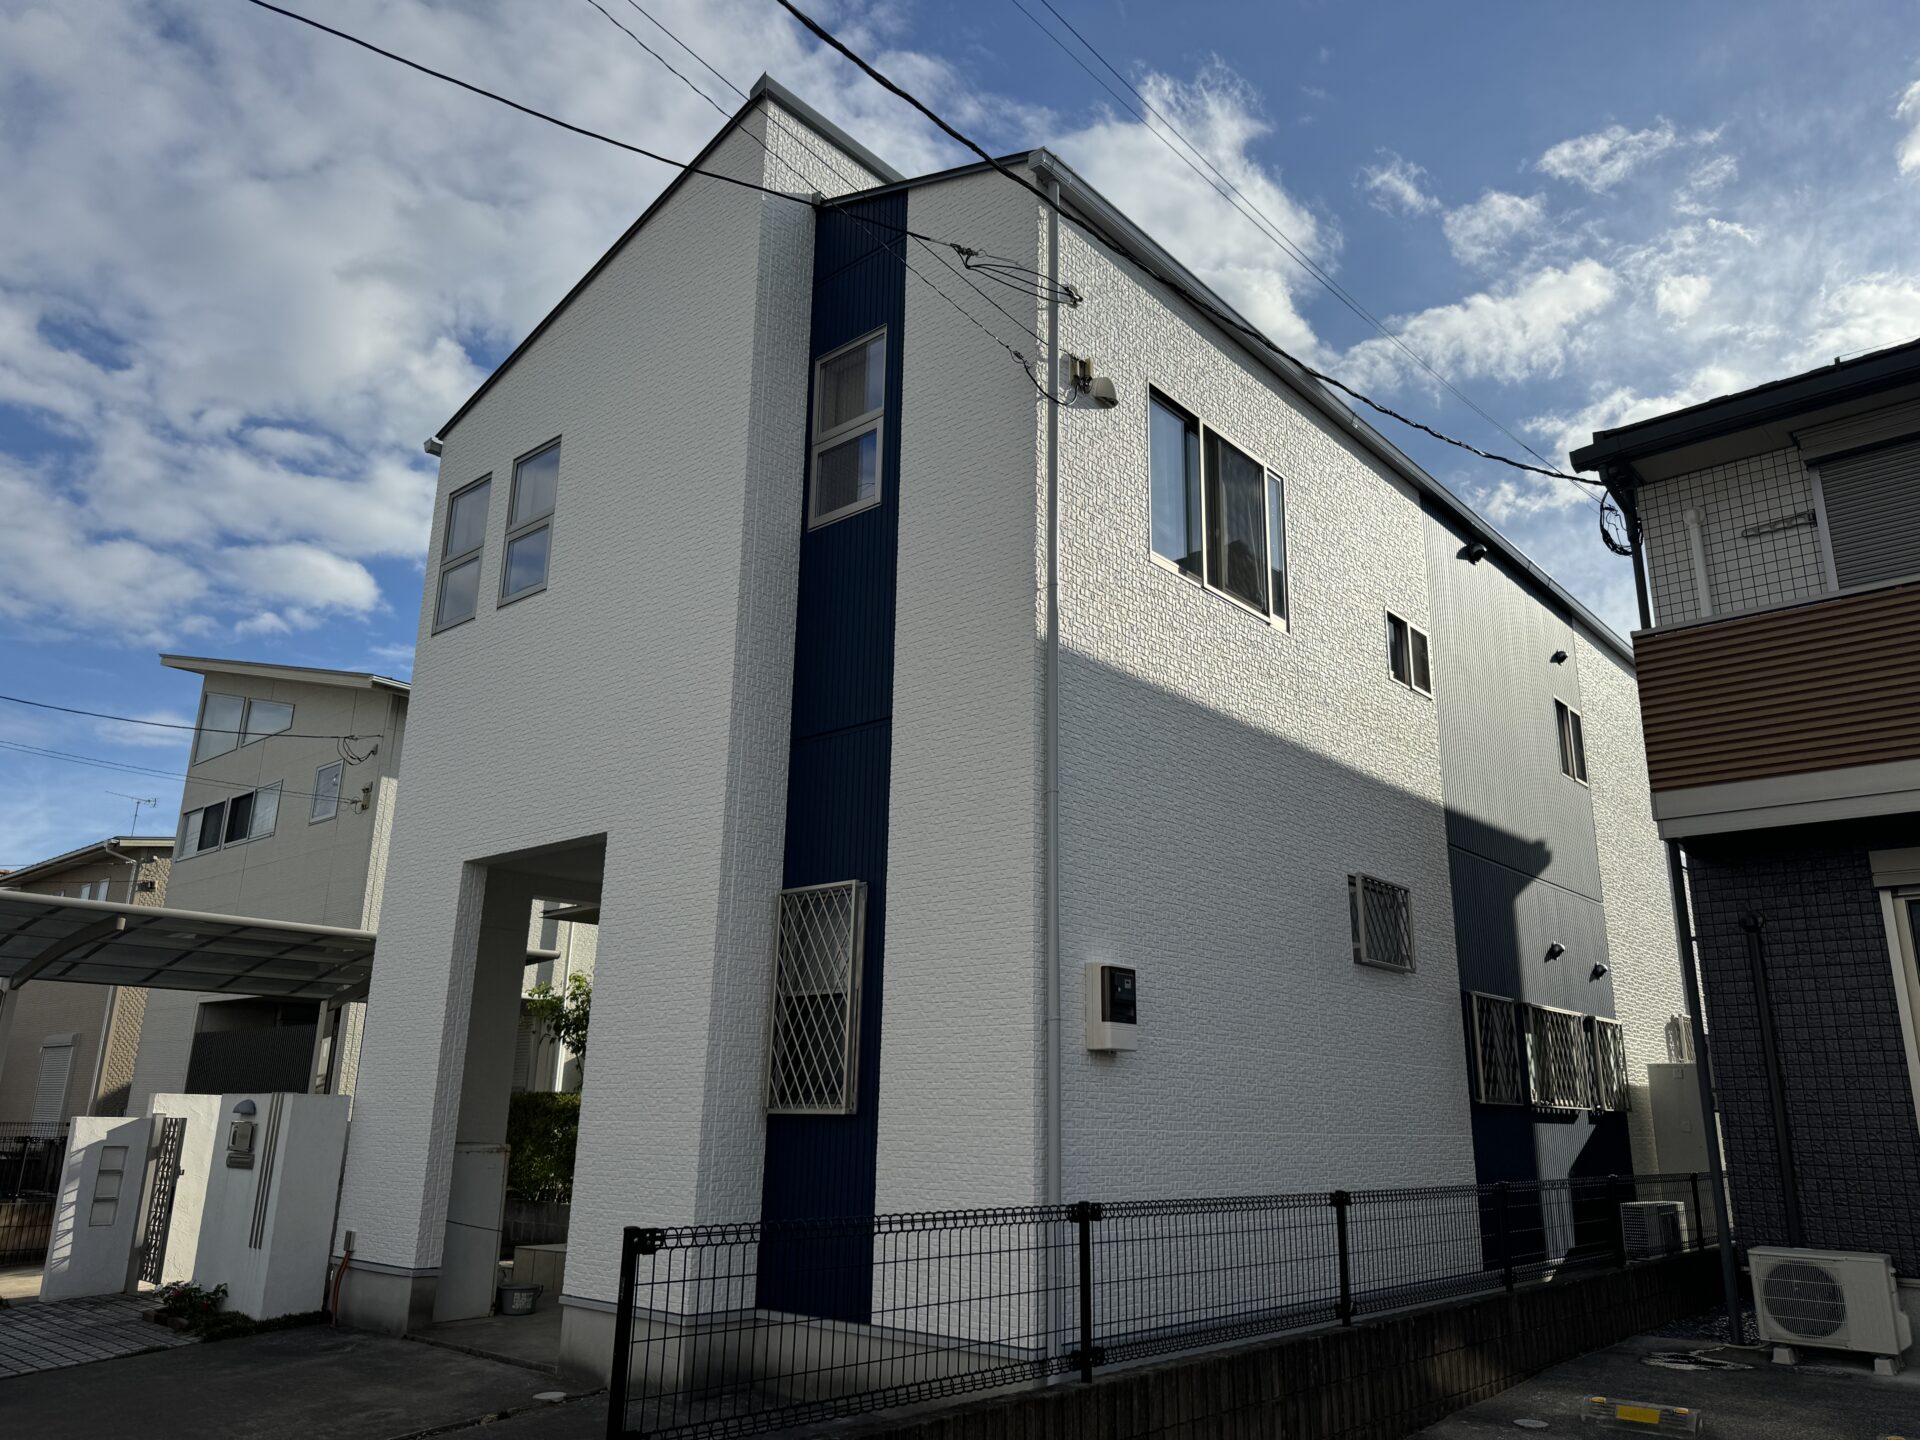
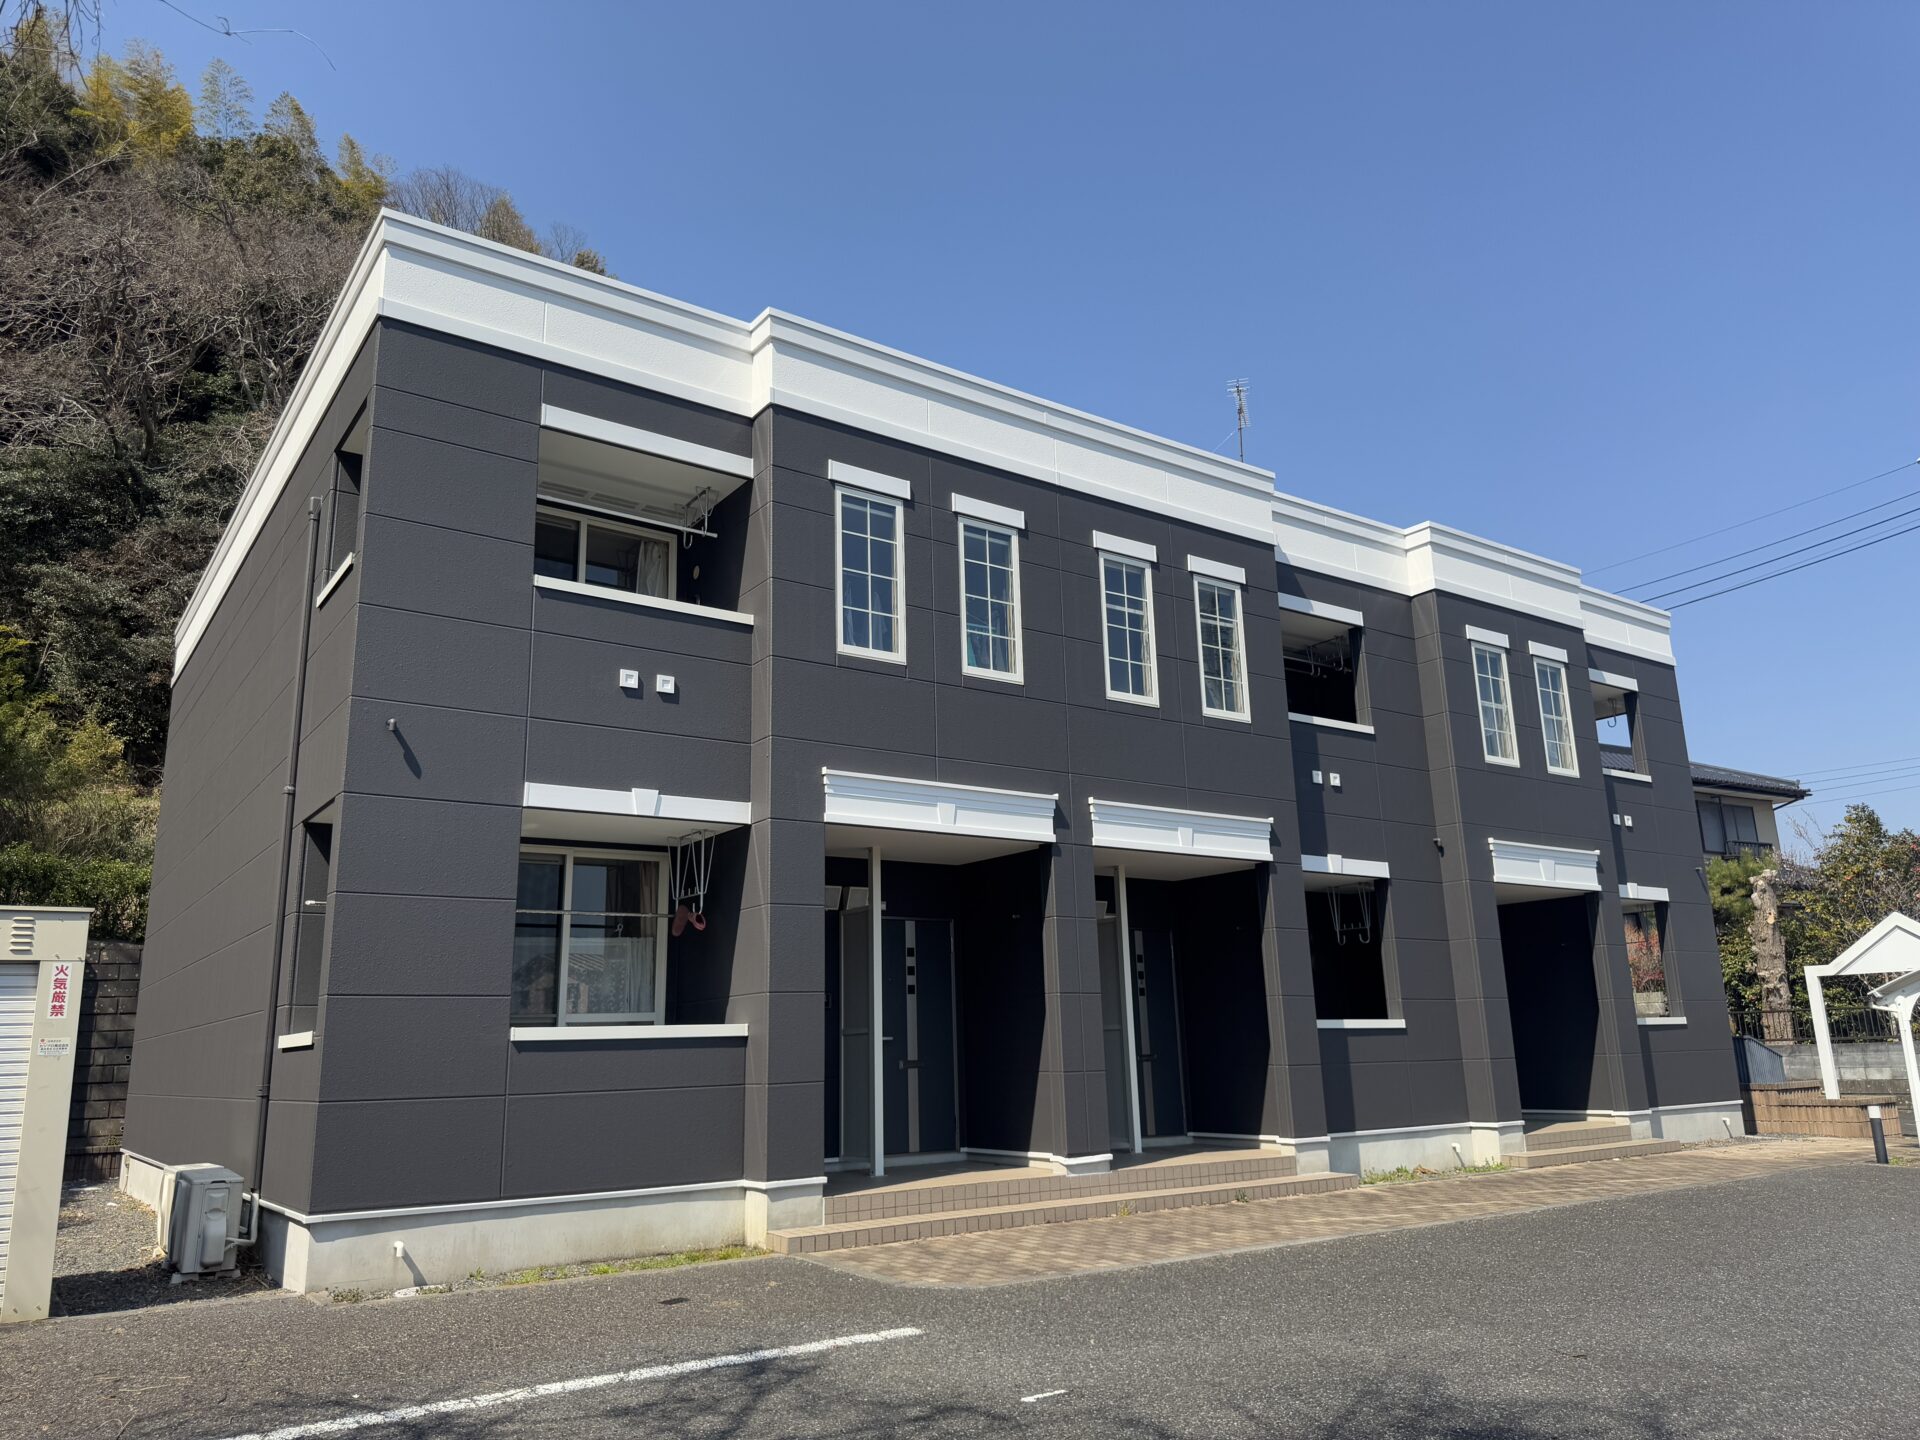
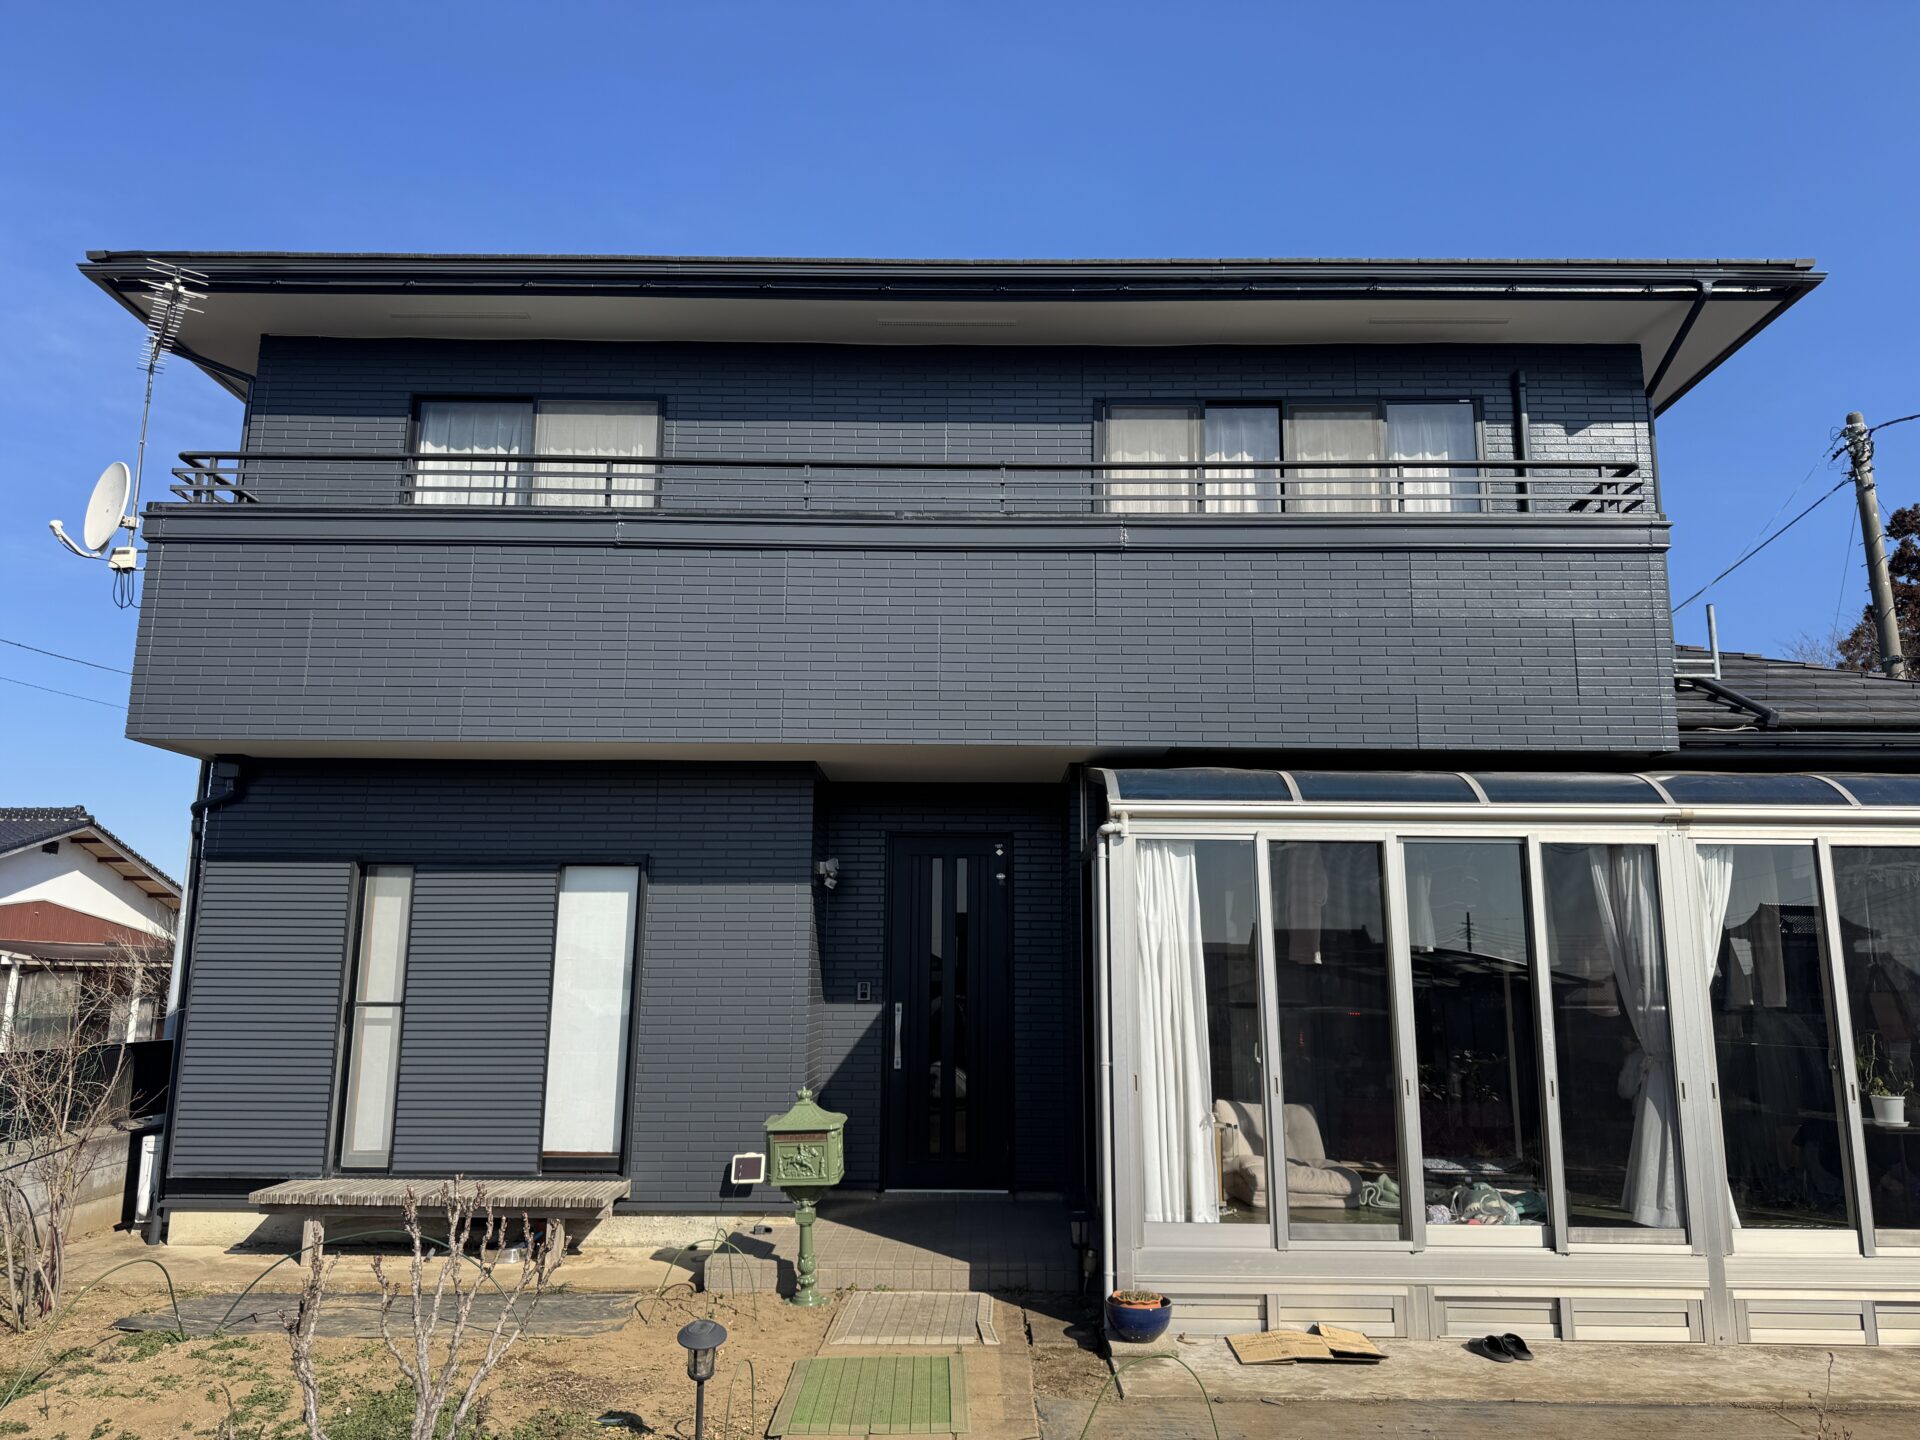
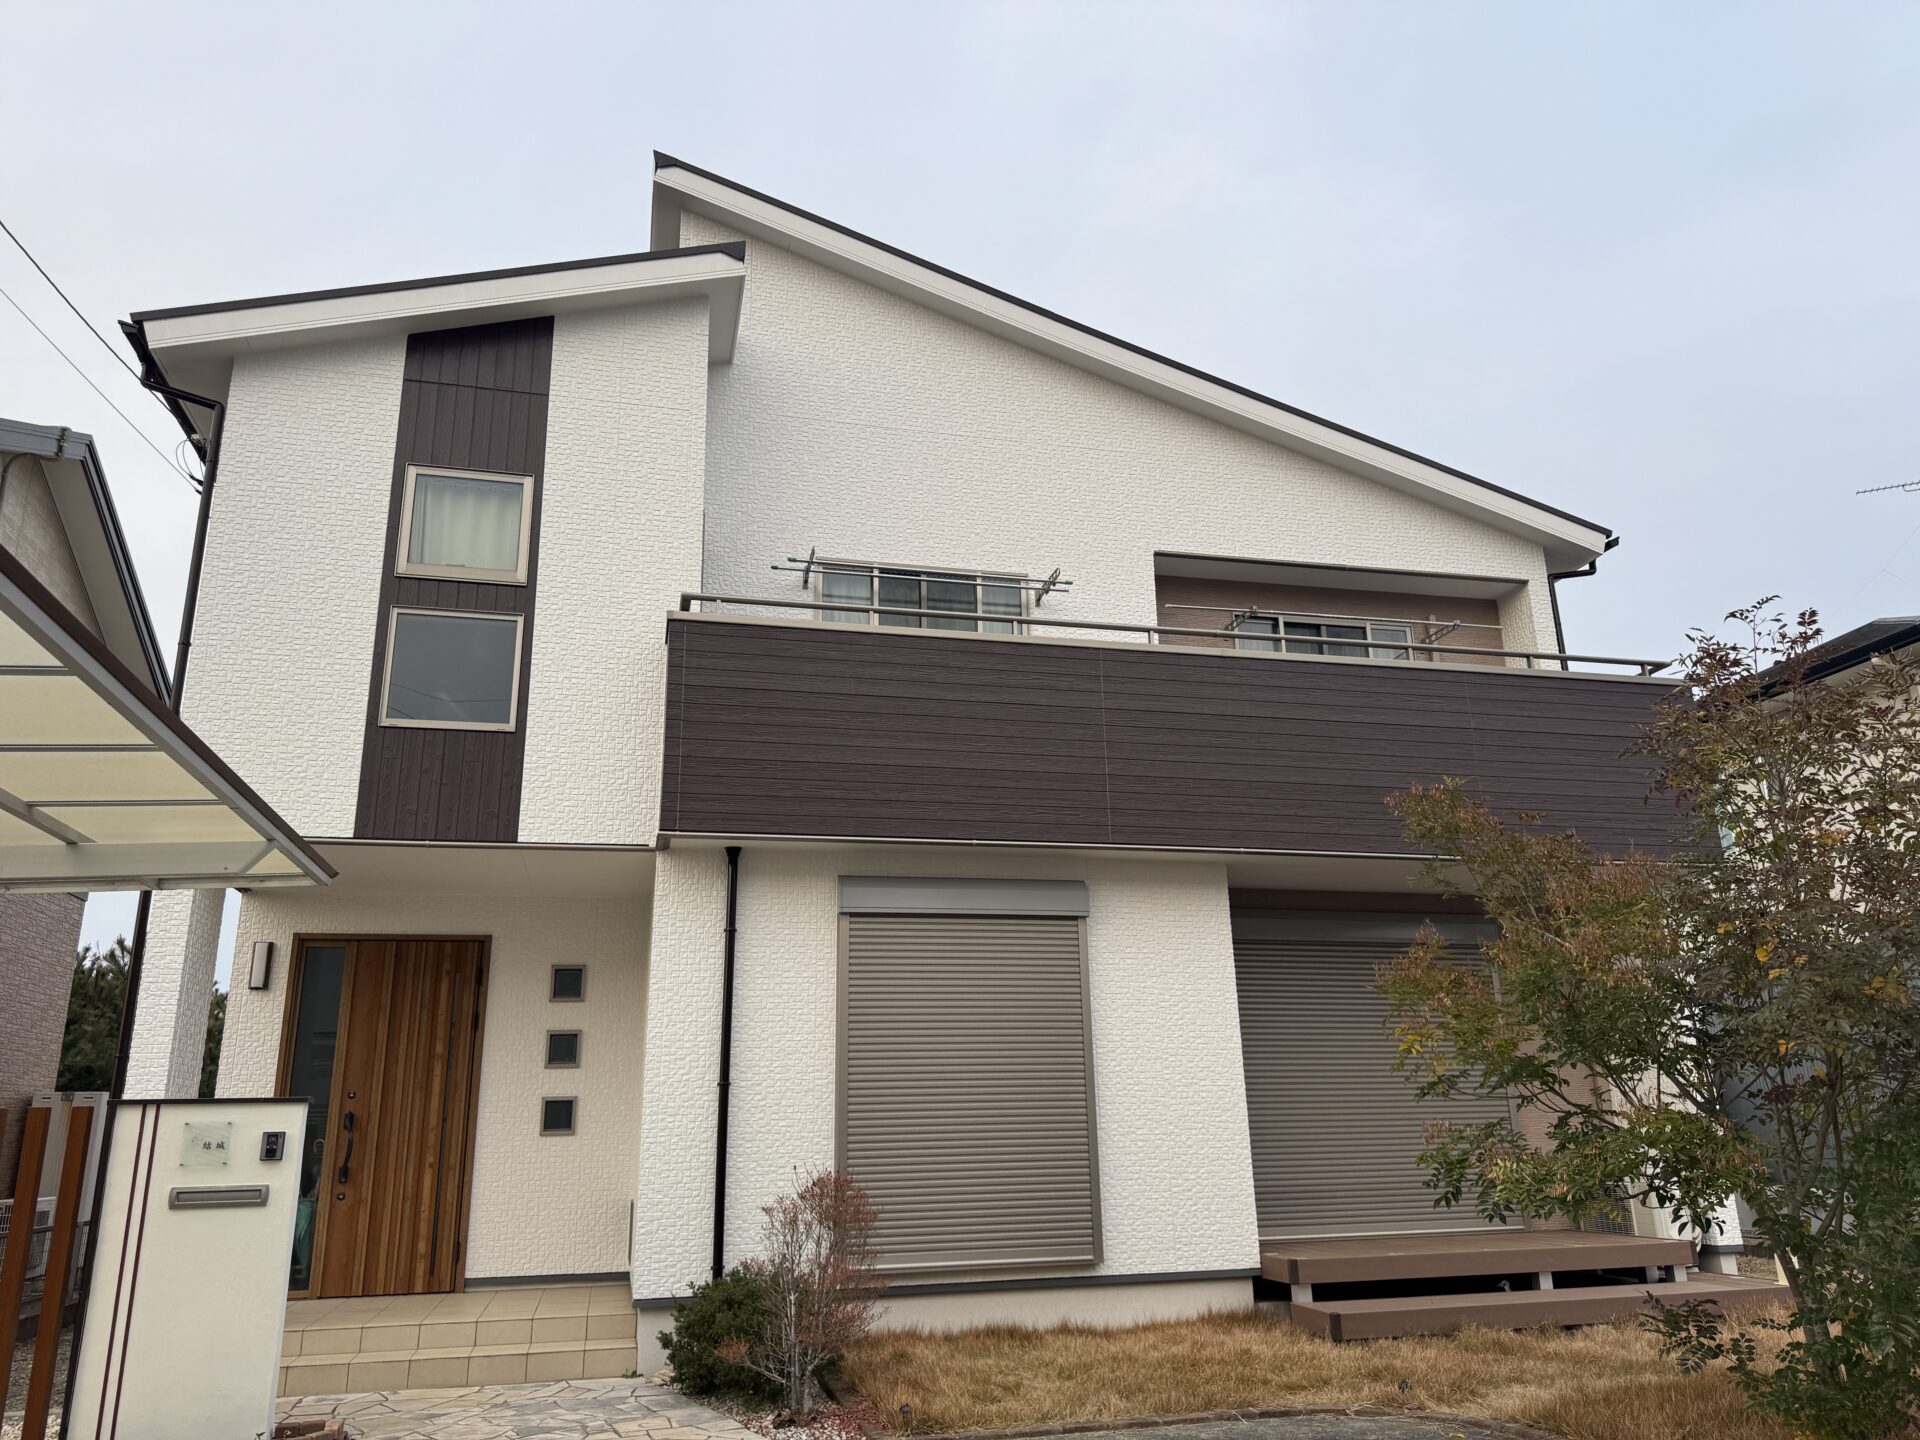
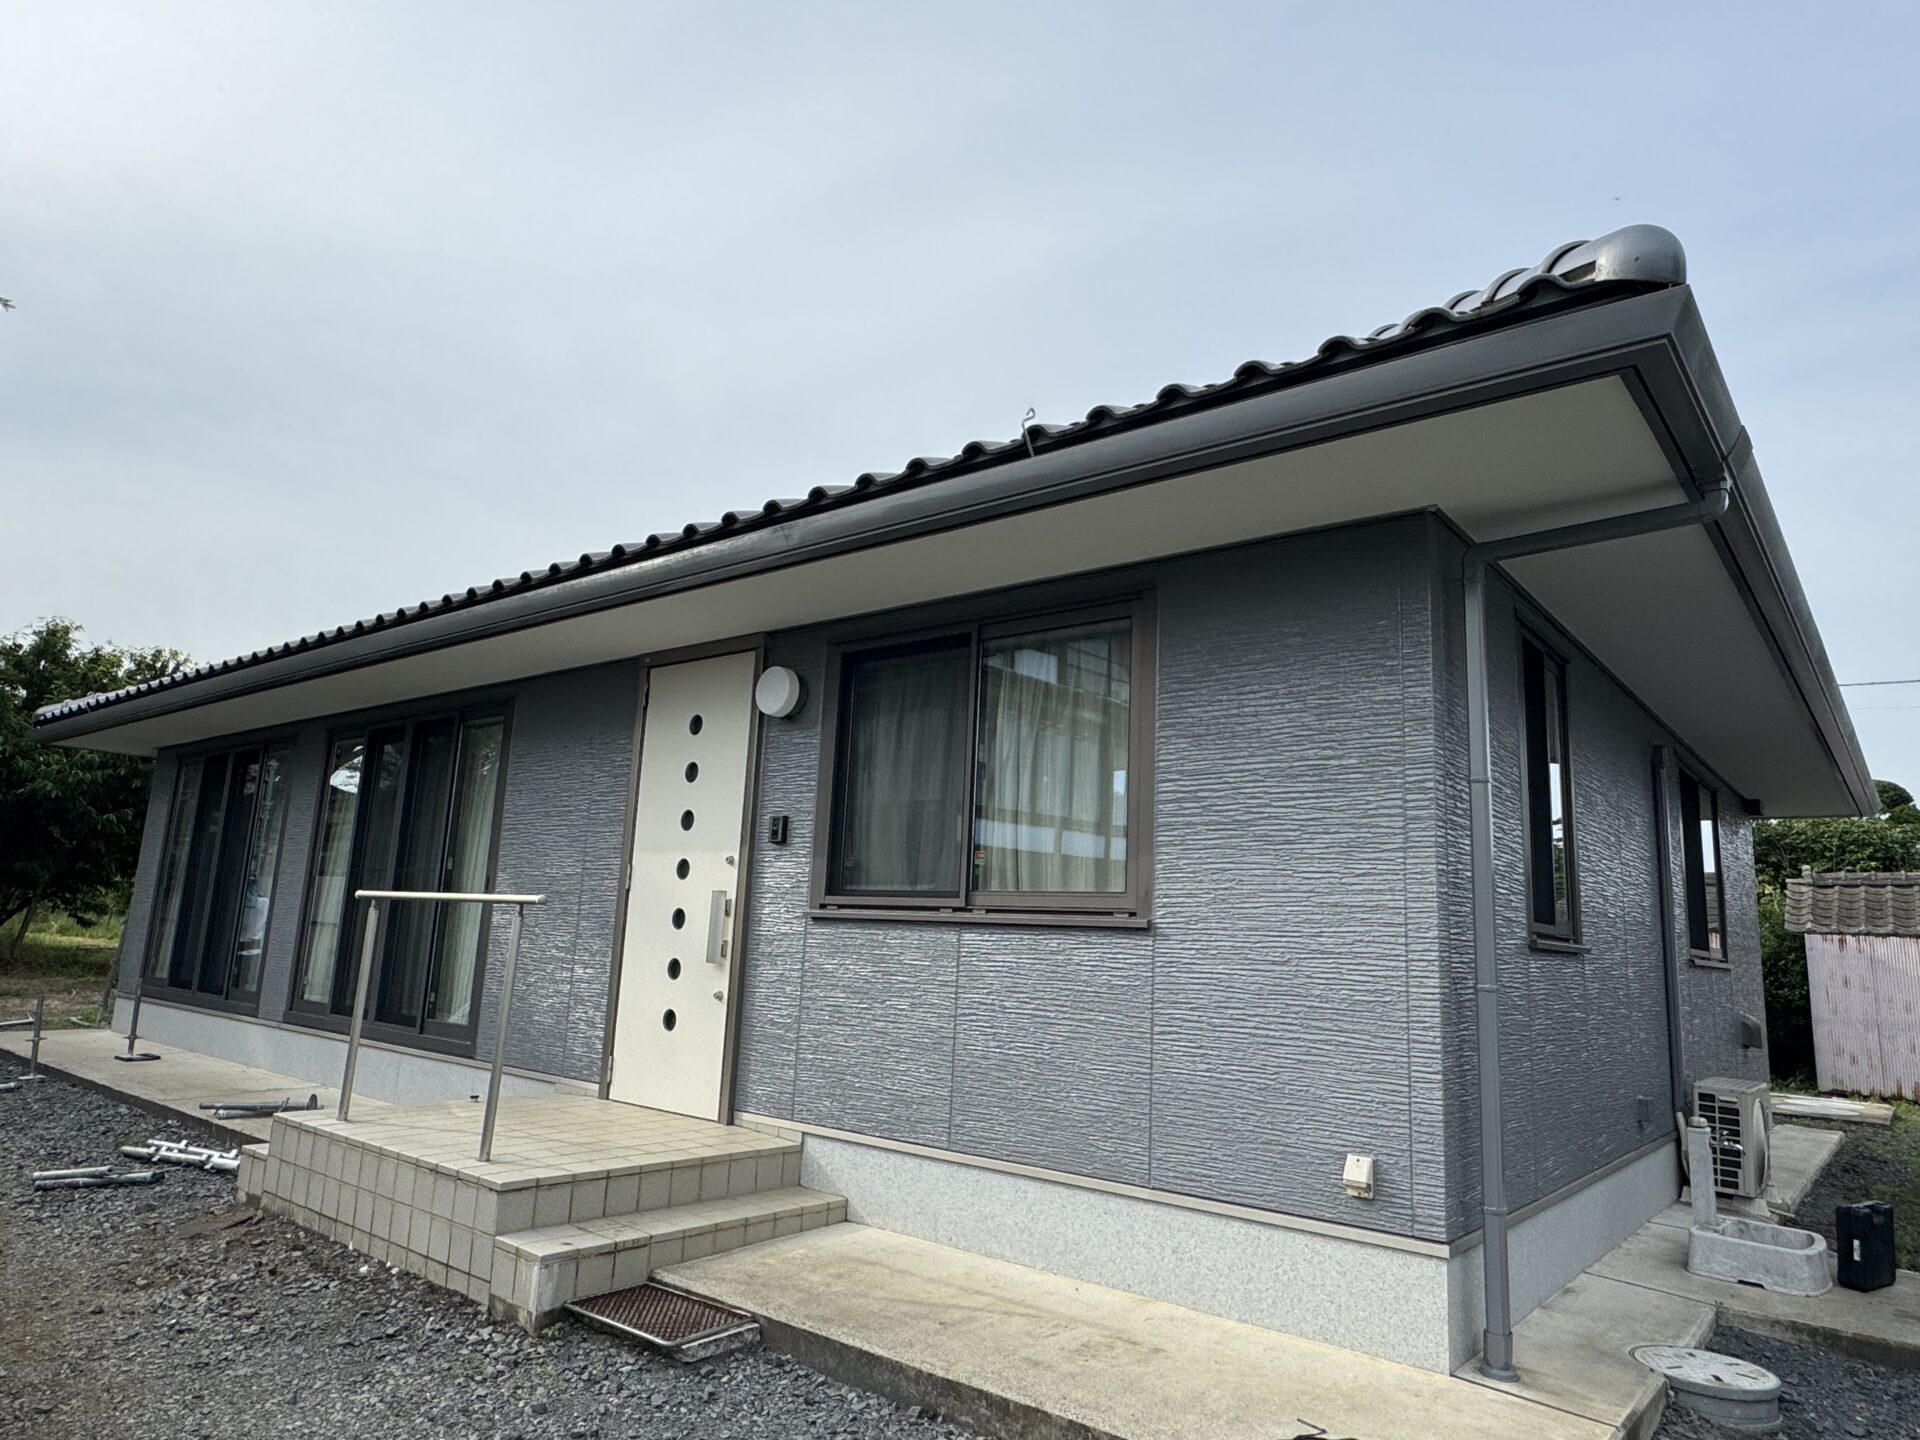
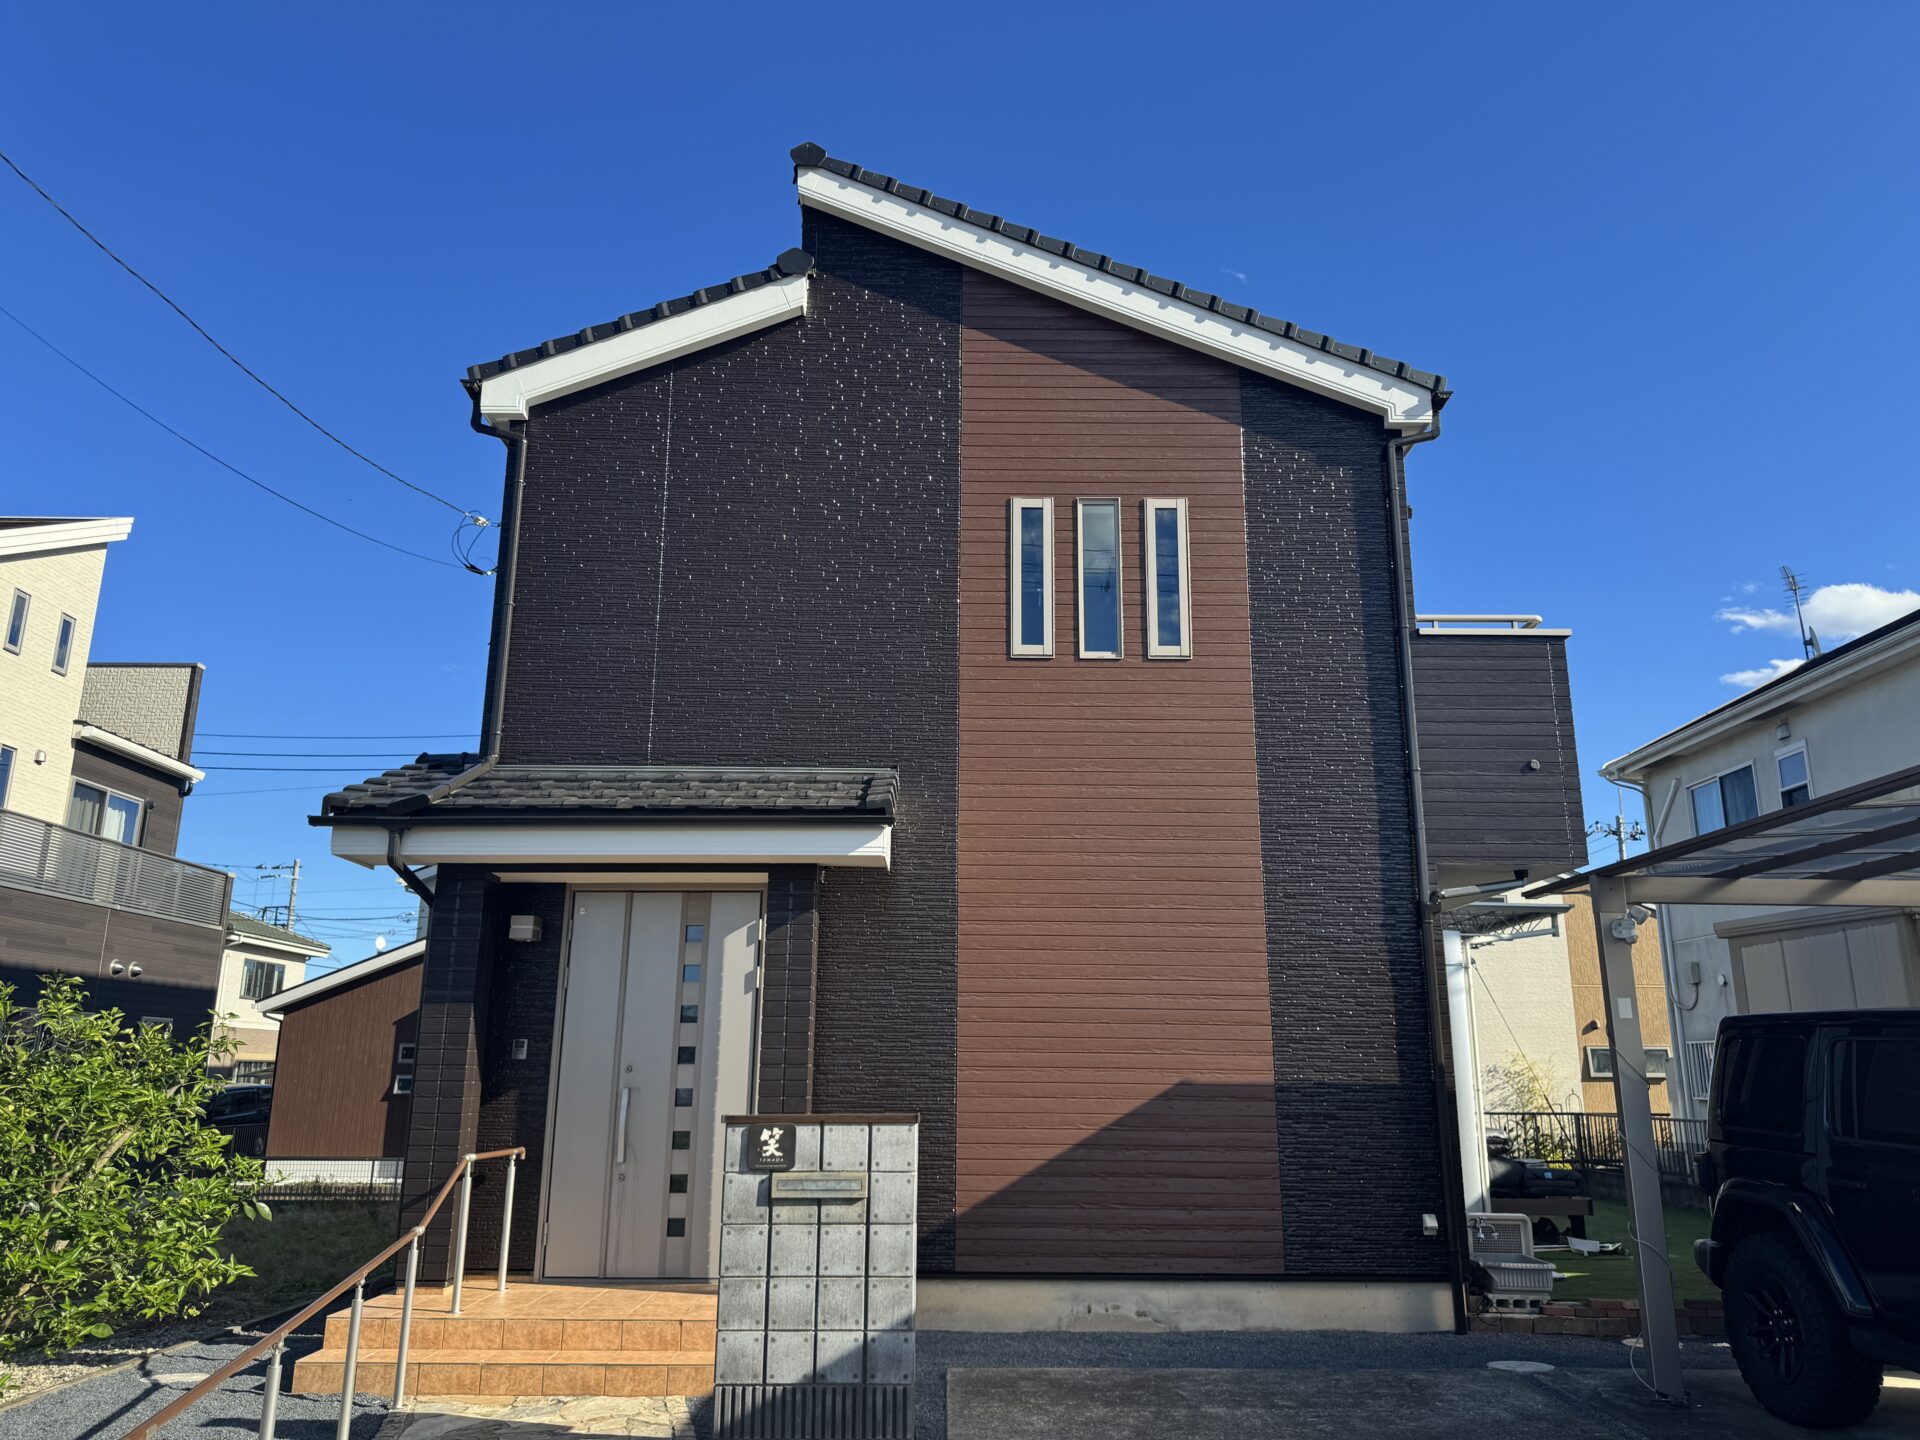
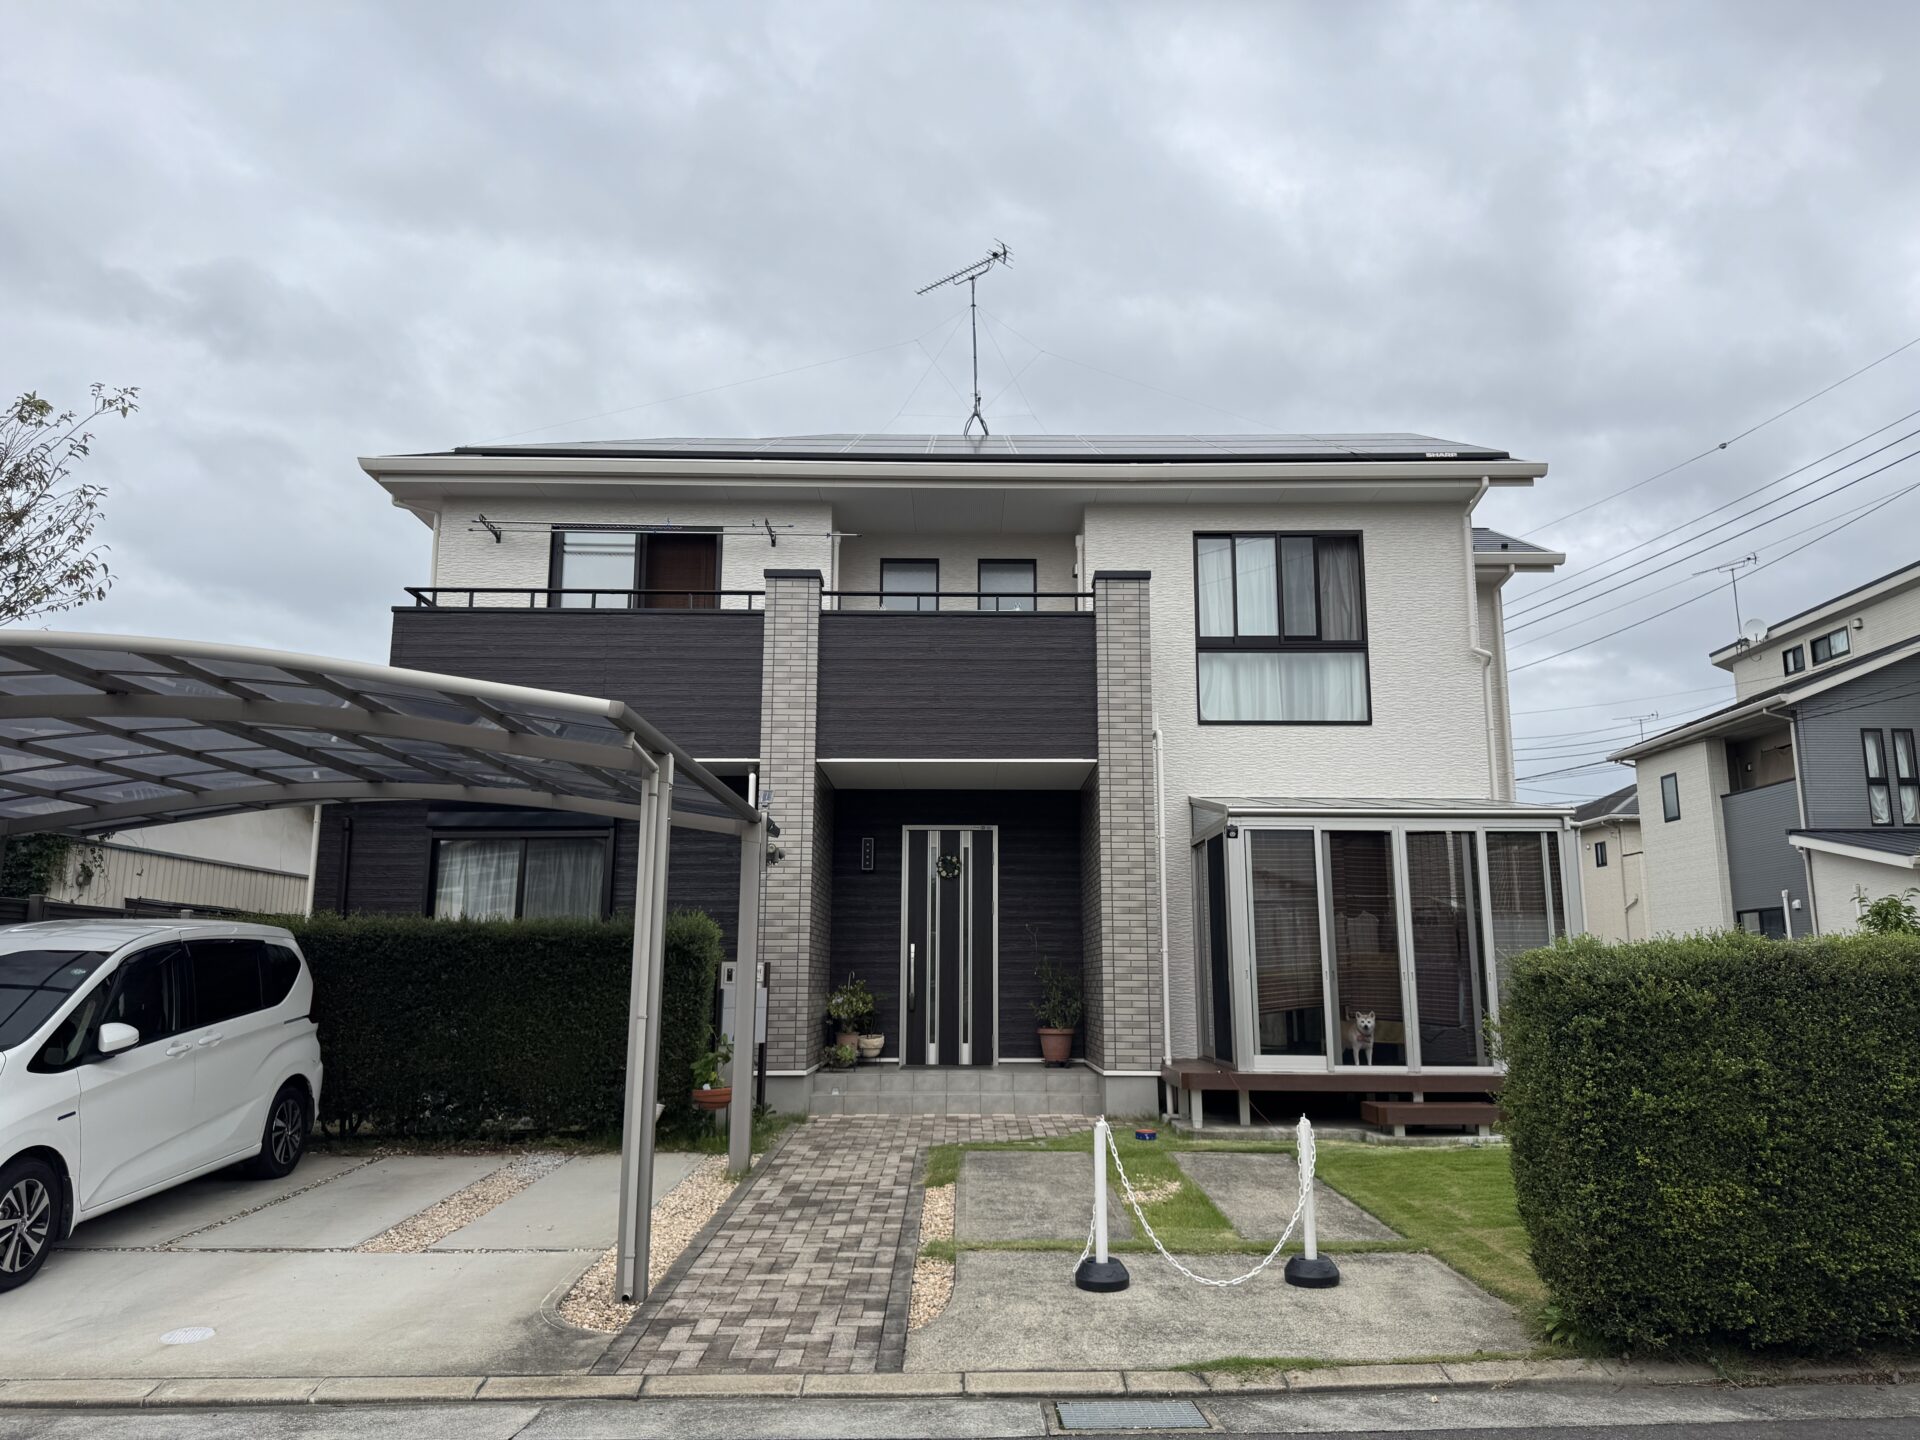
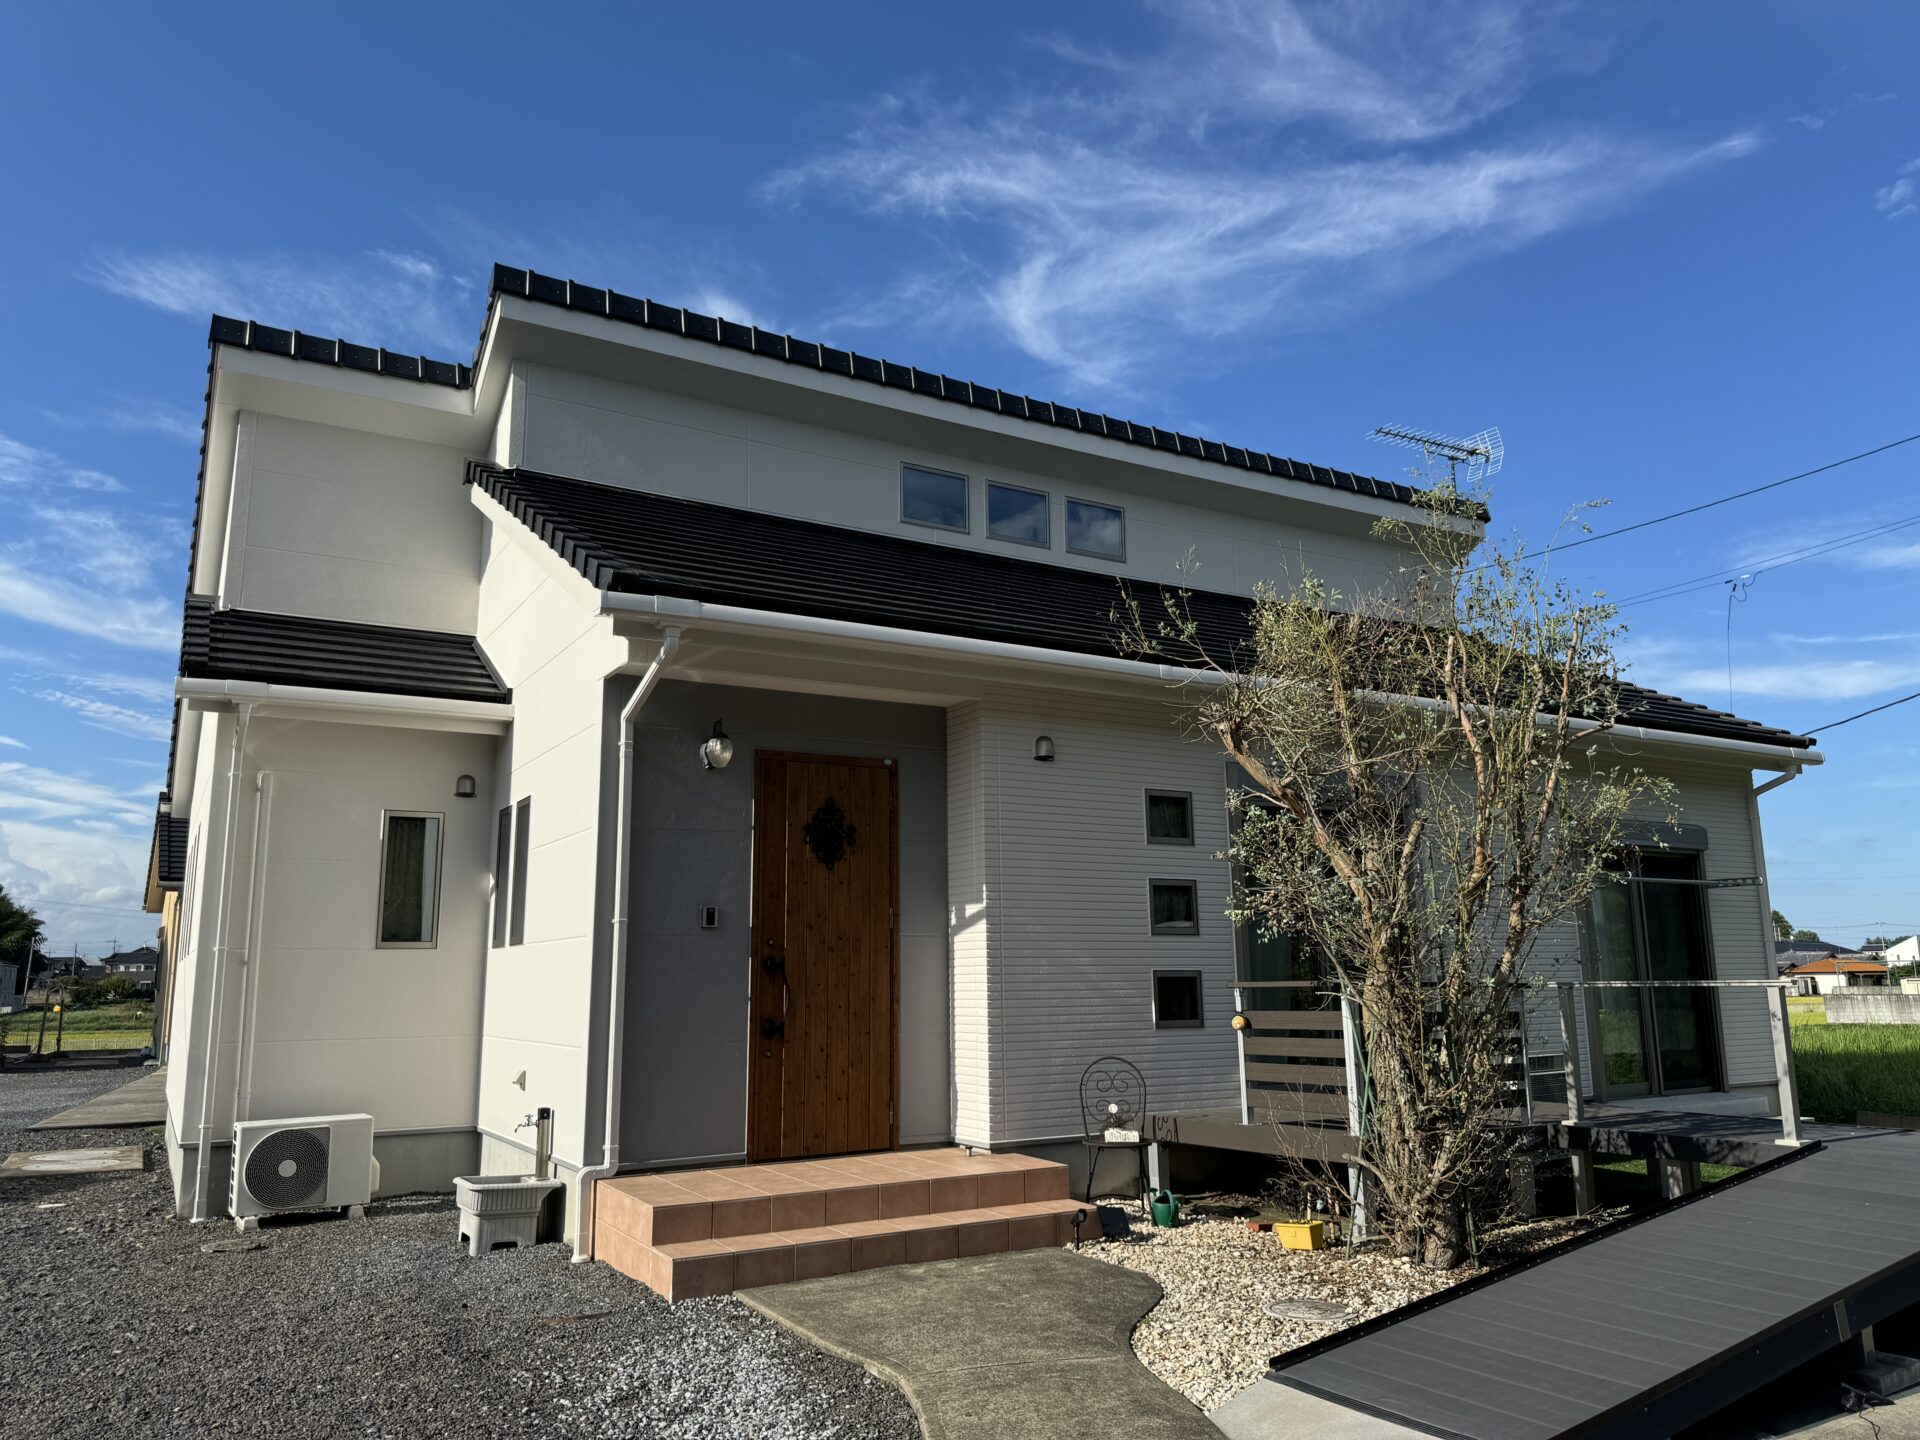
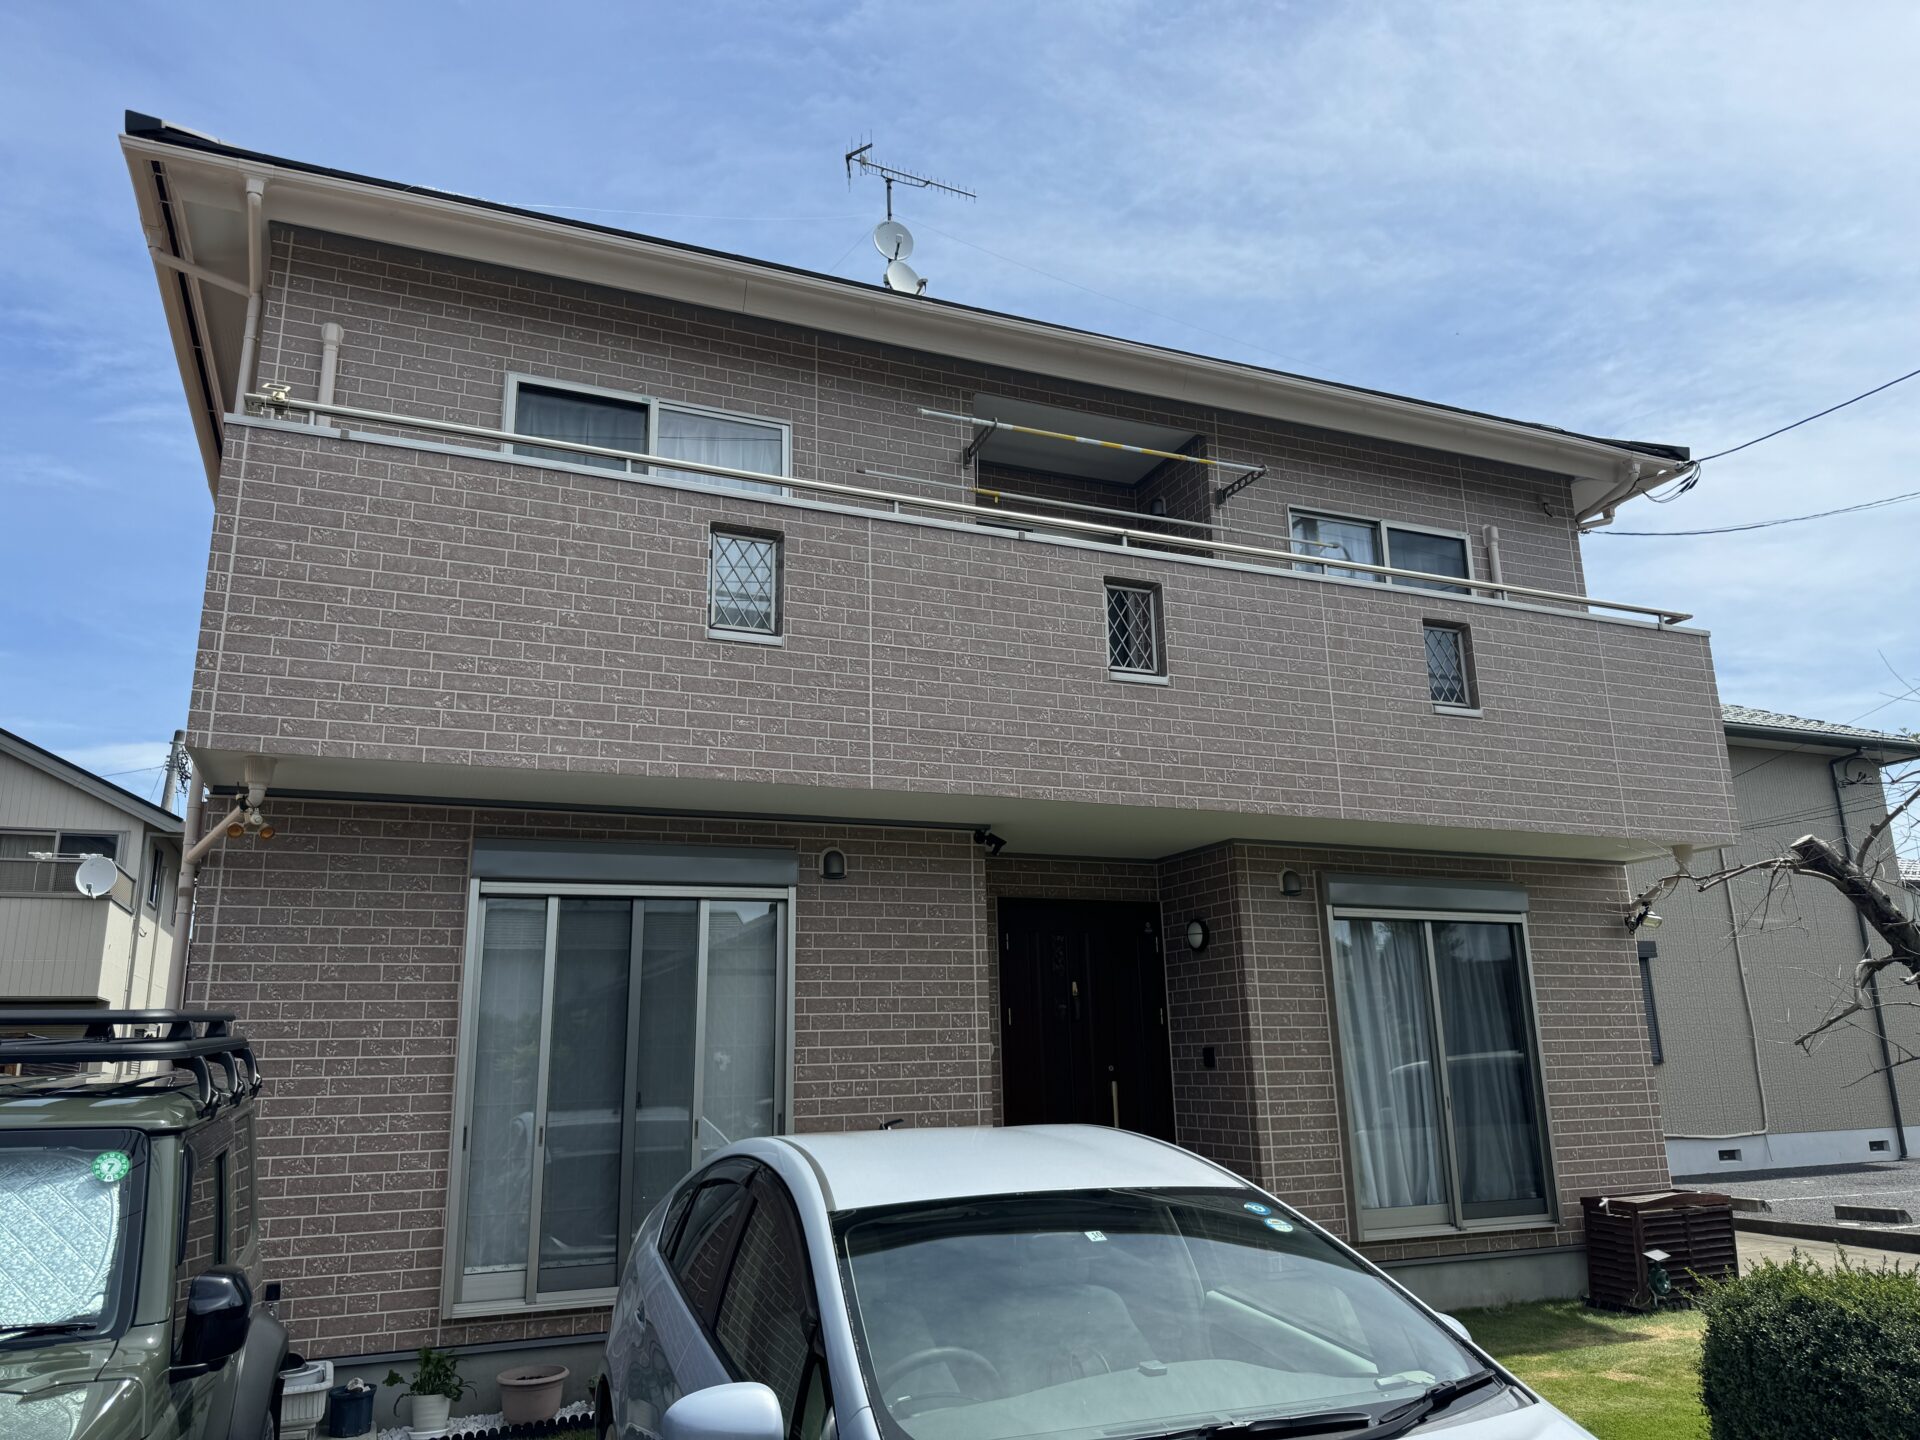
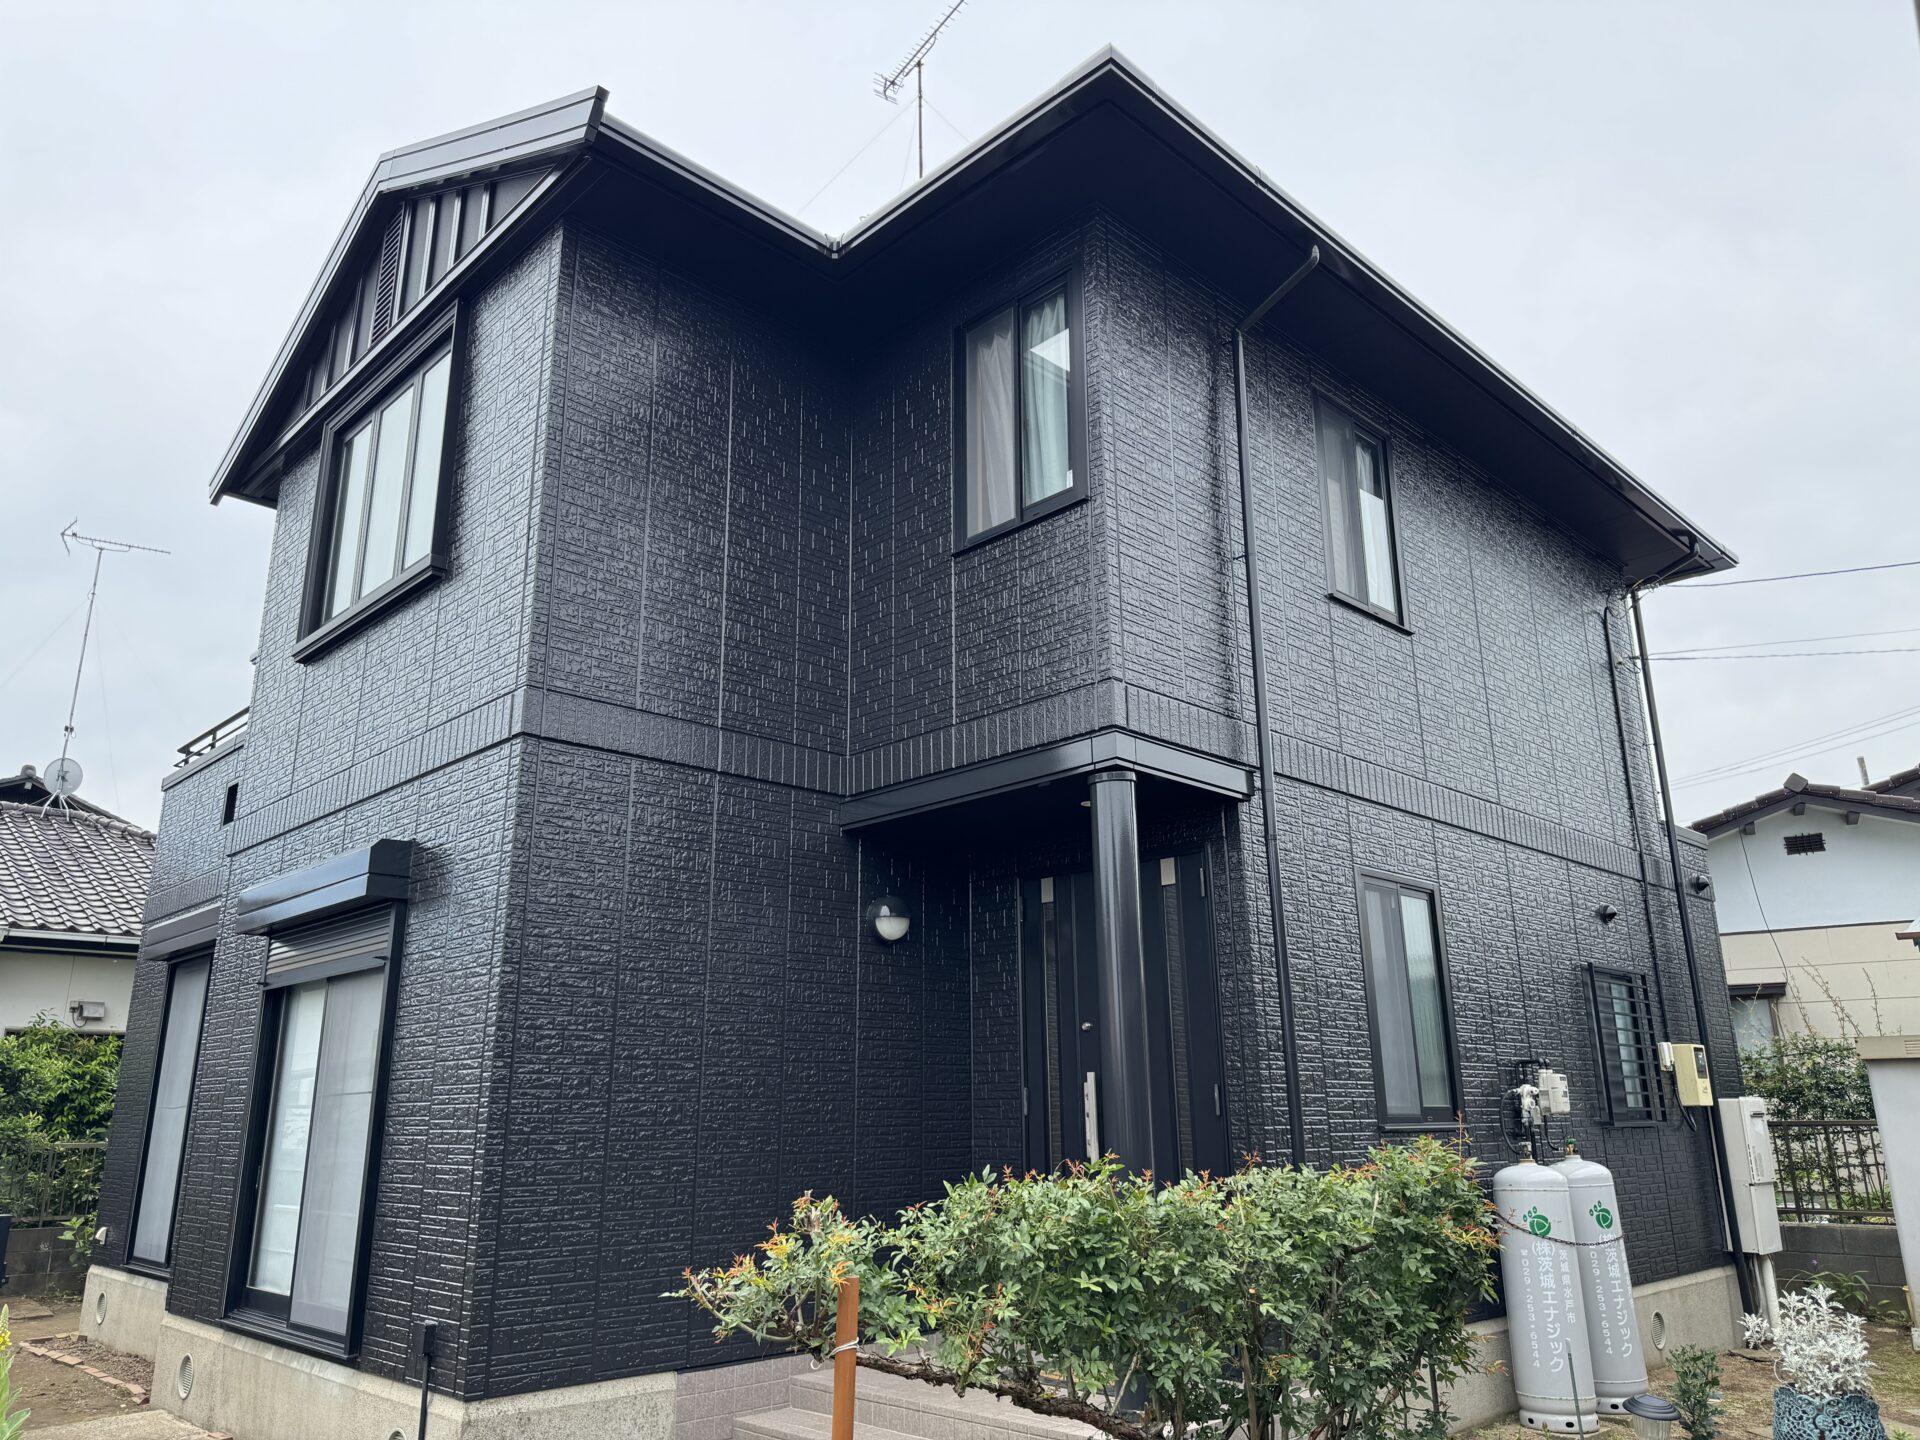
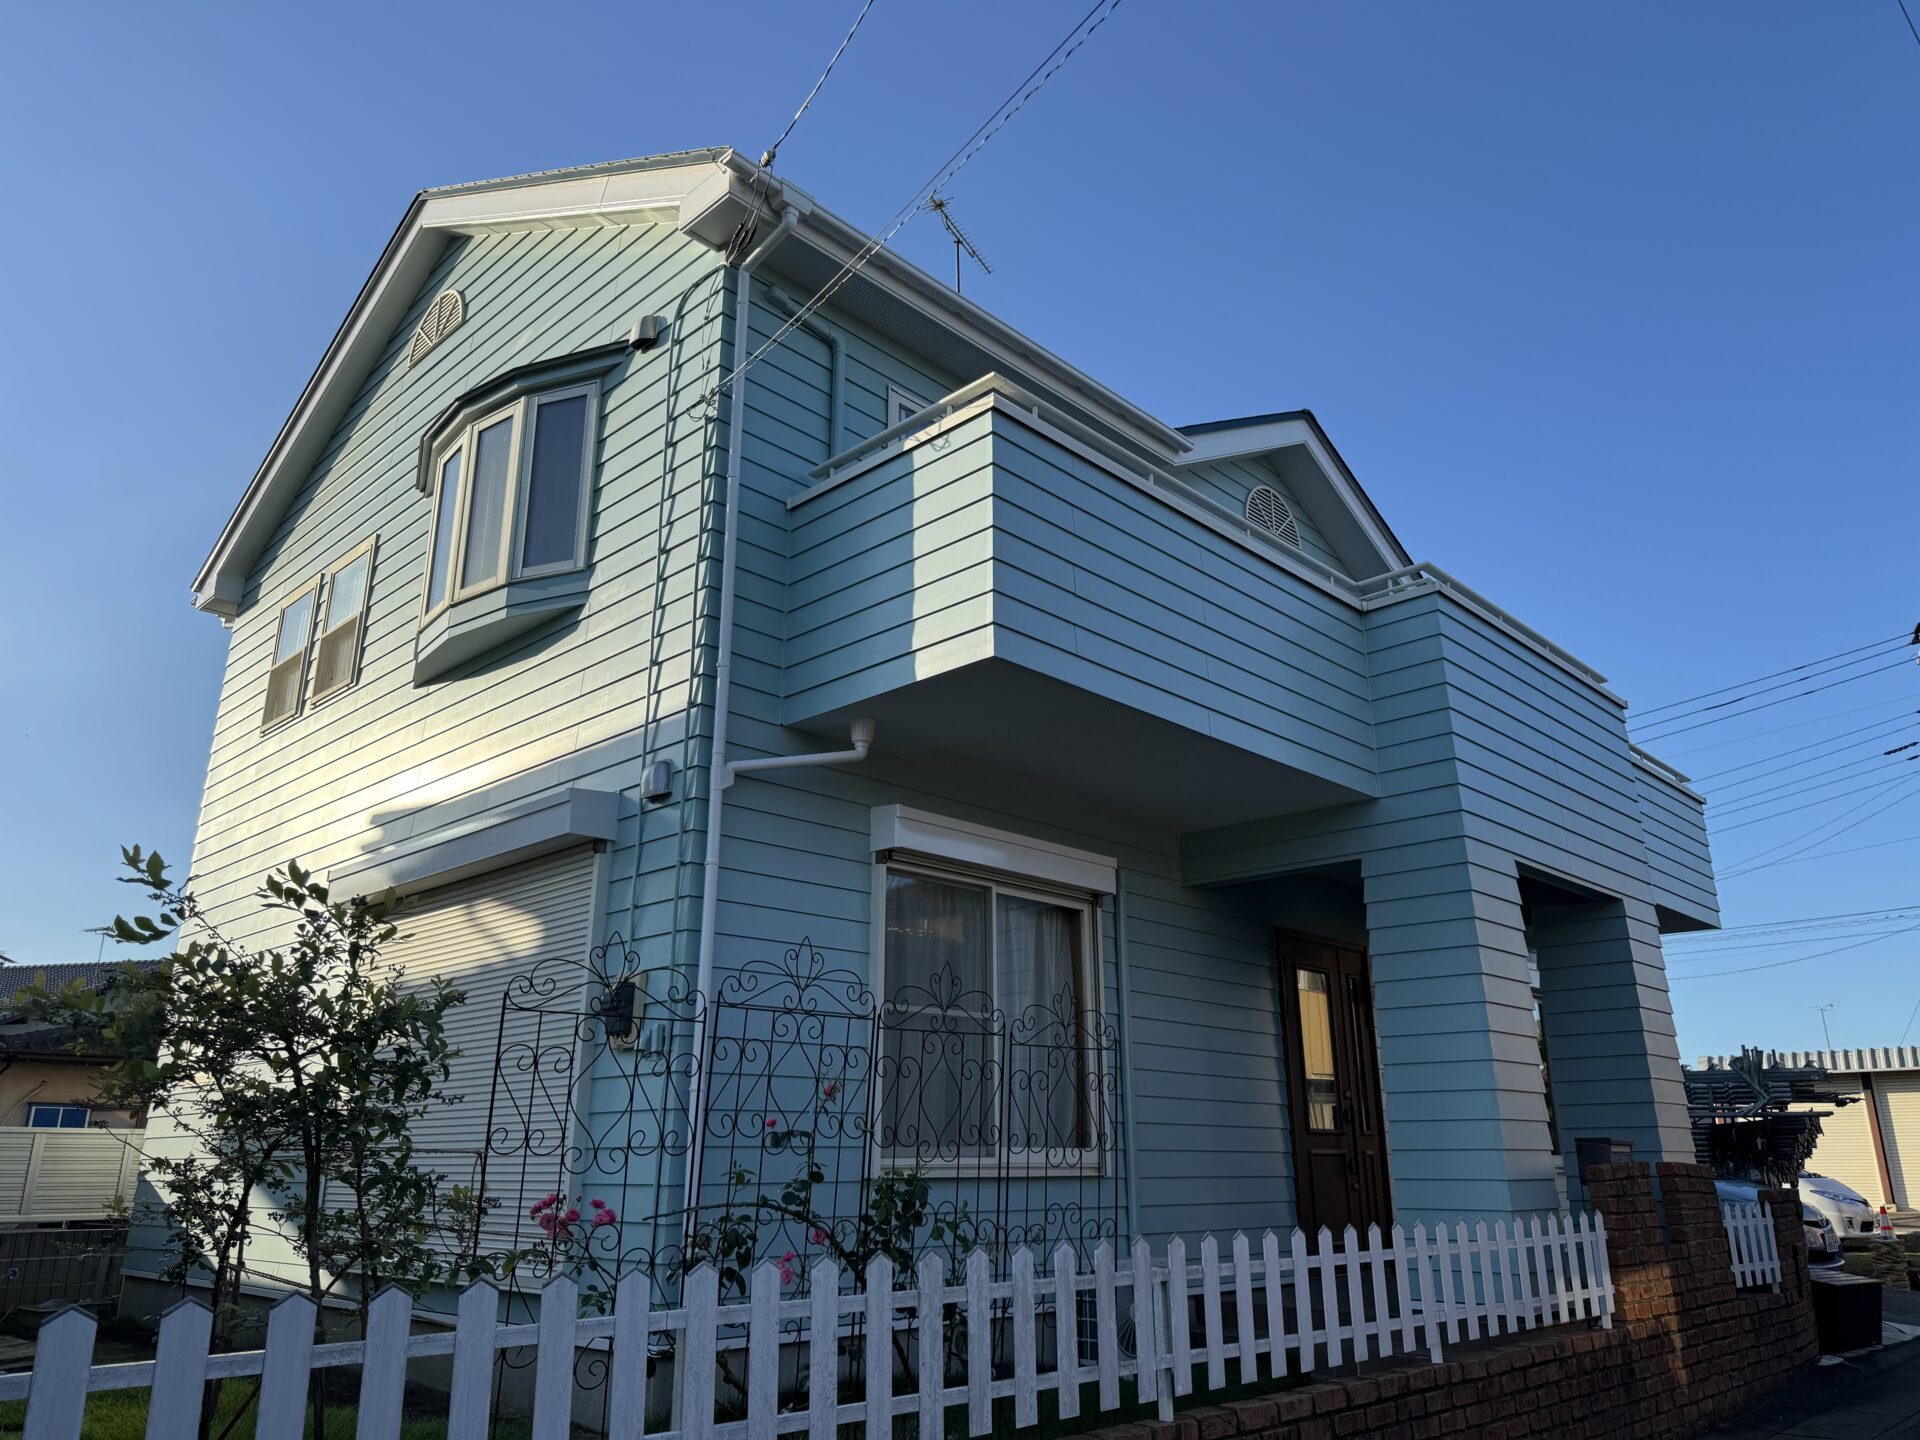
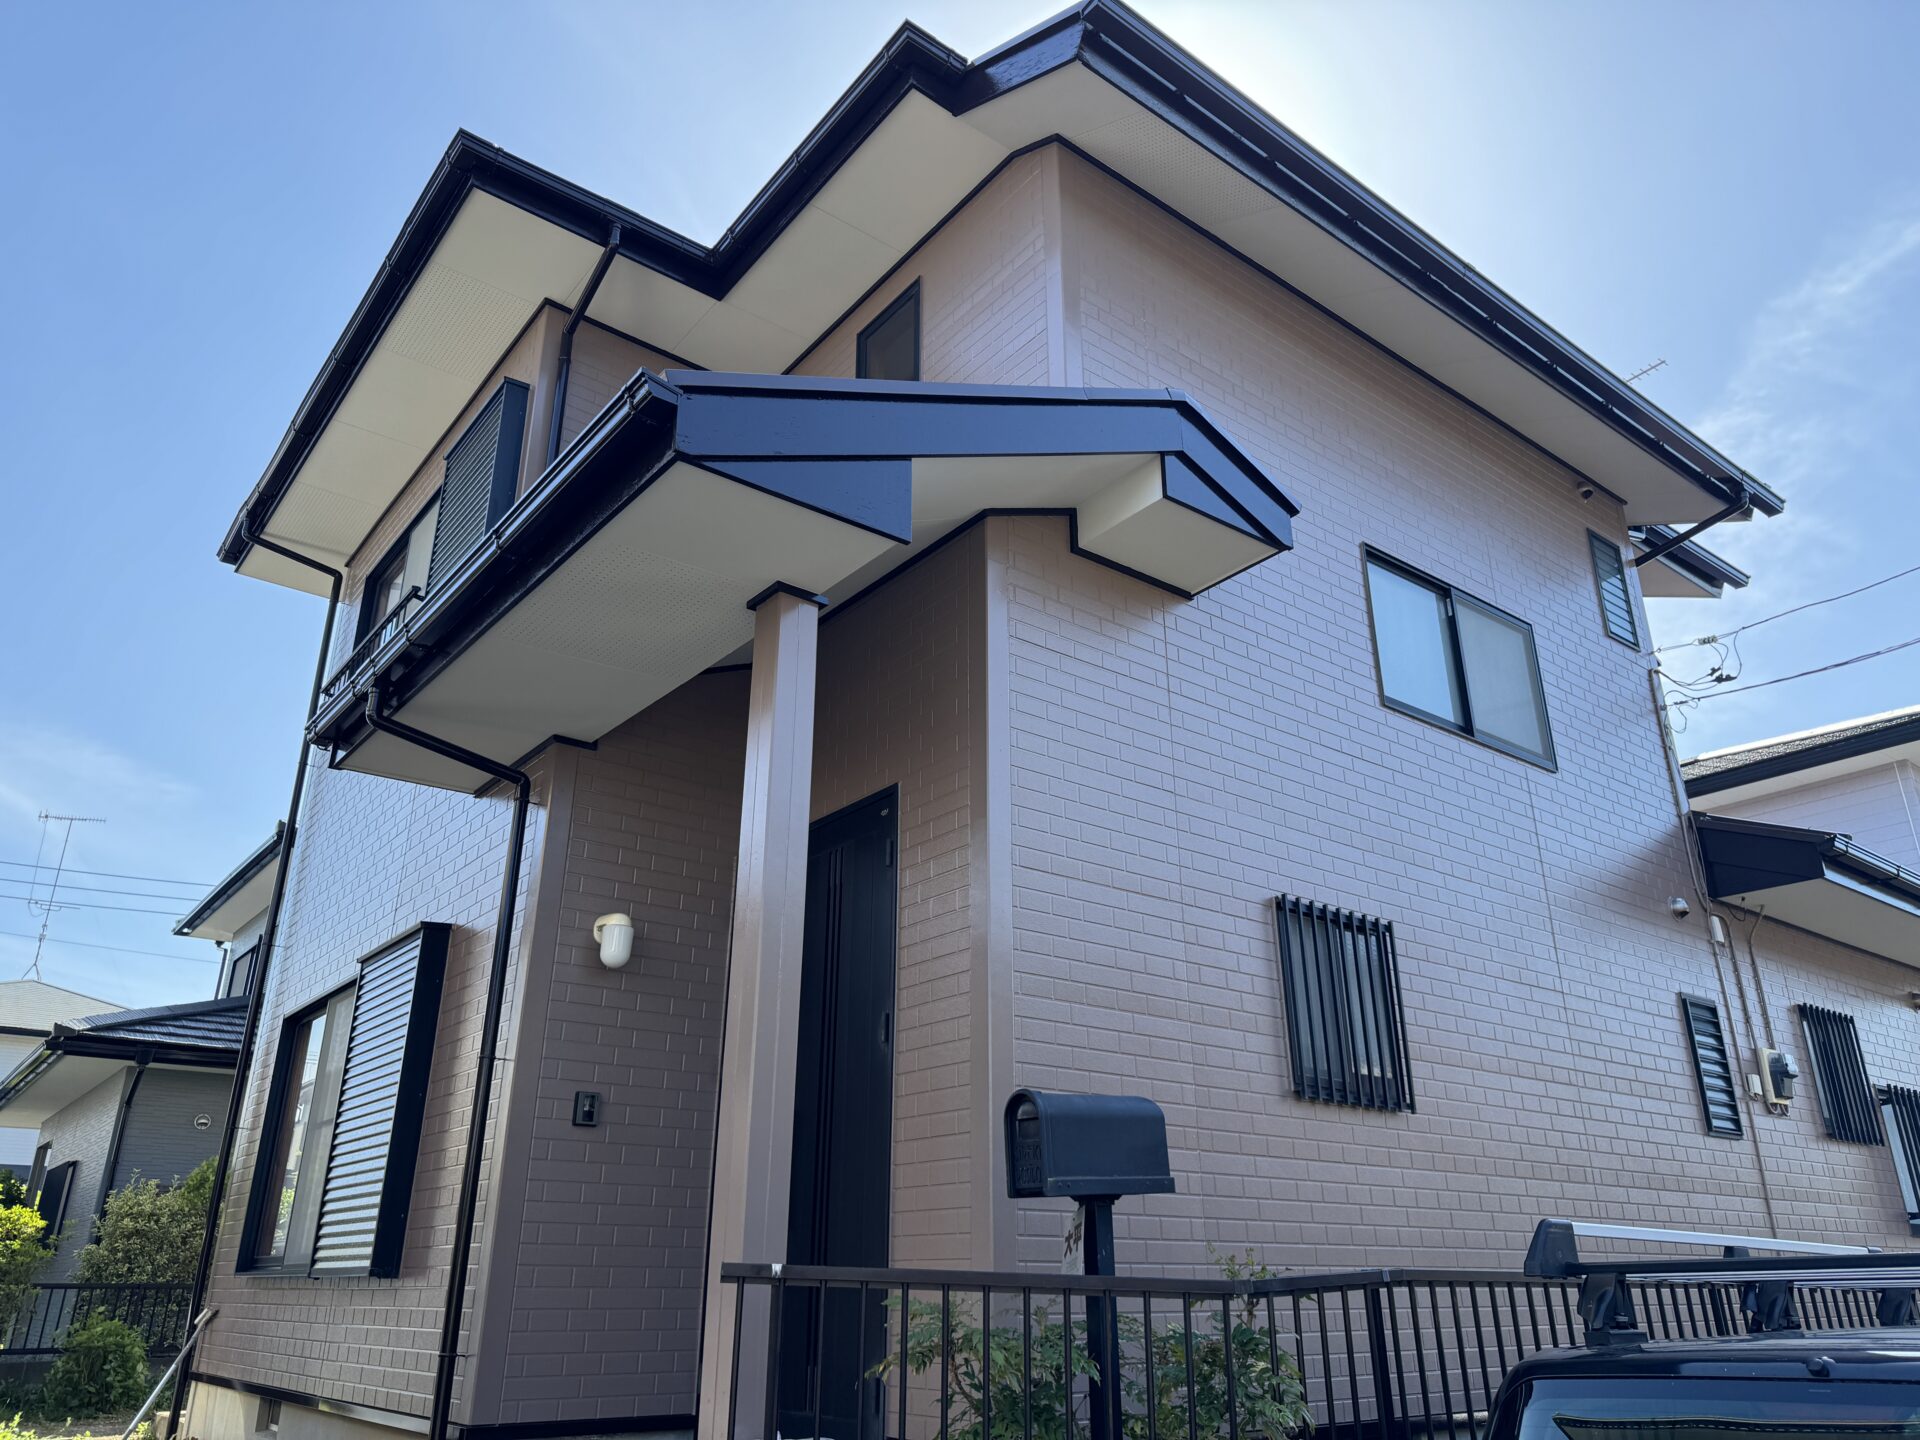
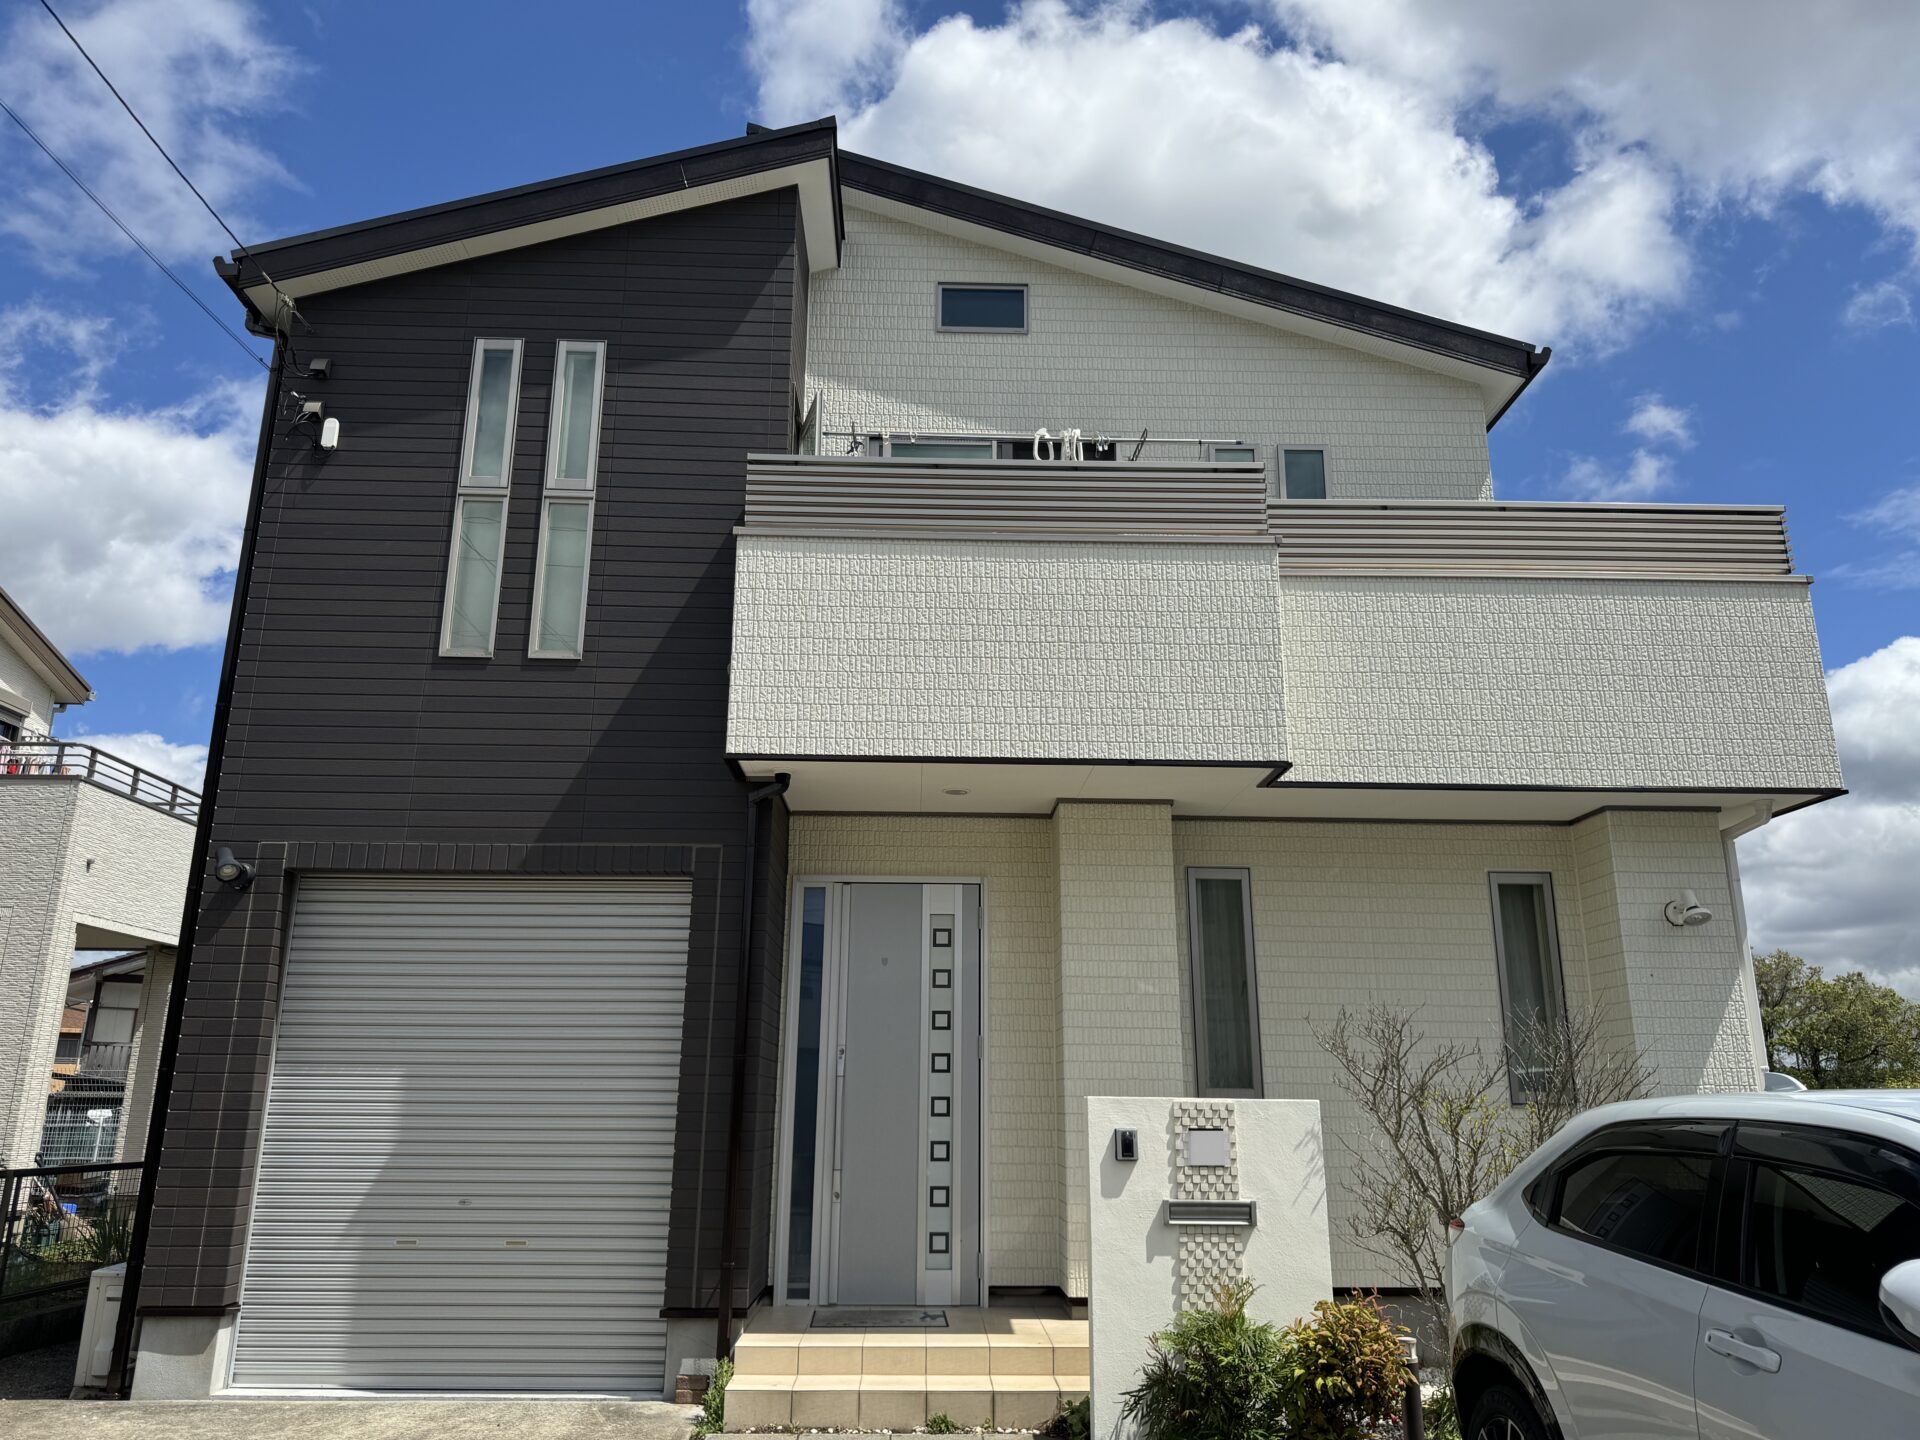
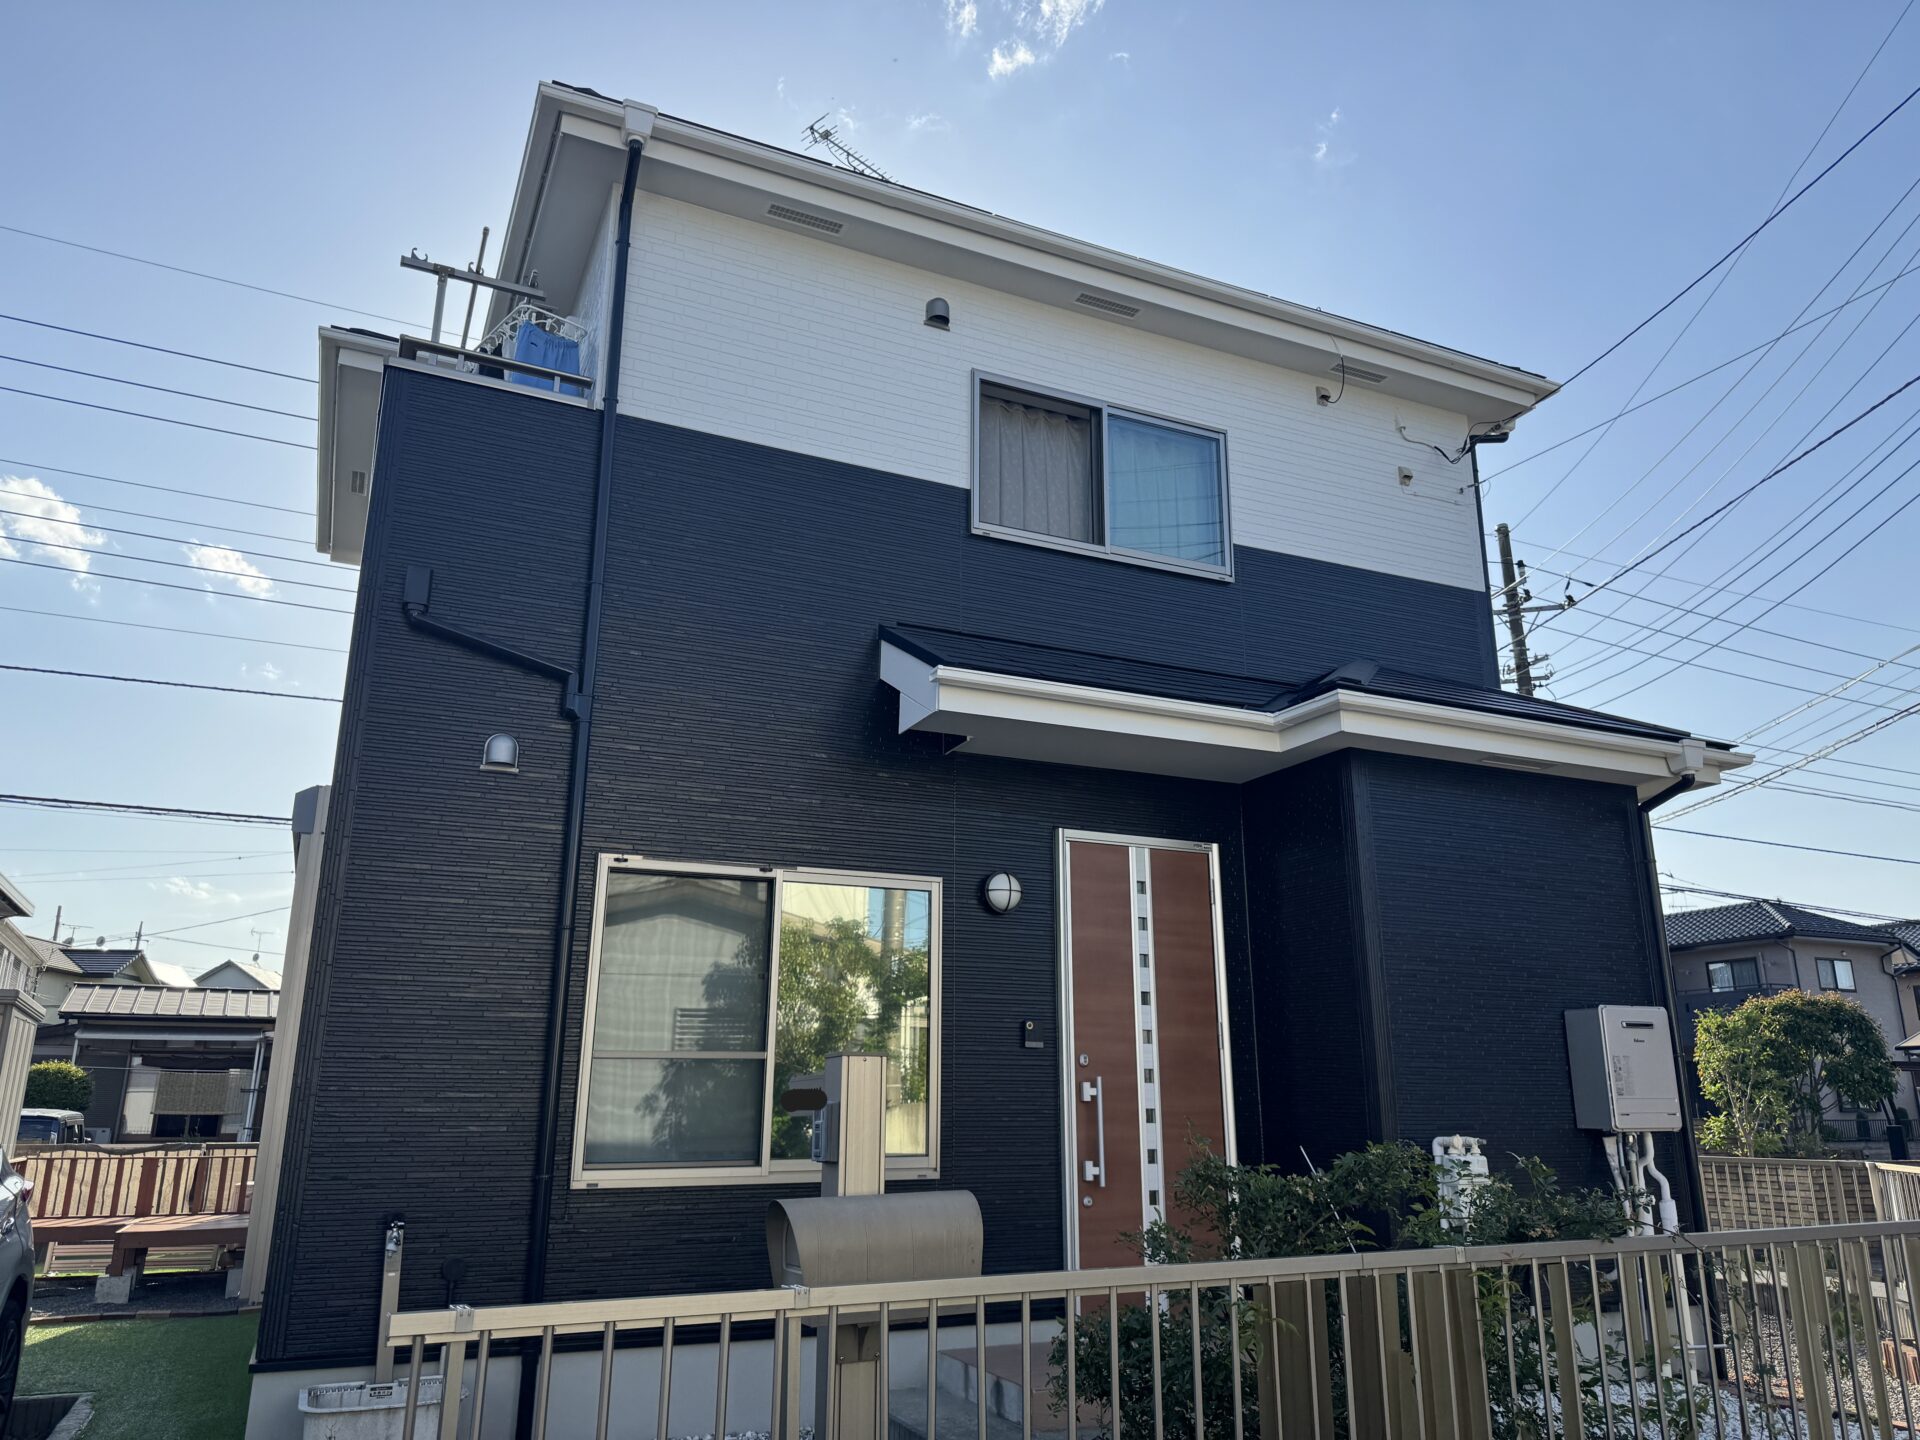
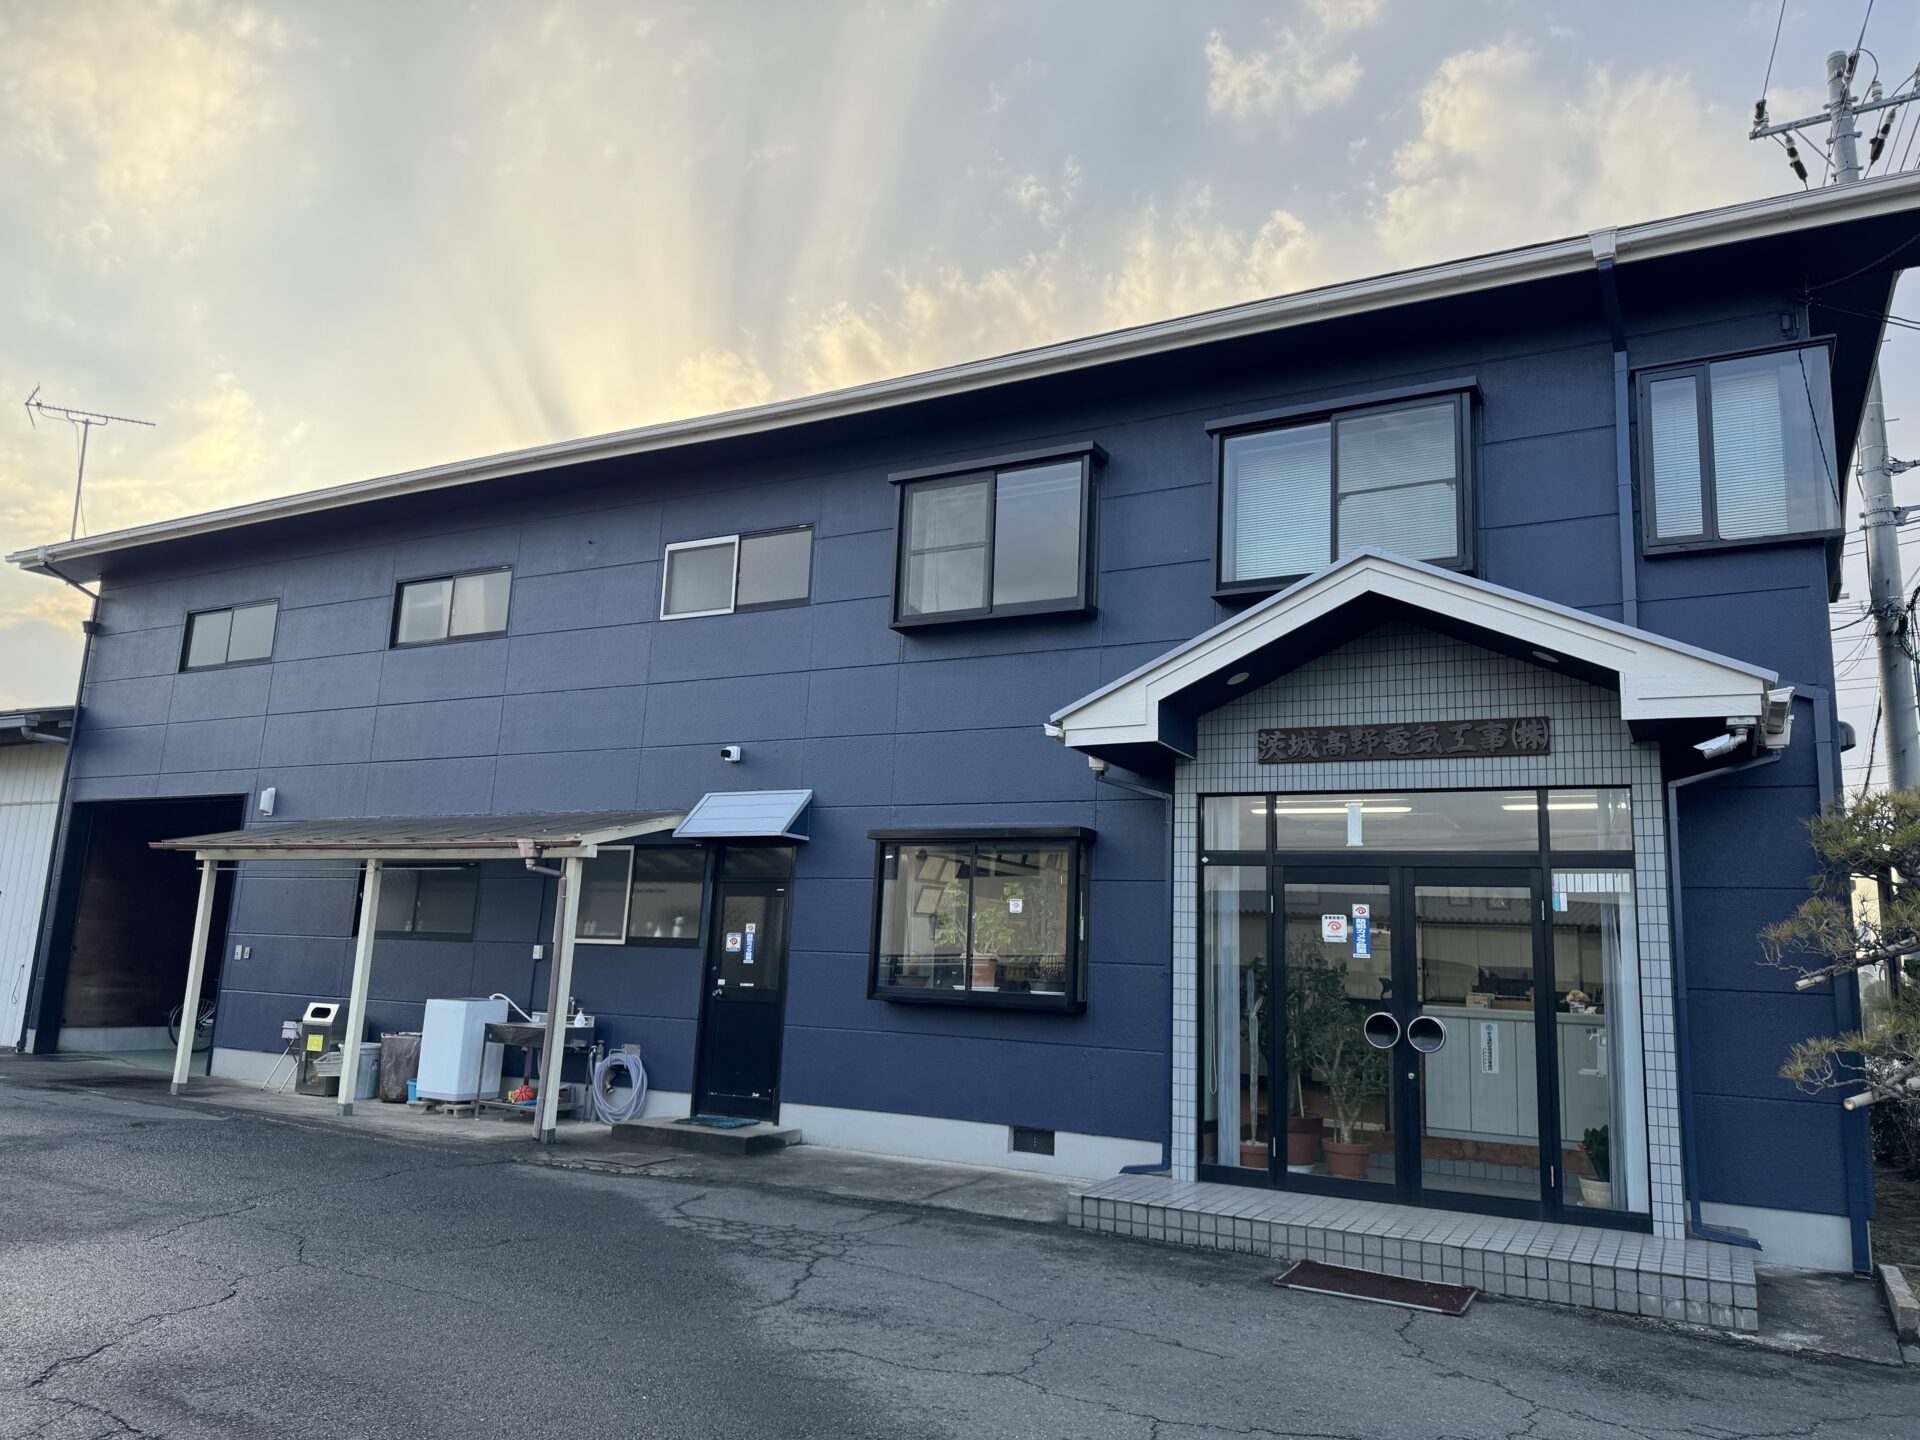
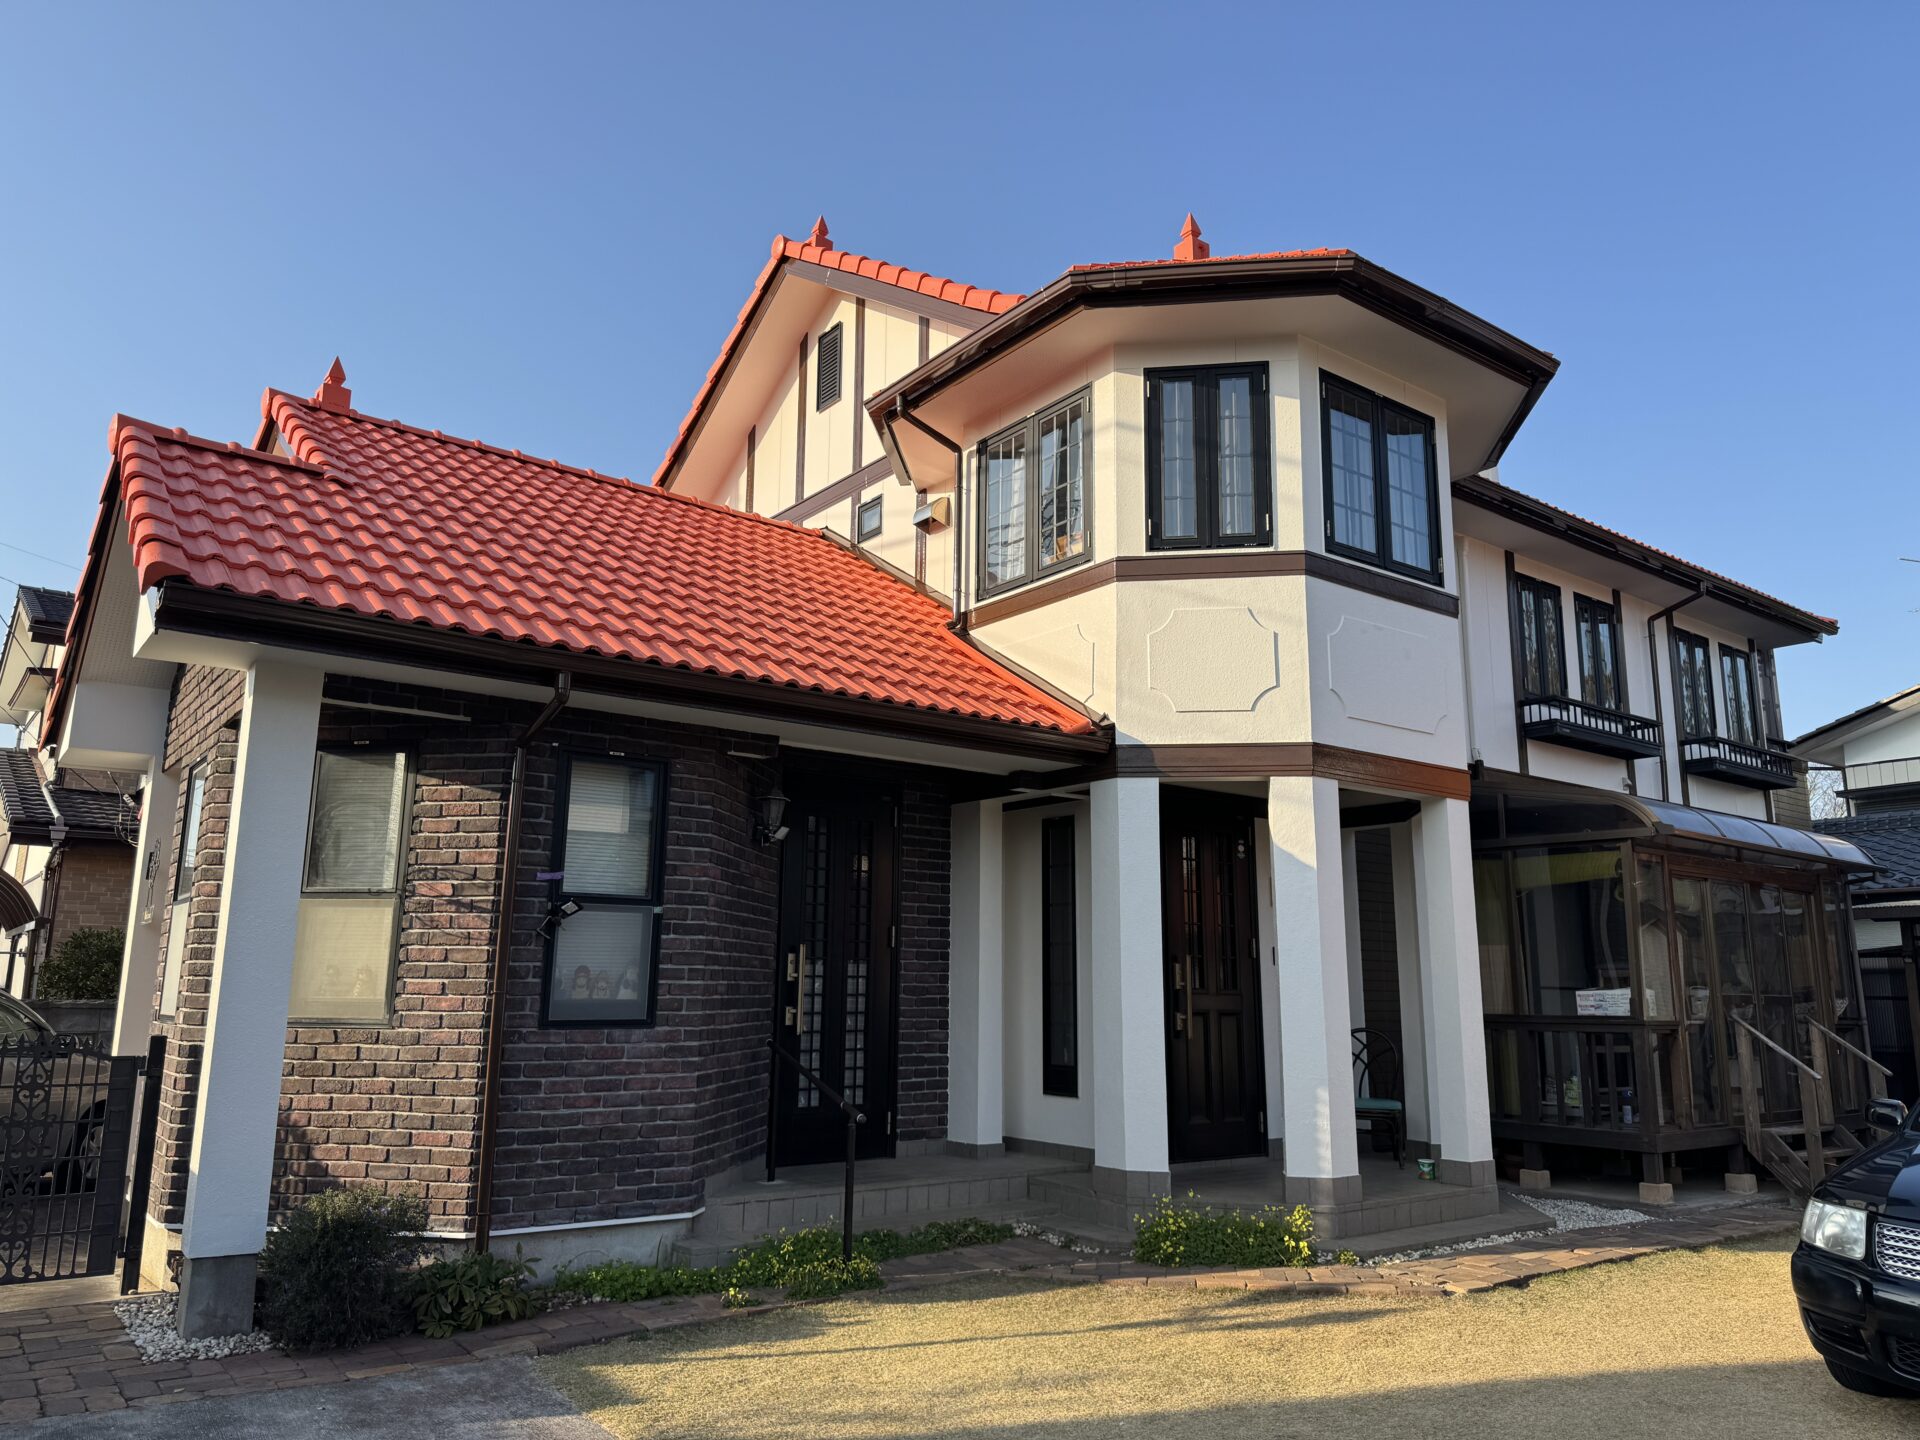
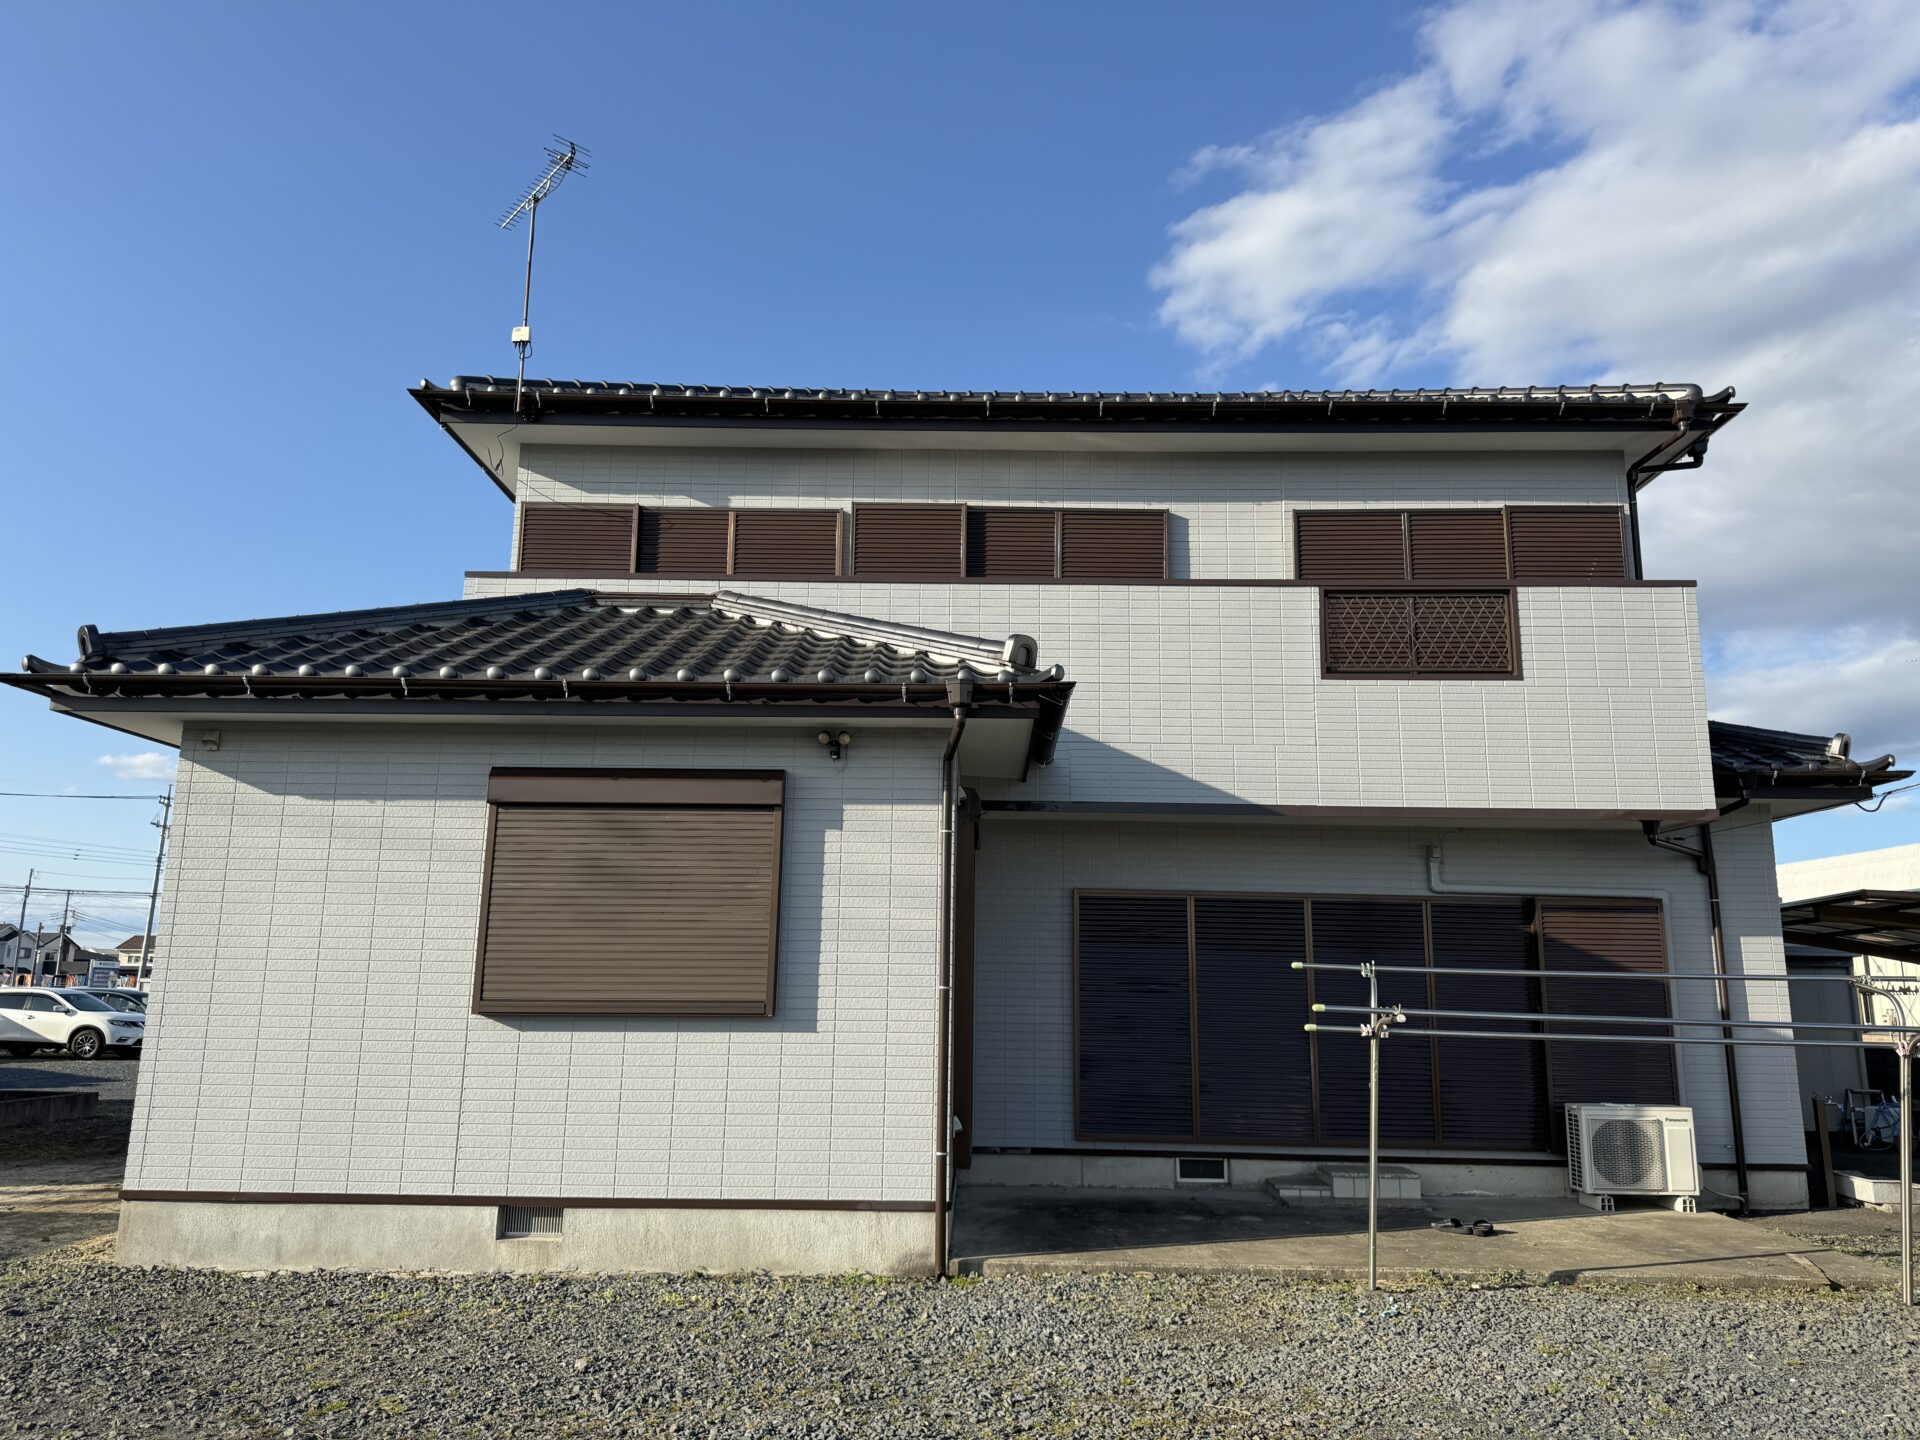
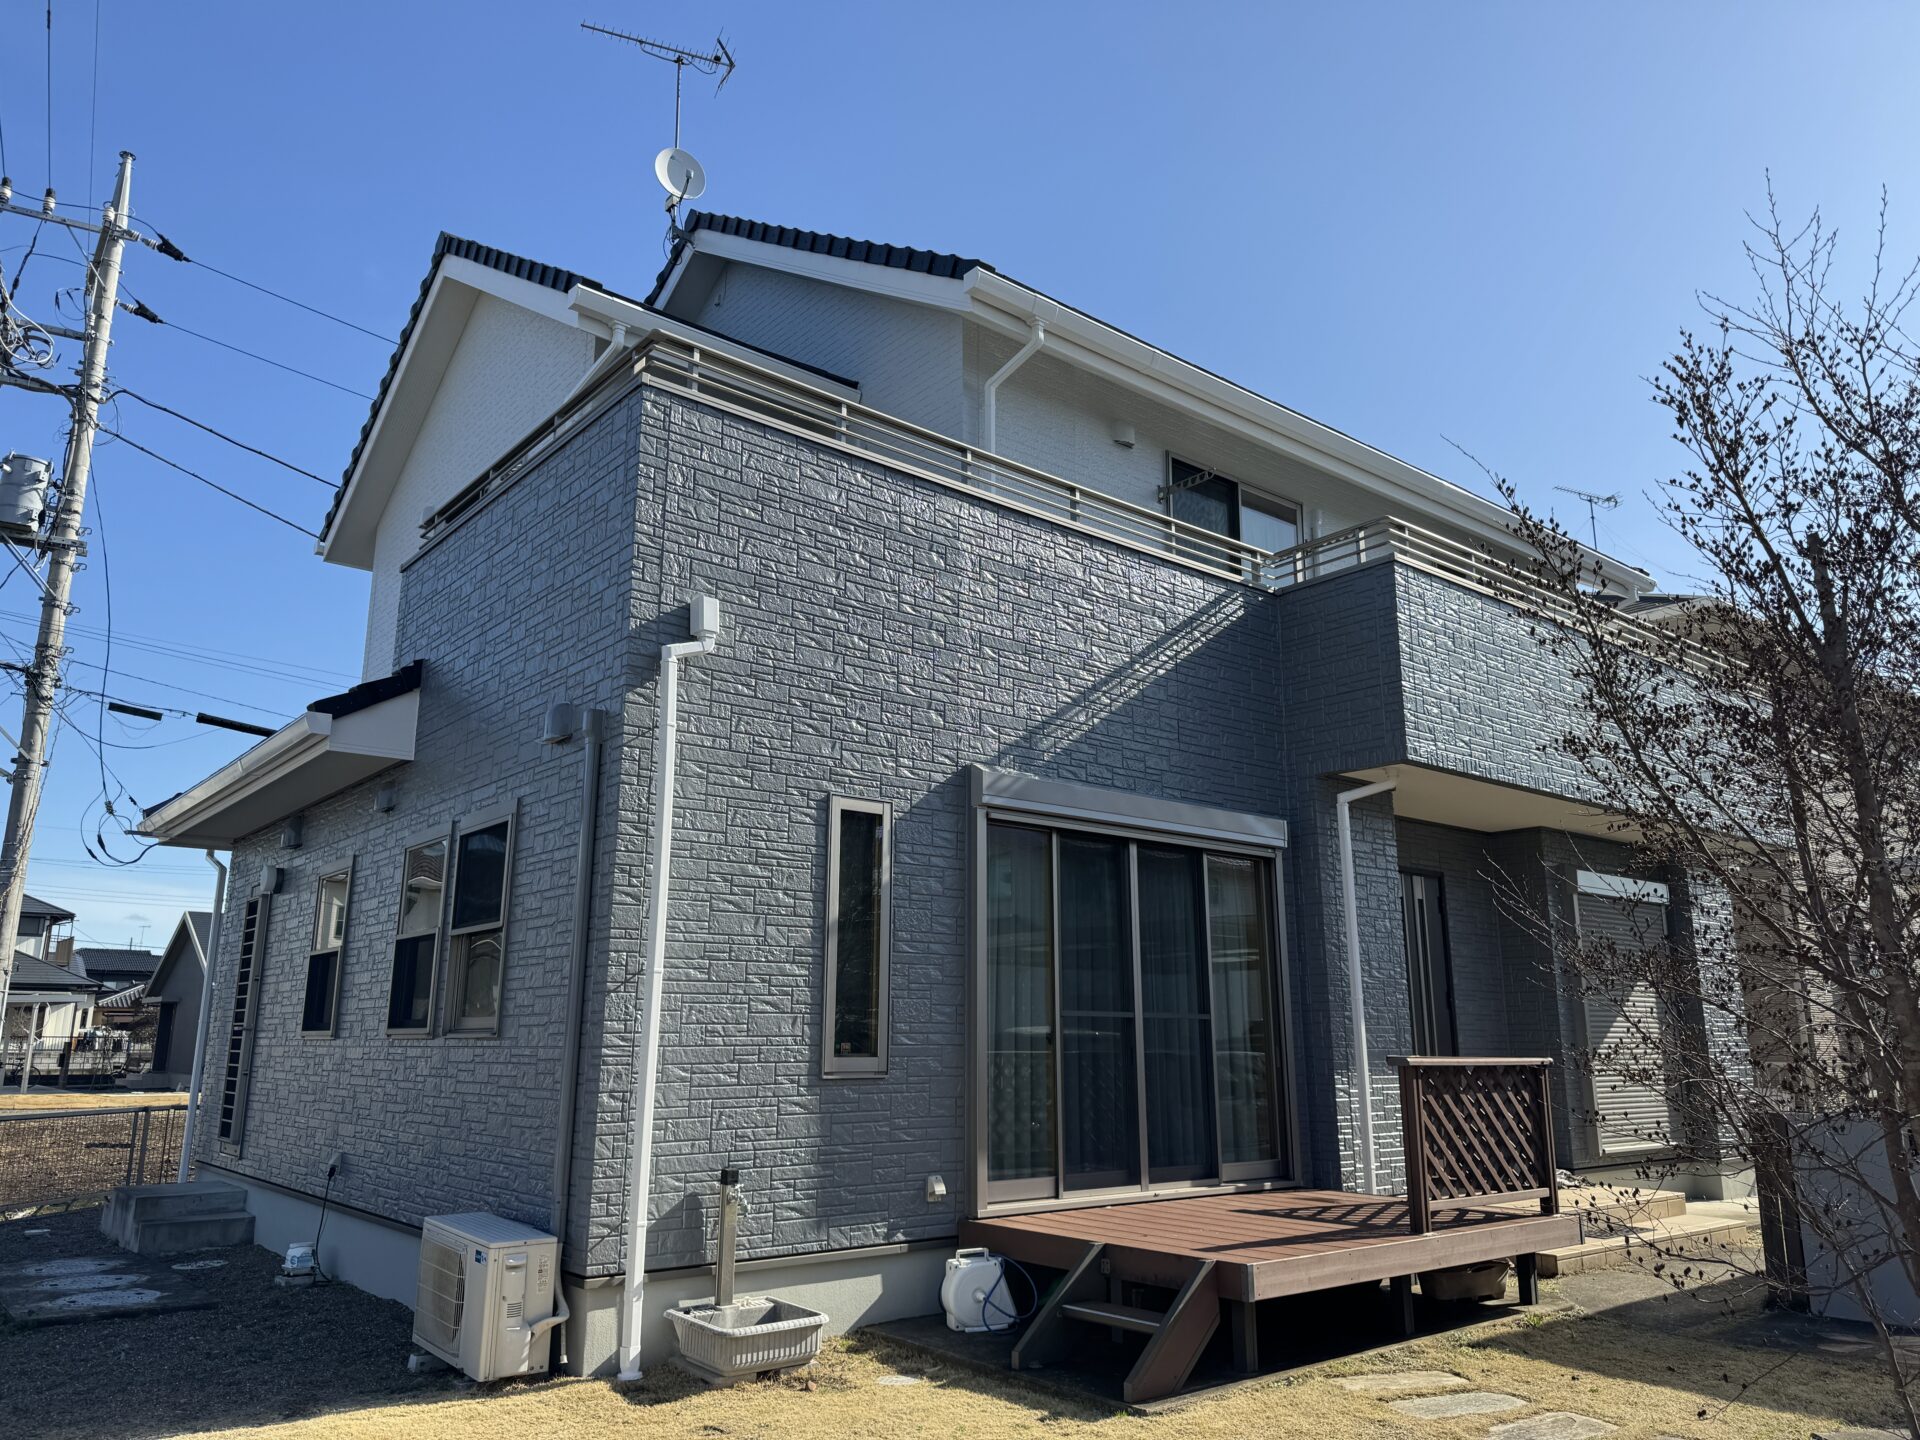
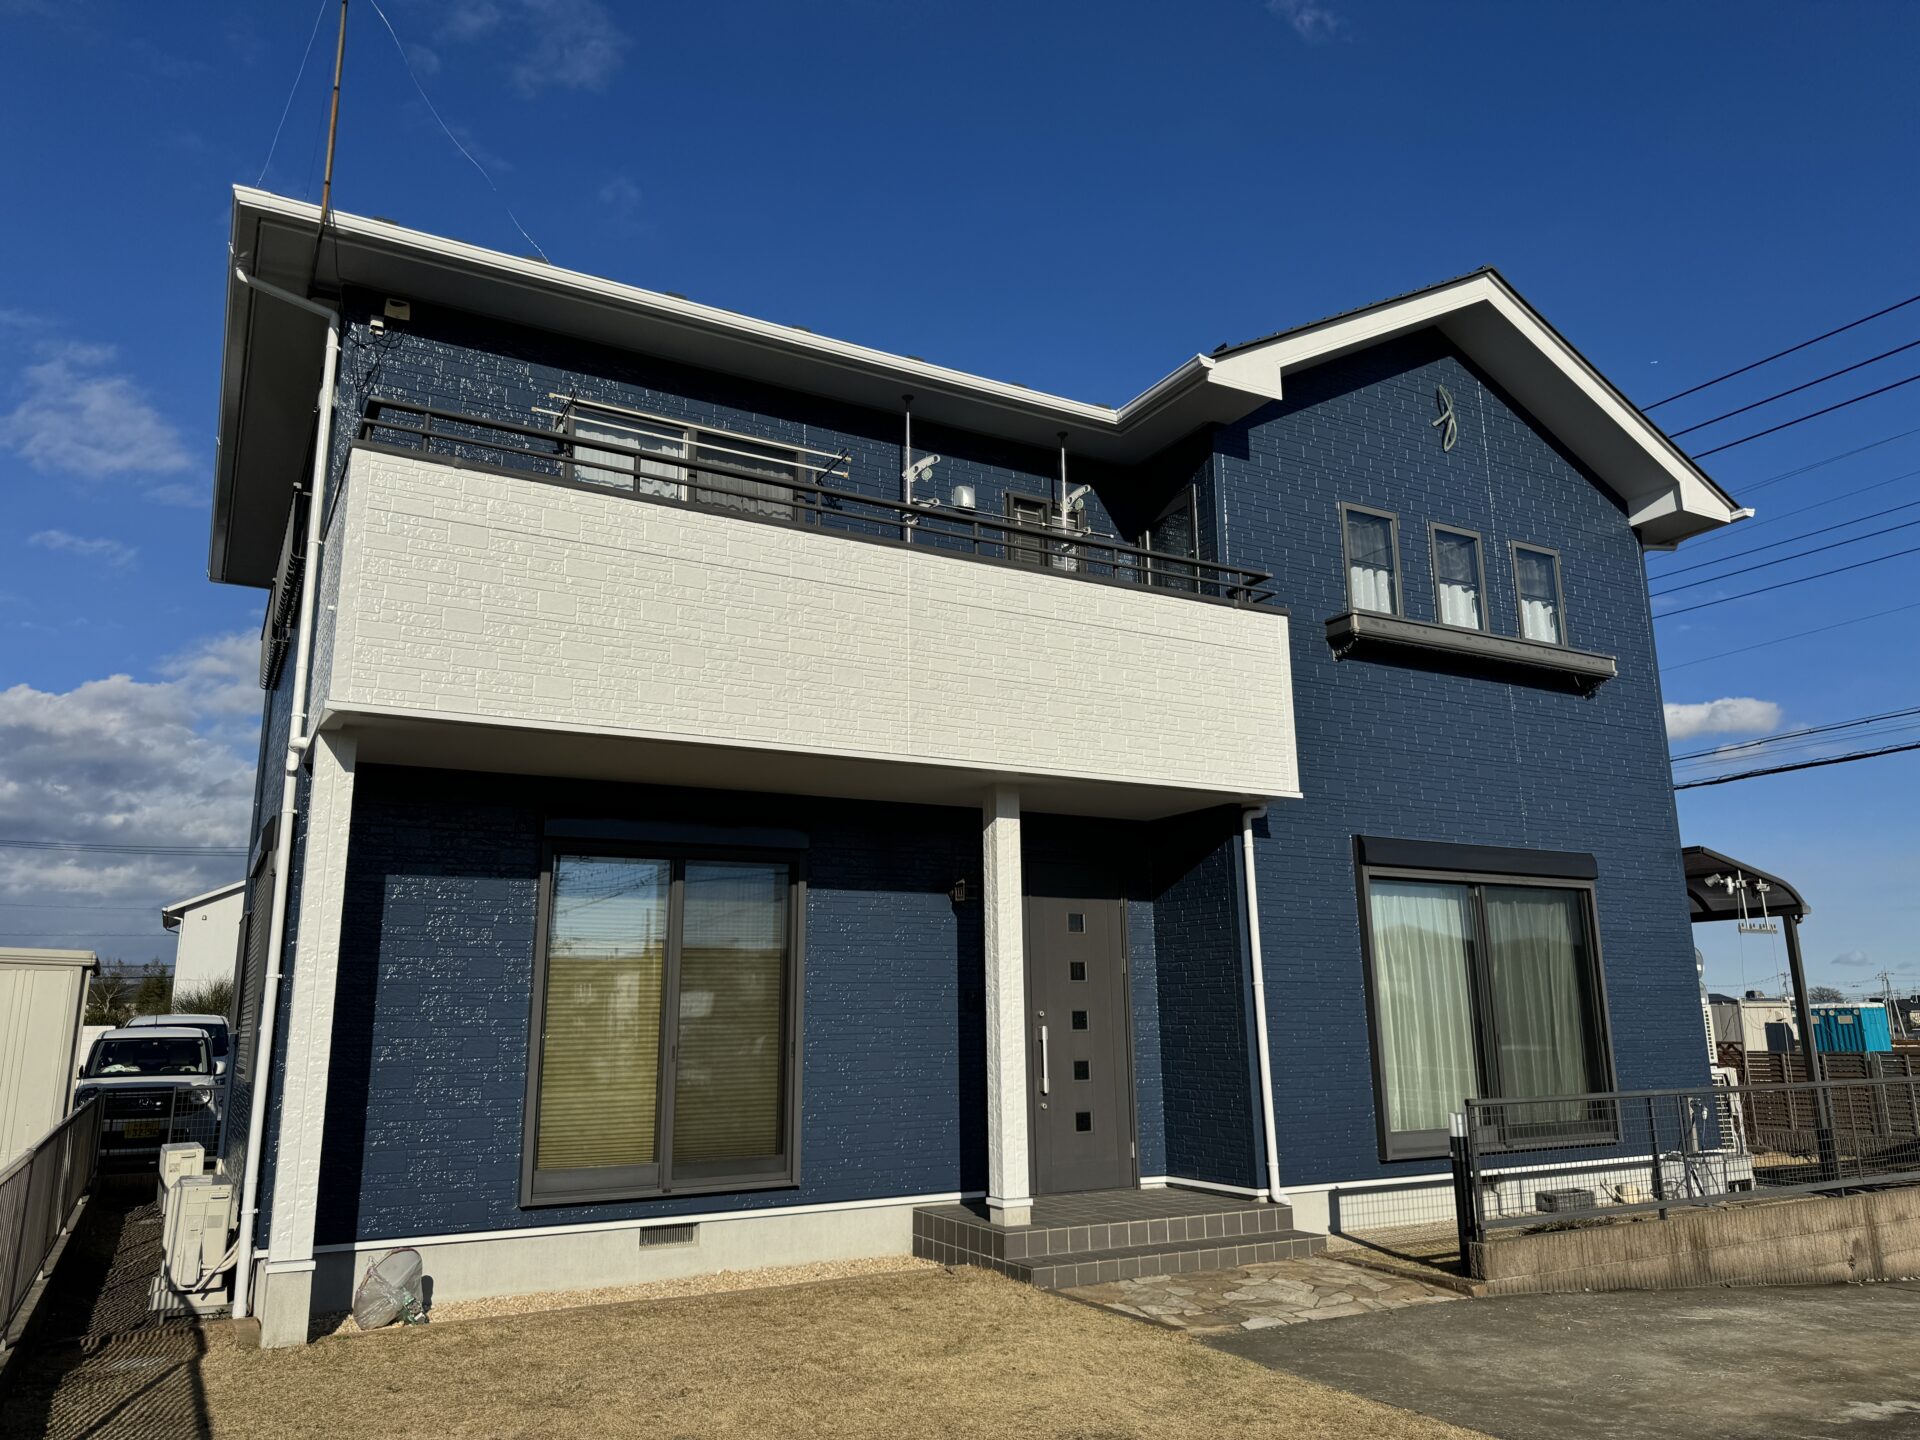
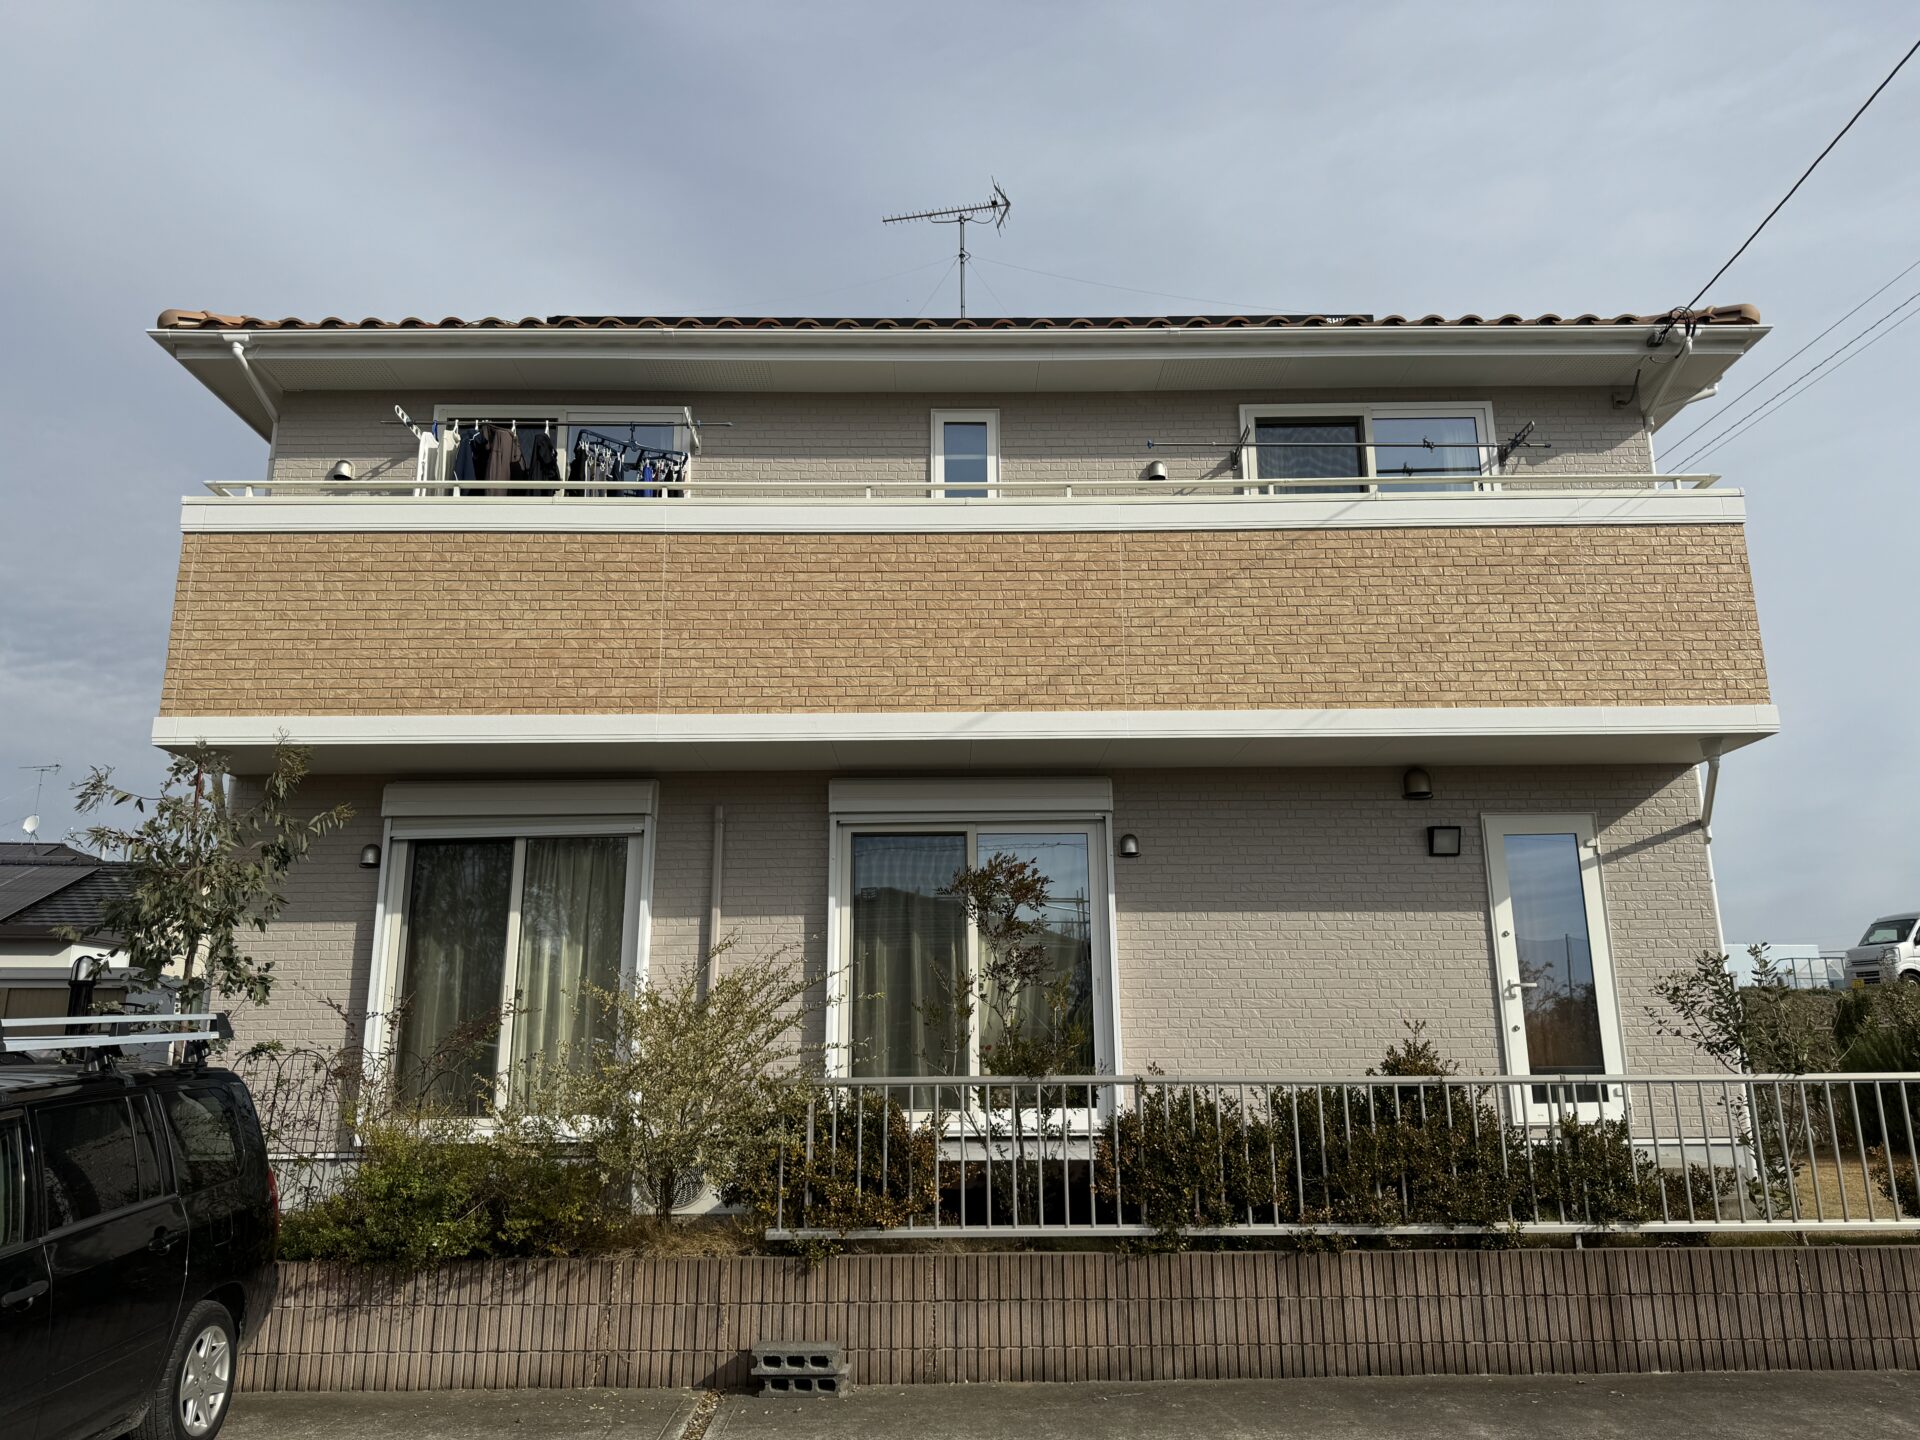
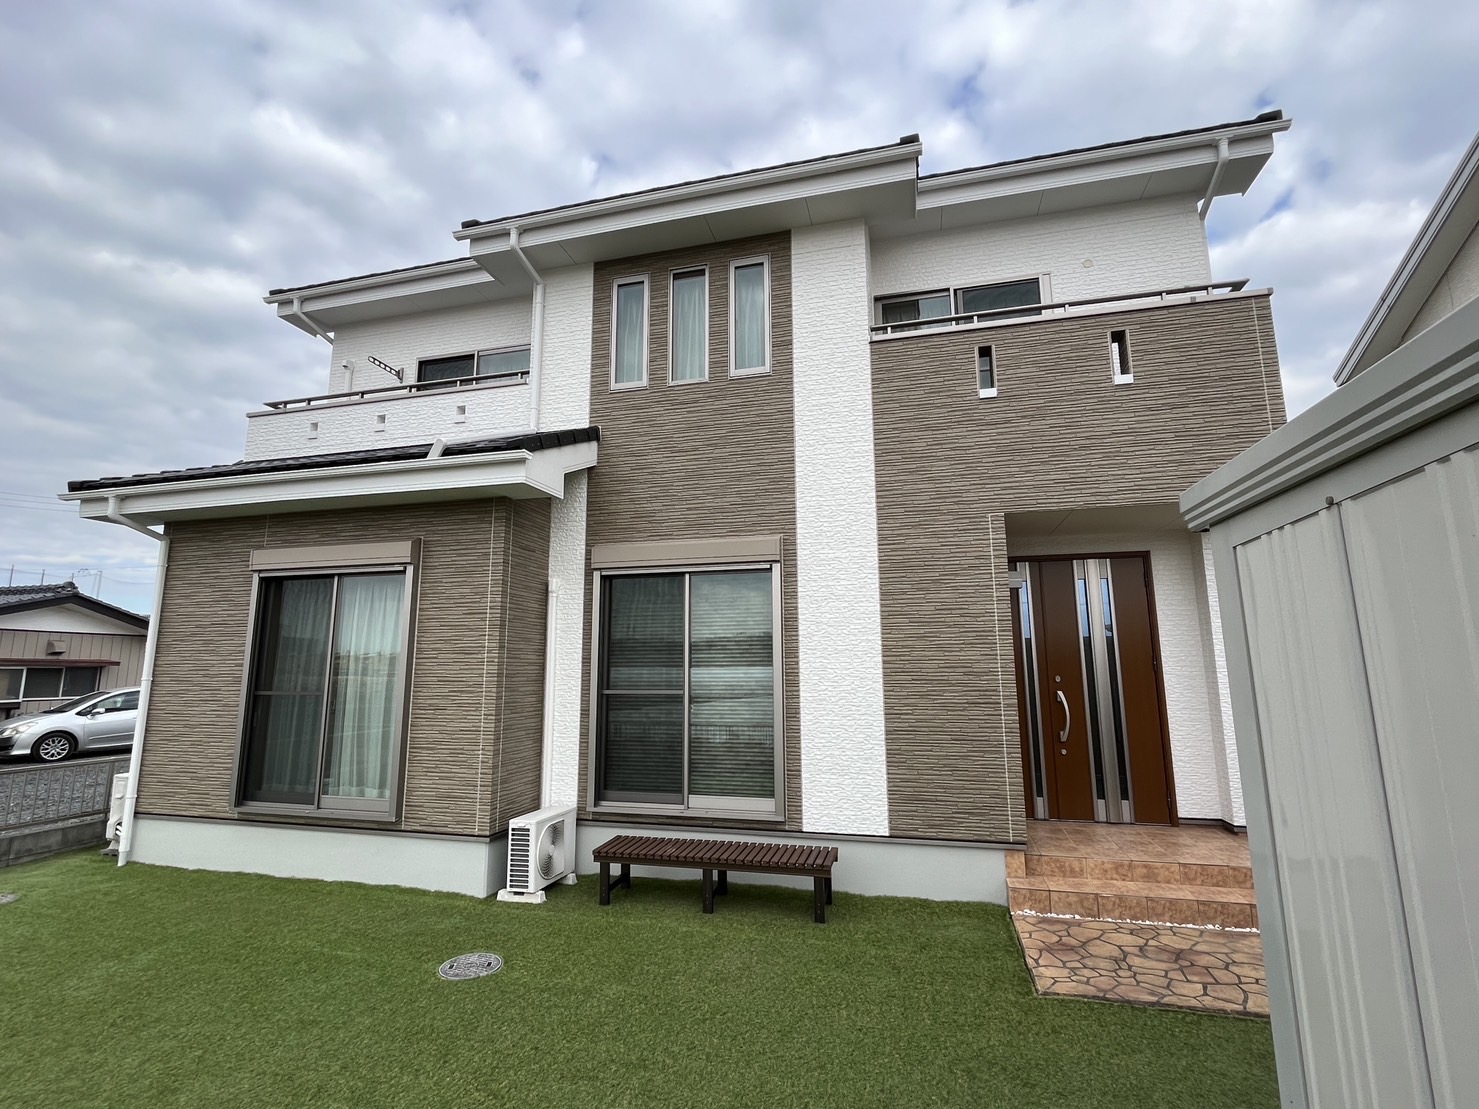
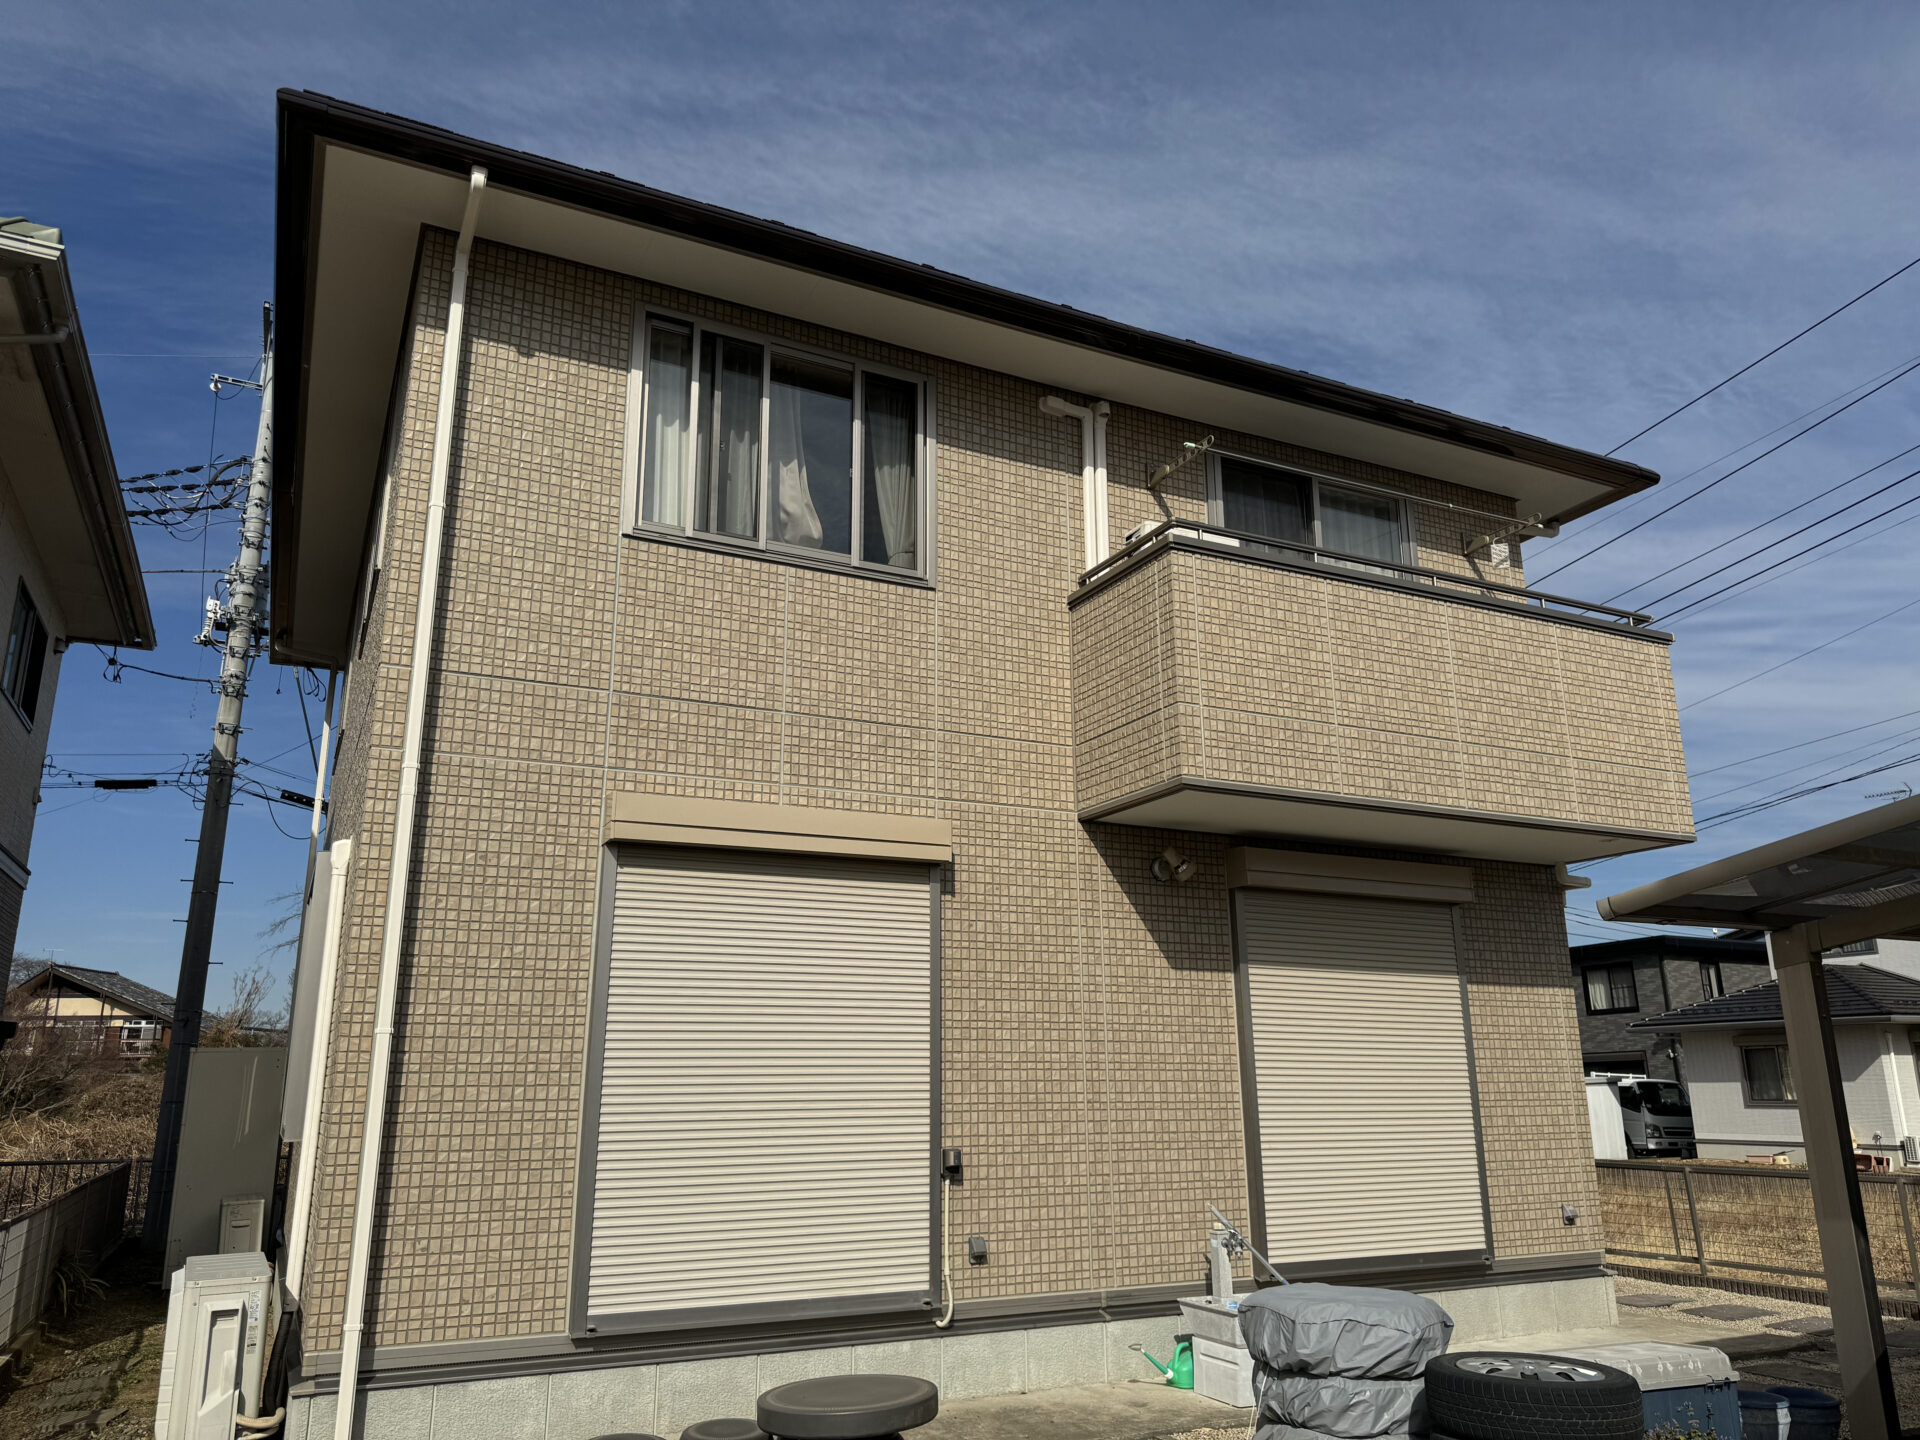
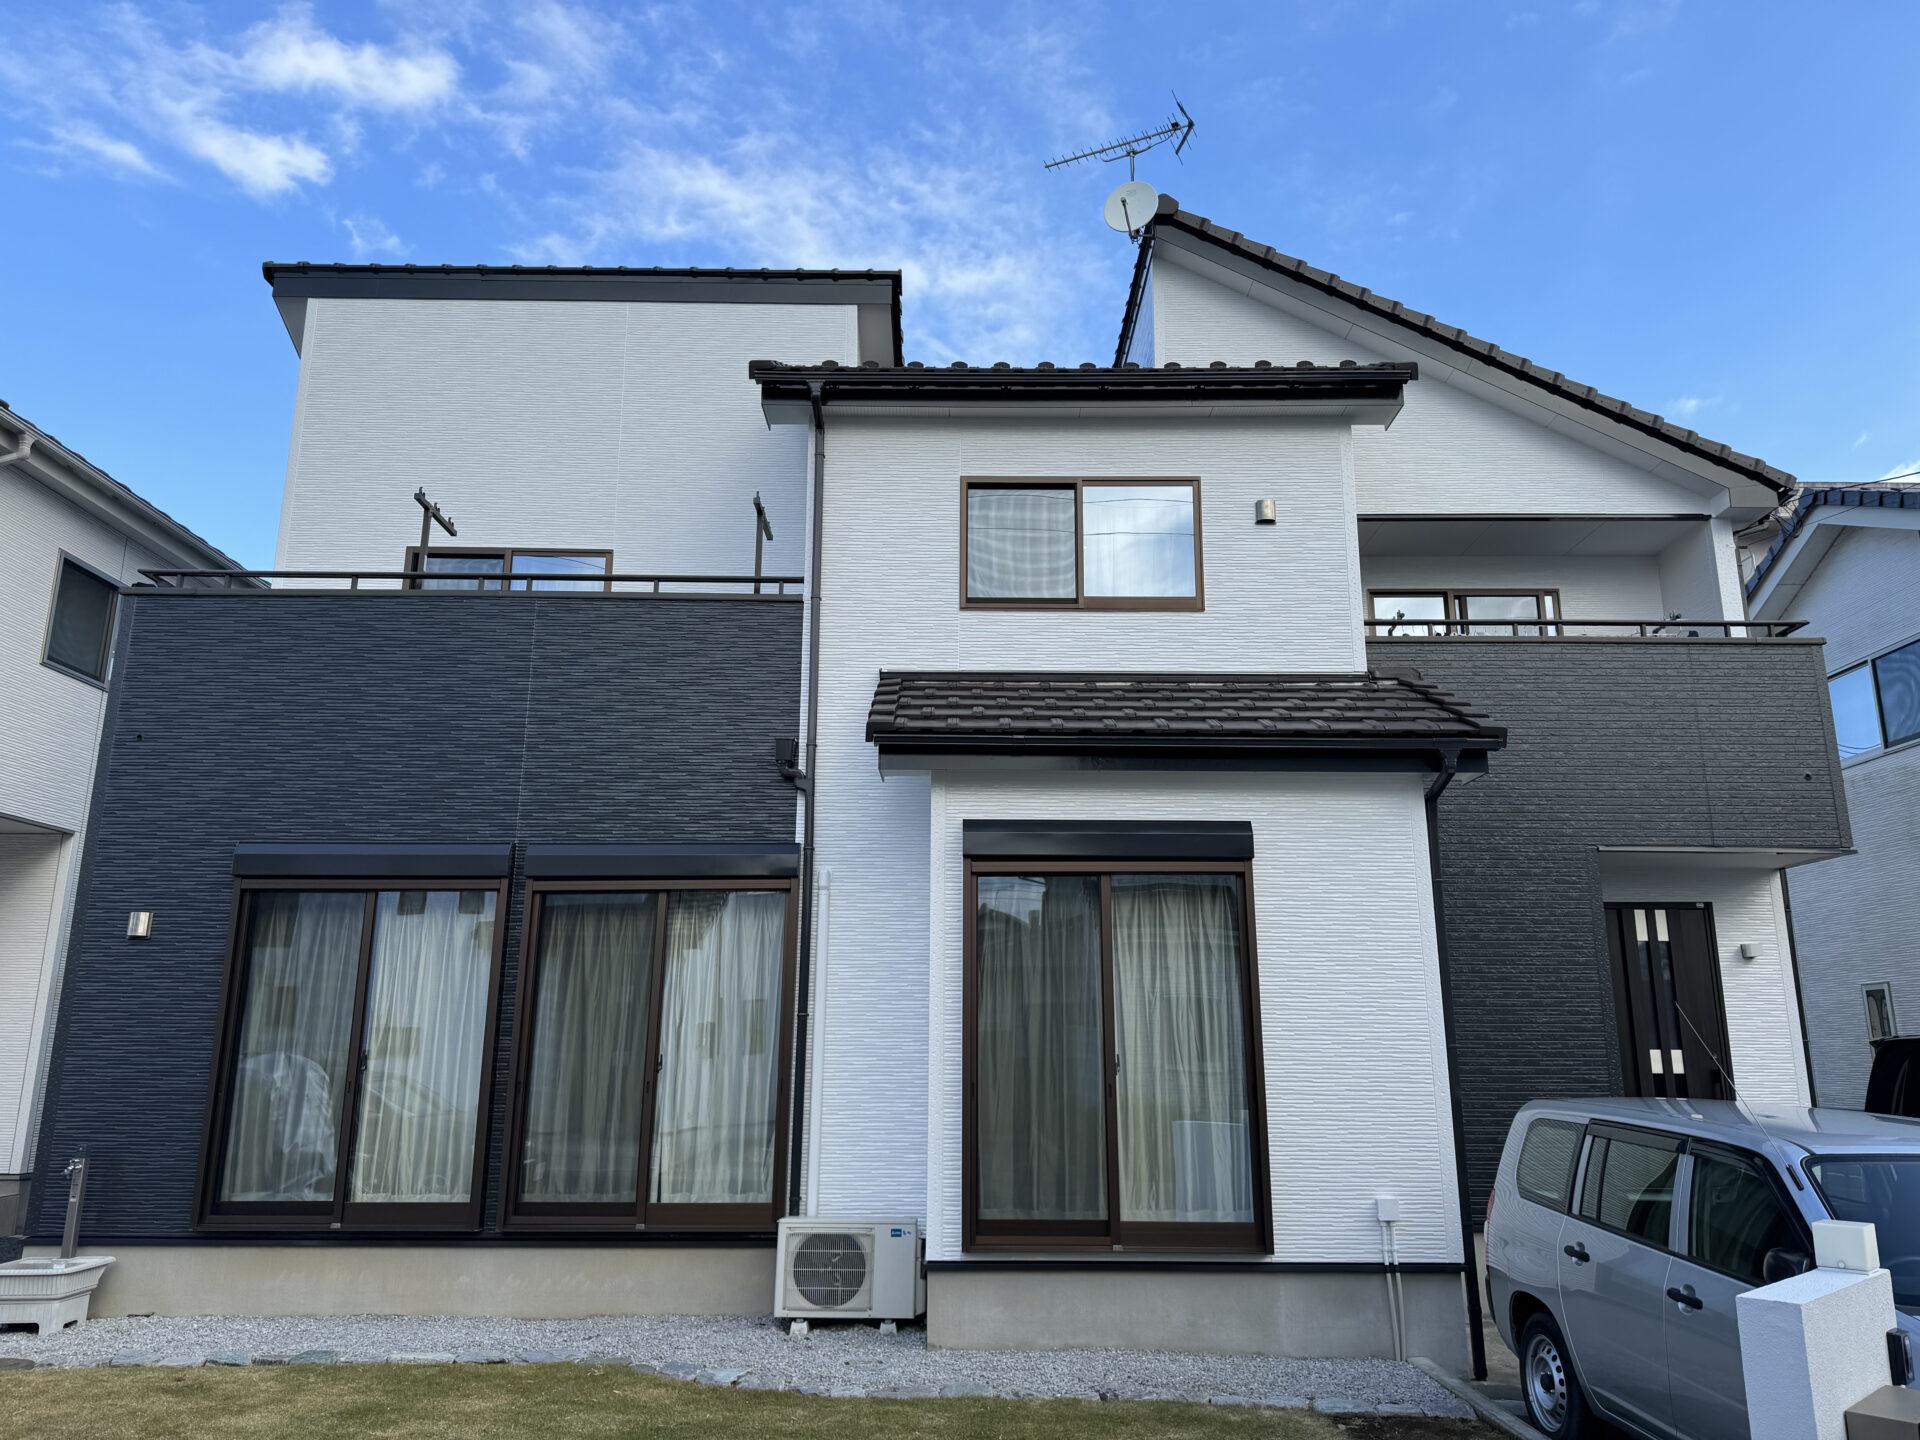
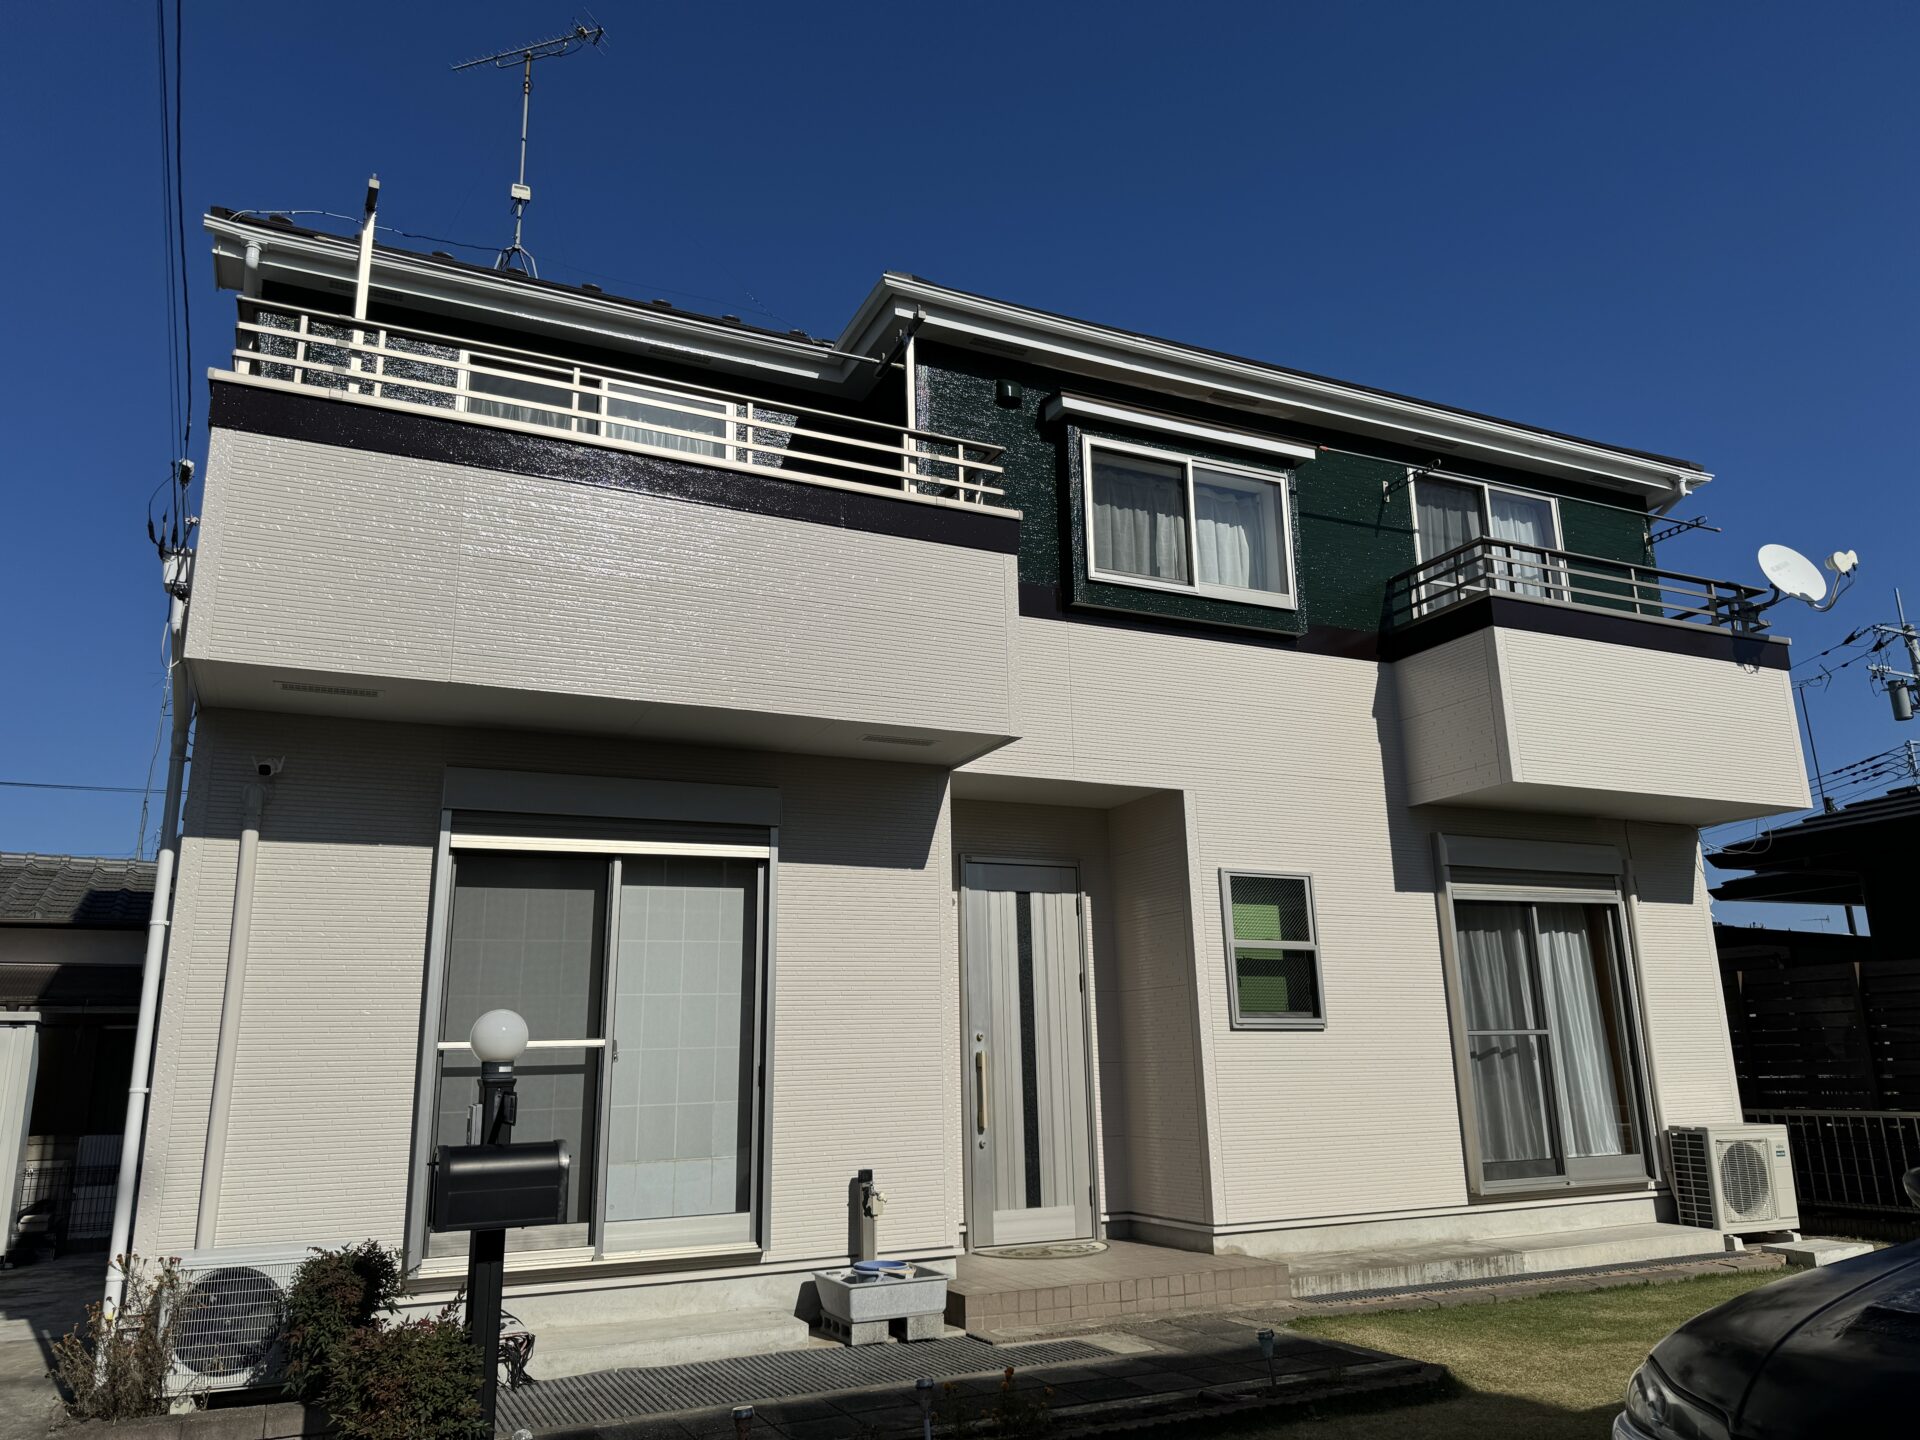
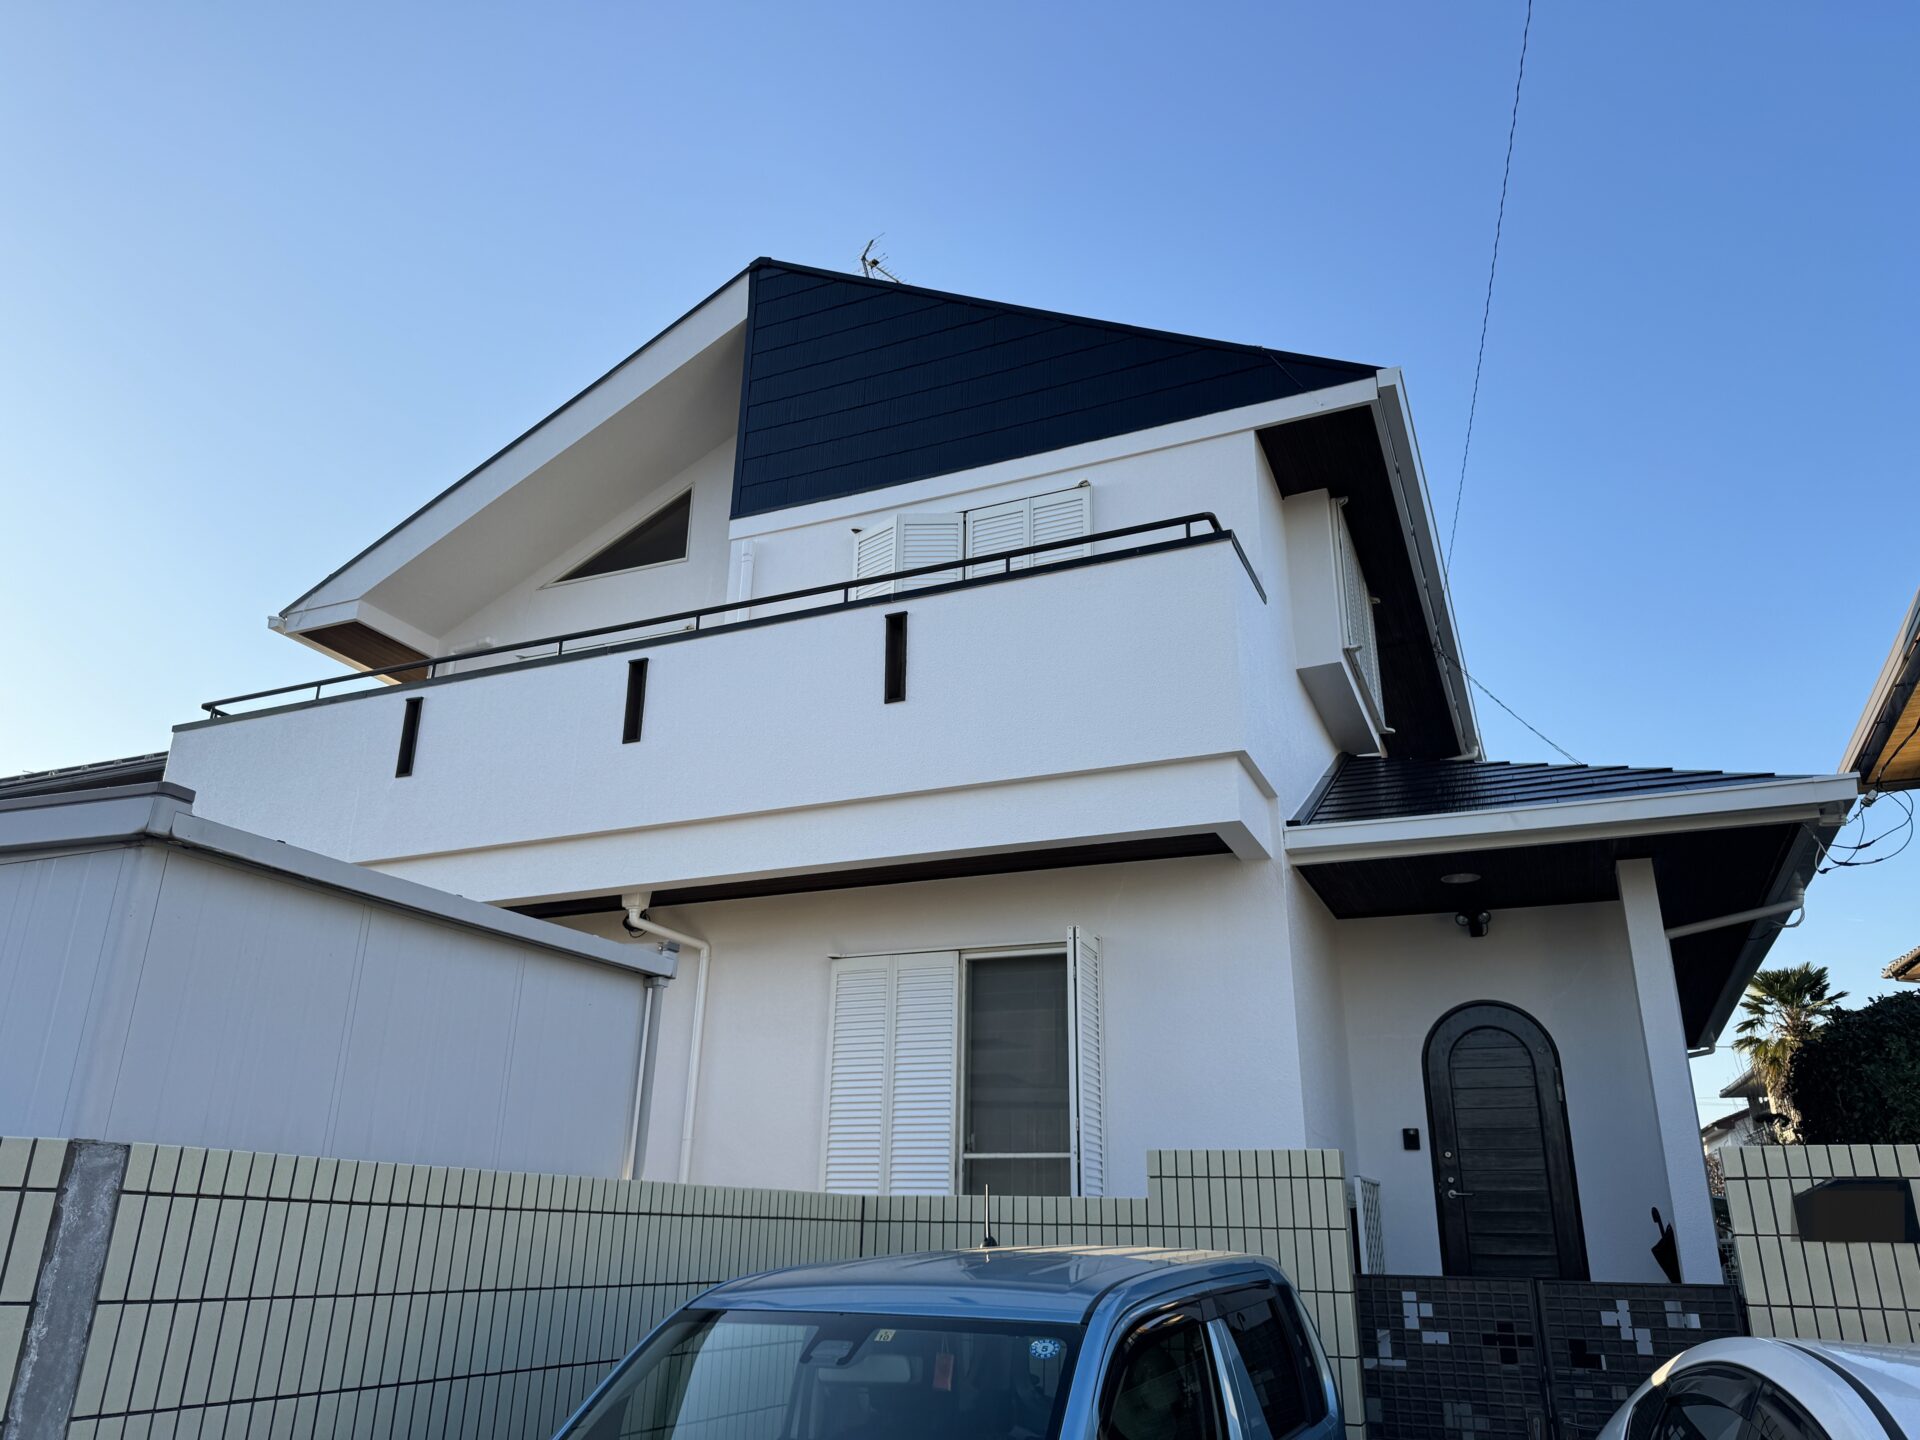
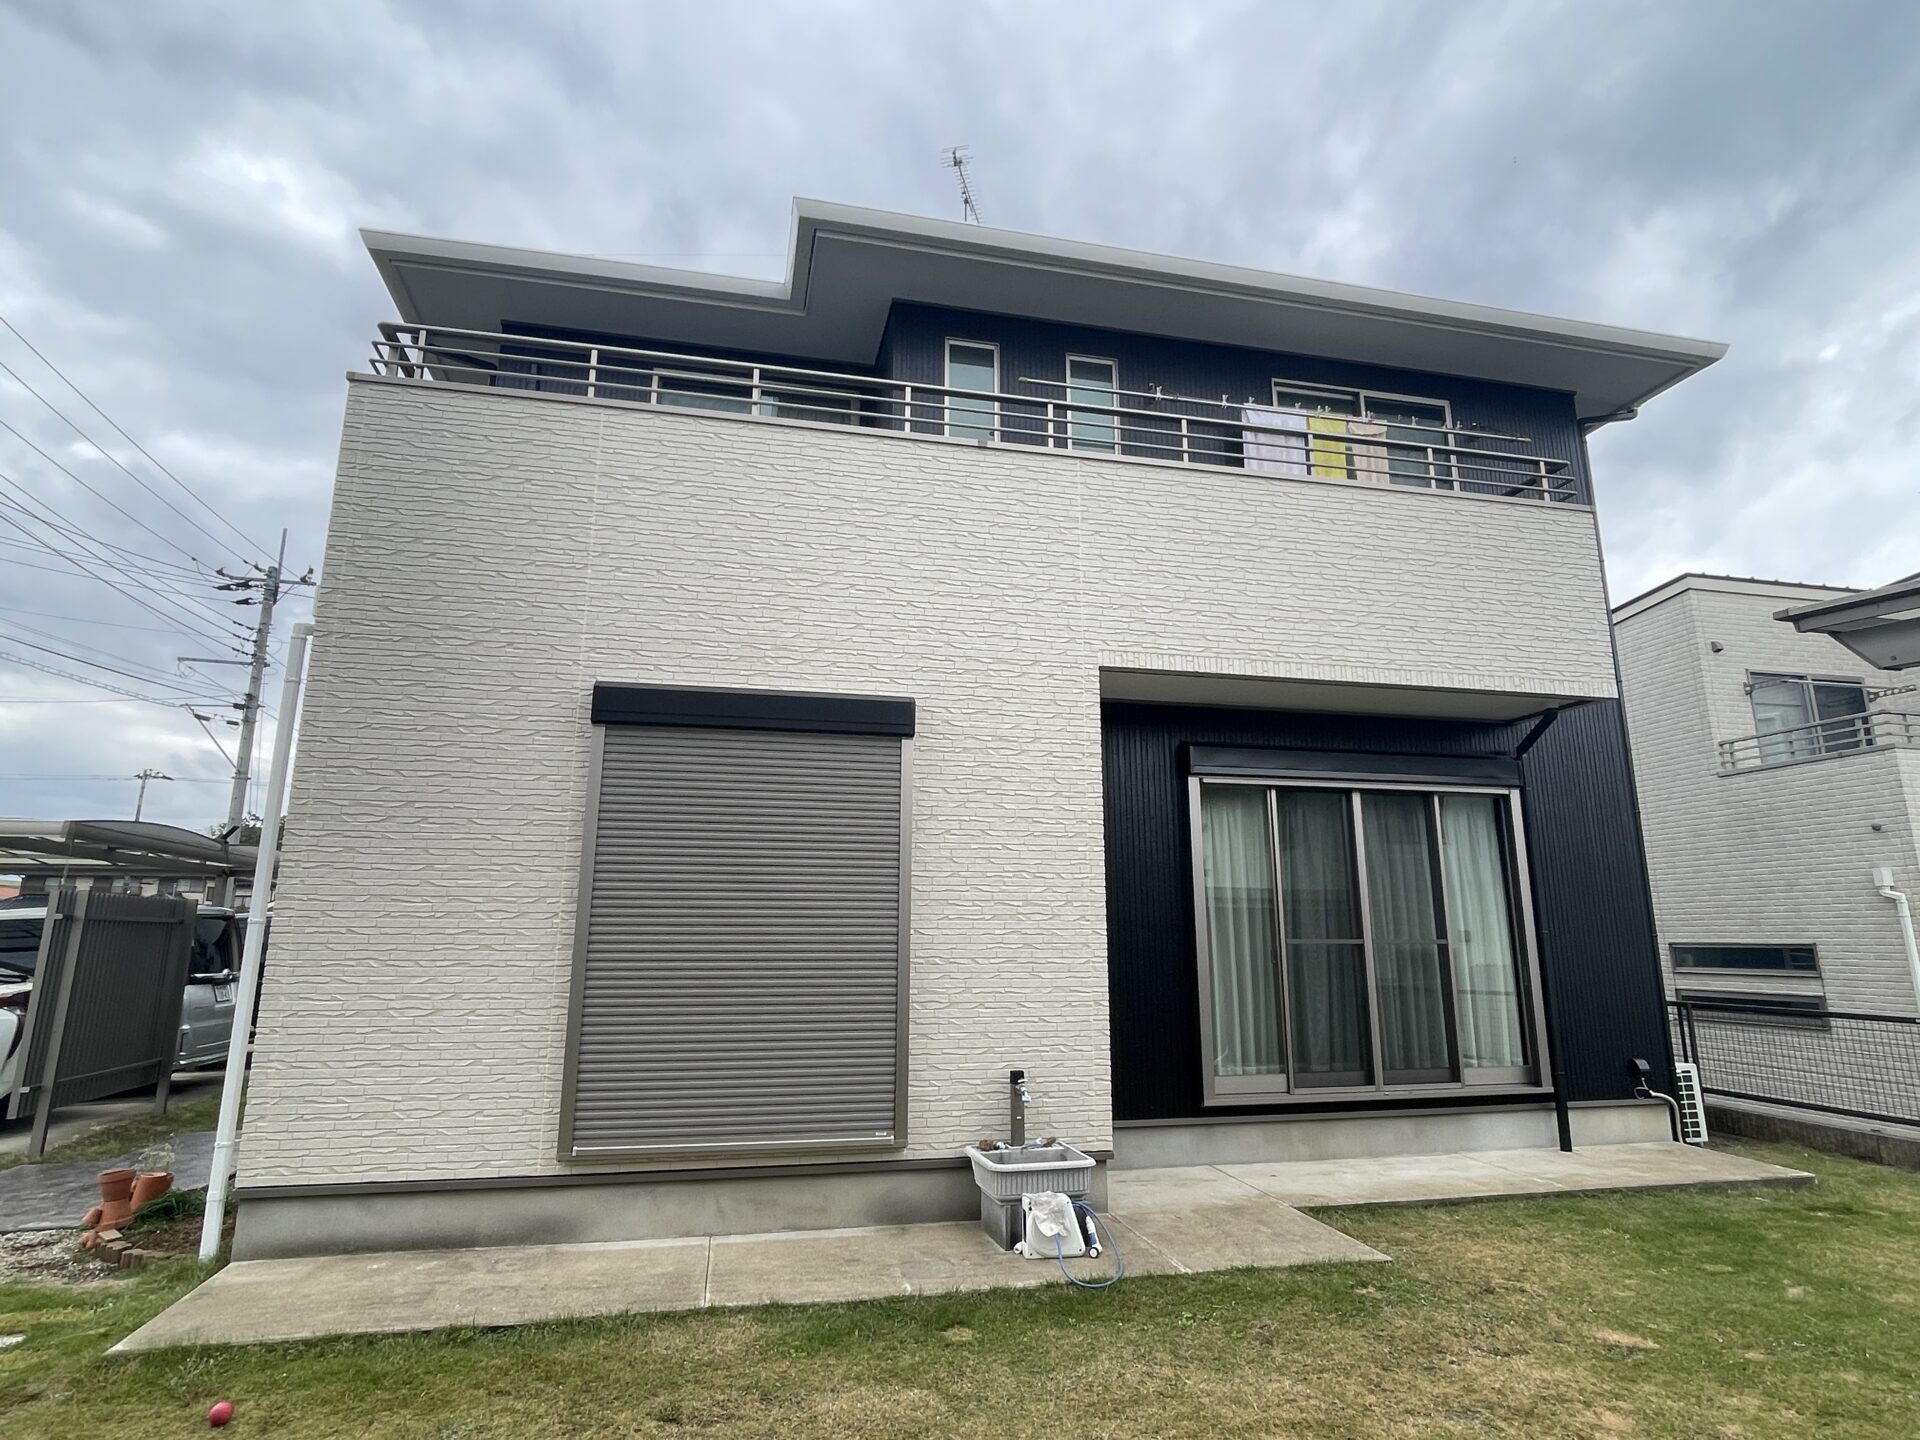
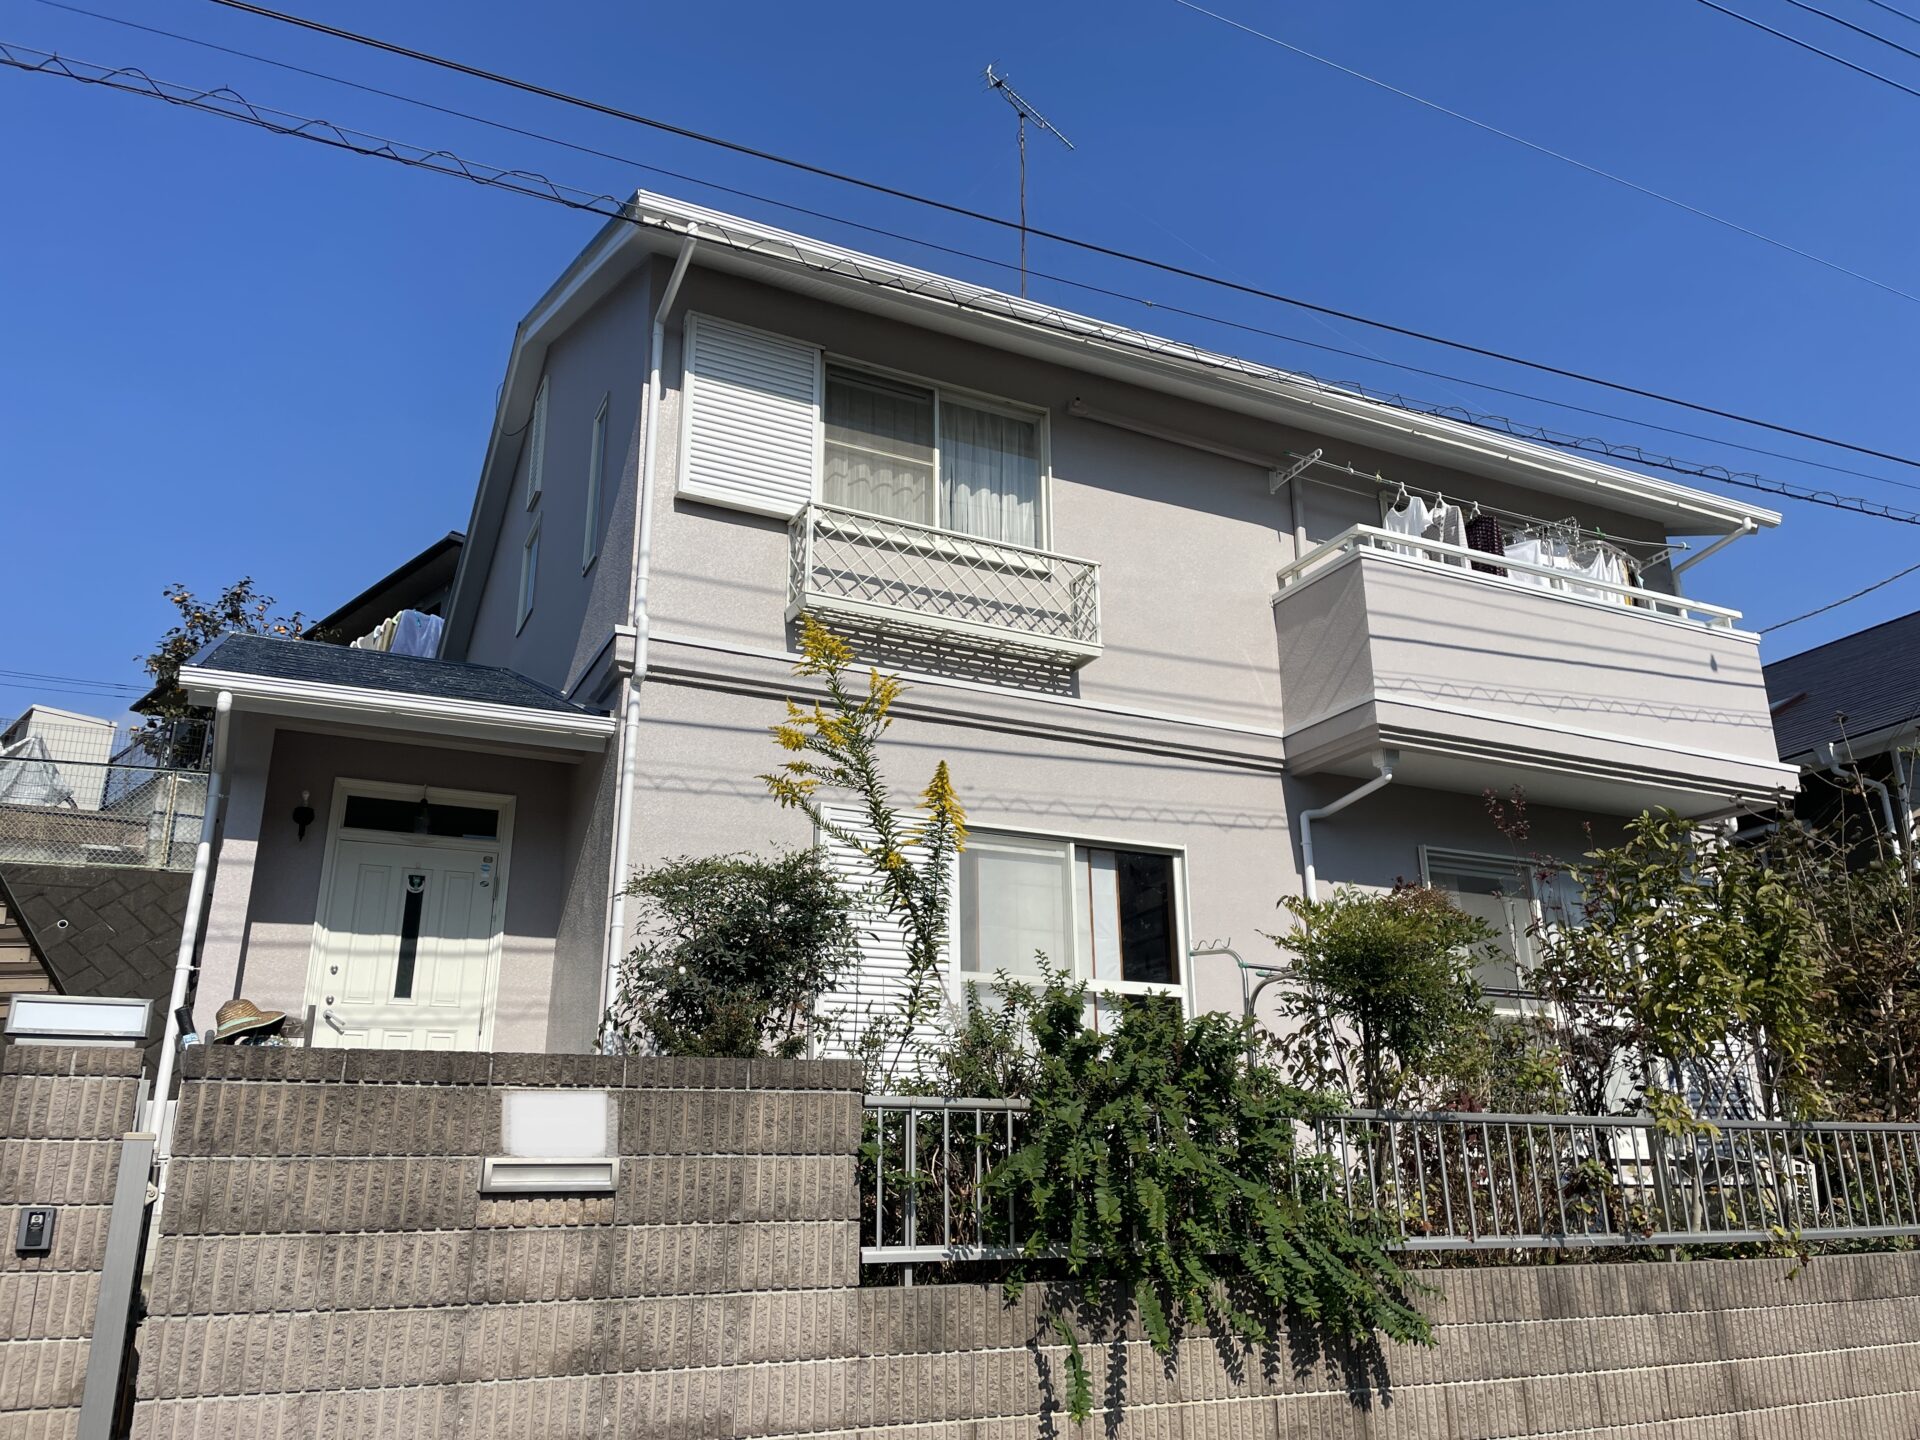
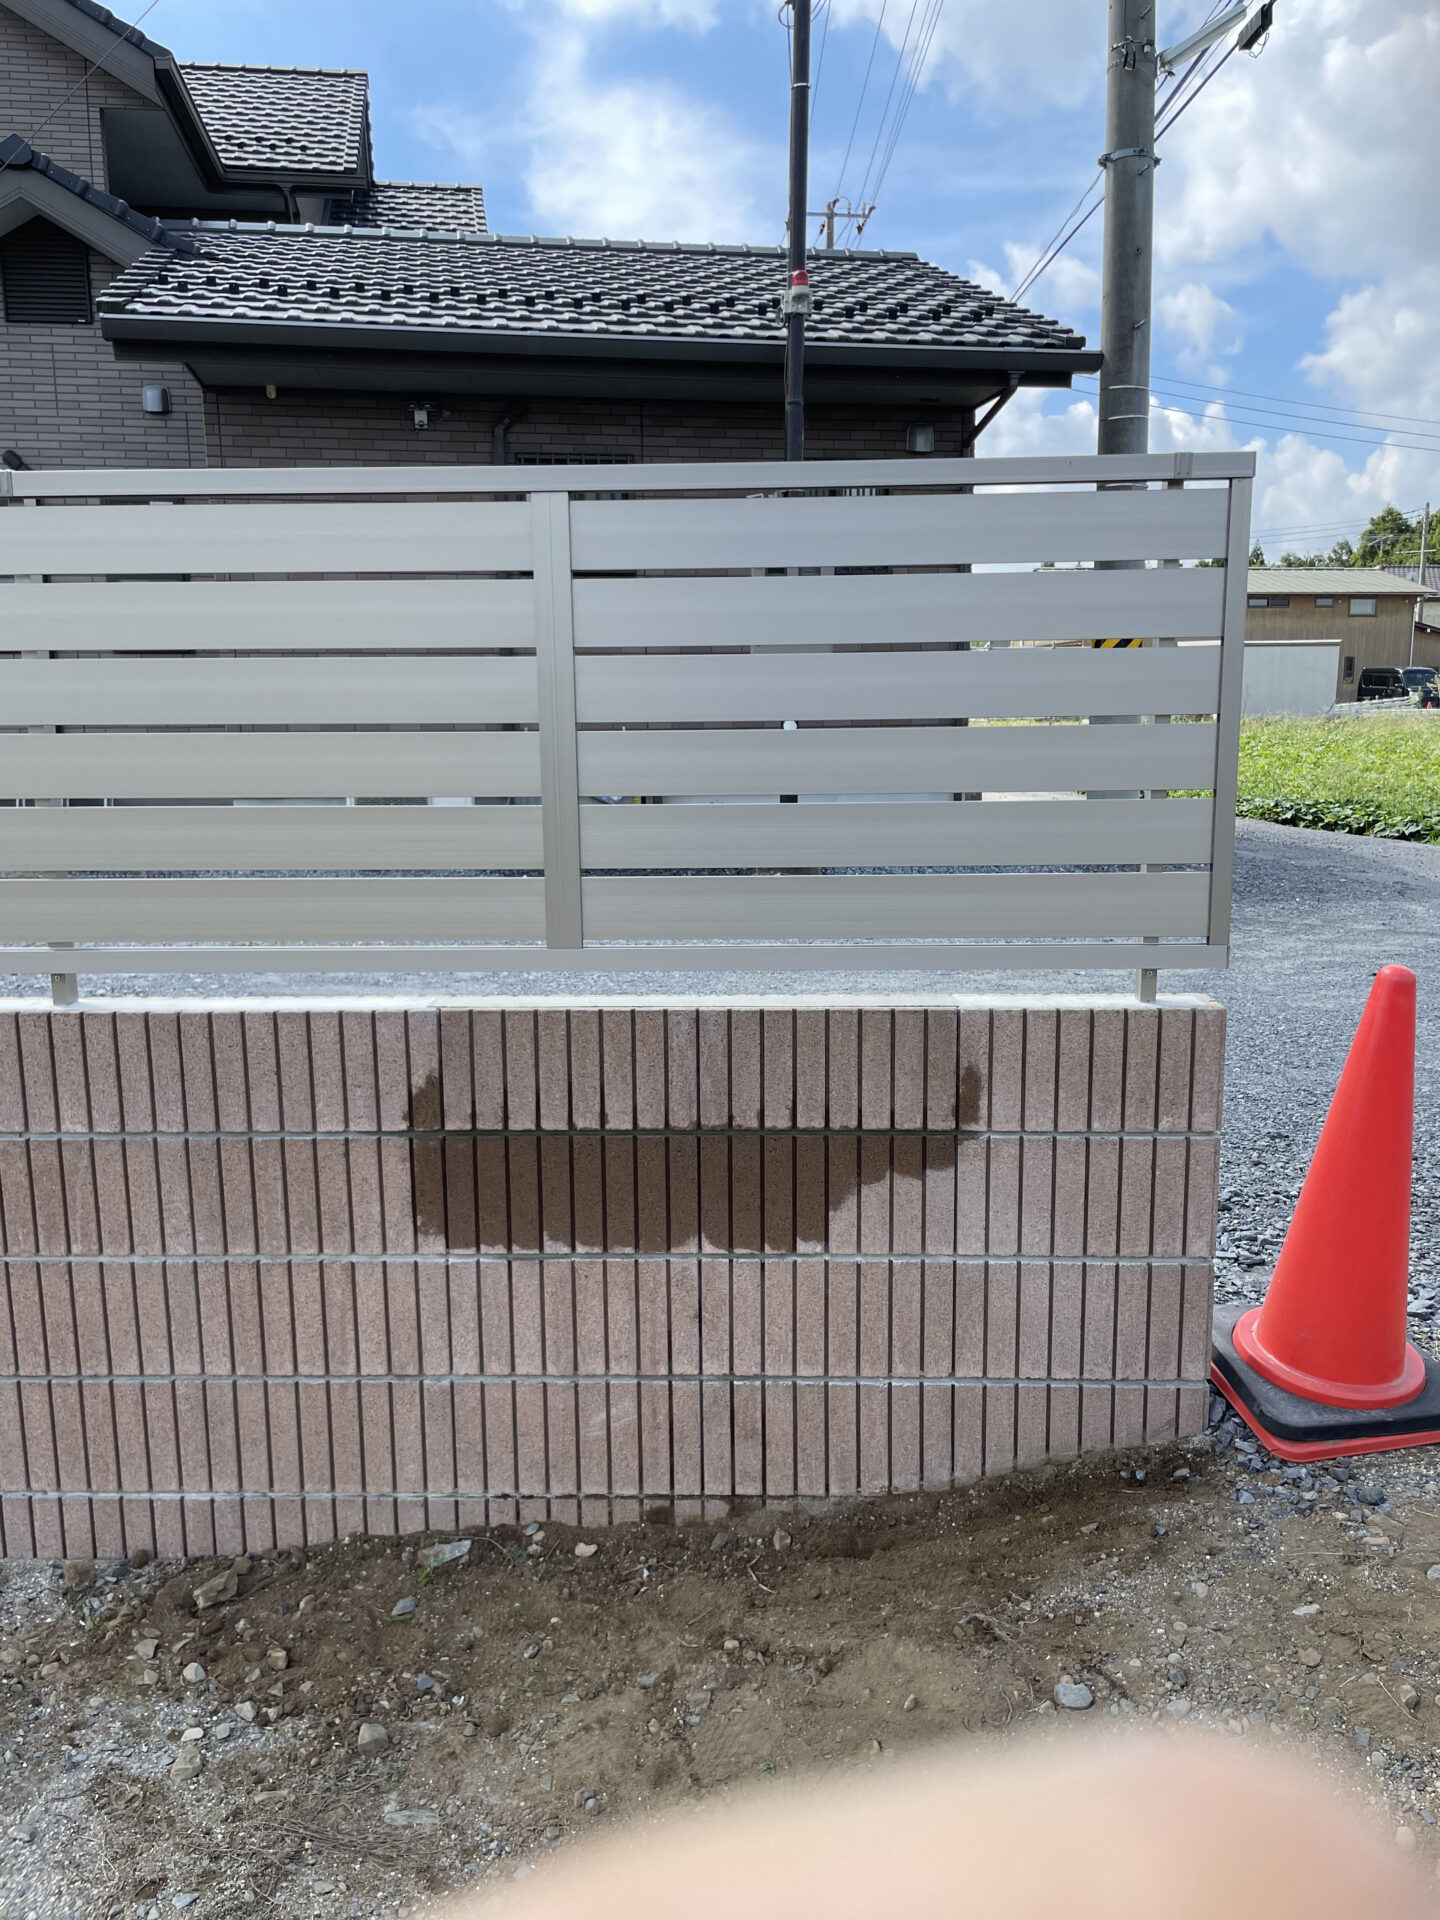
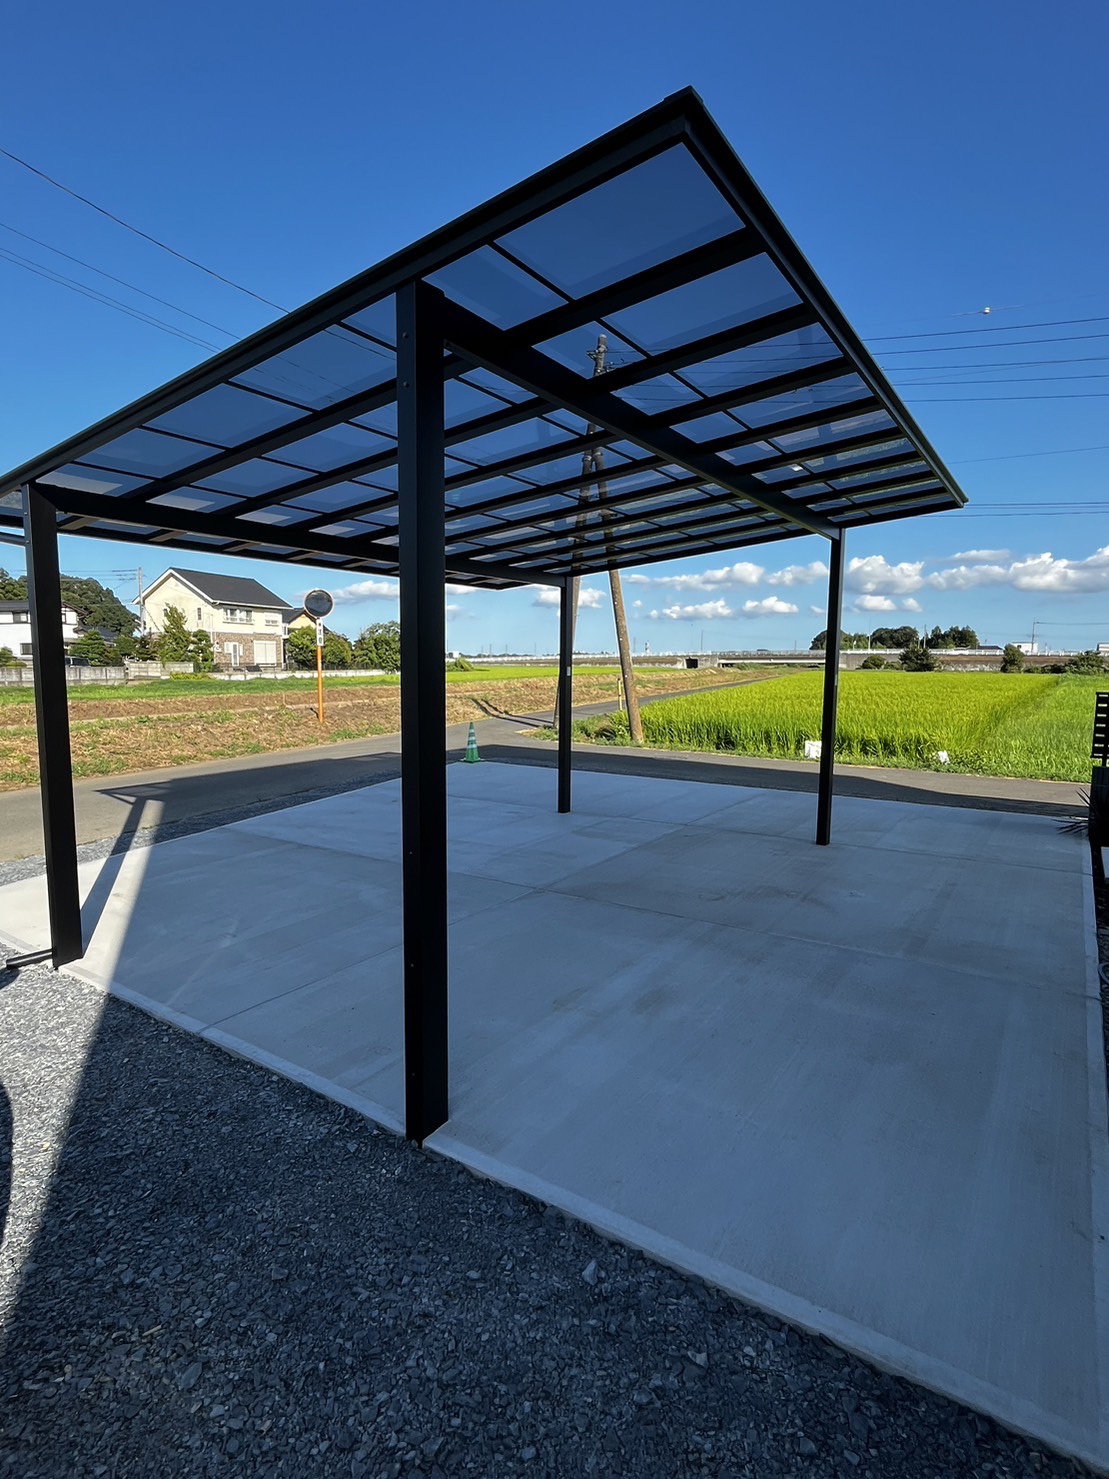
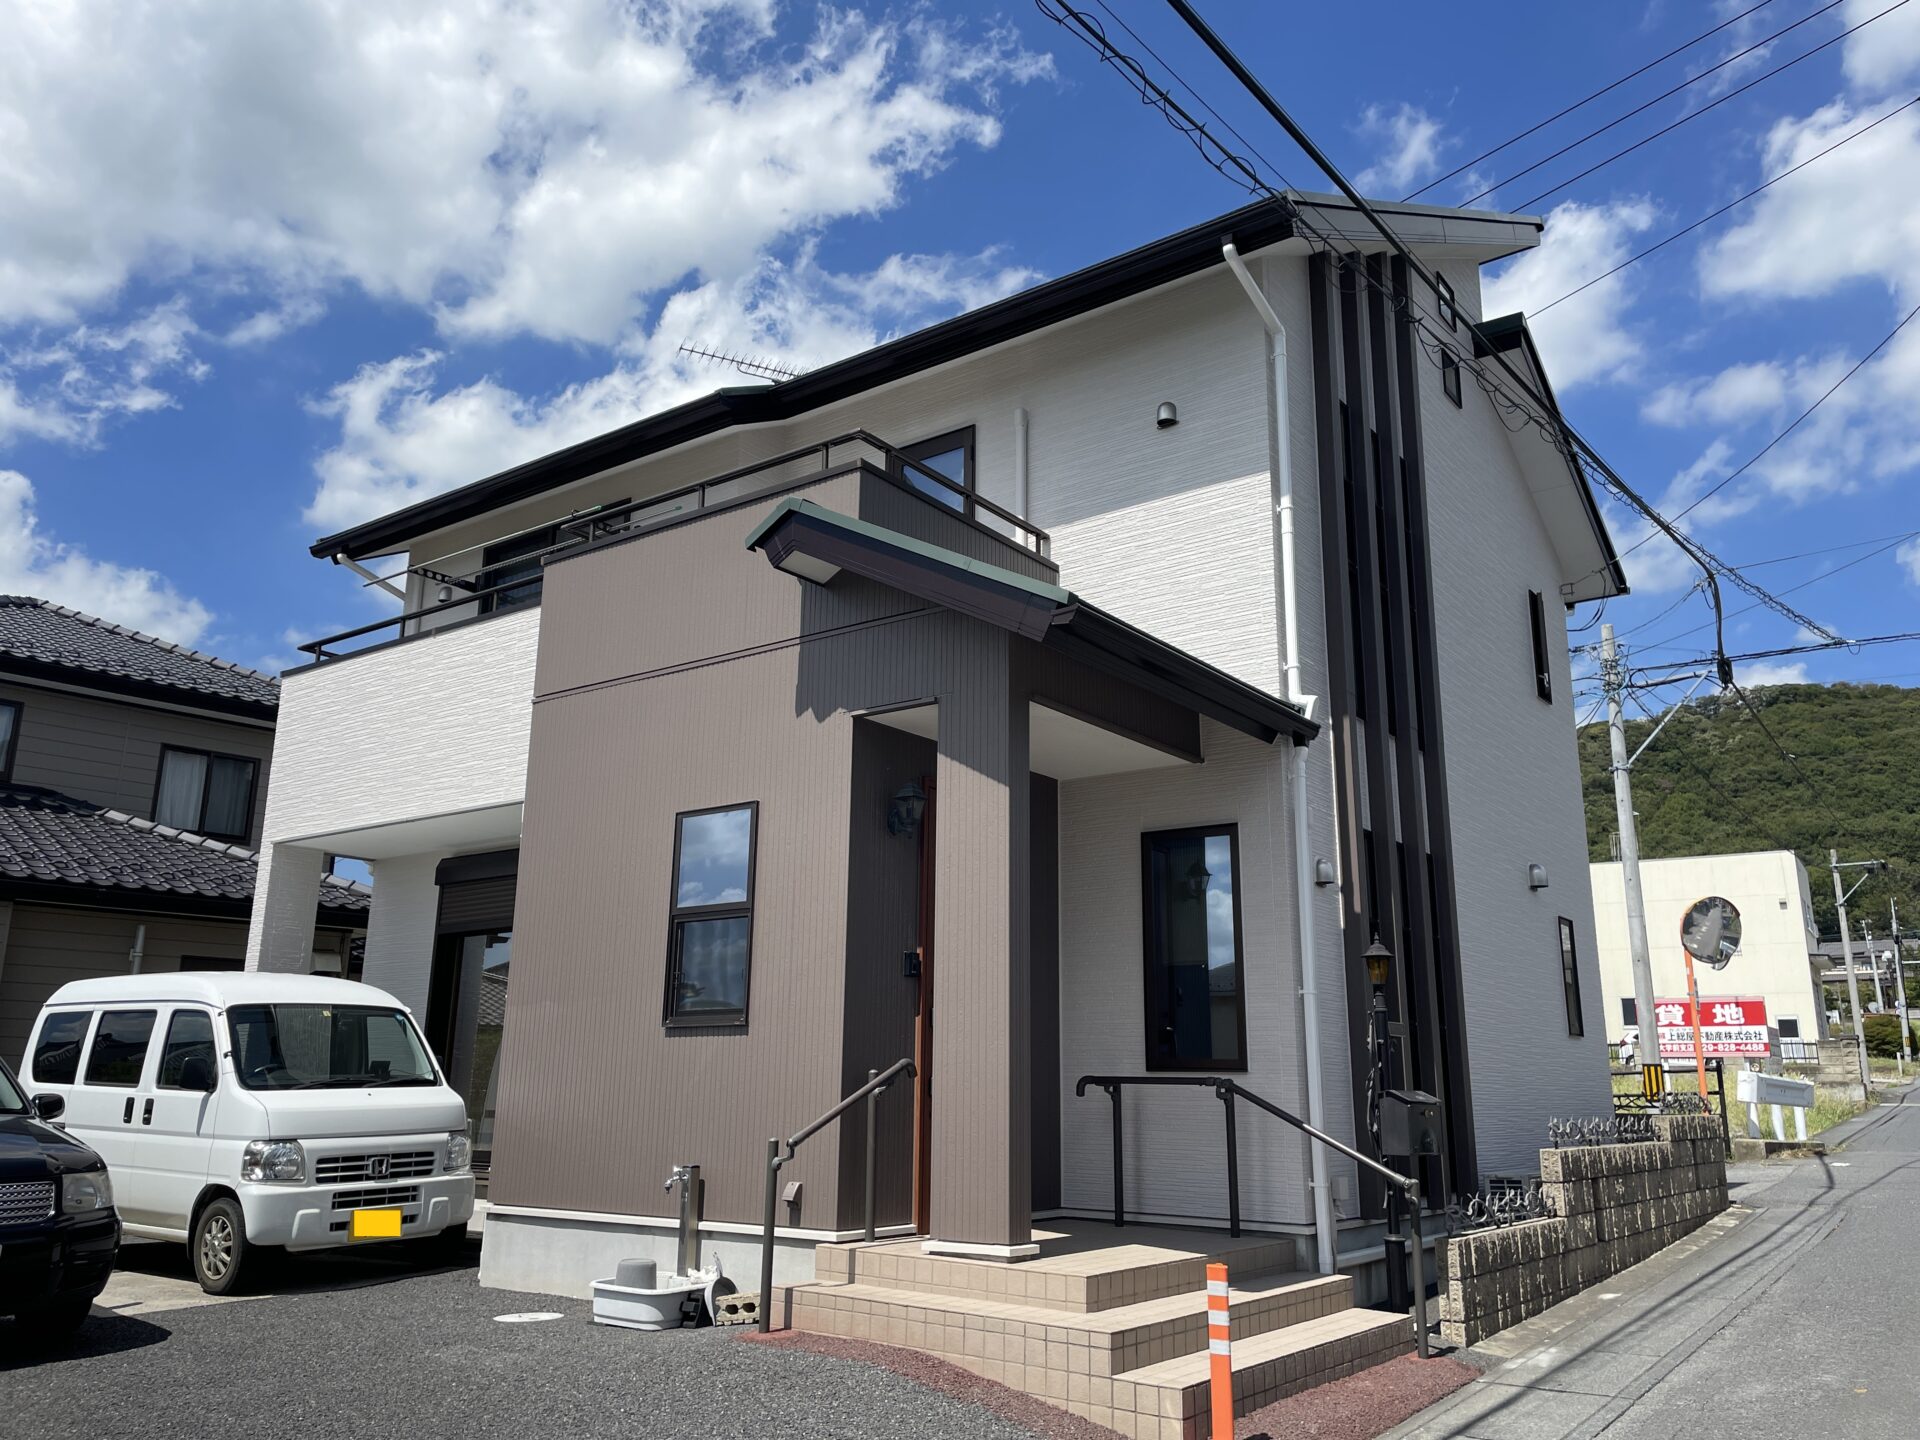
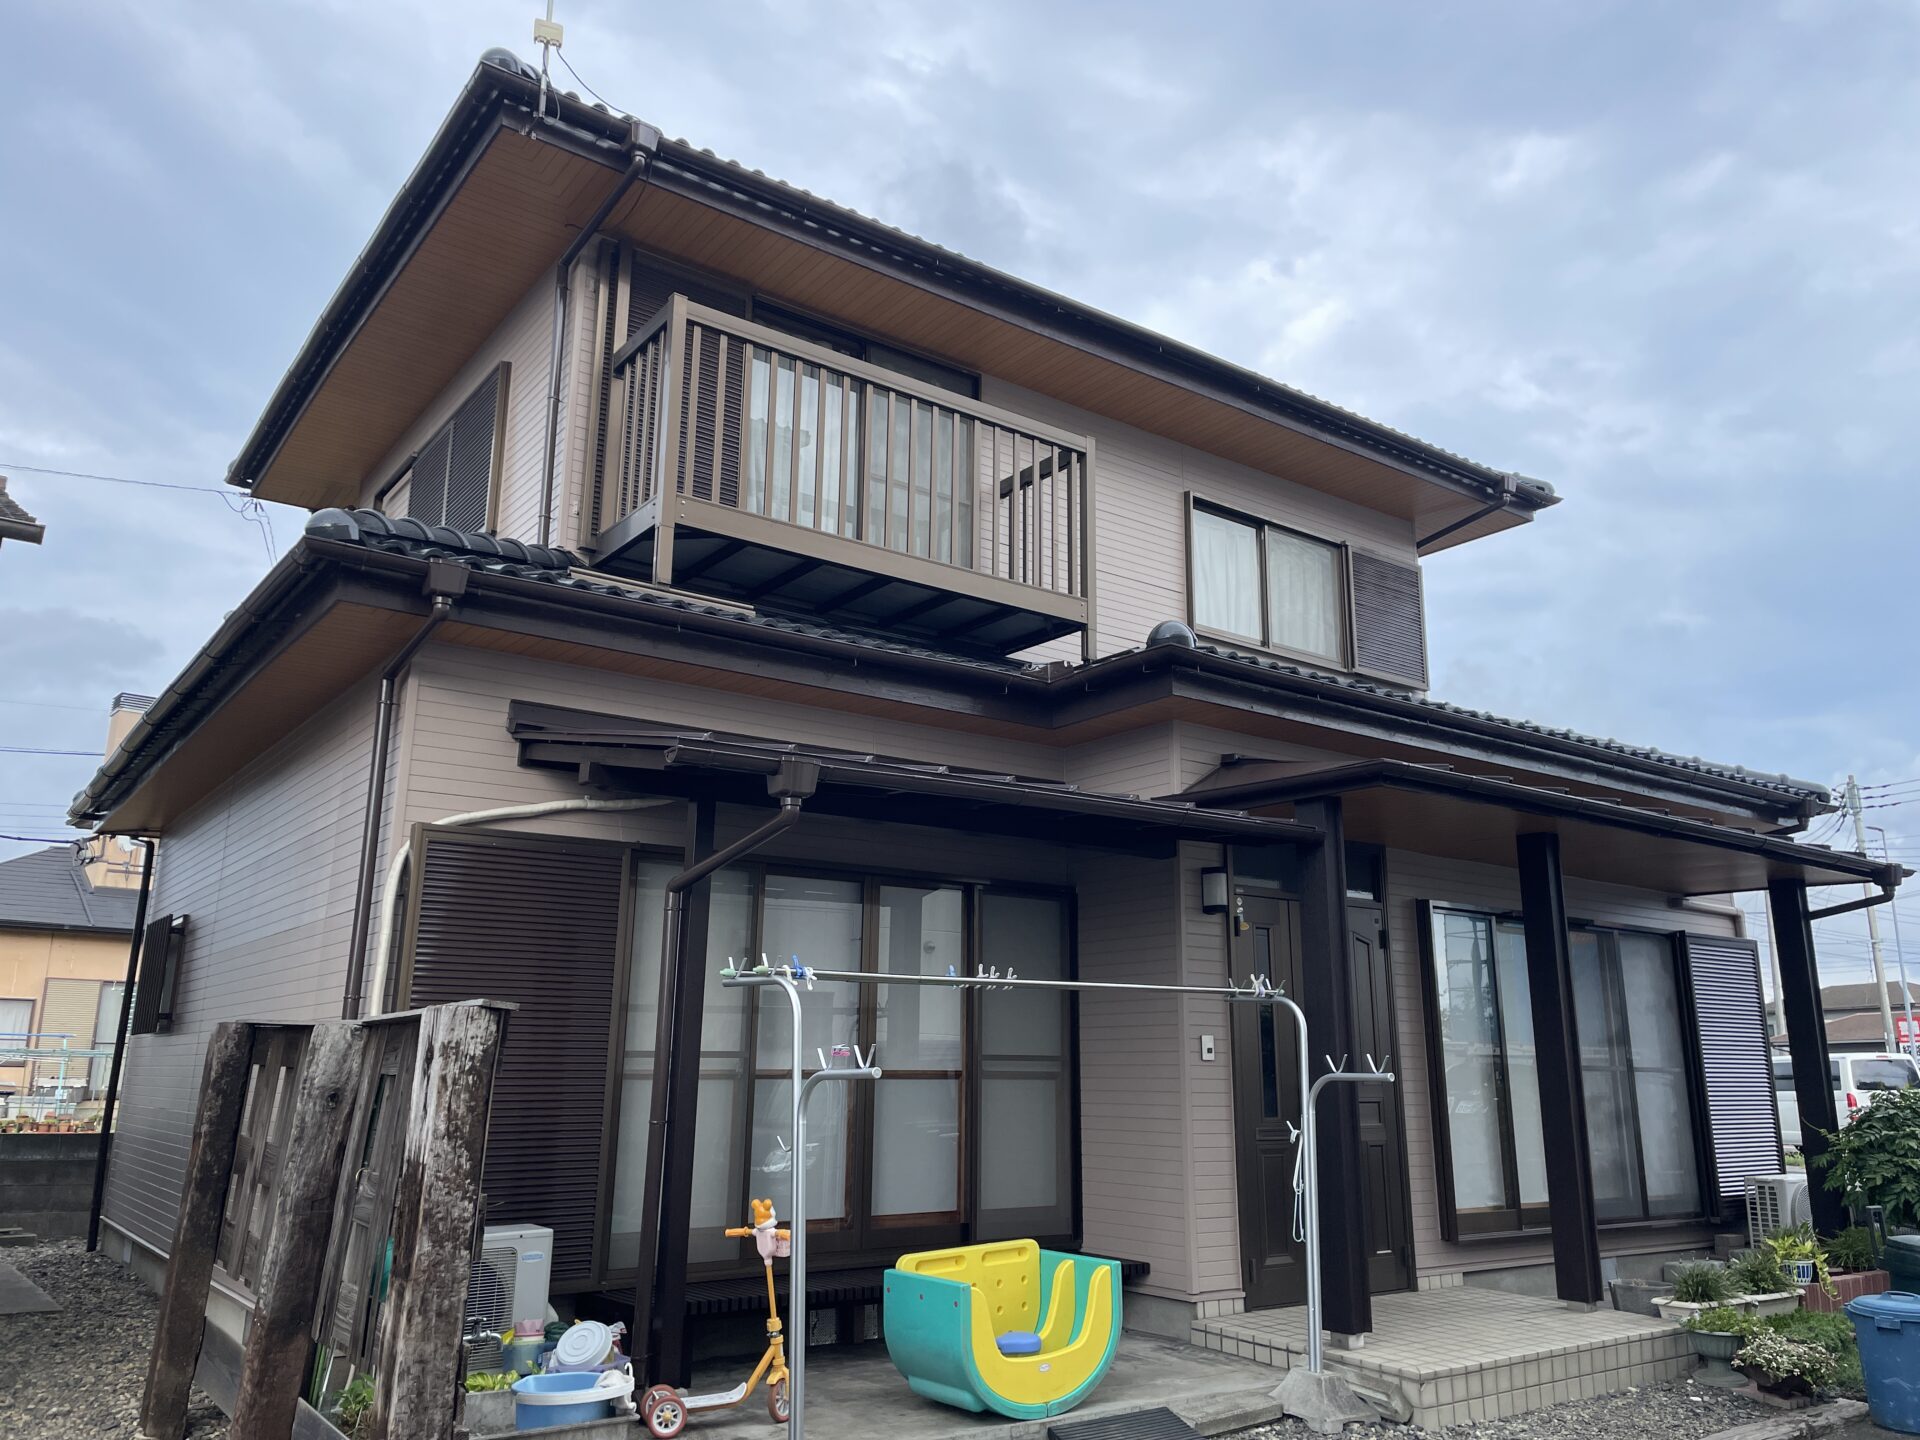
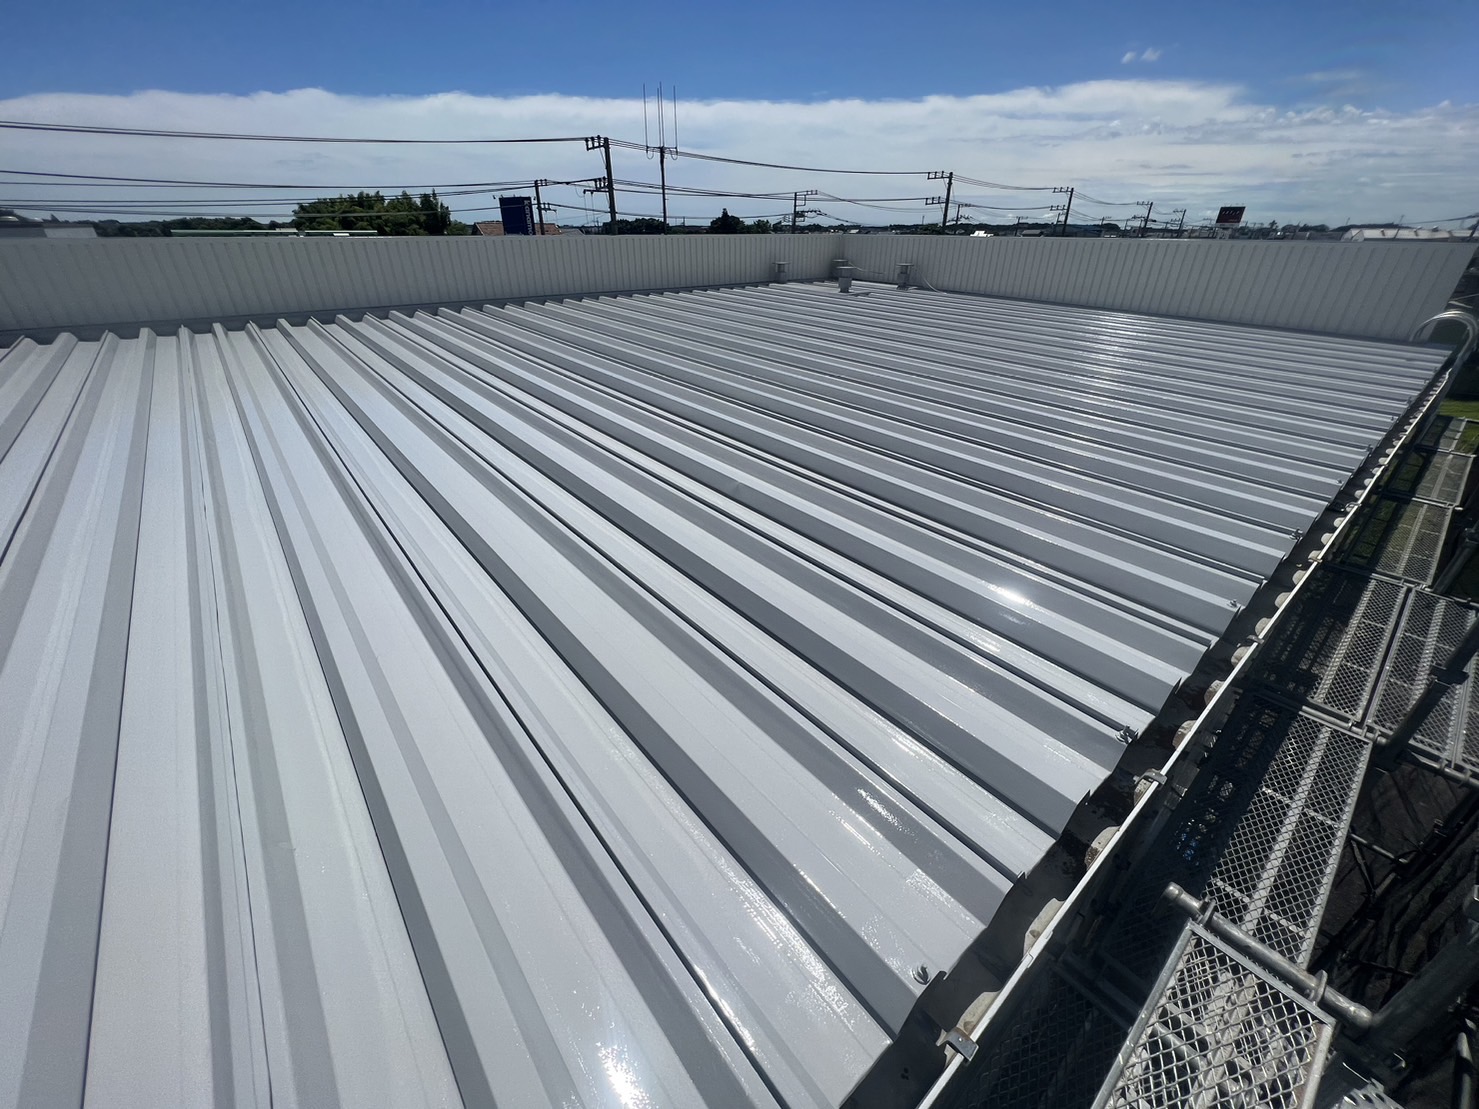
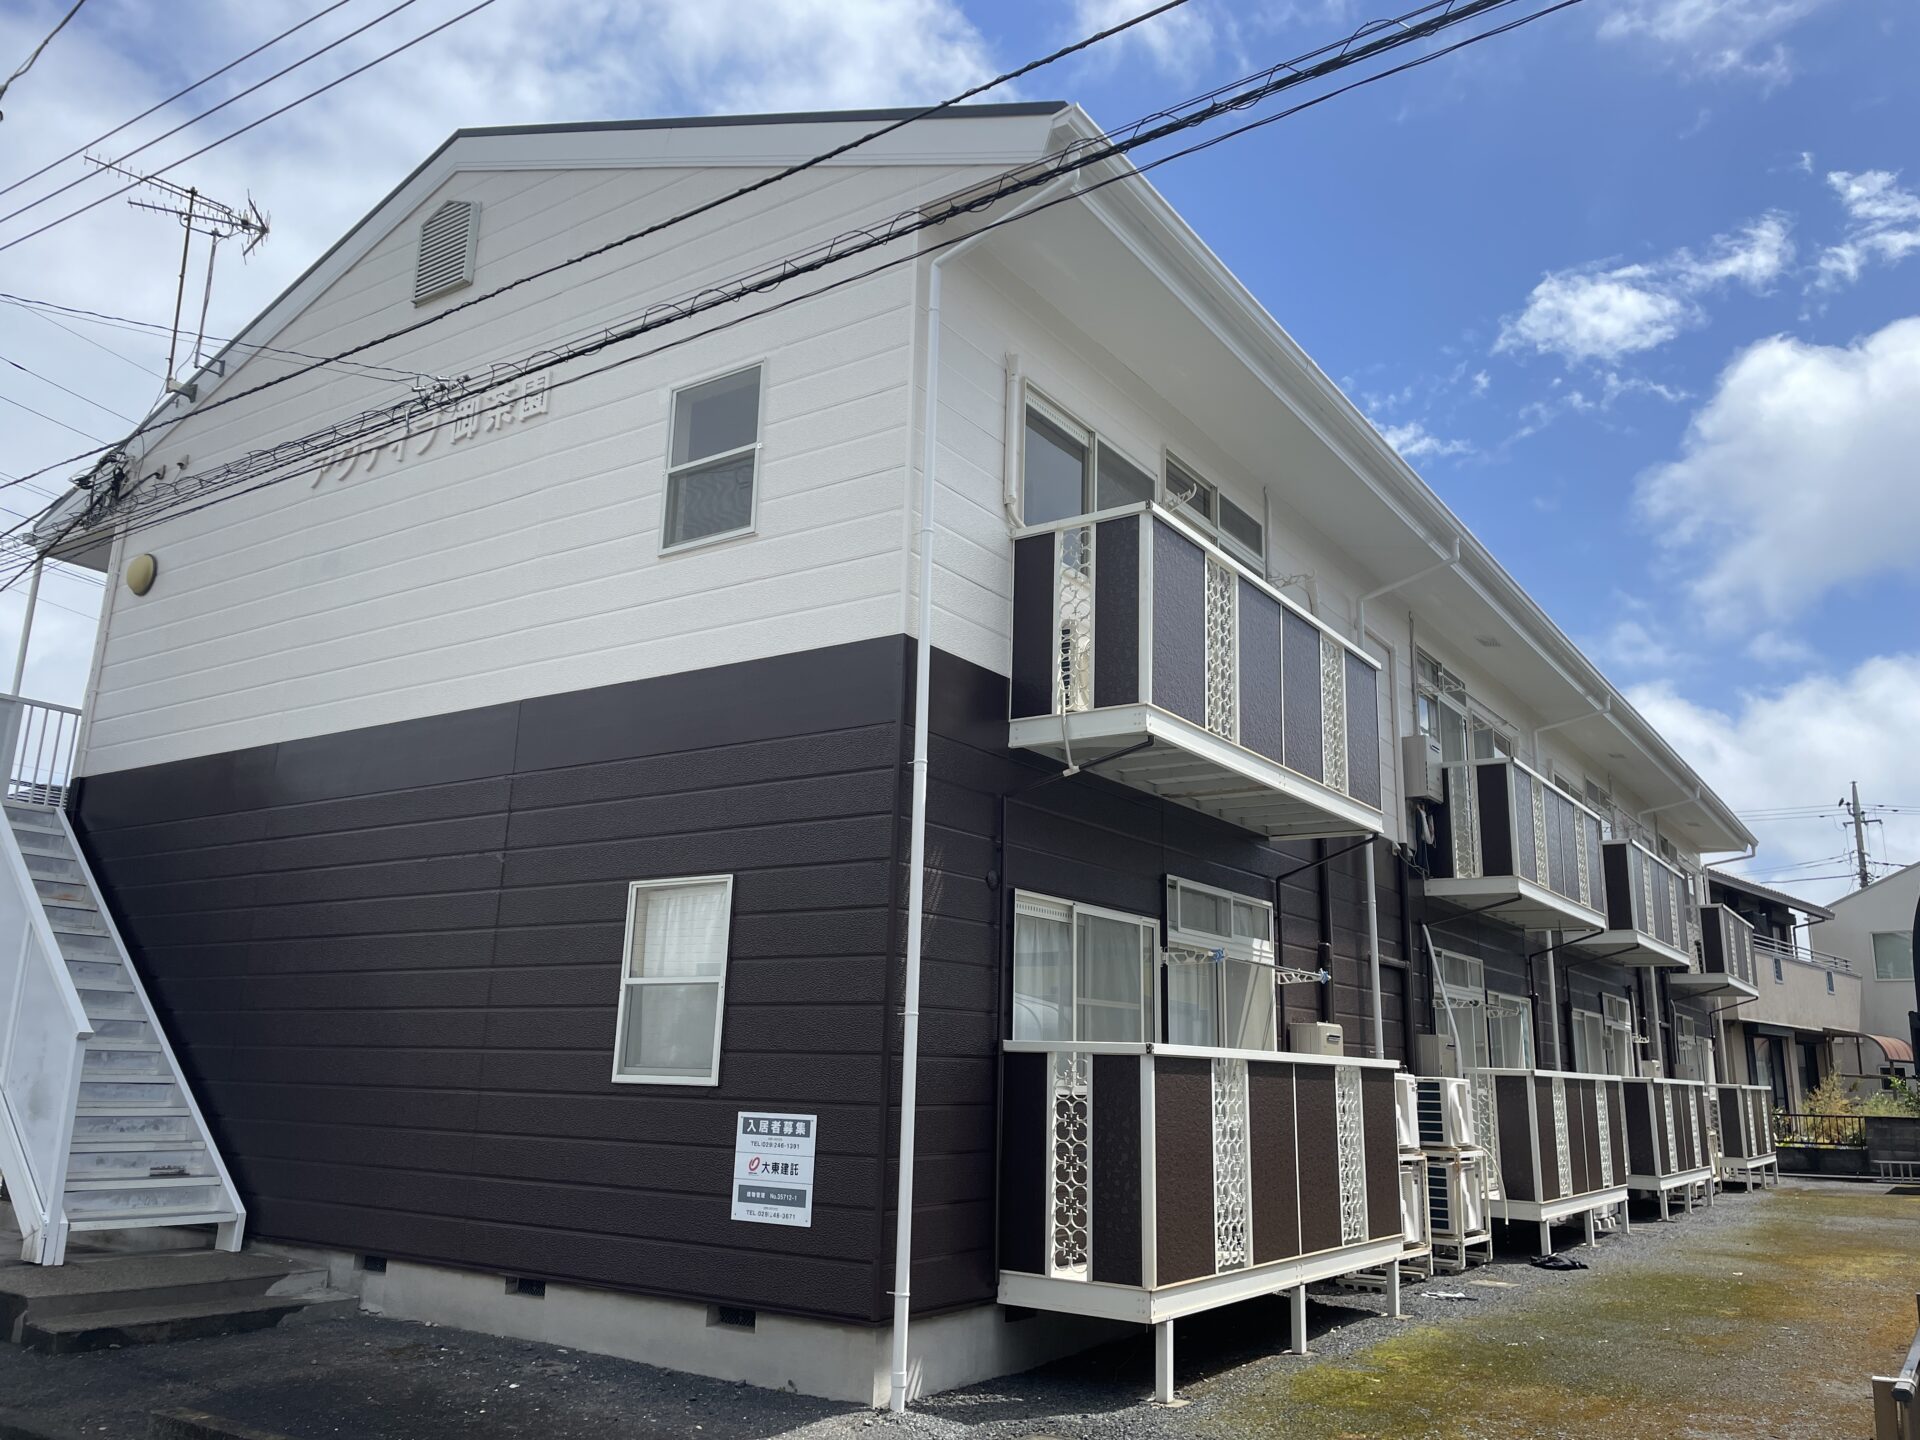
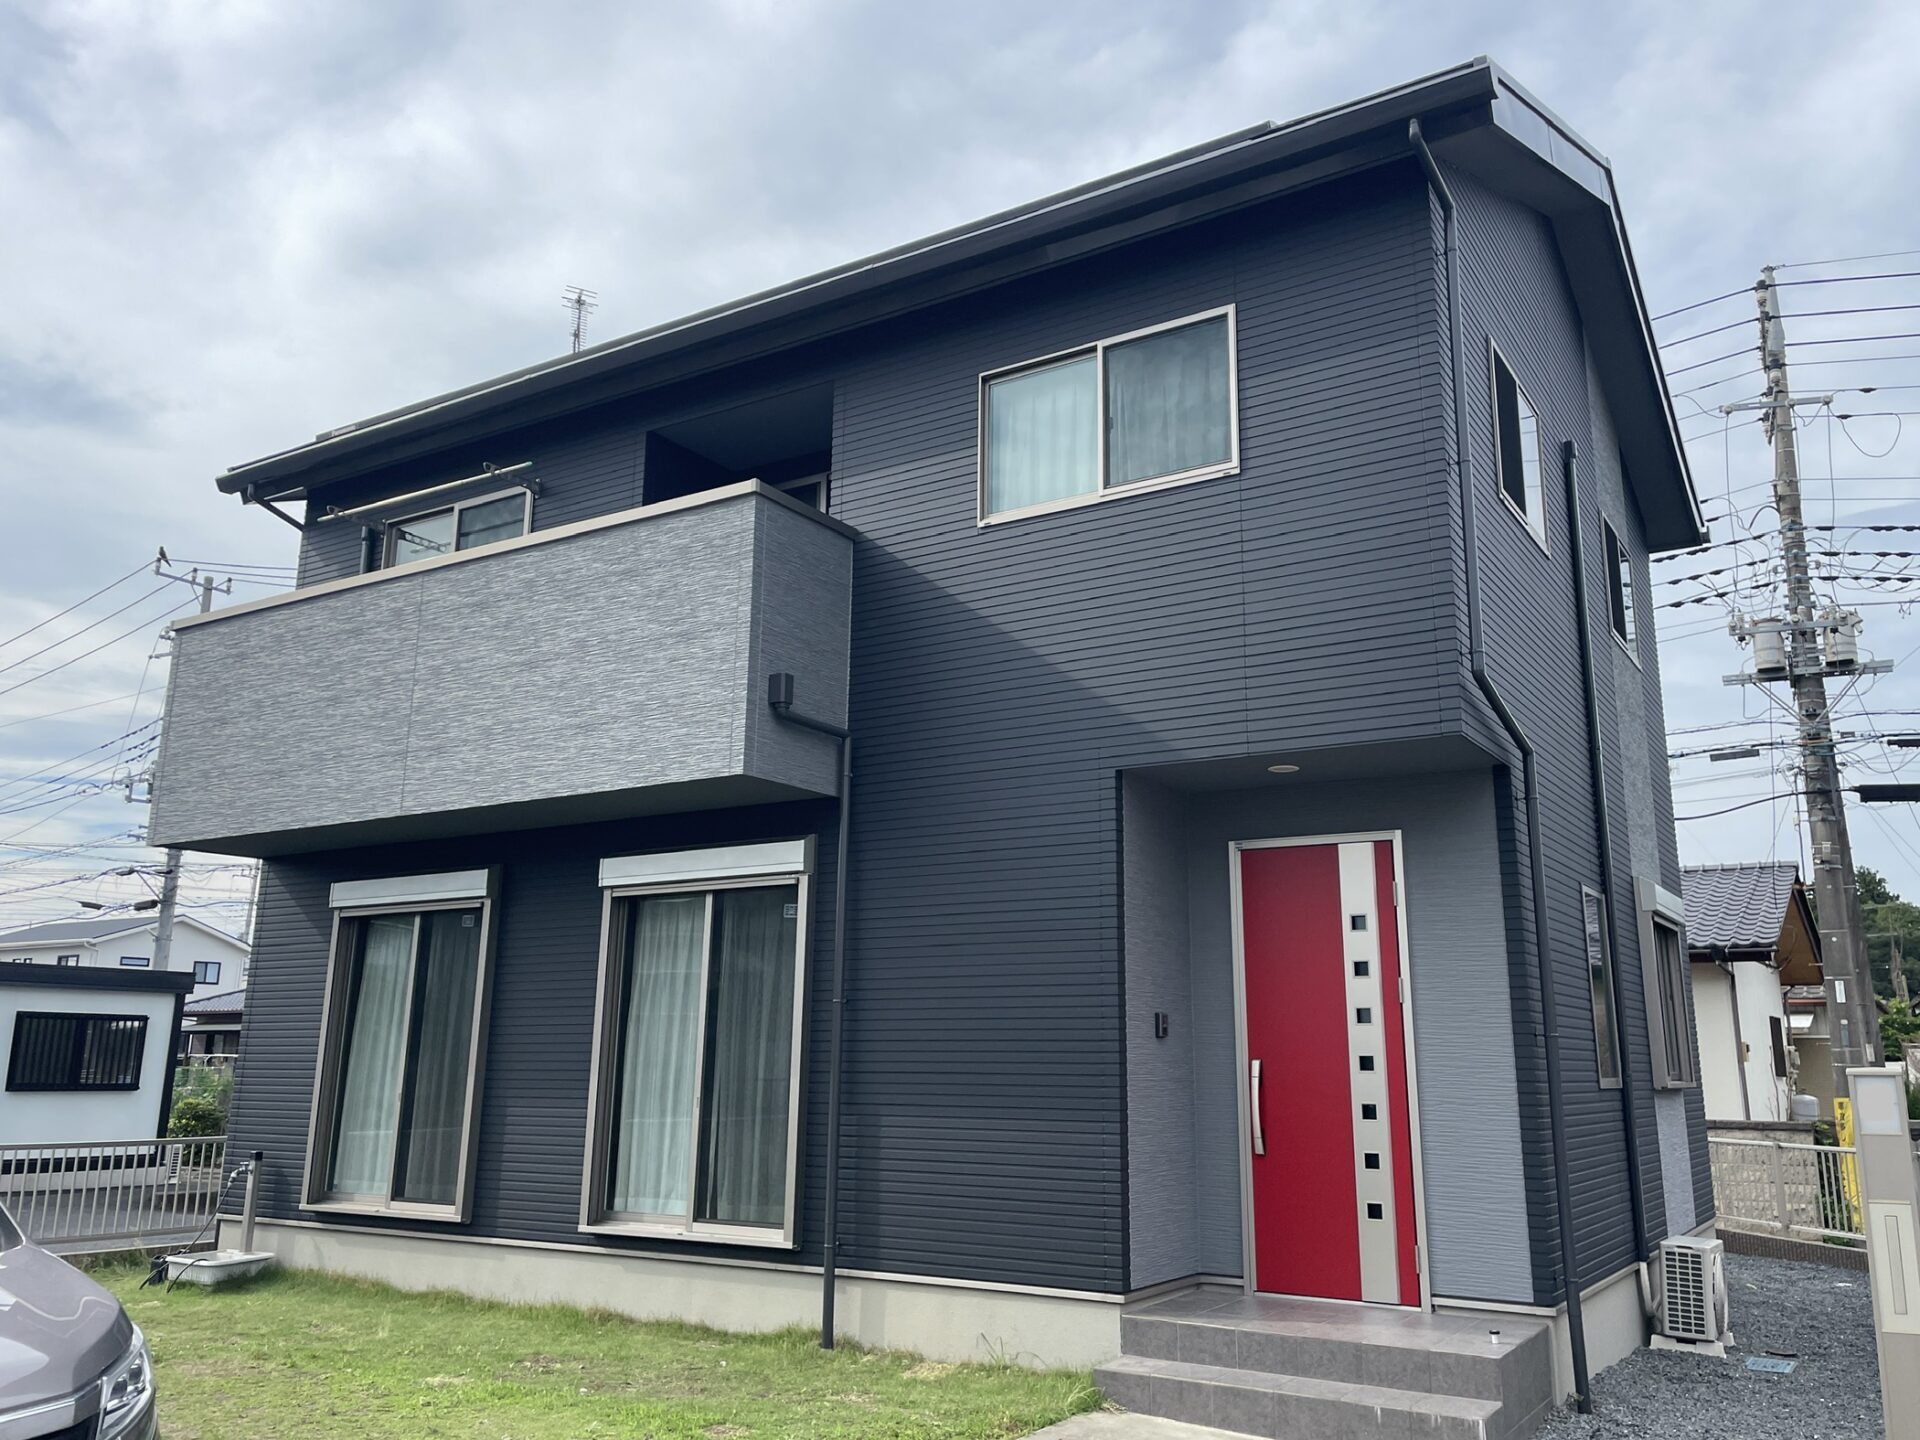
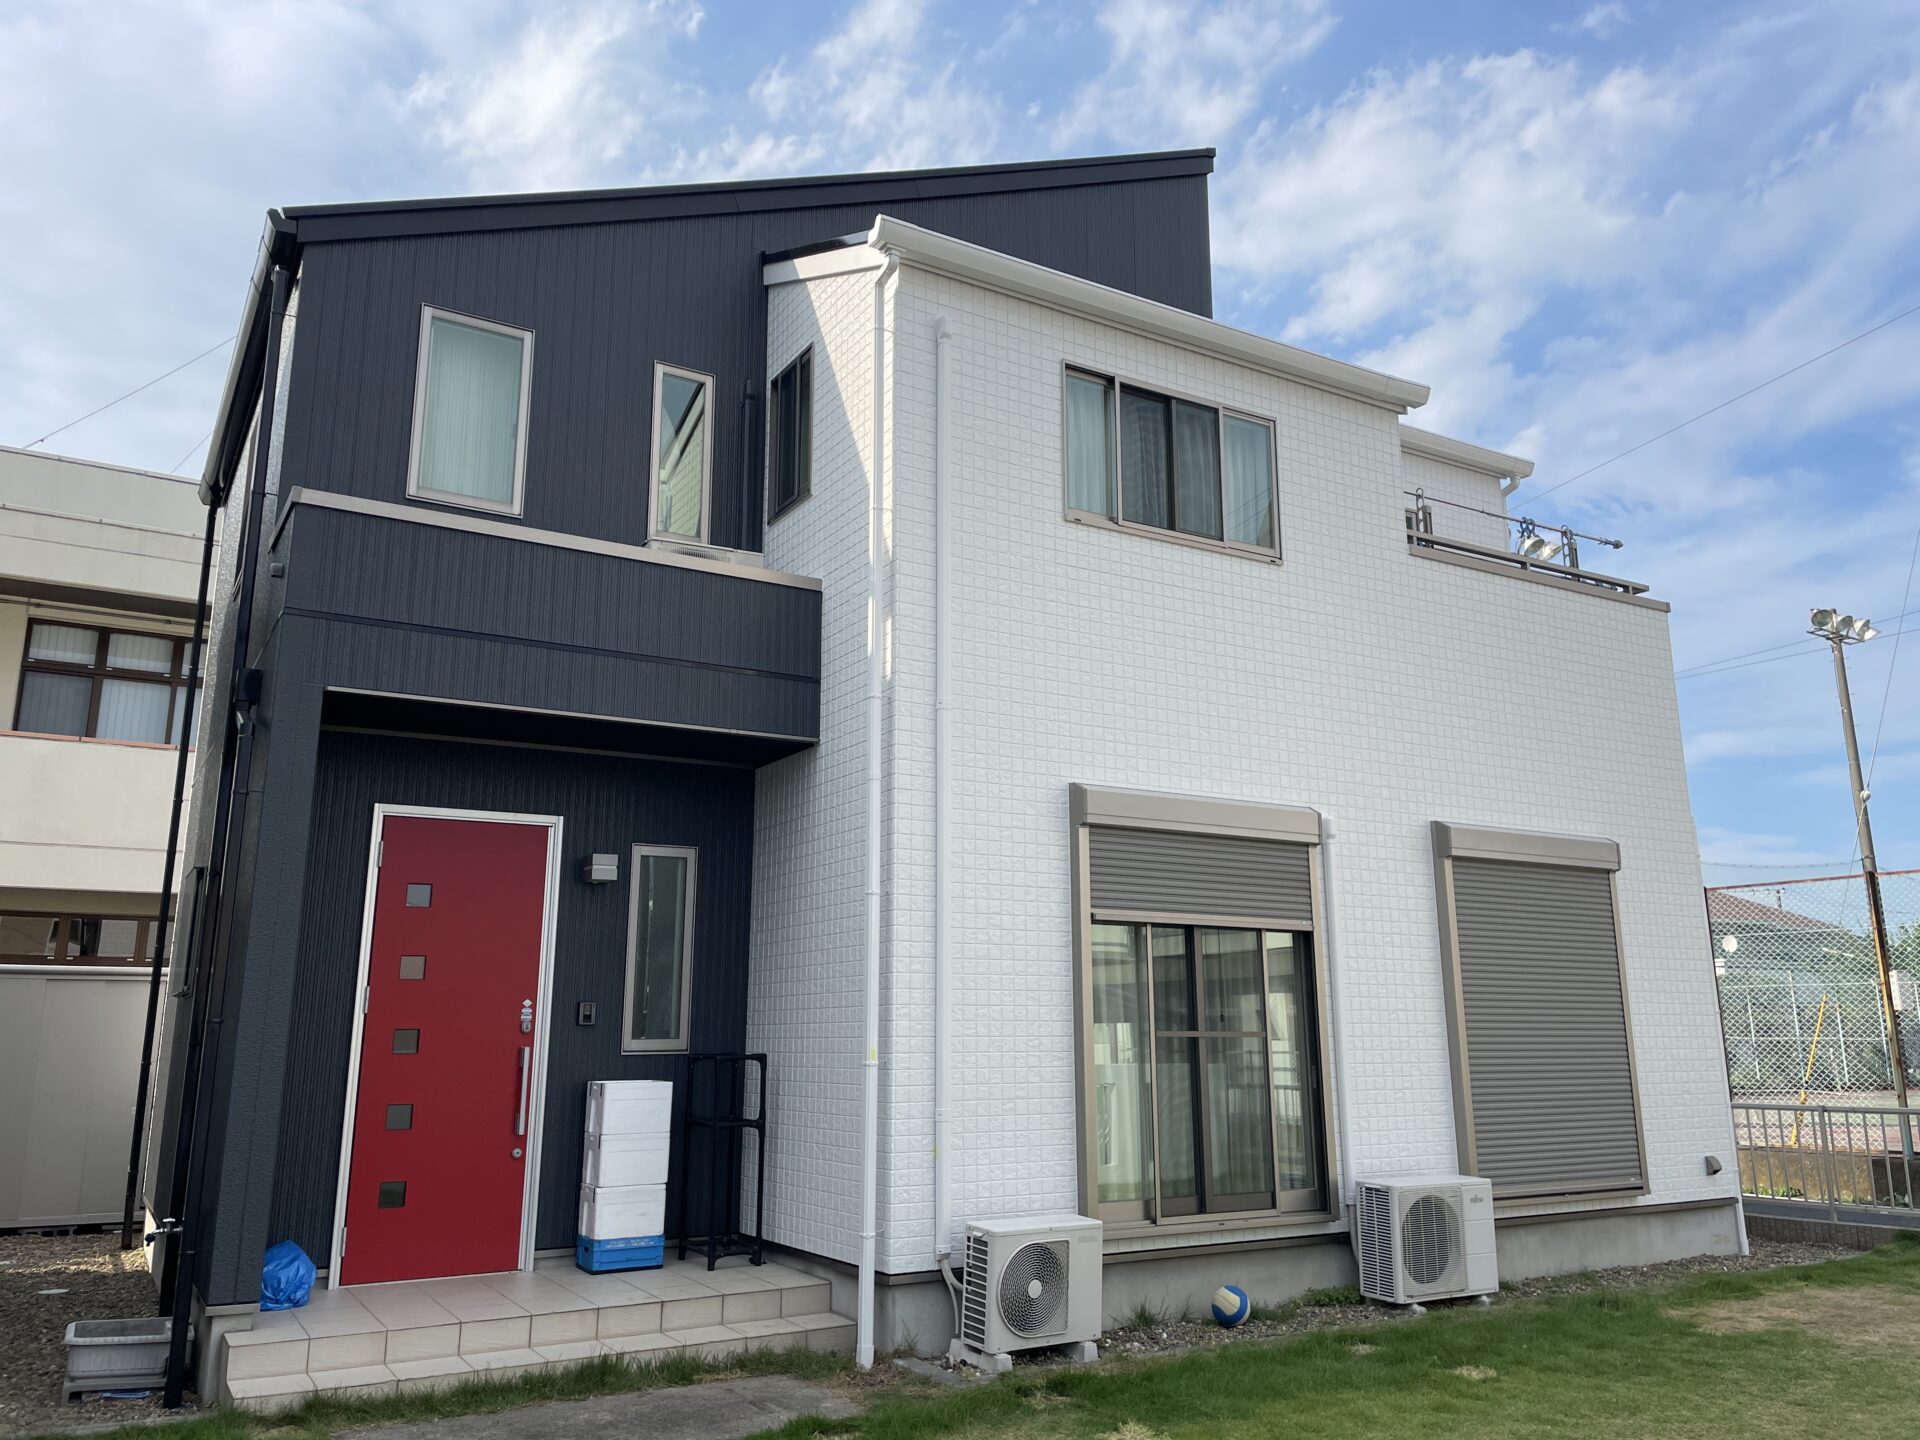
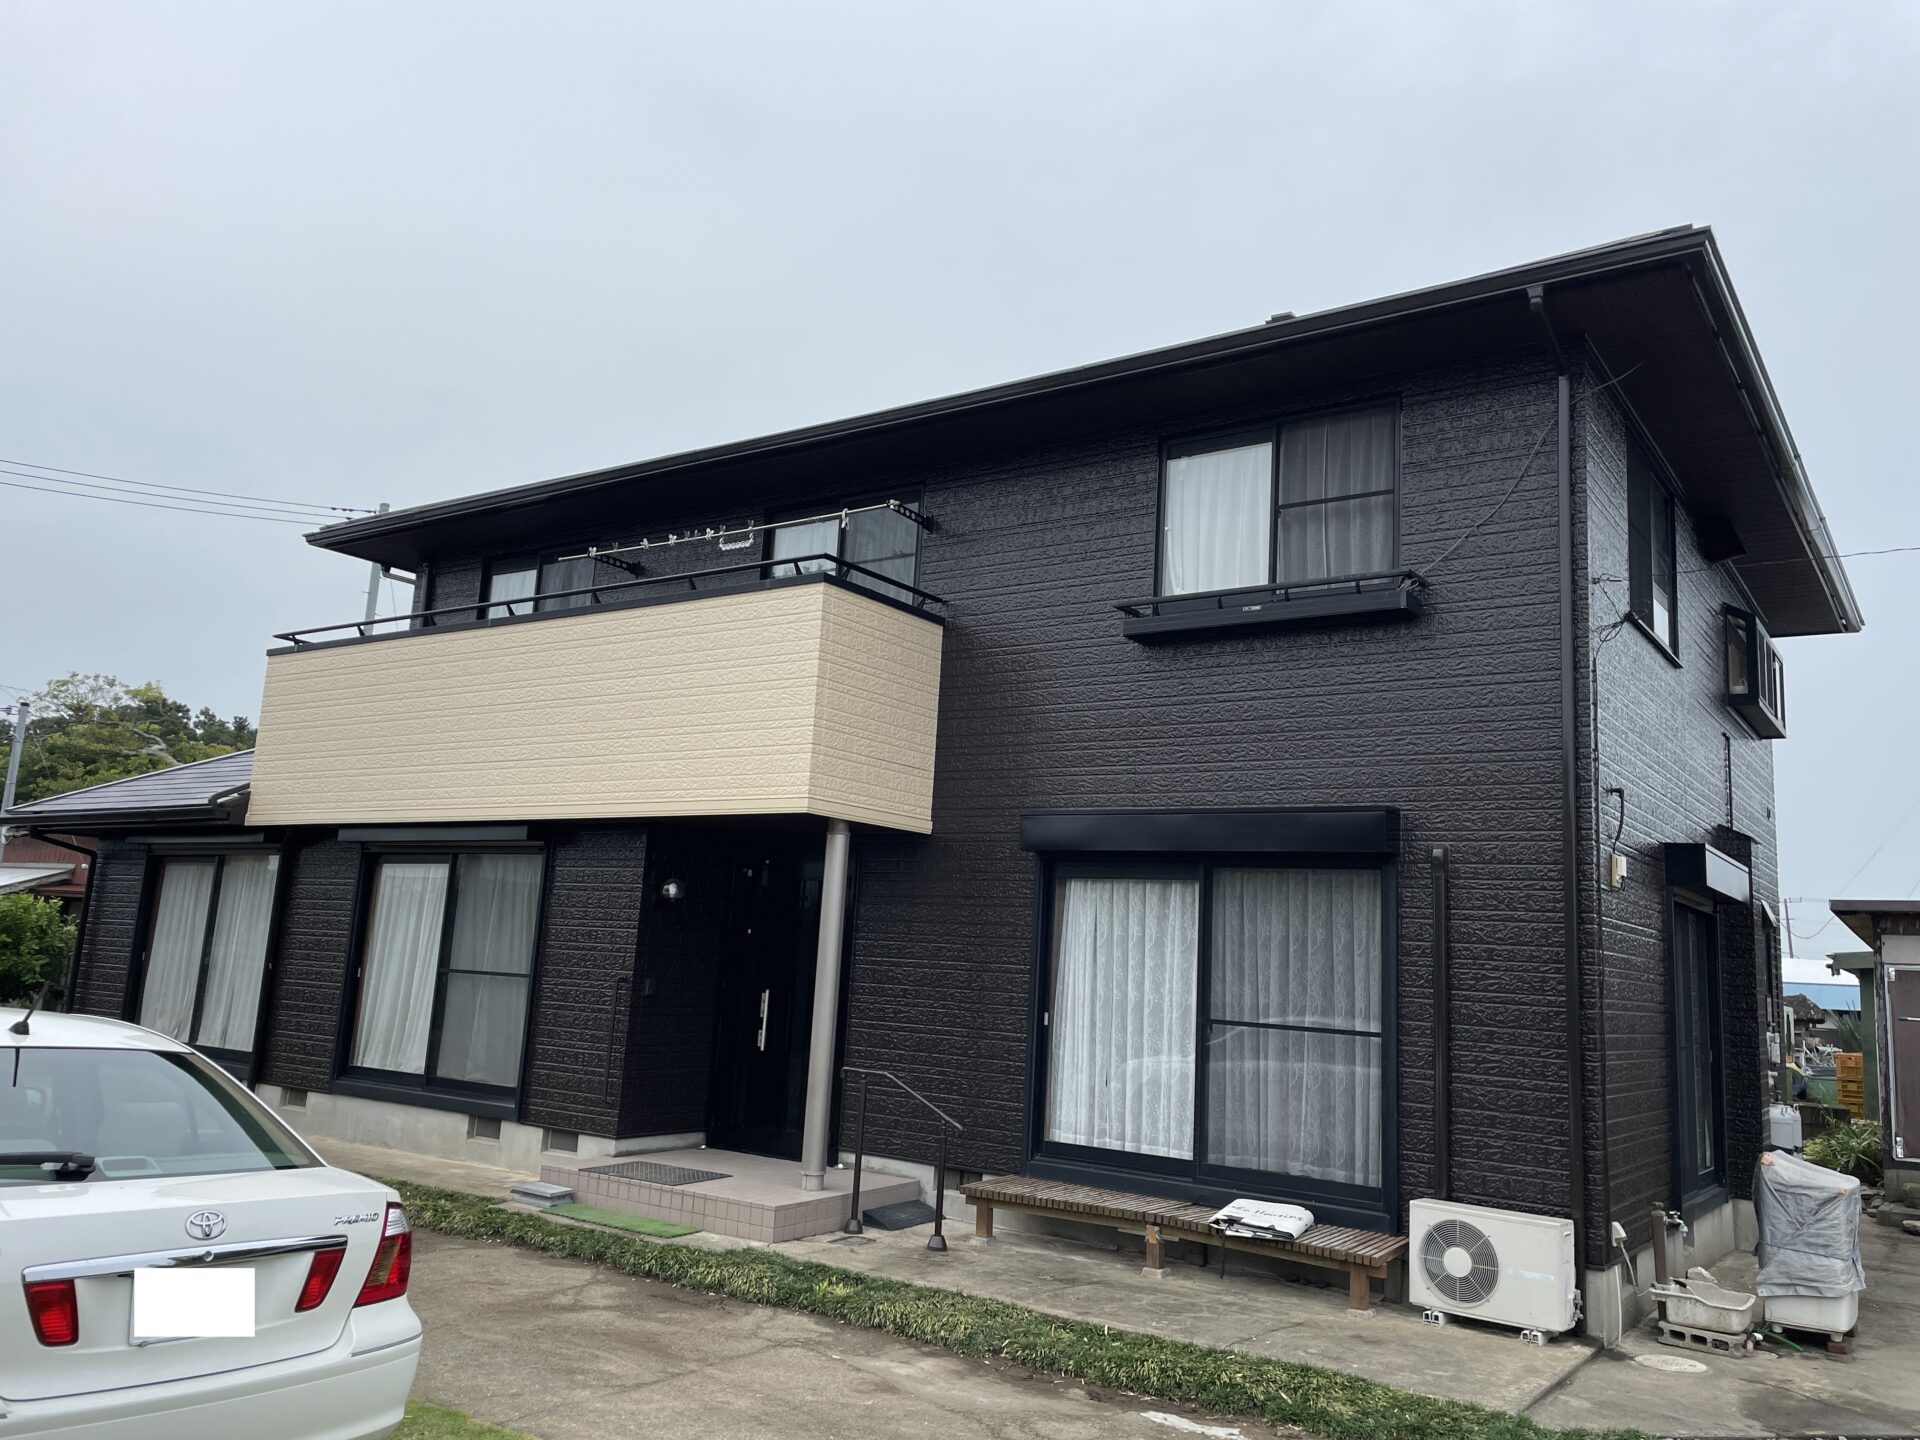
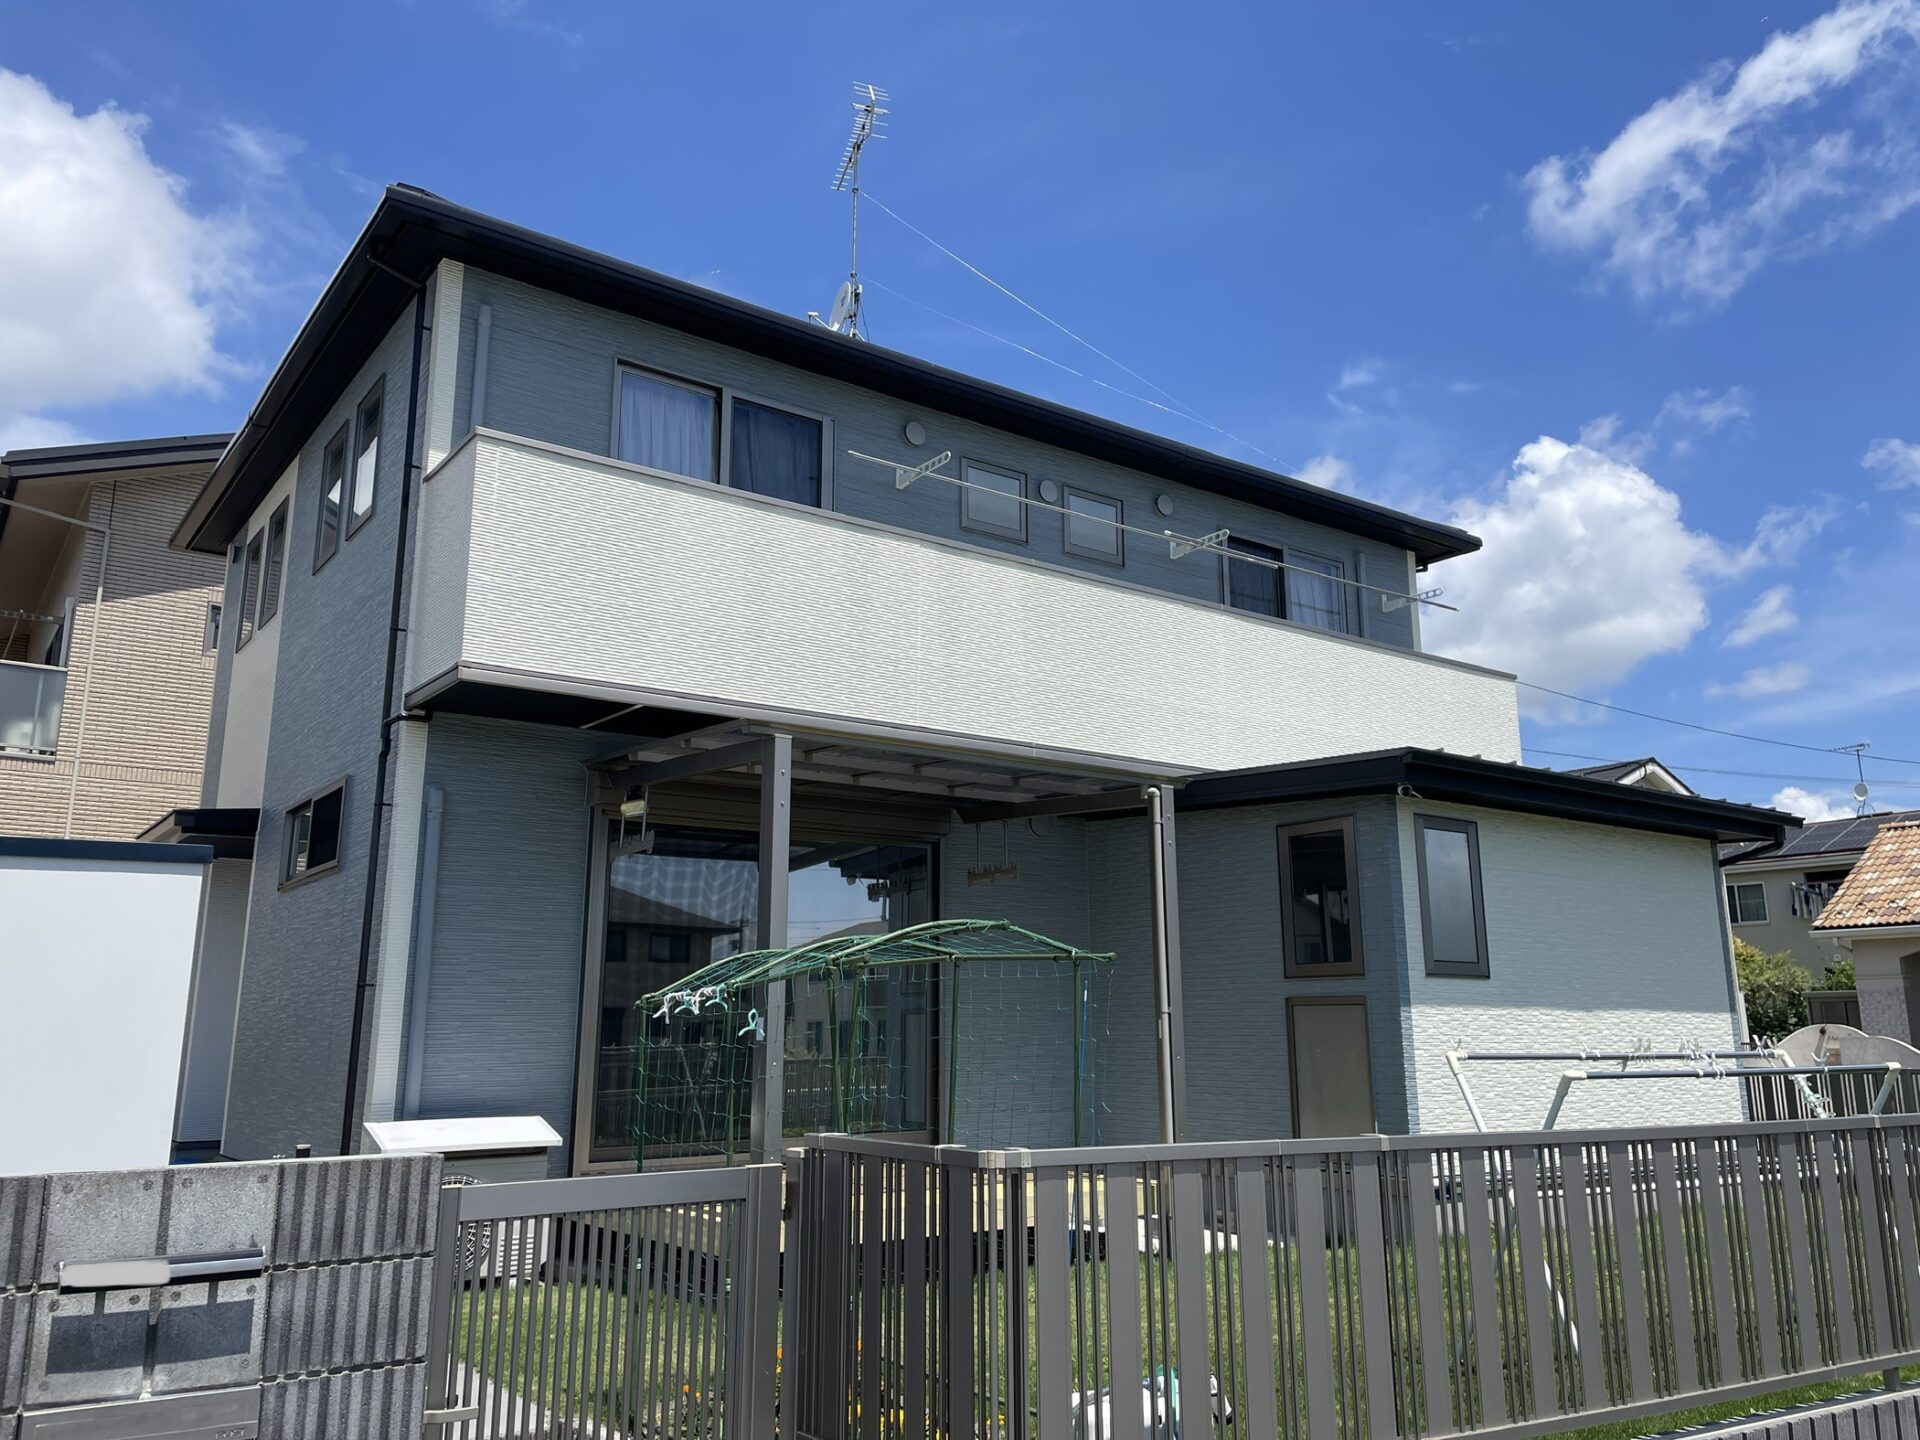
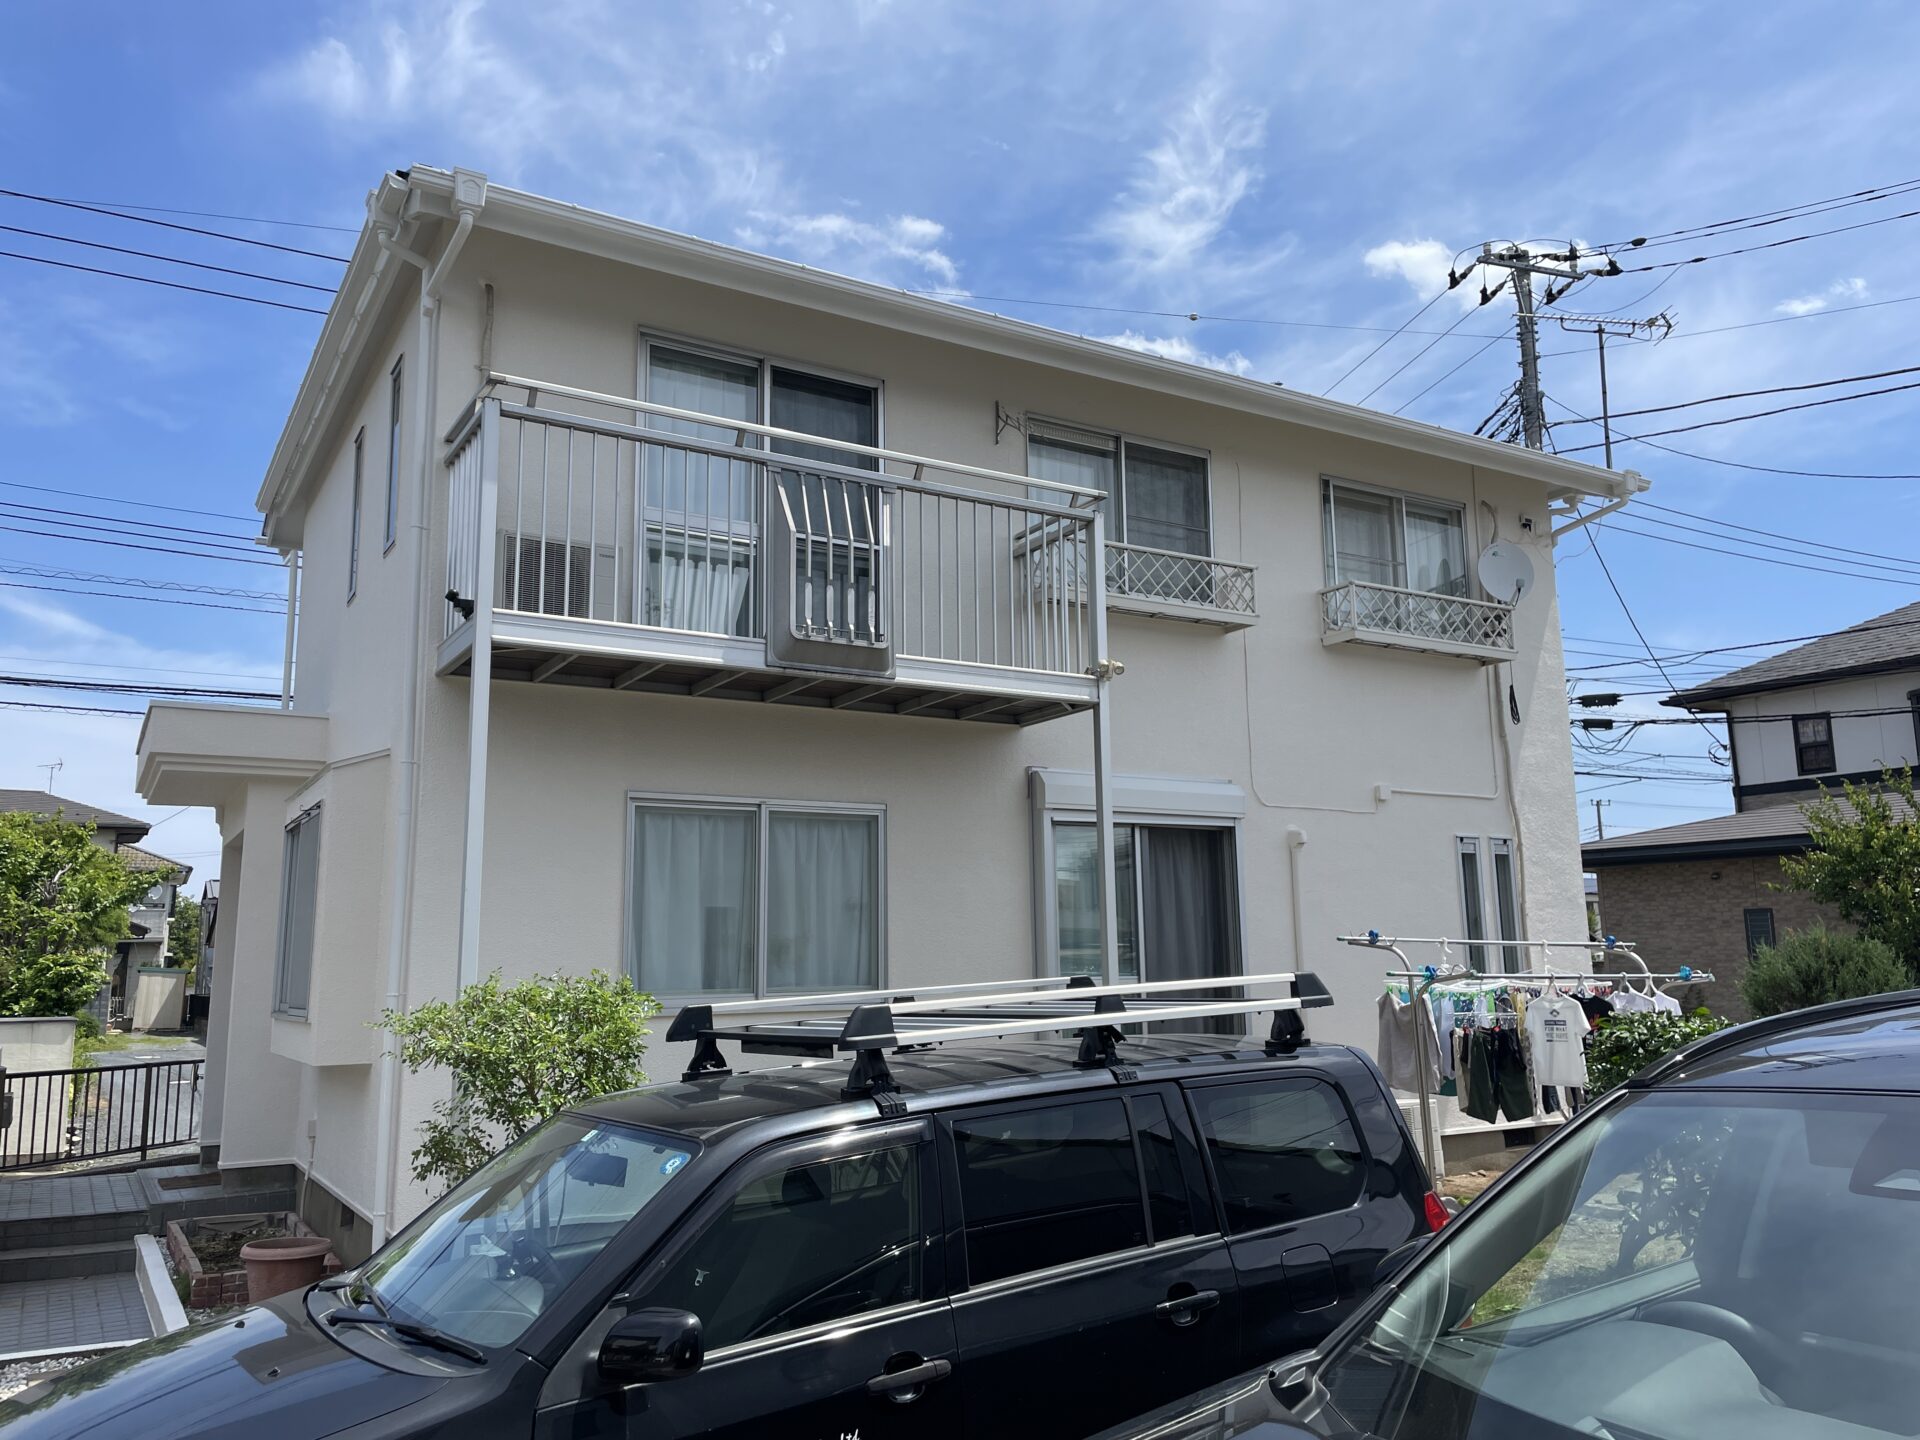
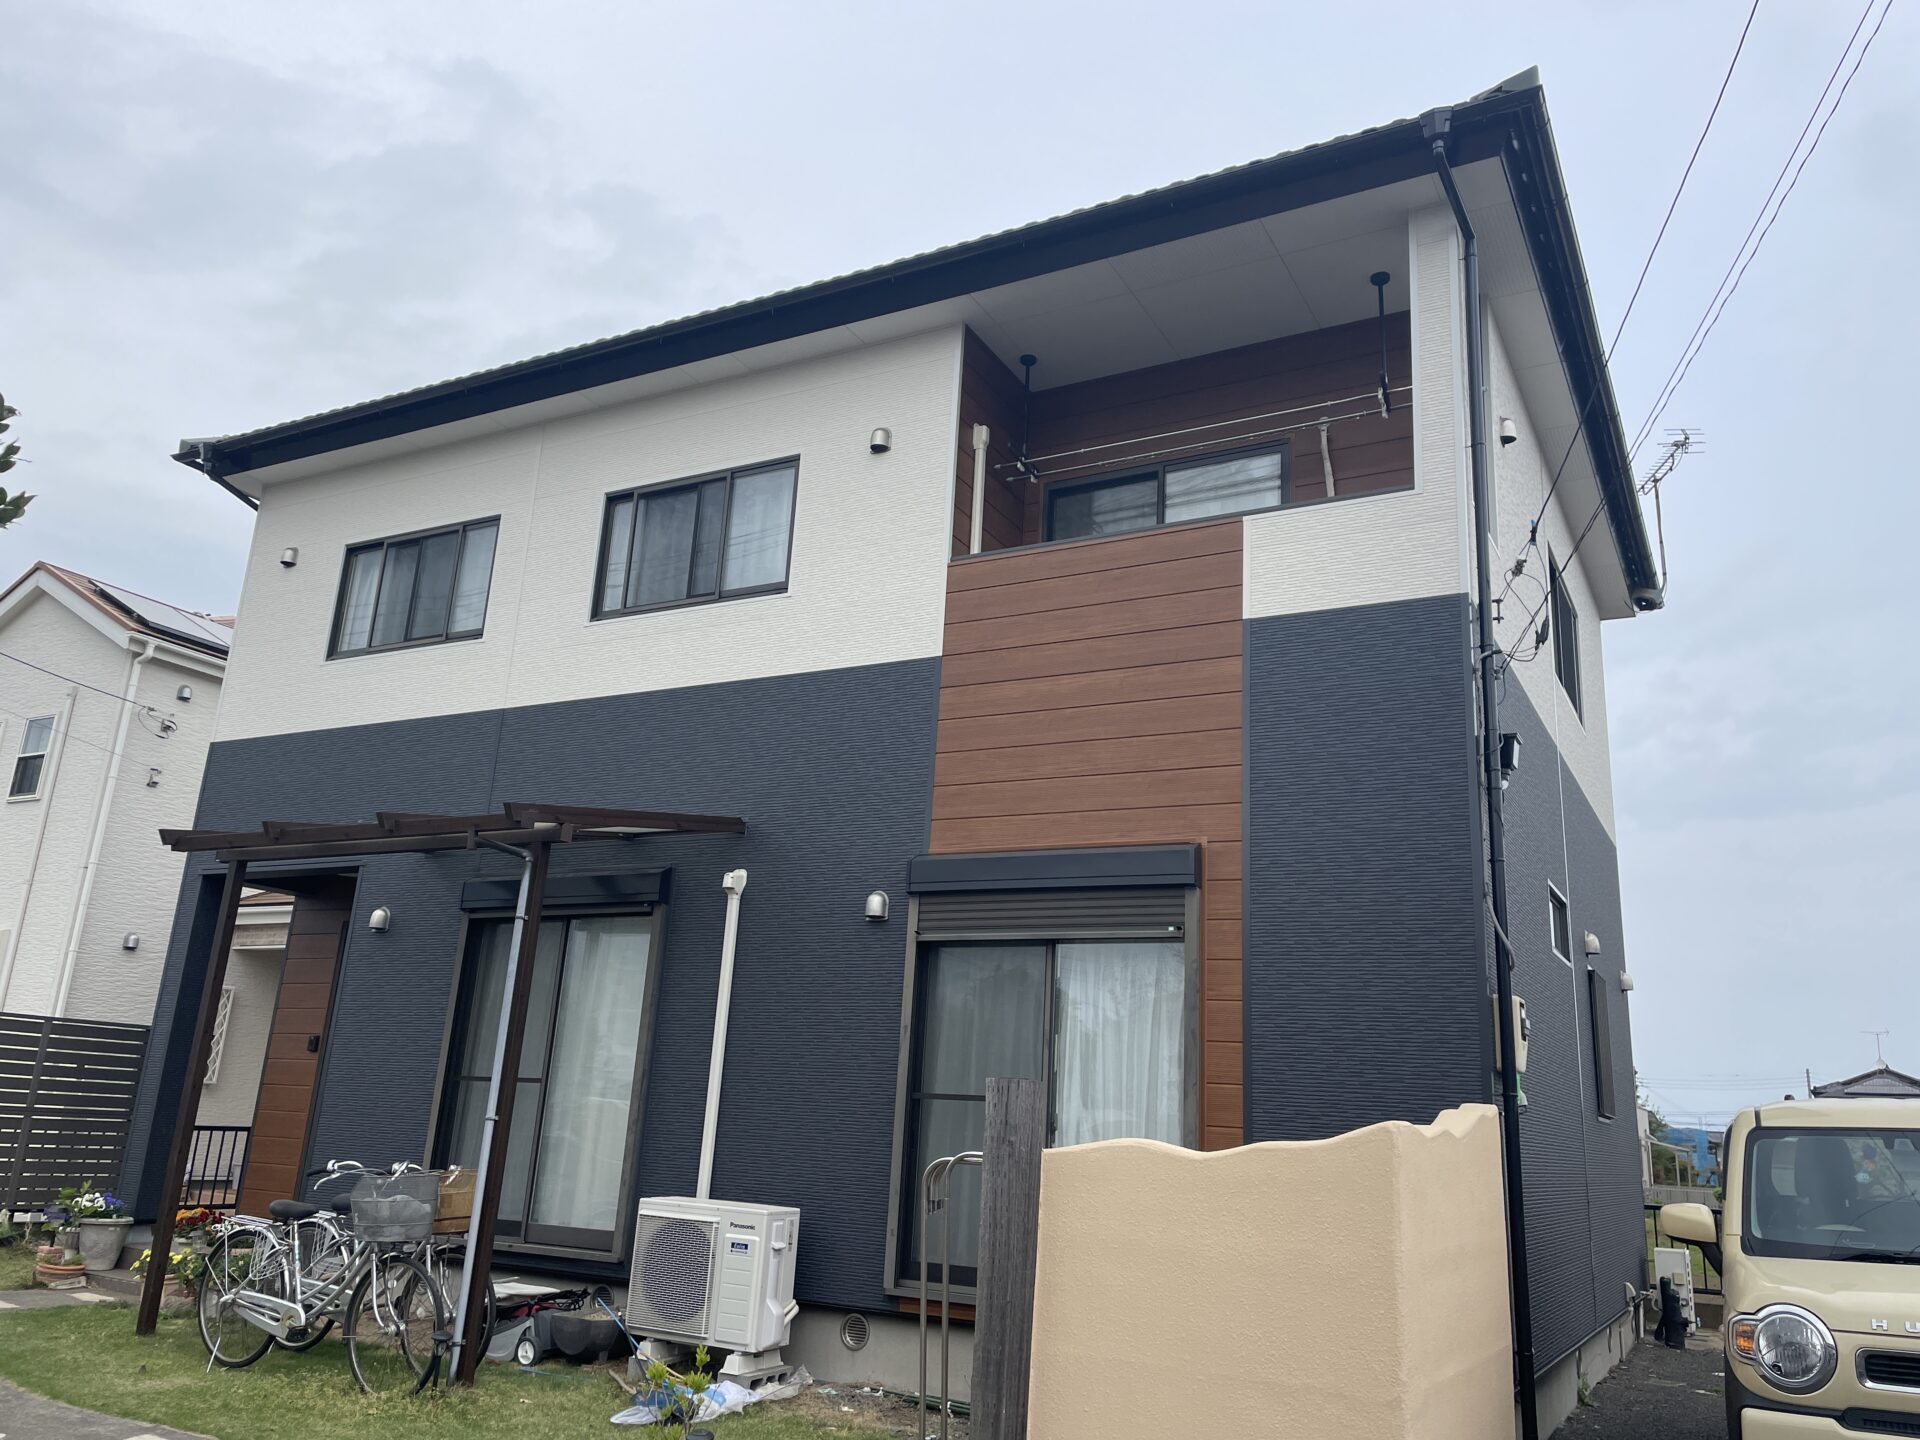
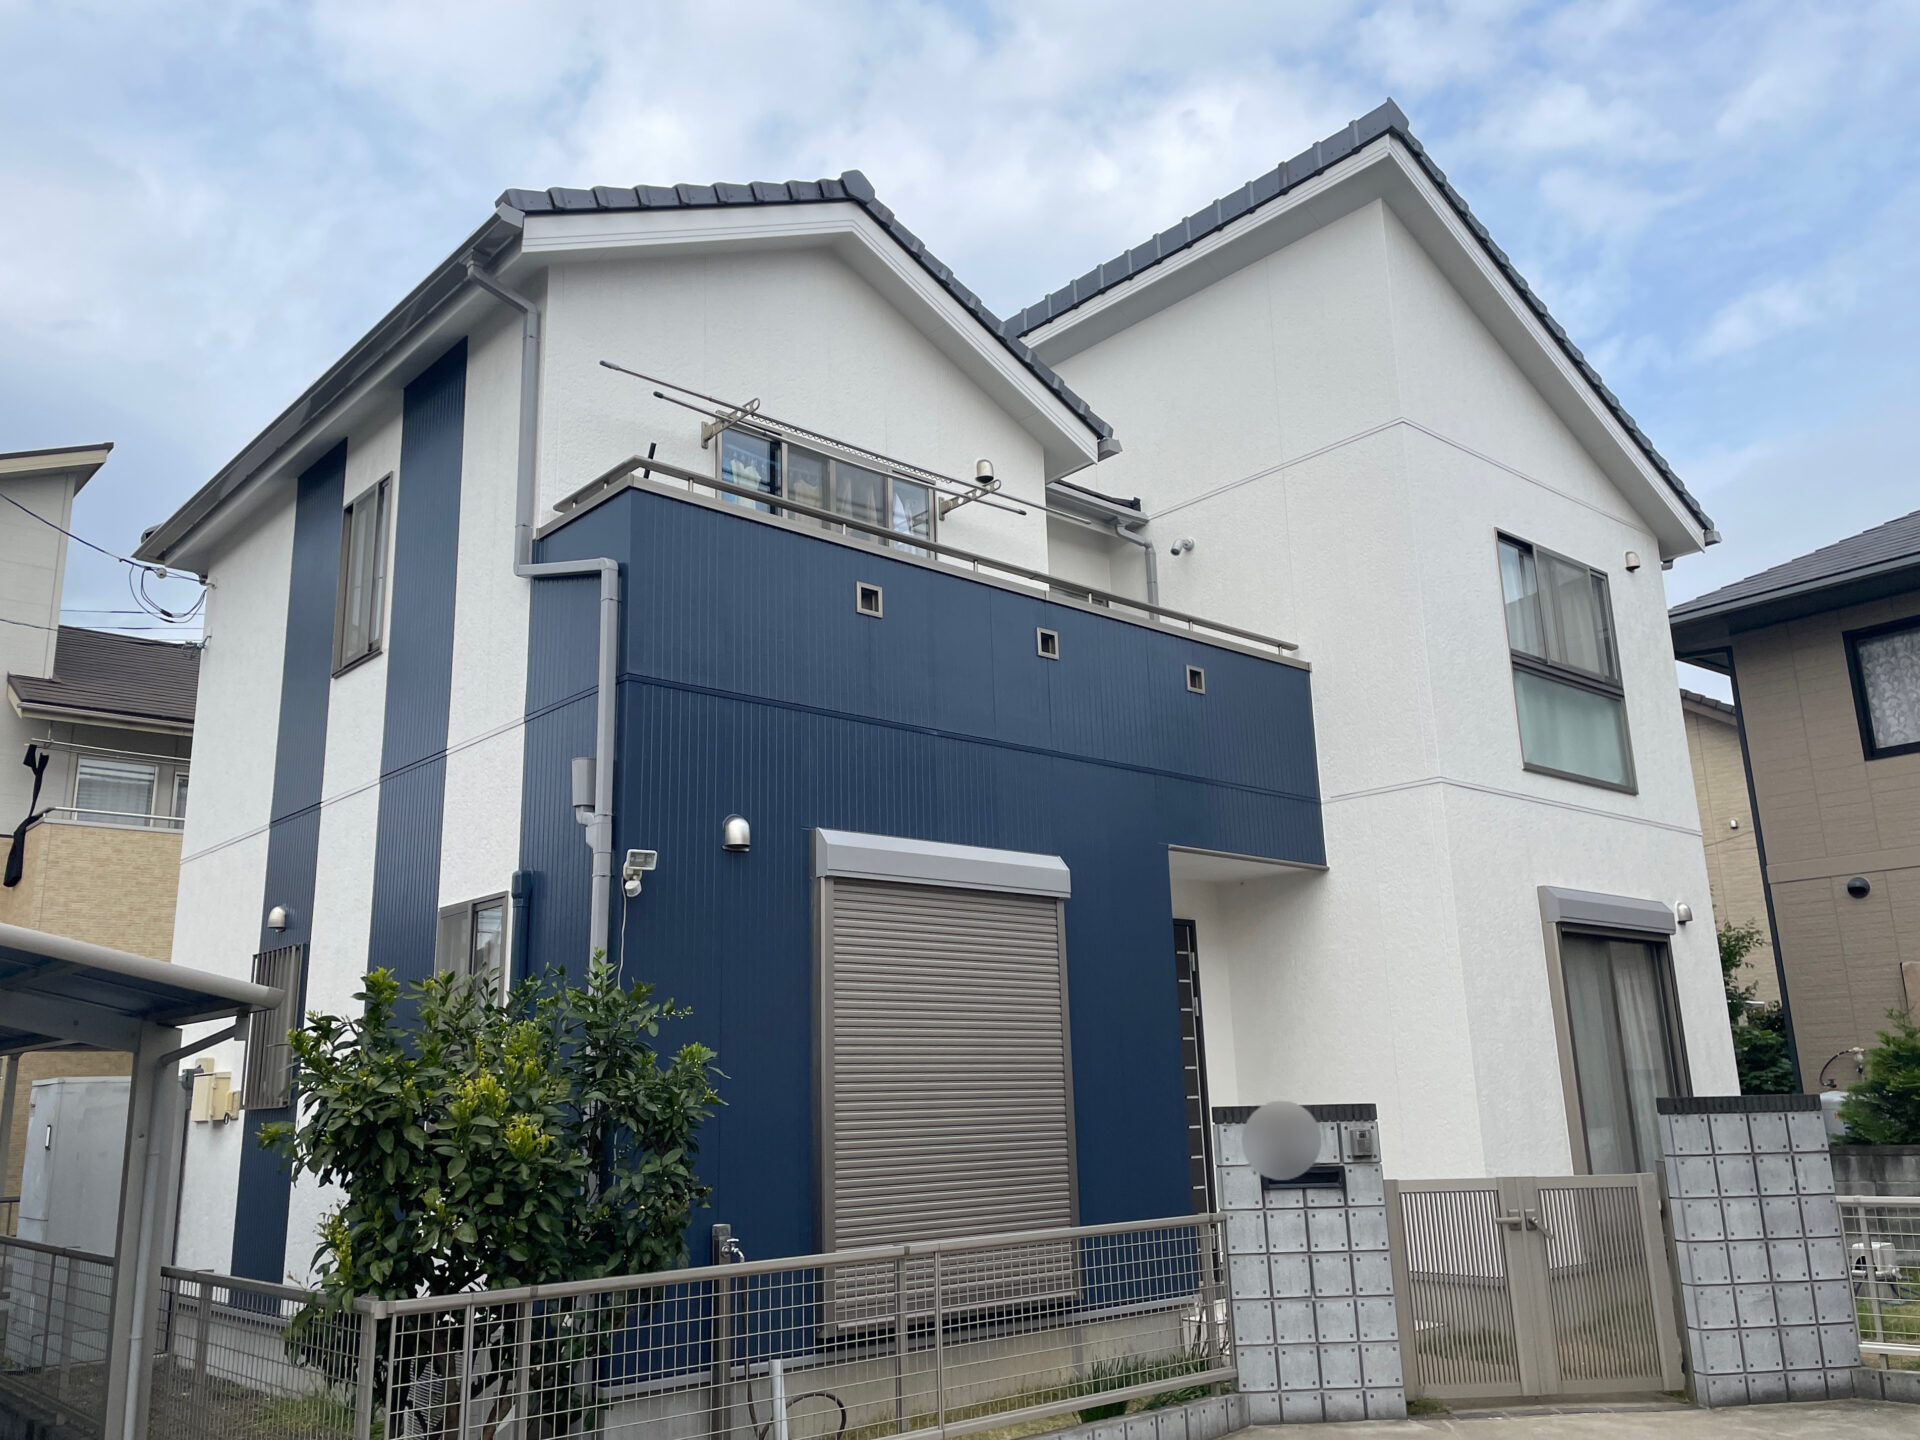
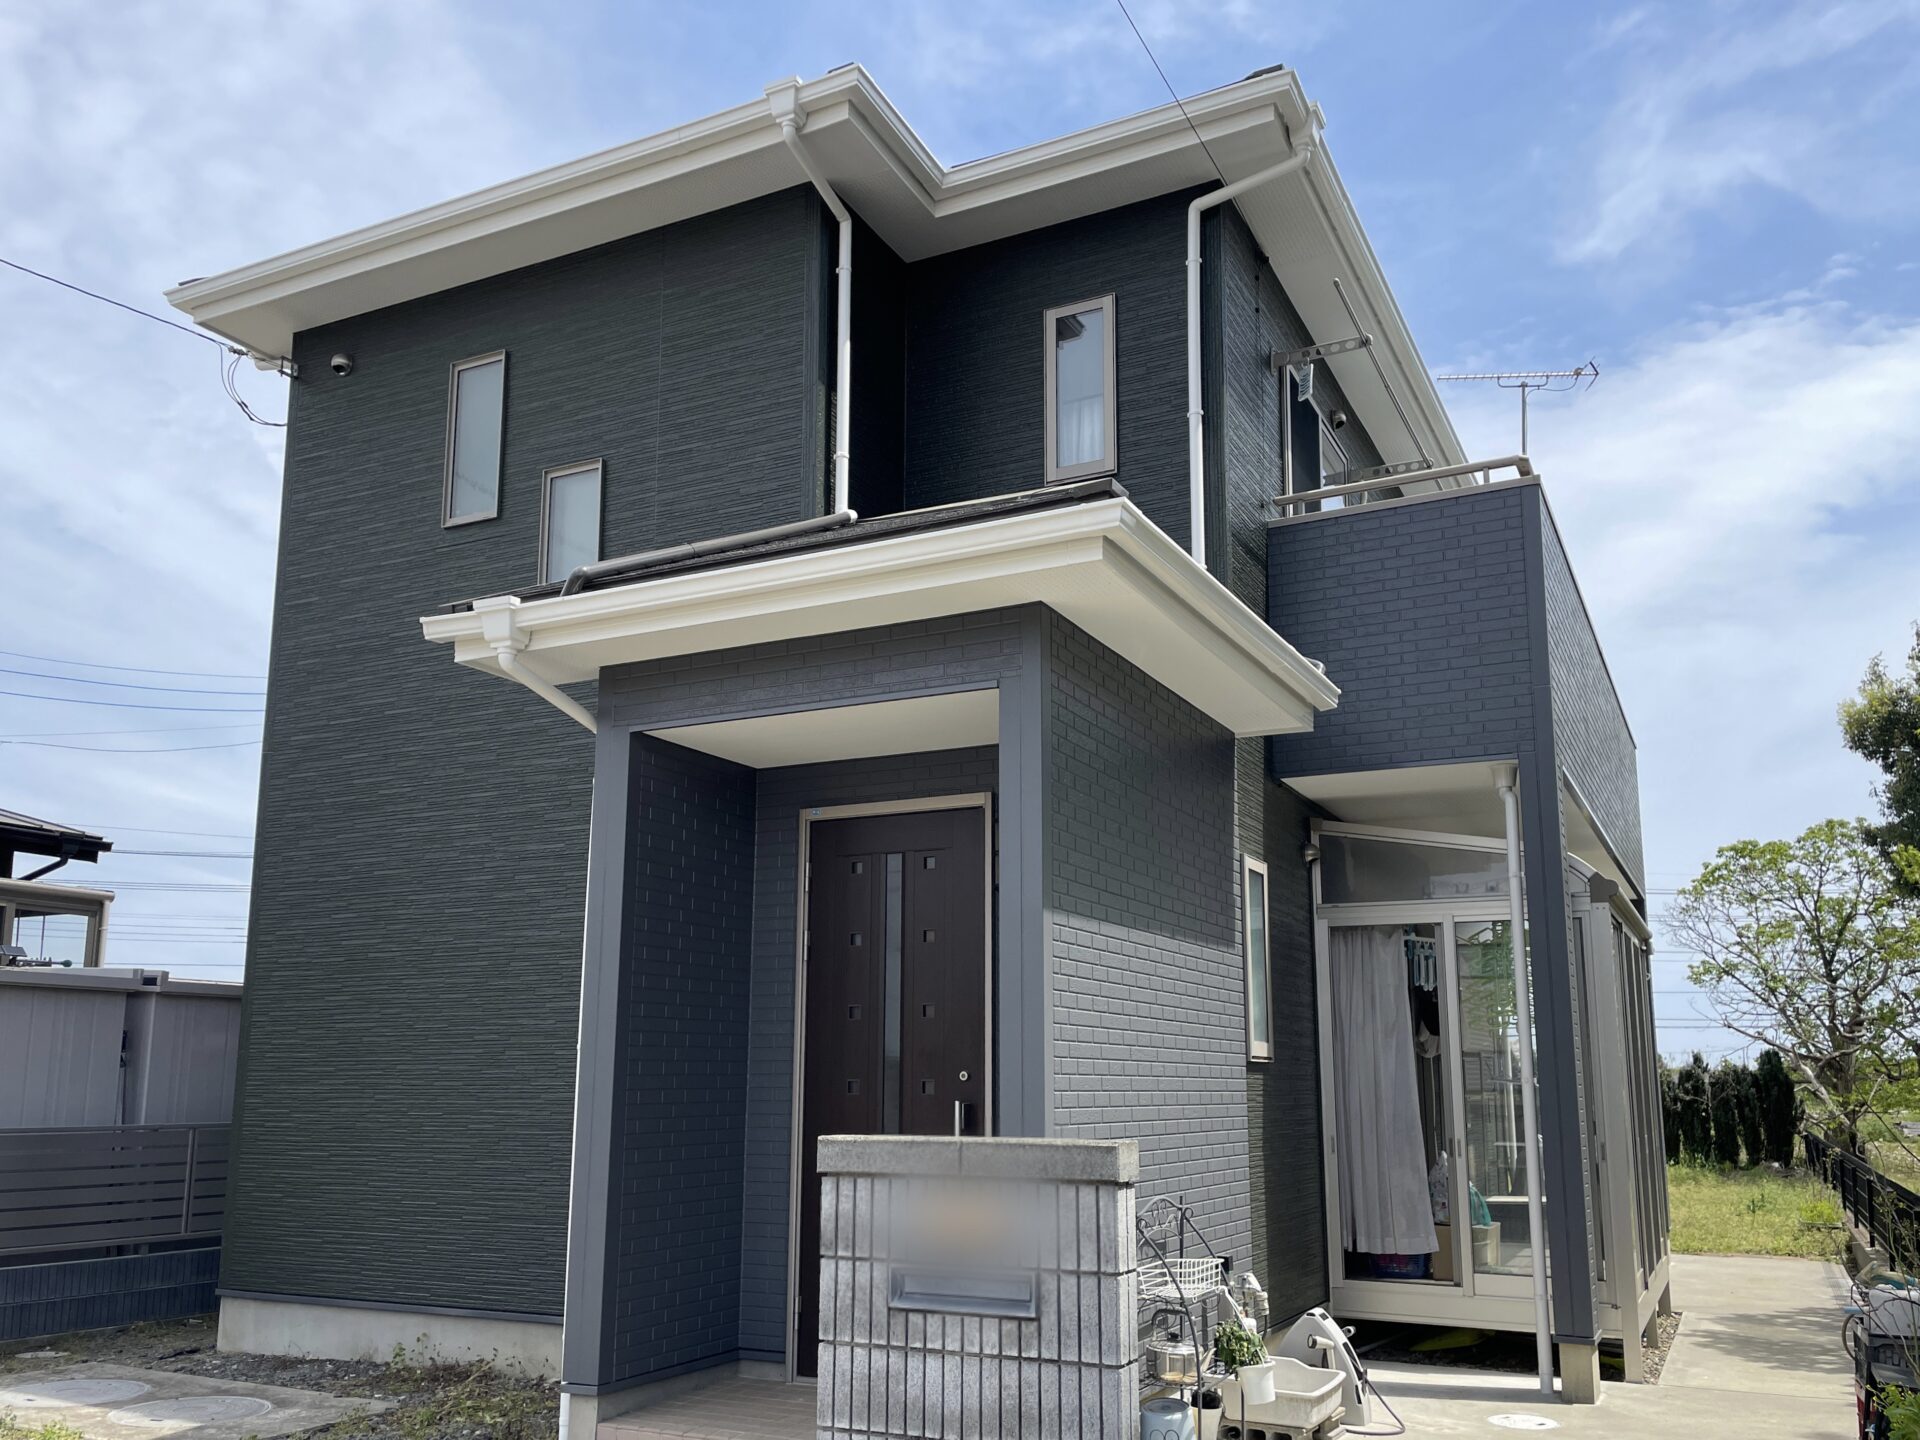
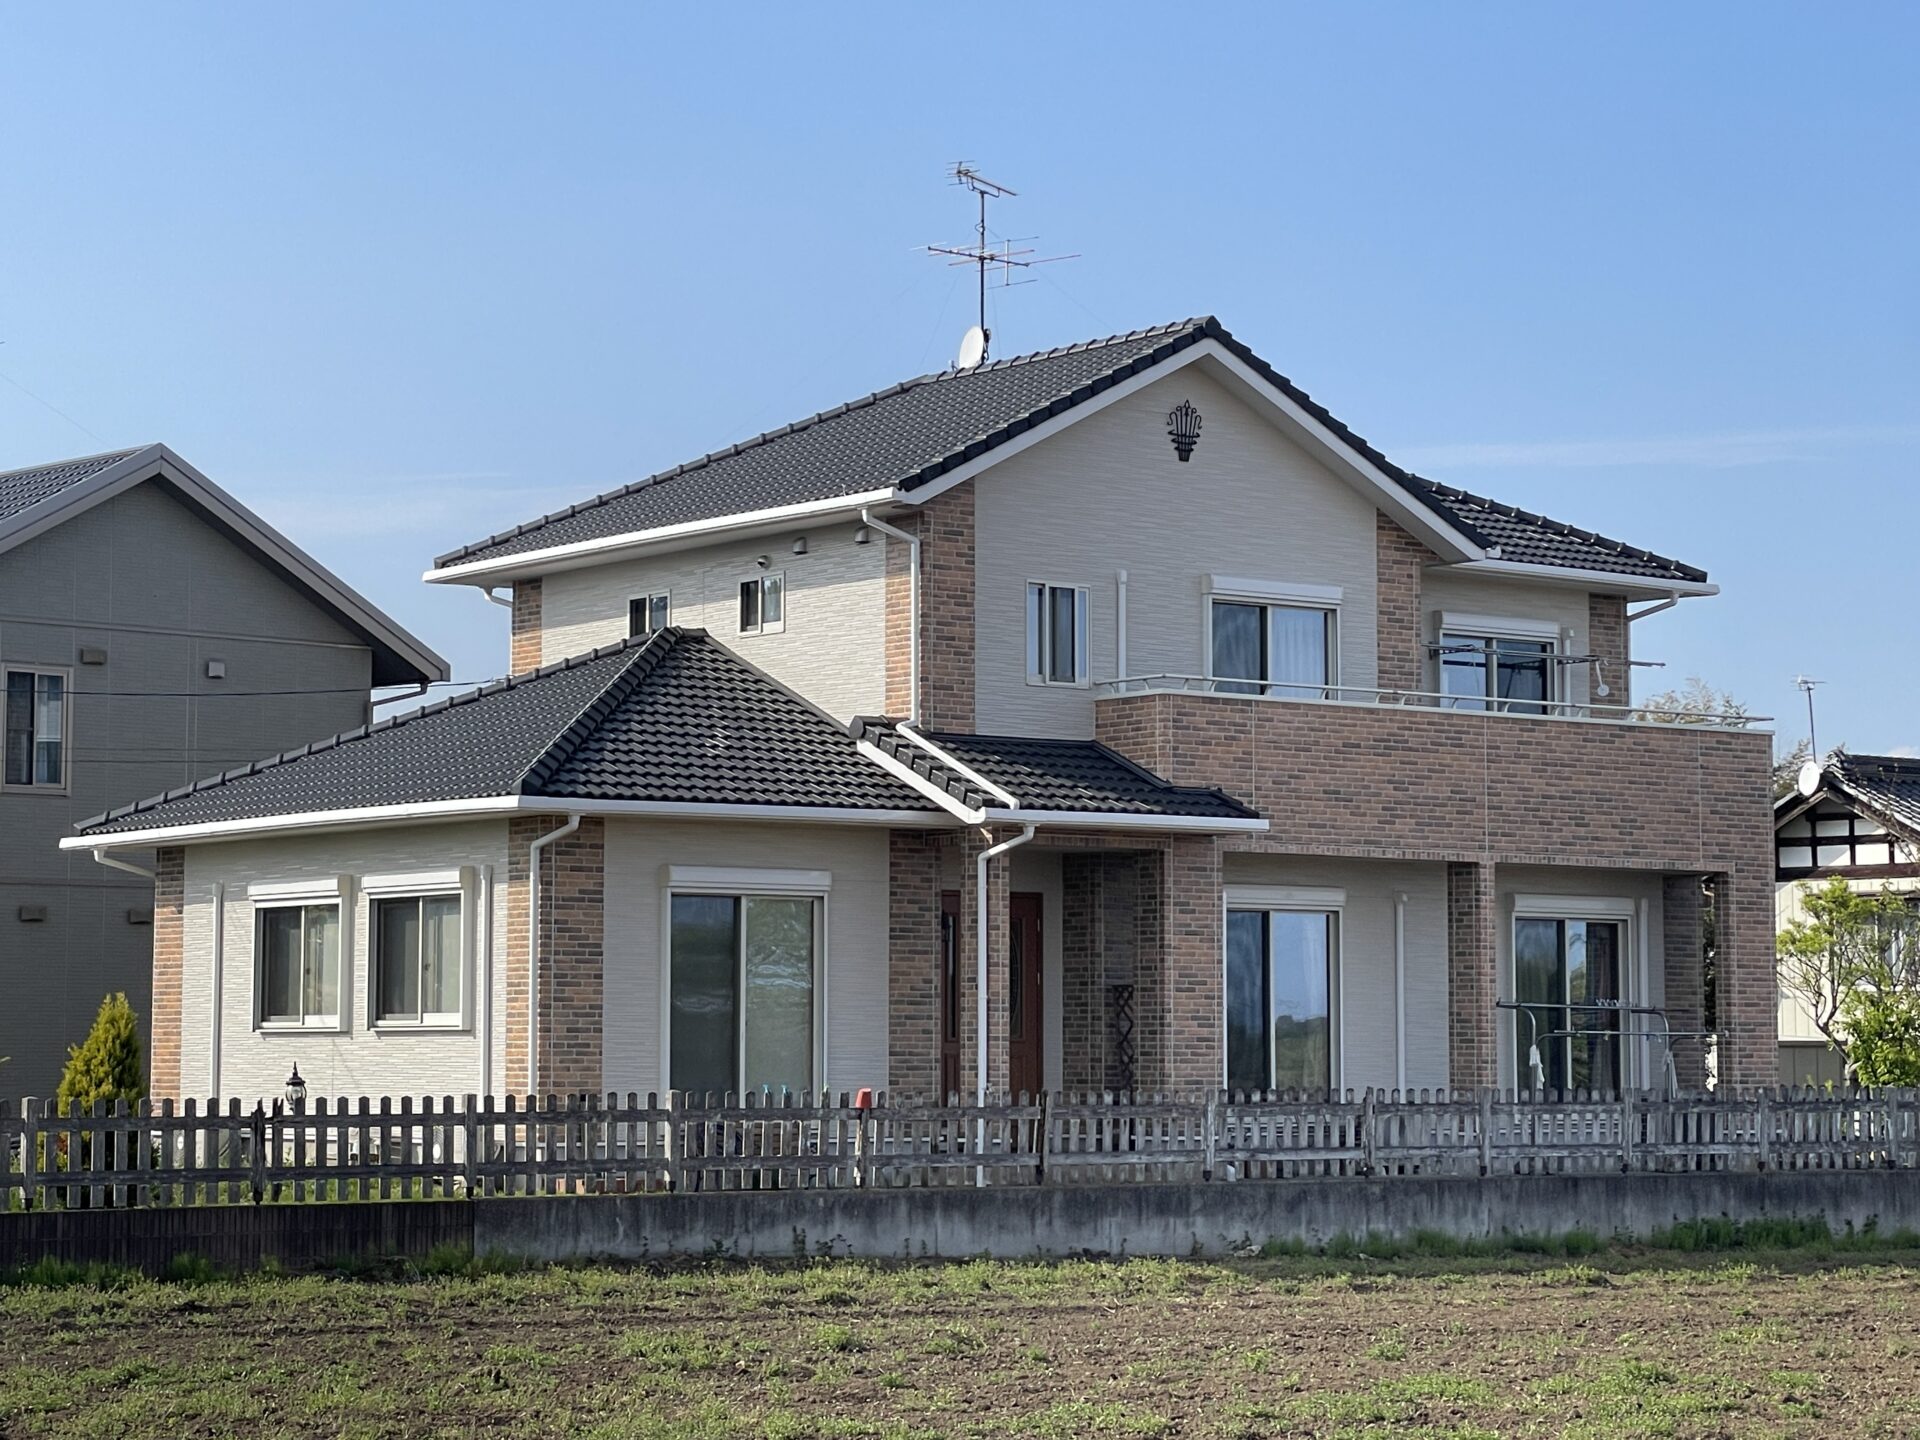
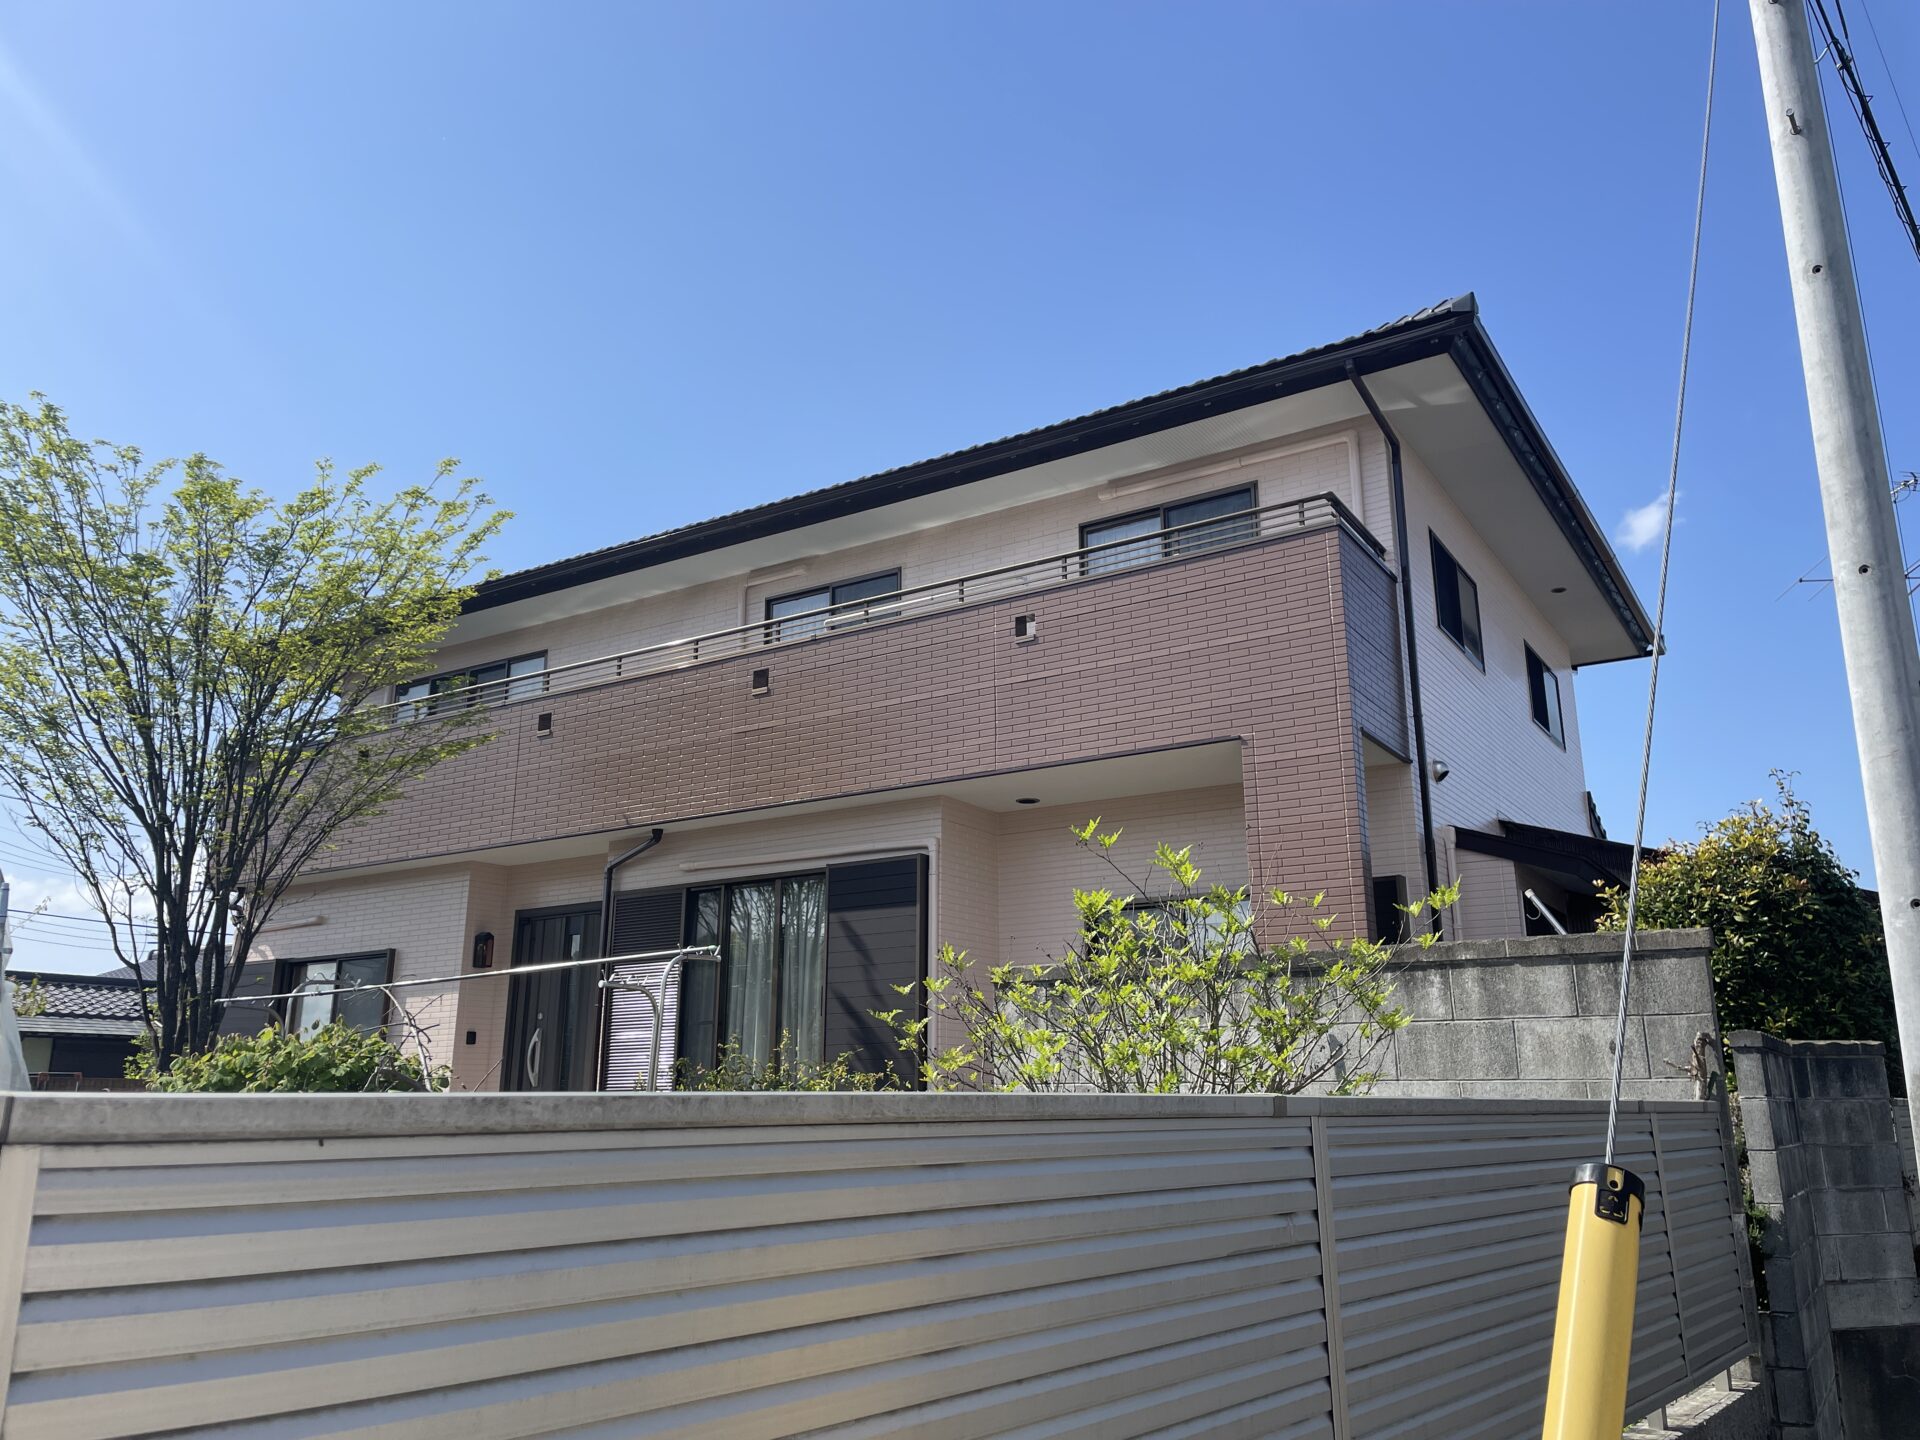
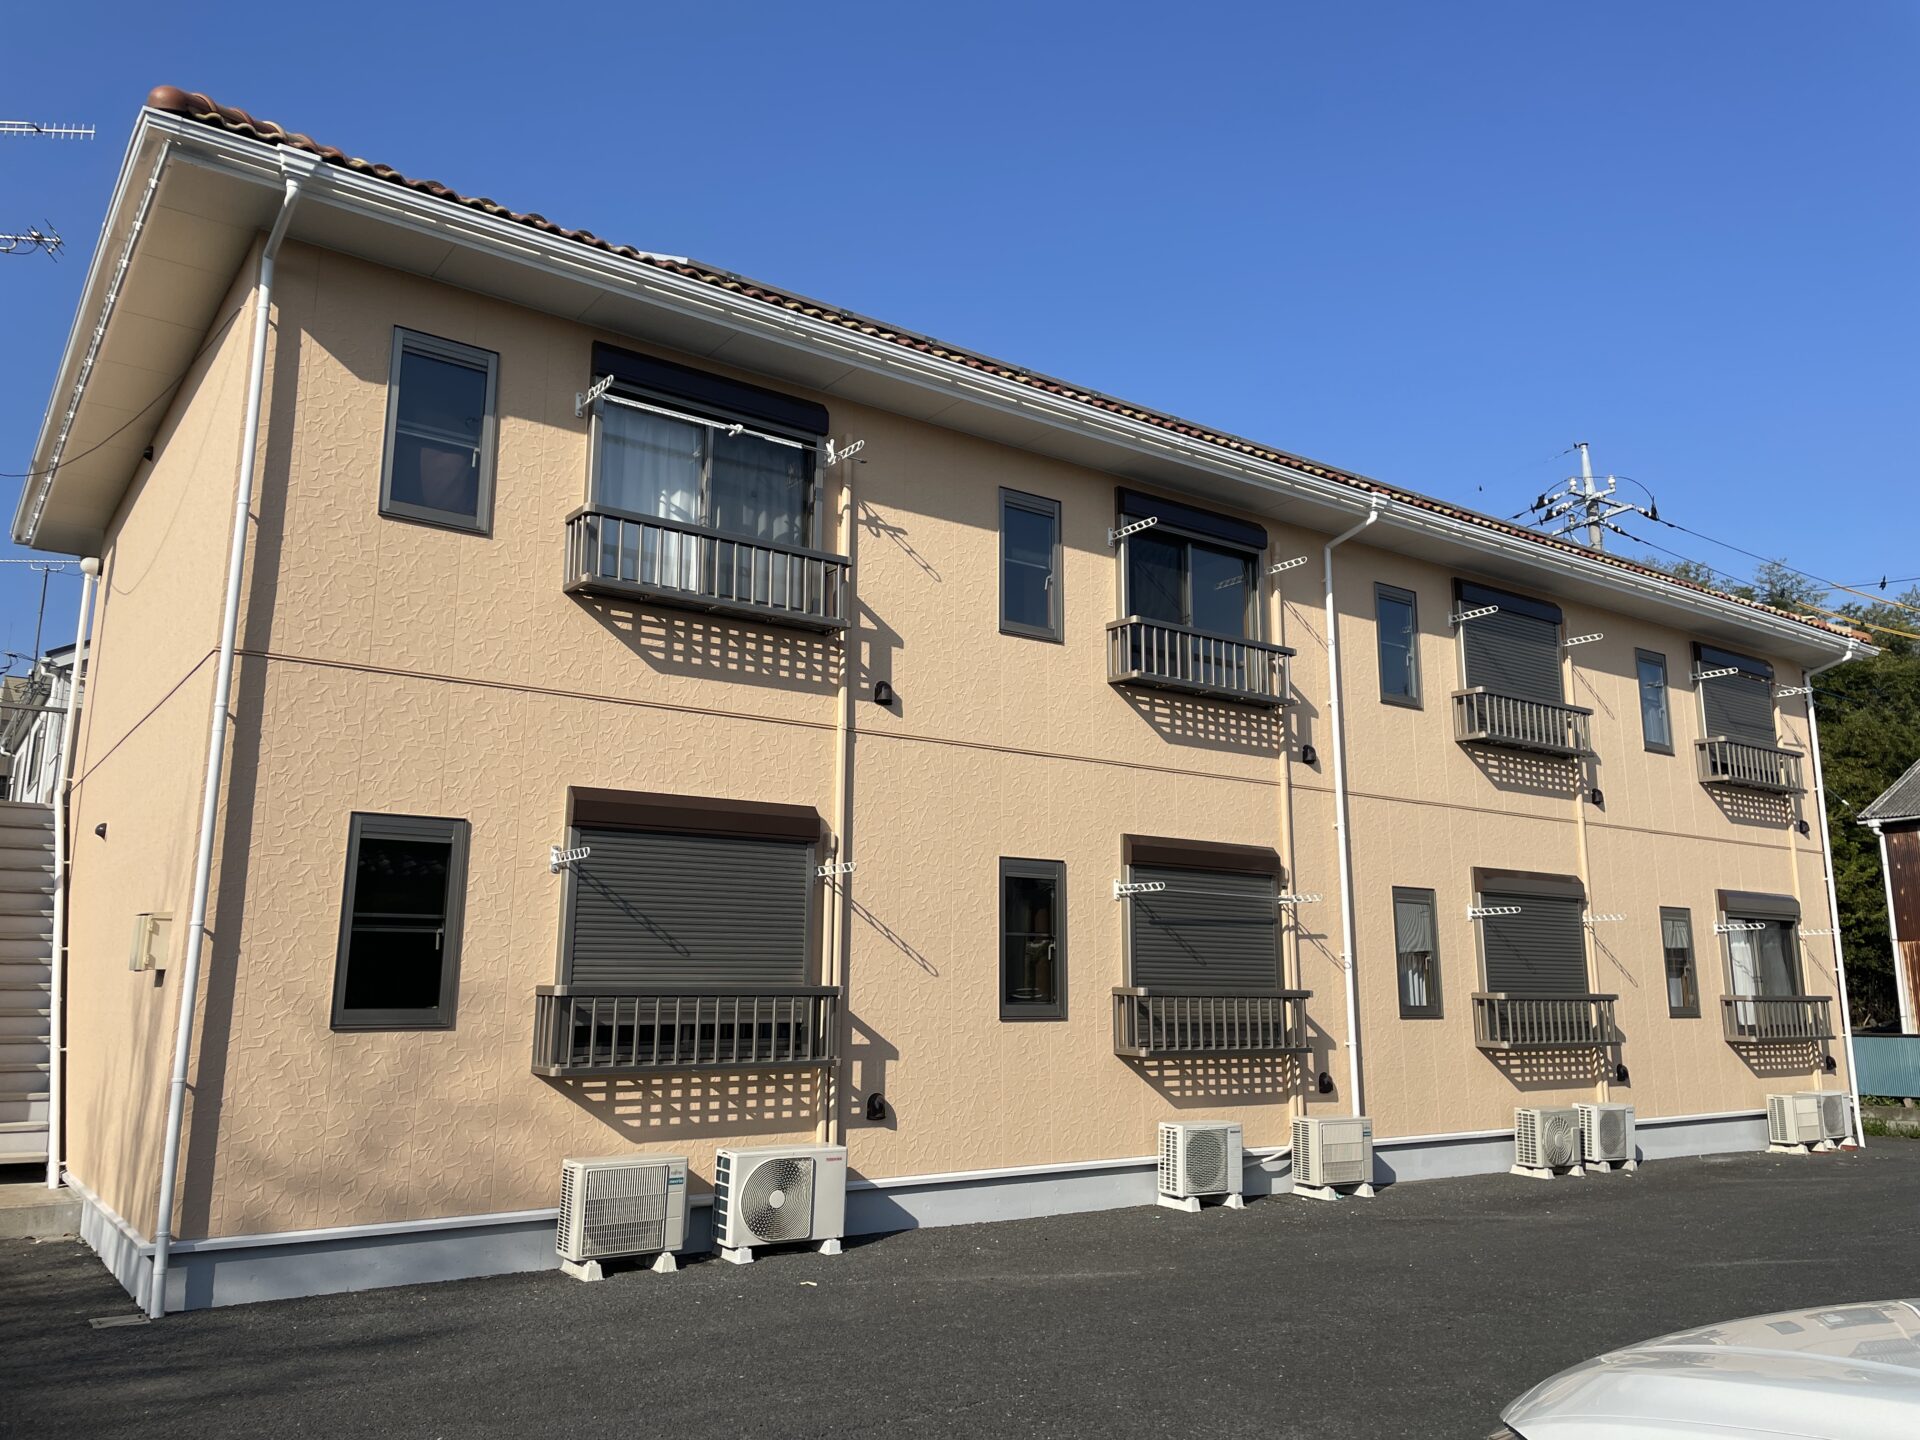
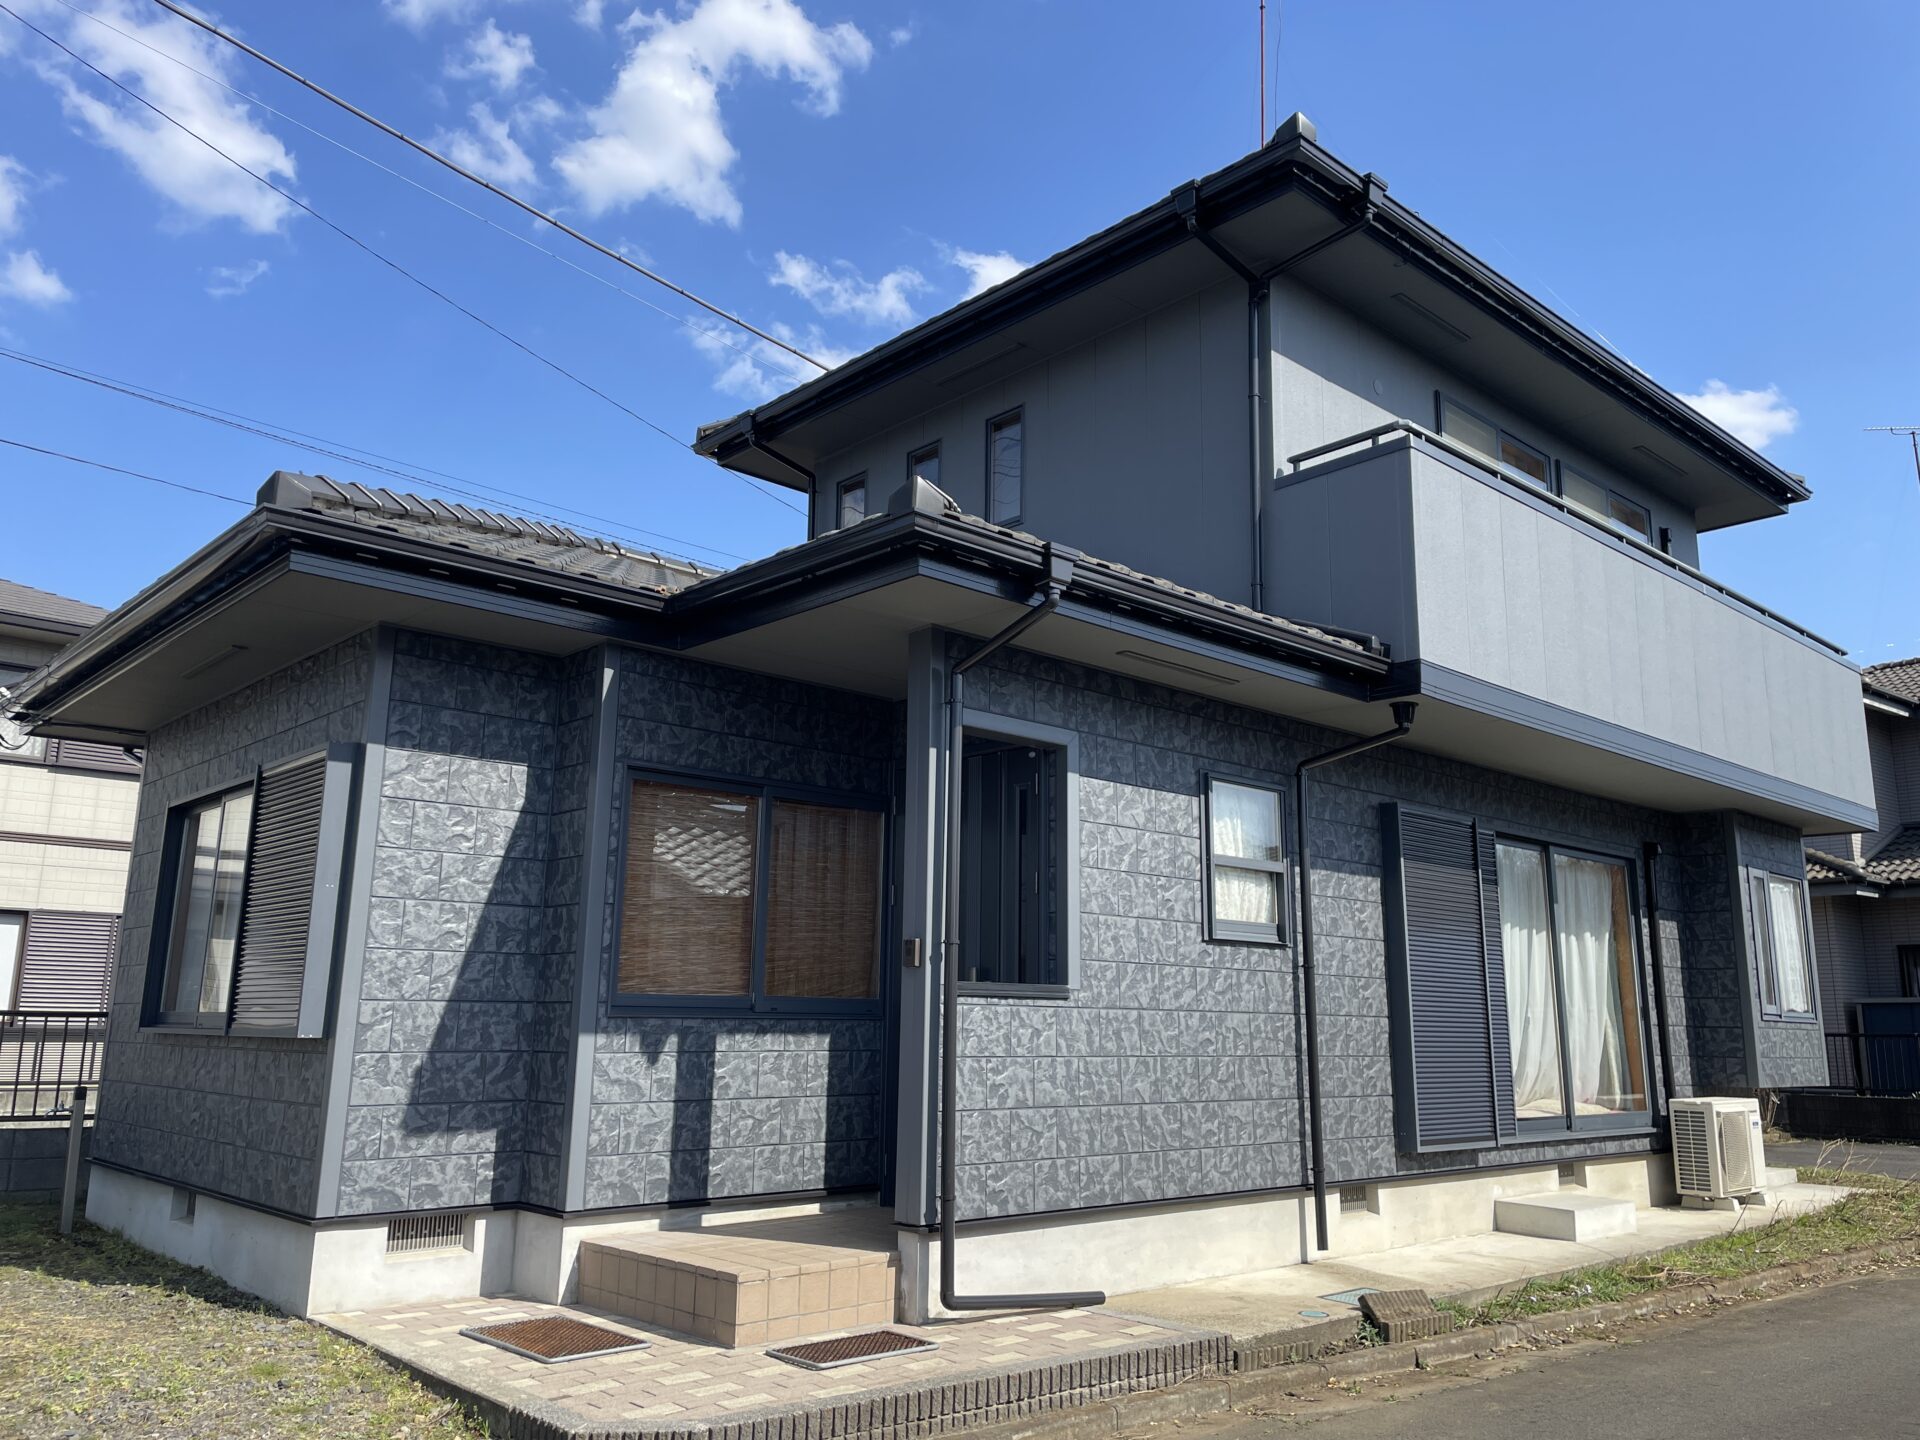
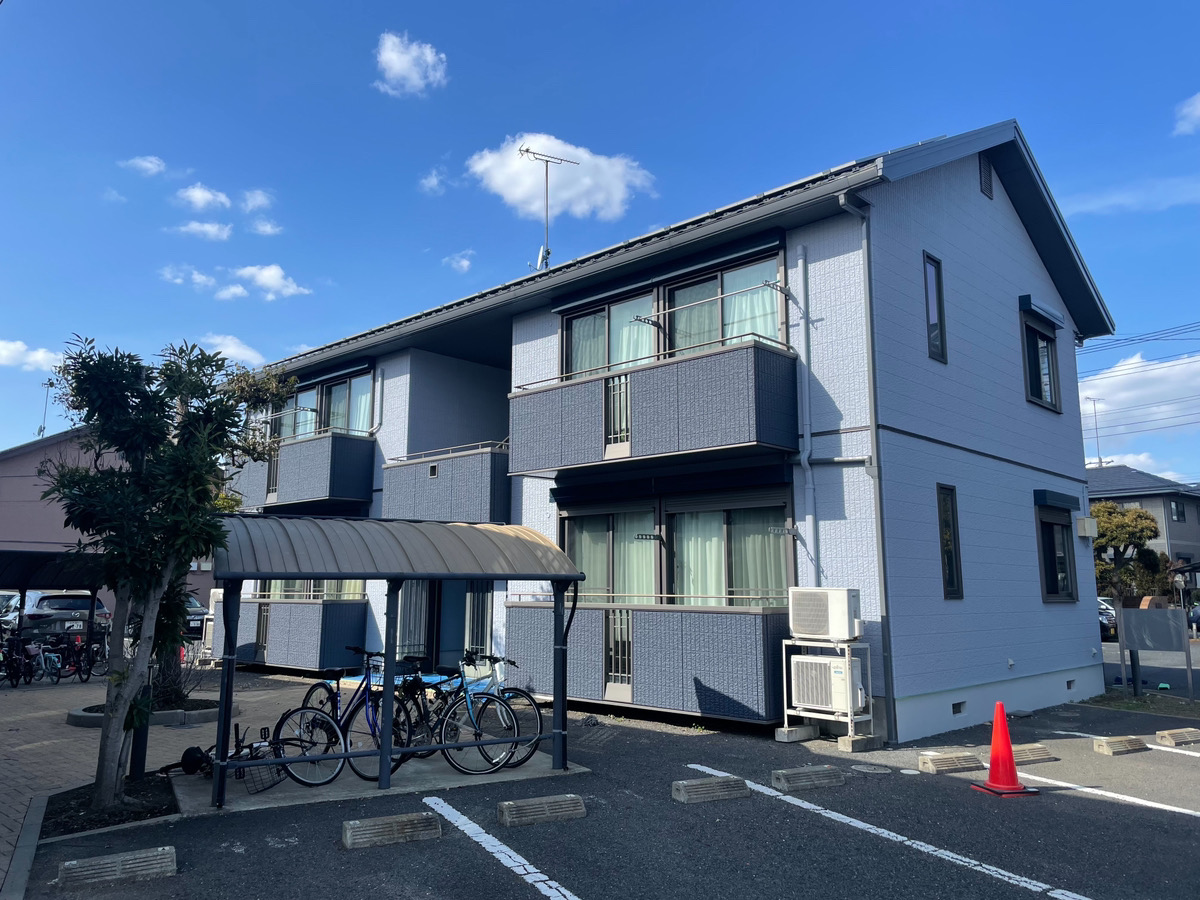
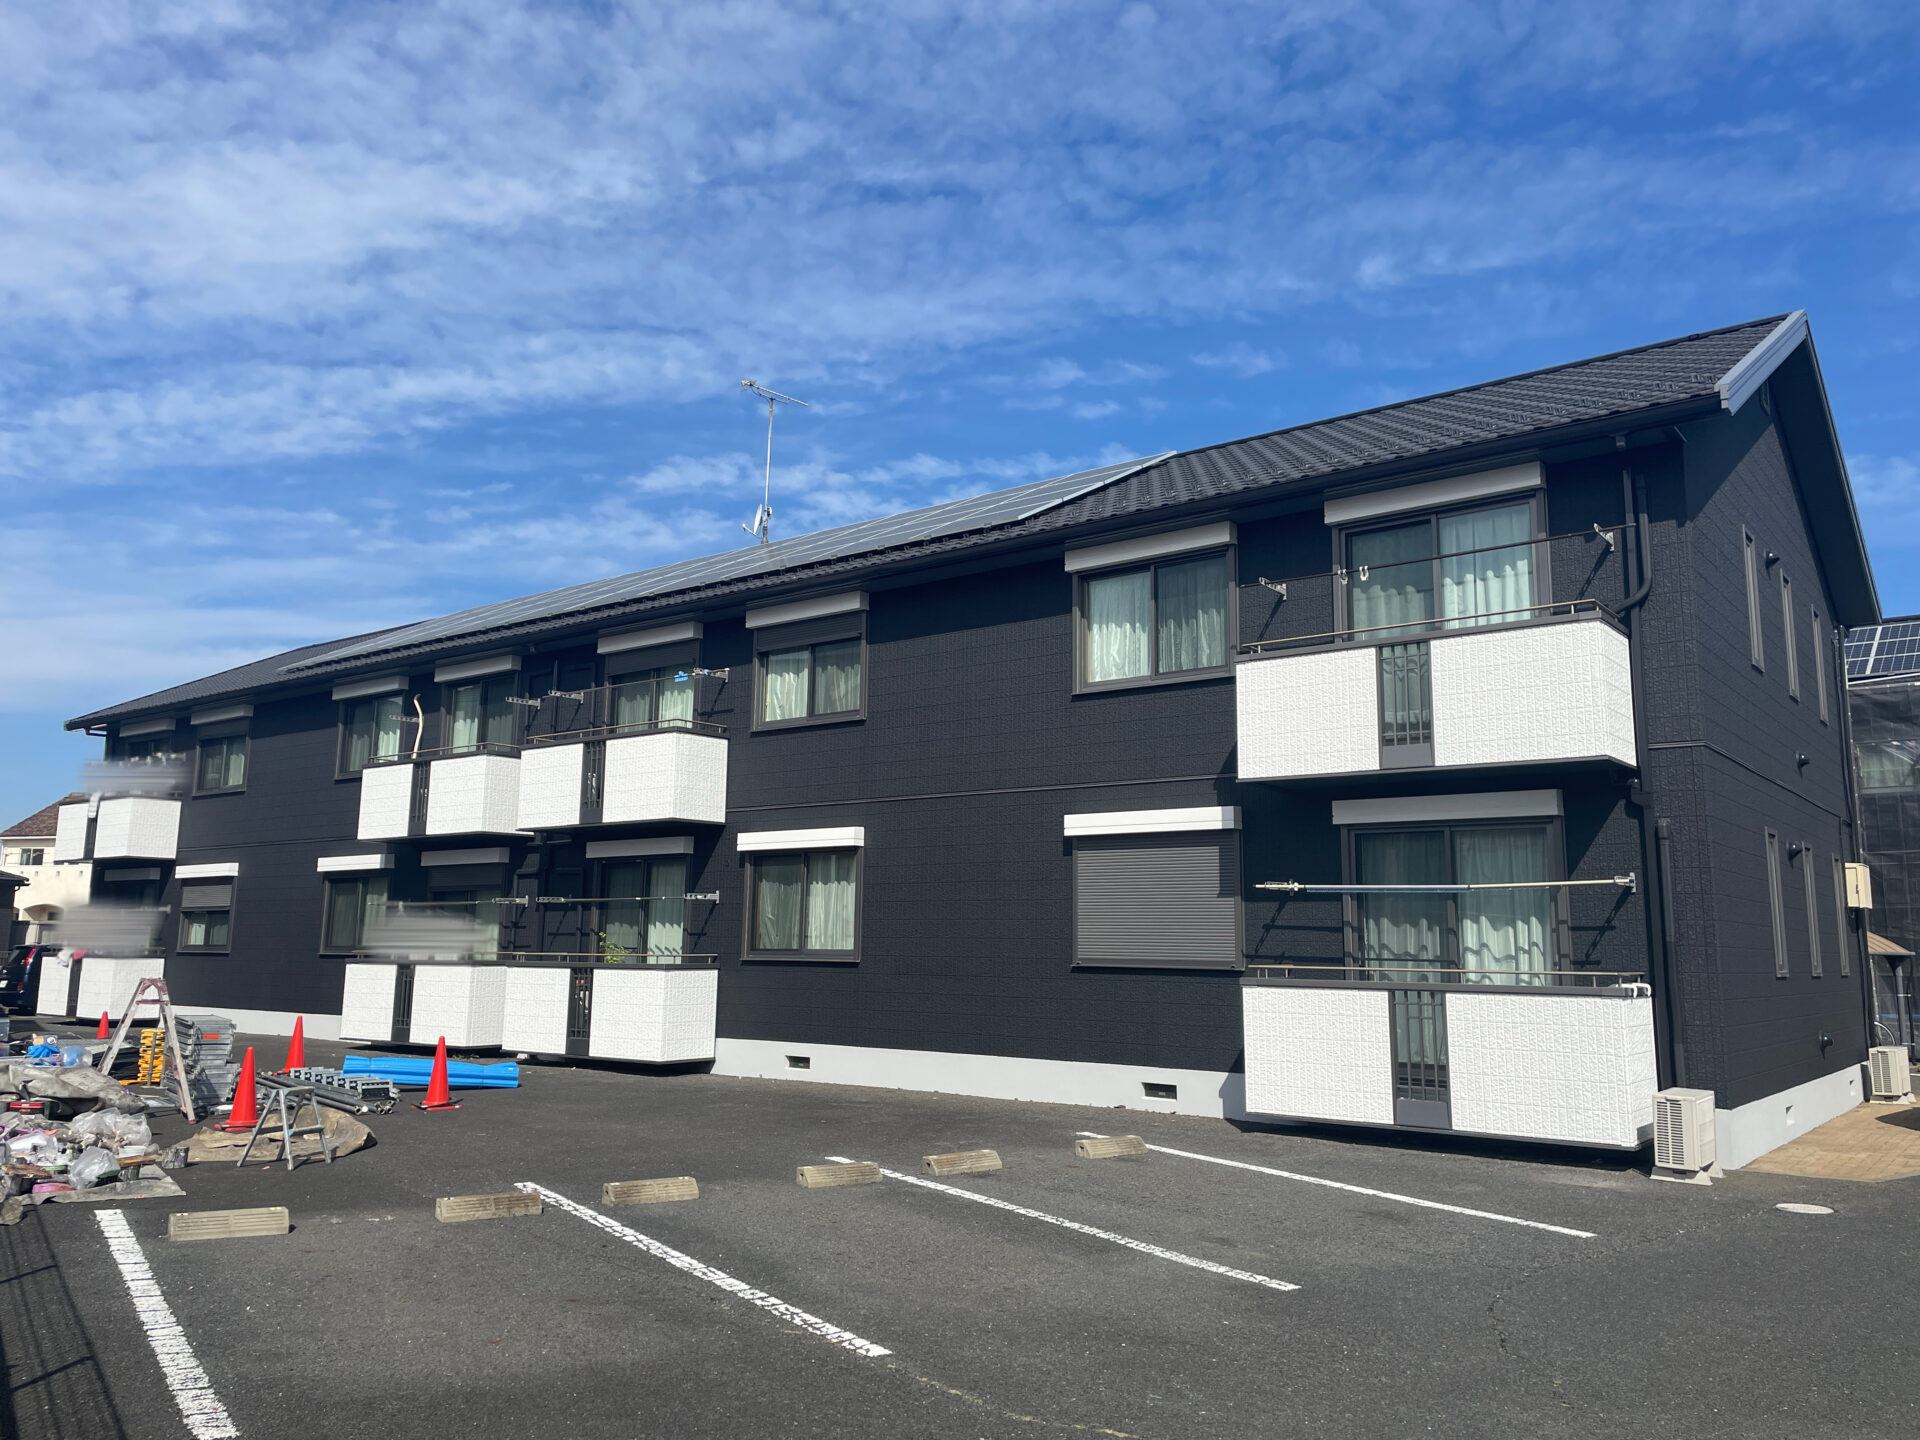
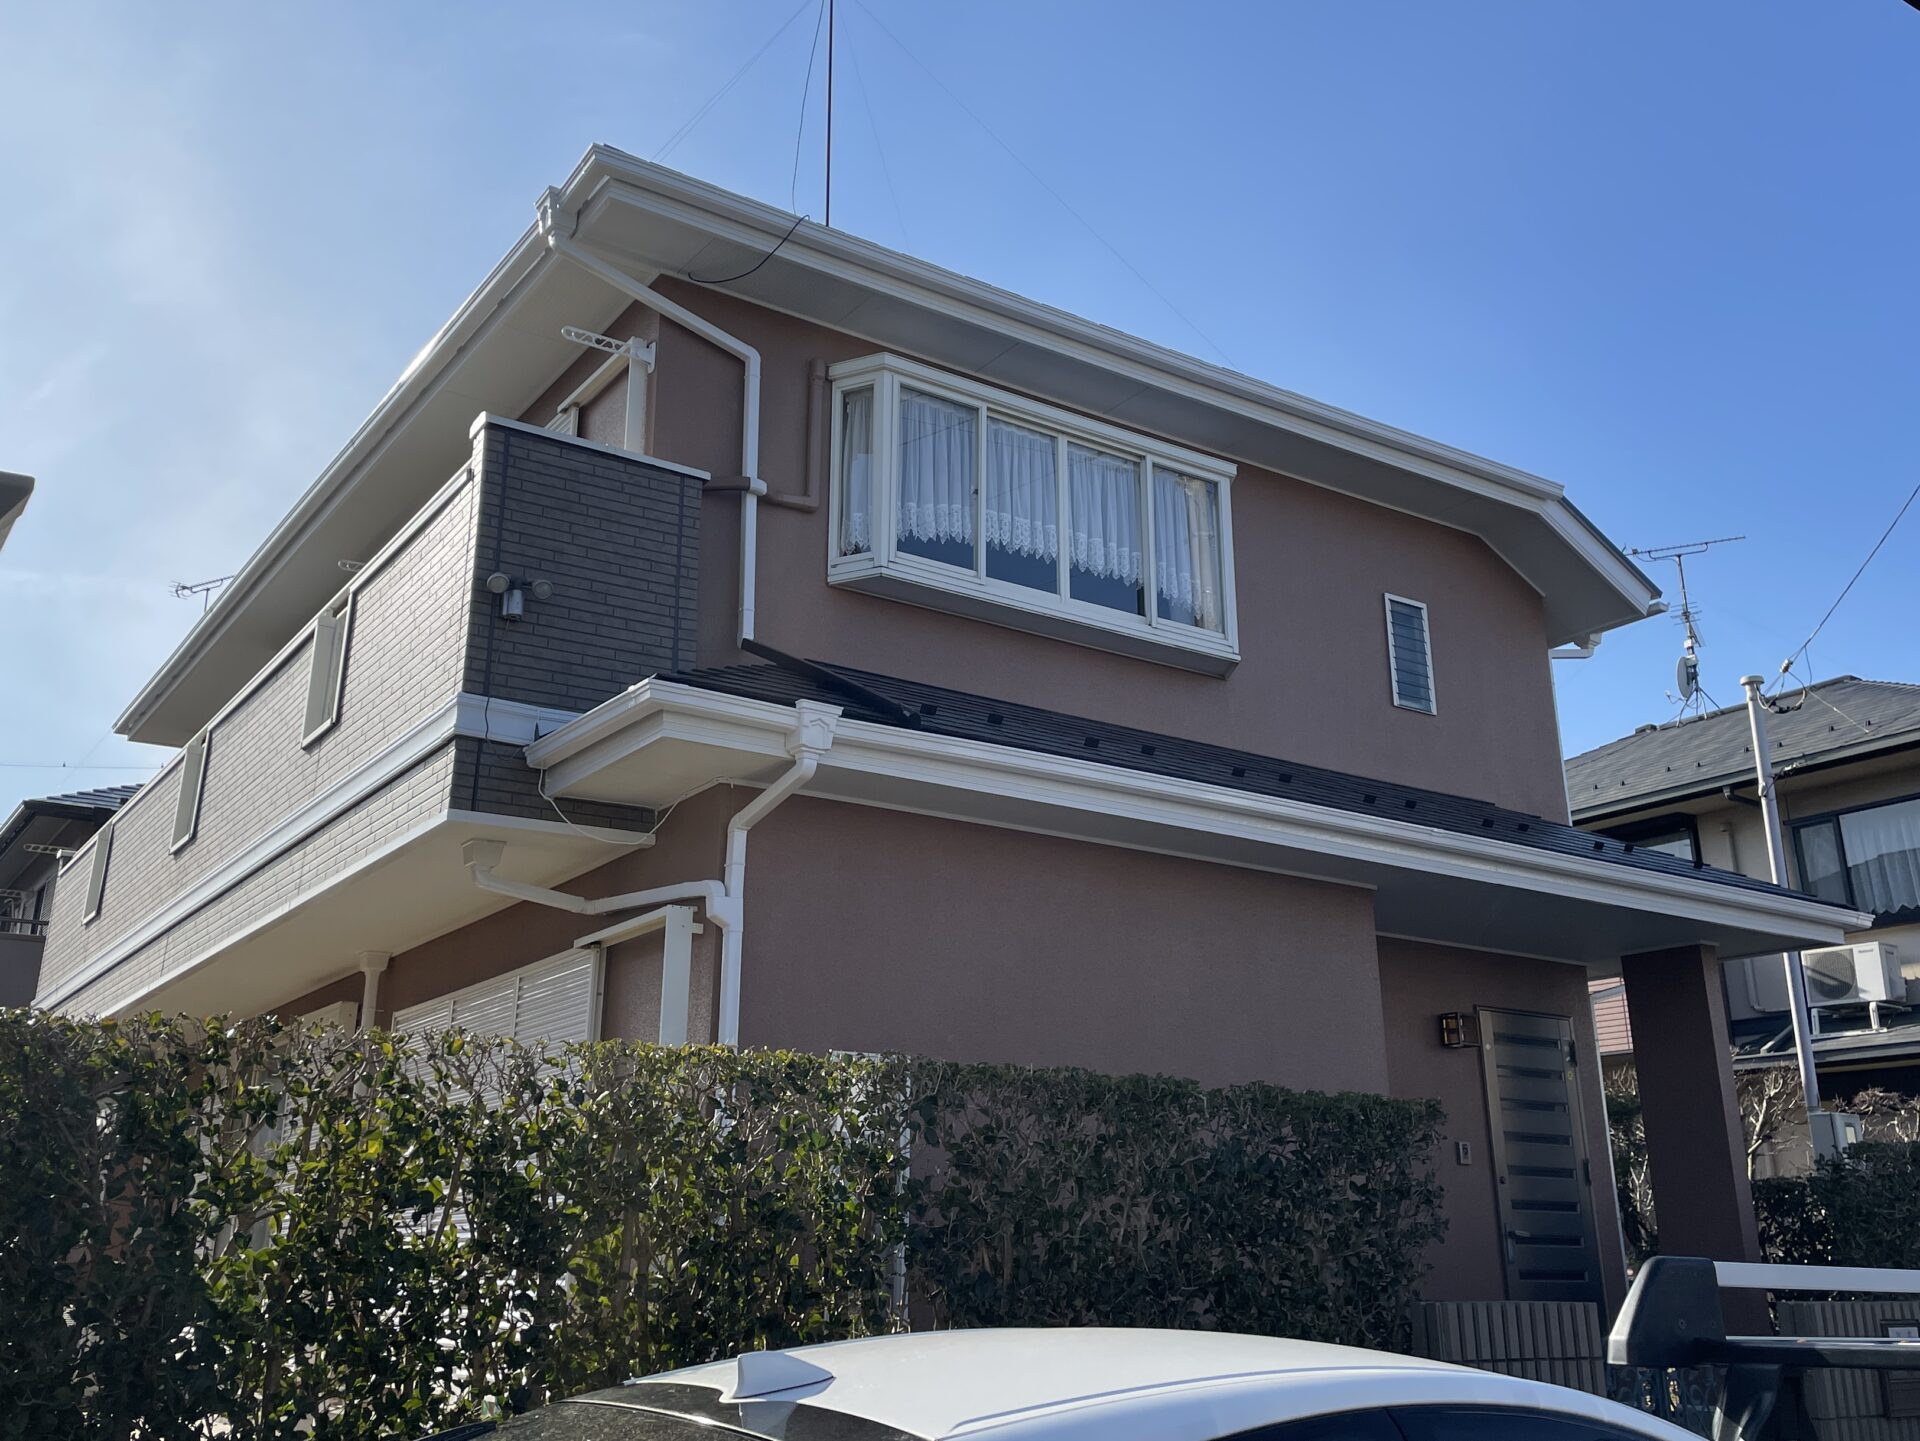
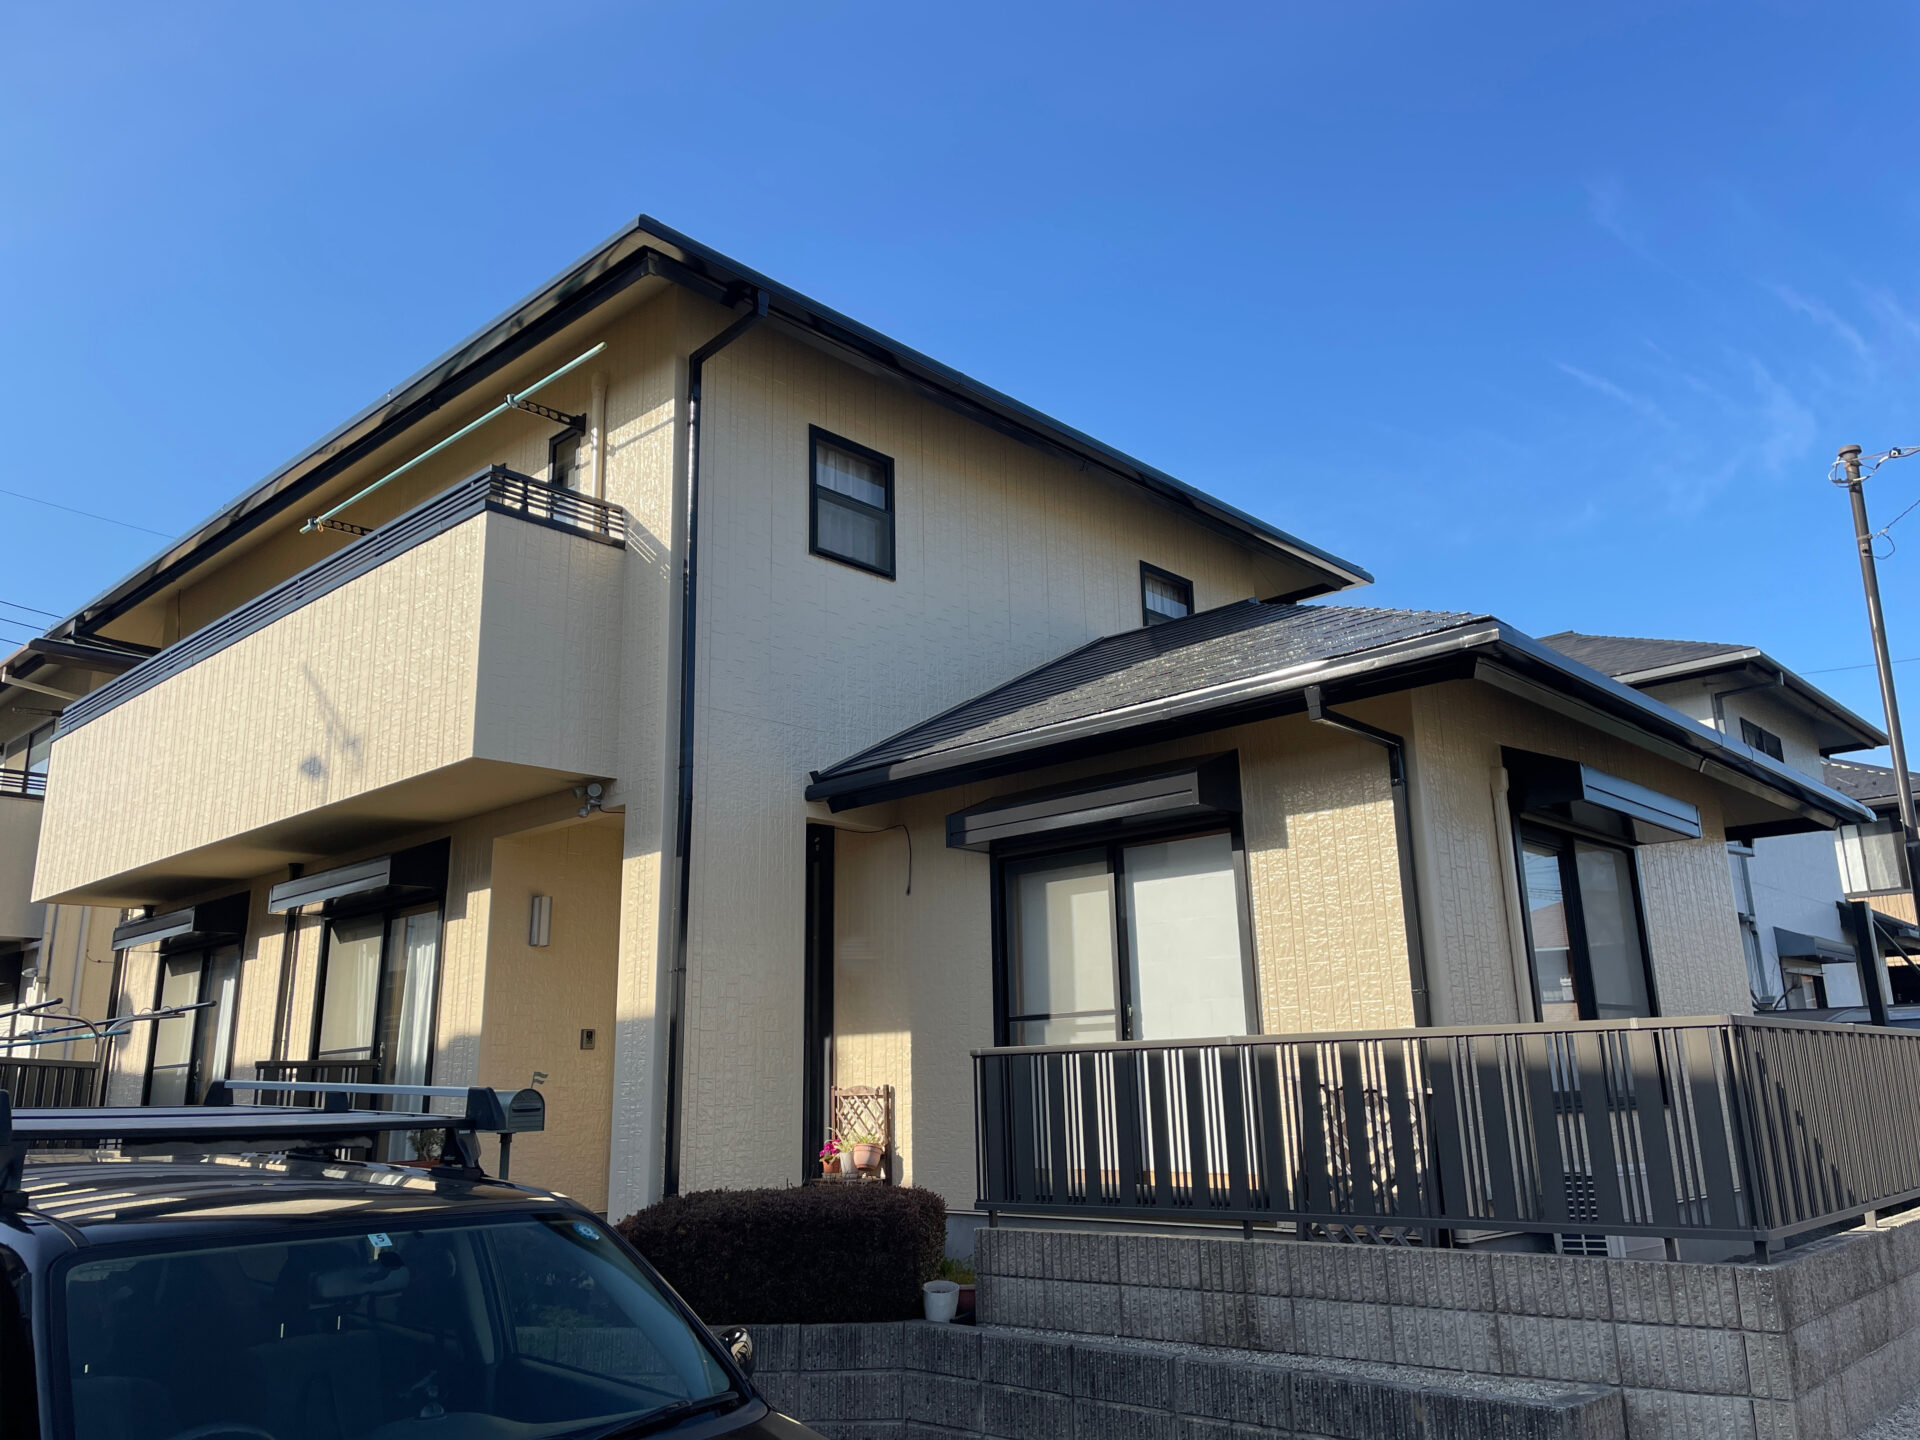
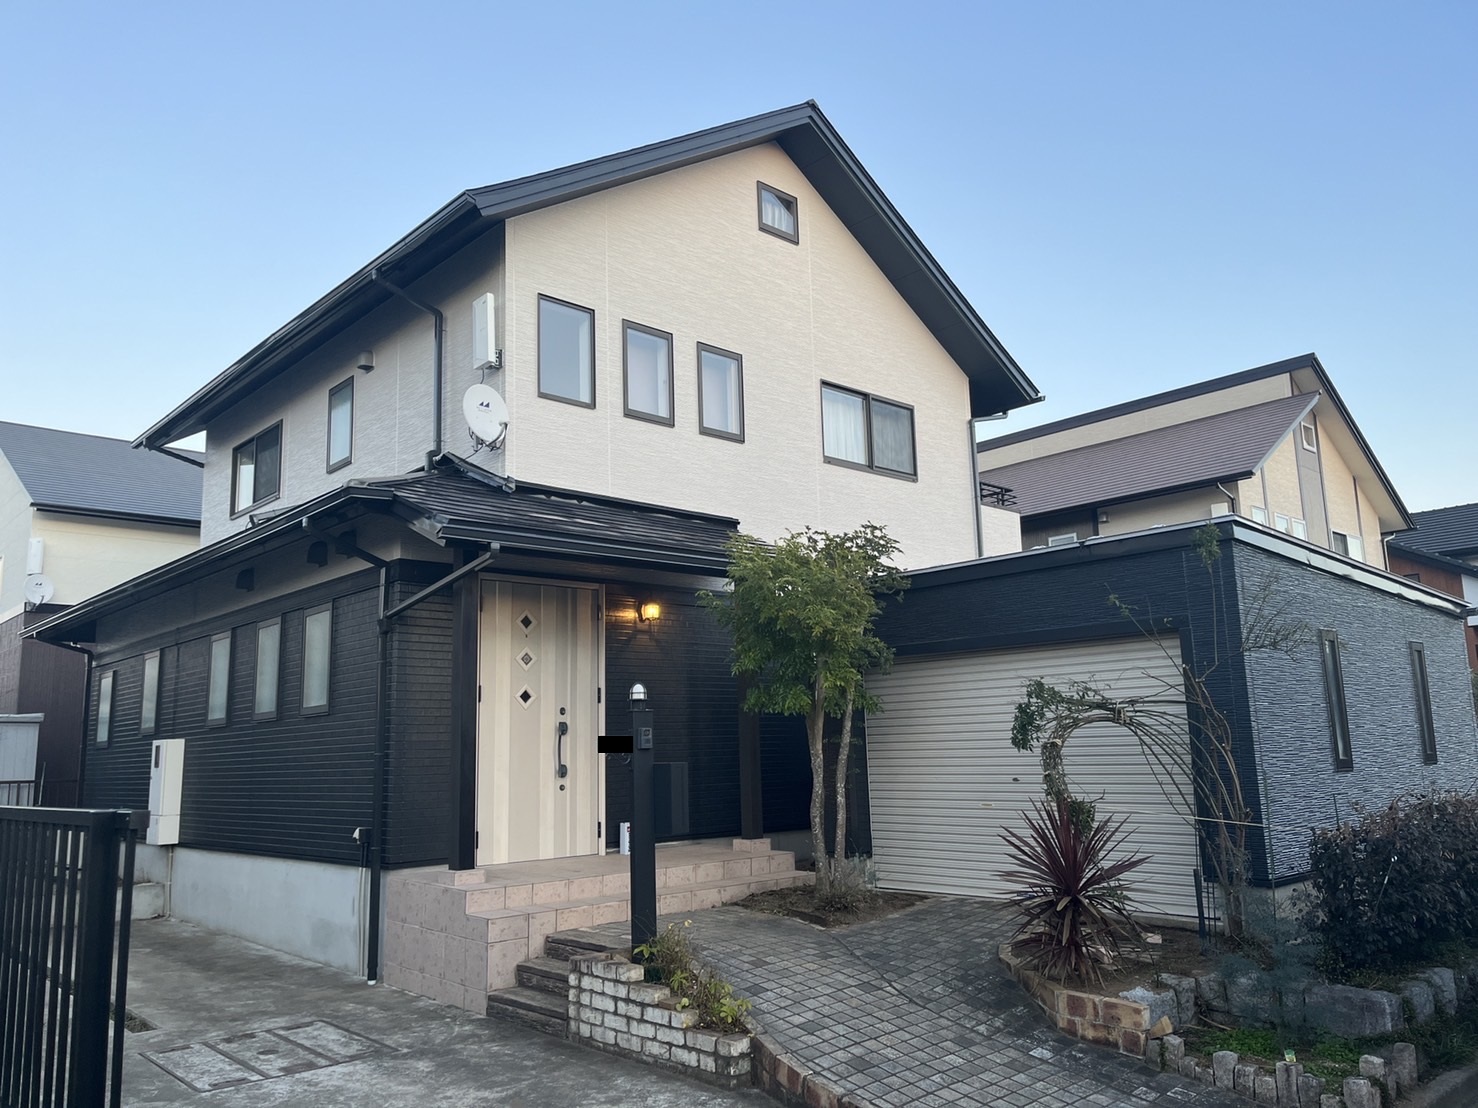
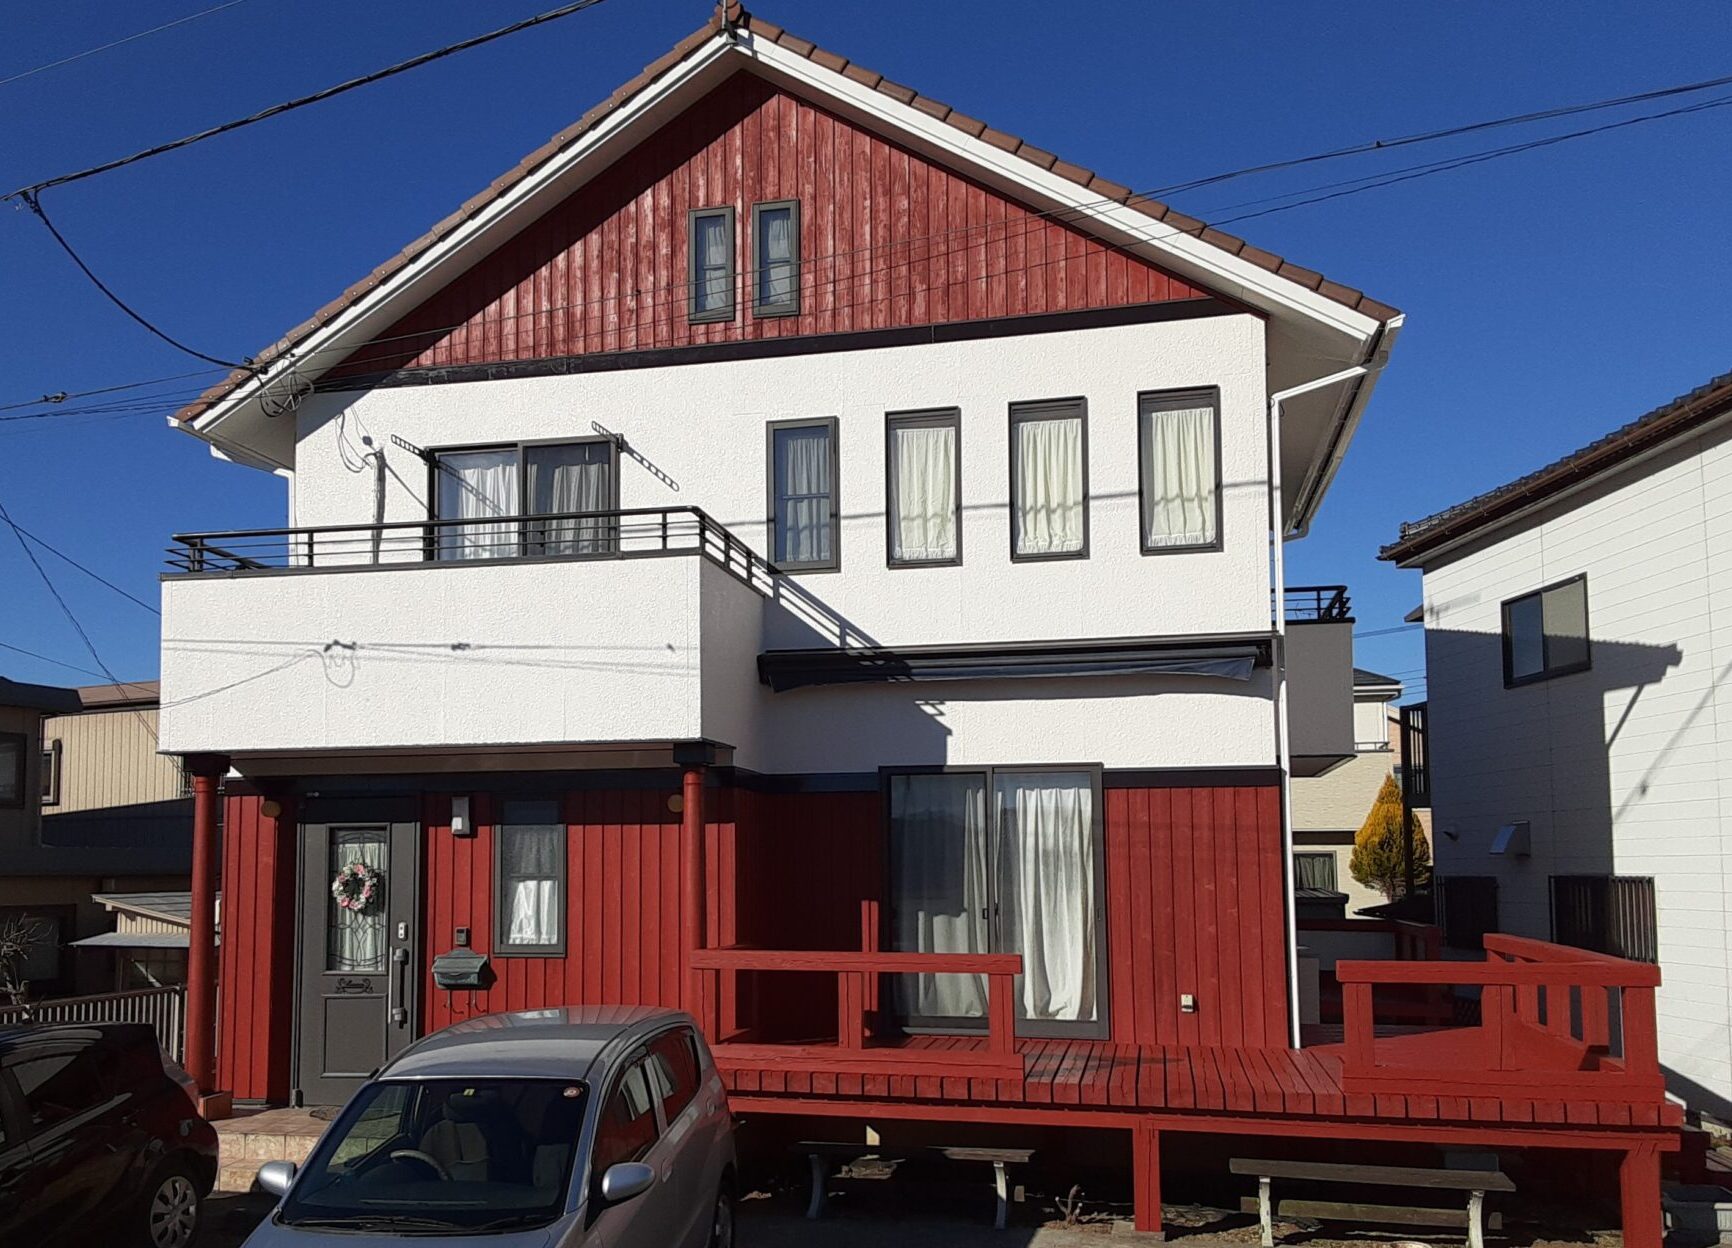
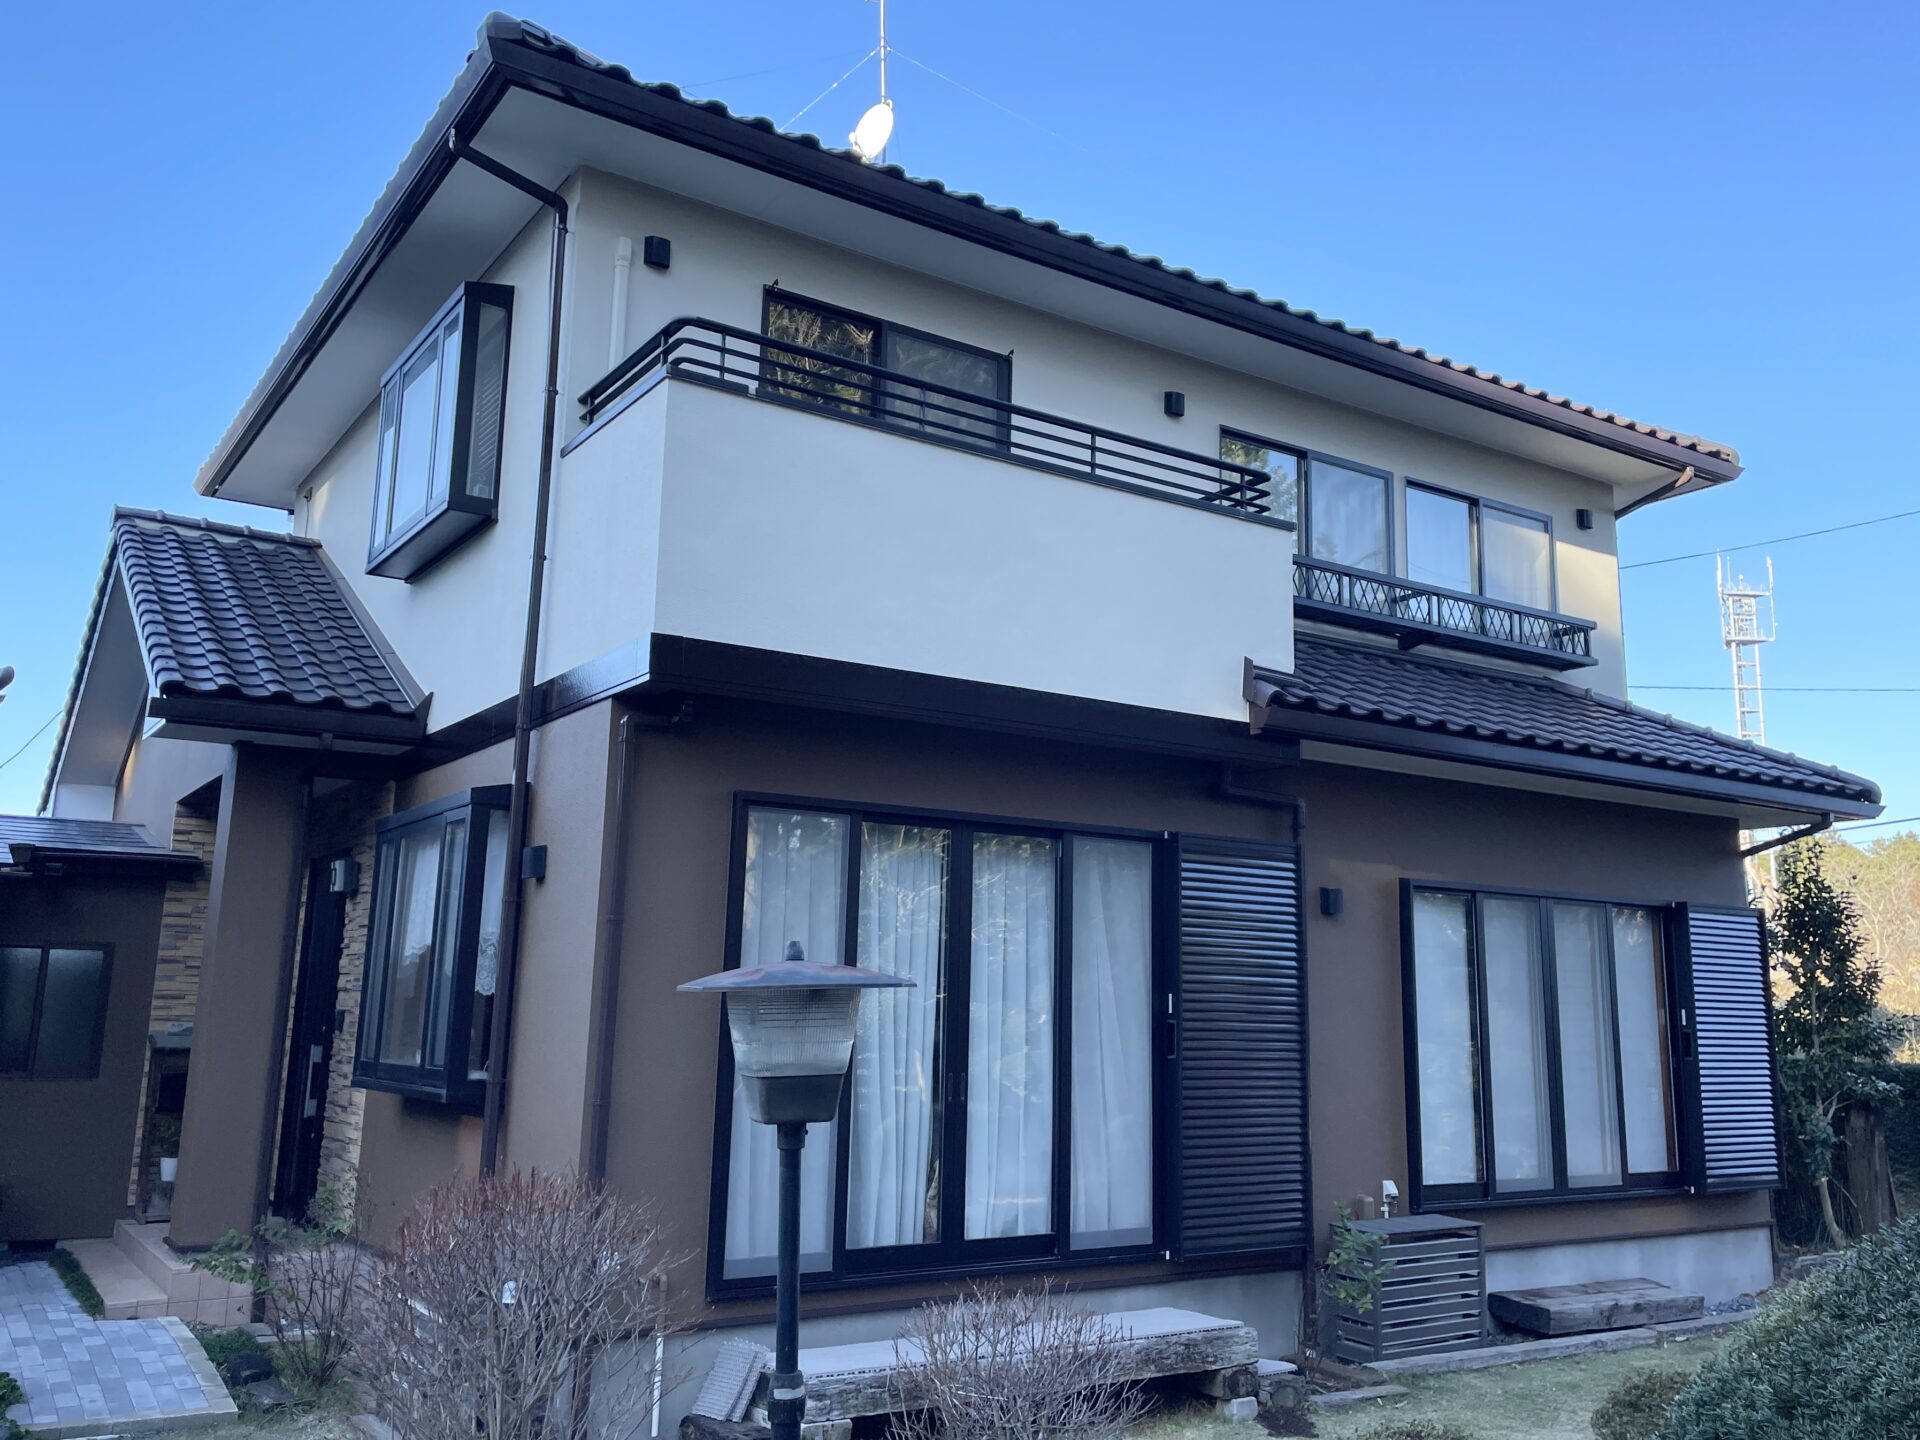
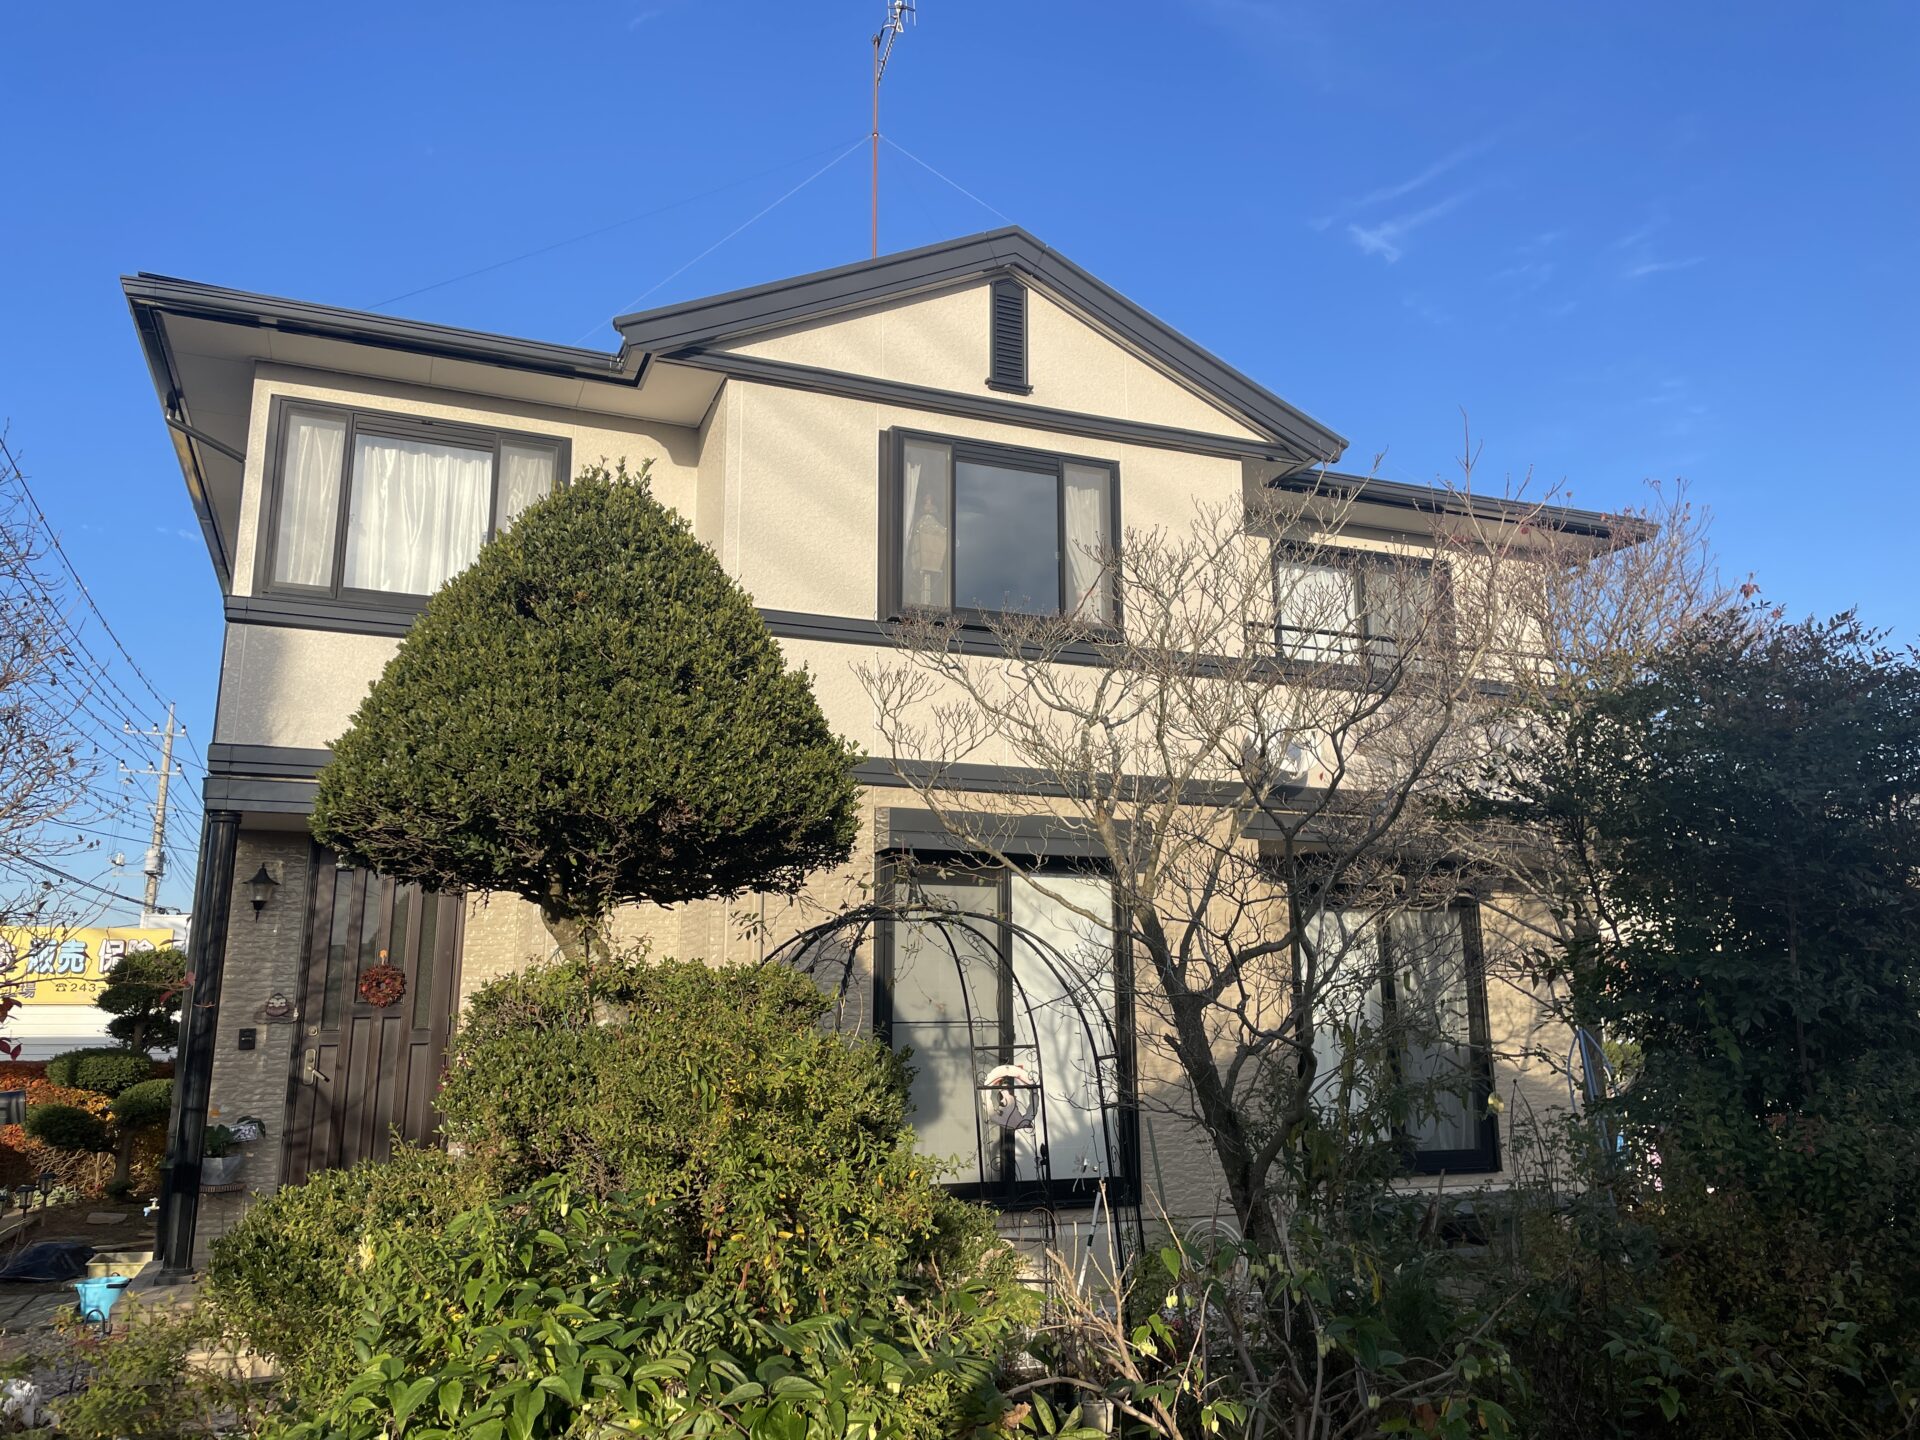
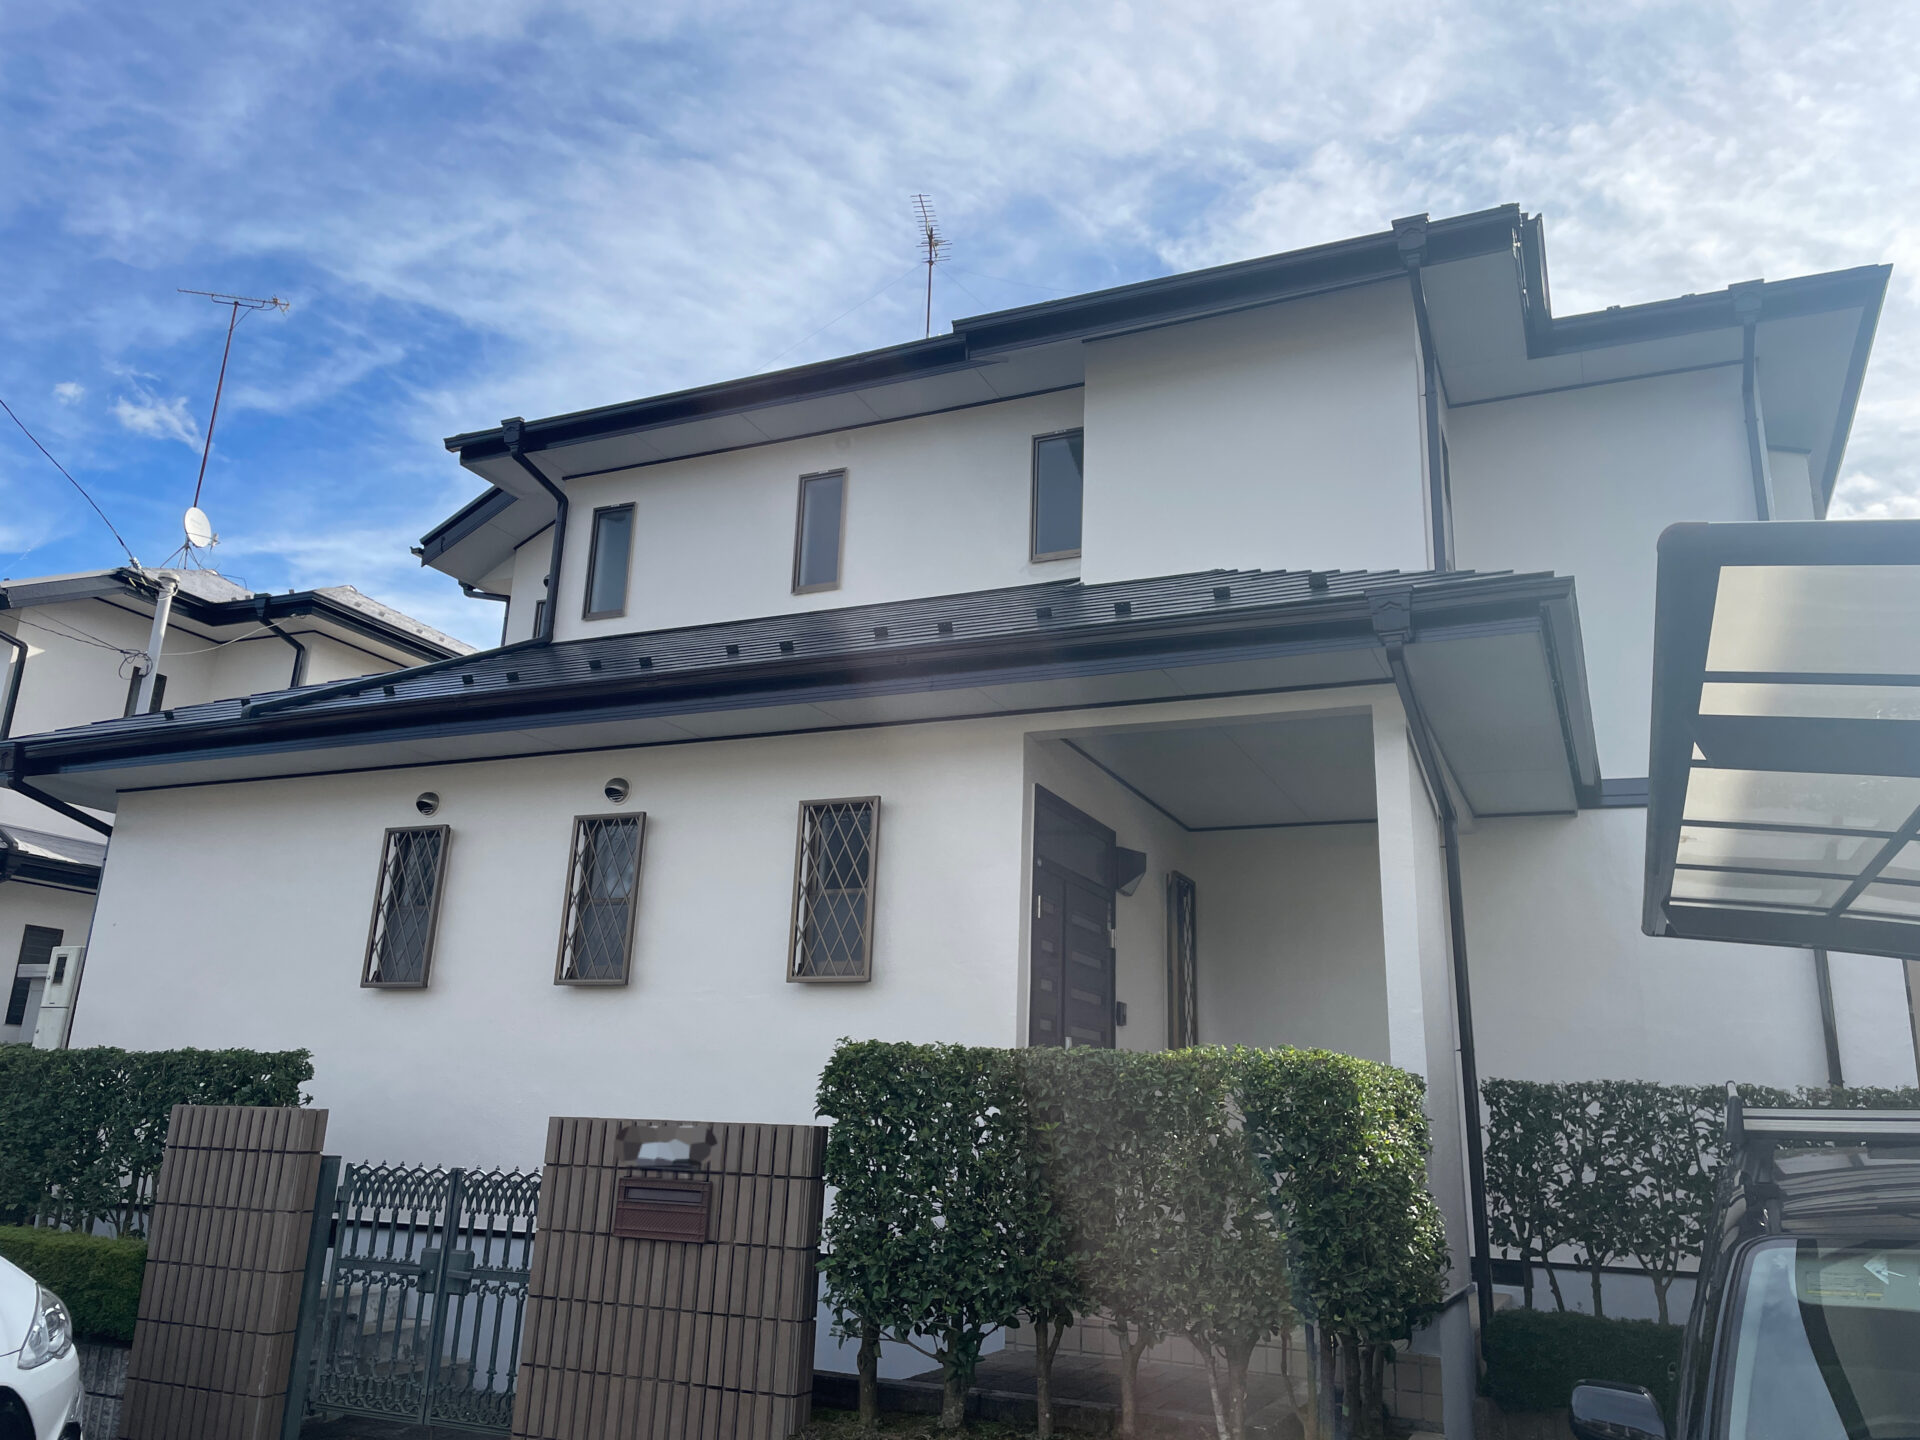
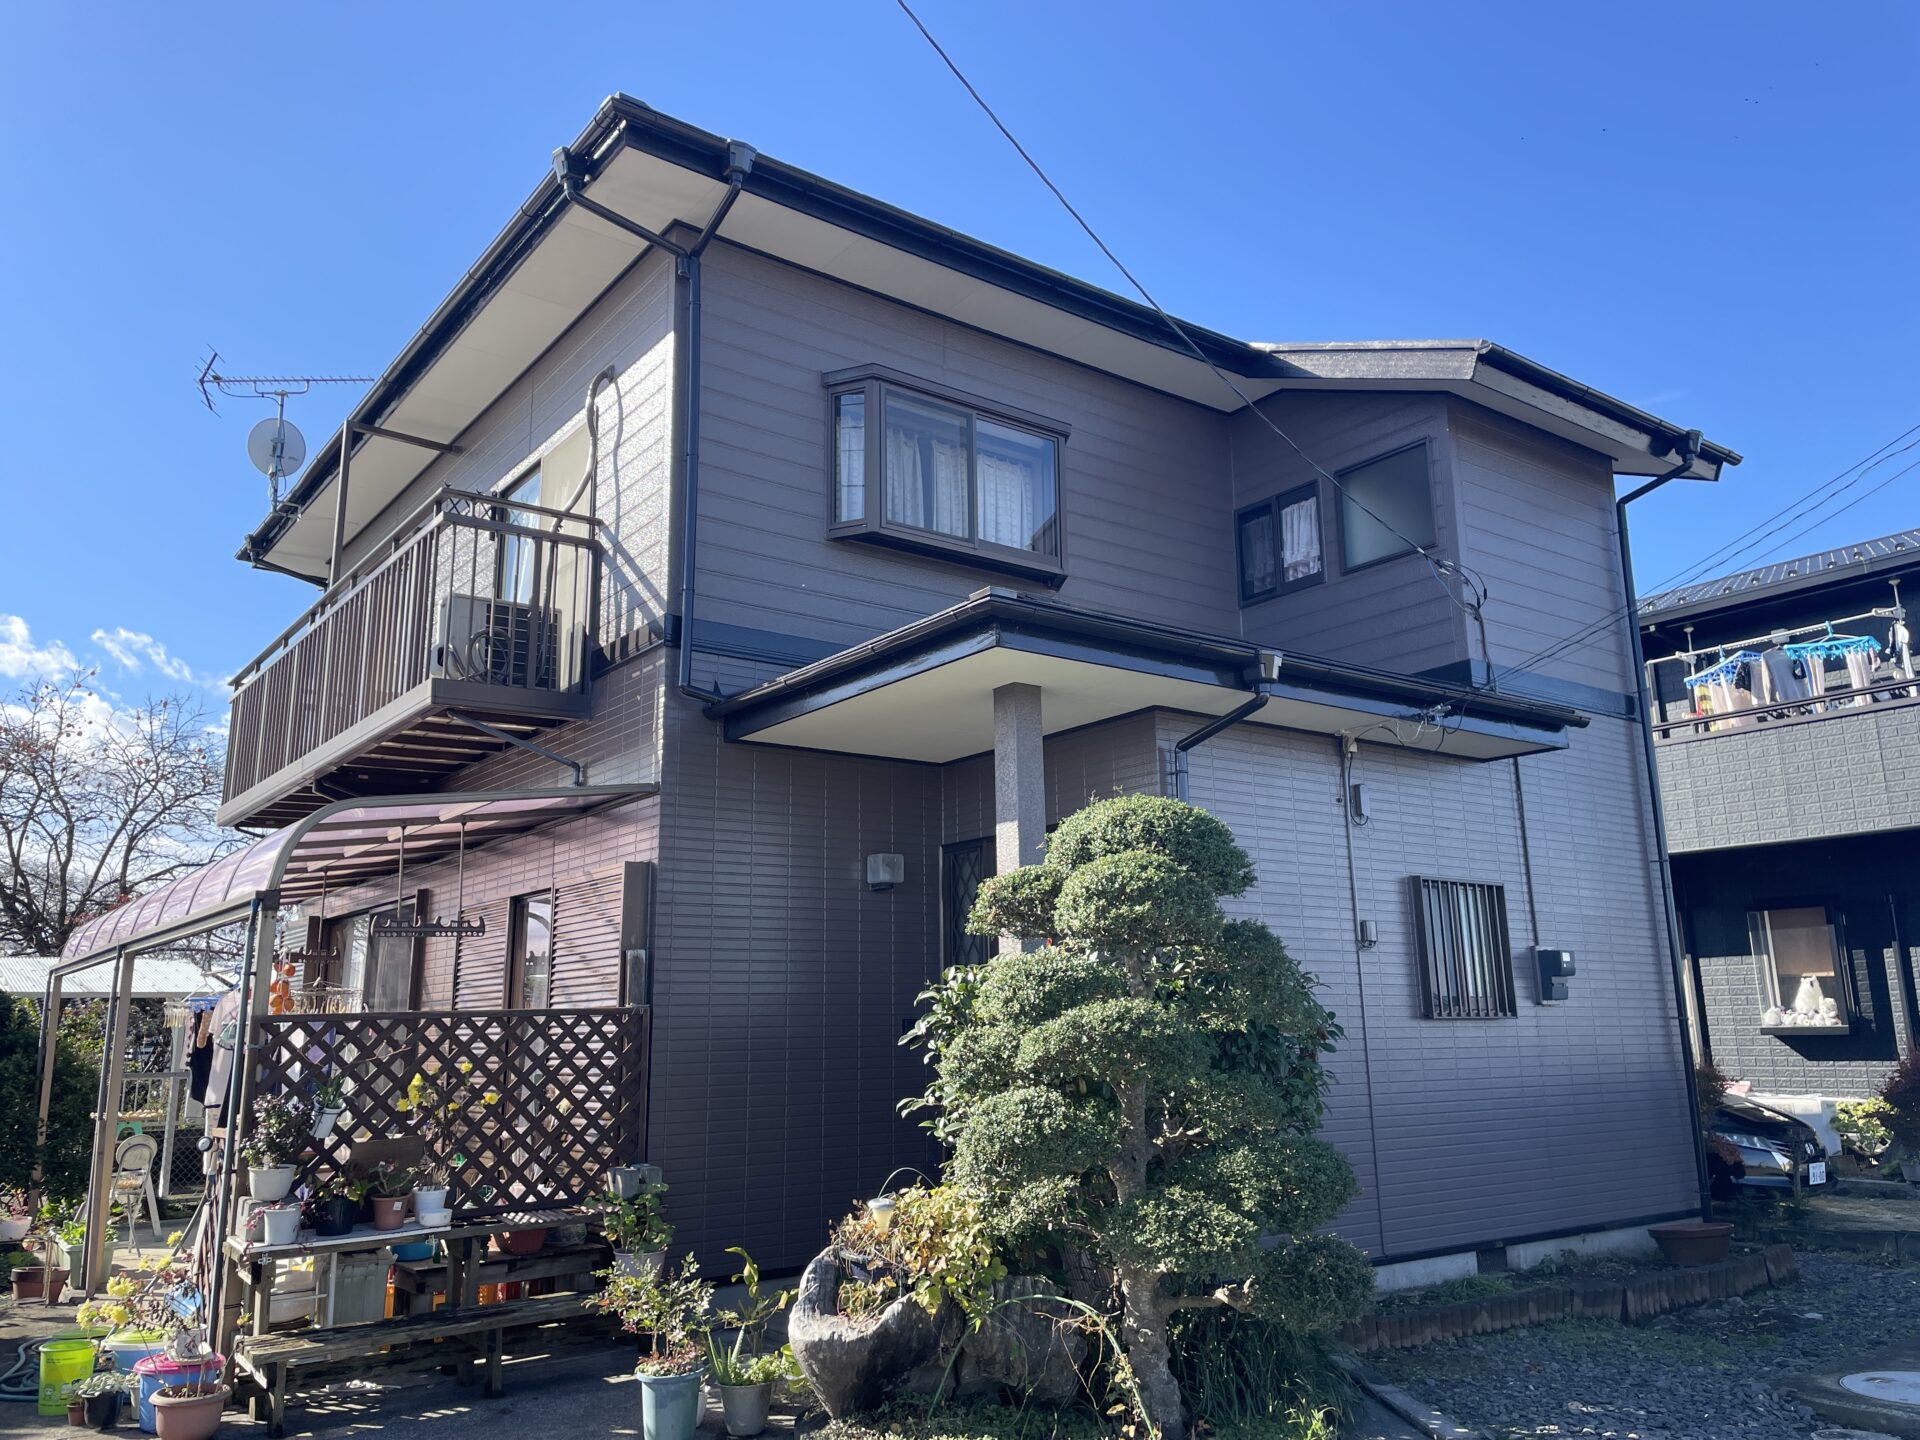
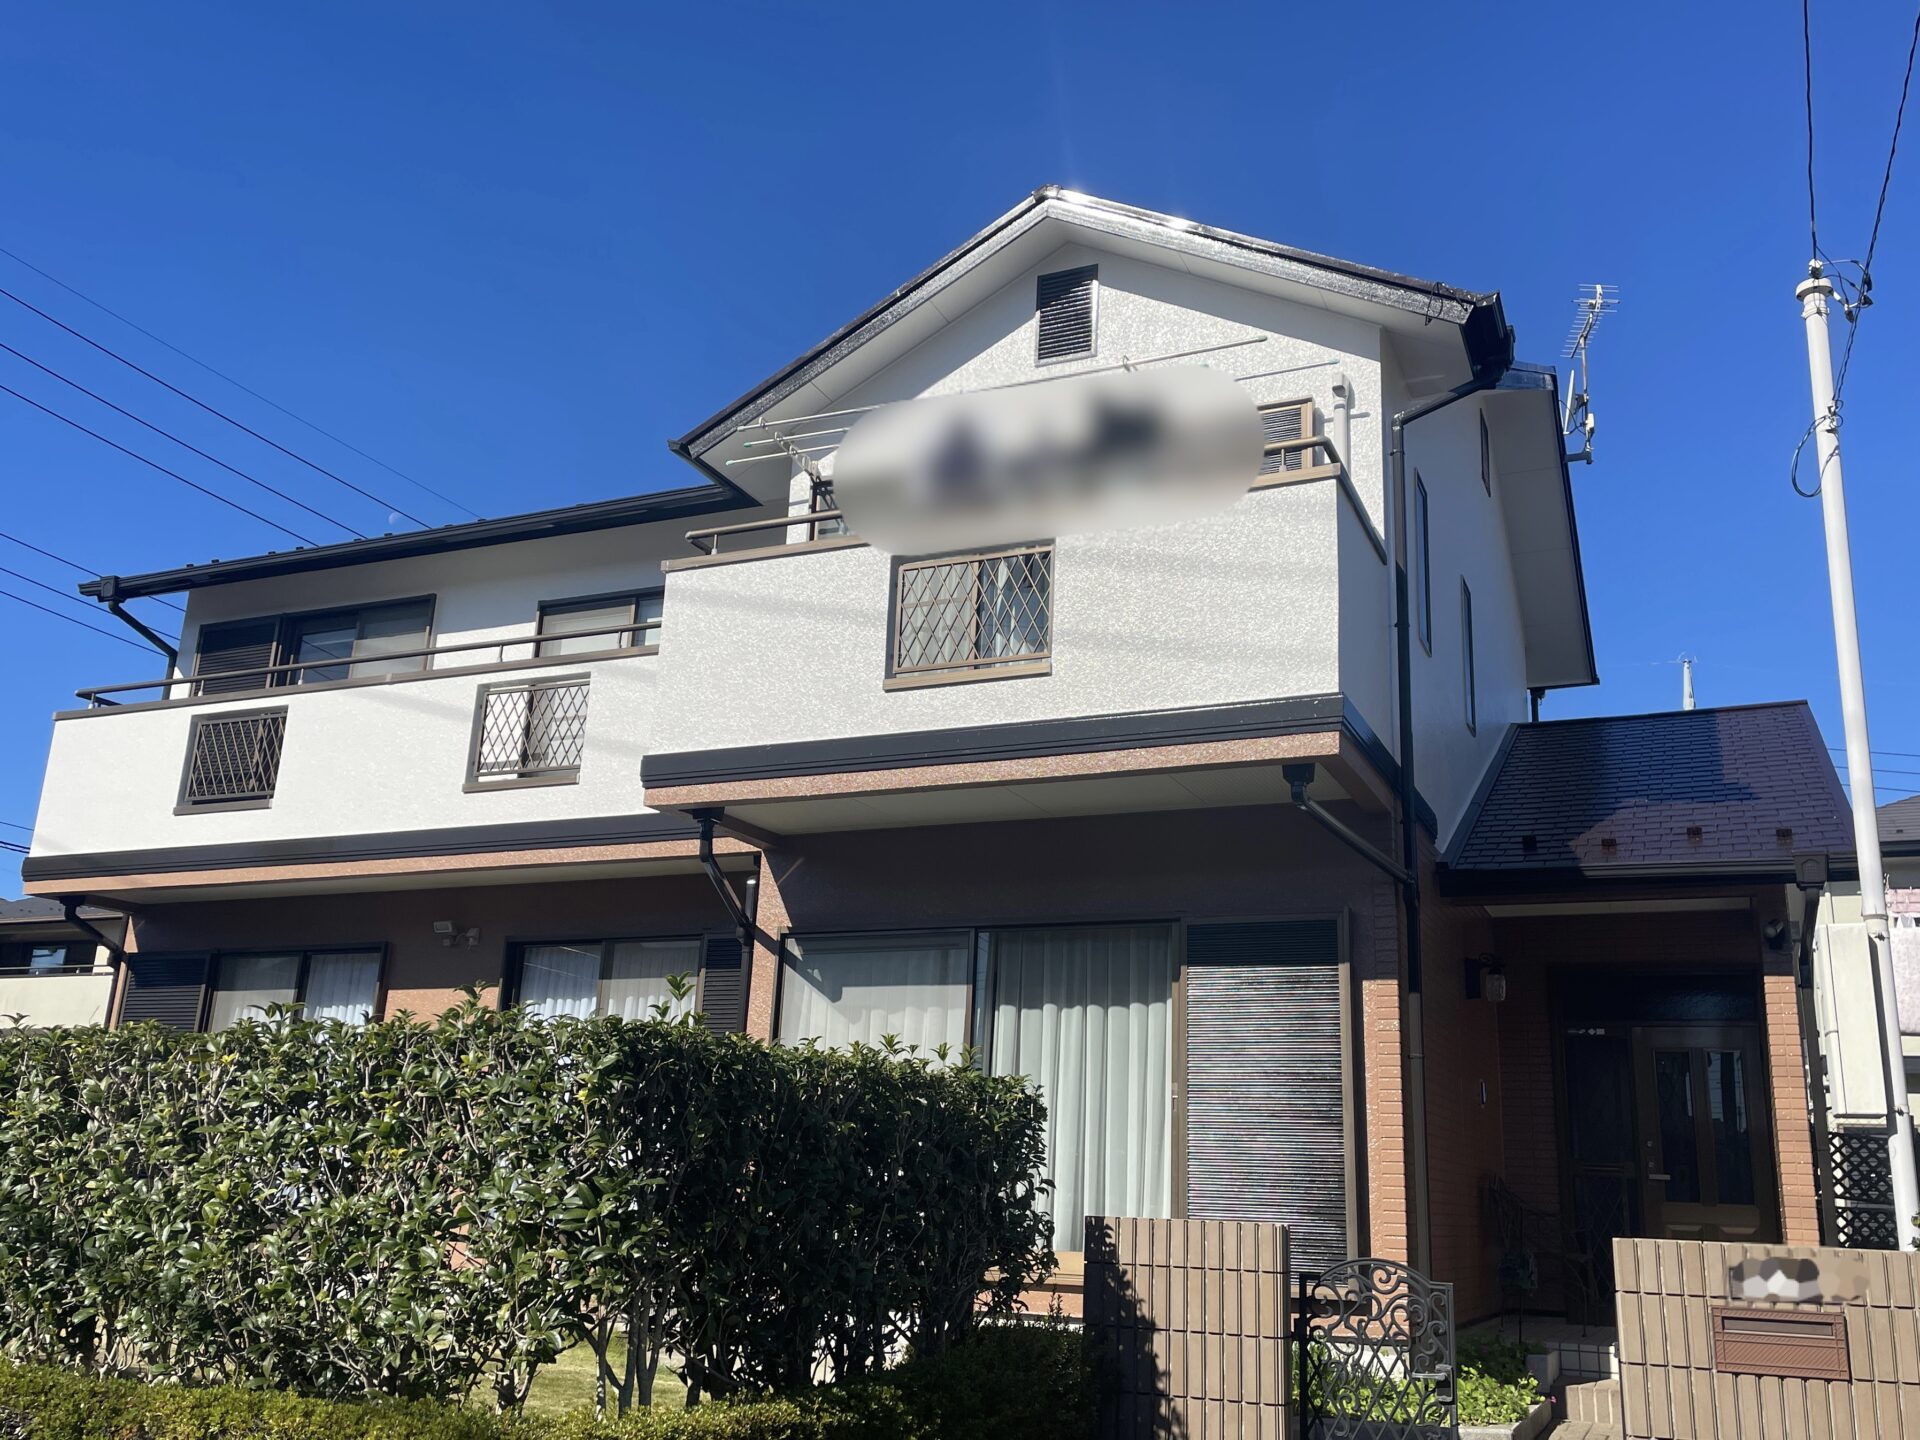
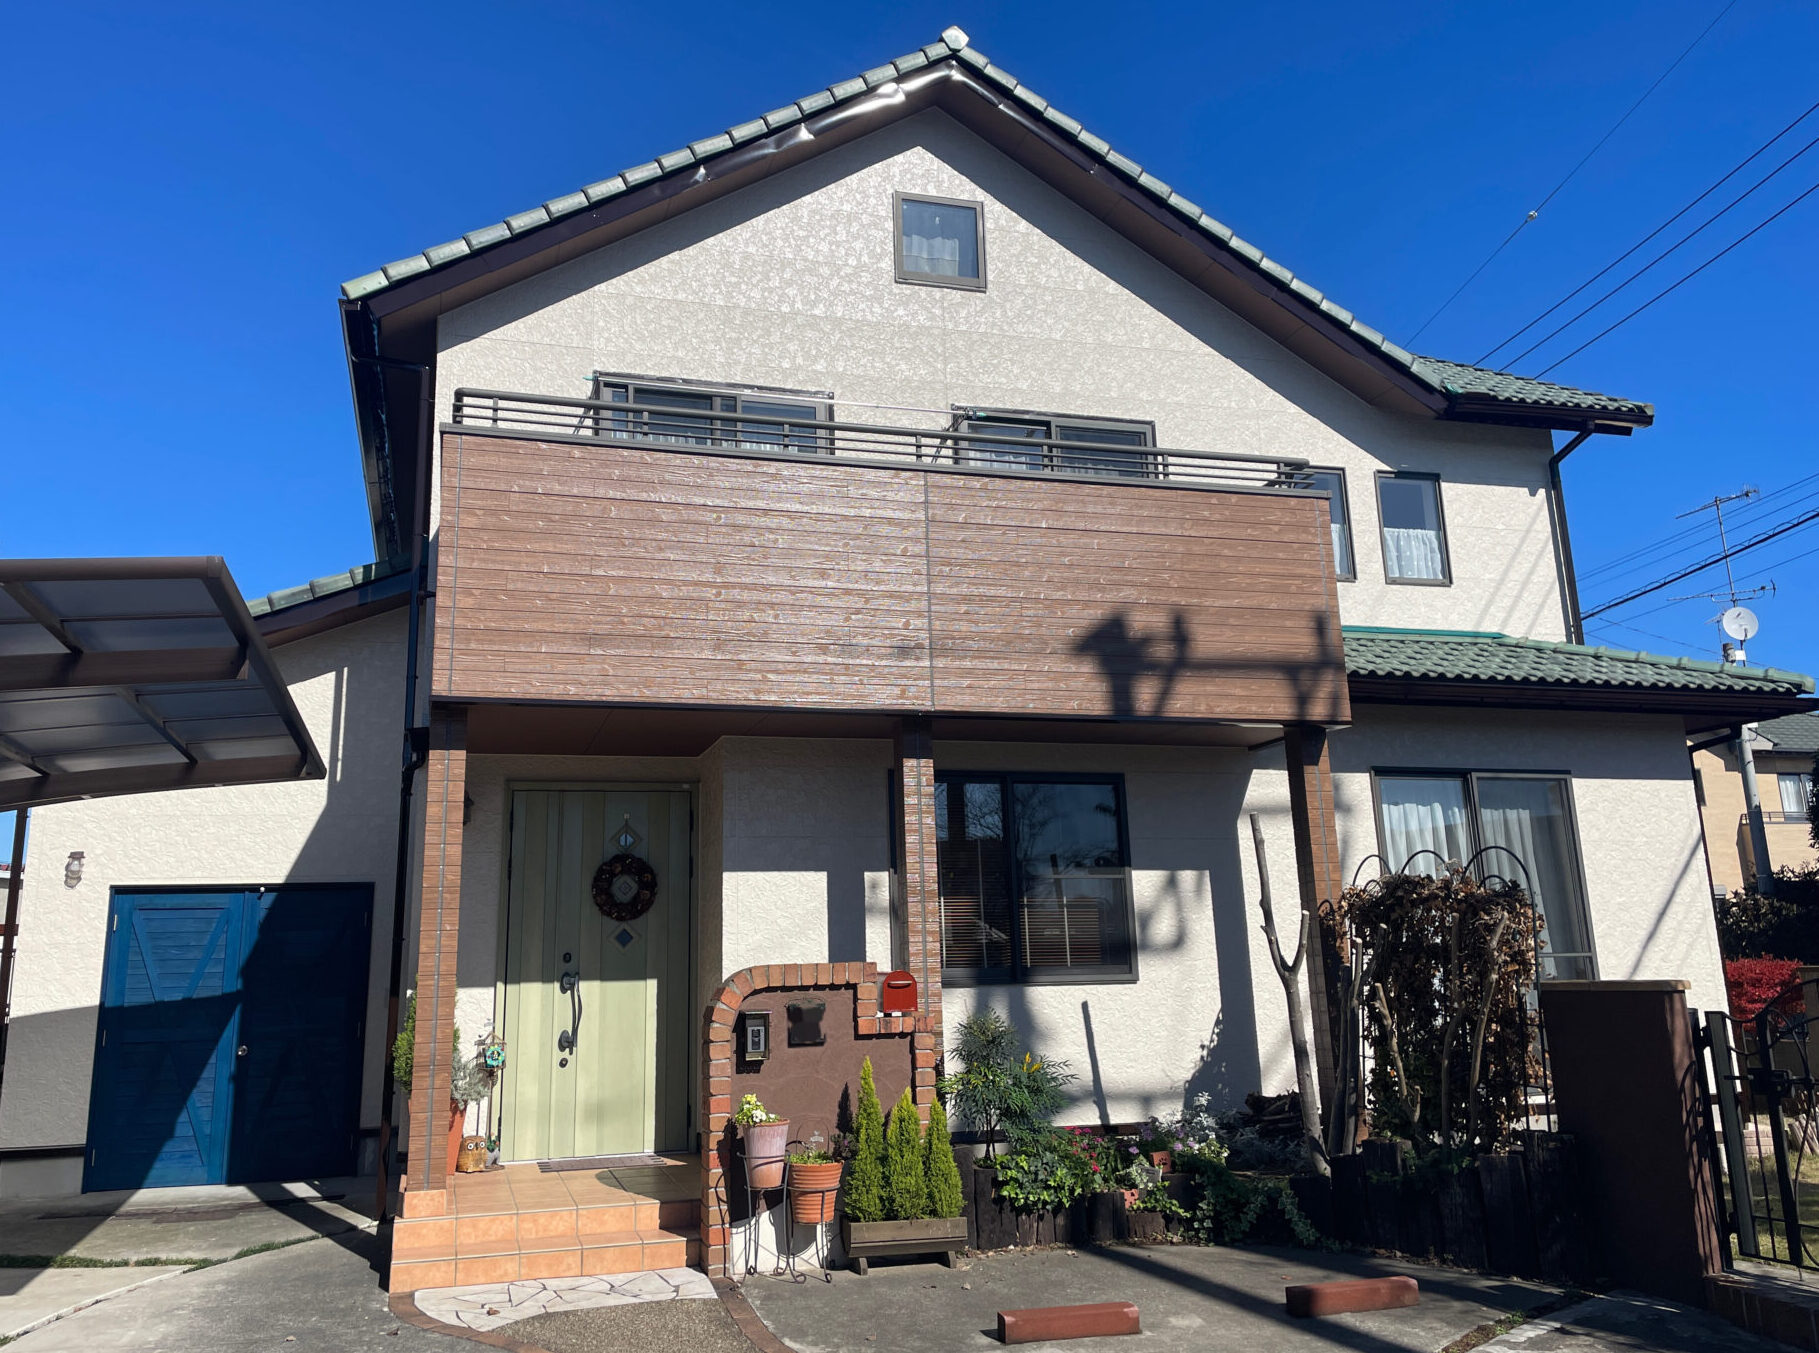
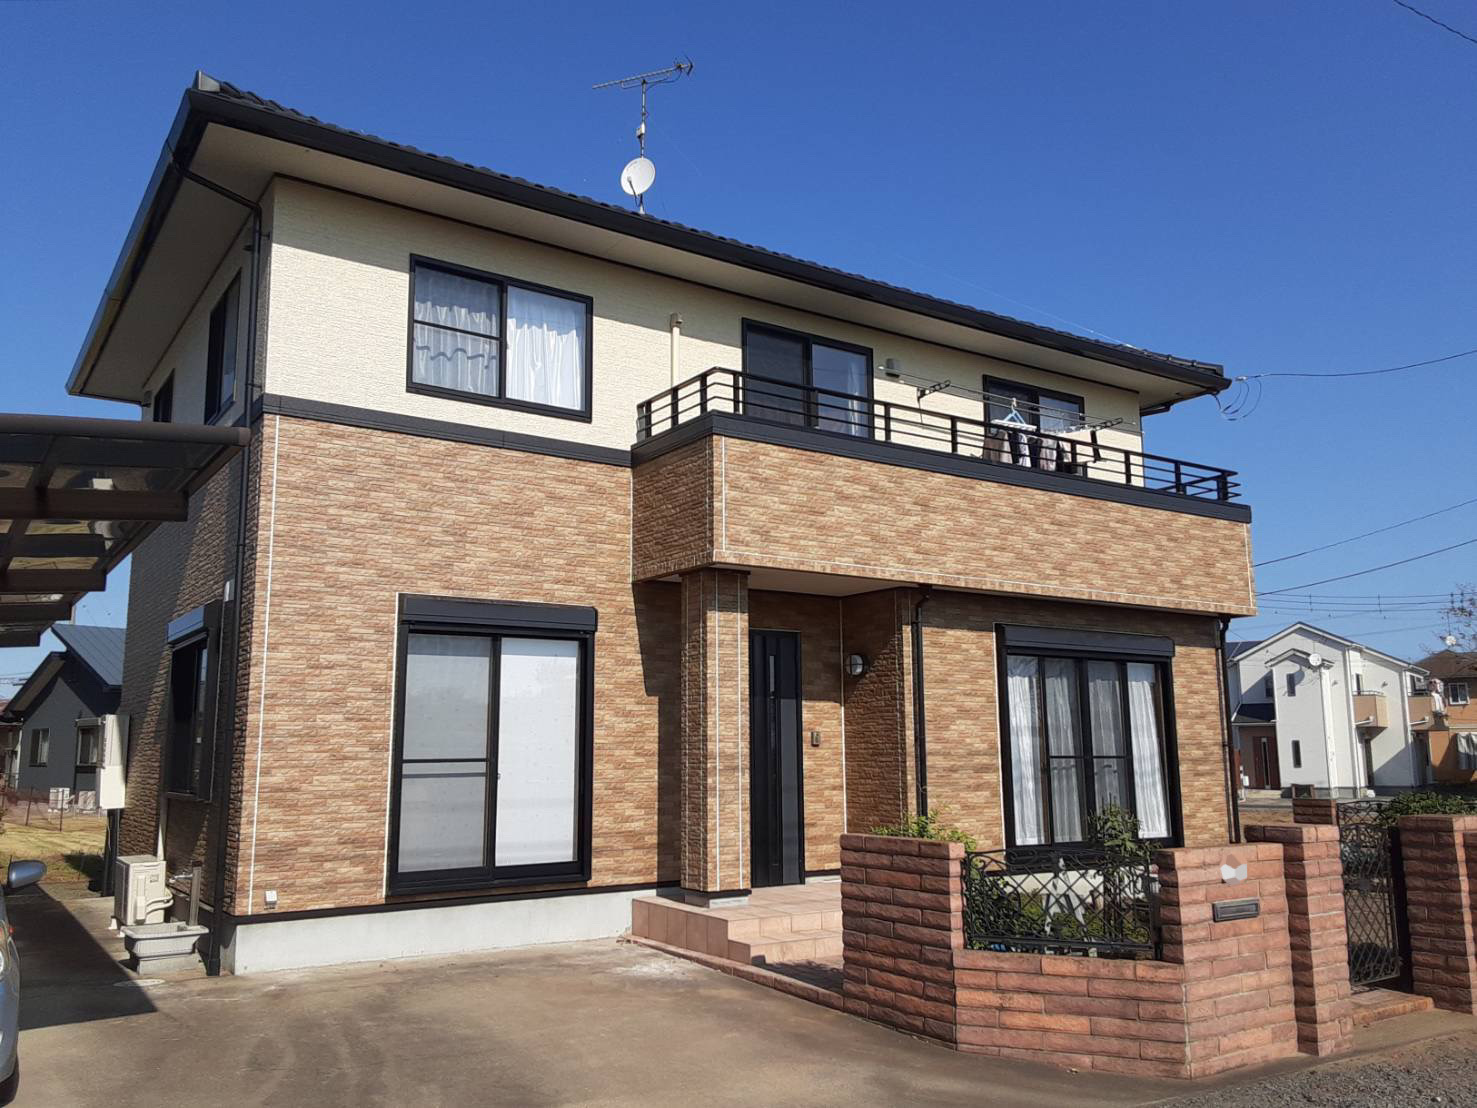
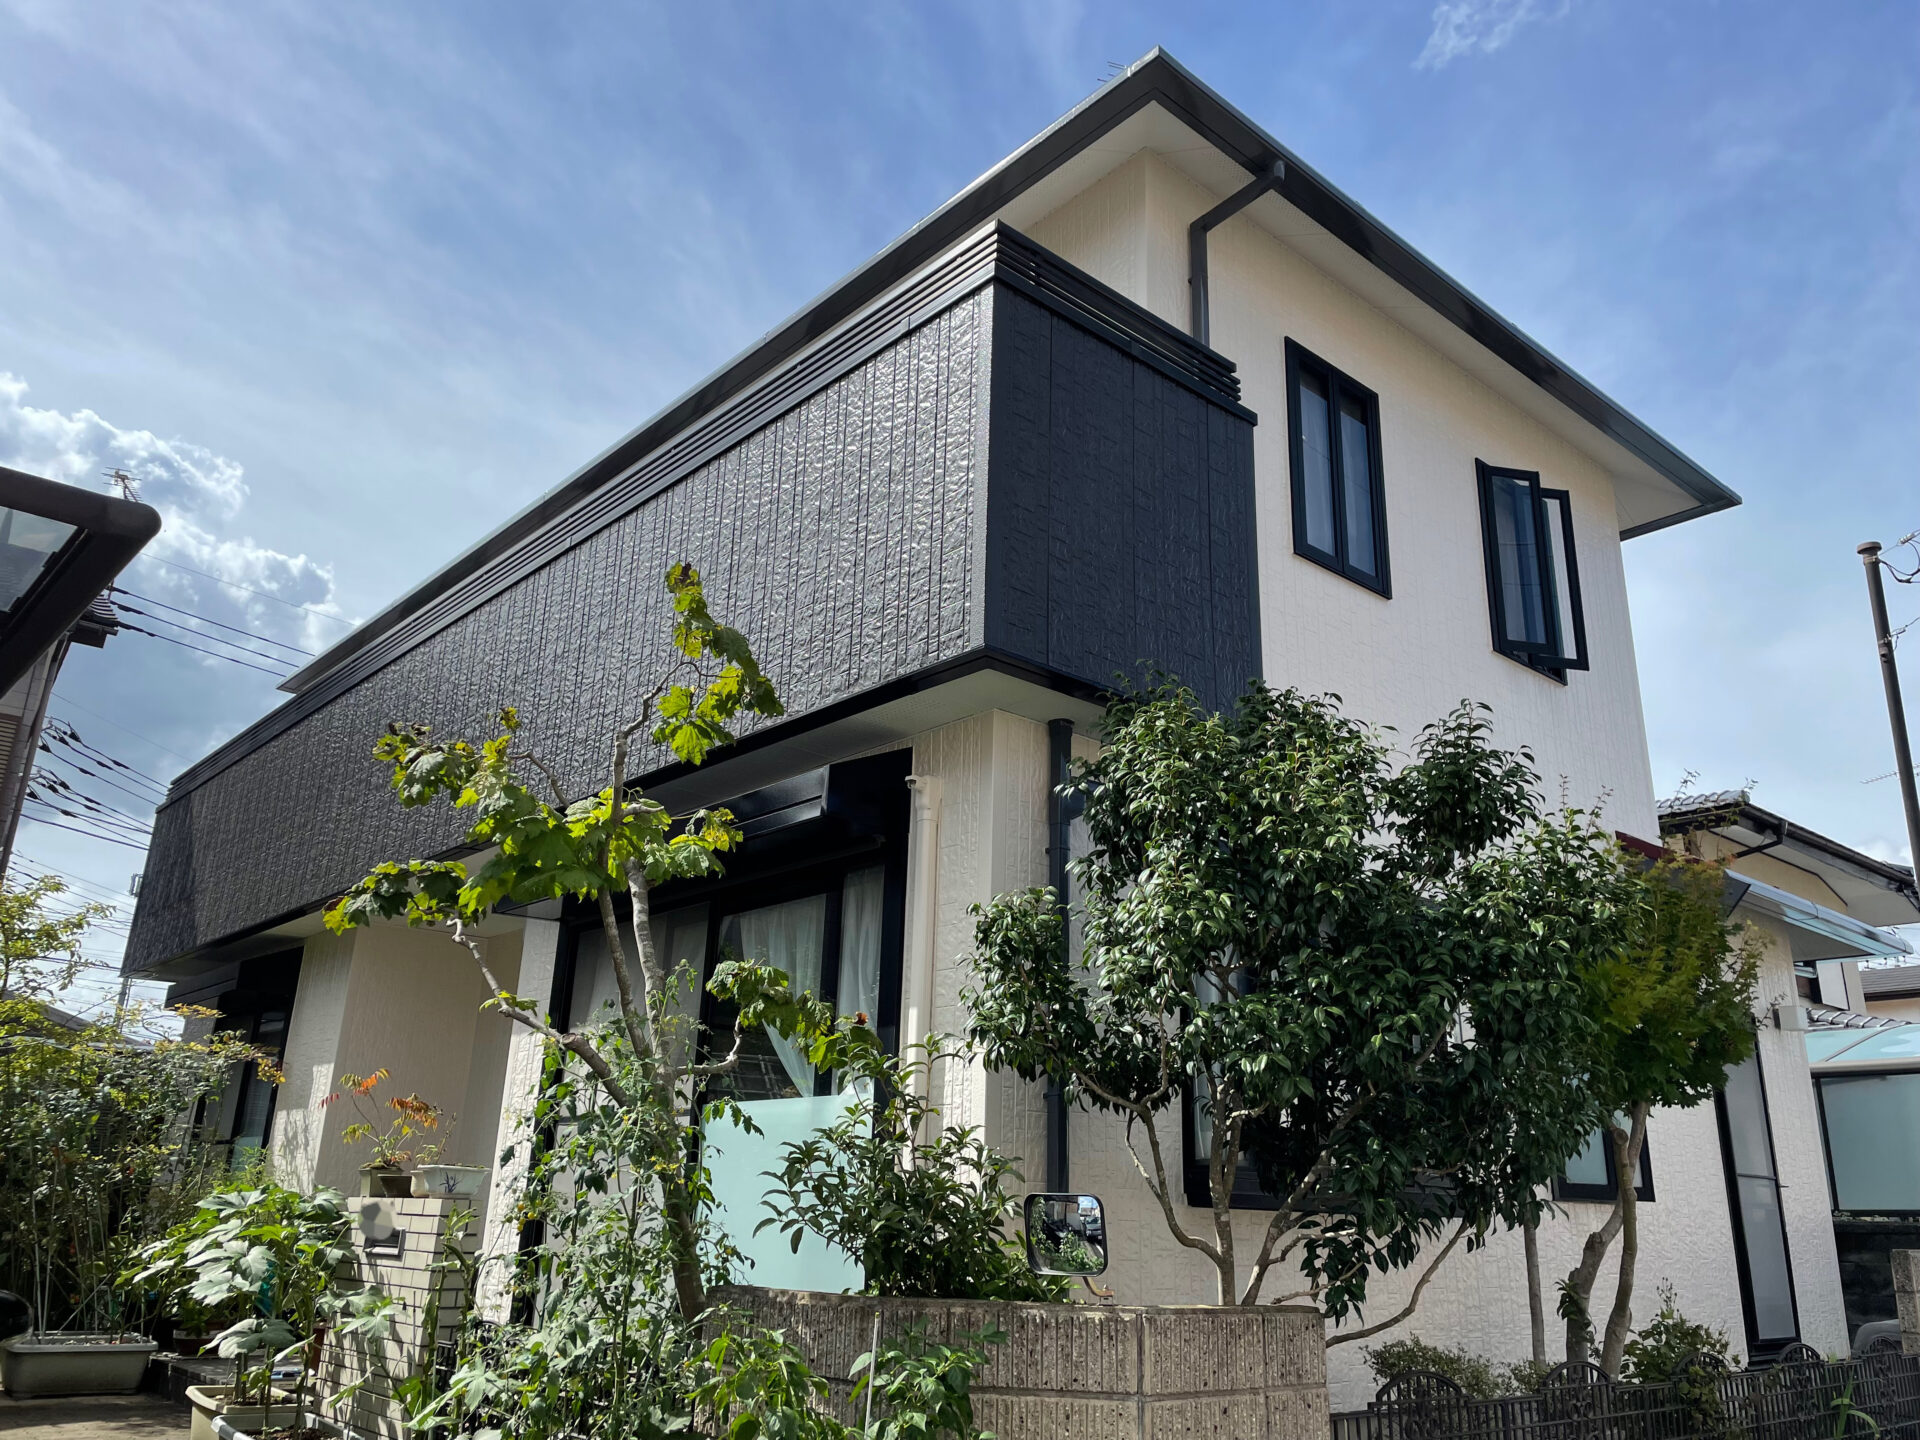
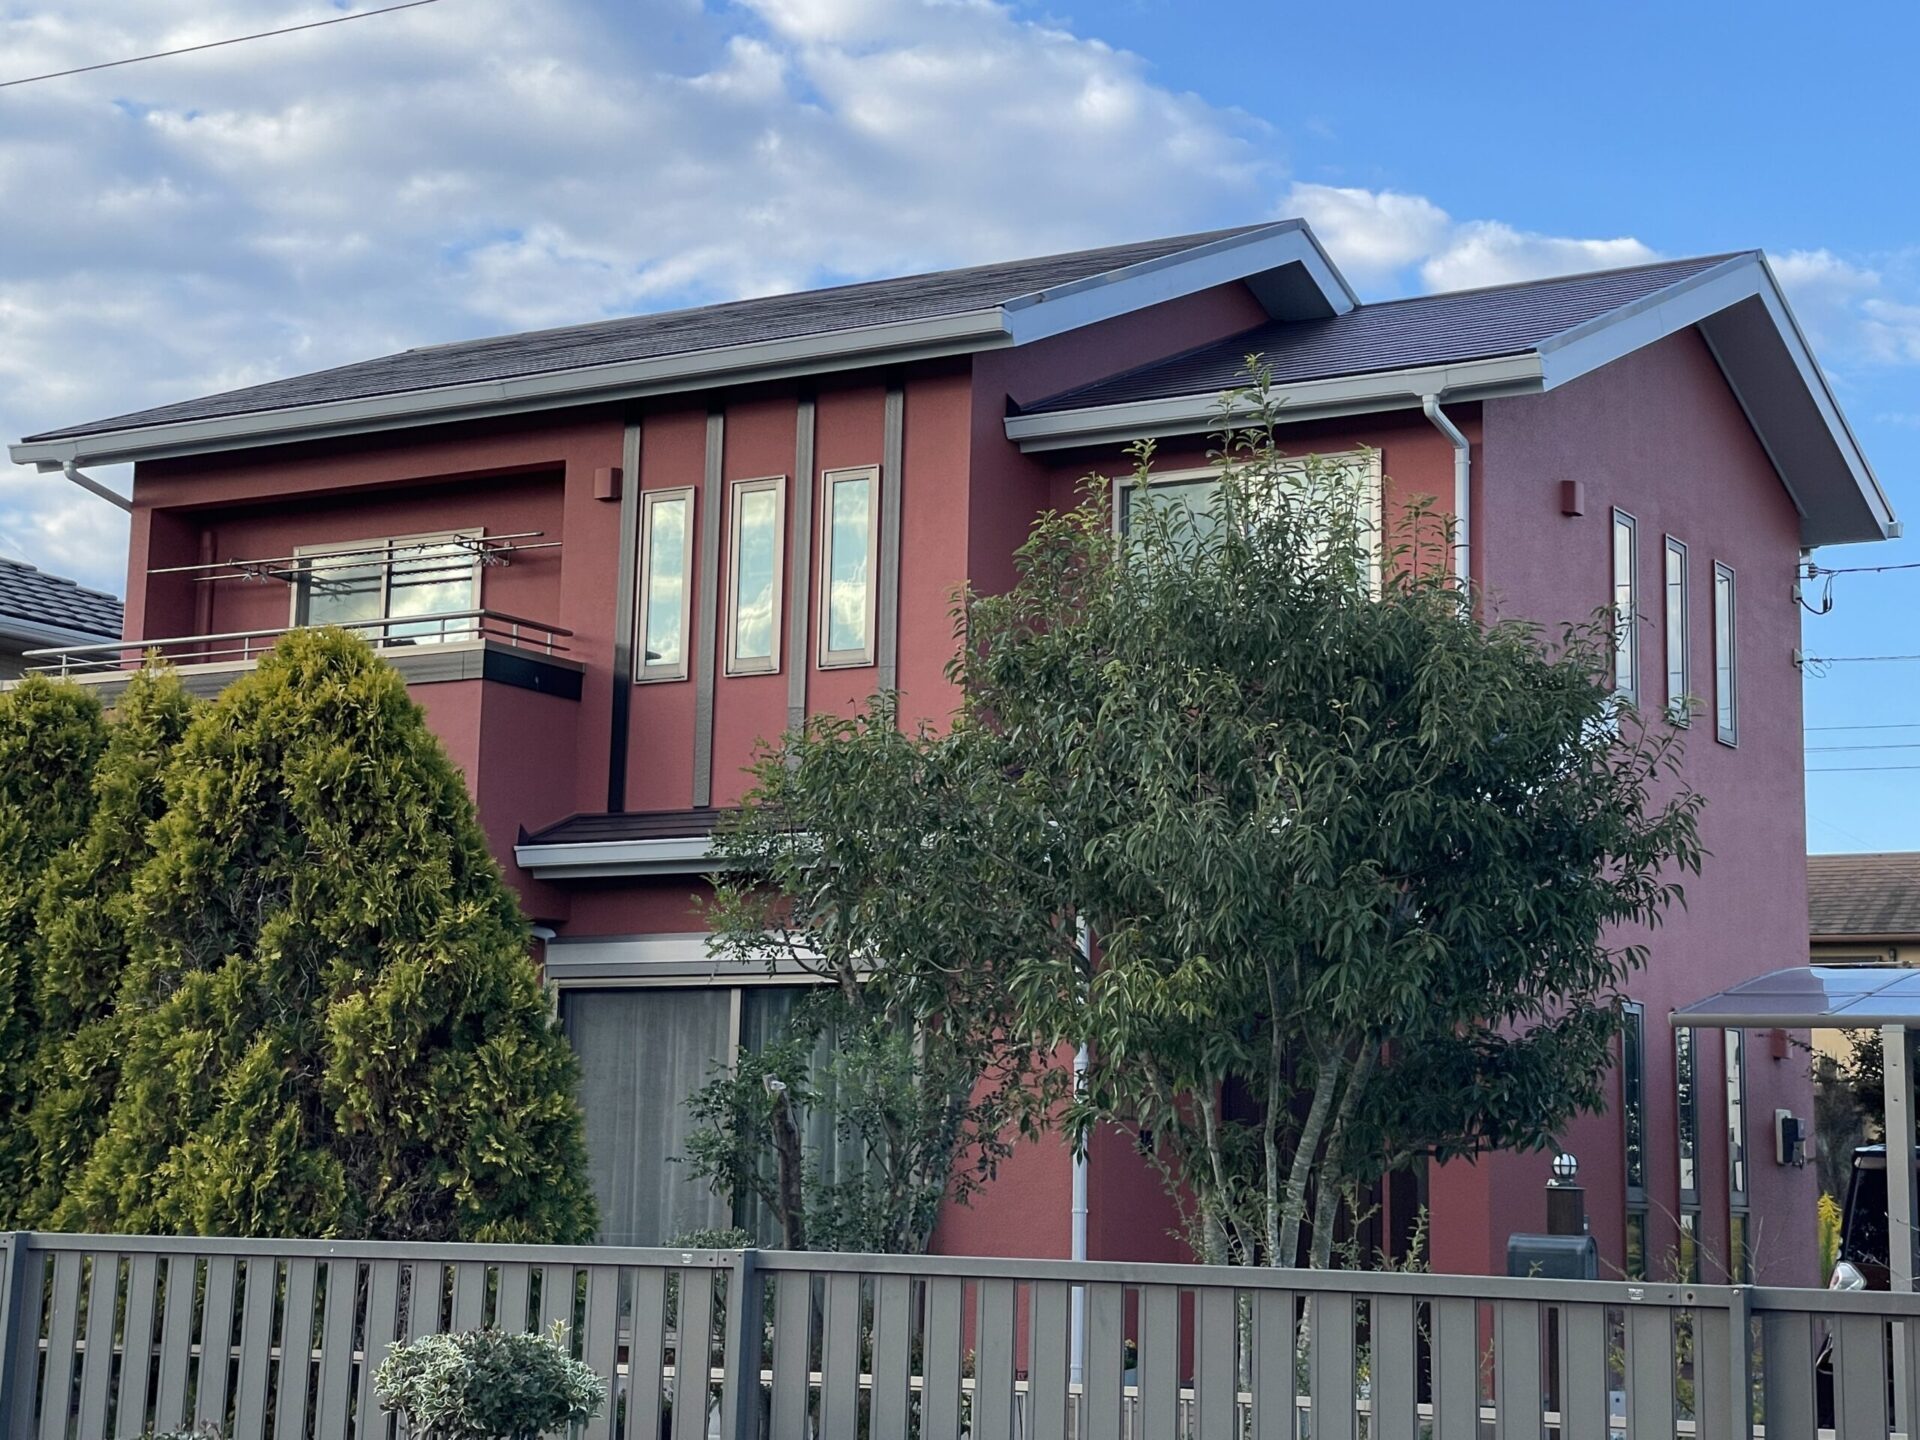
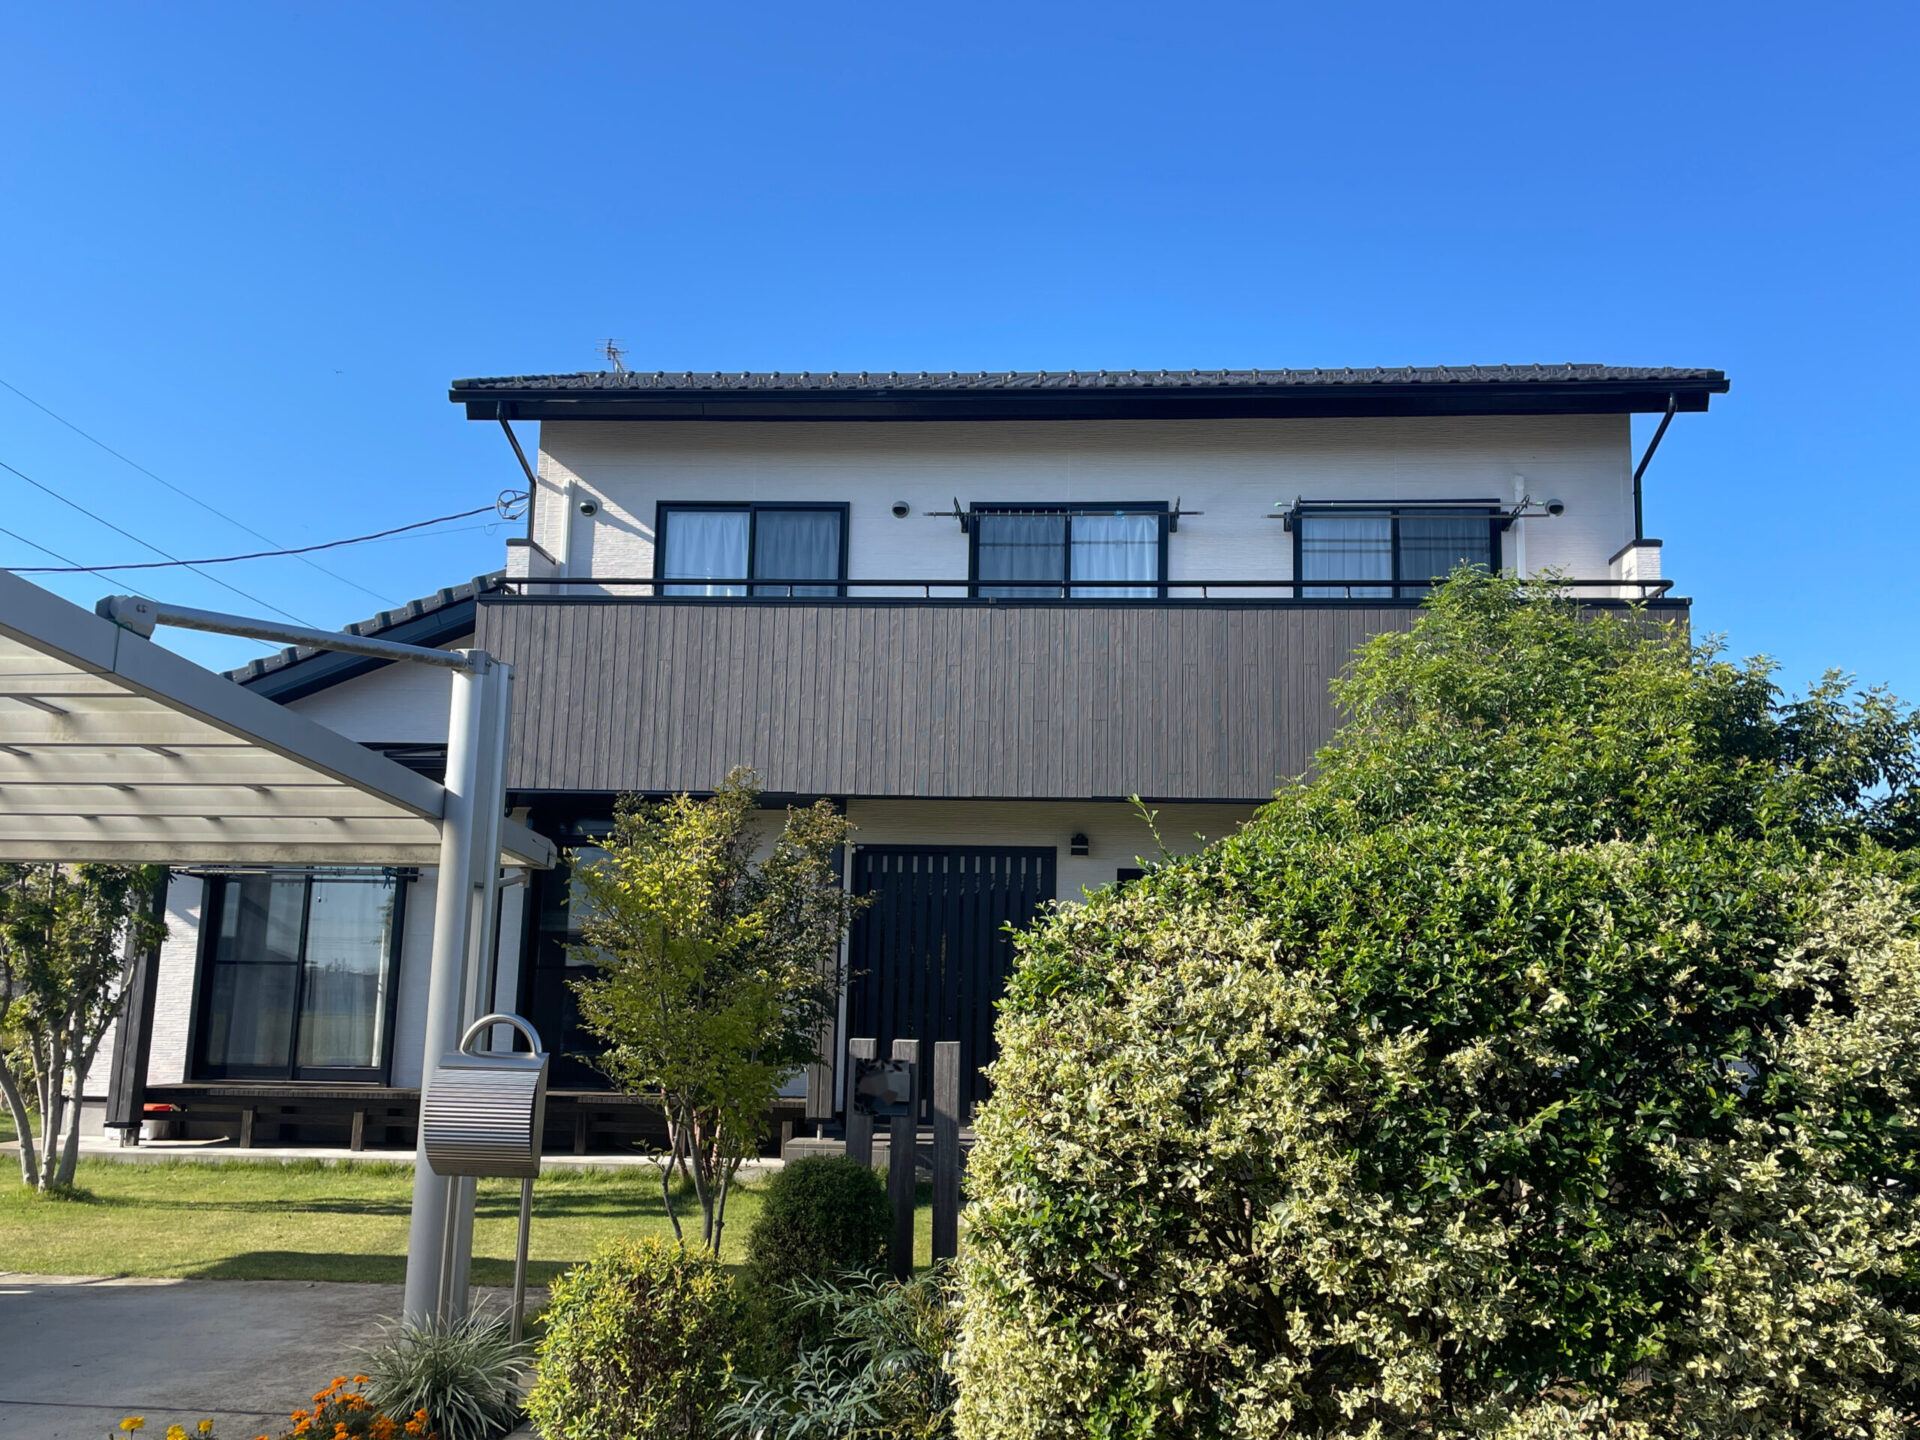
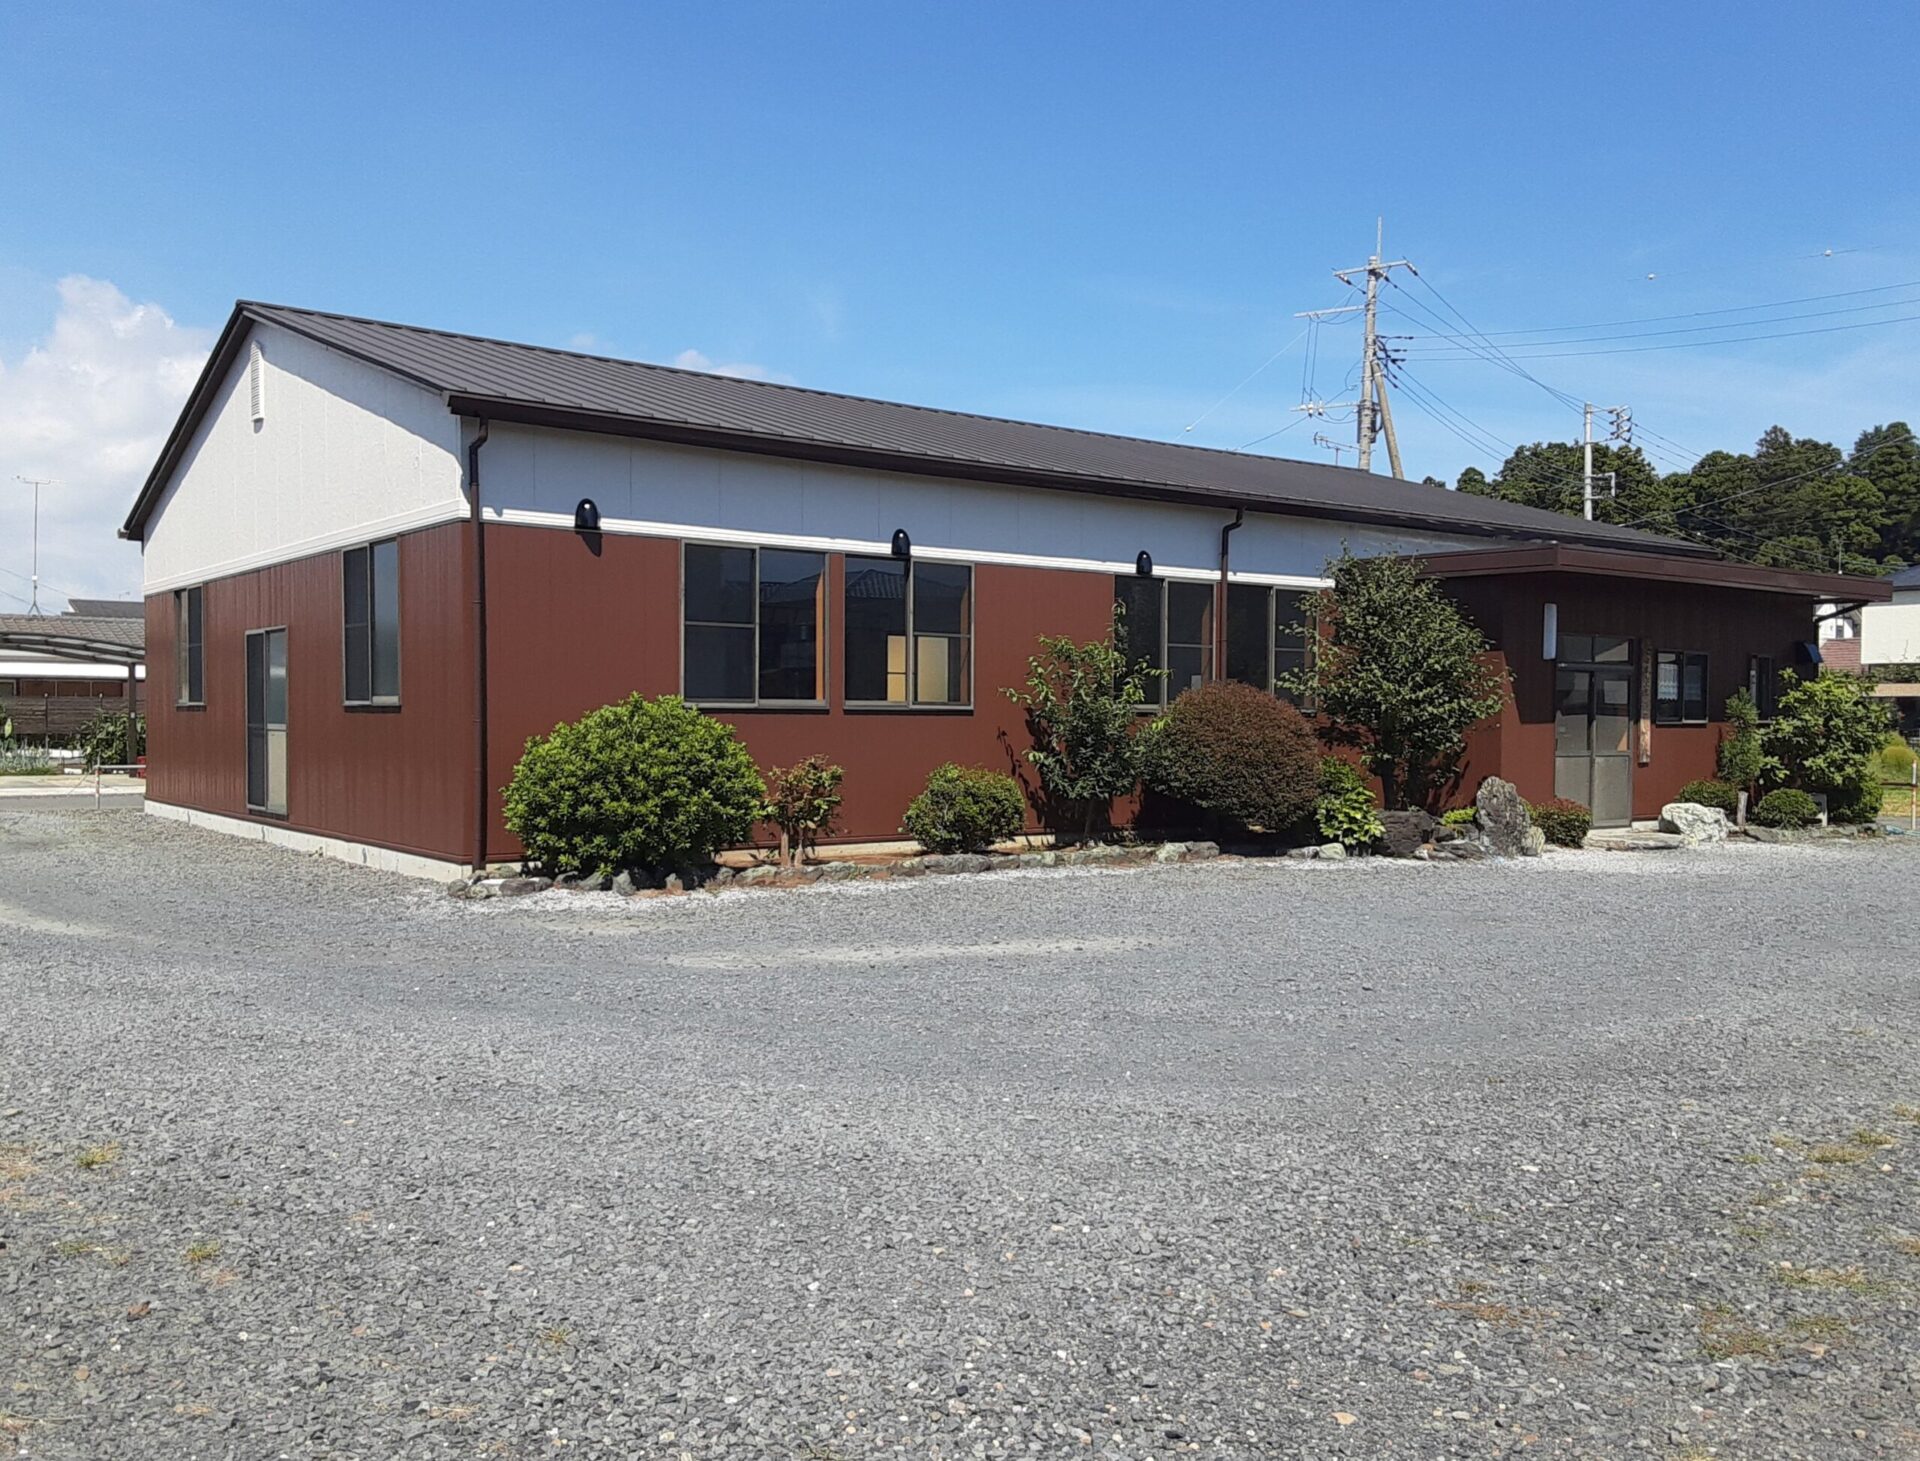
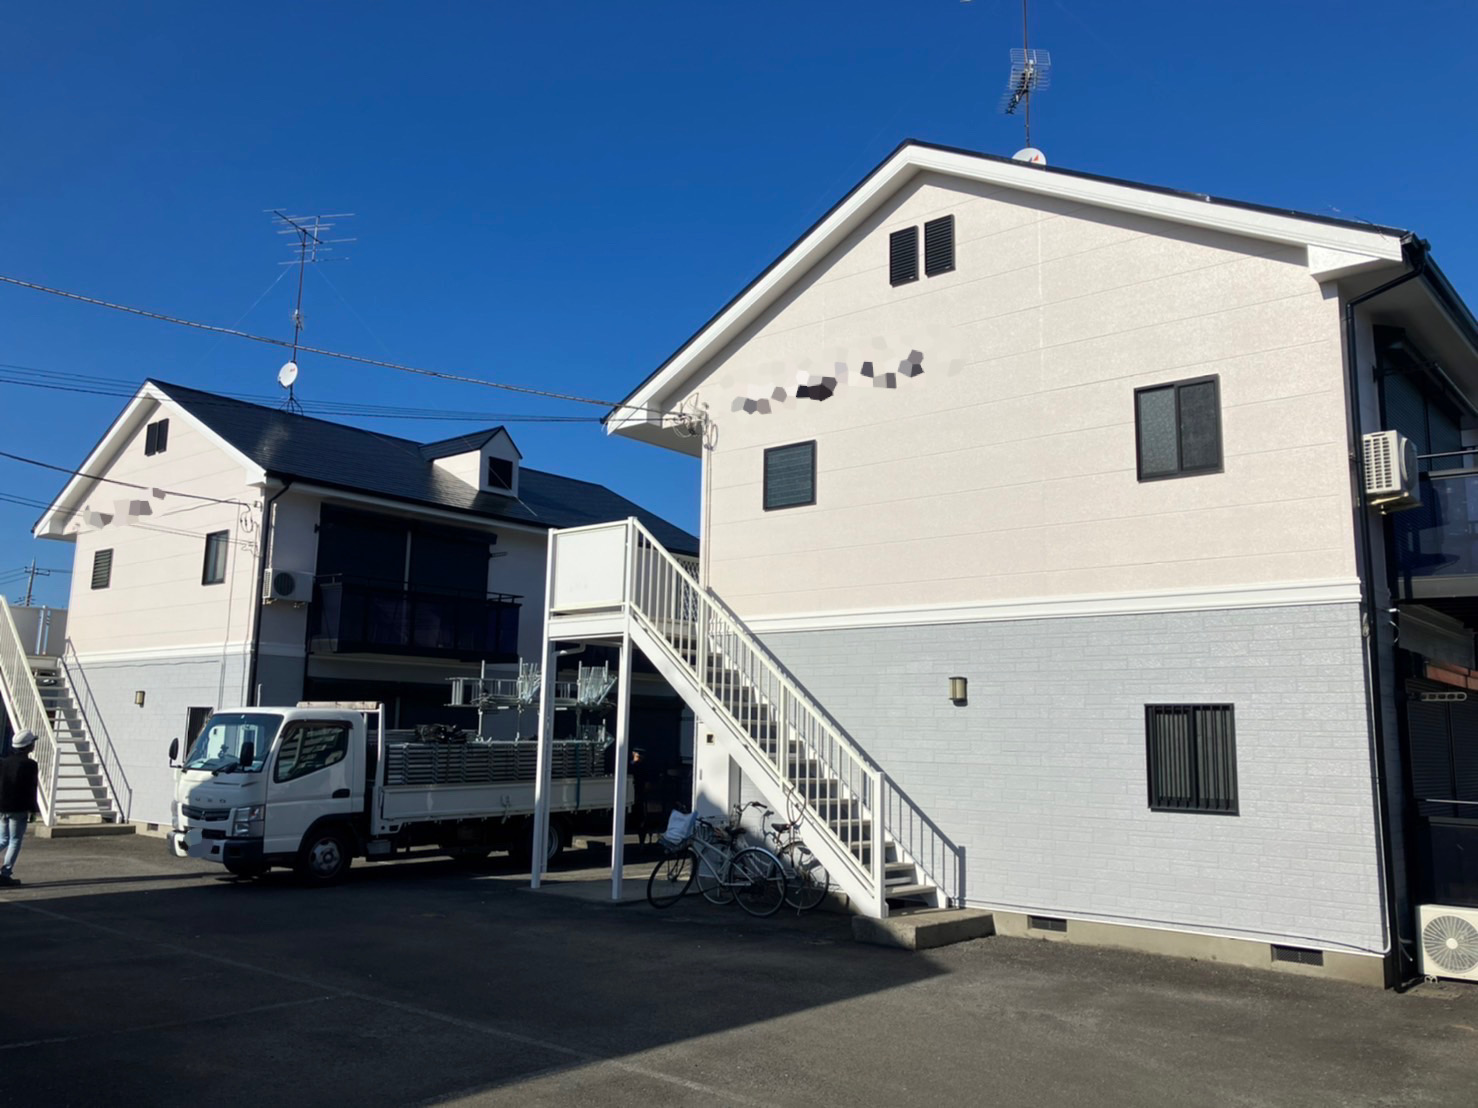
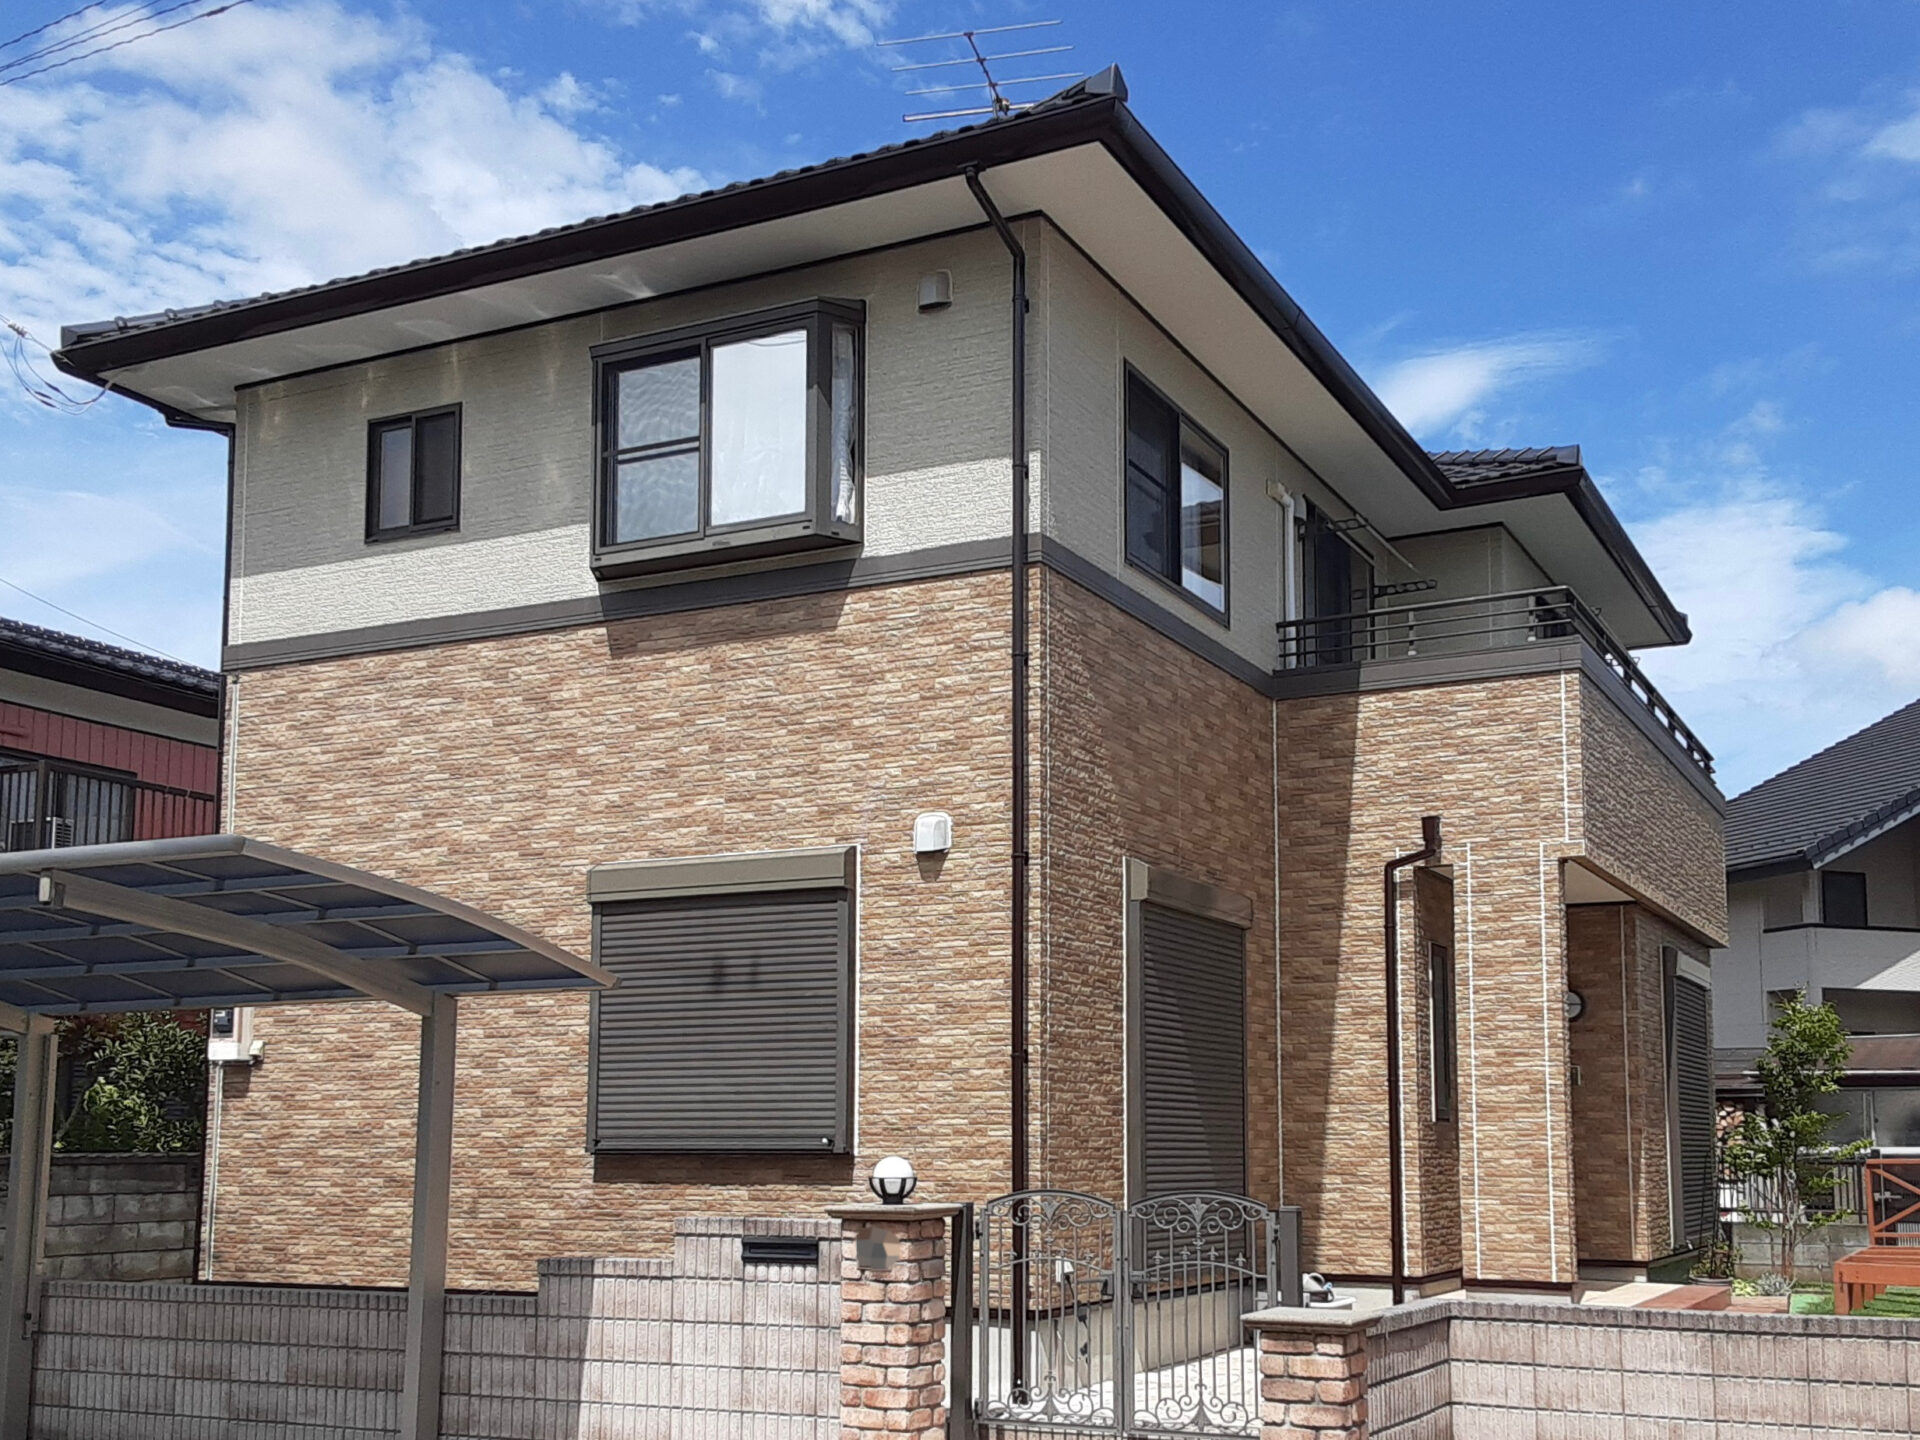
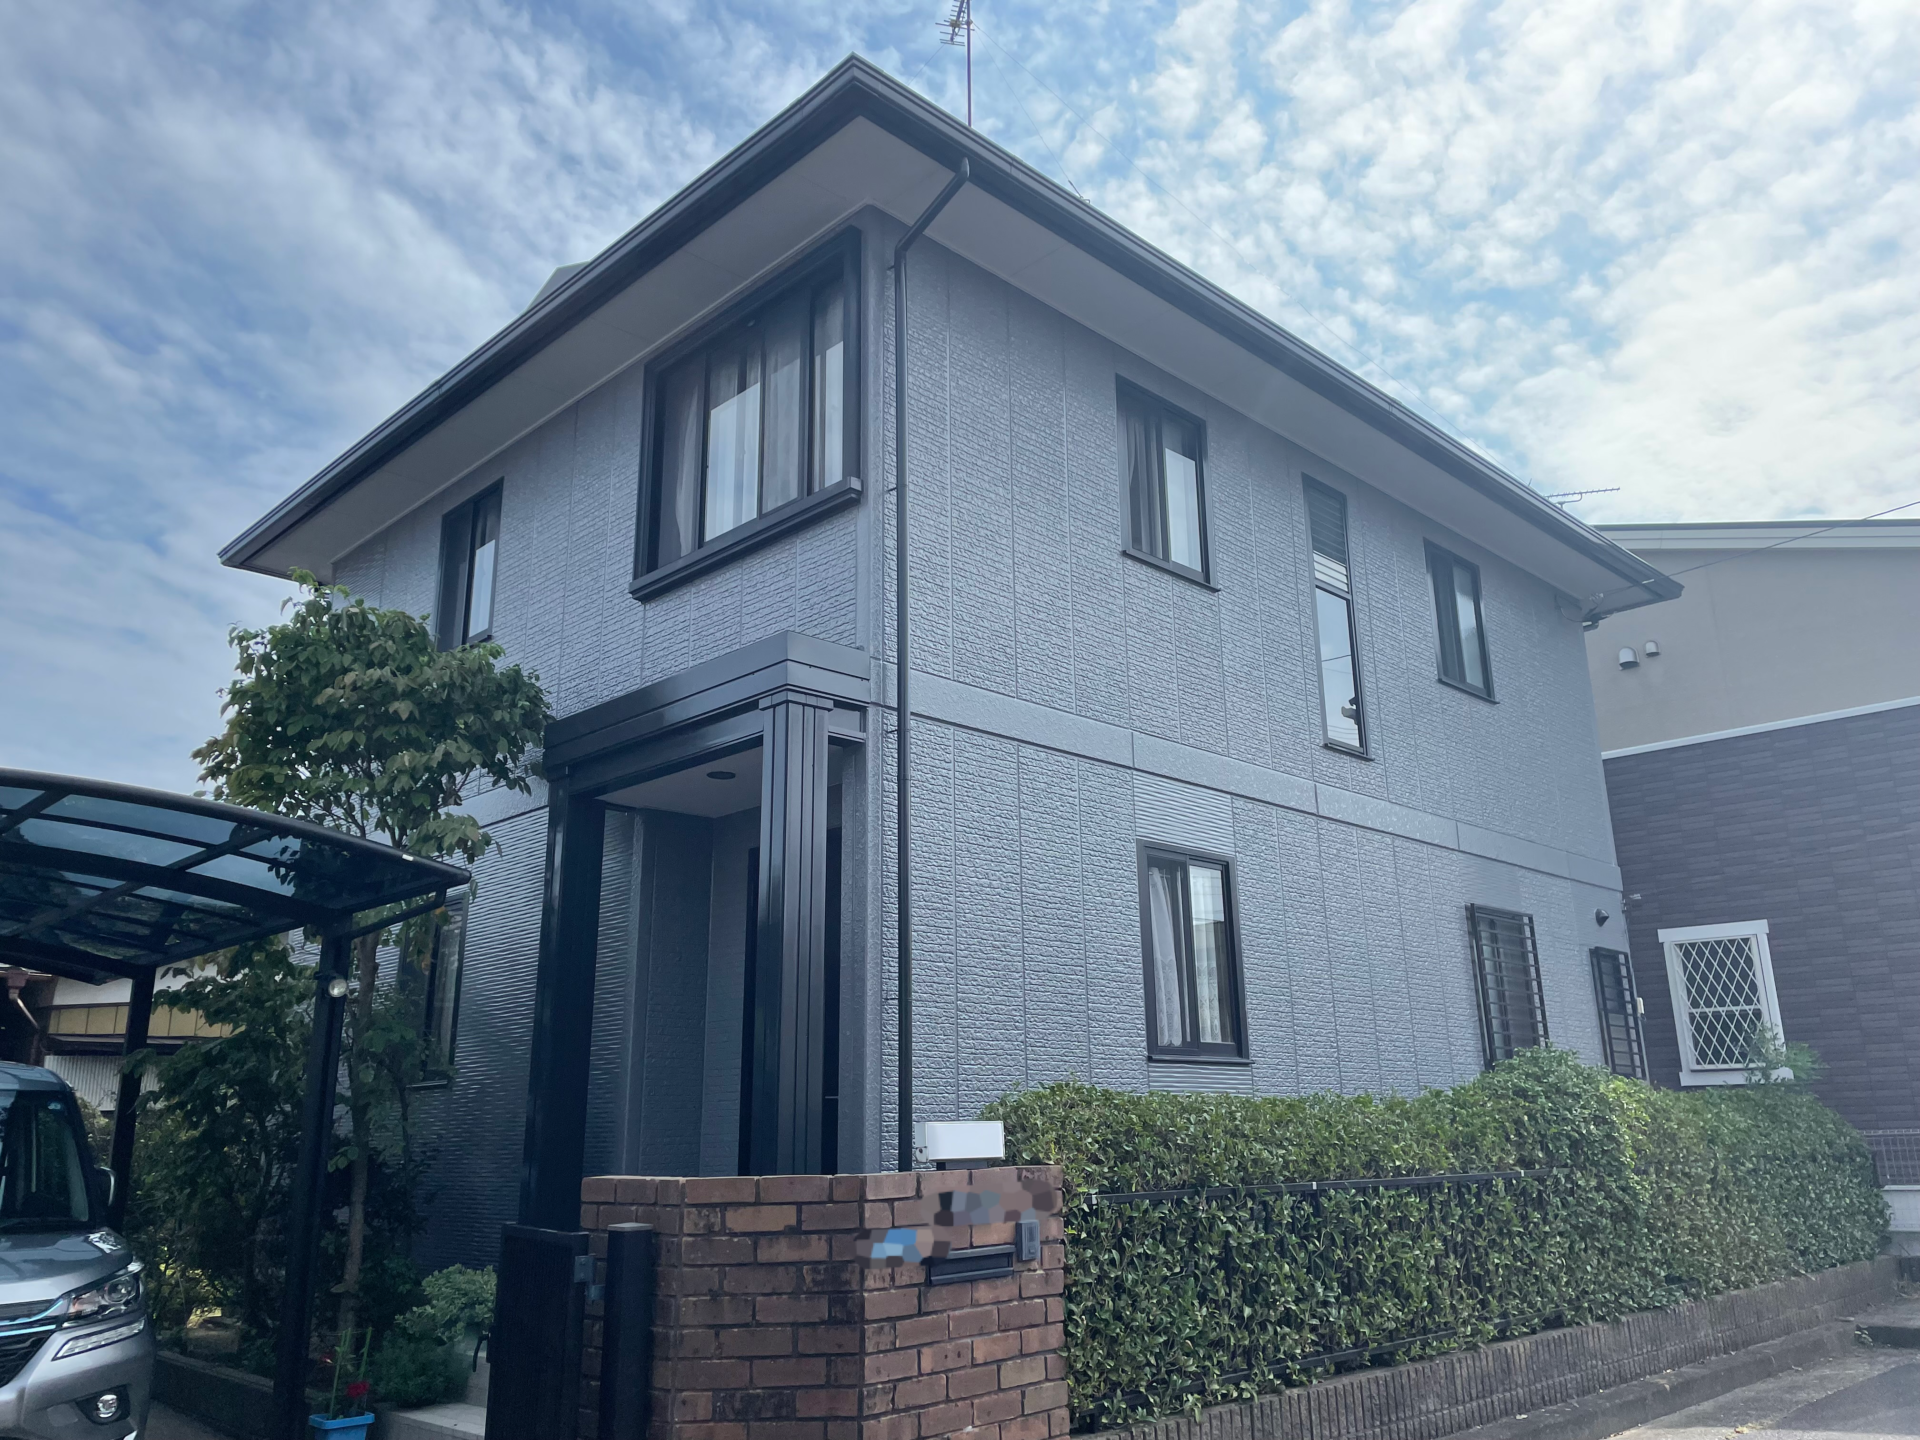
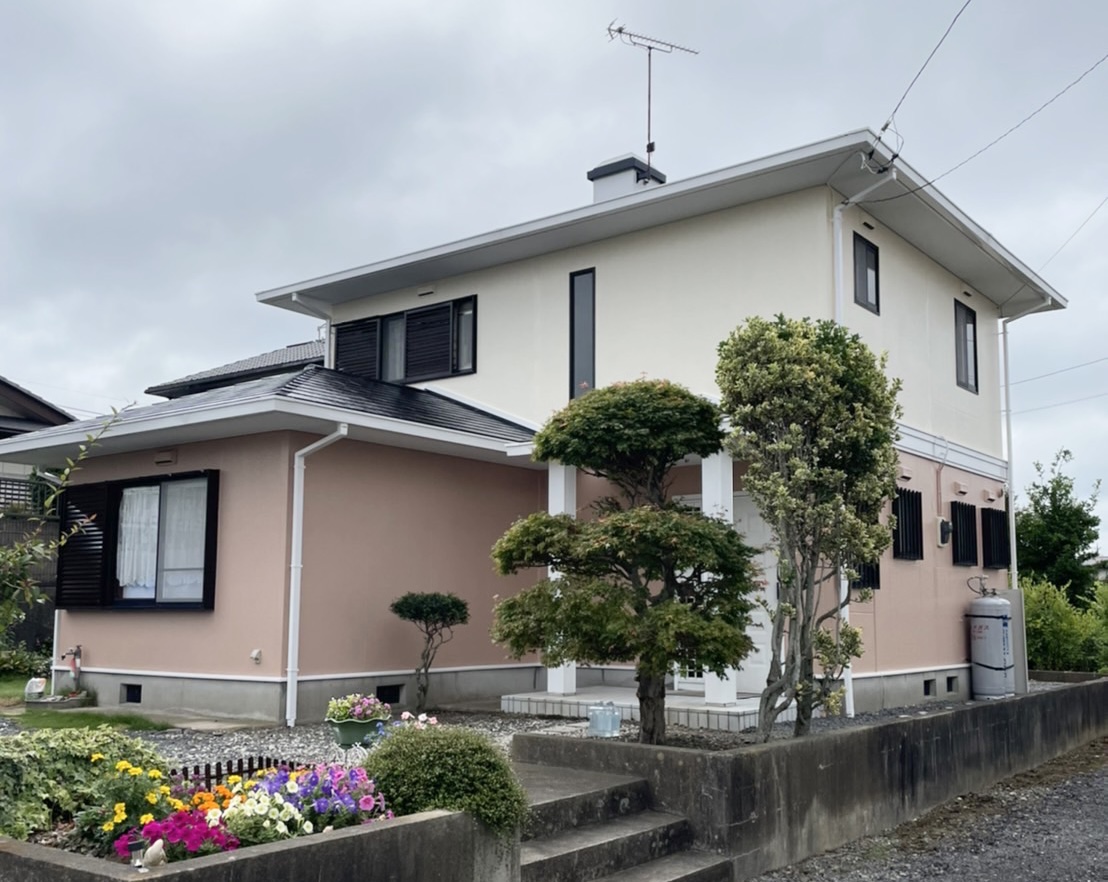
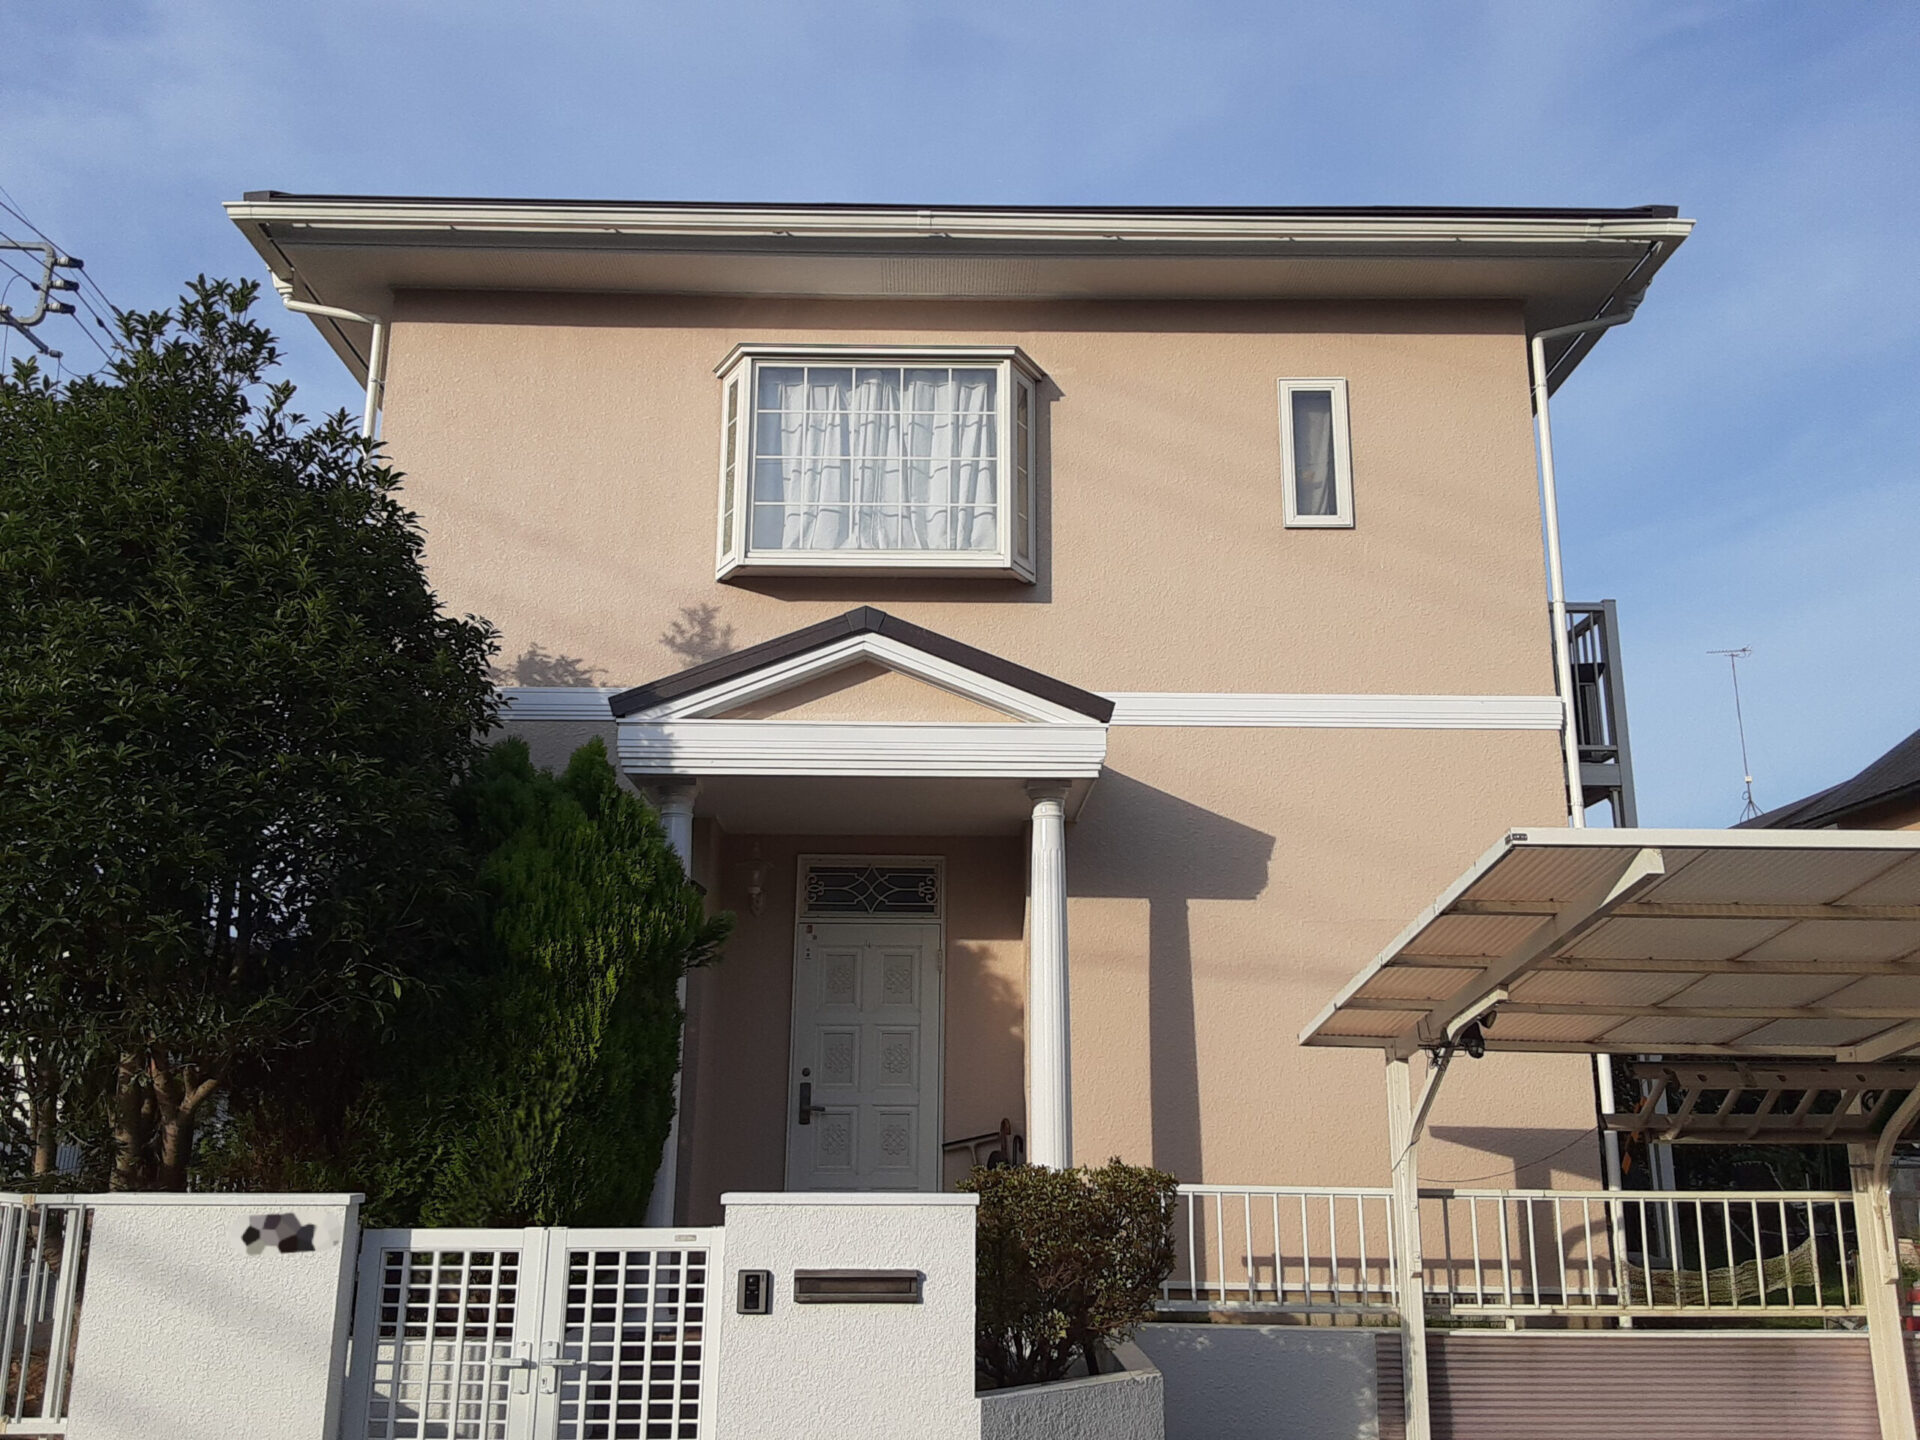
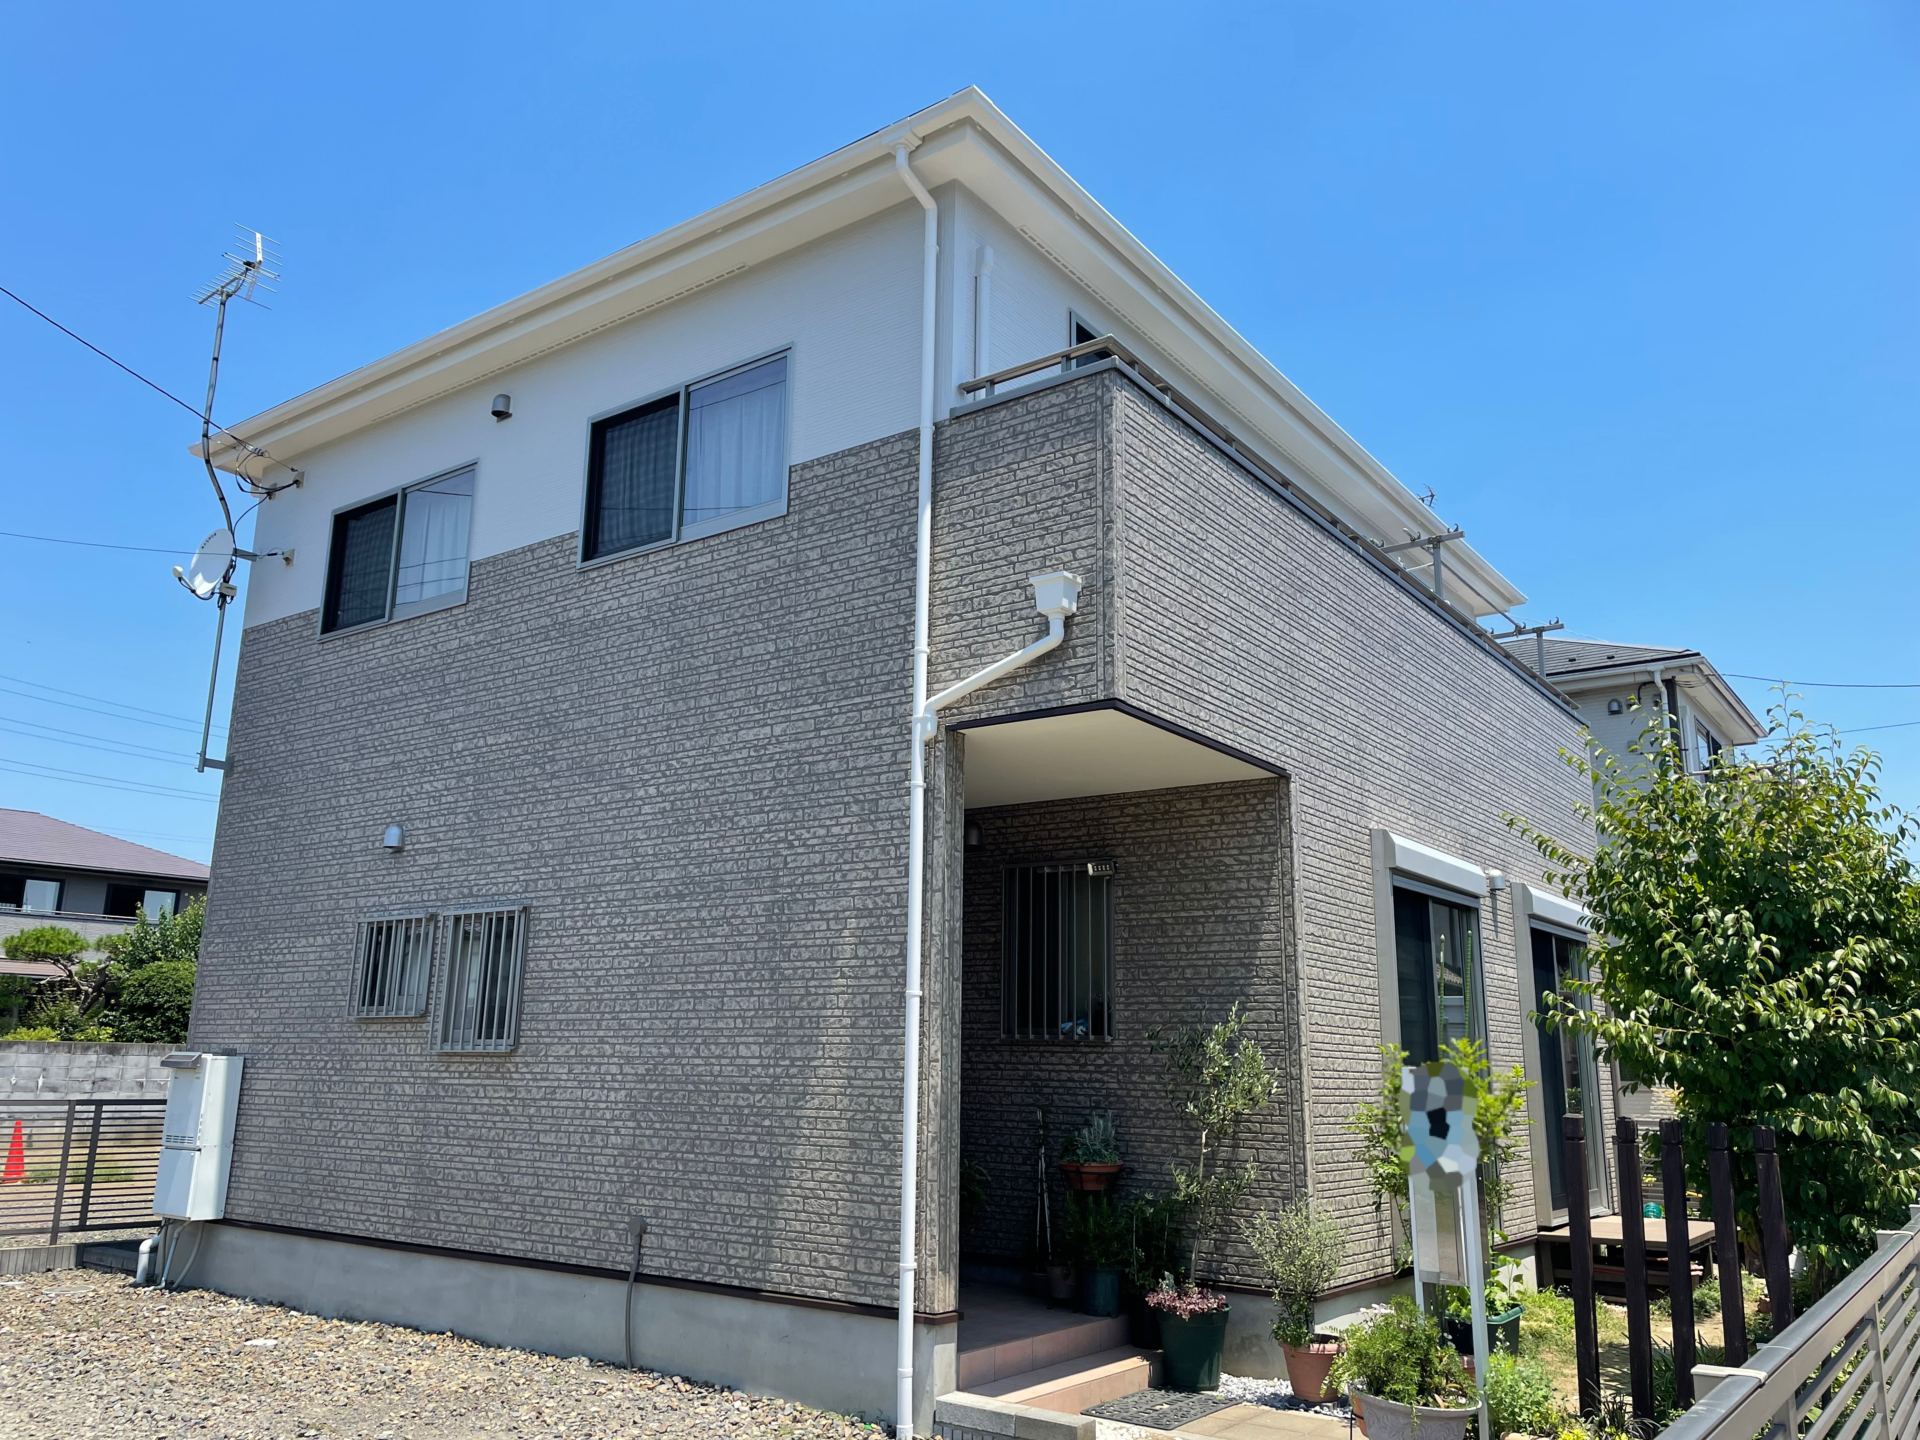
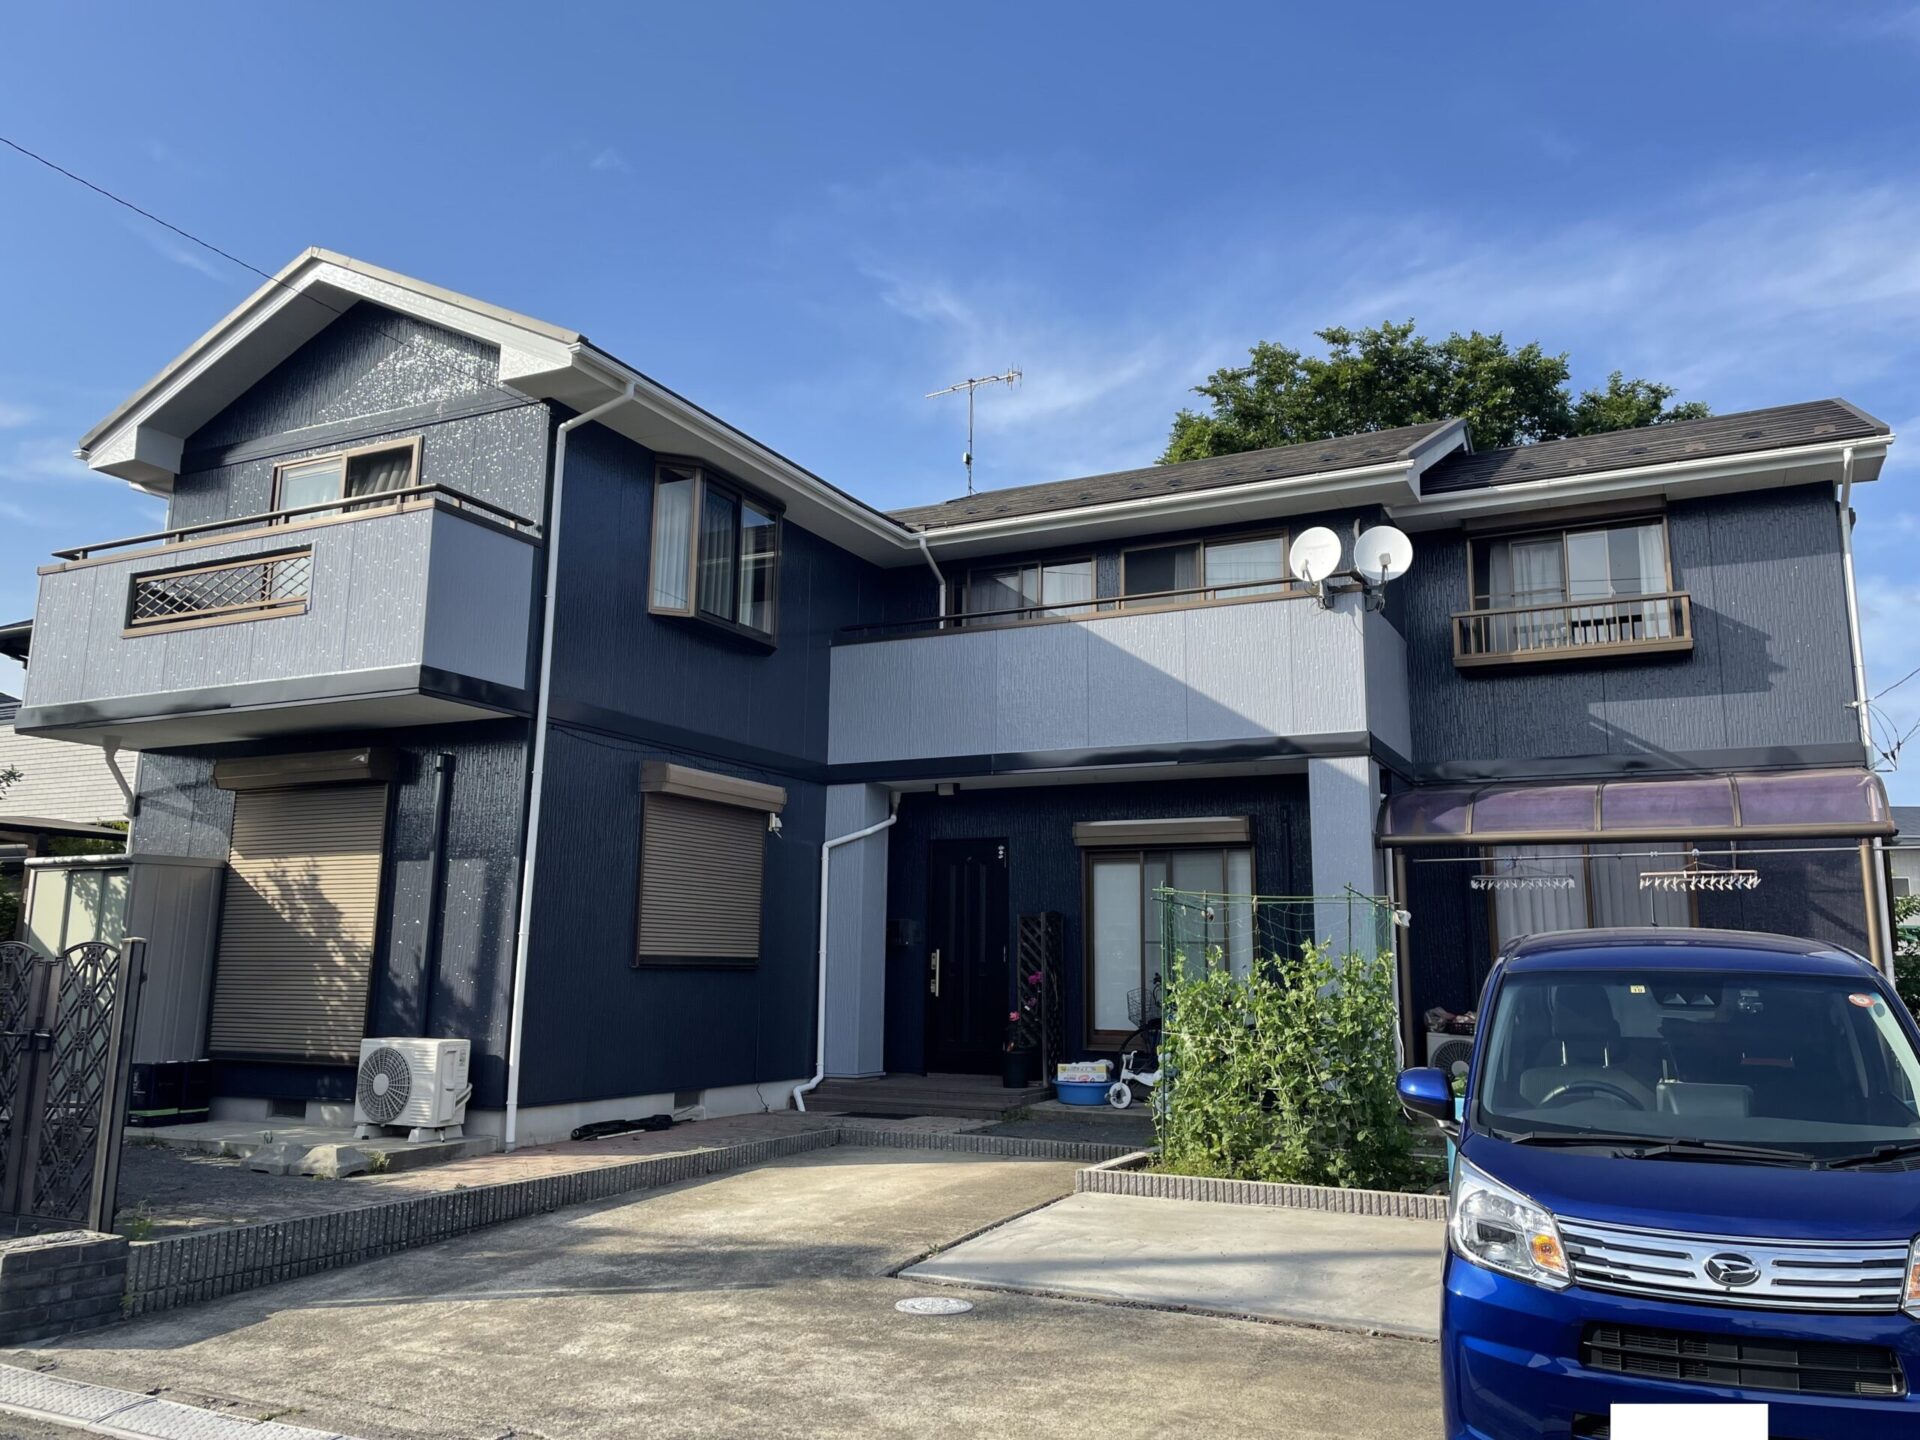
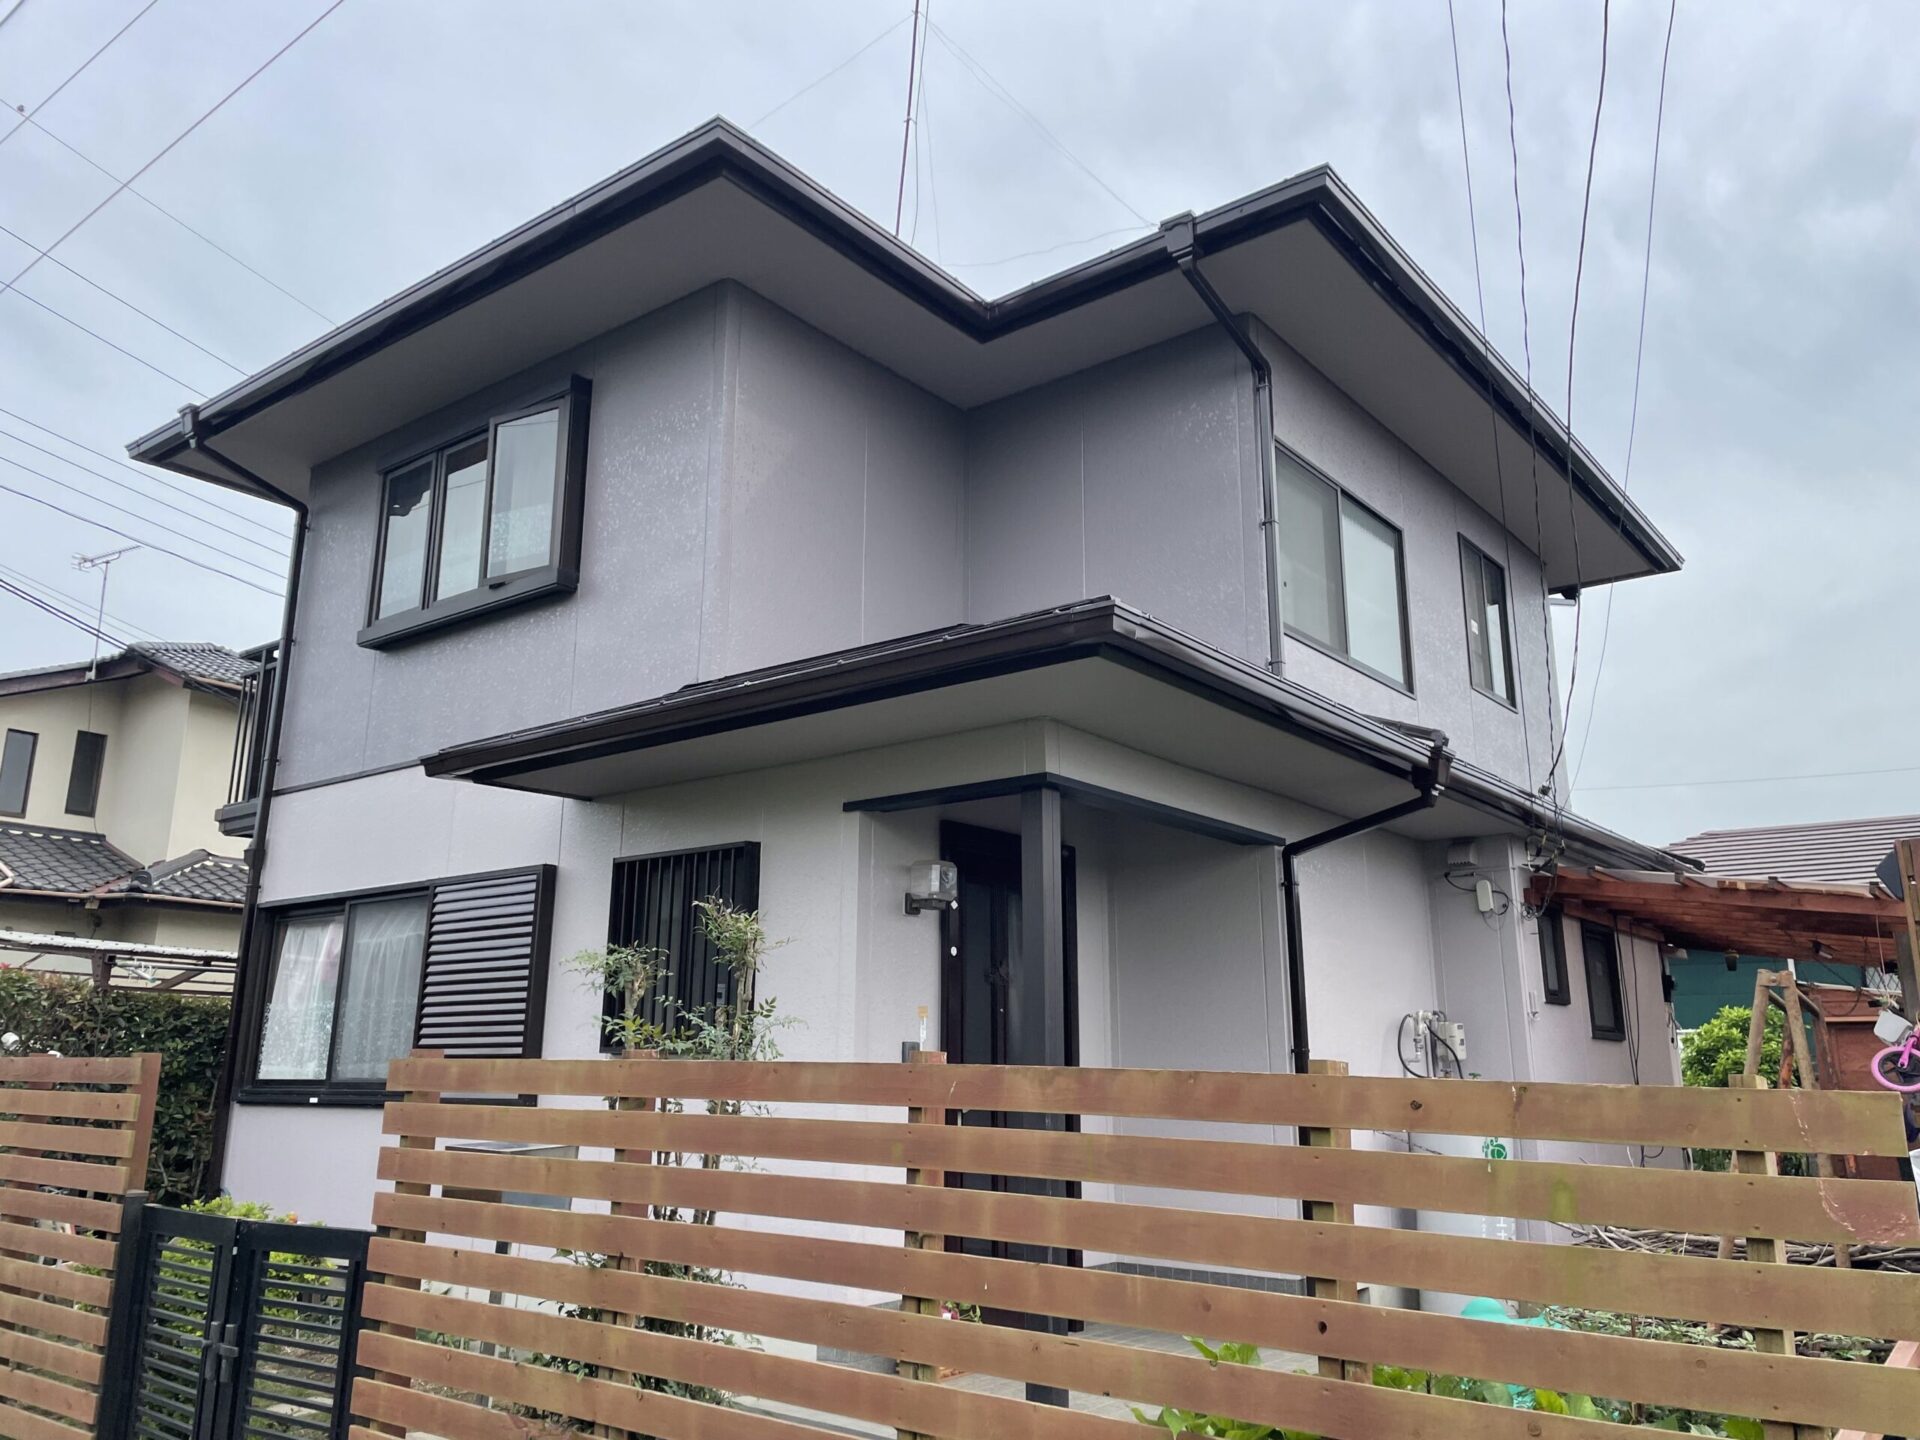
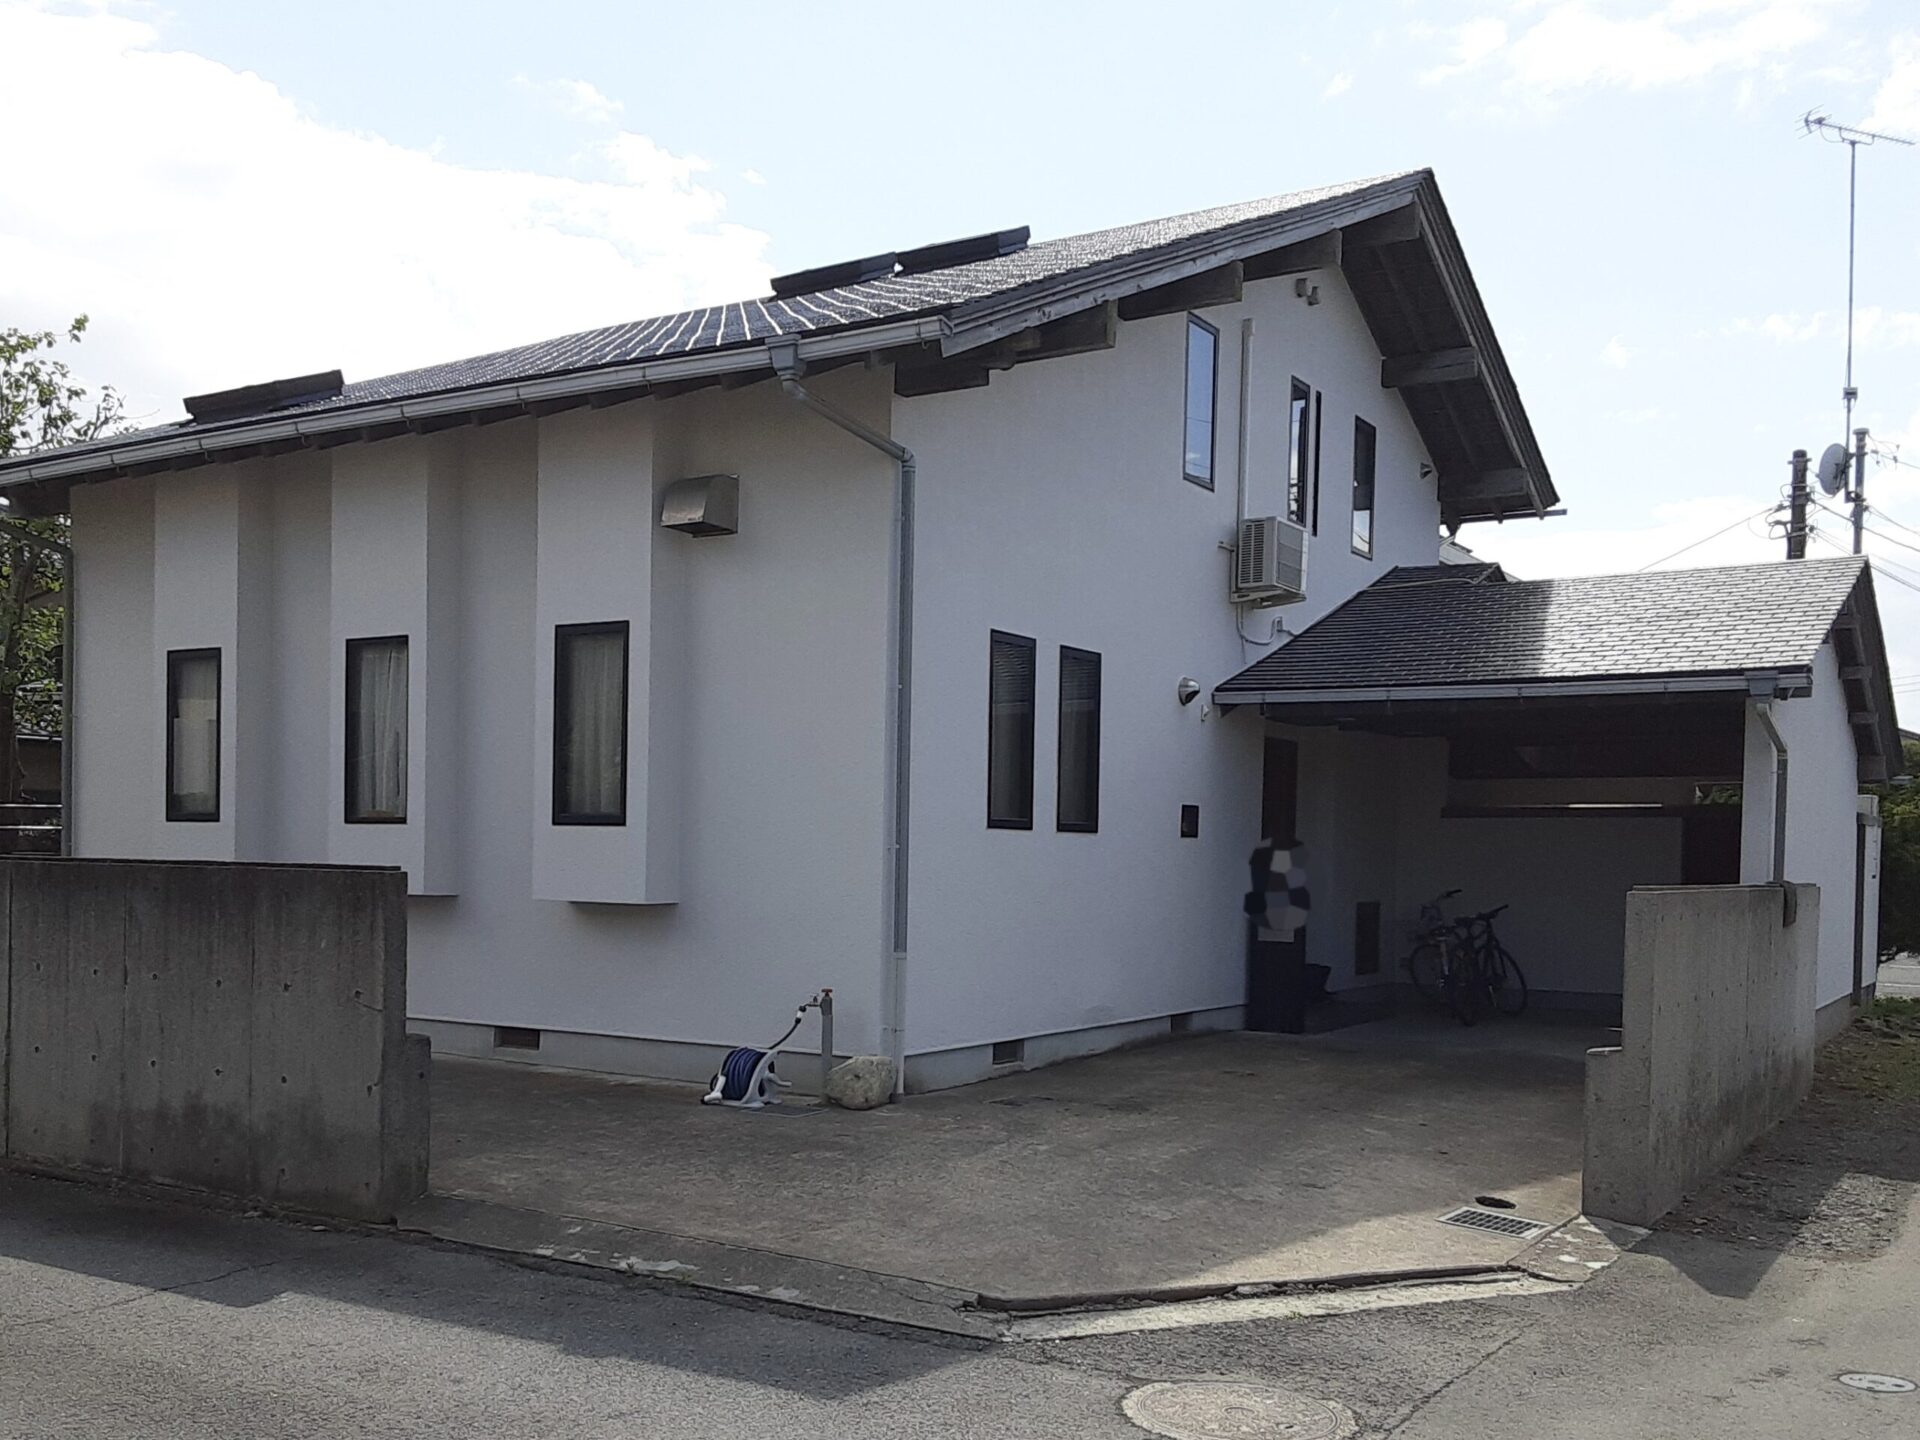
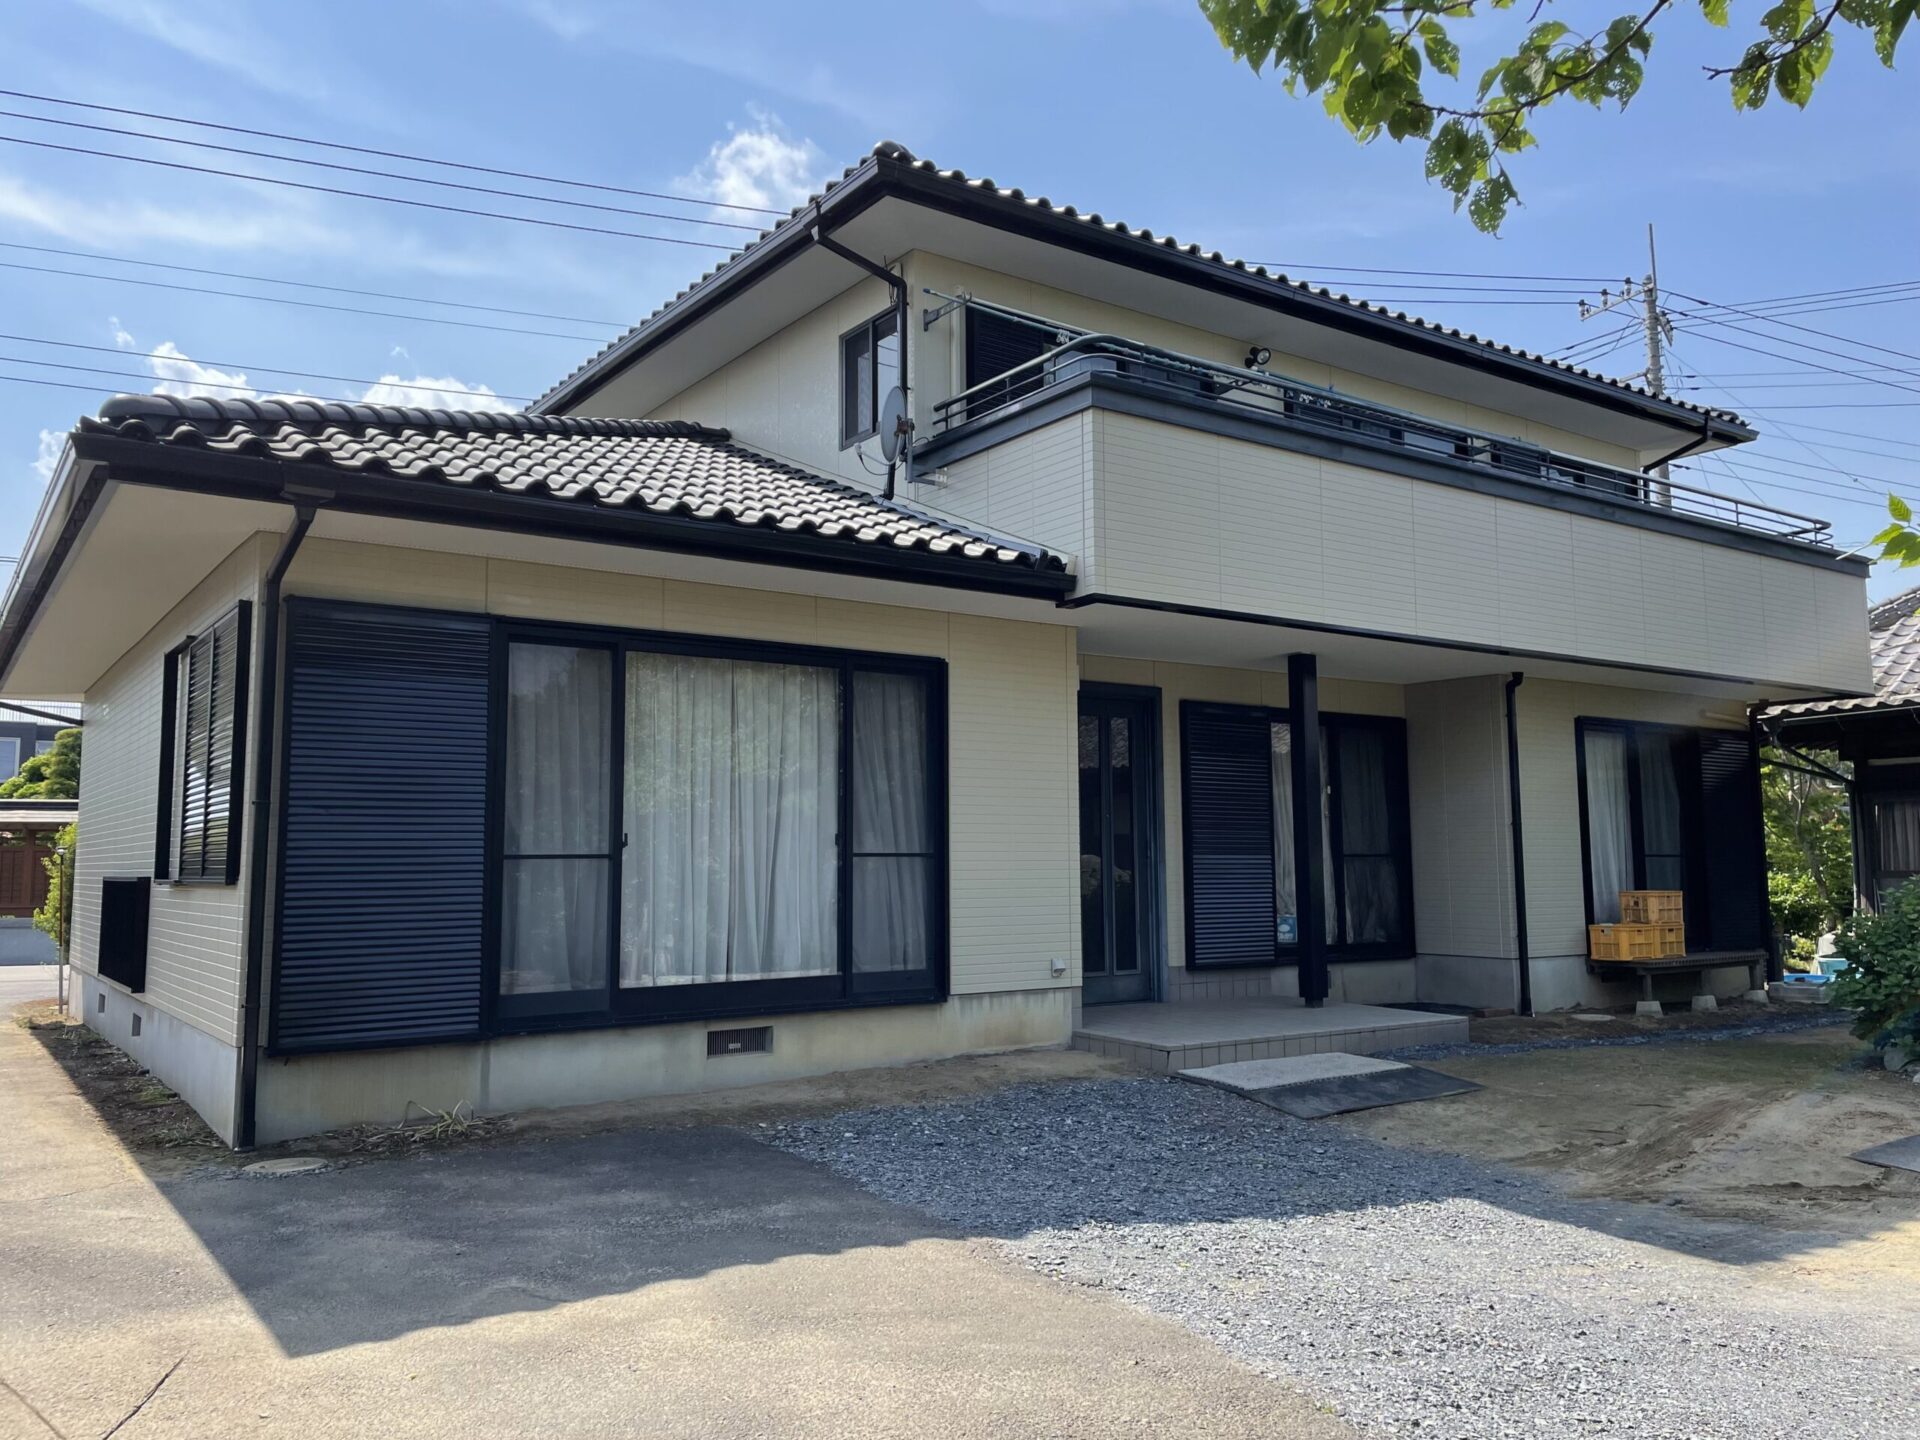
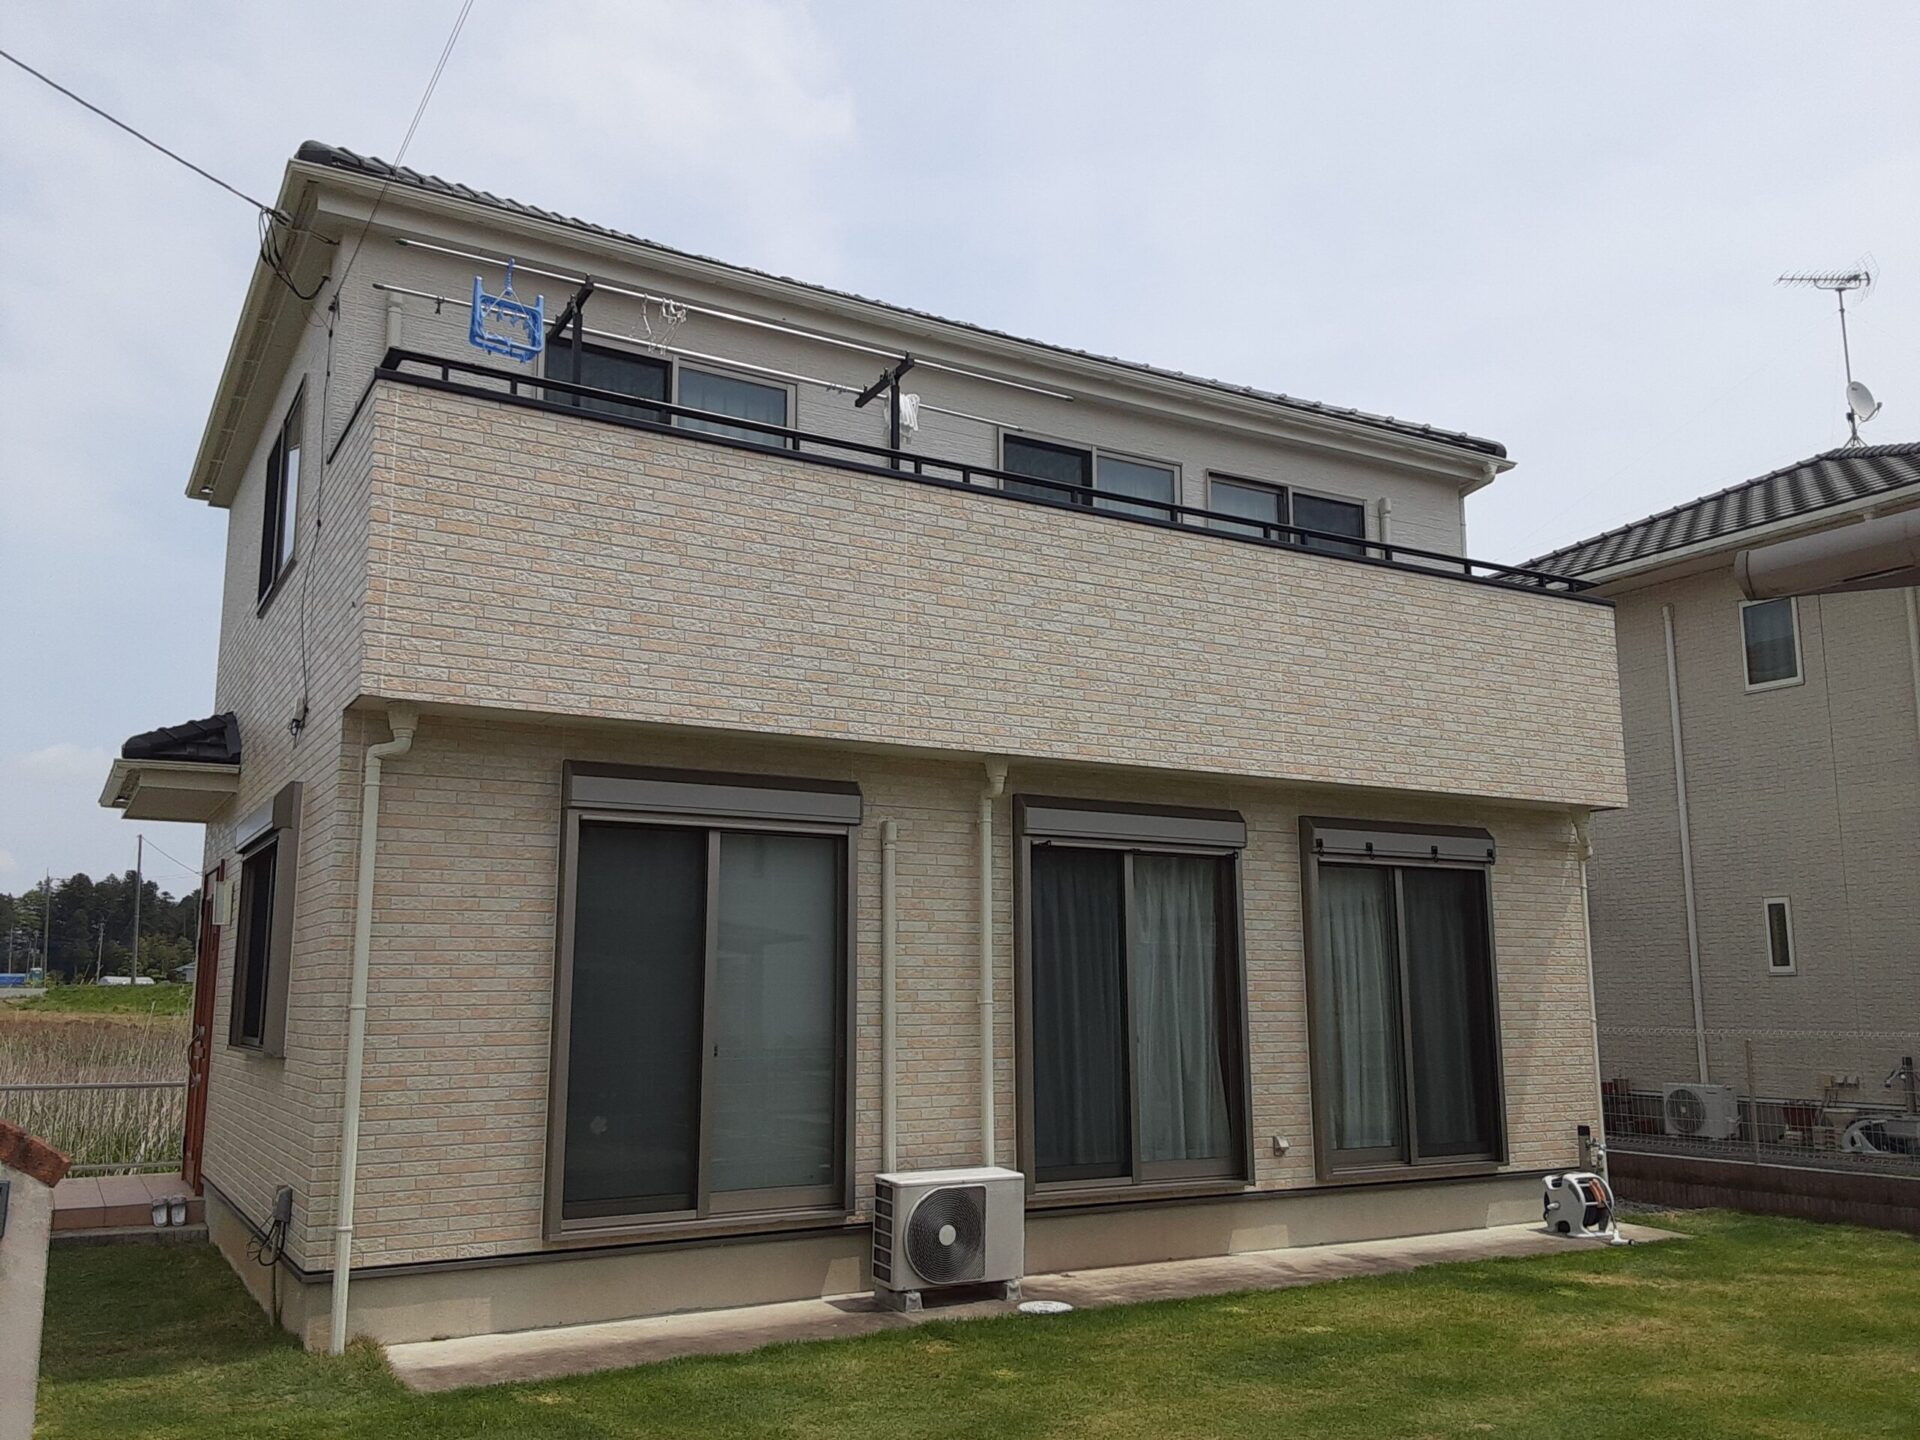
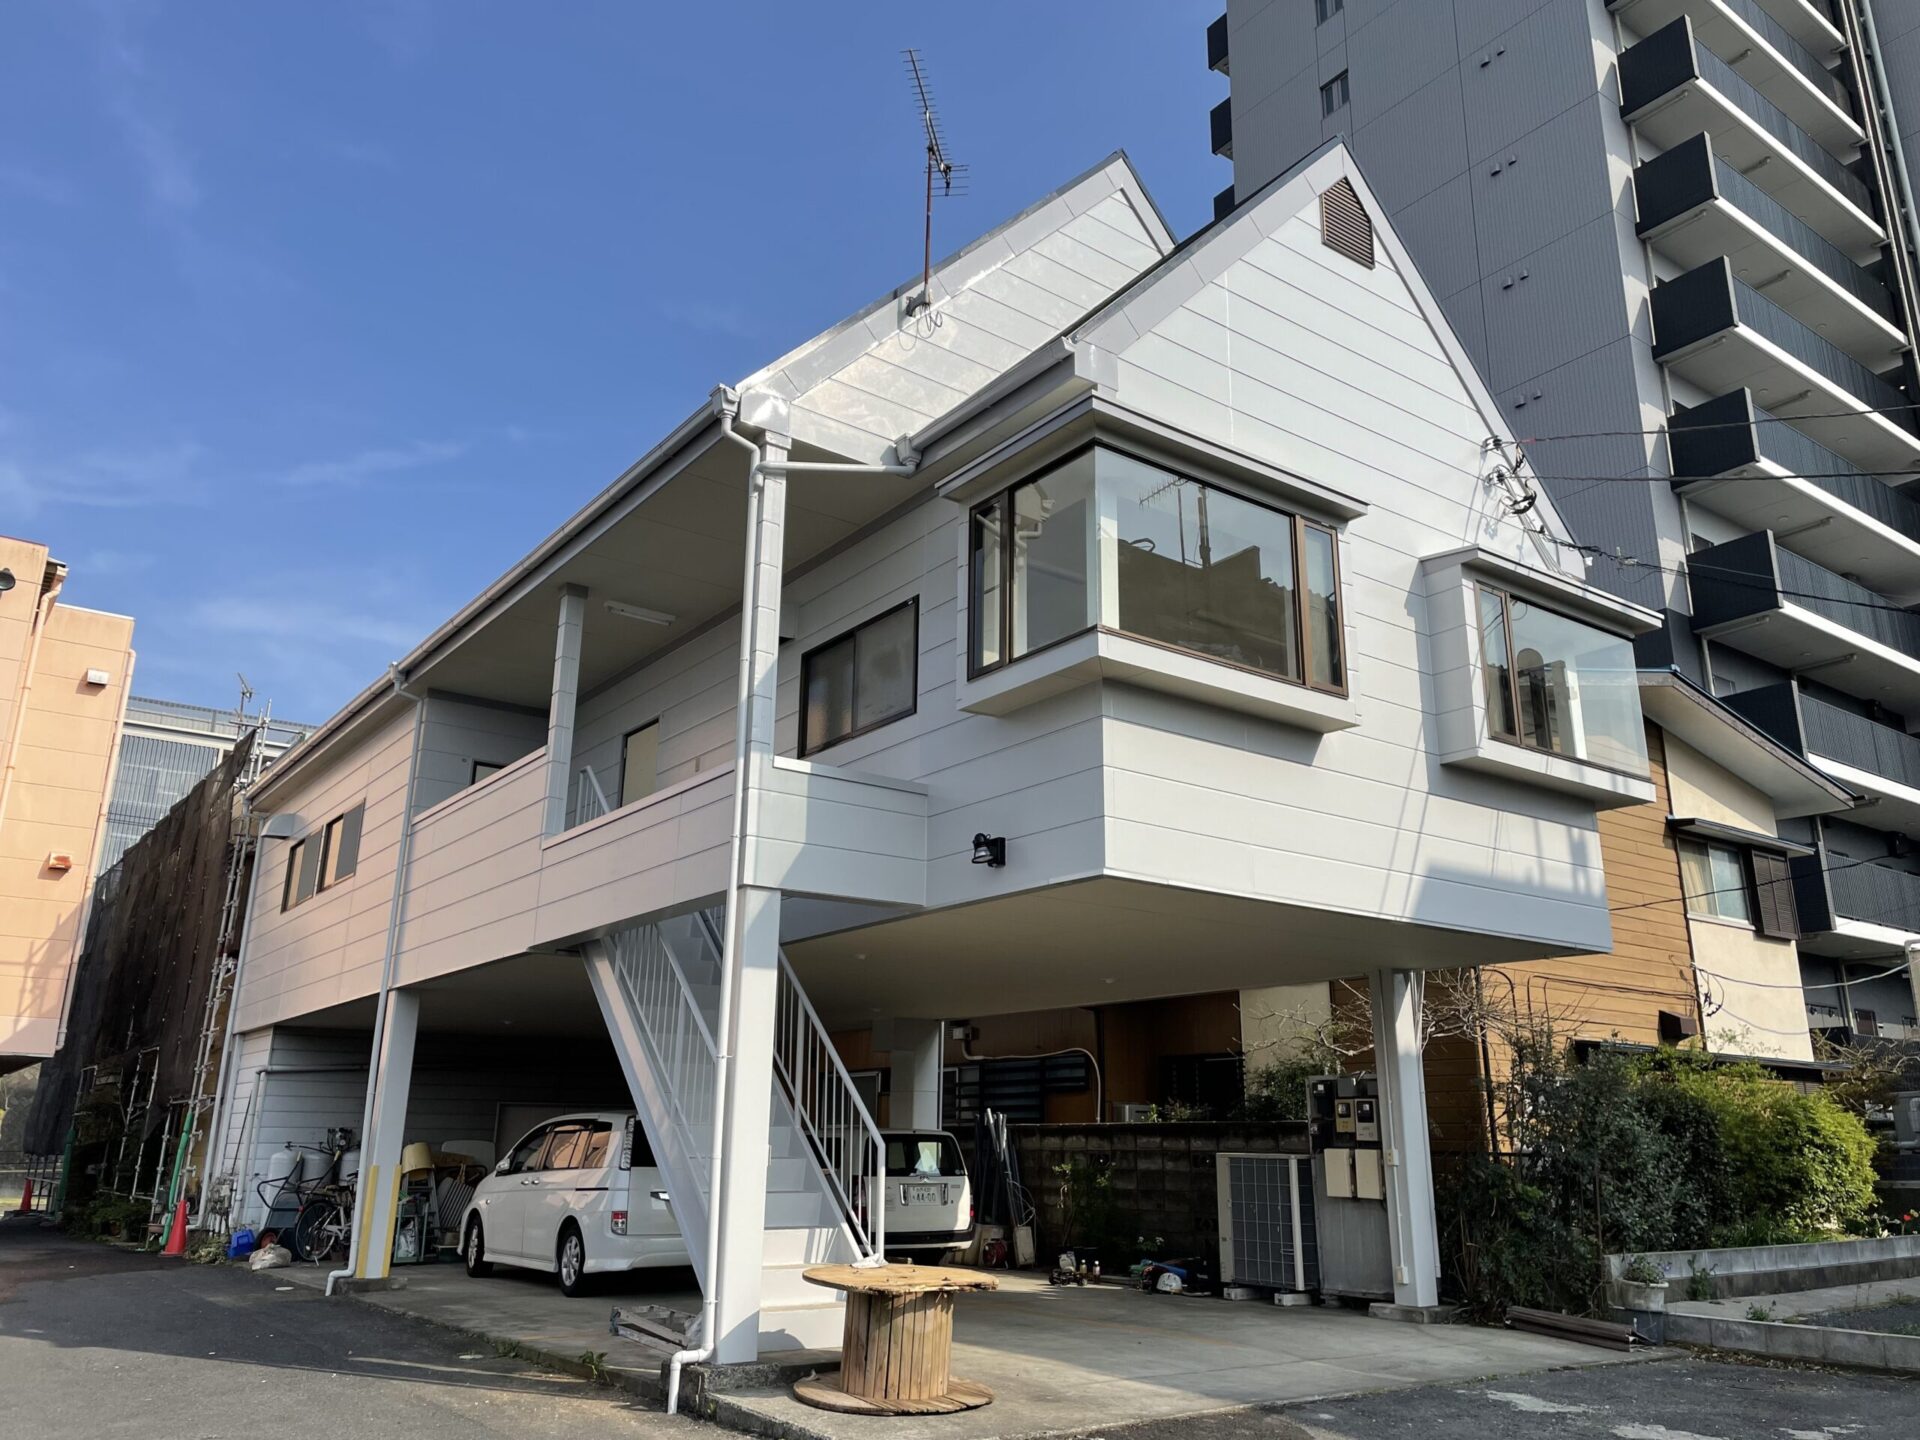
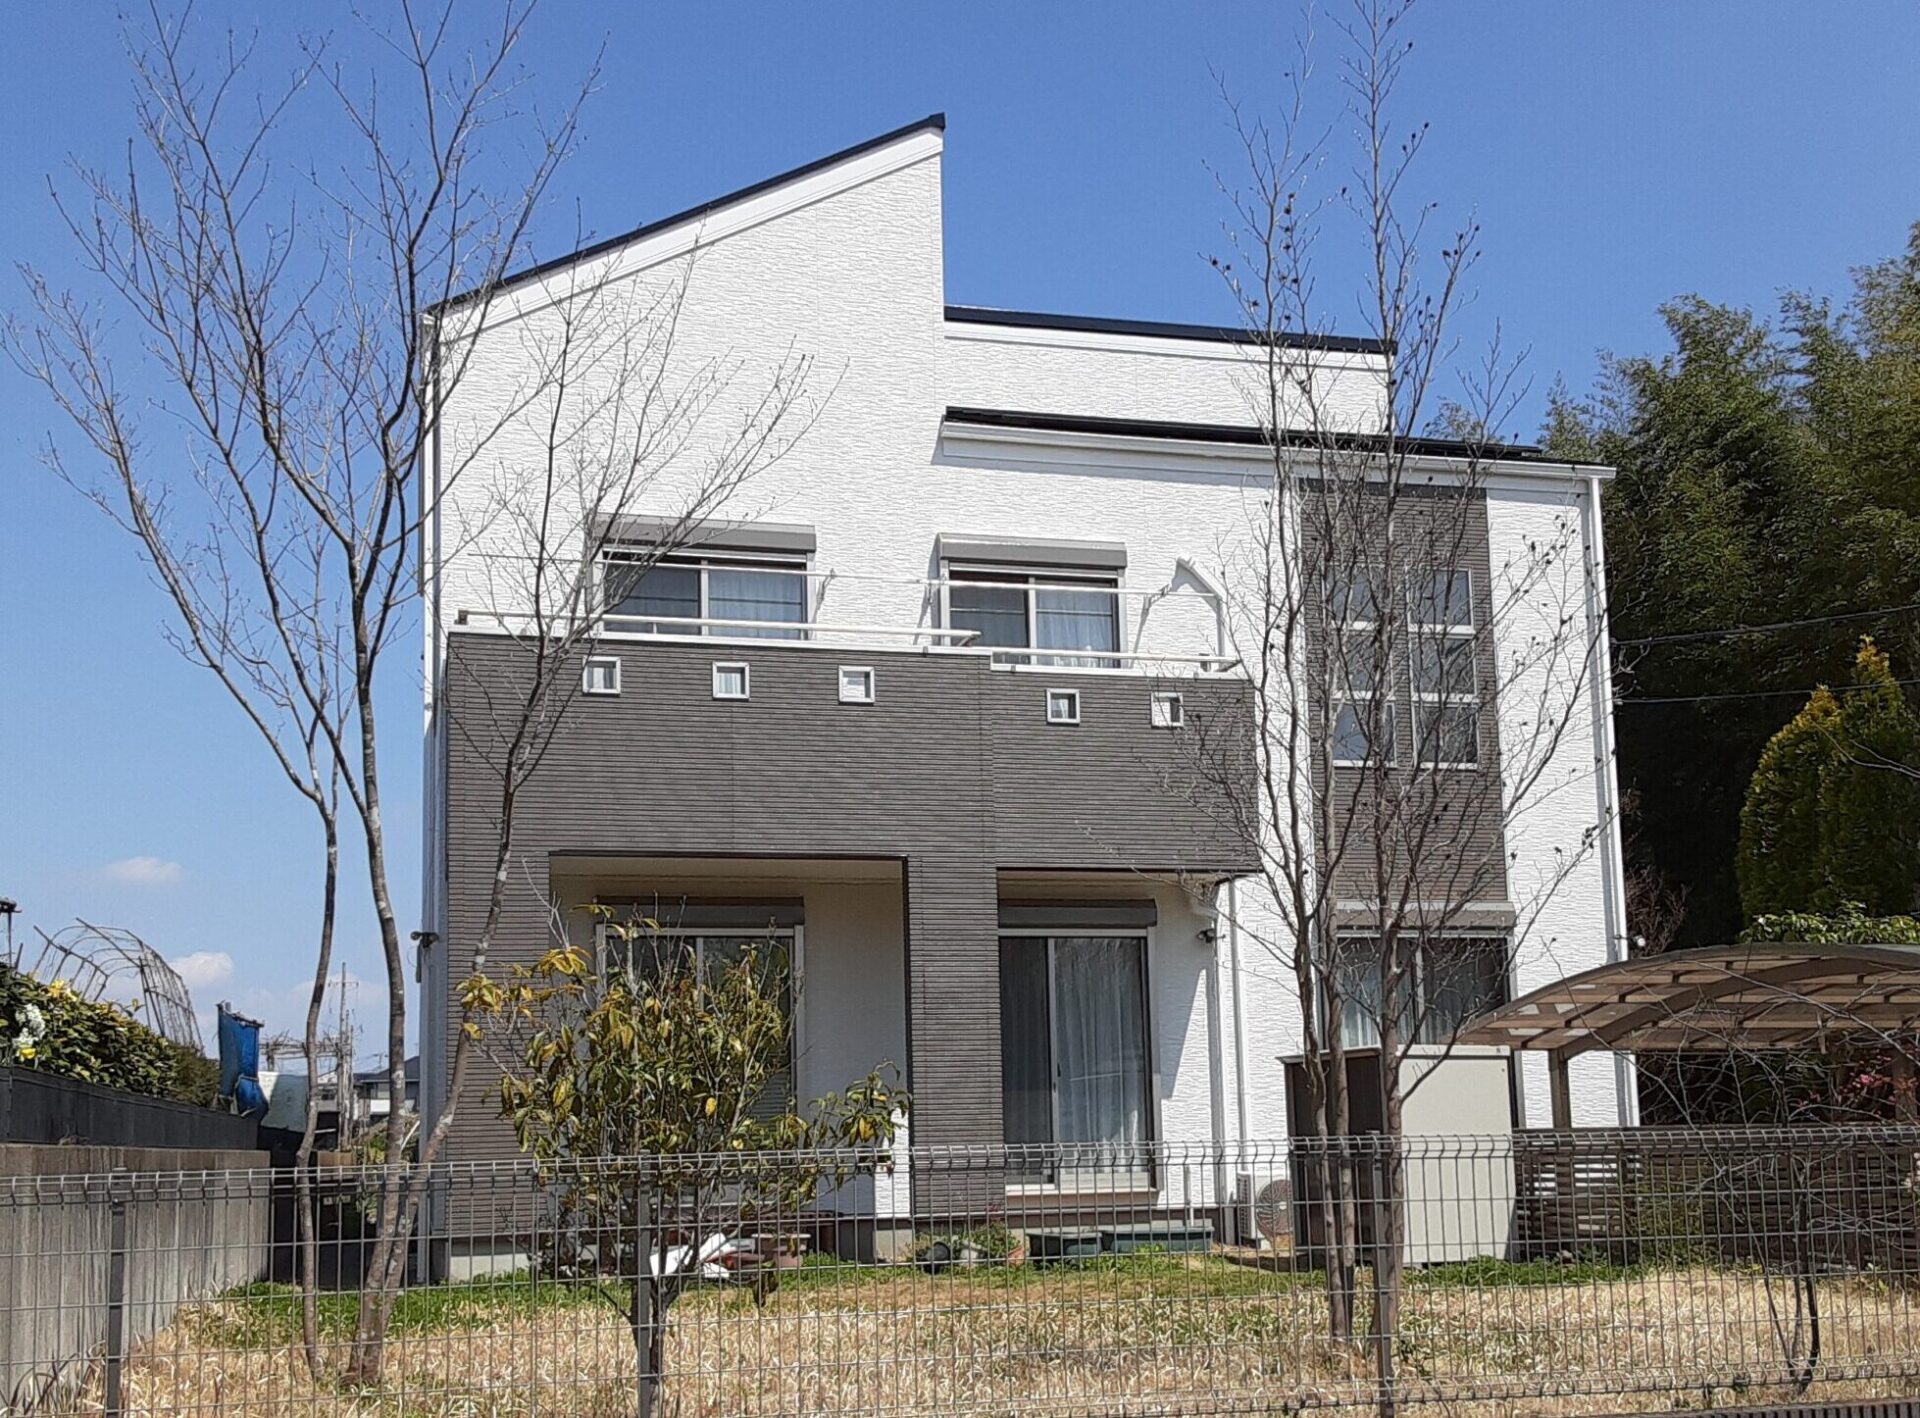
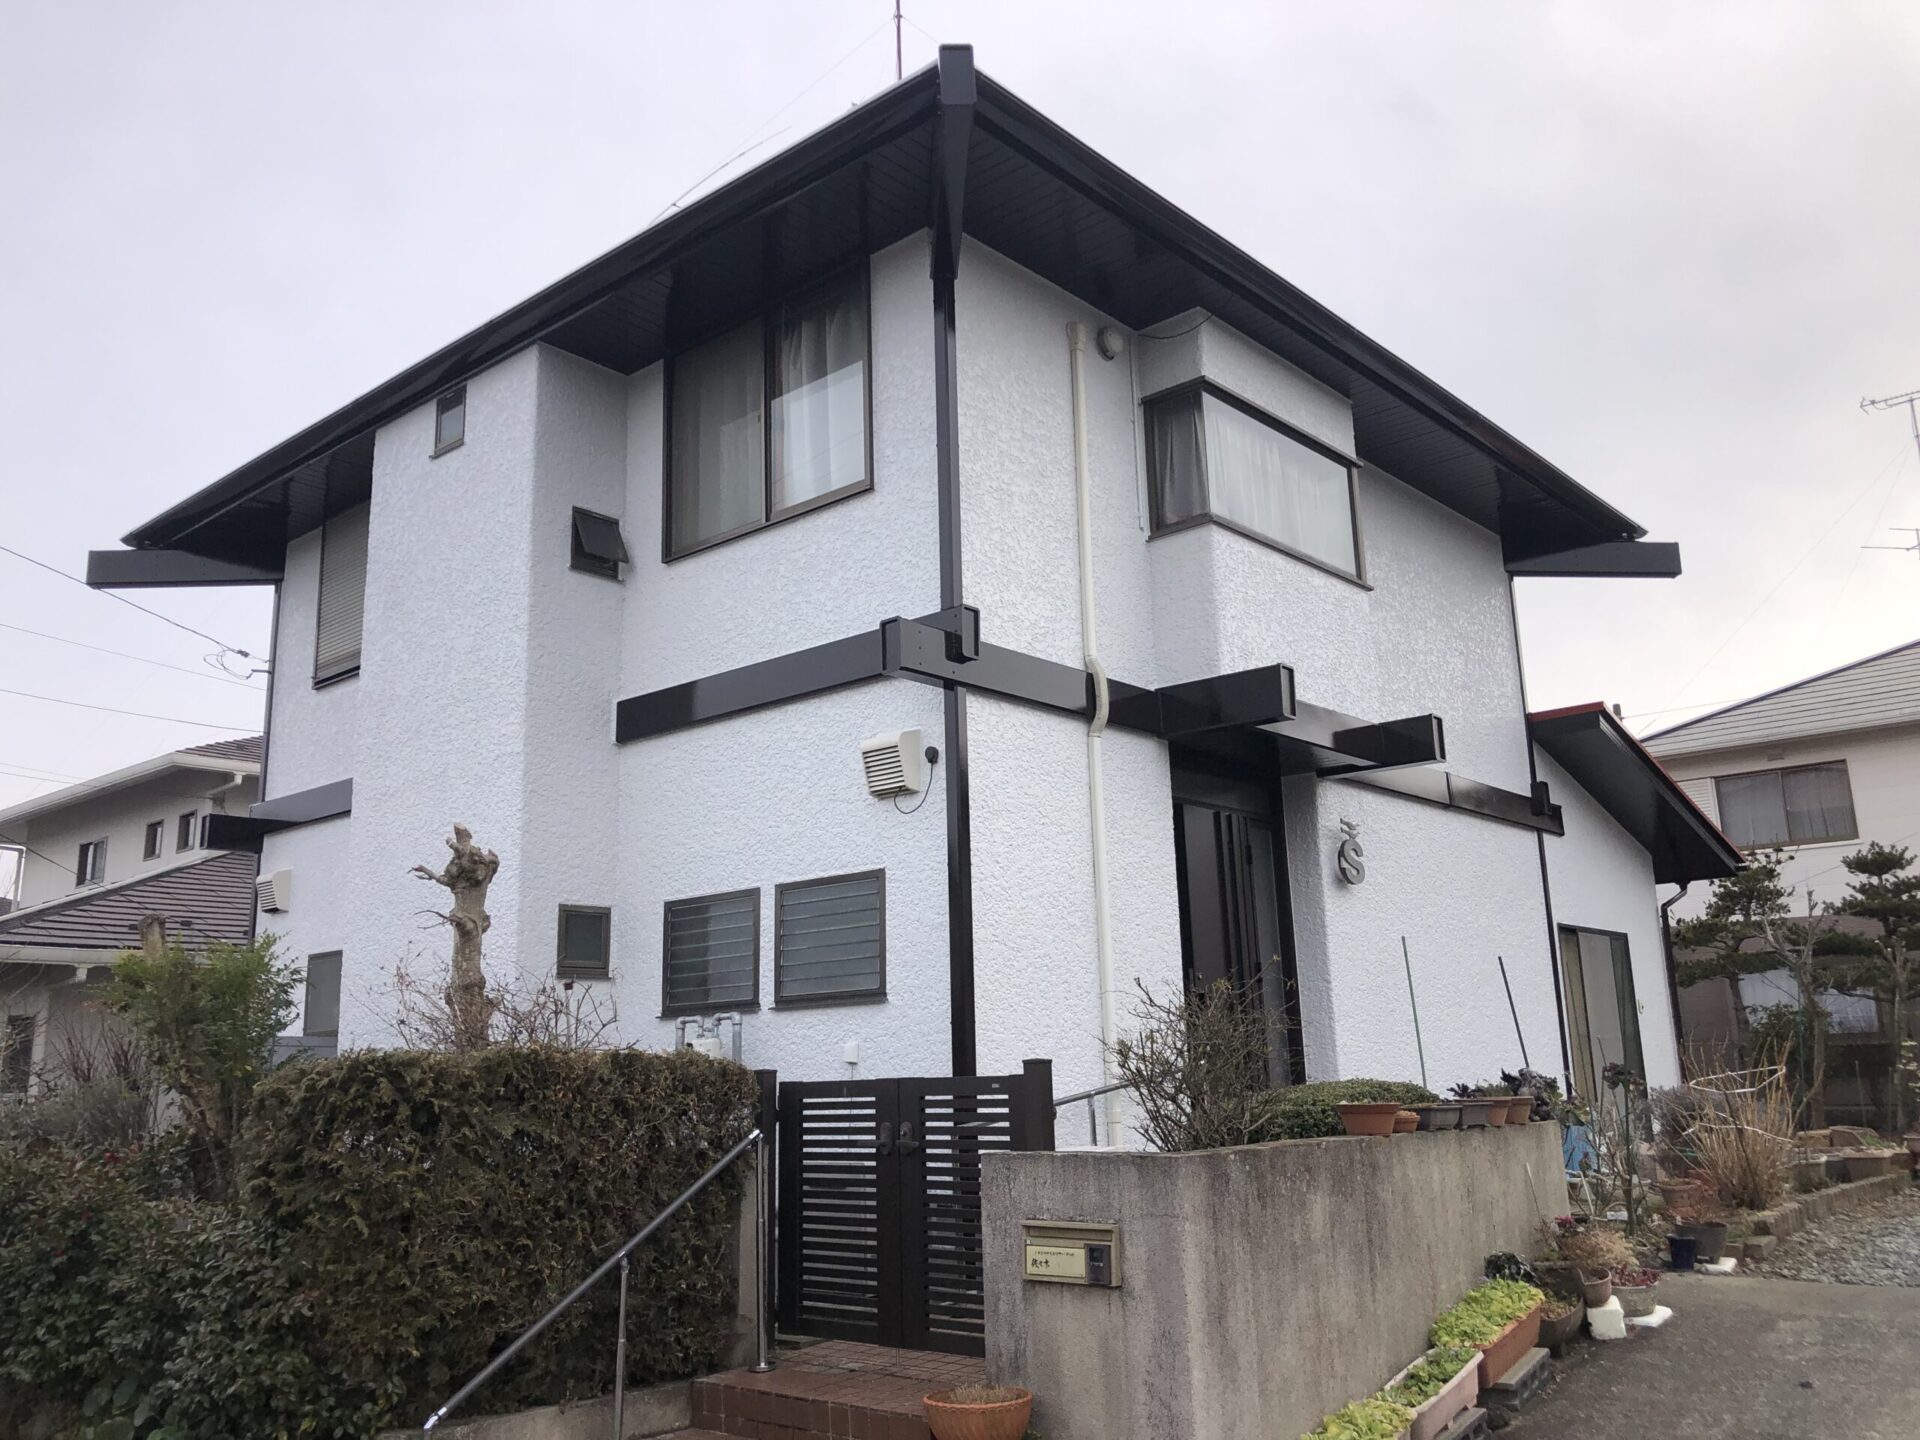
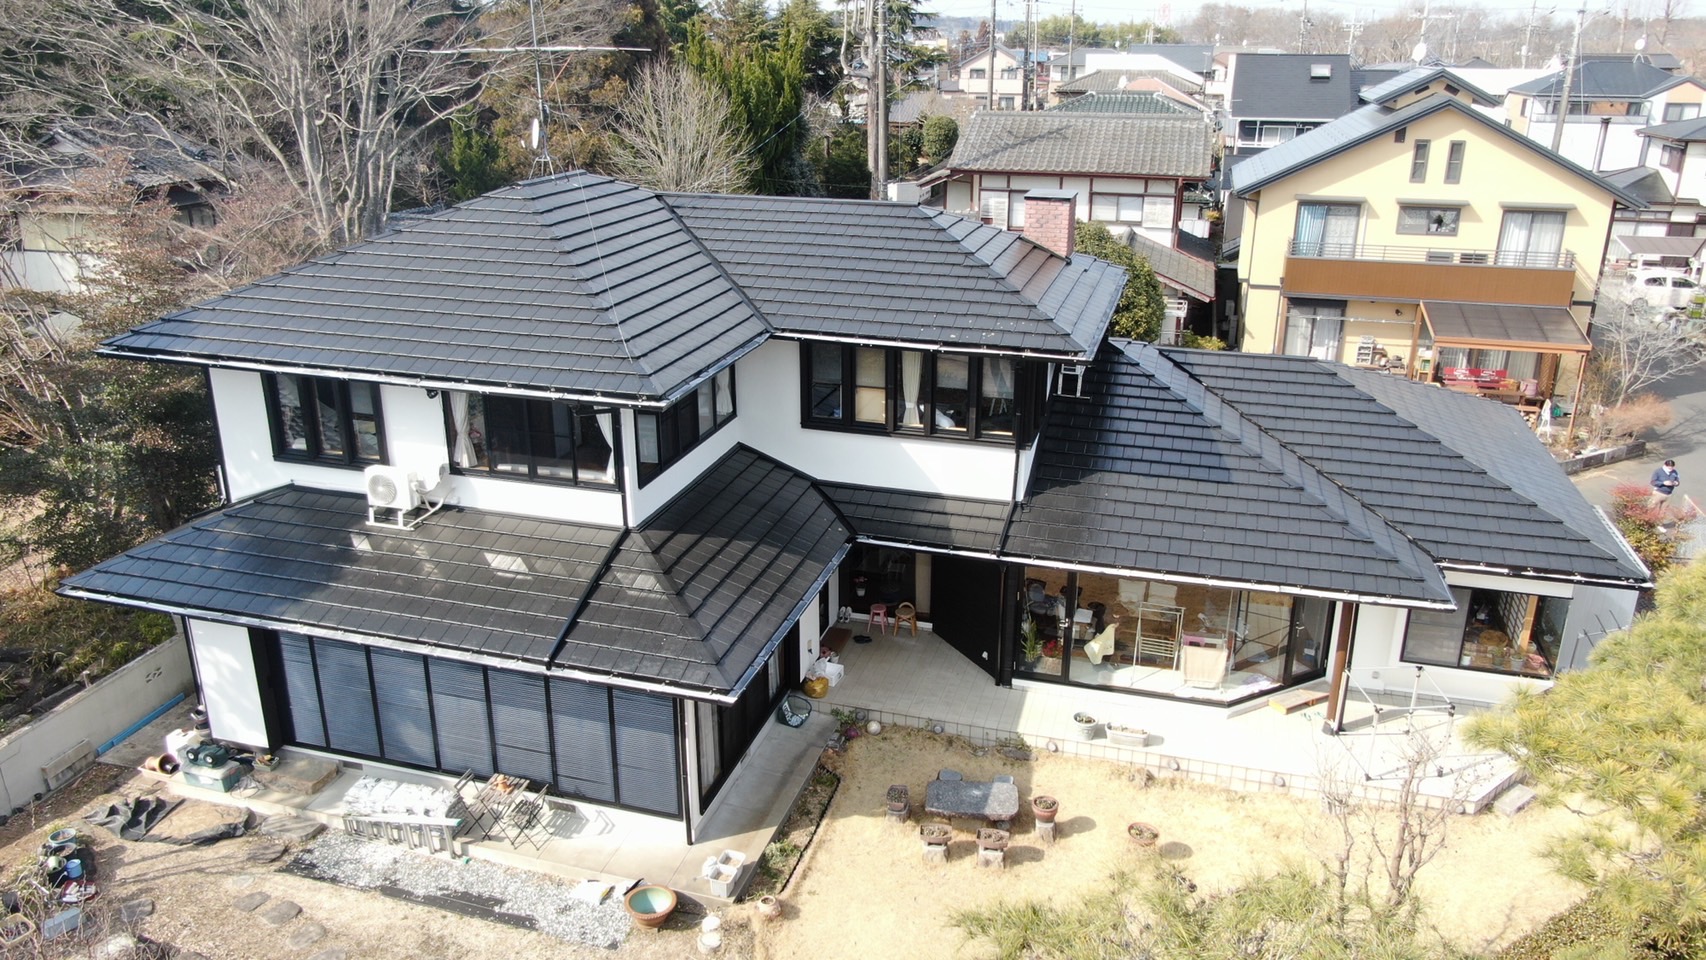
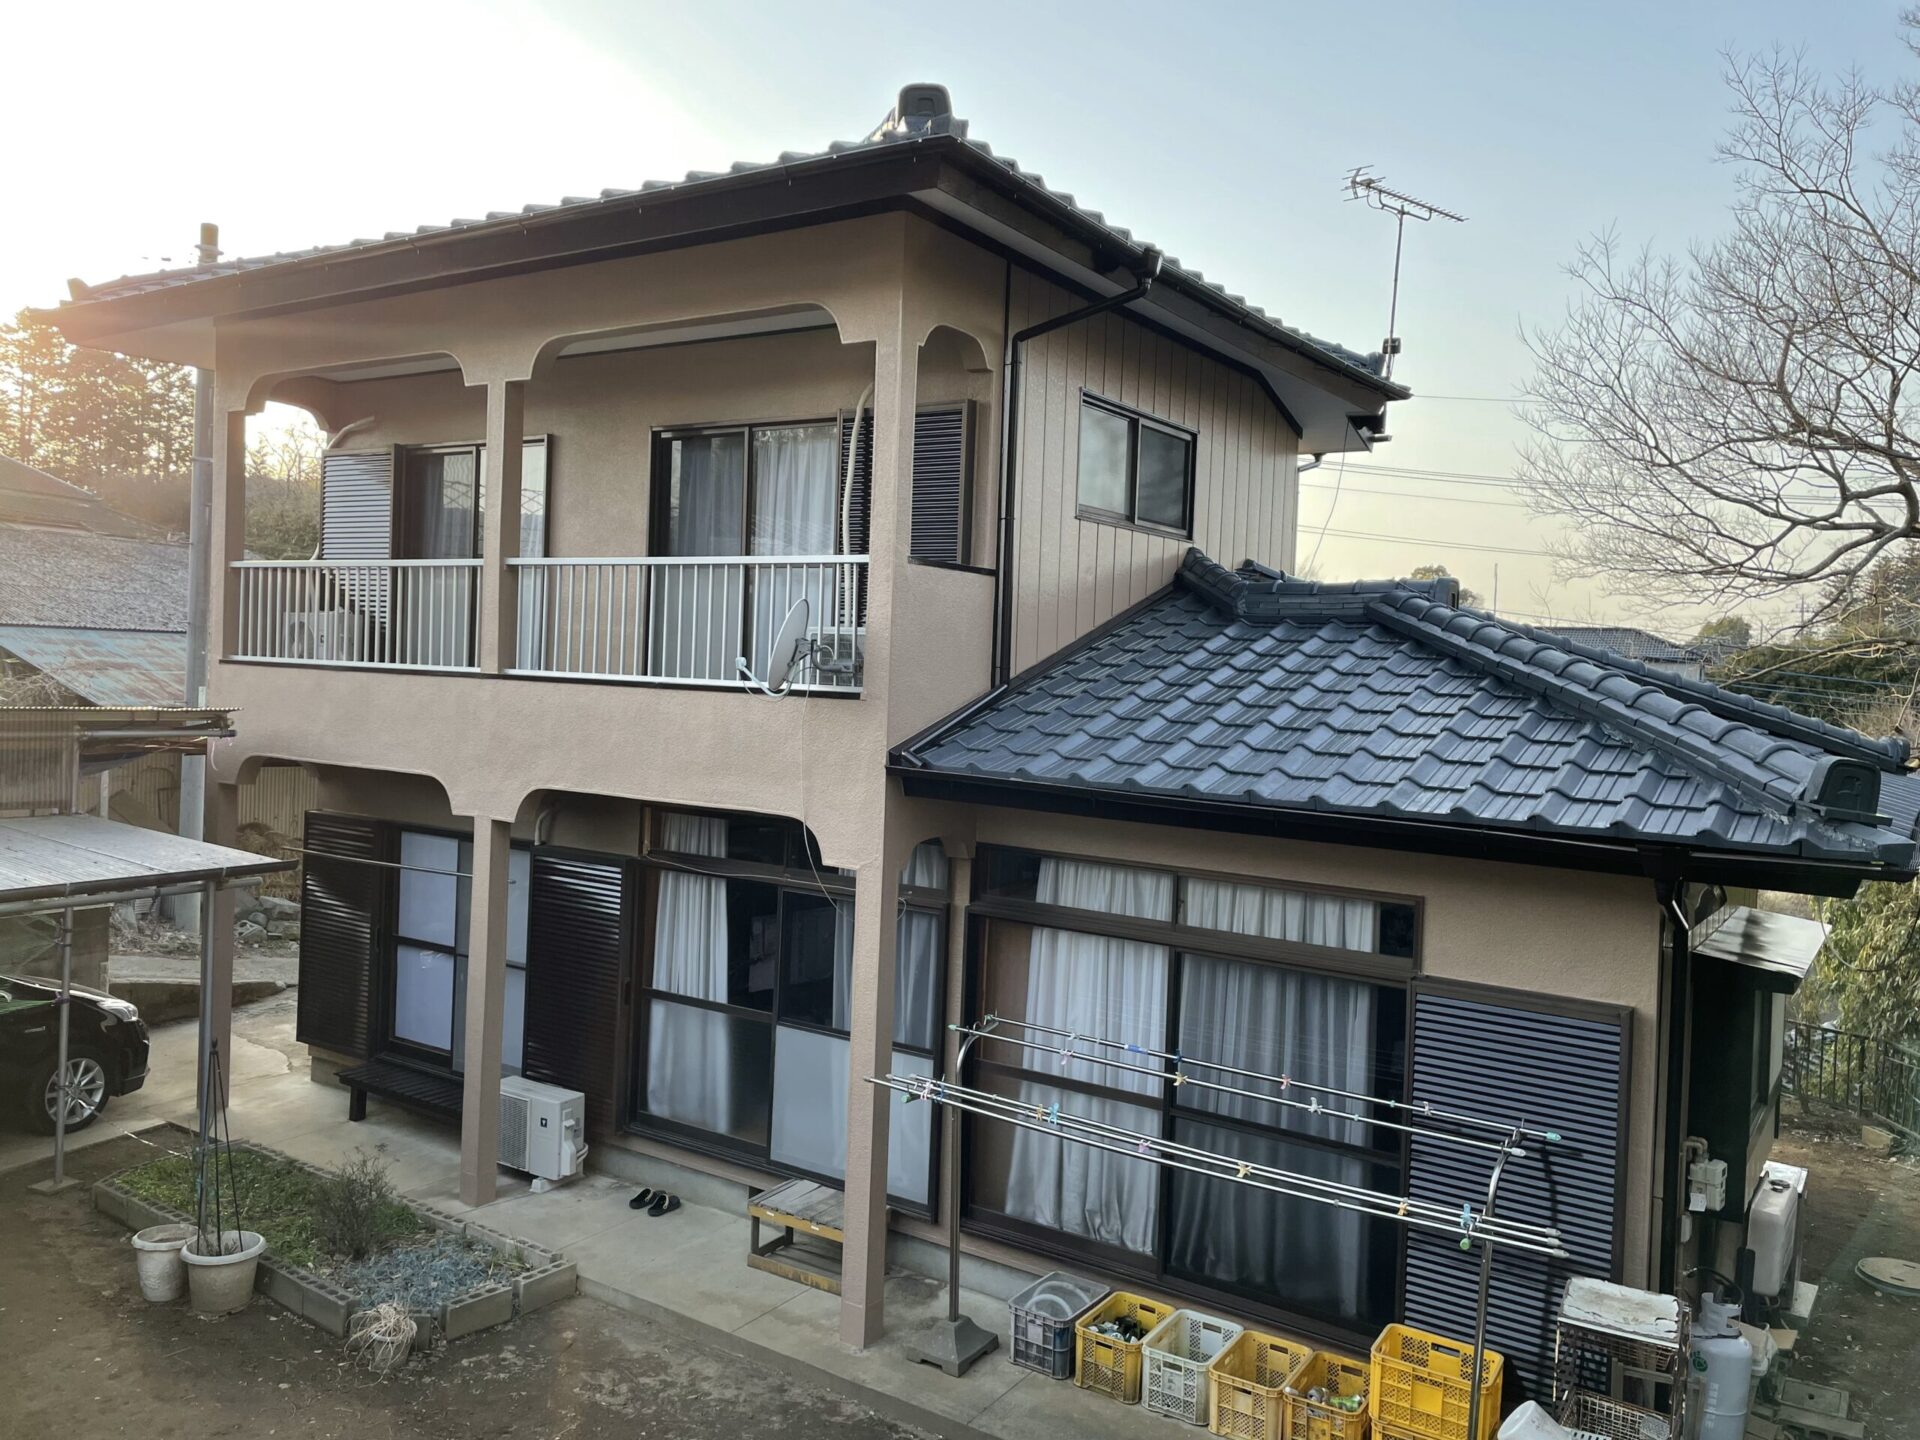
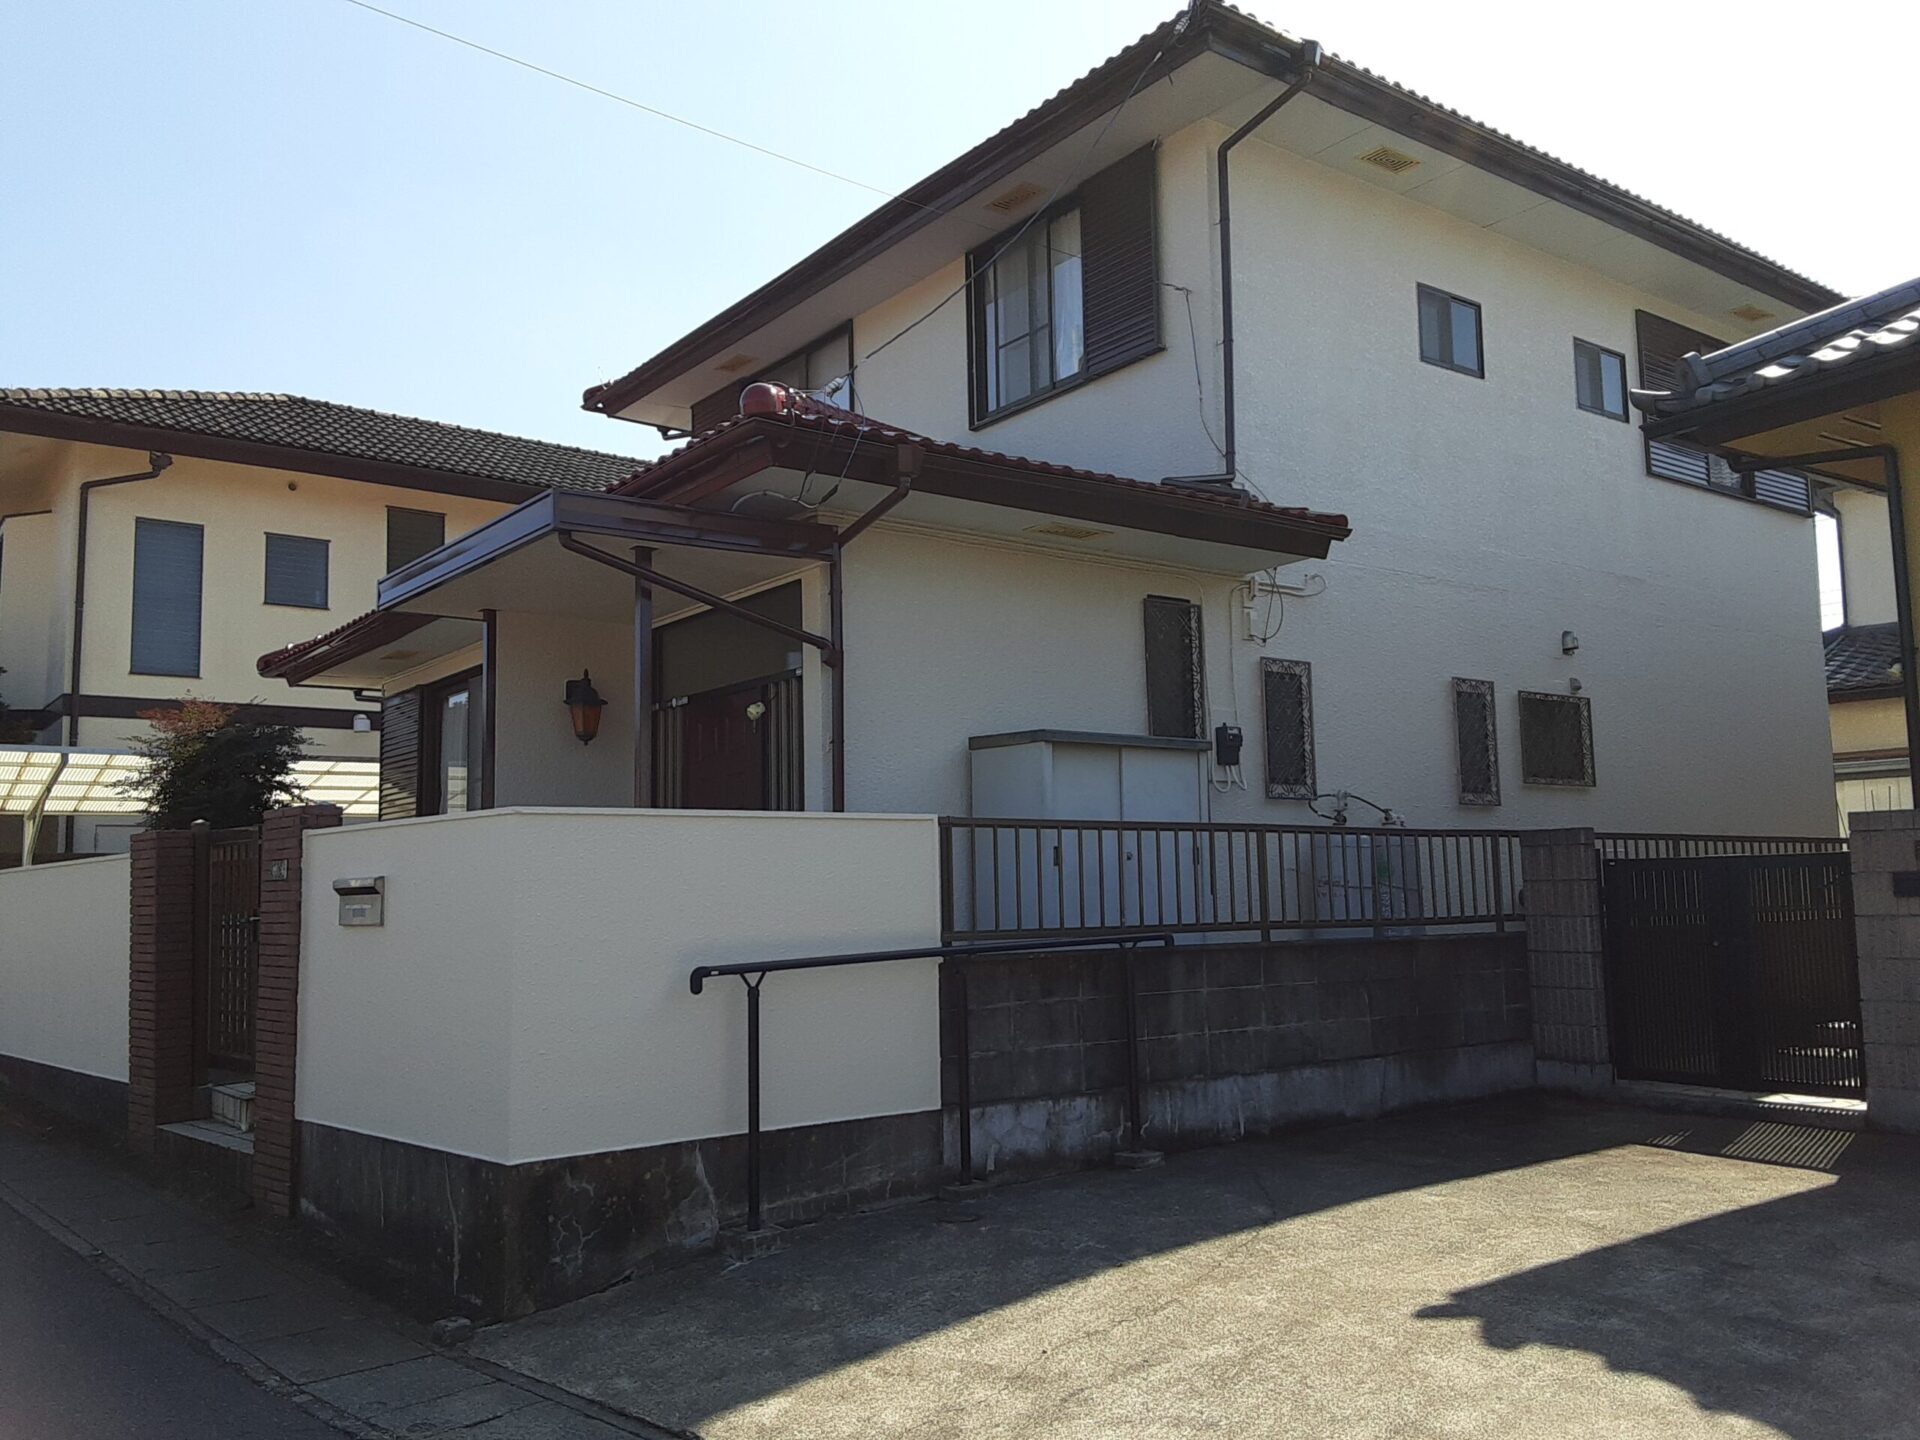
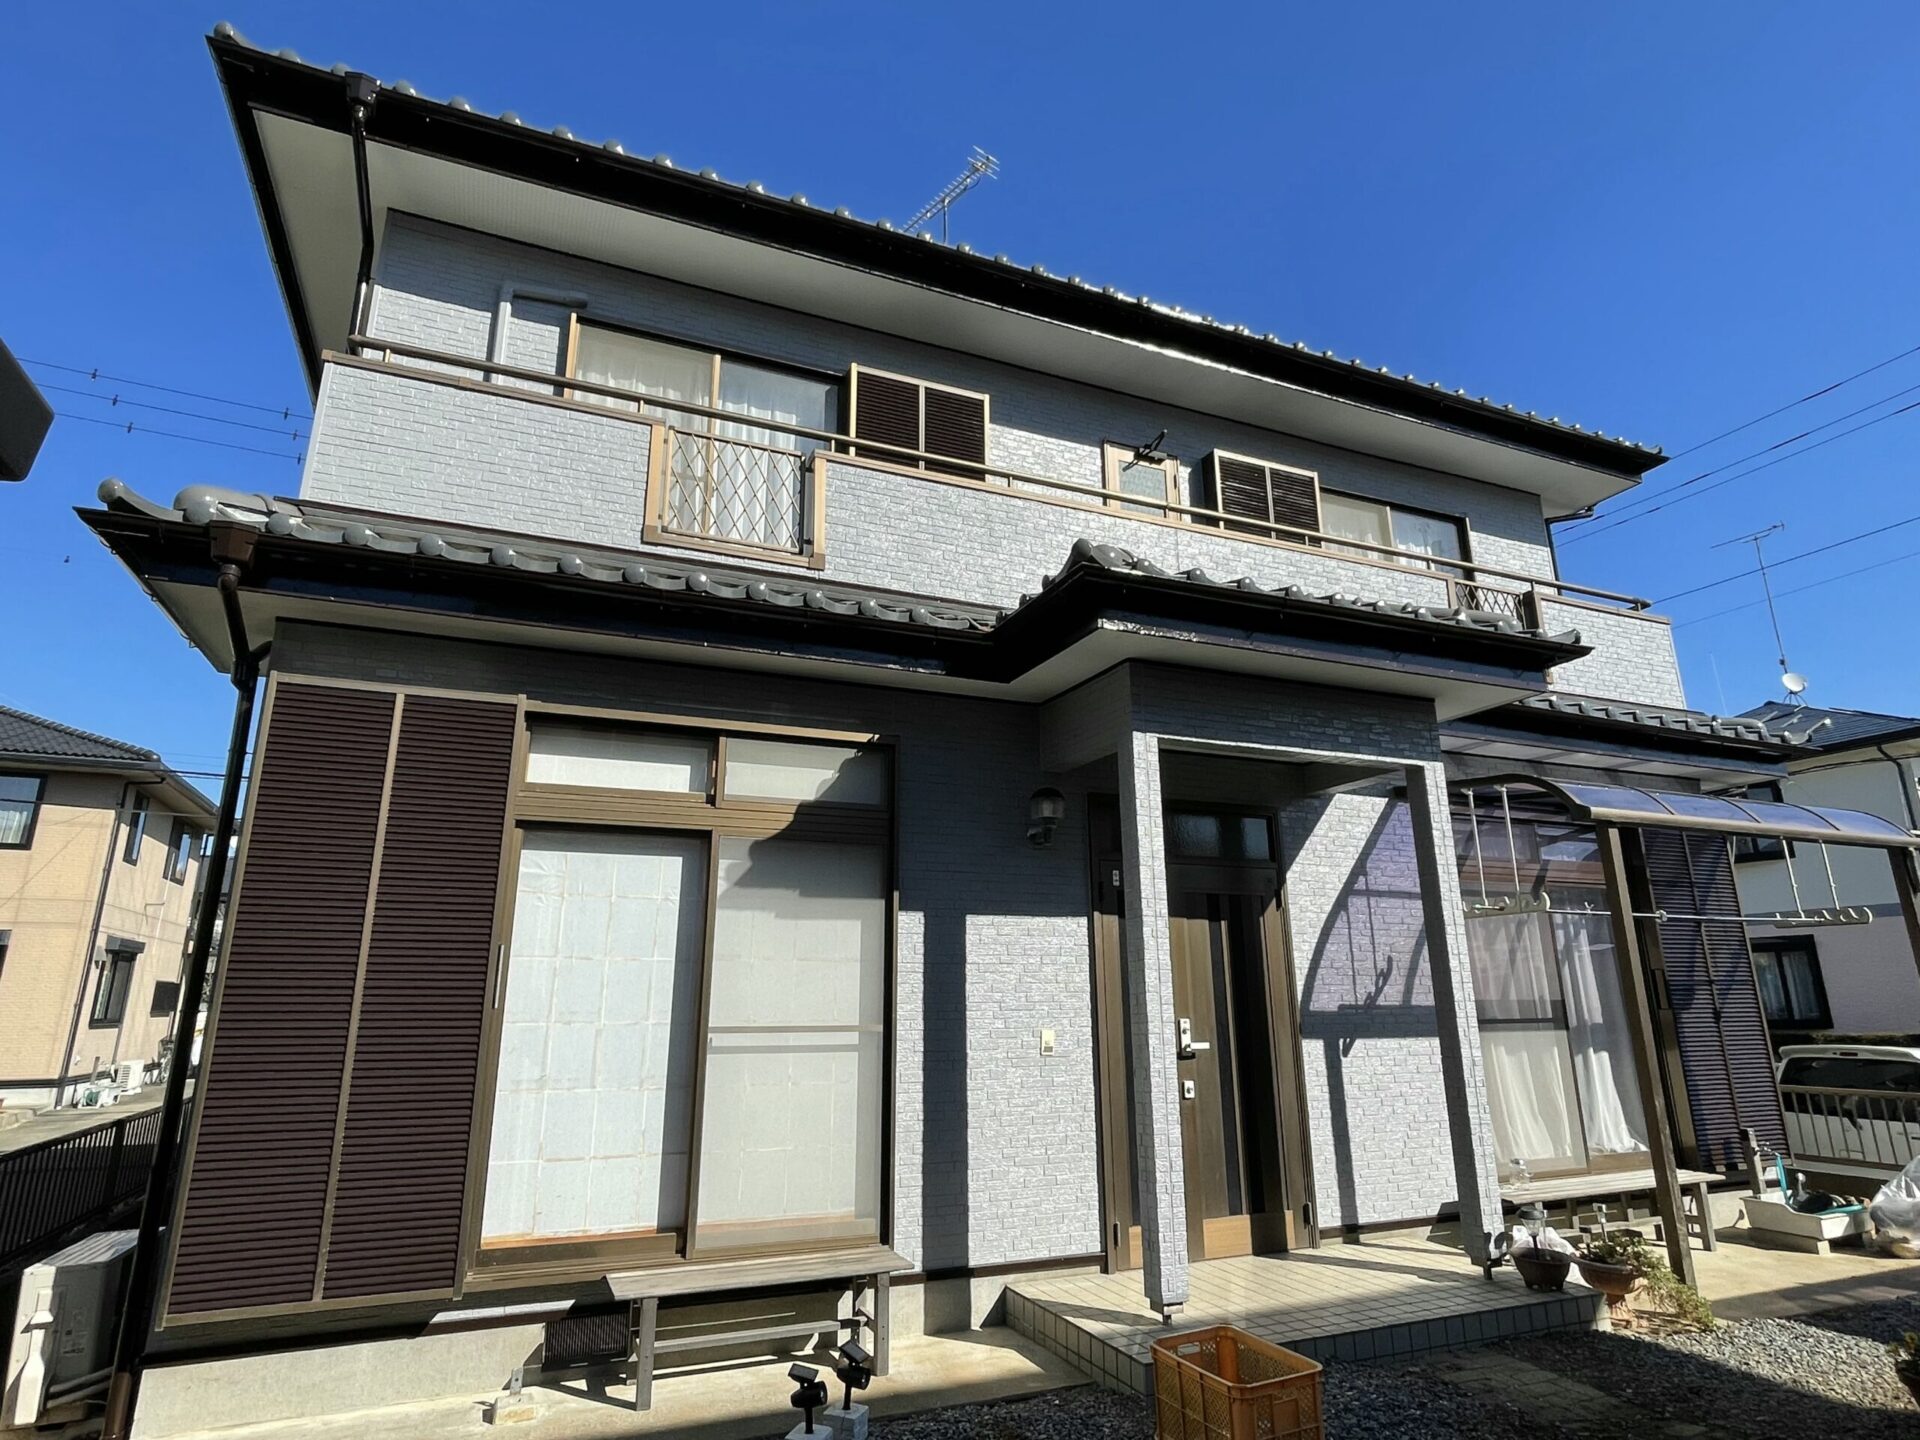
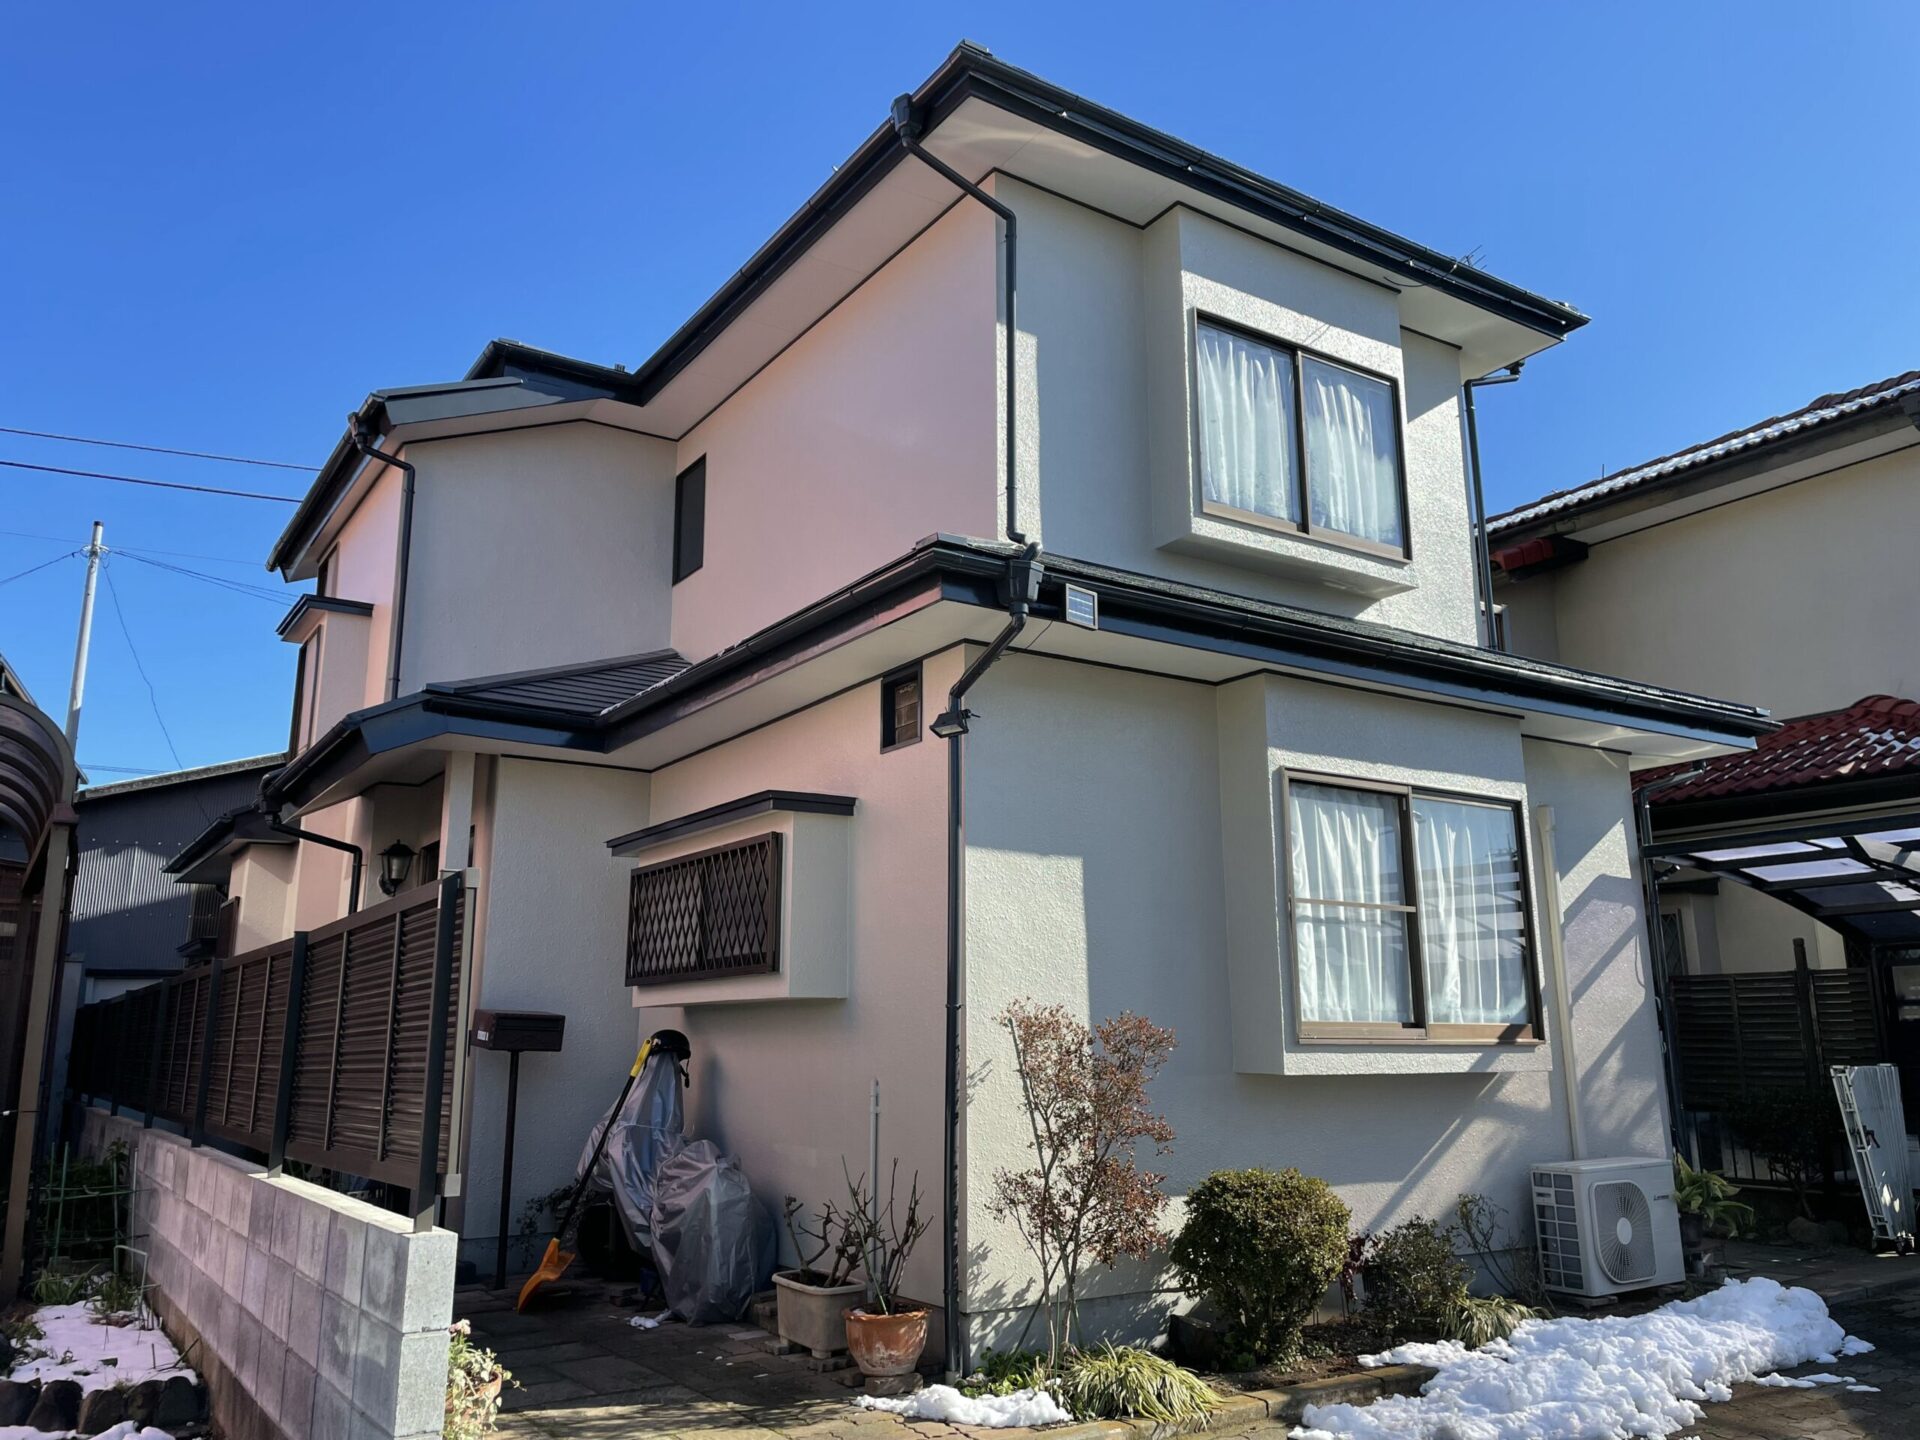
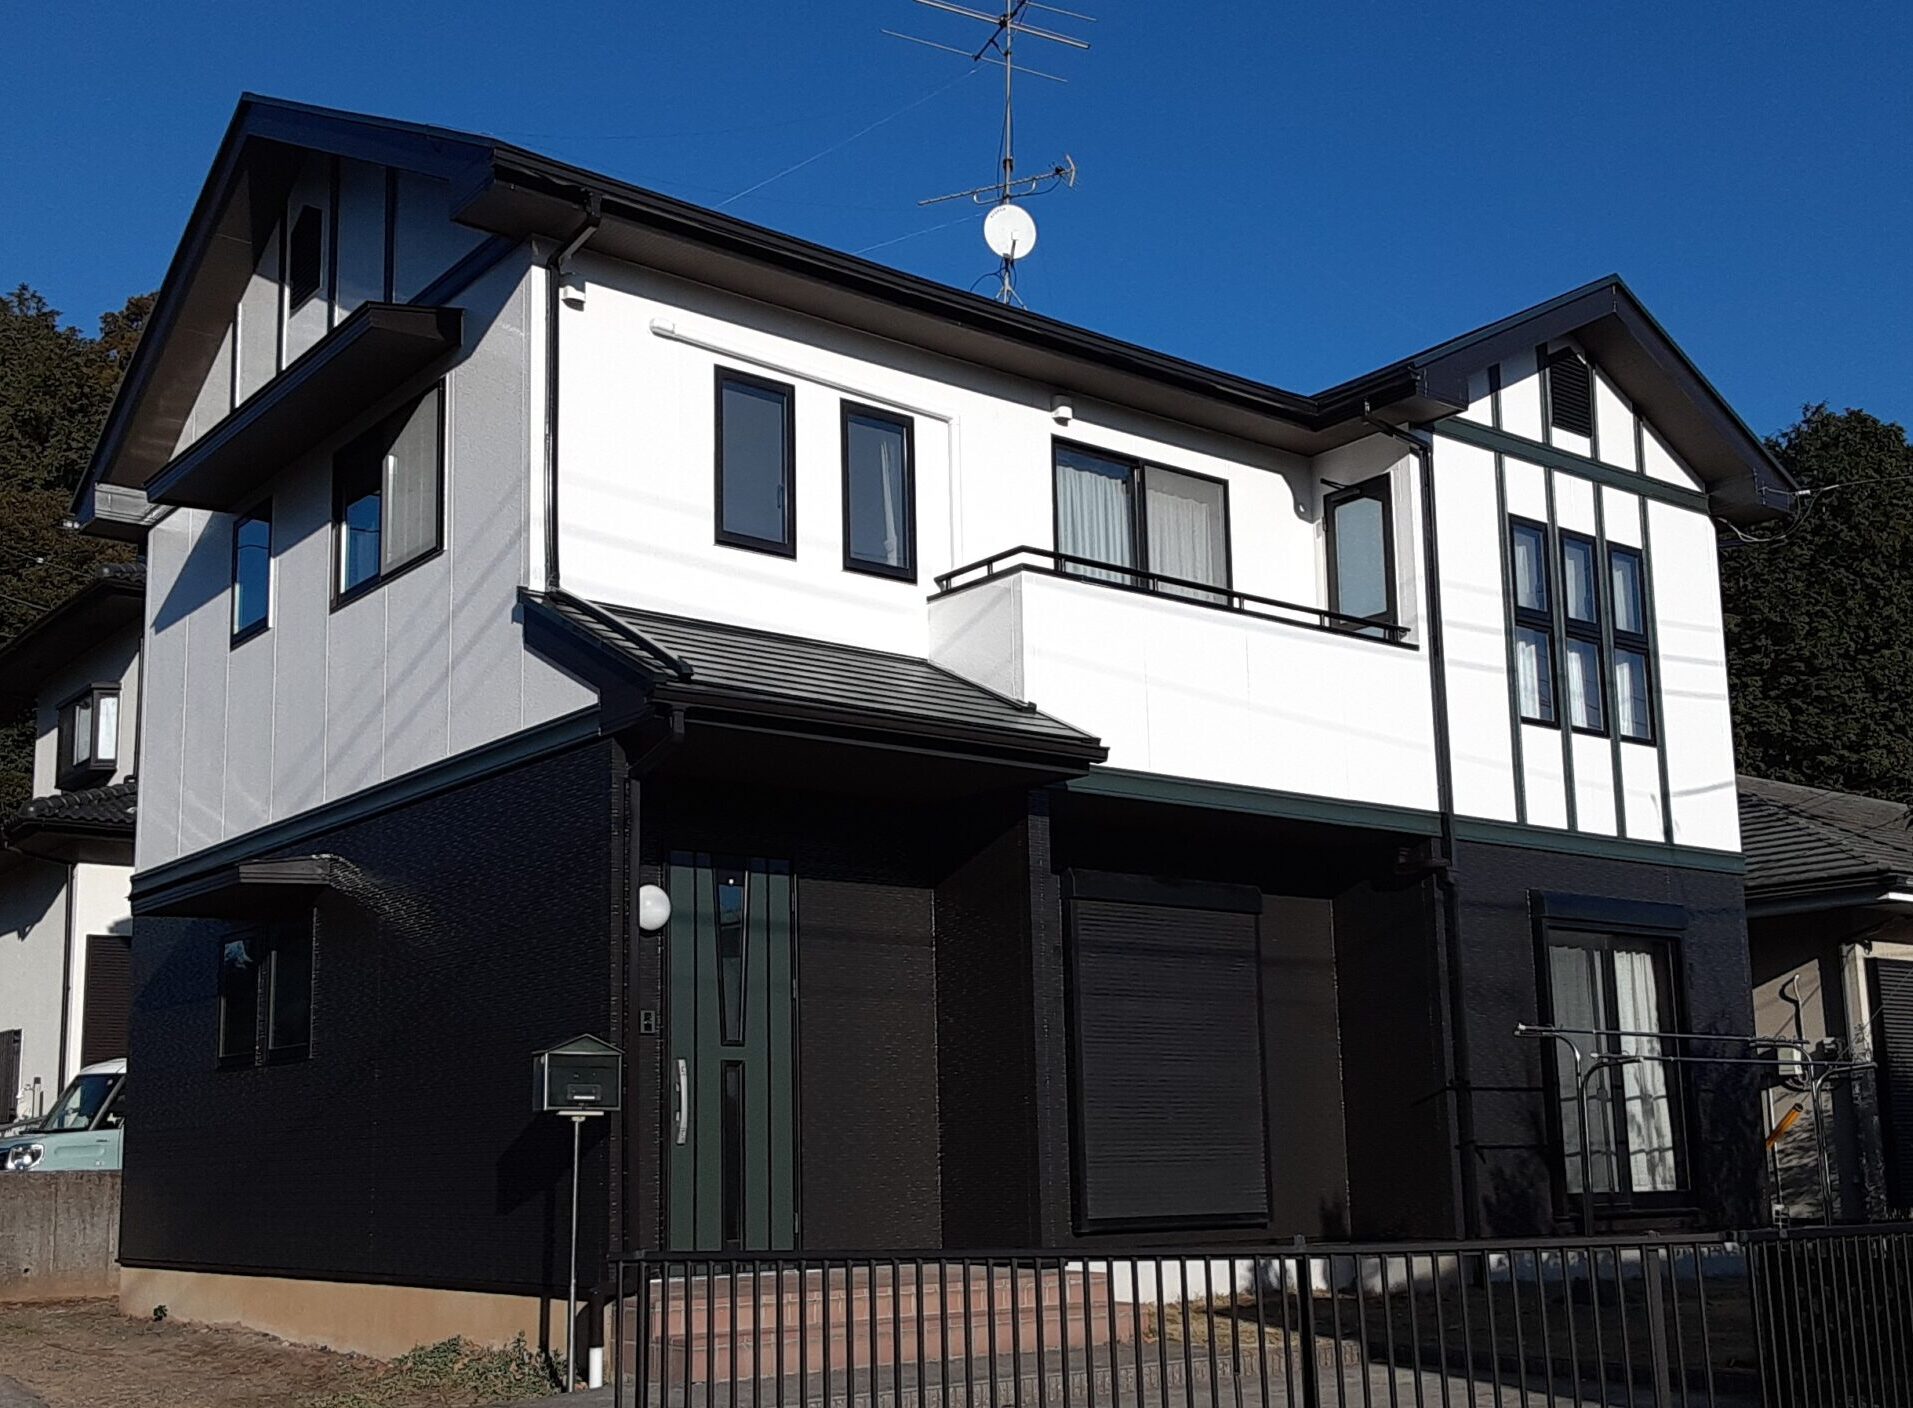
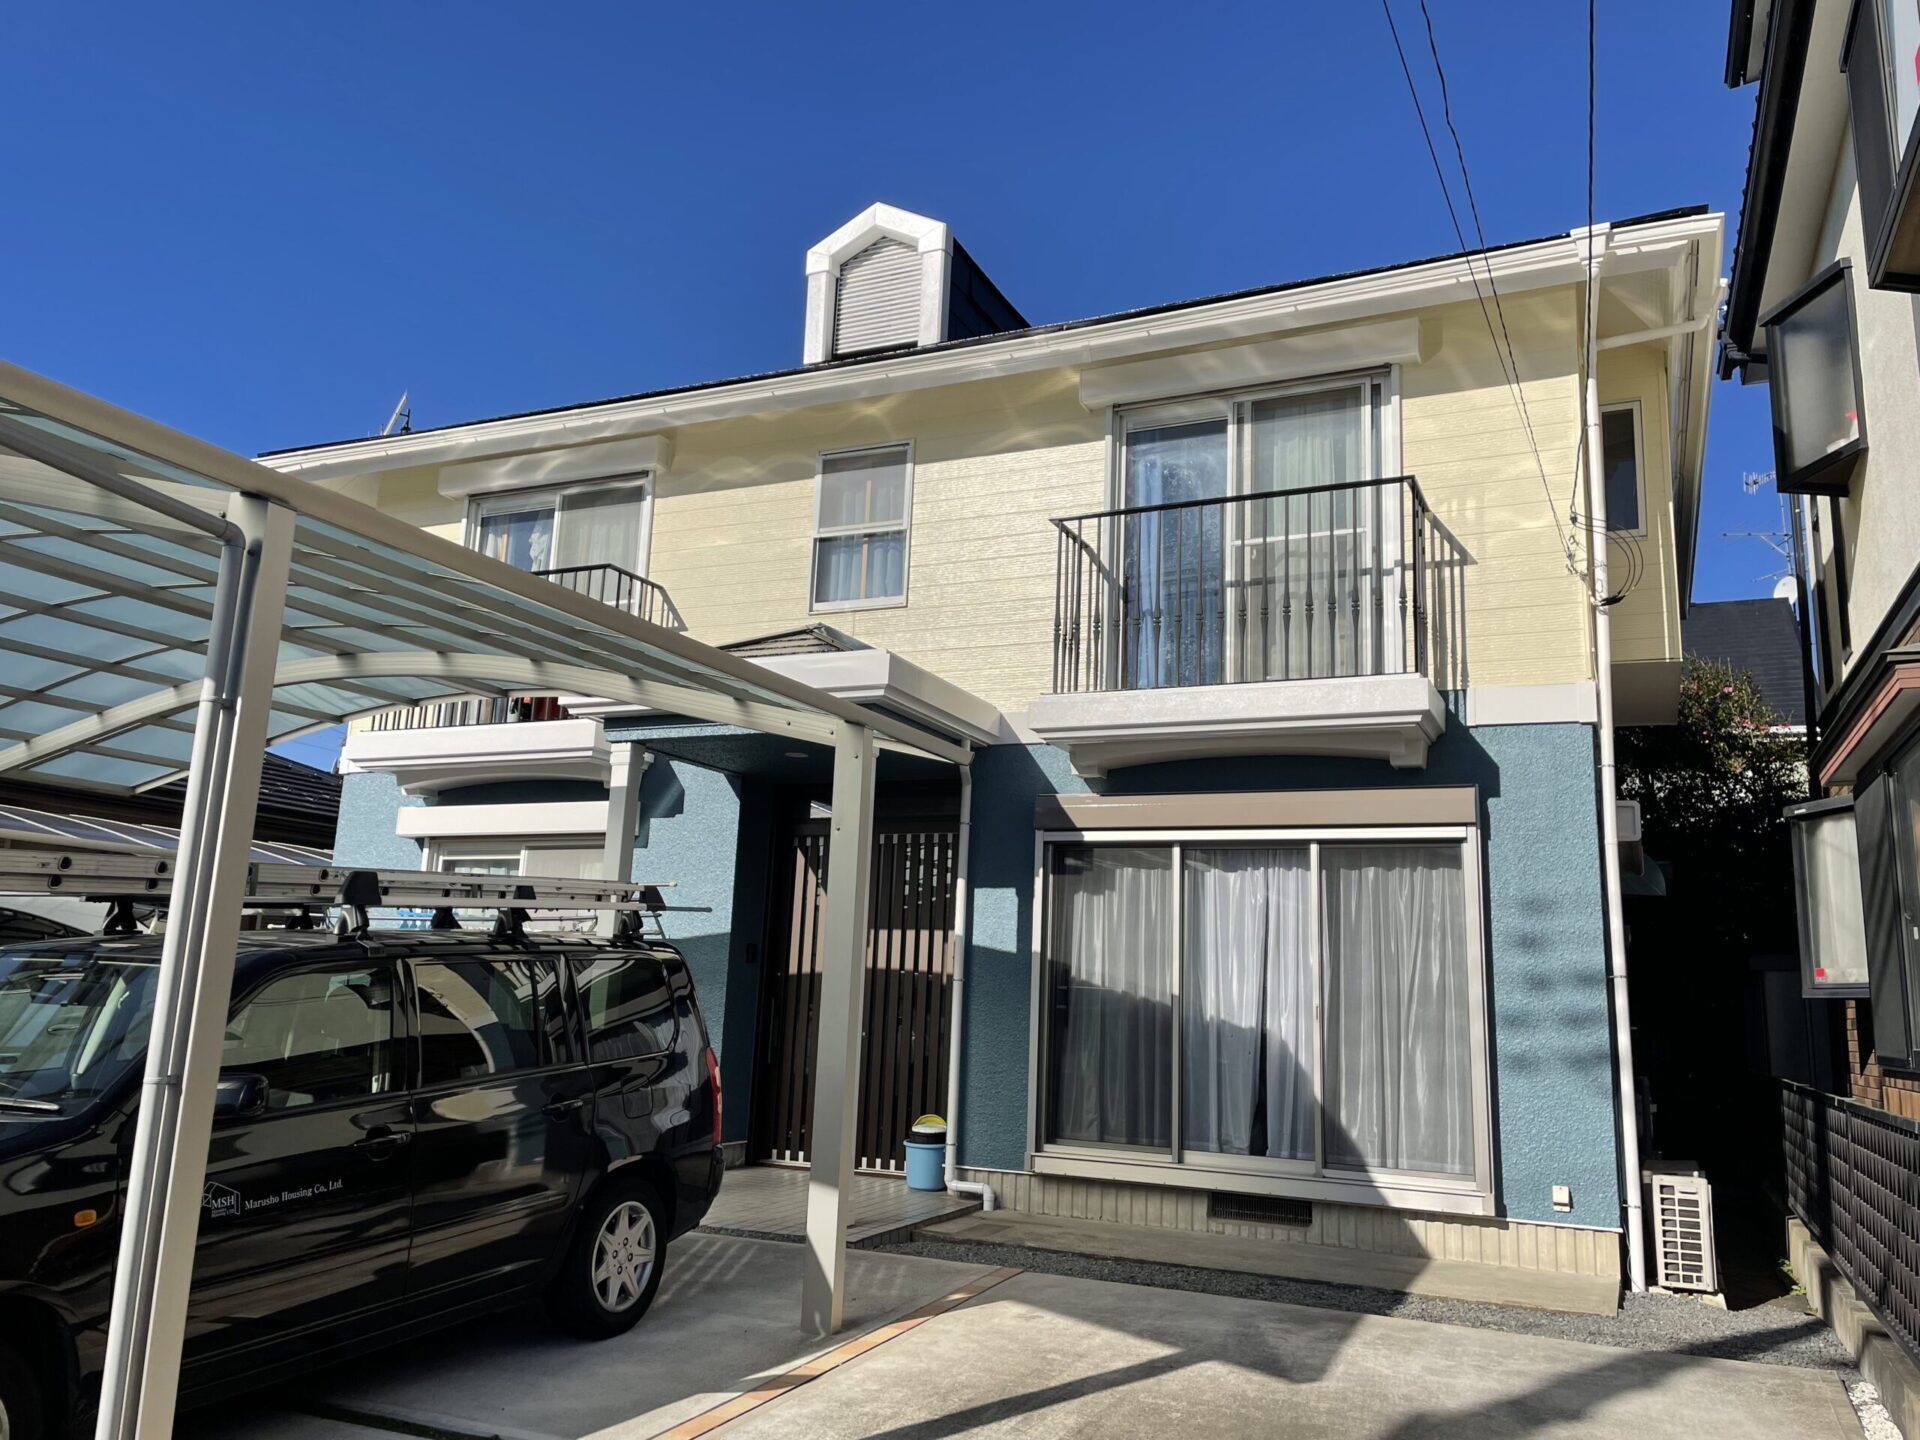
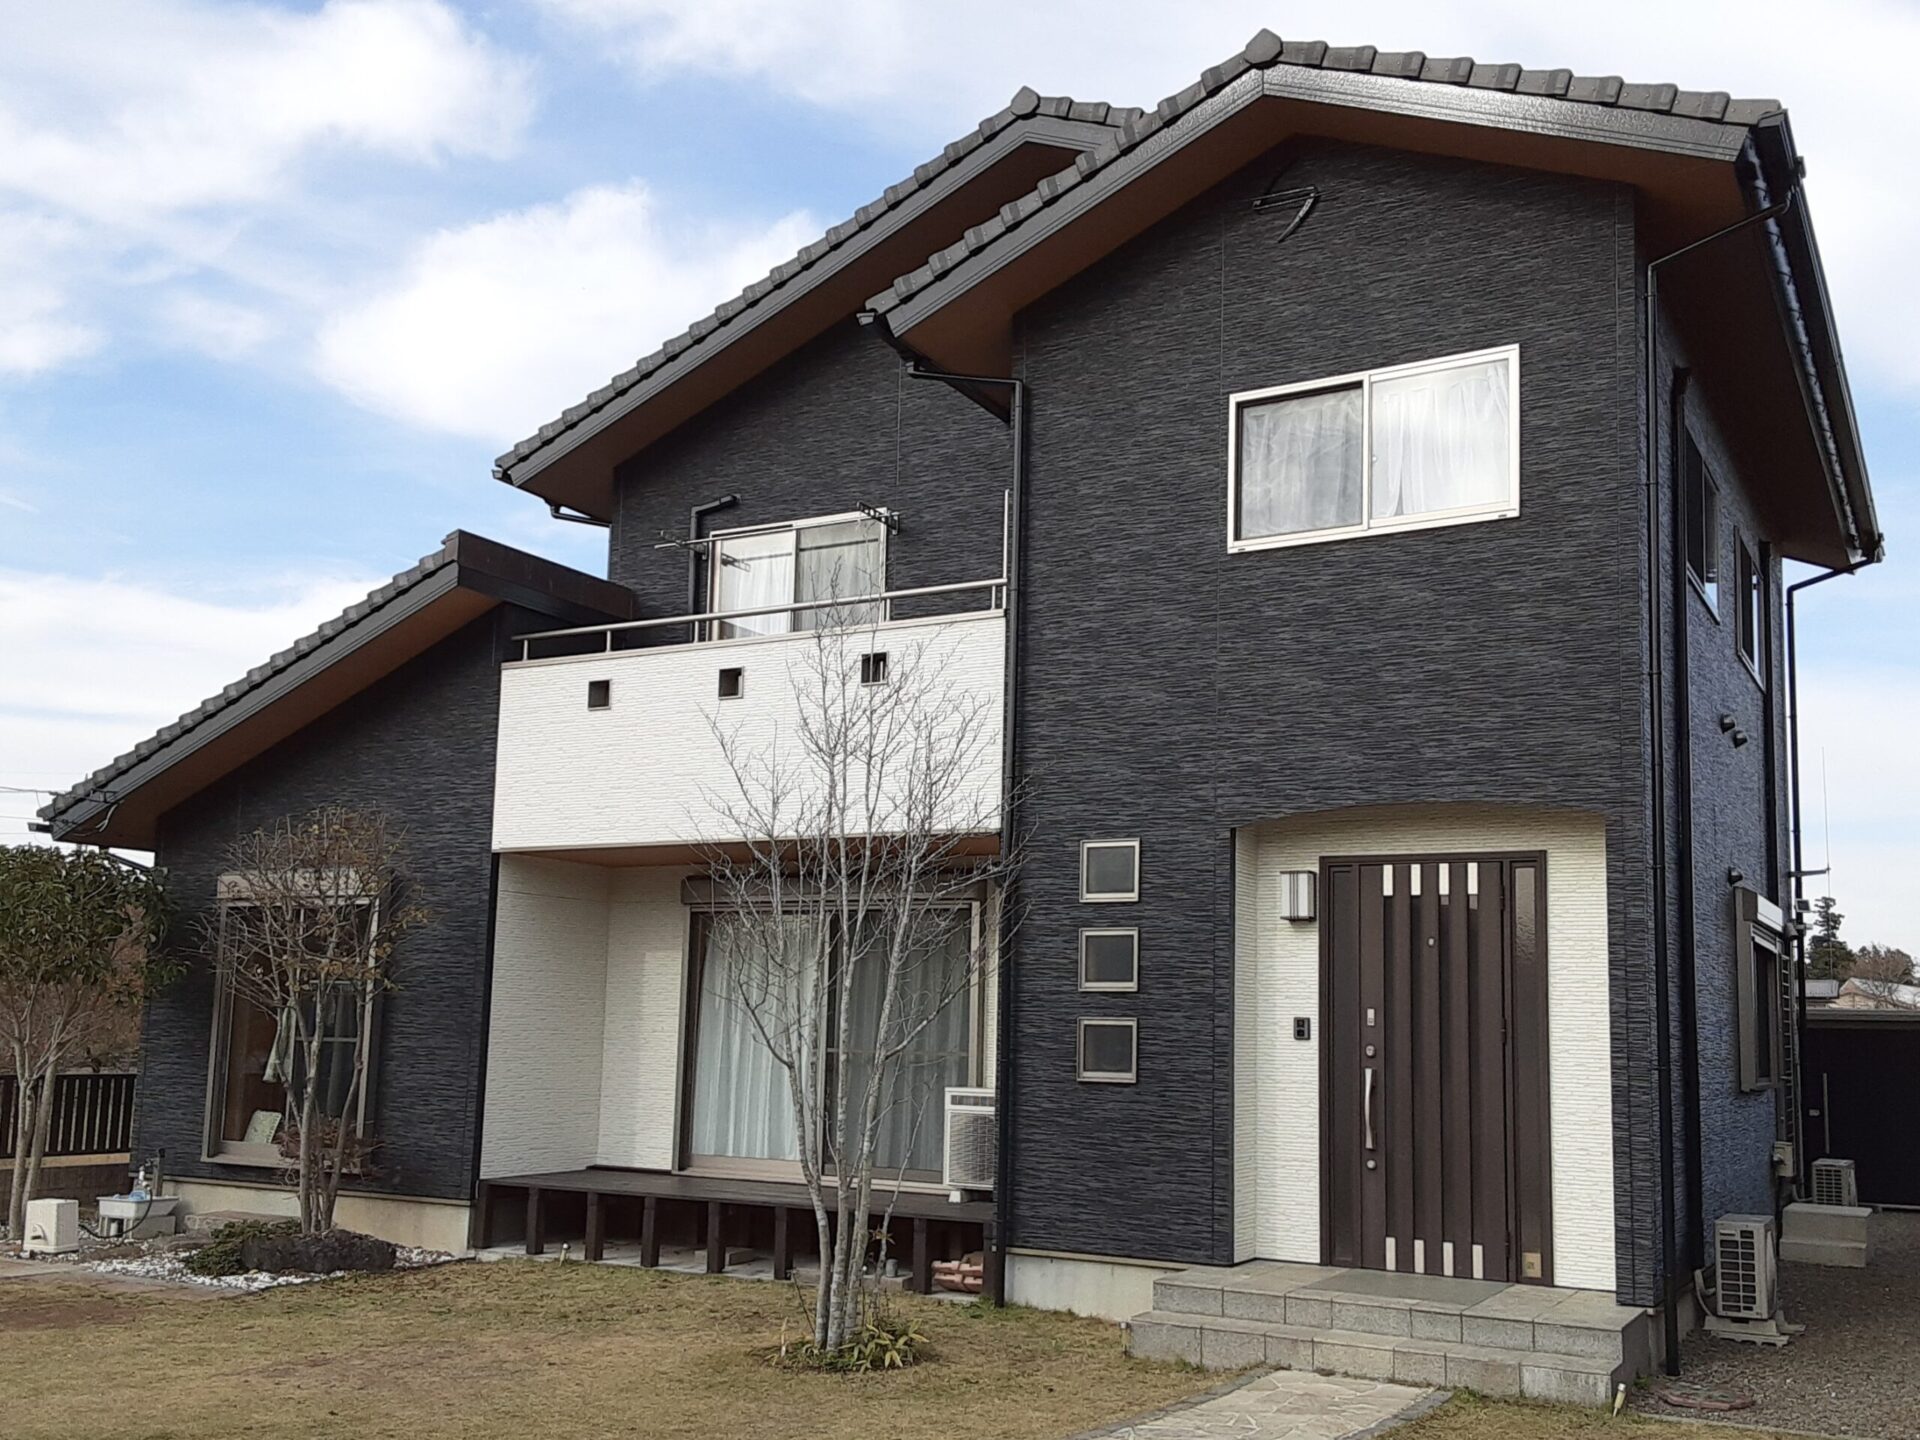
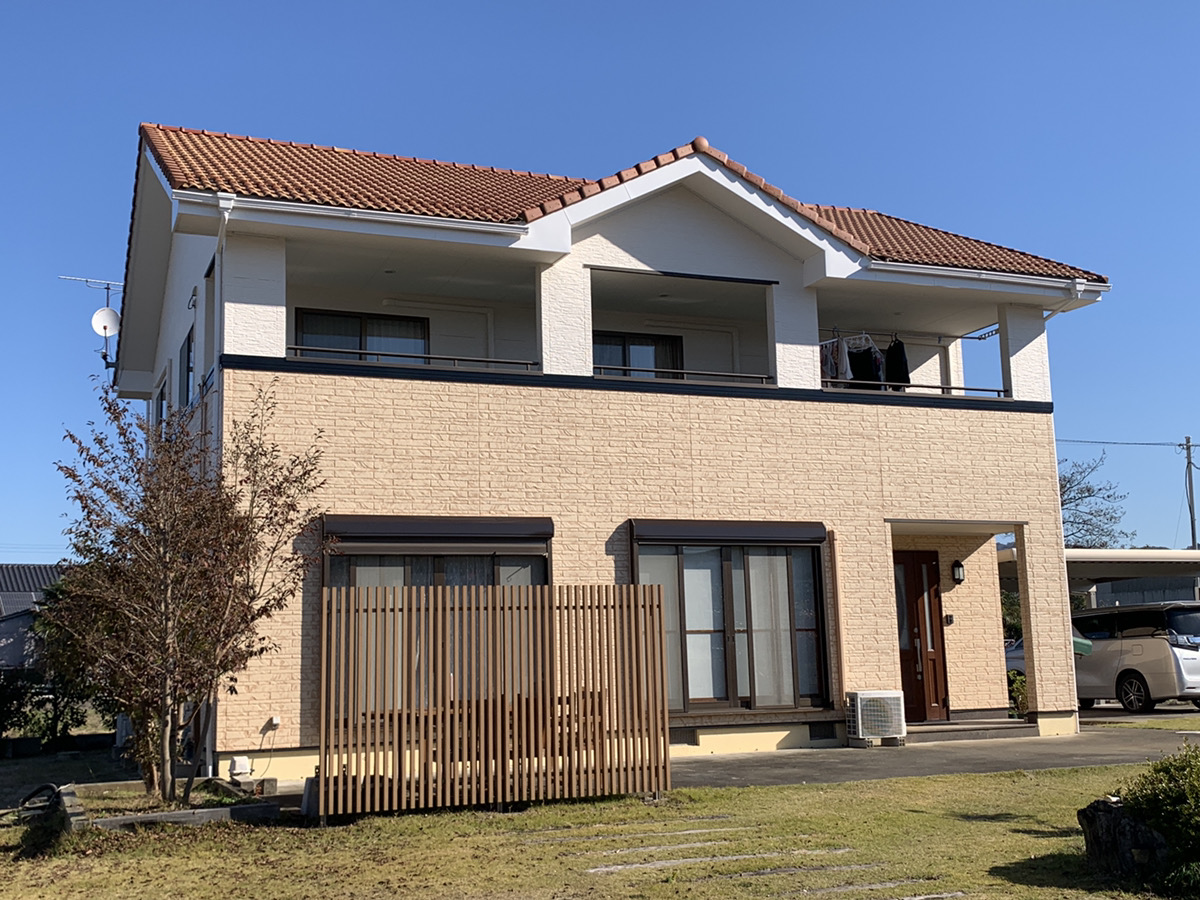
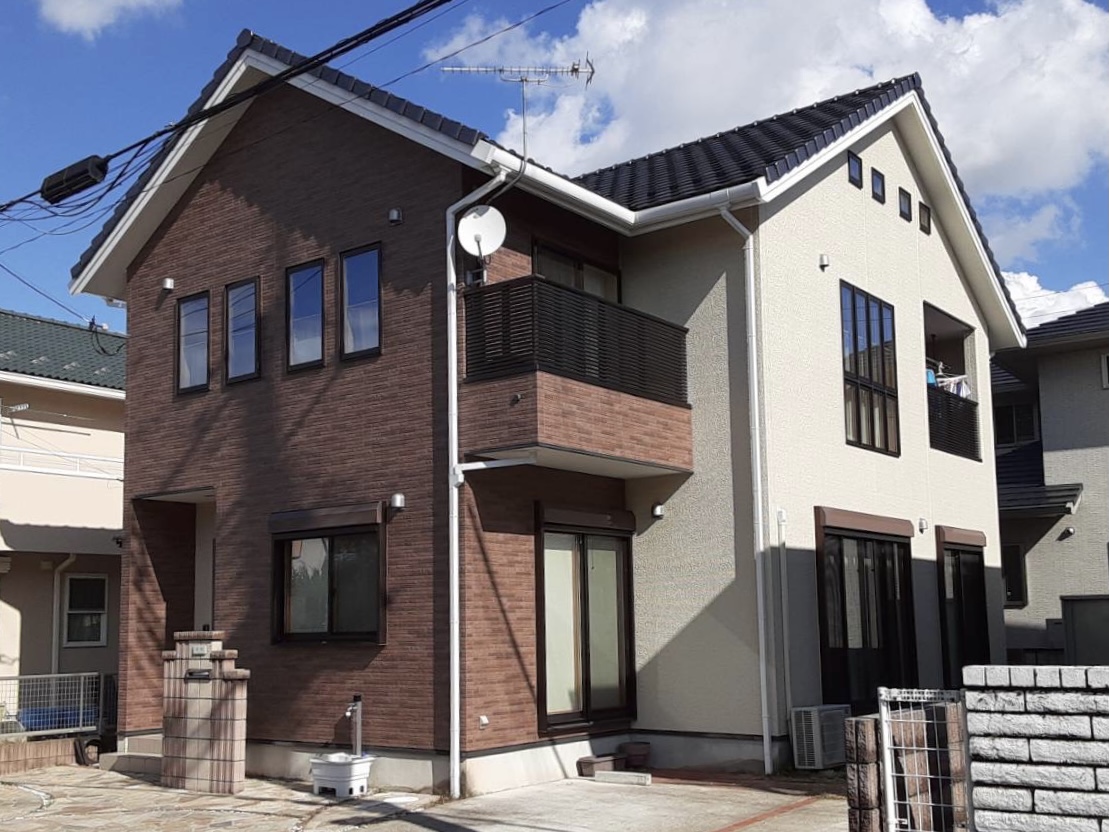
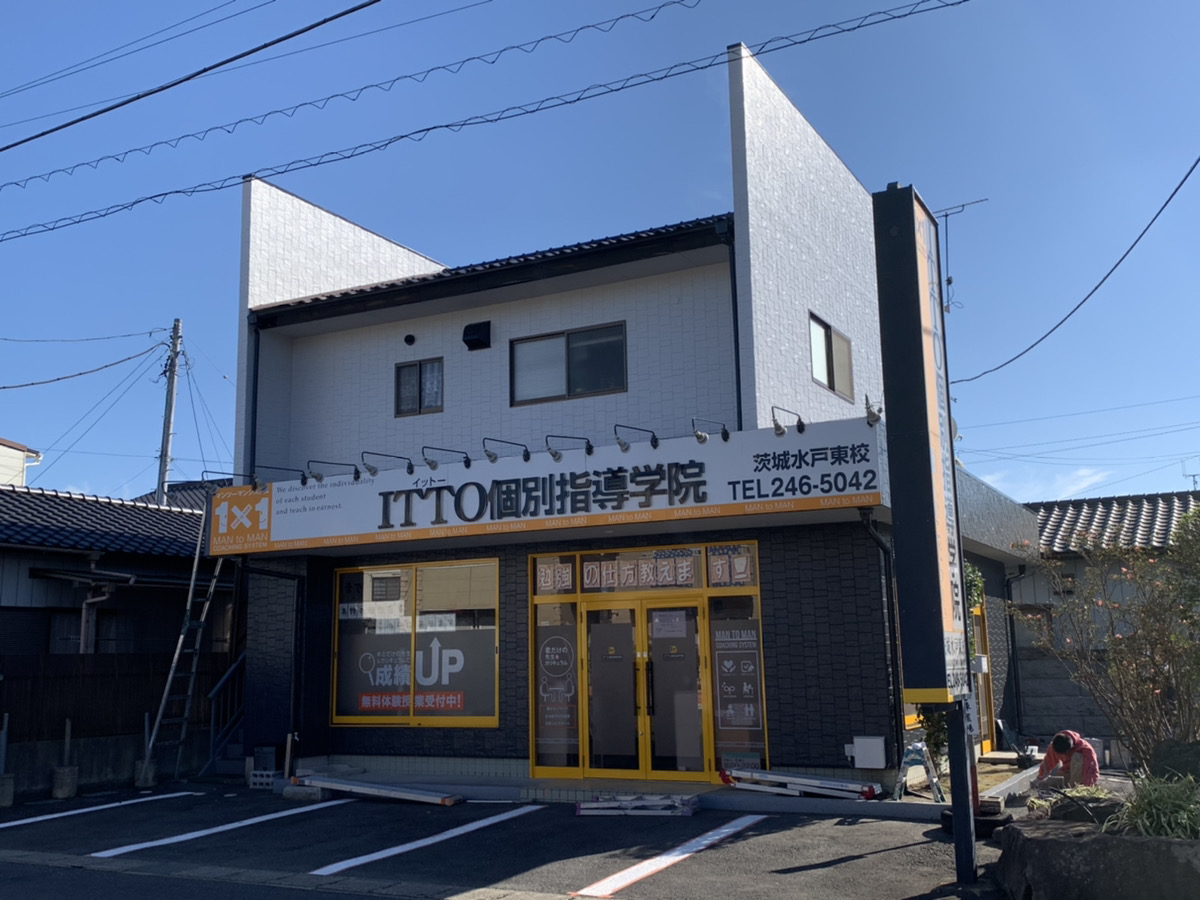
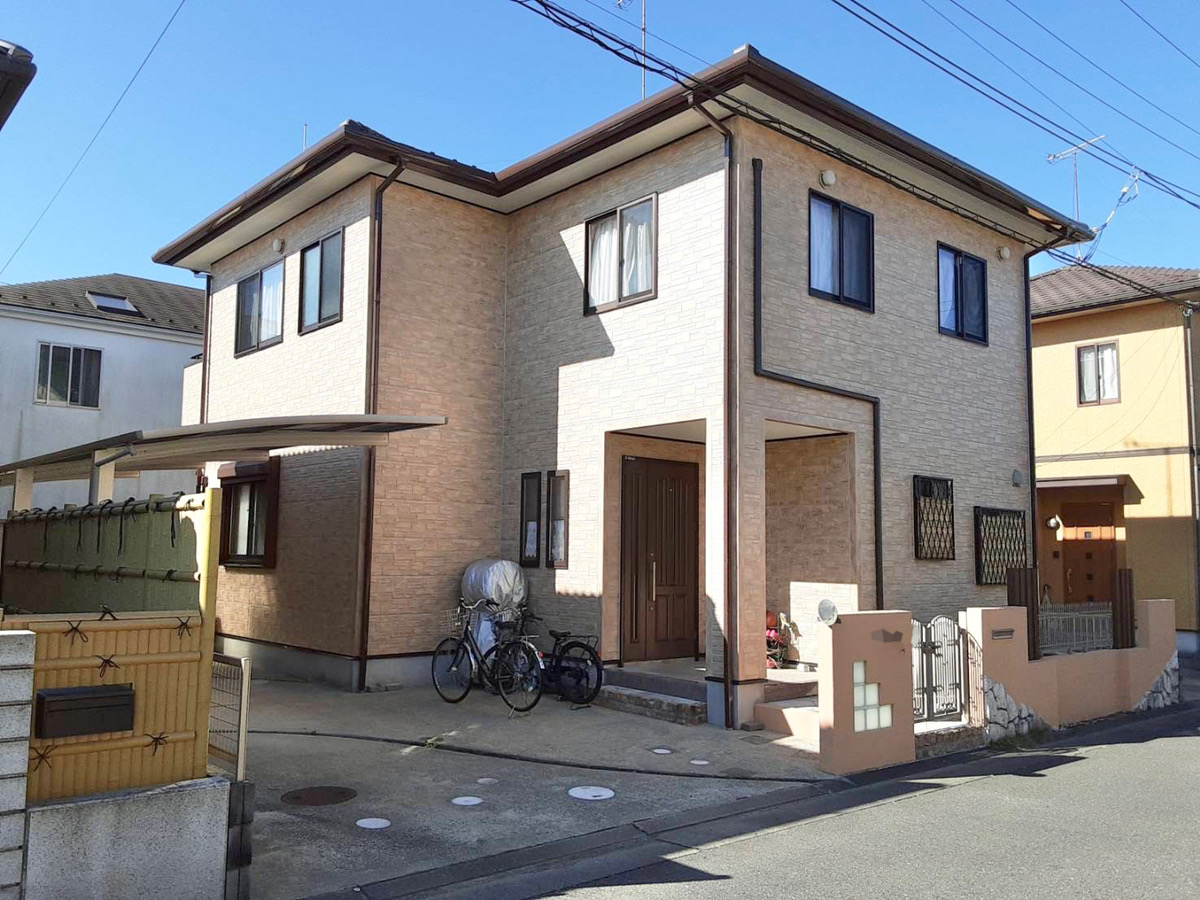
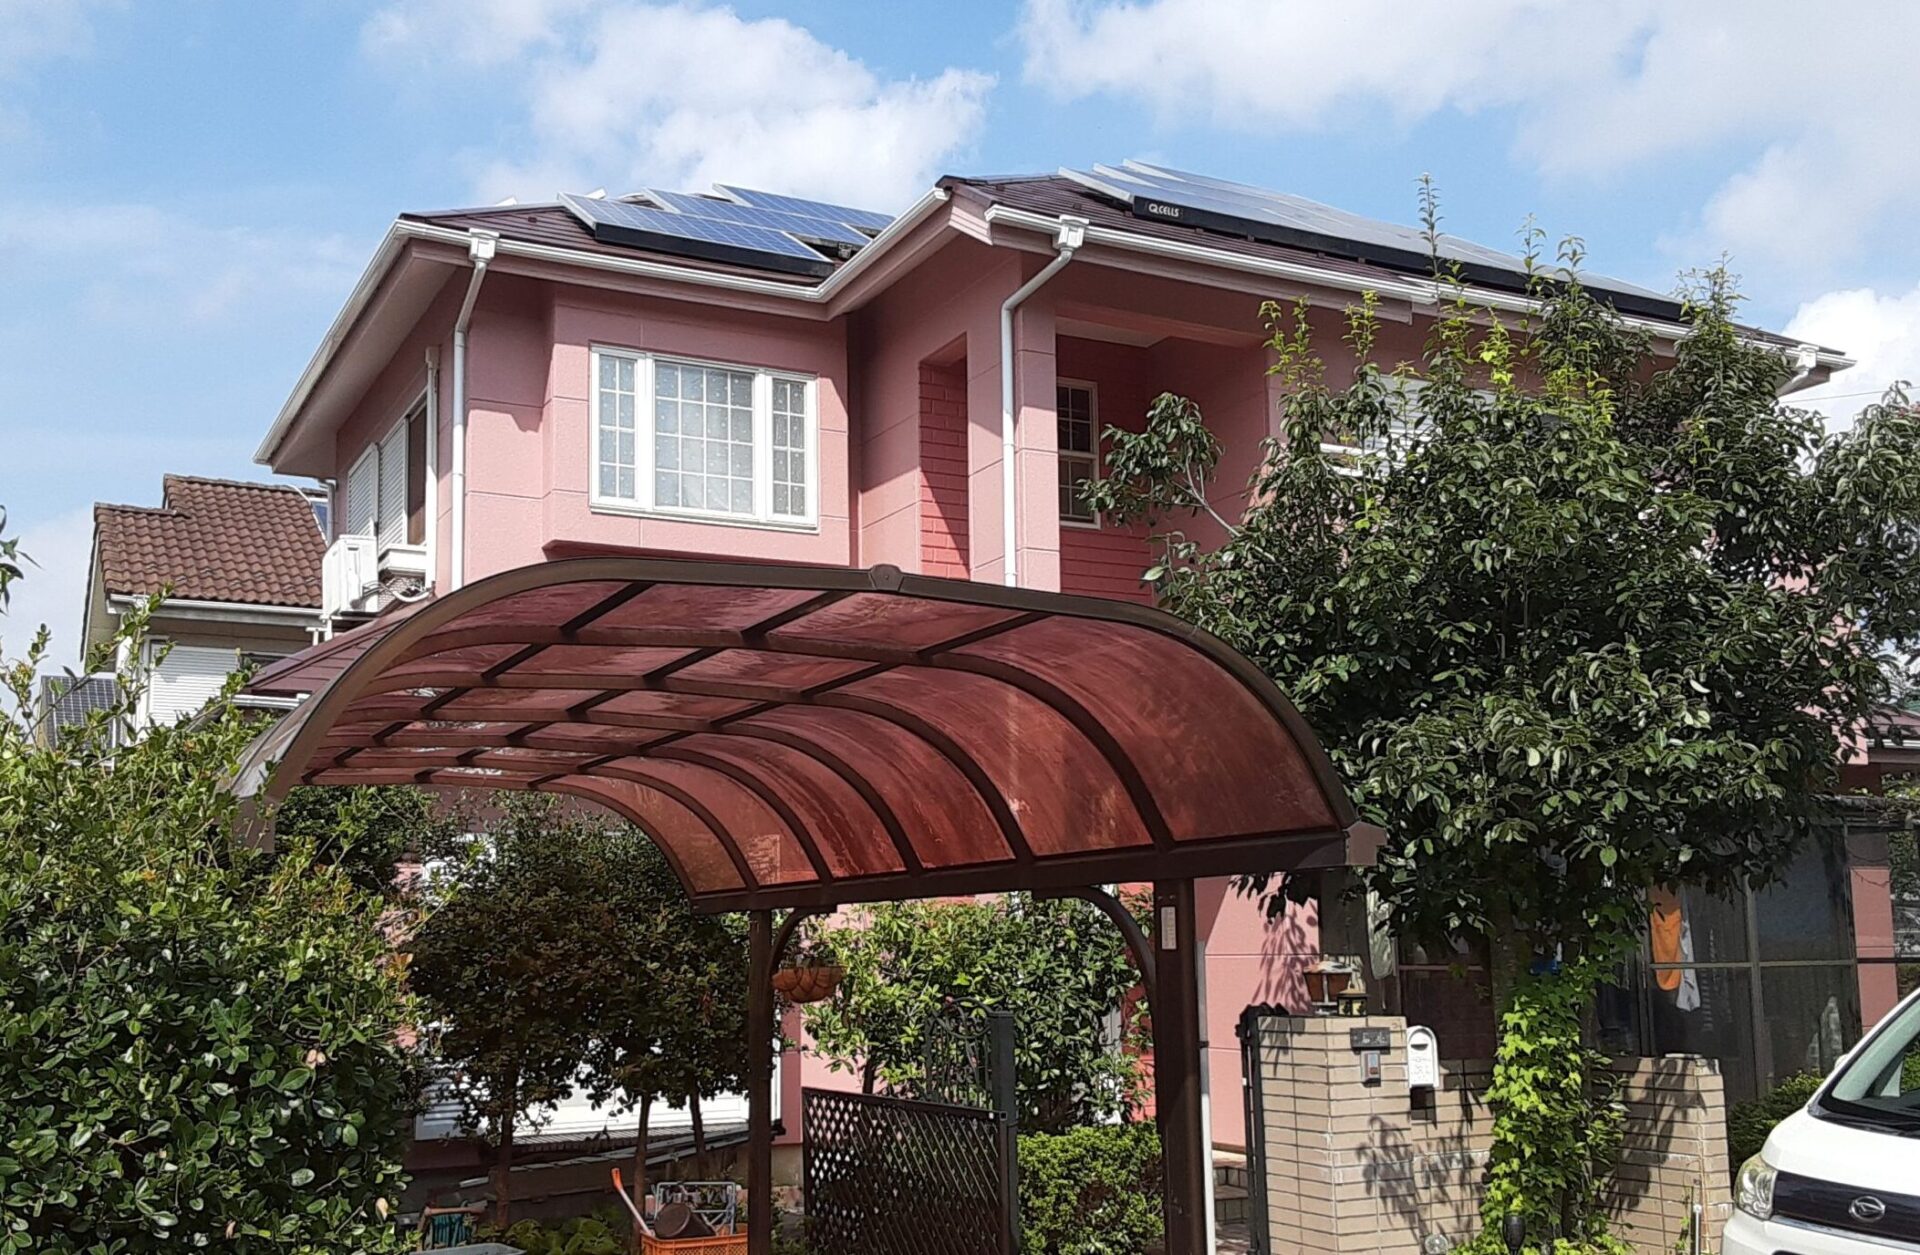
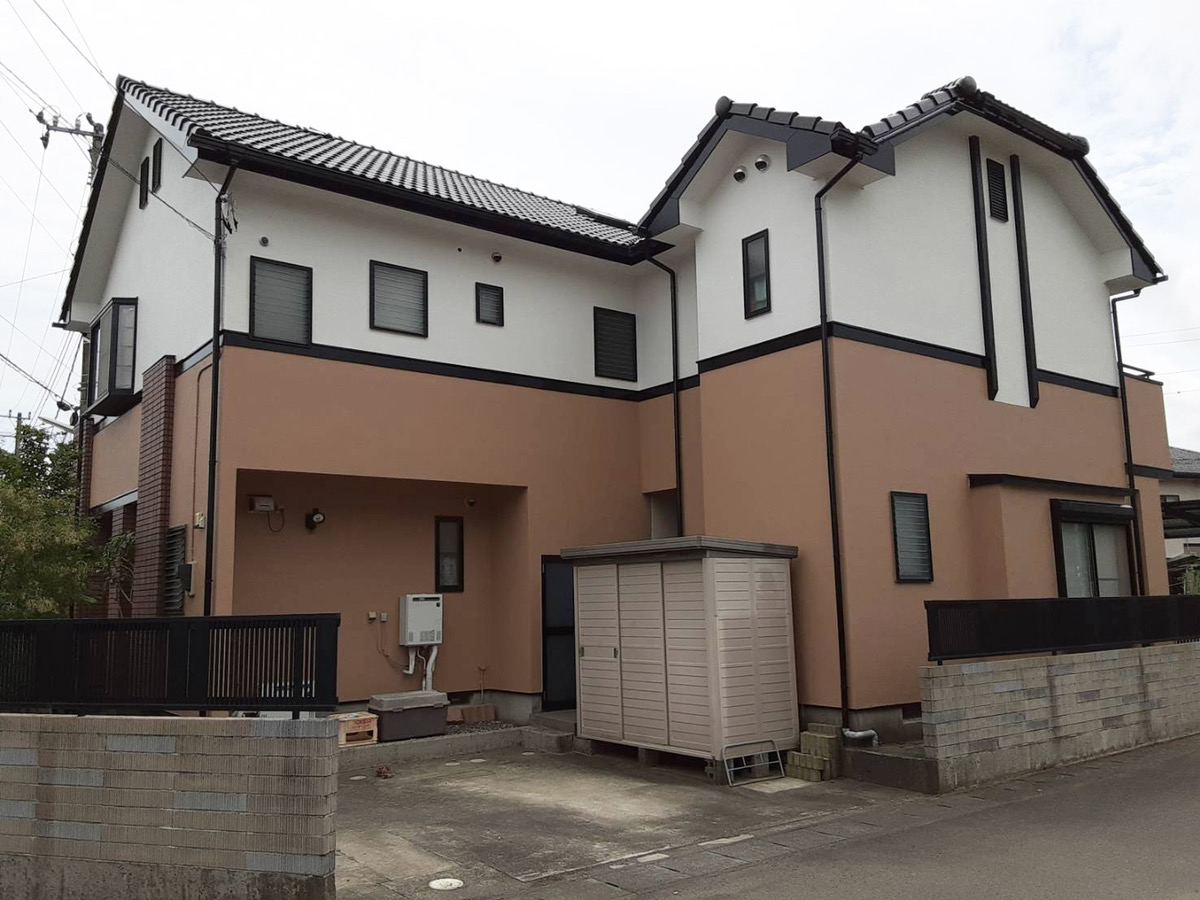
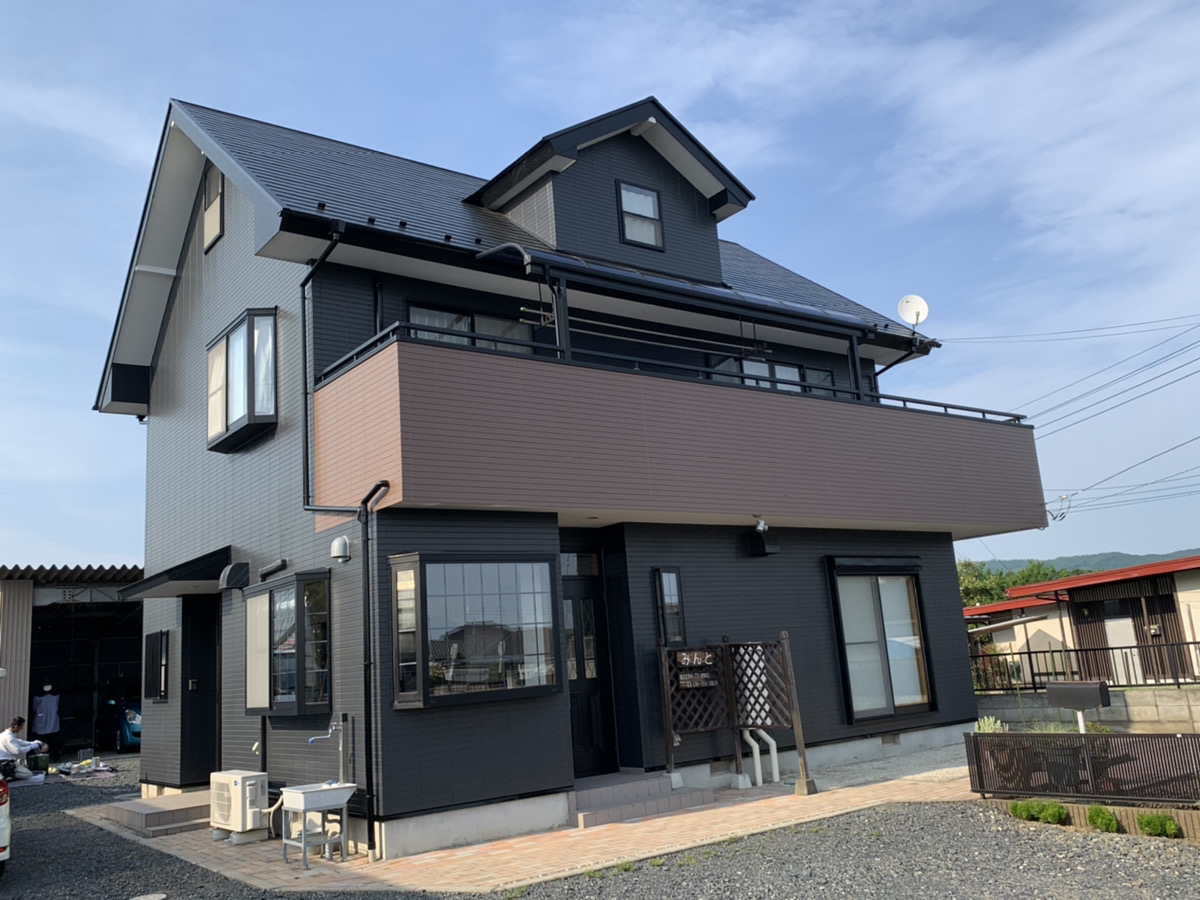
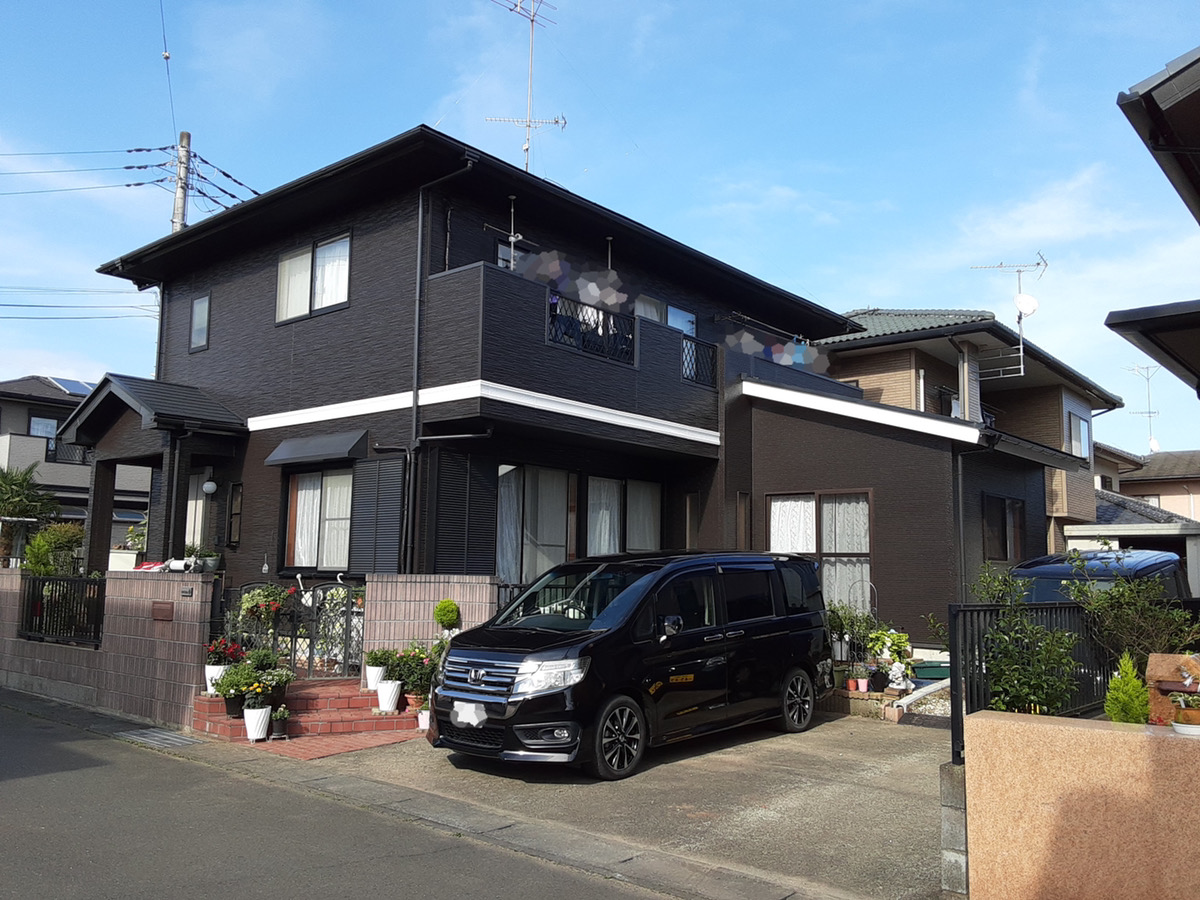
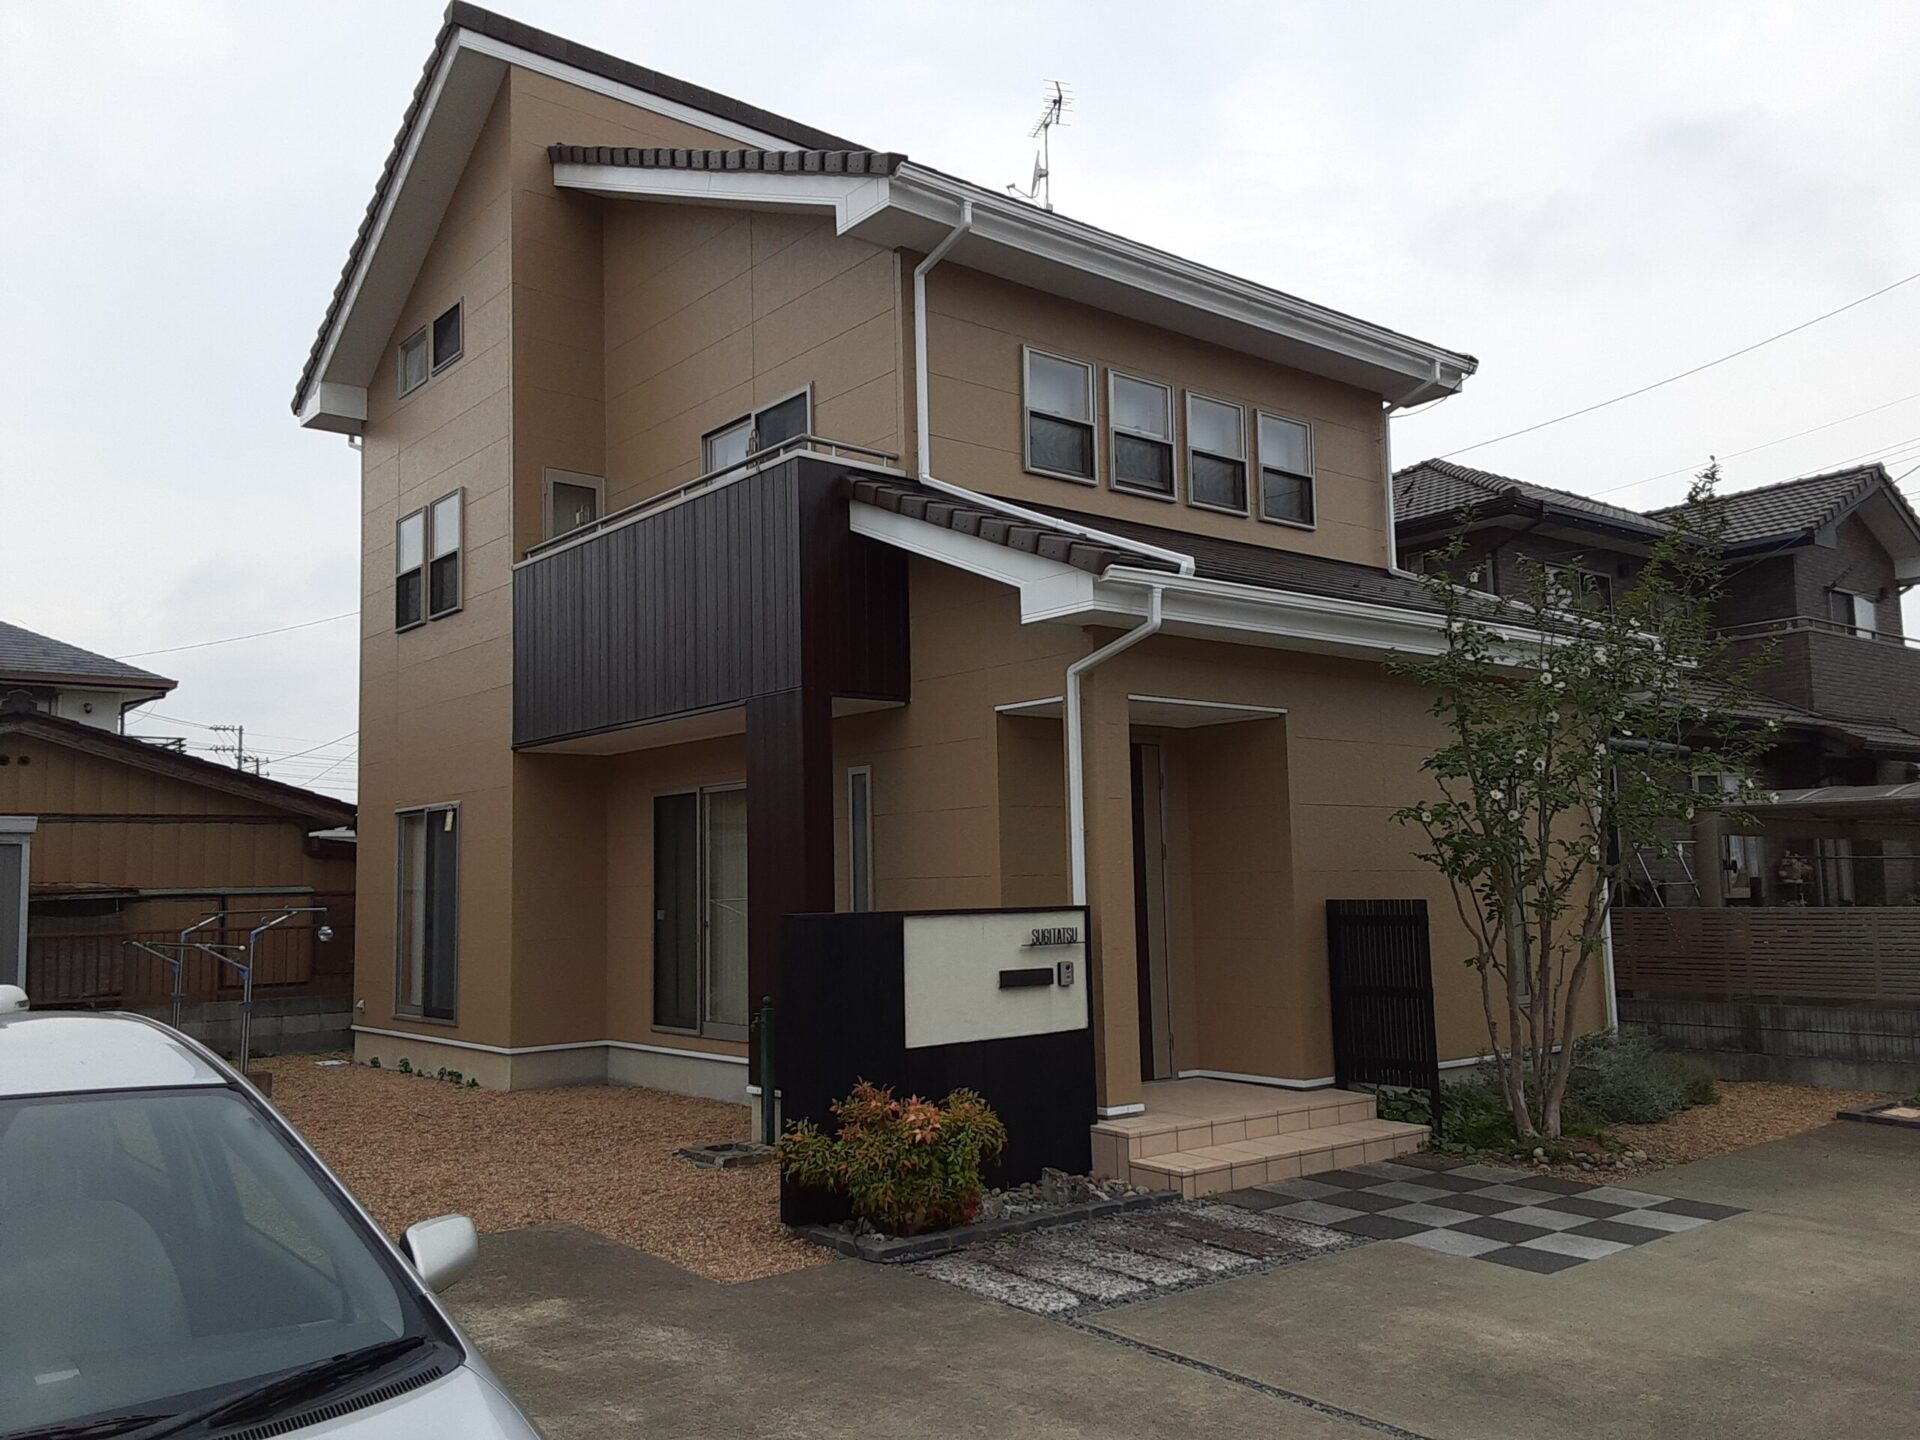
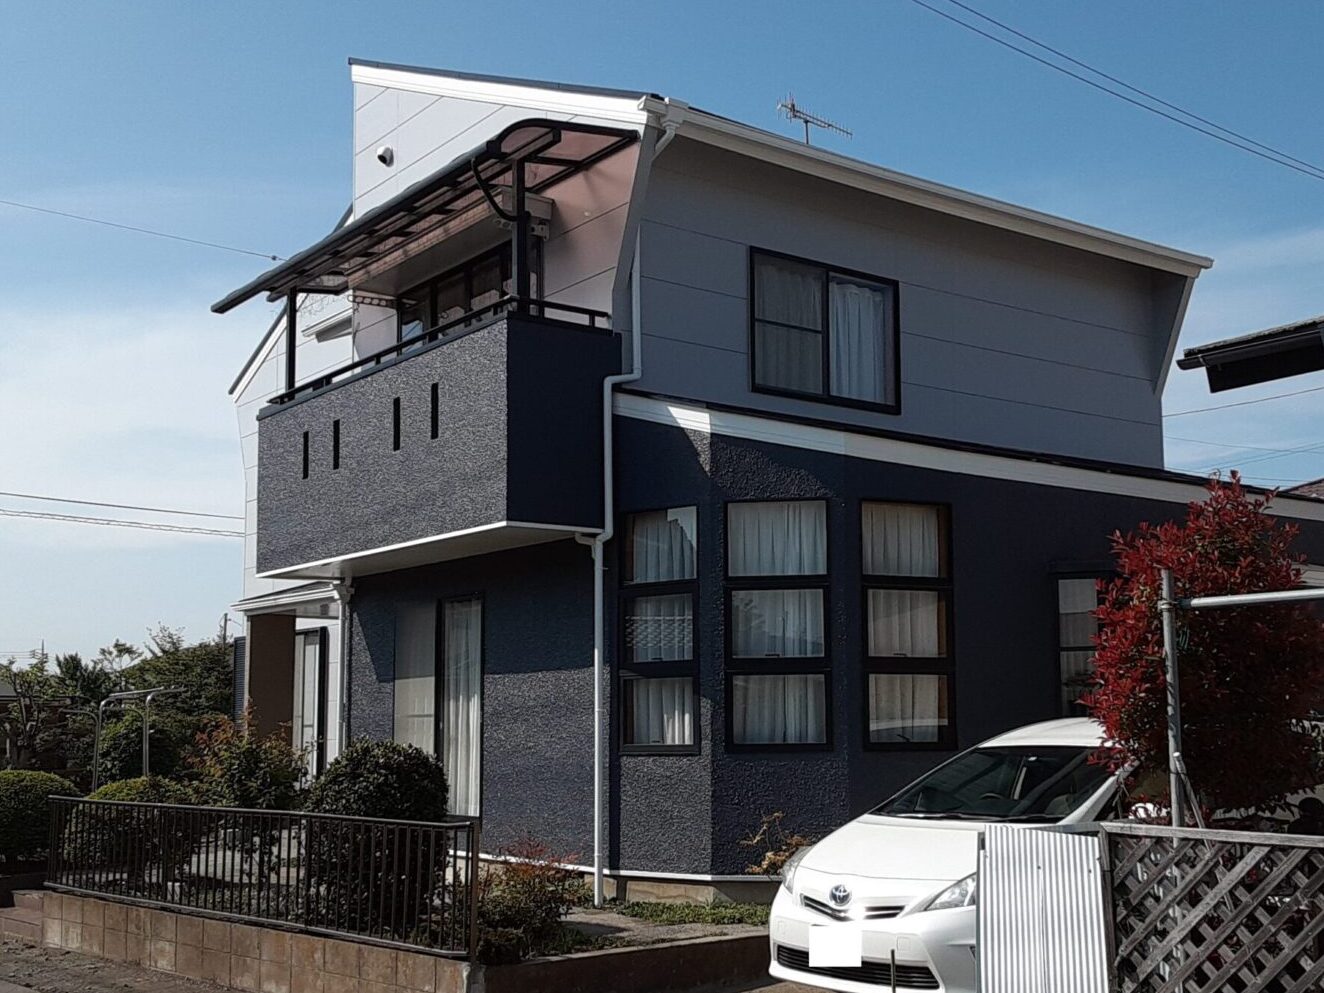
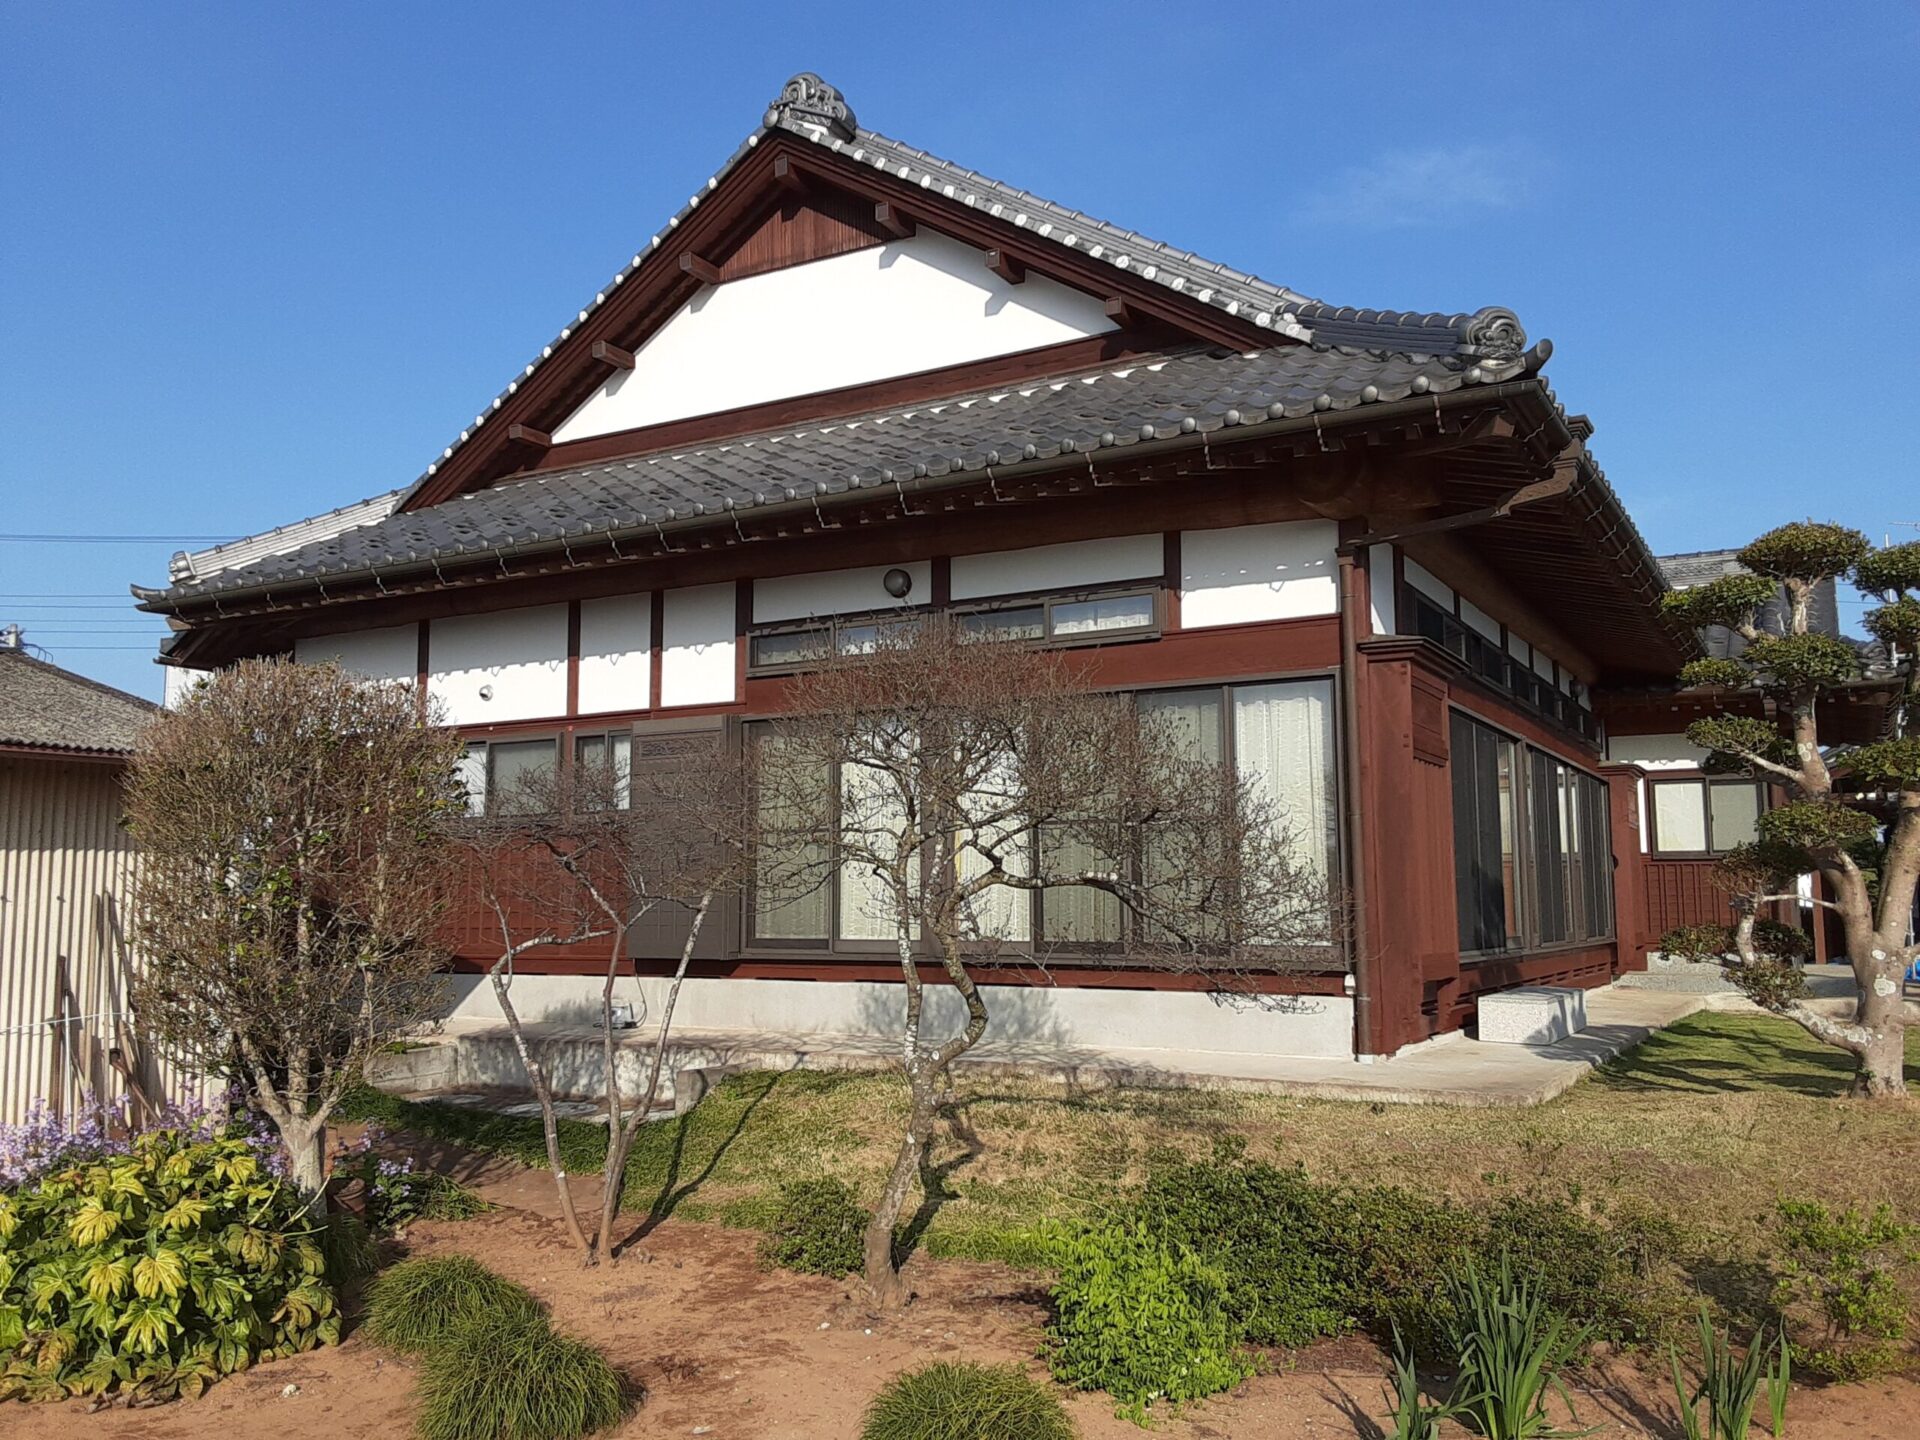
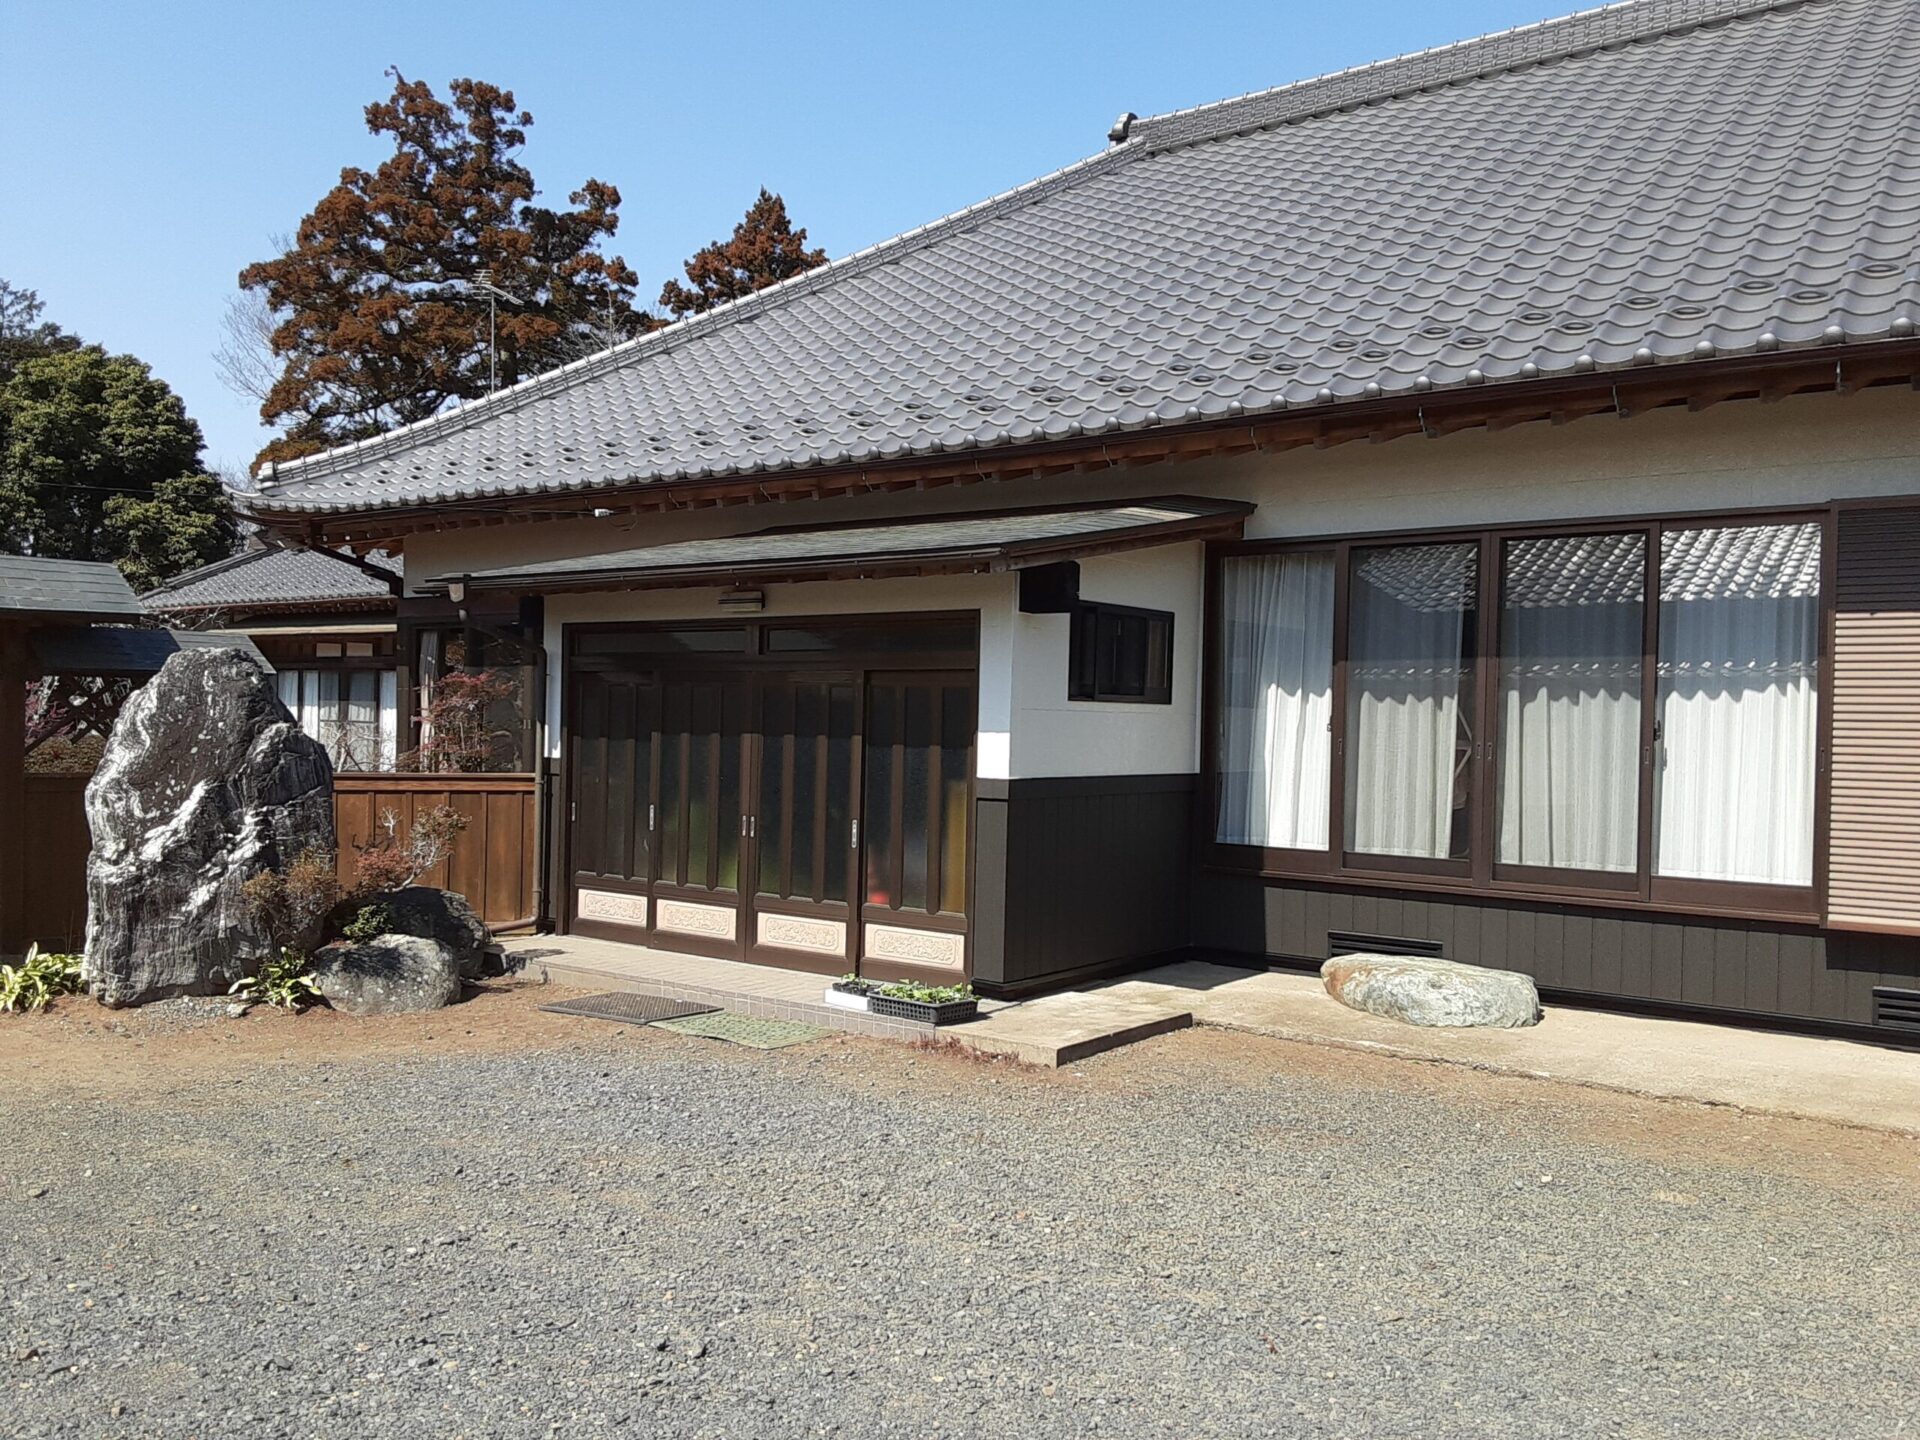
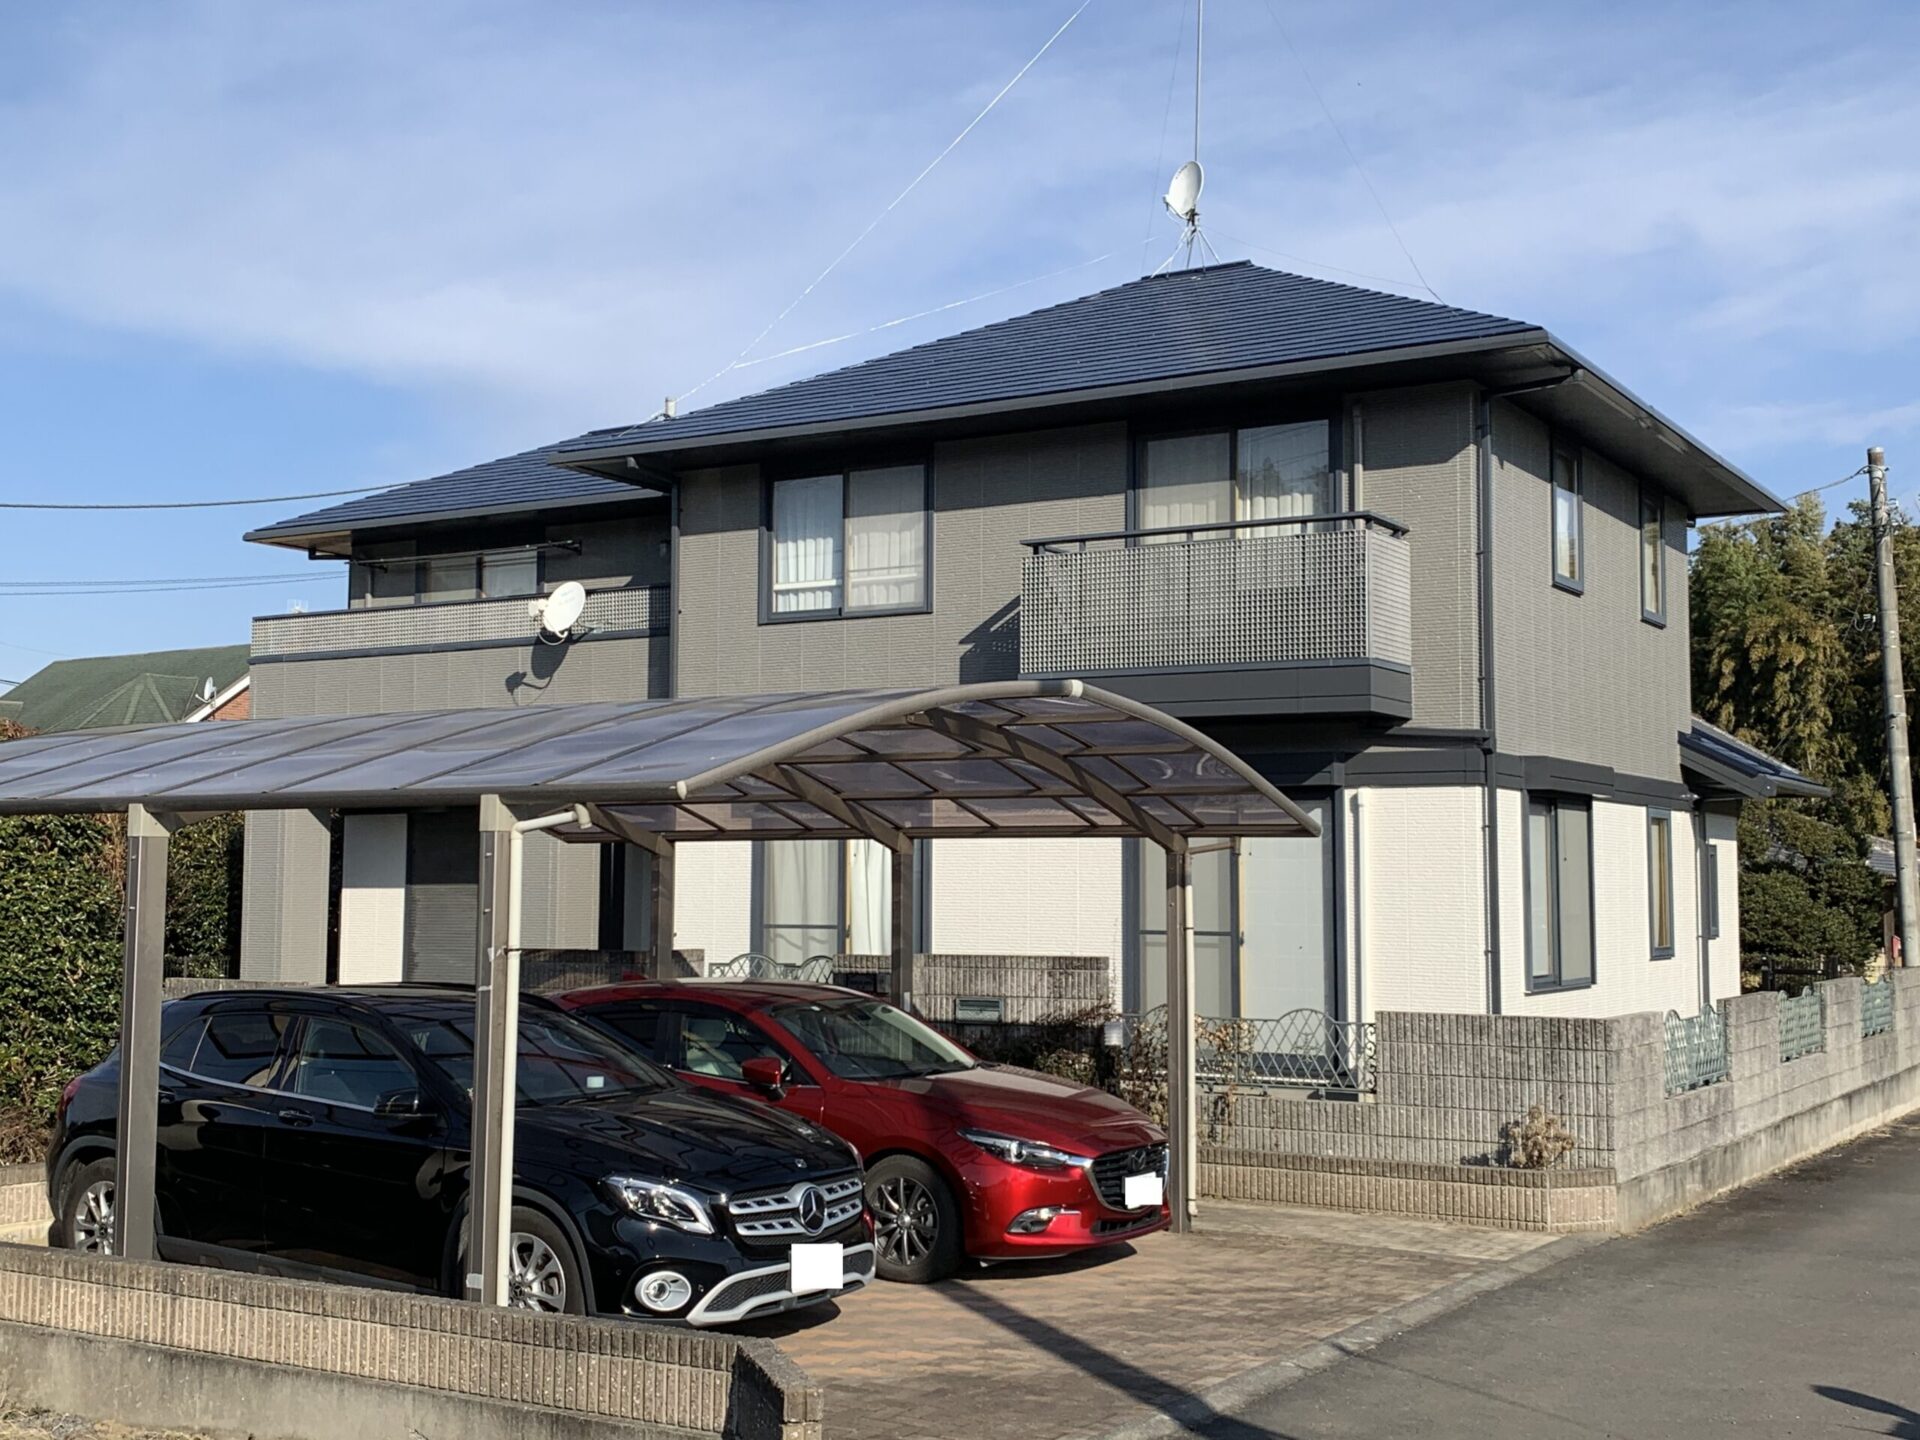
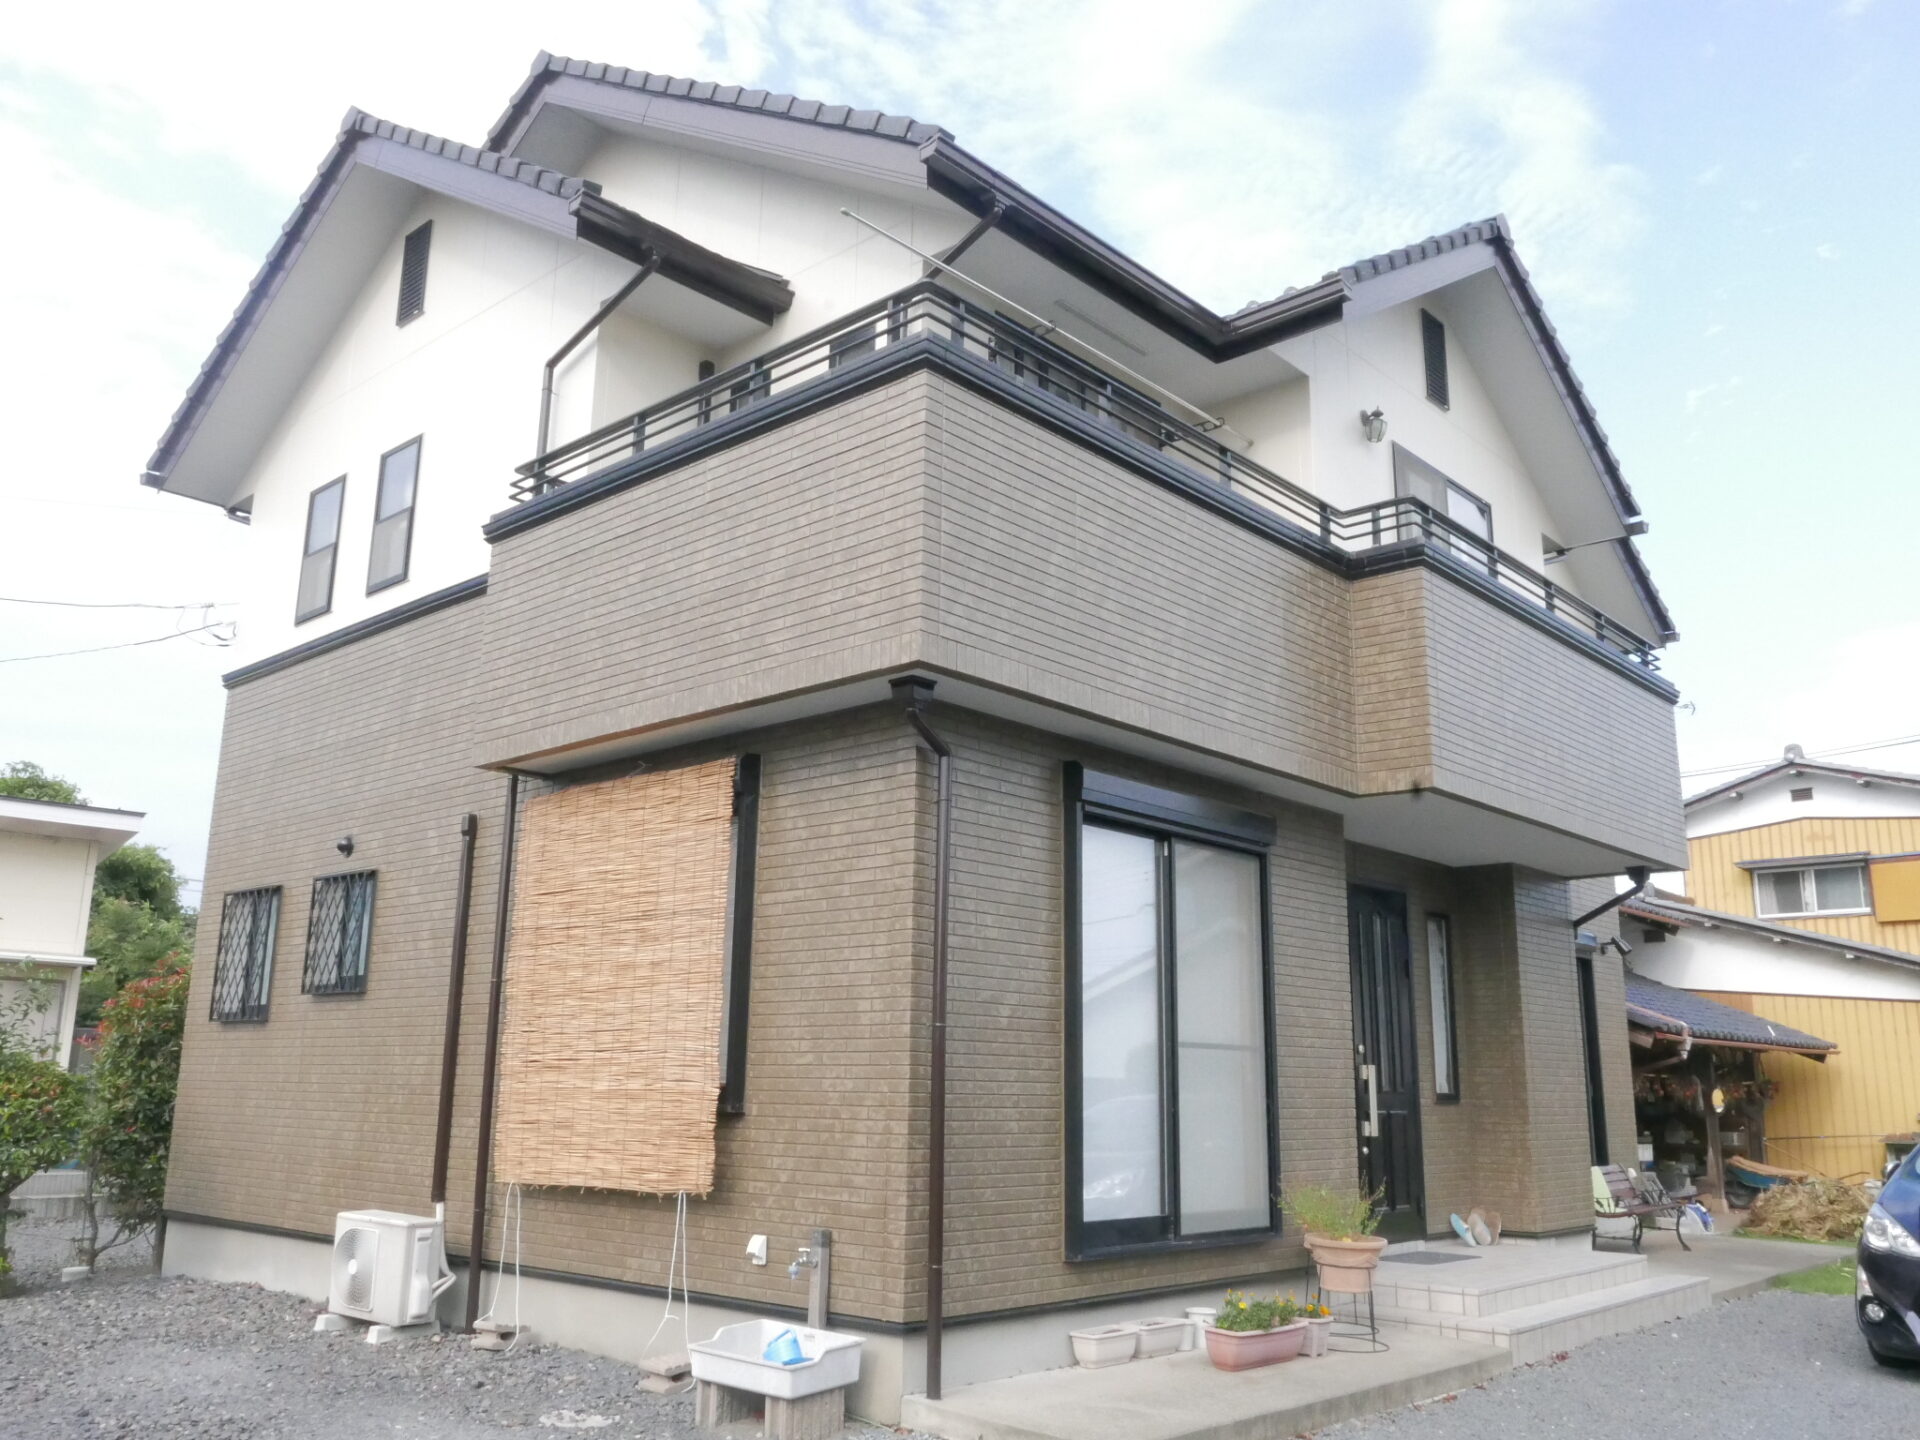
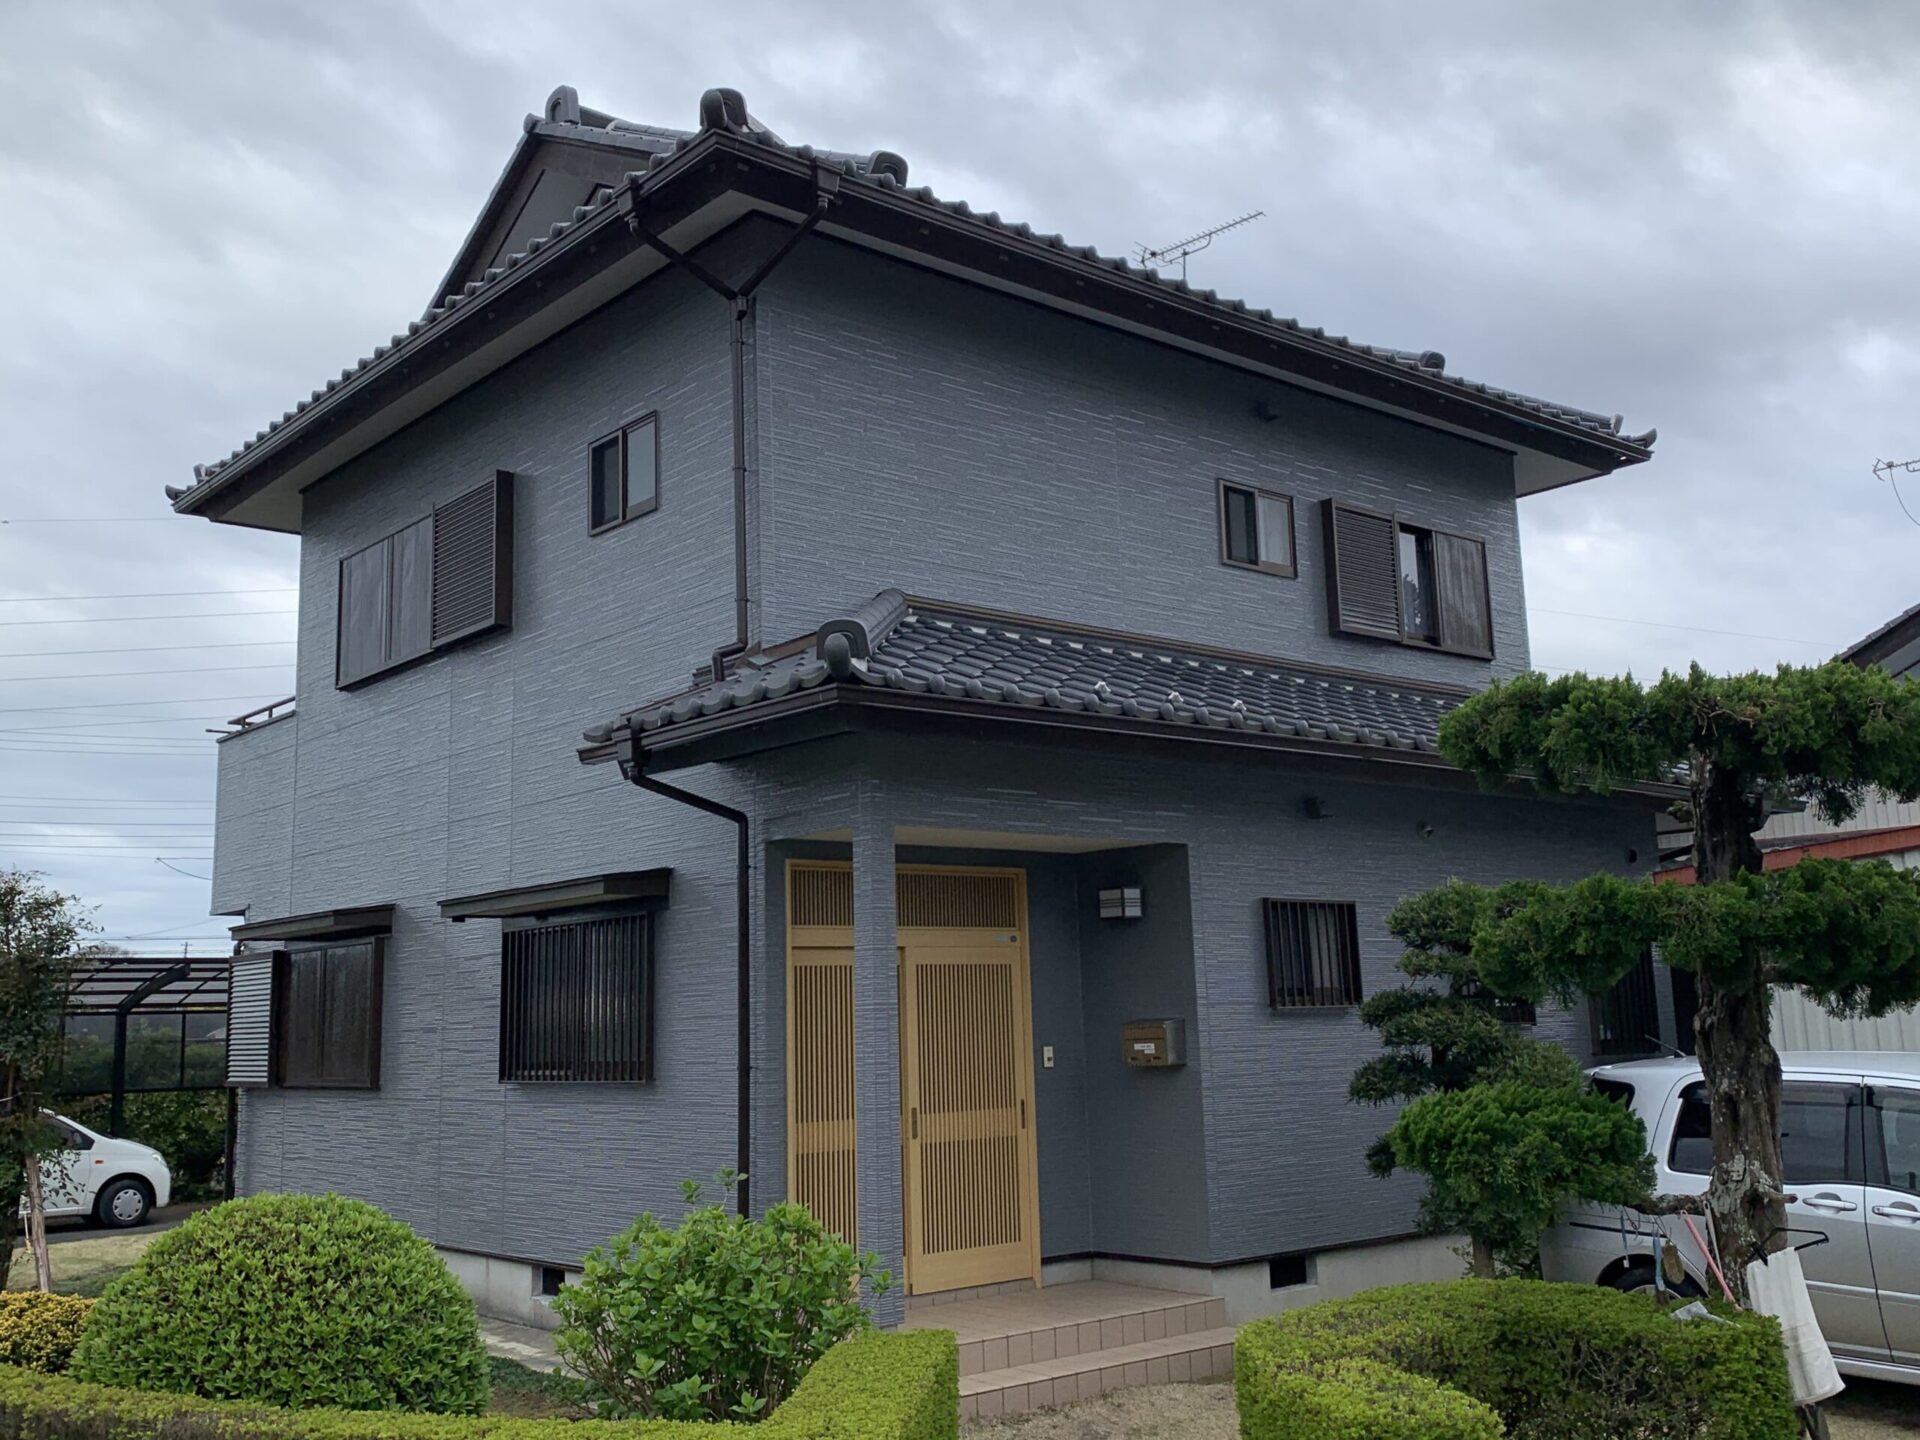
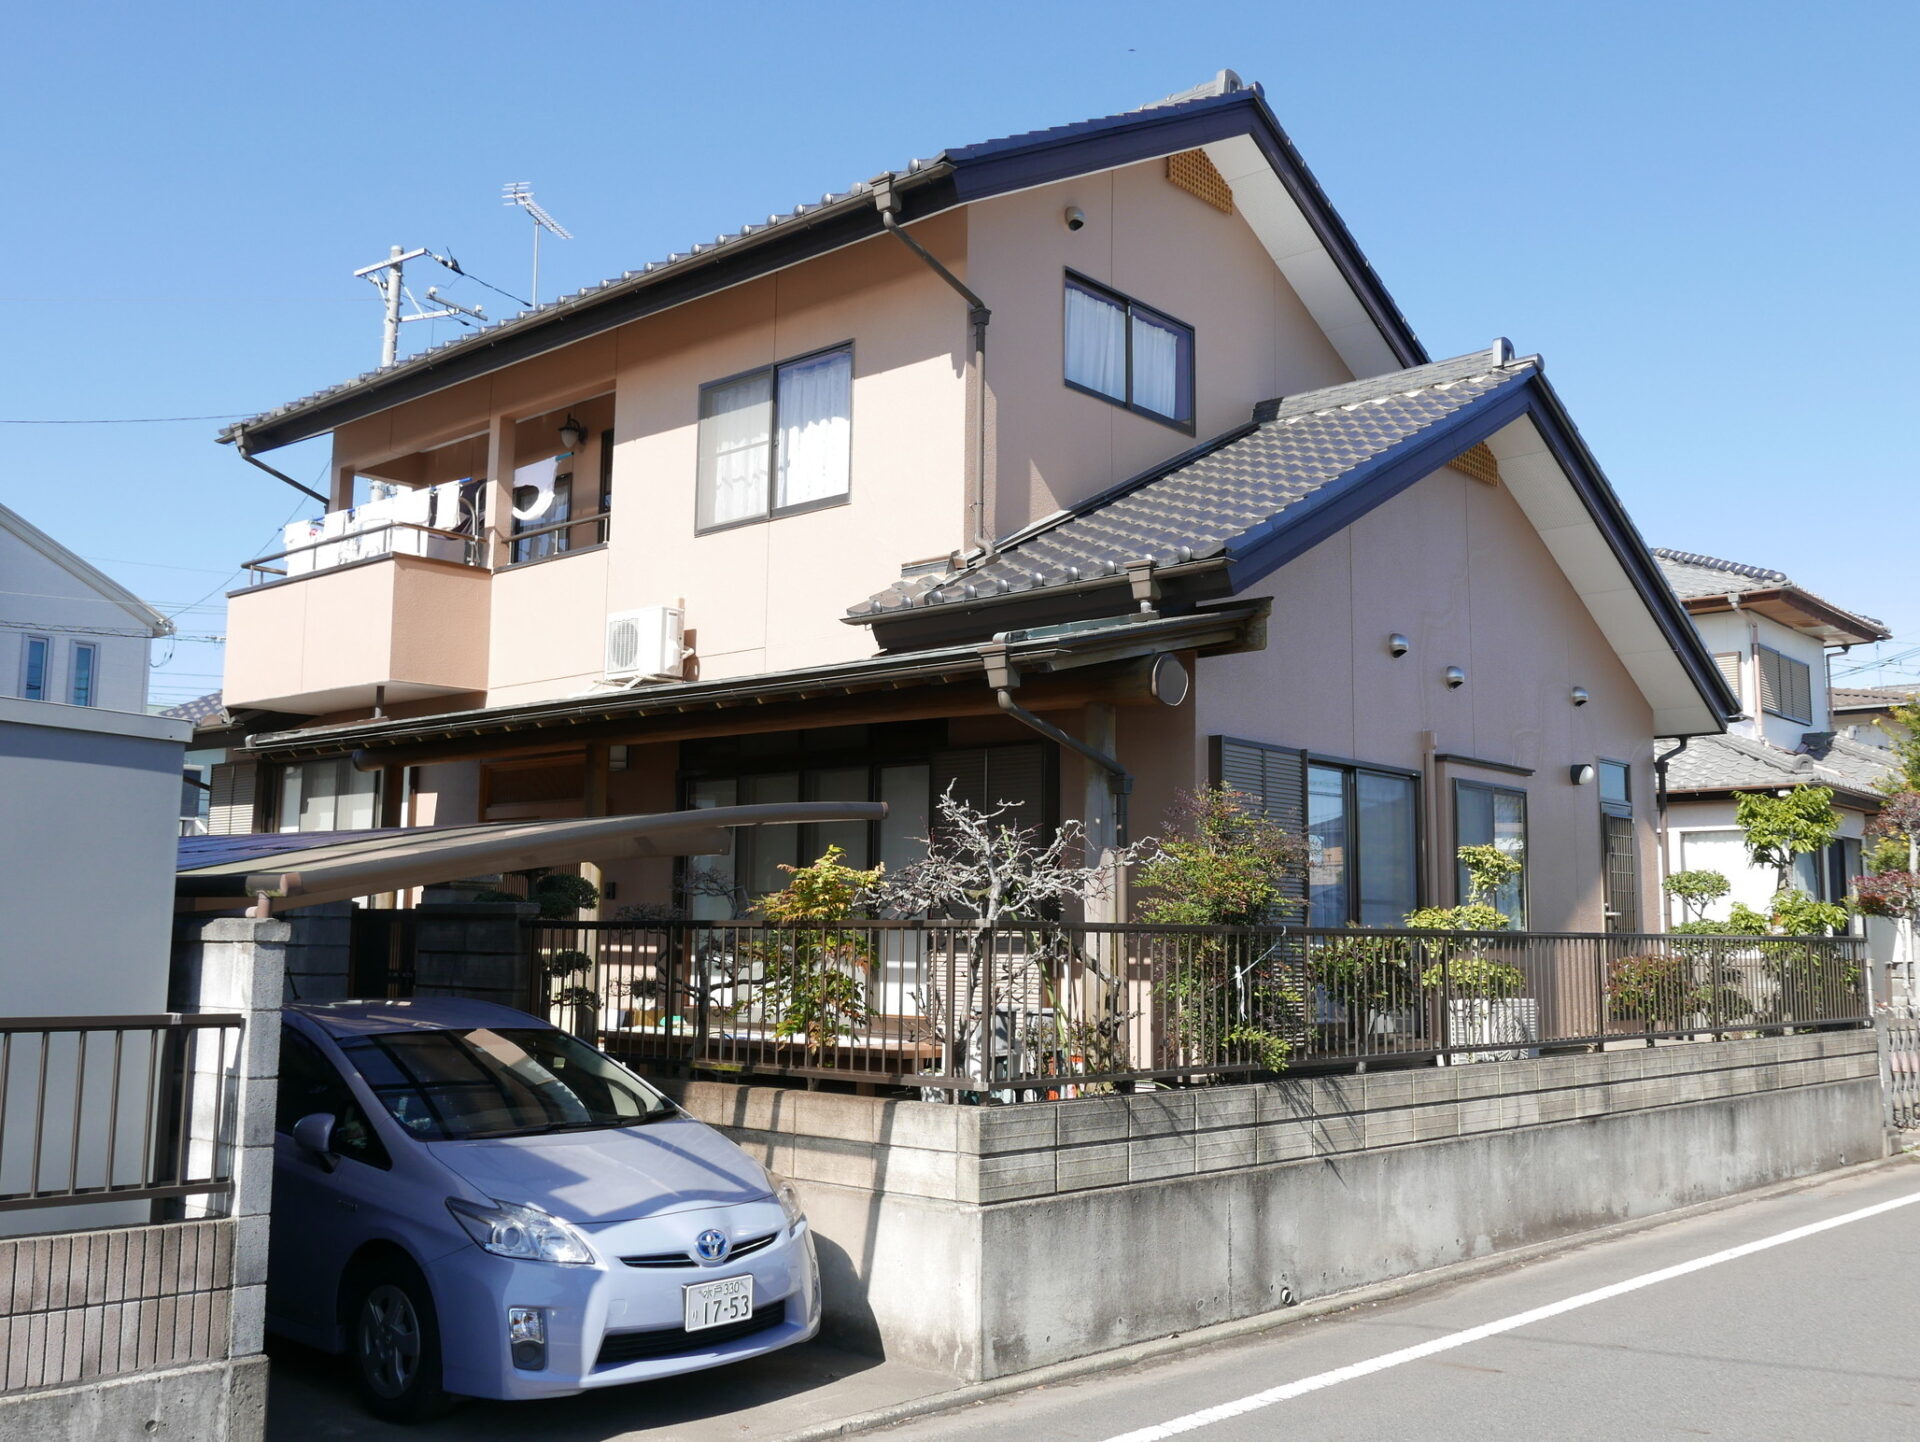
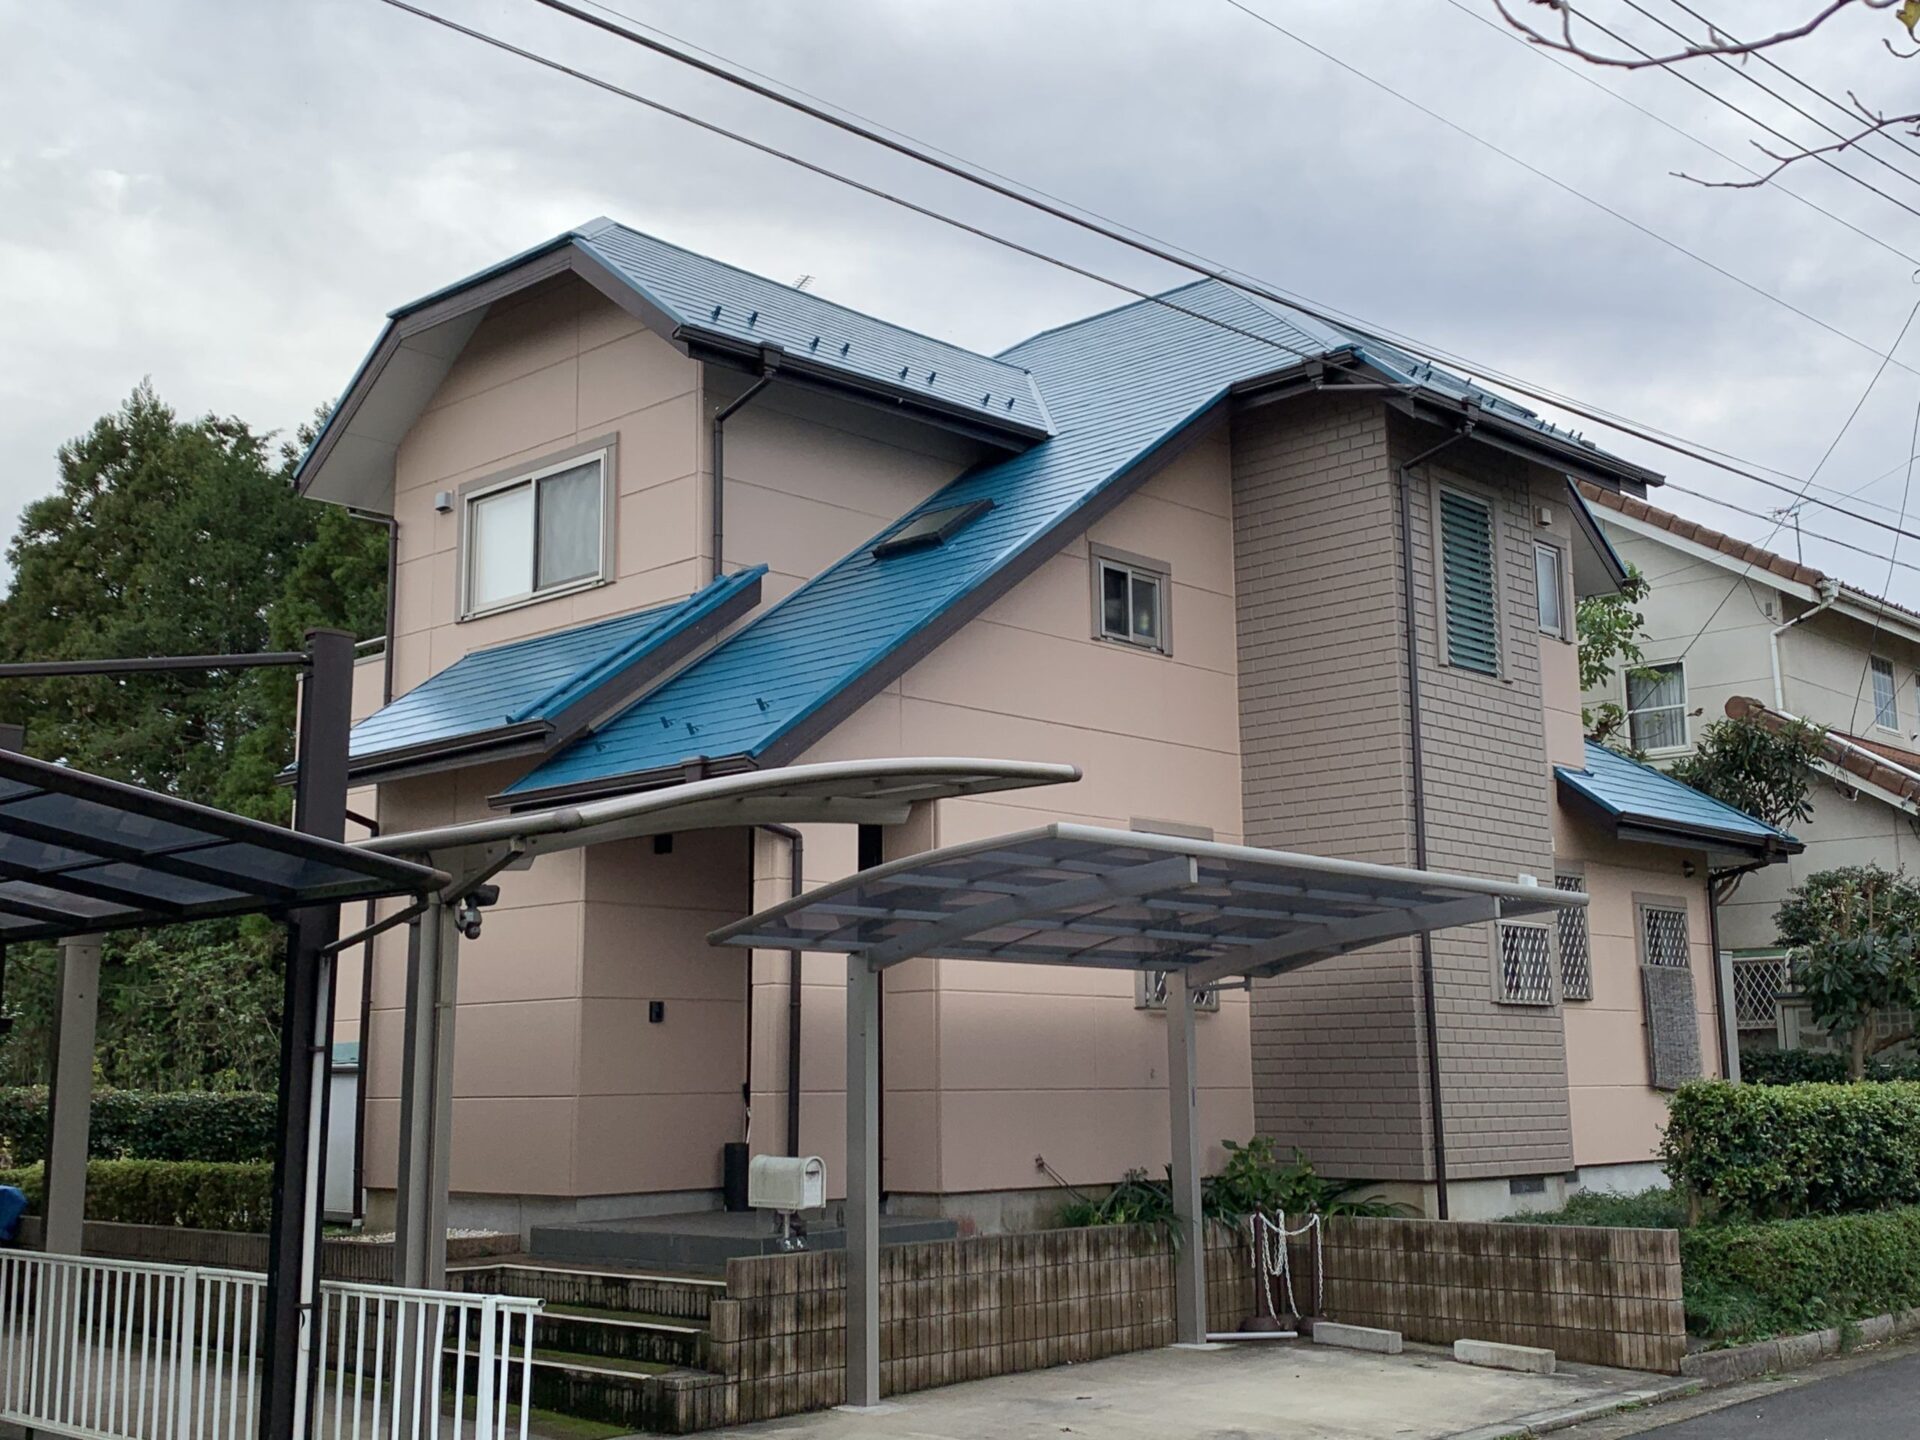
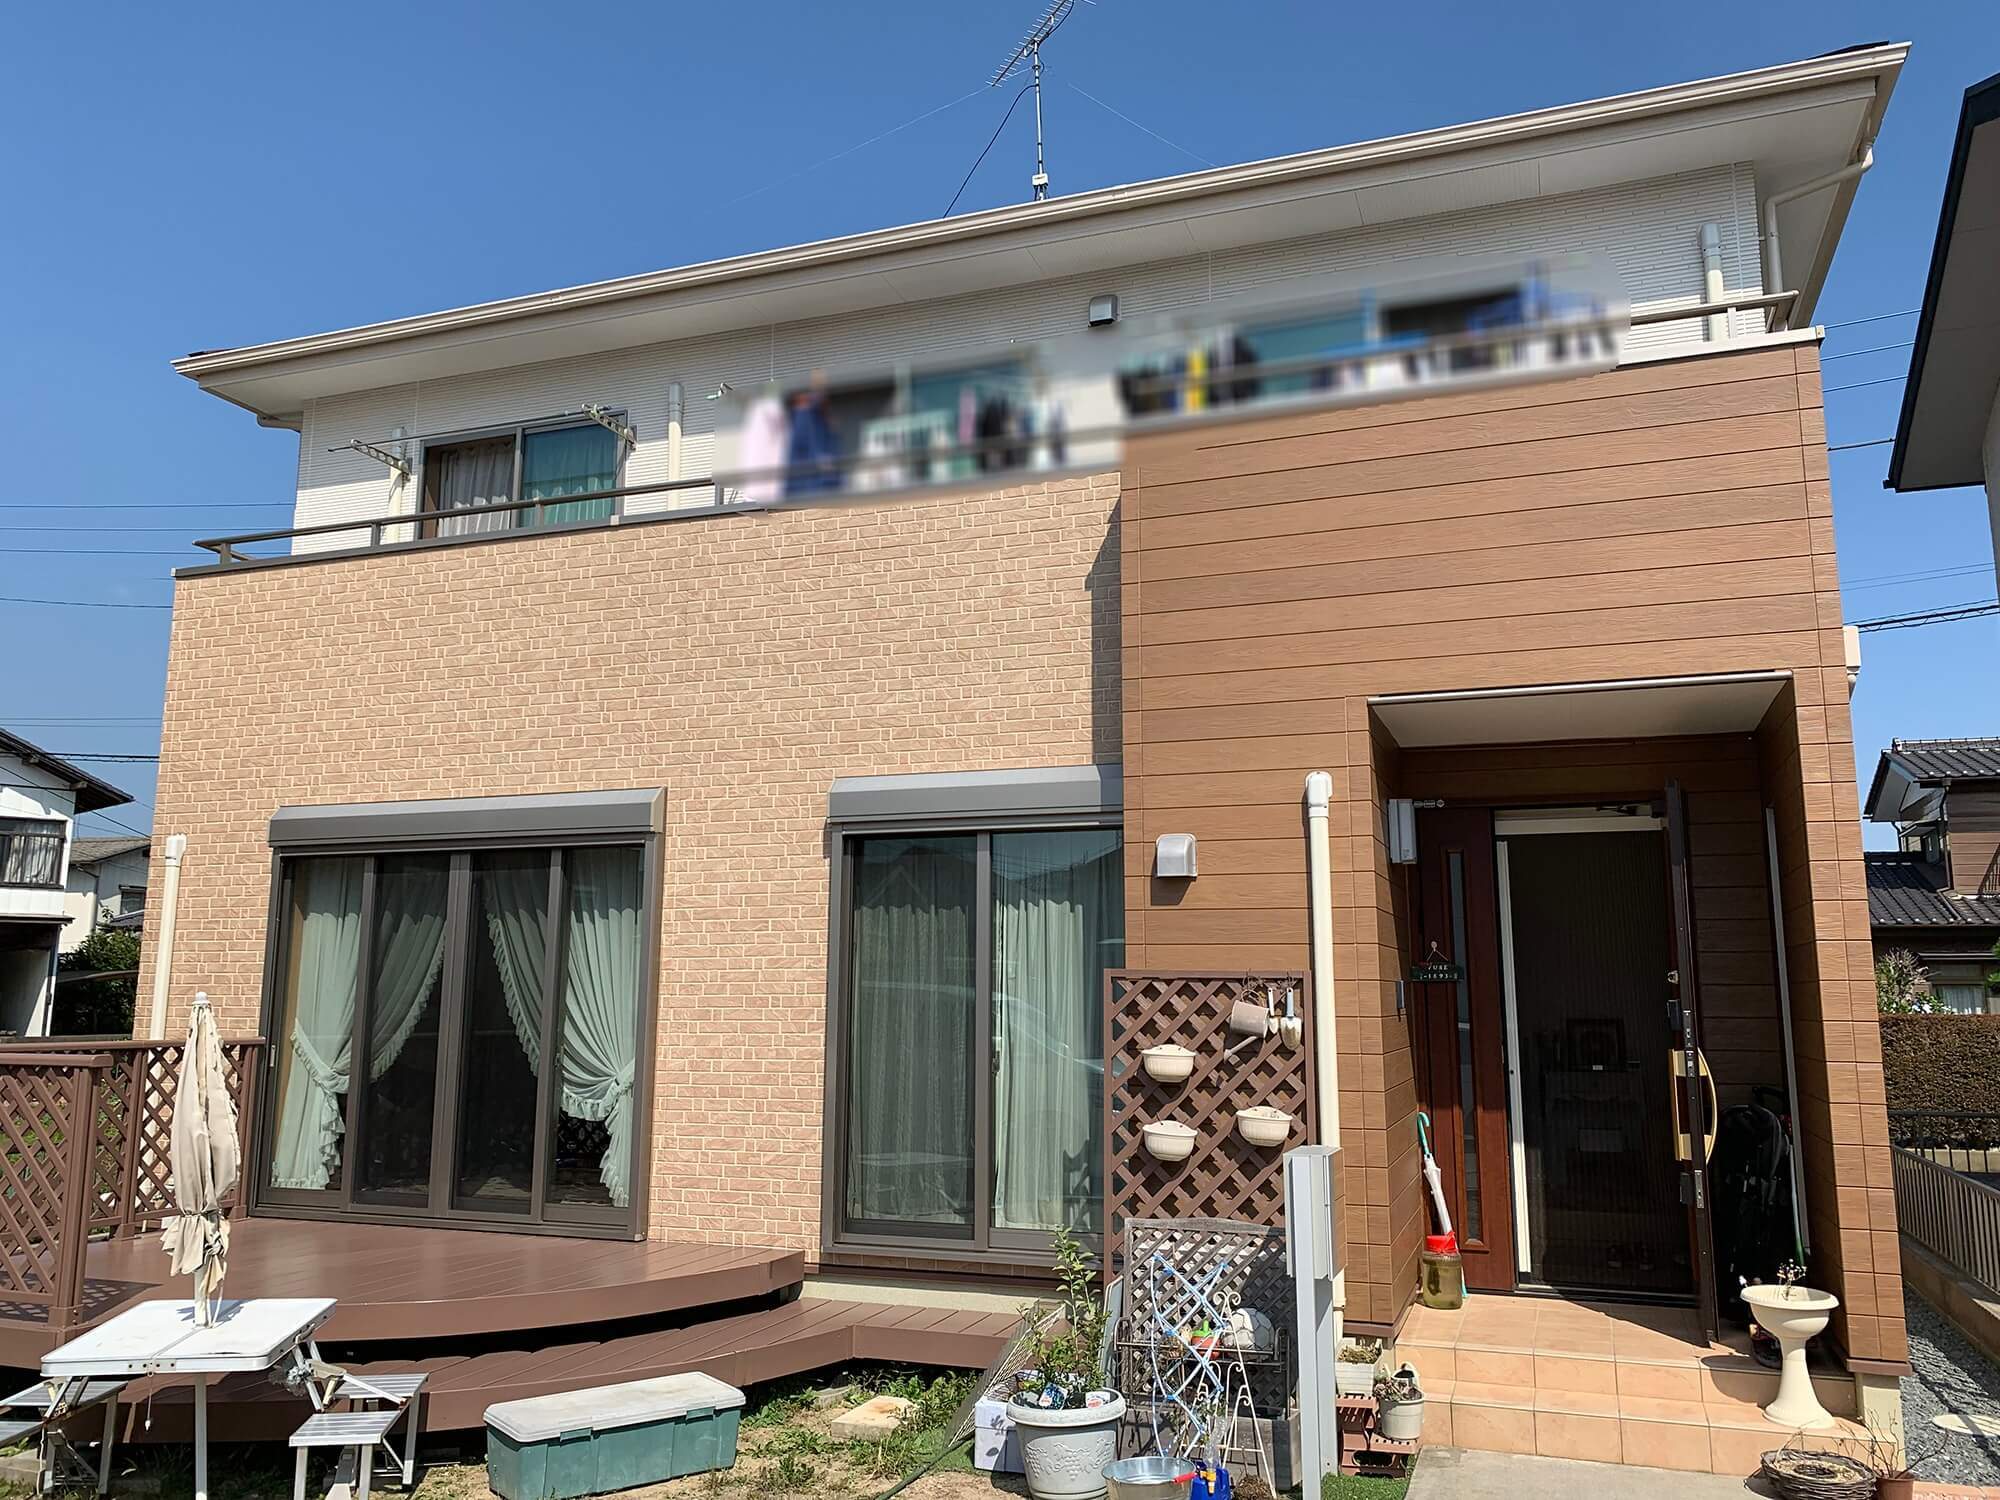
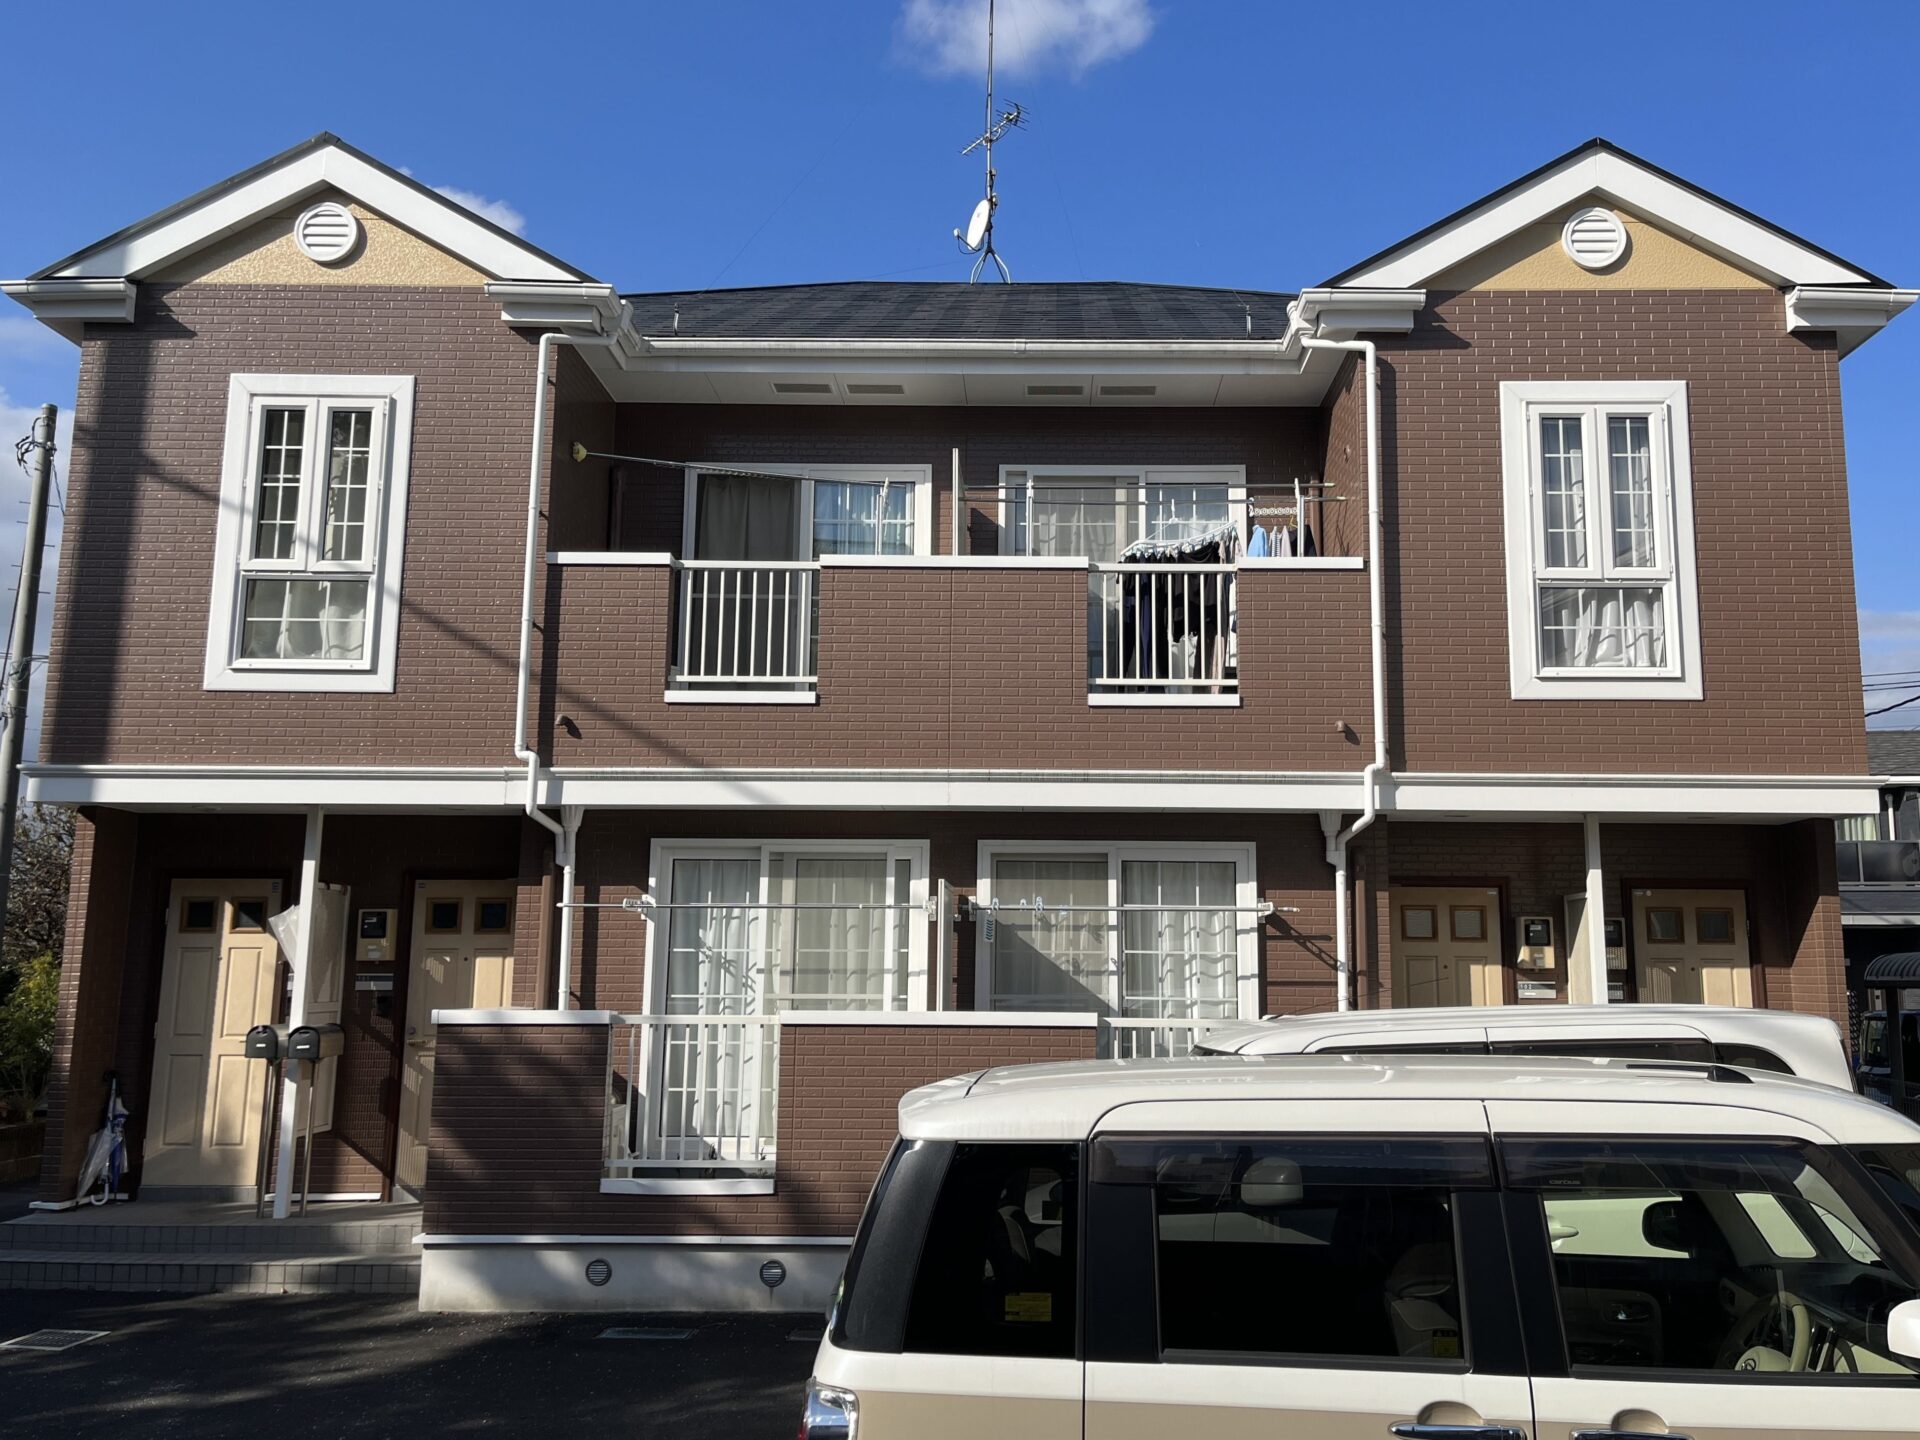
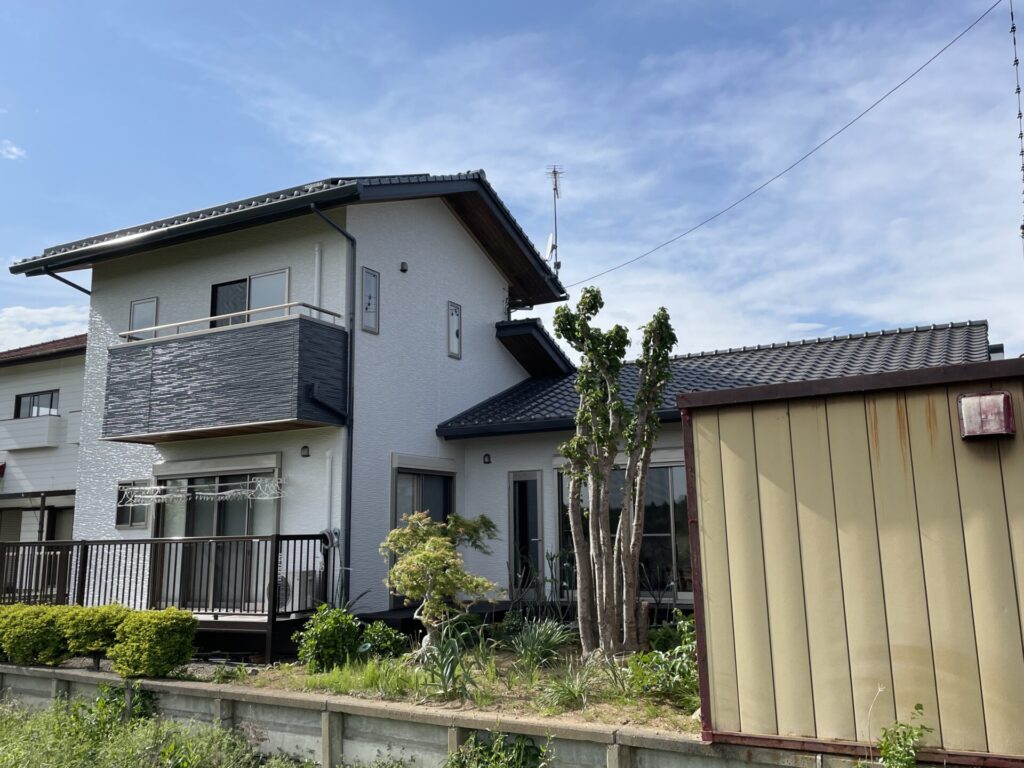
![](https://marushohousing.net/wp-content/uploads/2023/04/1682744922757.jpg)
施工後
![](https://marushohousing.net/wp-content/uploads/2023/04/20230506_055927119_iOS.jpg)
![](https://marushohousing.net/wp-content/uploads/2023/04/20230506_060520496_iOS.jpg)
![](https://marushohousing.net/wp-content/uploads/2023/04/20230506_063824661_iOS.jpg)